Soldato

Welcome one and all to my very first build log. Hopefully this will be a great experience to share with you all as this is a project of many firsts: first extensive case mod, first foray into custom water cooling, first hardline loop too, and first time putting everything out there for public display! Exciting and terrifying in equal measure

Asteria II: Rearmoured is based around the stunning In Win 901 Mini ITX case, and was inspired by Laine's "Clarity". It was great to see a custom loop put into this case, but I felt more could've been done with his radiator placement. A year of planning and exploring later I've bitten the bullet and giving it a shot of my own.
The name
Asteria was a Greek goddess associated with falling stars and prophetic dreams. She was also a Titan and, frankly, that's why the original Asteria was named as such - all of my computers are female and she had a GTX Titan inside
 The Titan and a few other parts of being reused in this new project, and hence Asteria II: Rearmoured was born.
Hardware
- i7 6700K
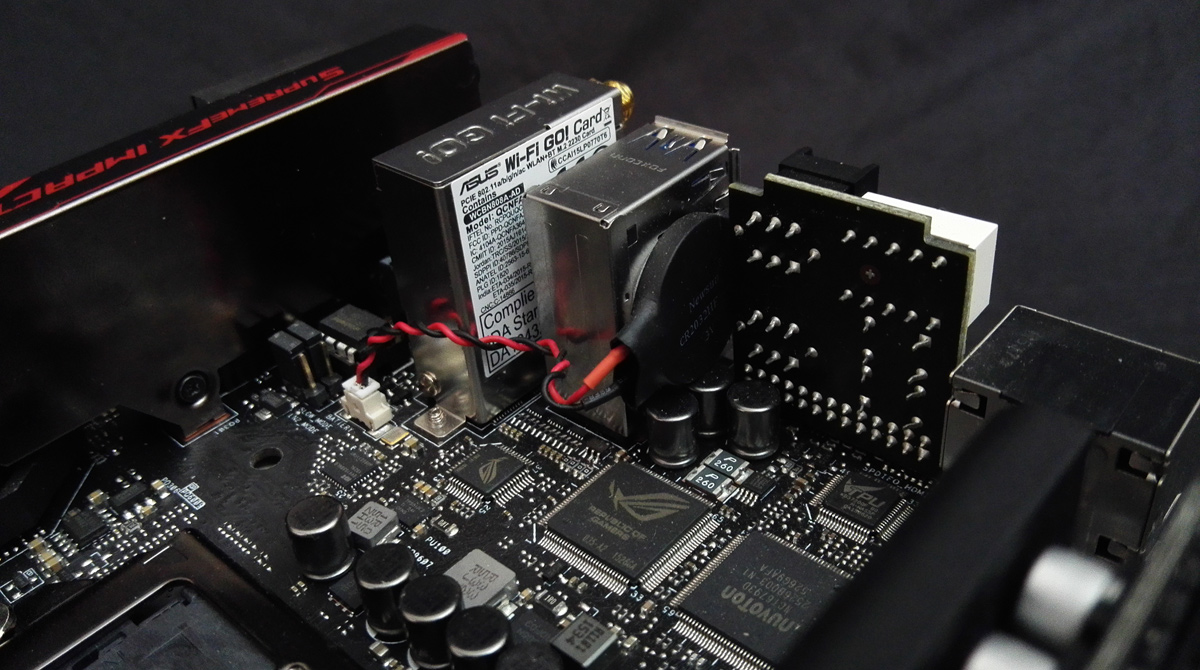
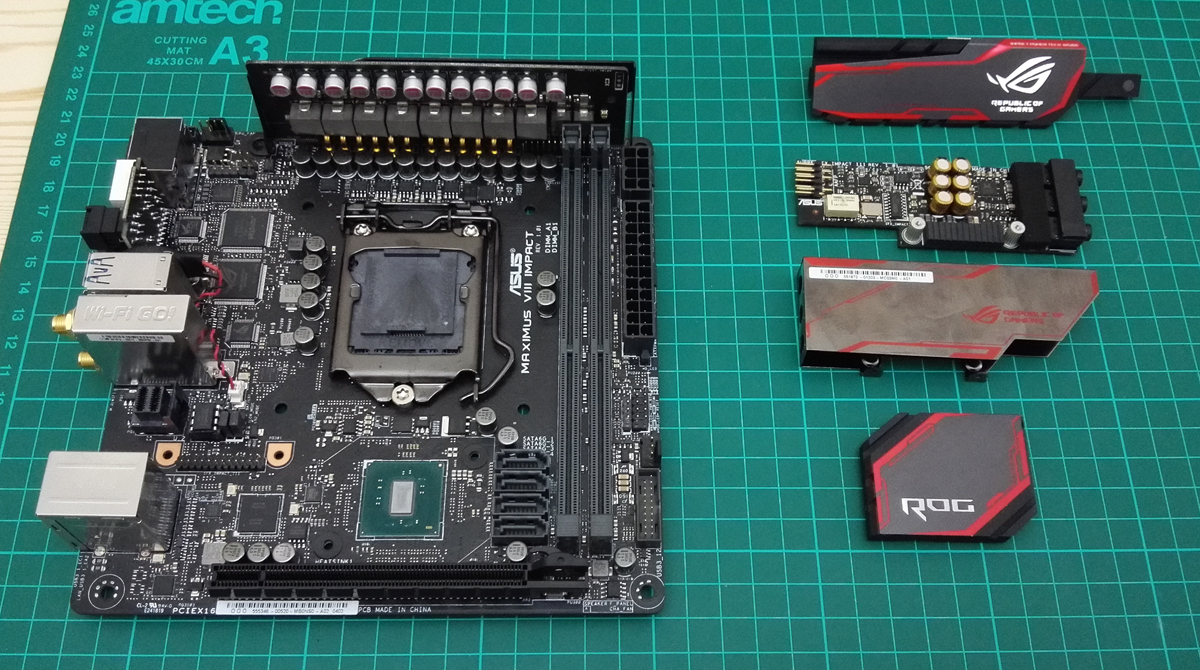
- Maximus VIII Impact
- 16GB Dominator Platinum
- GTX Titan
Silverstone ST45SF-G V2Corsair SF600 Platinum PSU
Water cooling
- EK Supremacy EVO Acetal
- Watercool Heatkiller GPU-X3 Titan LT with EK FC Titan backplate
- Alphacool UT60 360 primary radiator
Alphacool ST30 120XSPC TX120 secondary radiator- Alphacool DDC310 pump with
Aquacomputercustom-designed DDC top - Aquacomputer Aqualis ECO100 res
- EK 12mm hardline compression fittings
Fans
- 3x Corsair ML120 White LED
- 1x Noctua NF A12x15 Black
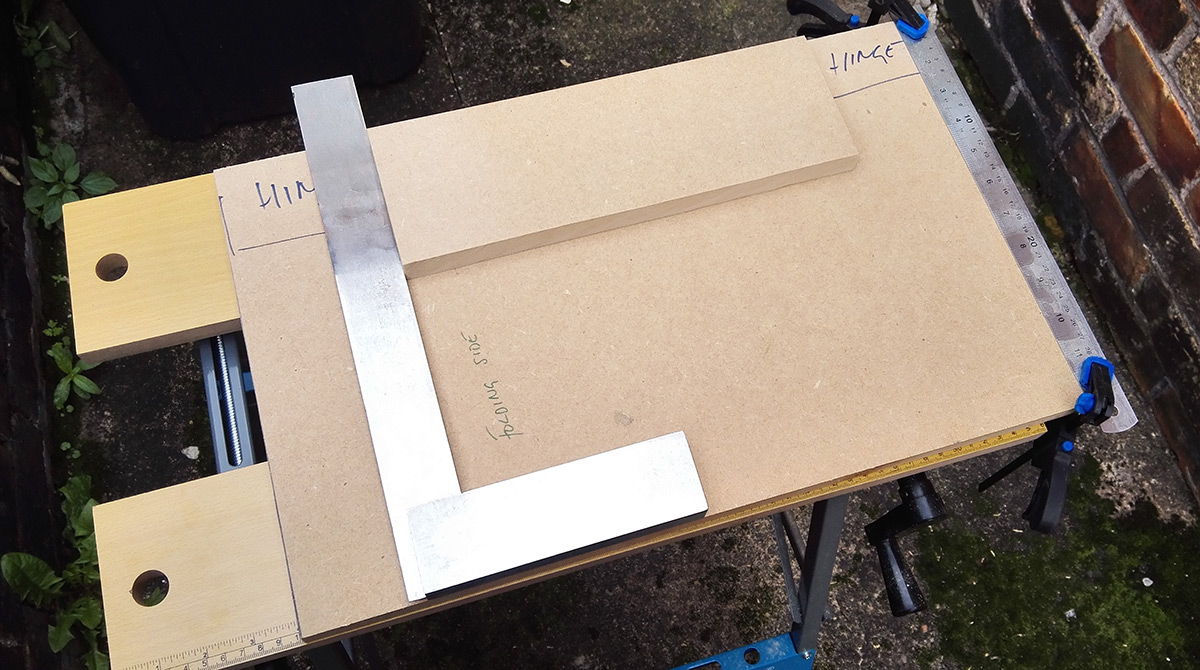
Since this has been in the planning stages for over a year, there's no starting pics of the case I'm afraid since it's all in bits for measuring!
Where I can though I do intend to give some stock shots of components before they're modded. Right now though I only have my phone camera available, some cheap lights and a black bed sheet that refuses to have the creases ironed out of it, so don't expect miracles in the photography department
Thanks for looking, progress will be updated as it comes.
Last edited:


")