You are using an out of date browser. It may not display this or other websites correctly.
You should upgrade or use an alternative browser.
You should upgrade or use an alternative browser.
[Intel NUC] The microprocessor
- Thread starter Ace_finland
- Start date
More options
Thread starter's posts- Joined
- 11 Dec 2012
- Posts
- 90
keep up the good work - completely agree with the decision on the intel logo - old style, material and insert.
Shows off your milling skills and looks the business.
I think I'd have gone with bottom right and say 10-20% smaller.
The first image has it taking up ~25% of the length (now its more like 33%)
But I'm not really into text on builds, so very bias. (and over critical)
That said I'm really enjoying the build so keep the pic's and narrative coming.
Yeah, It got a bit big and i had it there cause of the competition it was entered in. When i didn't get picked i thought about removing it but it looked so empty without anything there.
so smart, cant wait to see it finished
Thx!
Back with another update.
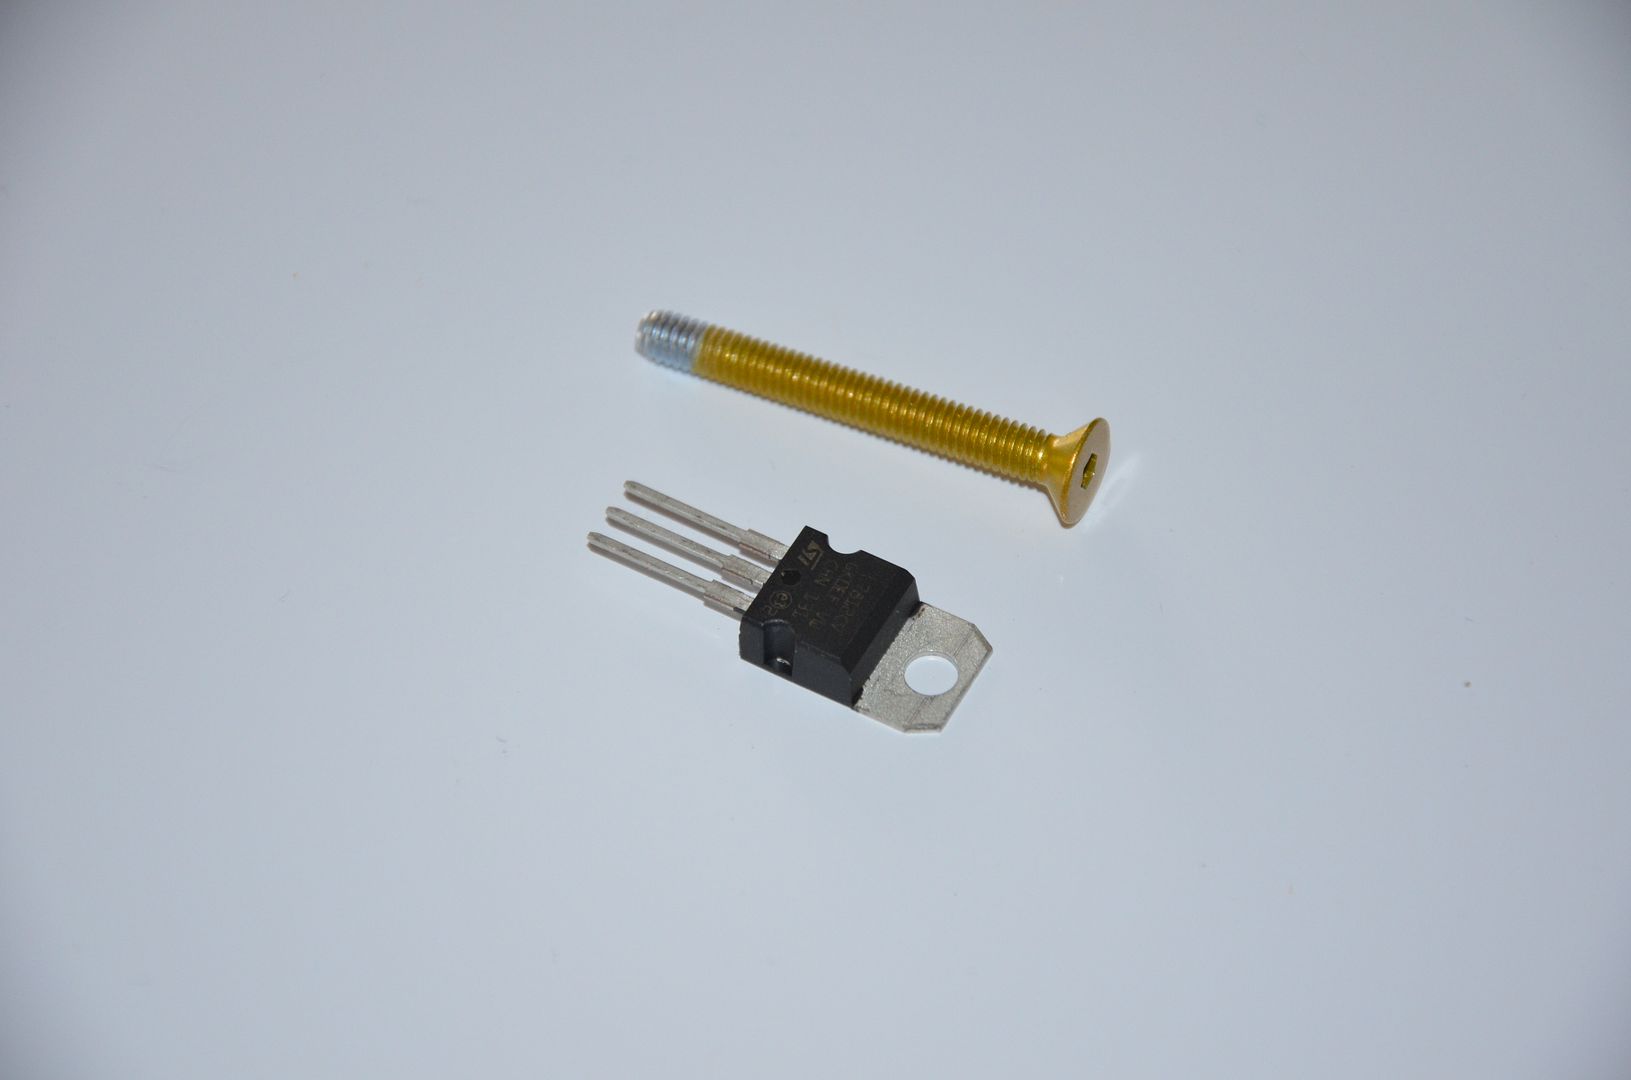
Was thinking for a while on how to power the leds for the case. From experience in the last mod i did i saw better light spread with more leds and less intensity so i've decided to put quite a few leds in it and using a fan controller to adjust the intensity/brightness of them. I've seen others using the internal USB header but they won't supply enough power and the last thing i want to do is fry something. After doing some measurements i found out that the internal and external power supply is linked together, meaning as soon as i plug in the external power supply there's a constant 19V dc. From here i will use an 7812 voltage regulator to get the voltage down to 12V which i will feed into the fan controller to be adjustable all the way down to 0V.
The 7812 Voltage controller. Now i realize this photo wasn't the best for scale

Was so into the electronics i forgot to take more photos. But here its all done, tried to do some sleeving on it but was quite tricky when everything is soldered together. And the legs are painted
 had to leave the last bit of the led connection un-sleeved so it would flex enough
The metal plate which has a bit of copper on it is the wireless antennas i took from the original nuc case, did not want to ruin them before i have tested that everything works
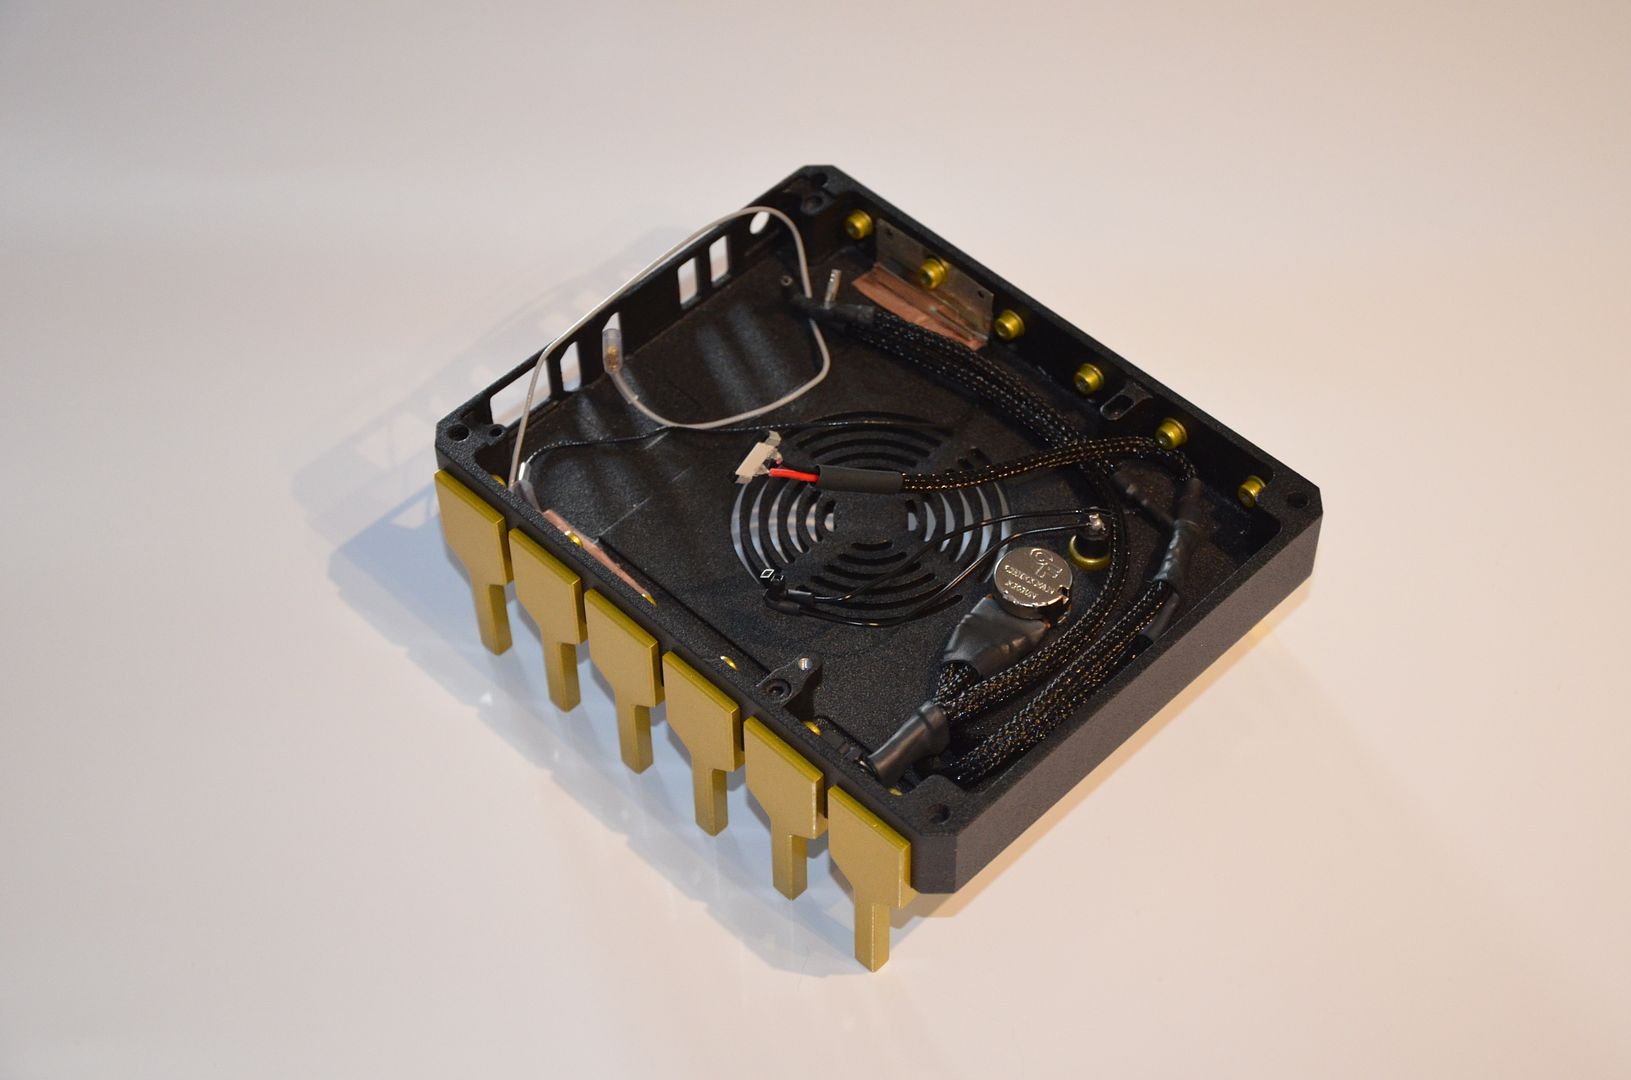
The nuc installed
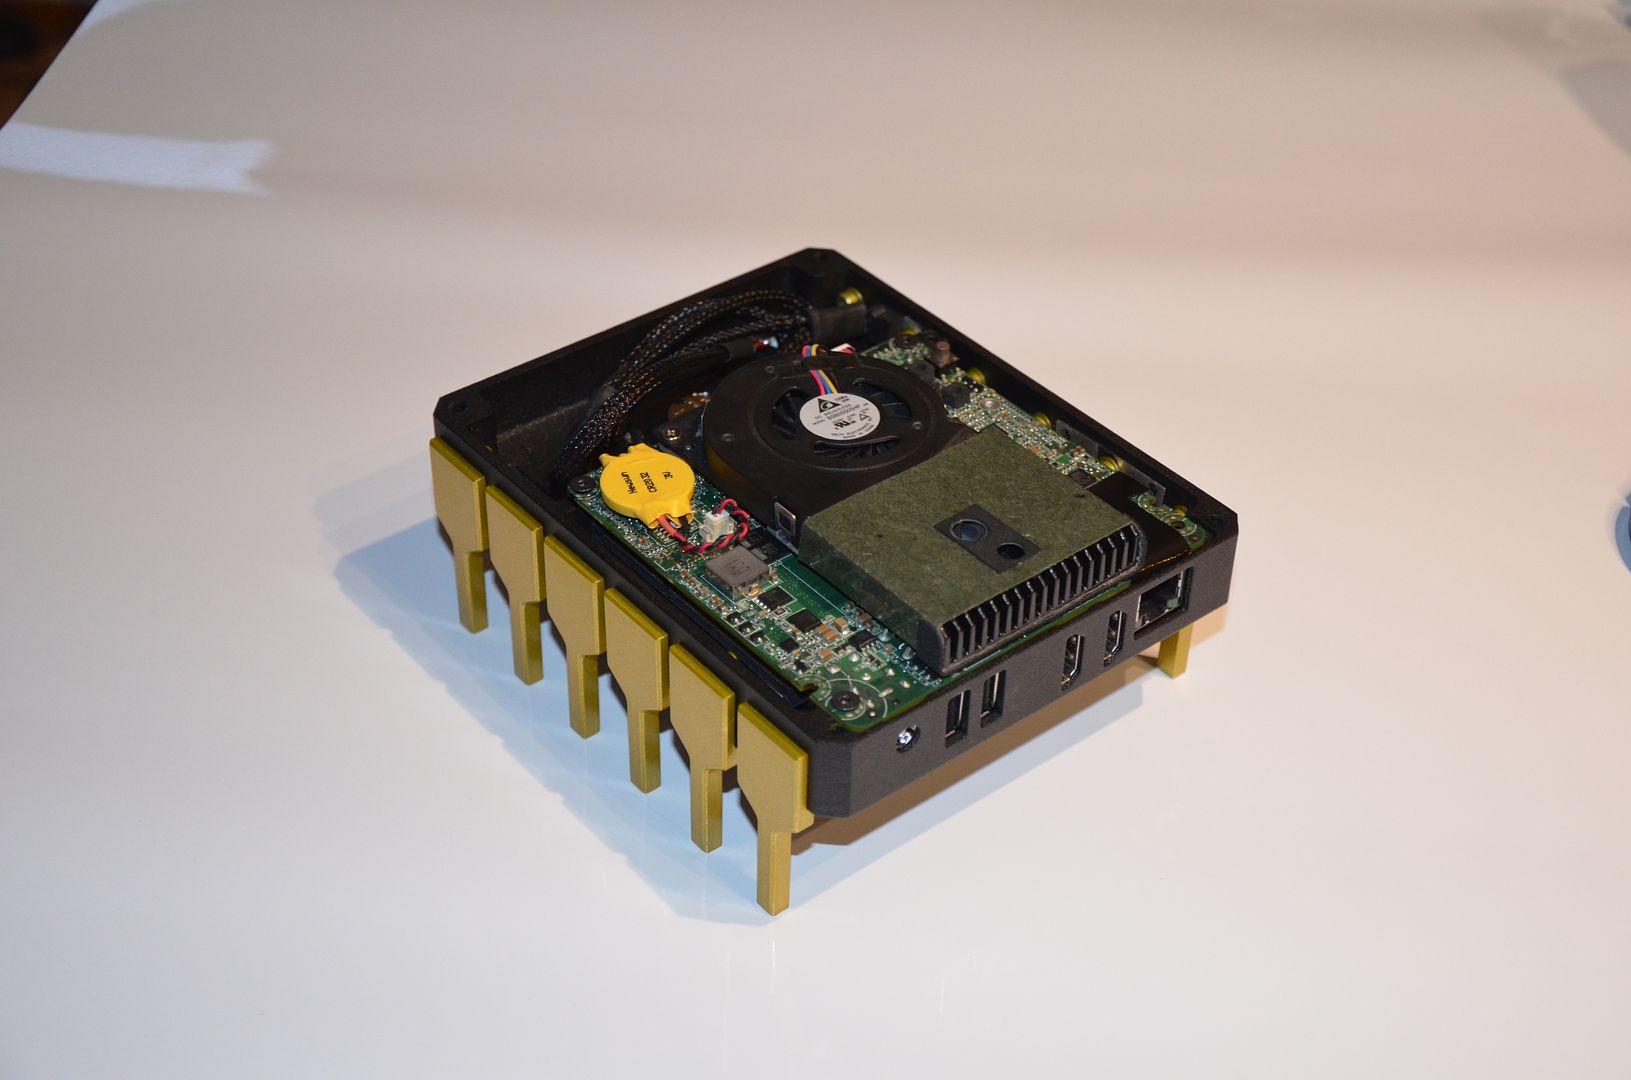
On the left side you can see the 7812 Voltage regulator and kinda get a size on it, its tiny!
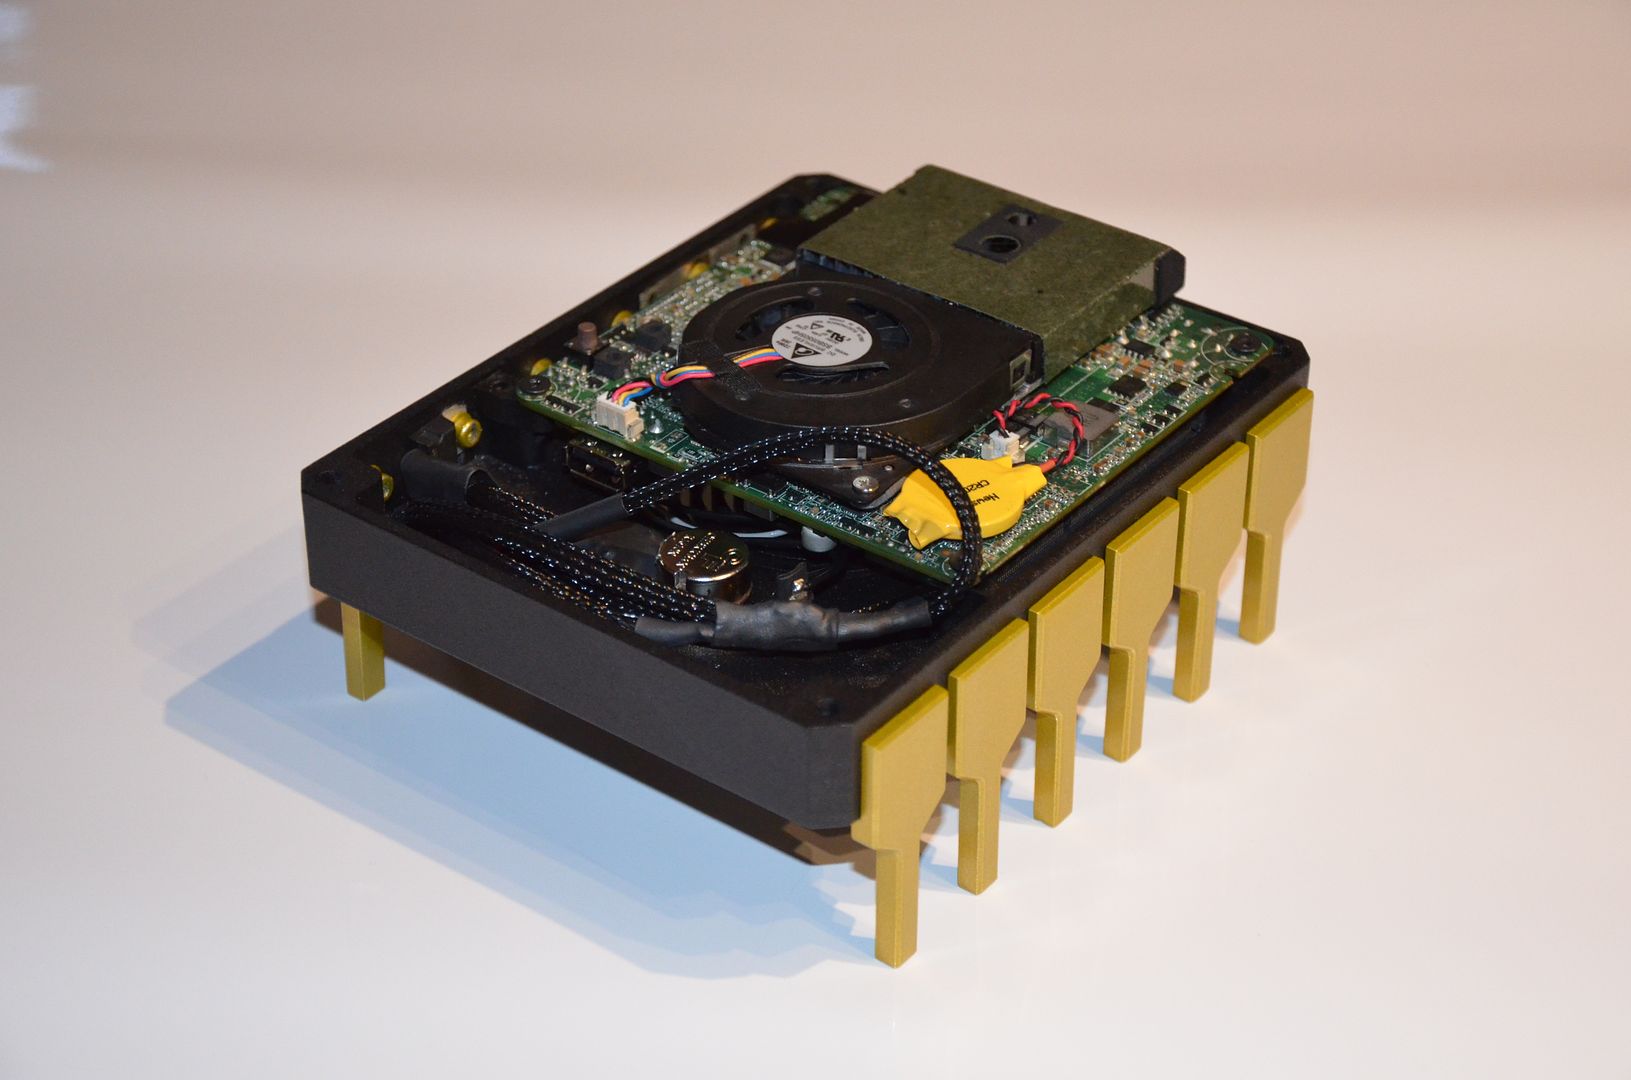
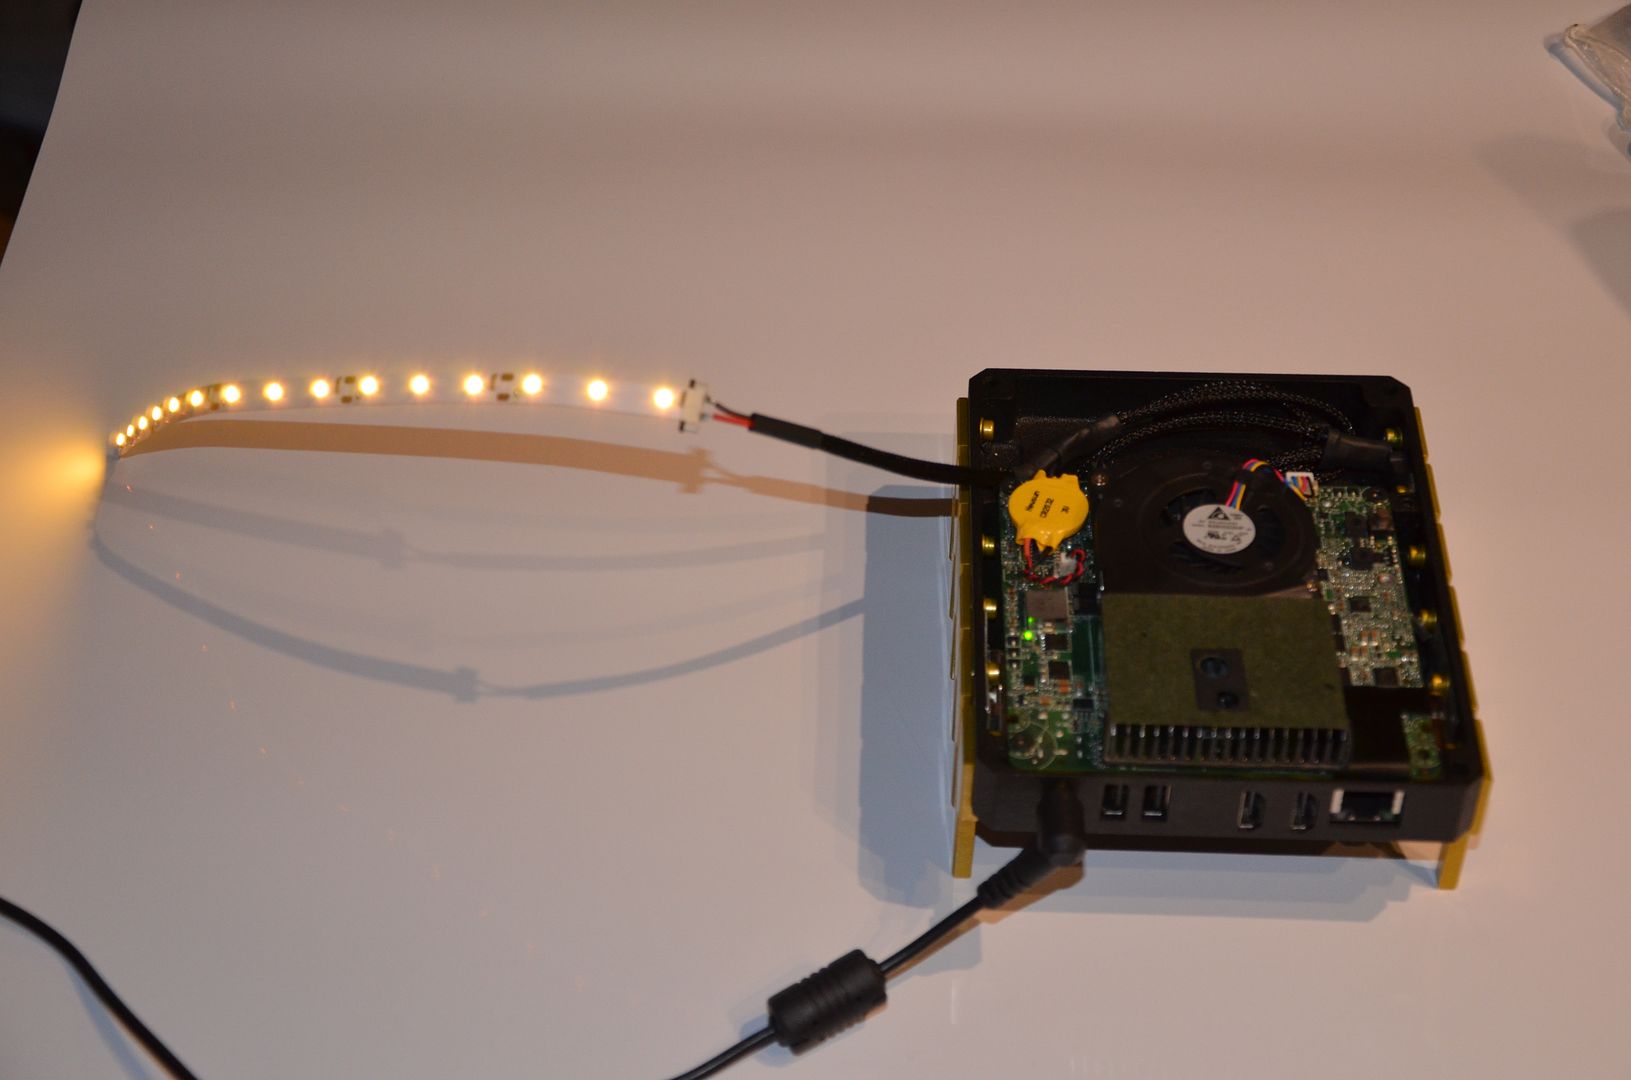
Plugged in but not powered on, testing that everything works, no smoke!
Added some leds to the lid, first thought was to glue them in the bottom of the case but seemed a lot easier to put them in the lid
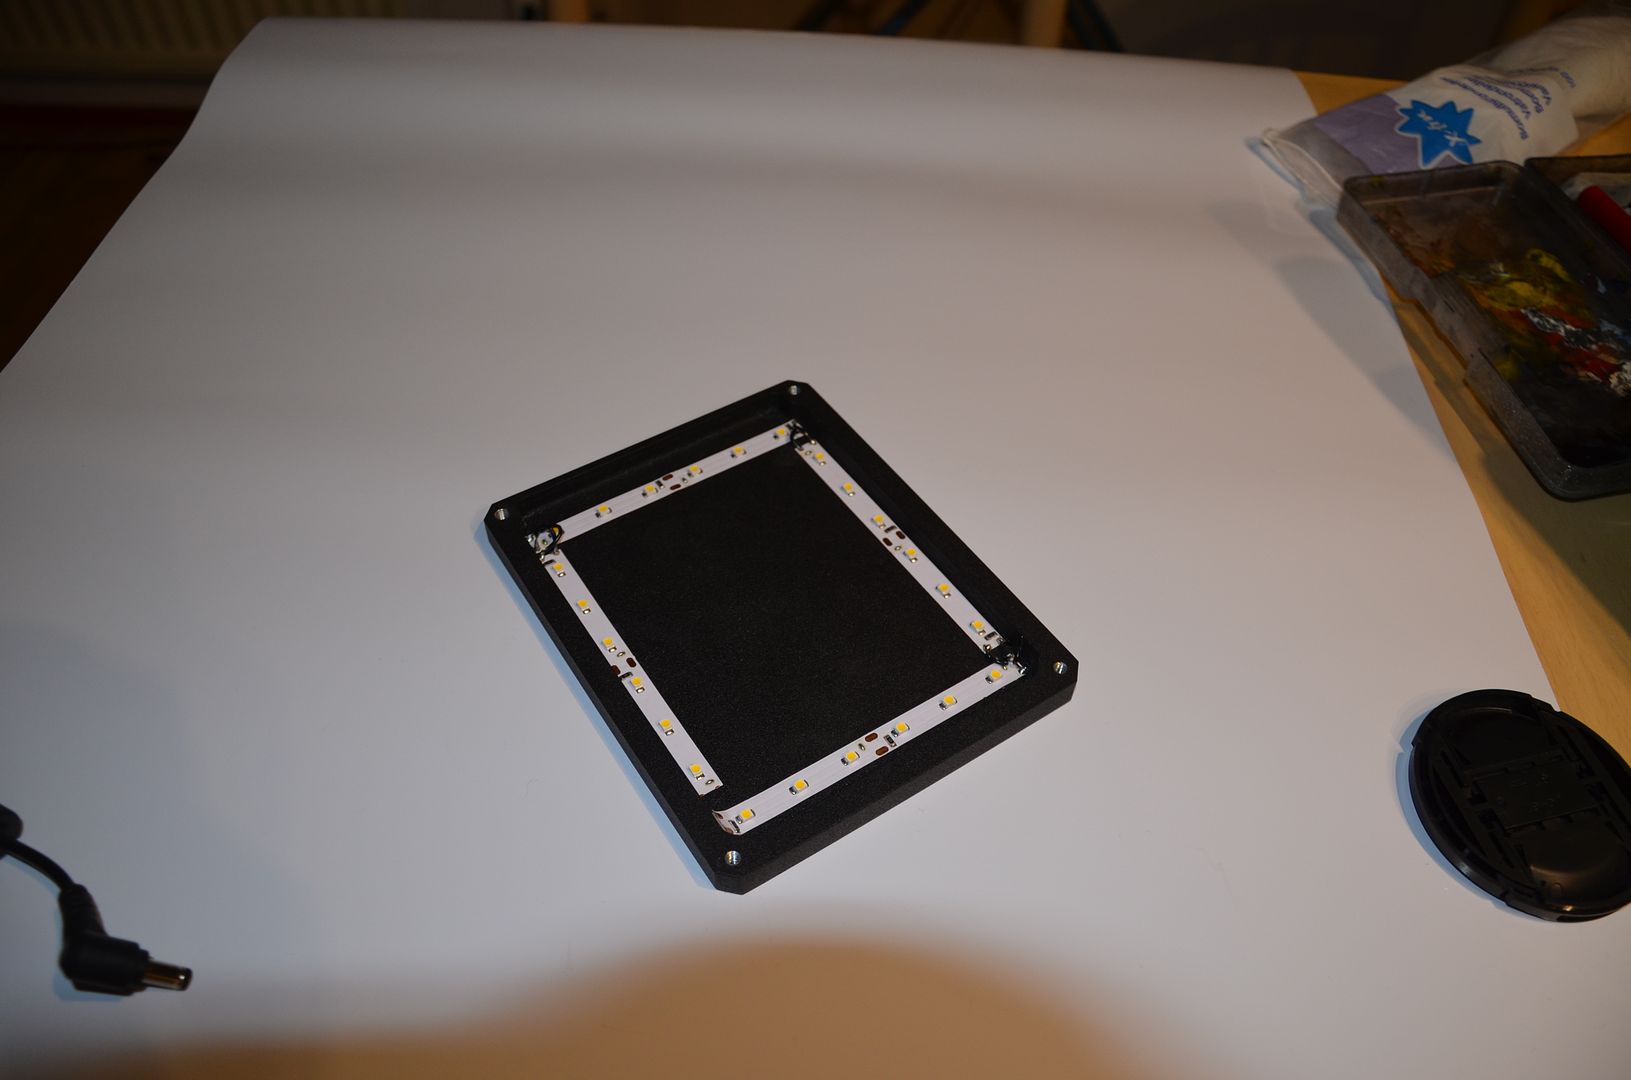
Soldering together all the strips
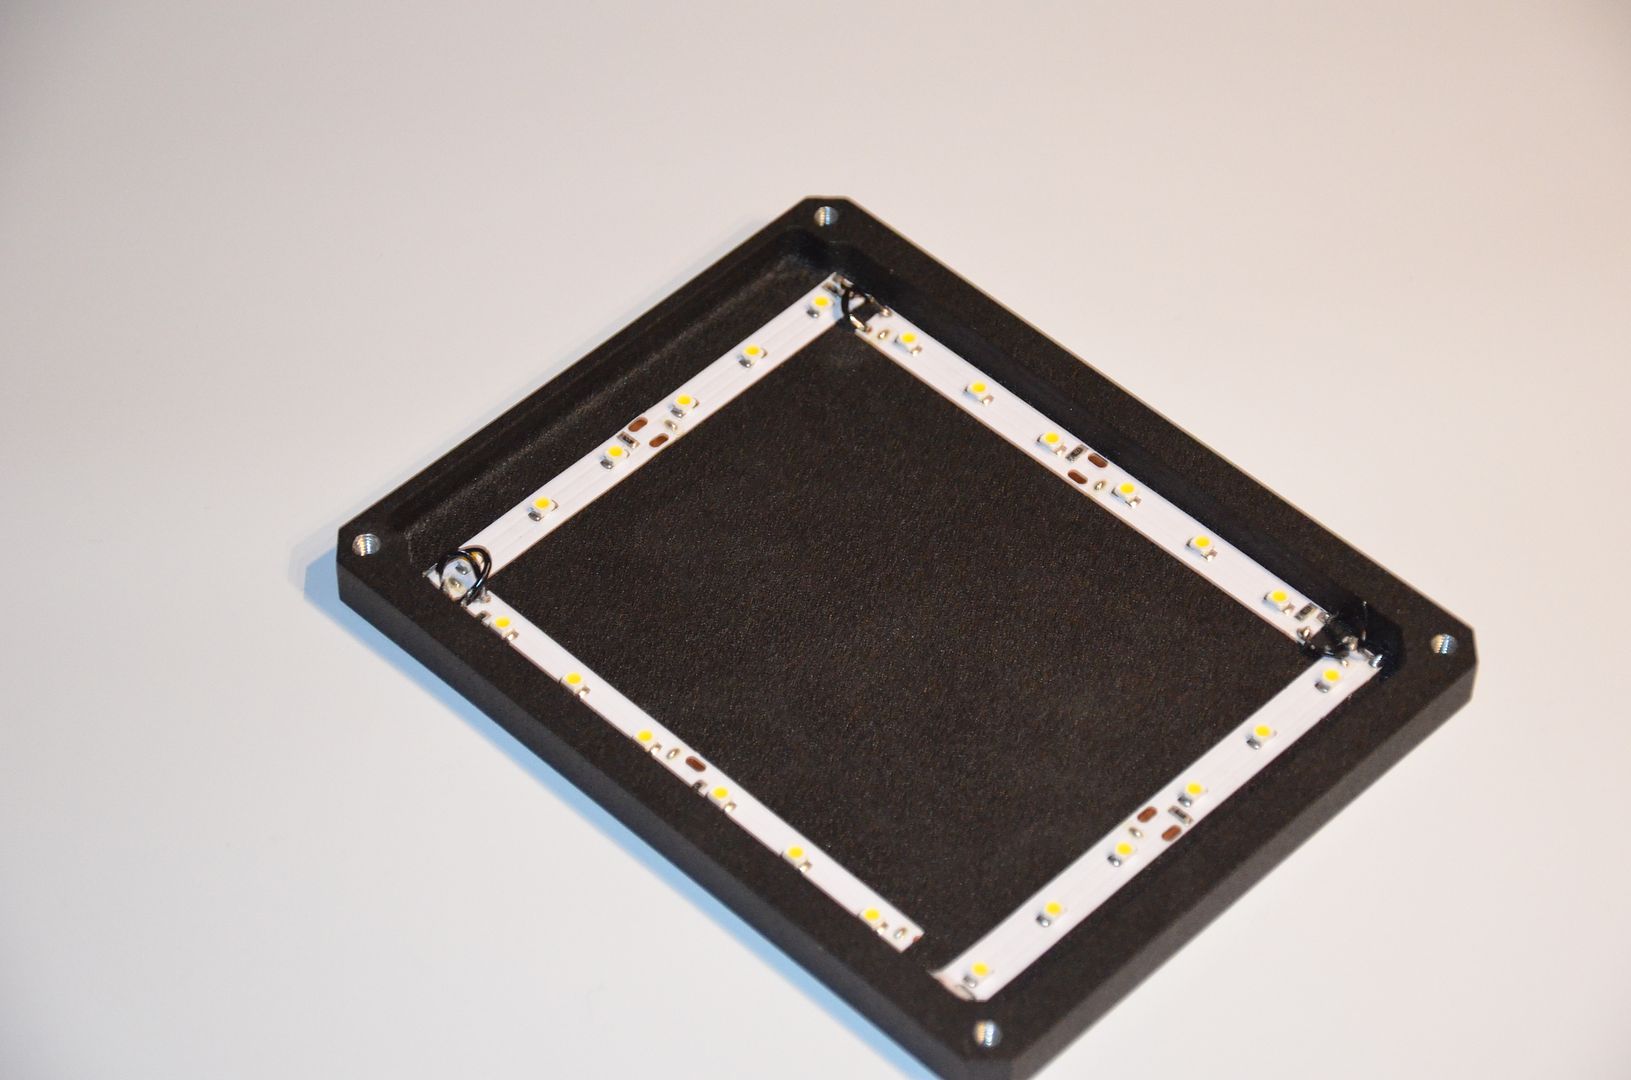
More coming soon!
Associate
- Joined
- 28 Feb 2013
- Posts
- 1,710
- Location
- Leeds
This is looking epic!, cant wait to see it finished 

- Joined
- 11 Dec 2012
- Posts
- 90
This is looking epic!, cant wait to see it finished
Thx! Hopefully tomorrow ill get aome final shots if i get the last bits done

Associate
- Joined
- 9 Jan 2013
- Posts
- 1,632
- Location
- Worthing, West Sussex
Nice build that mate..
Permabanned
- Joined
- 9 Aug 2008
- Posts
- 35,717
oh my gosh. 5* design!
Incredible effort  You must be exceptionally proud of having built that mill, and this is an amazing testament to your effort and skill.
The NUC itself now looks like the worst part, whilst your work looks like art... awesome
 You must be exceptionally proud of having built that mill, and this is an amazing testament to your effort and skill.
The NUC itself now looks like the worst part, whilst your work looks like art... awesome

- Joined
- 11 Dec 2012
- Posts
- 90
Thx for all the comments guys! It's a lot more fun to build when u get such nice comments like theese  I've been so busy at work i haven't even had time to reply
But.... Final update!
Was thinking a while how the easiest way to get a film on the acrylic, after some searching i found some transparent acetate film with an adhesive backing on ebay. Ordered a glossy version made for inkjets. Printed out to test it and it looked alright, but def not as glossy as i imagined. For some reason it would not stick well to the transparency film either. So fixing to problems at one go i decided to try and spray it with a clear coat and using sticky tape over the color. In the end the sticky tape had as even surface as the clear coat and no dust in it. So decided with sticky tape.
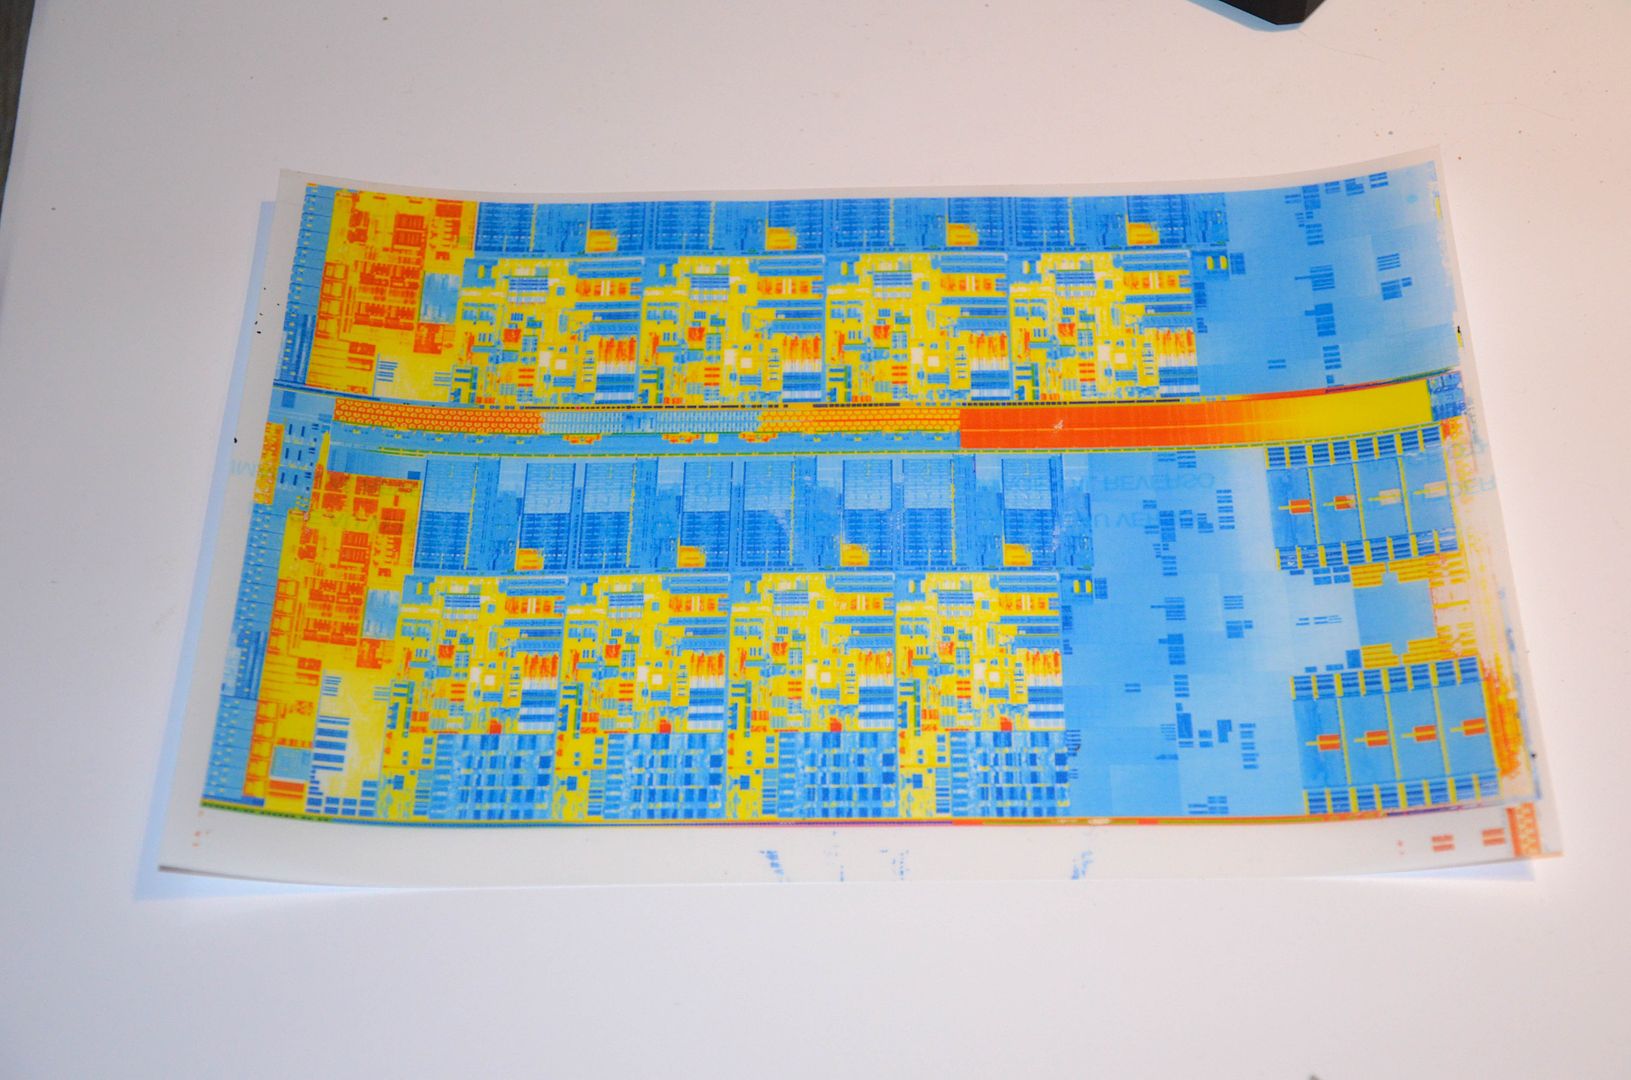
The result
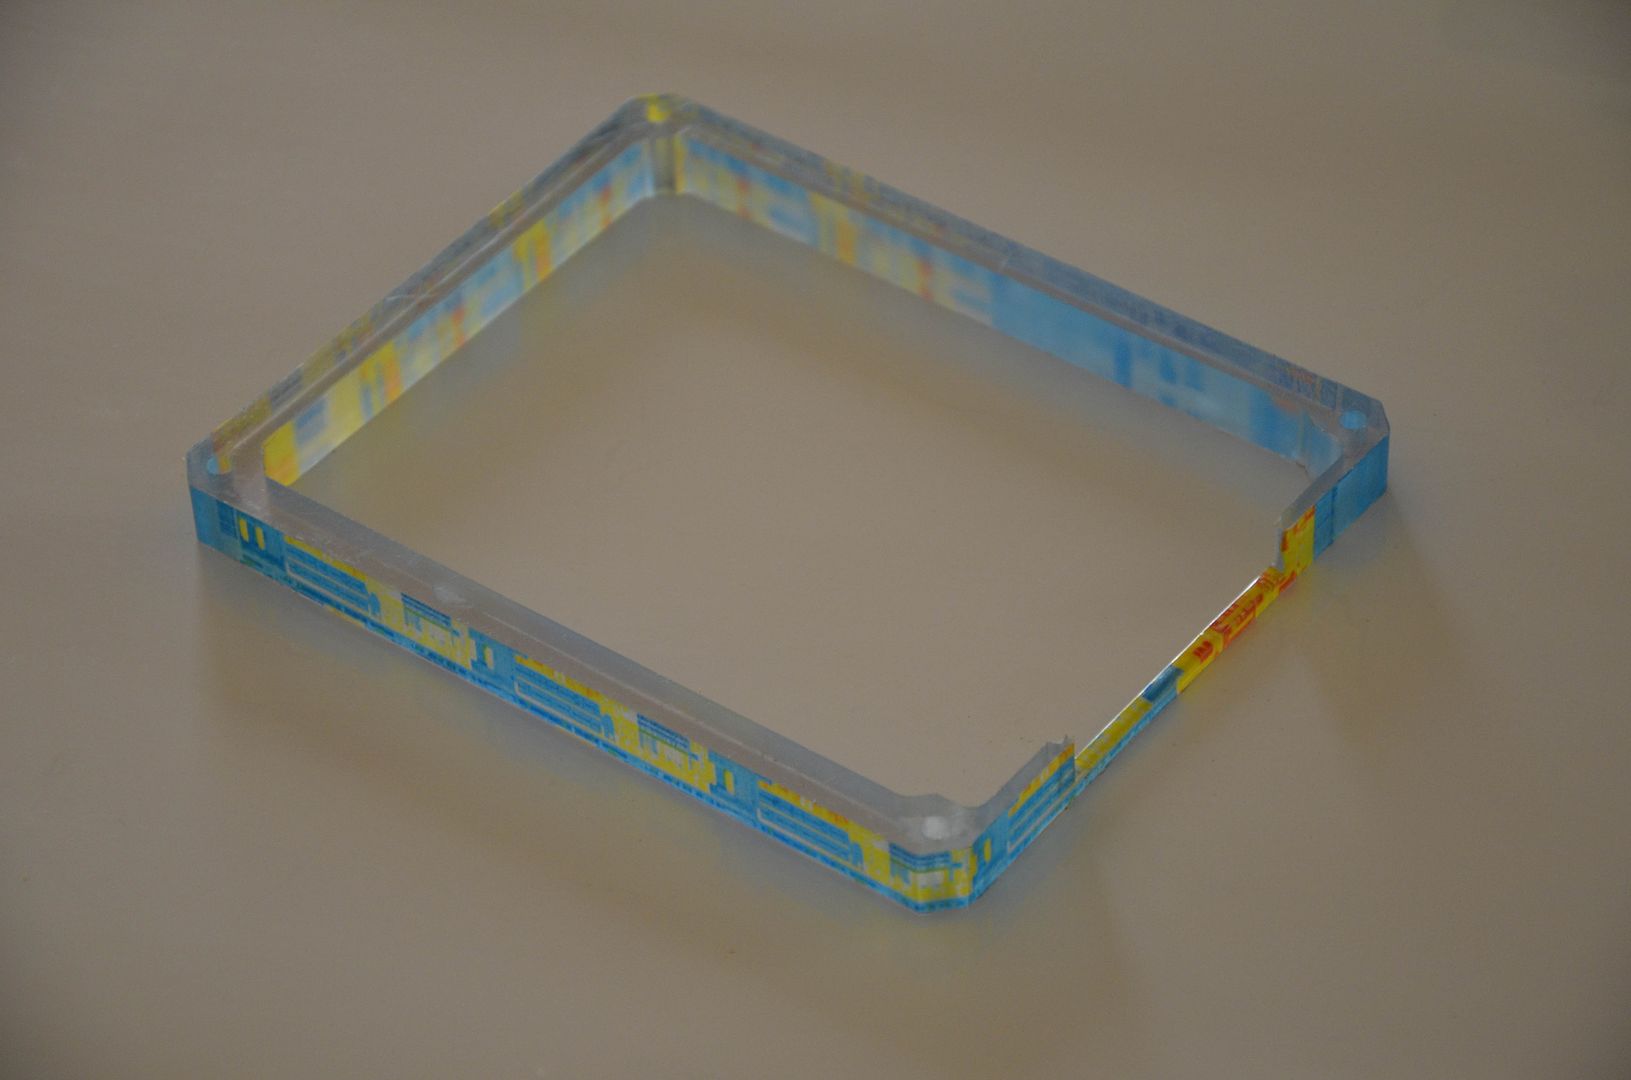
And now for some final pictures For some reason the acrylic ain't as glossy as real life but i can't use any other functions than auto on this camera
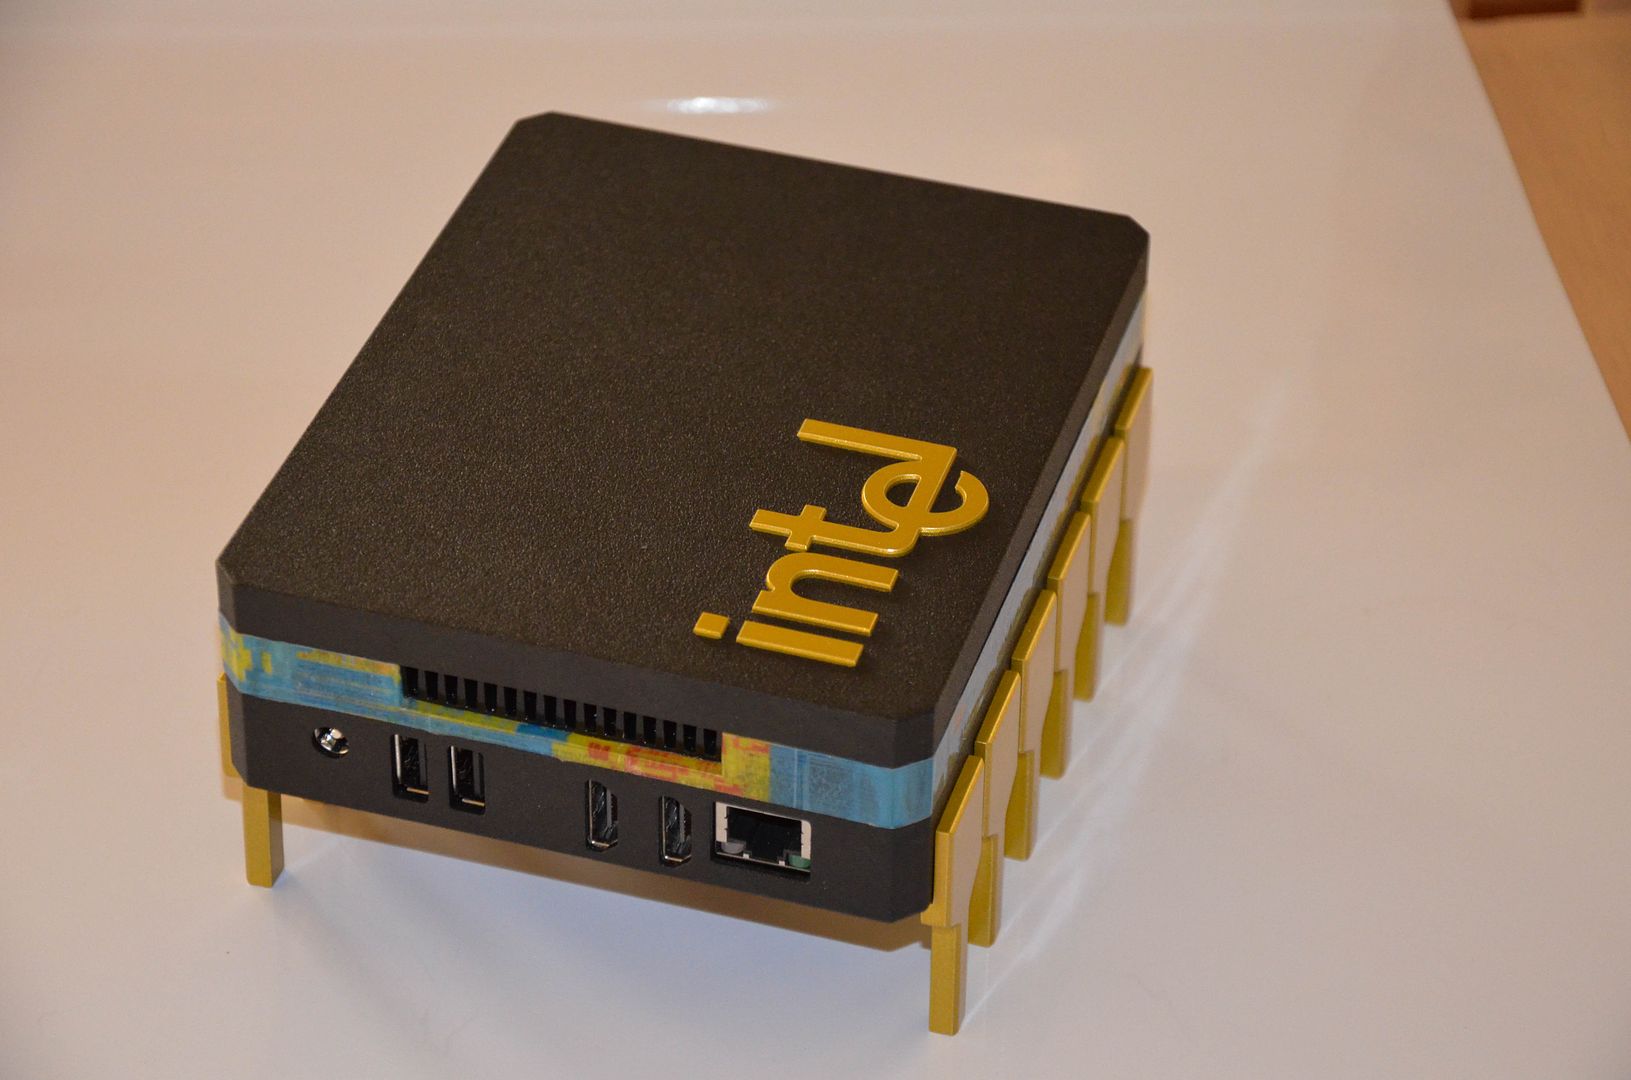
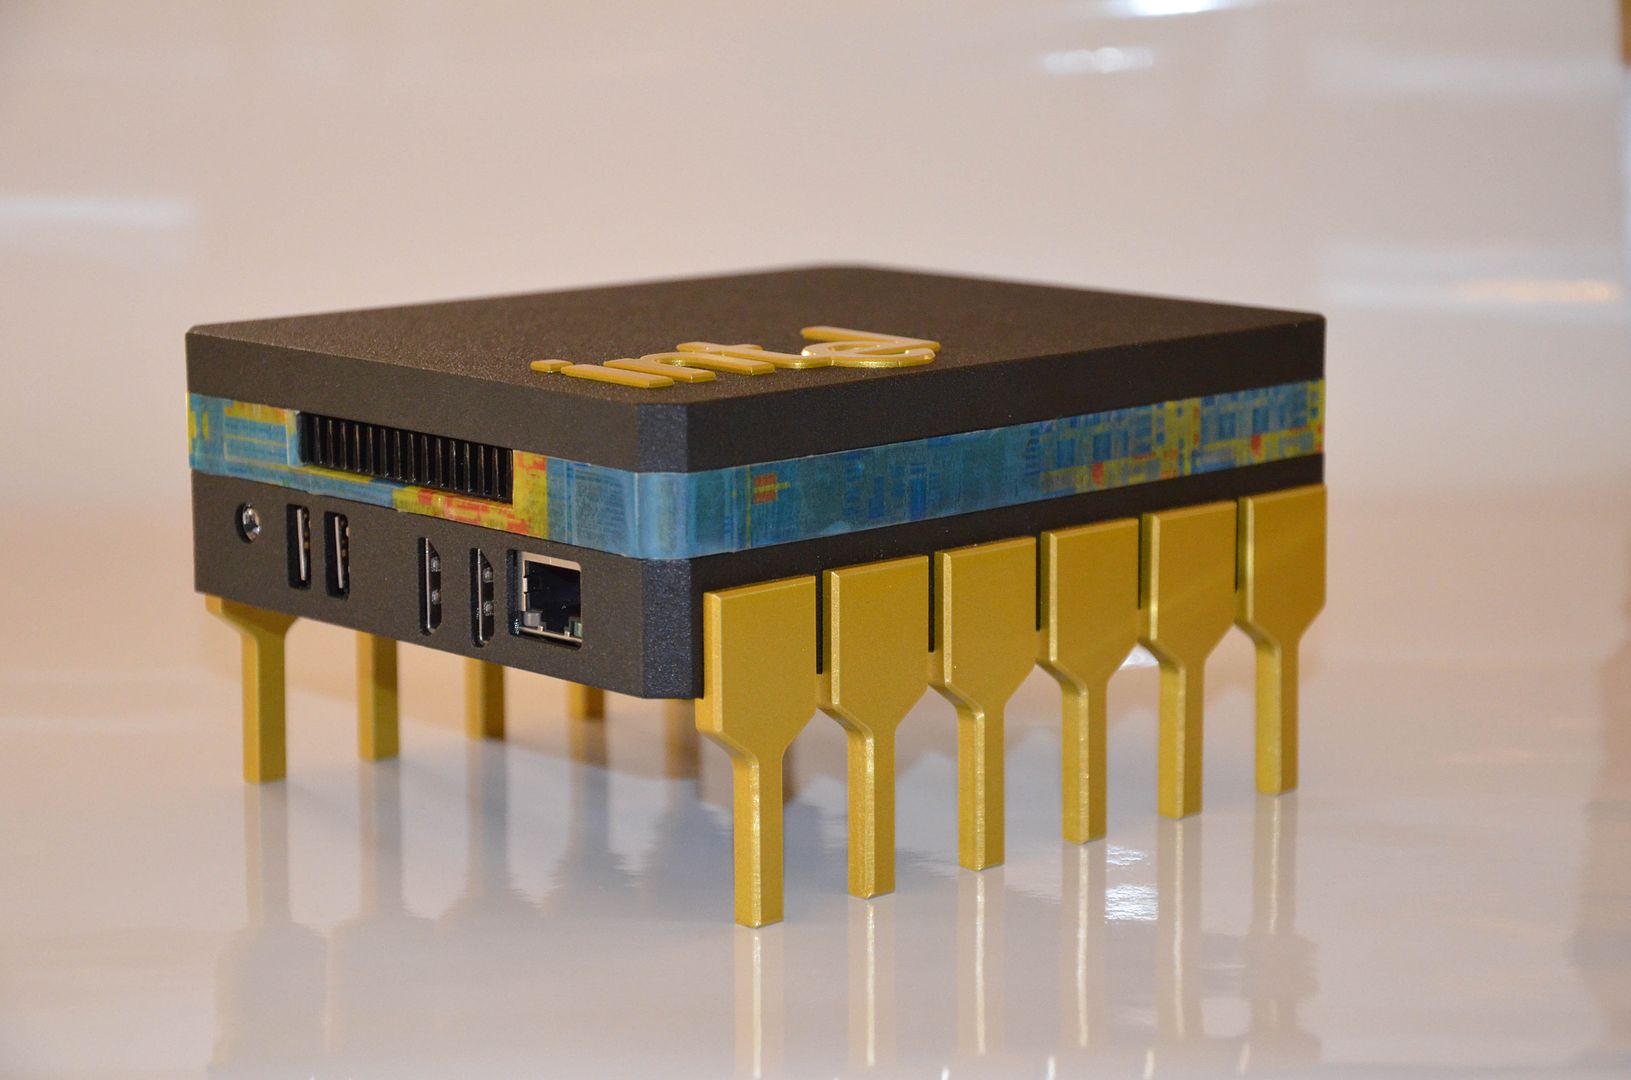
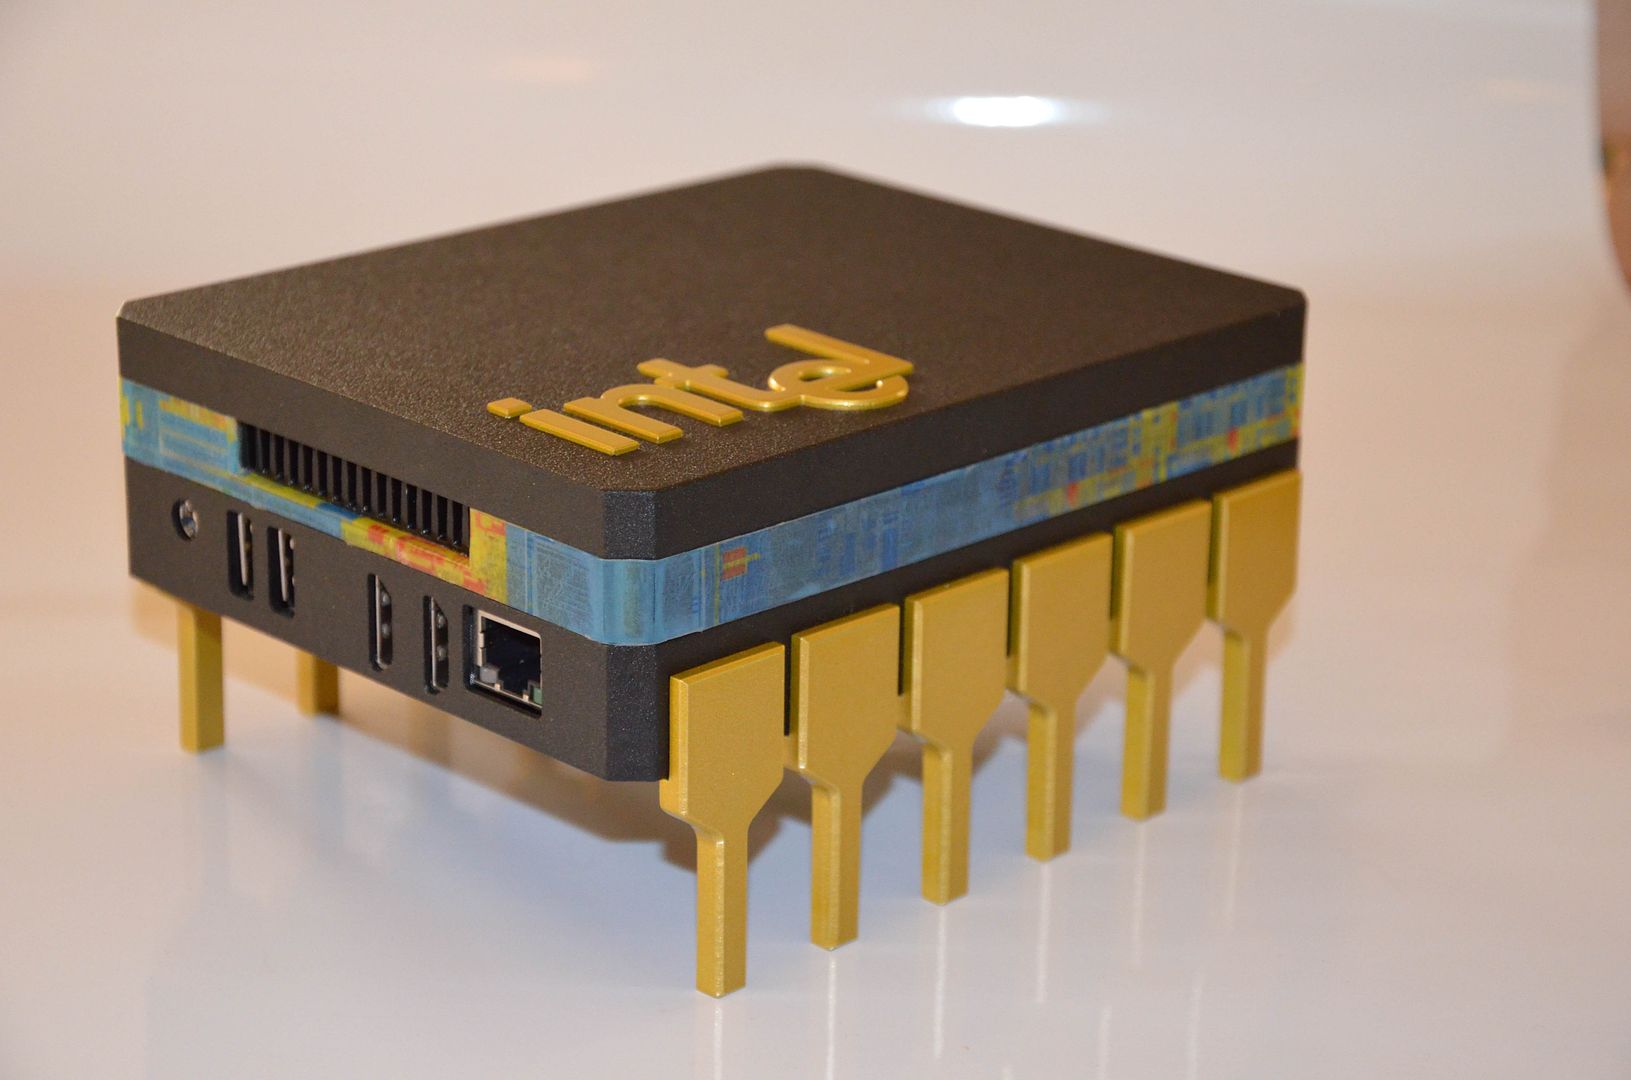
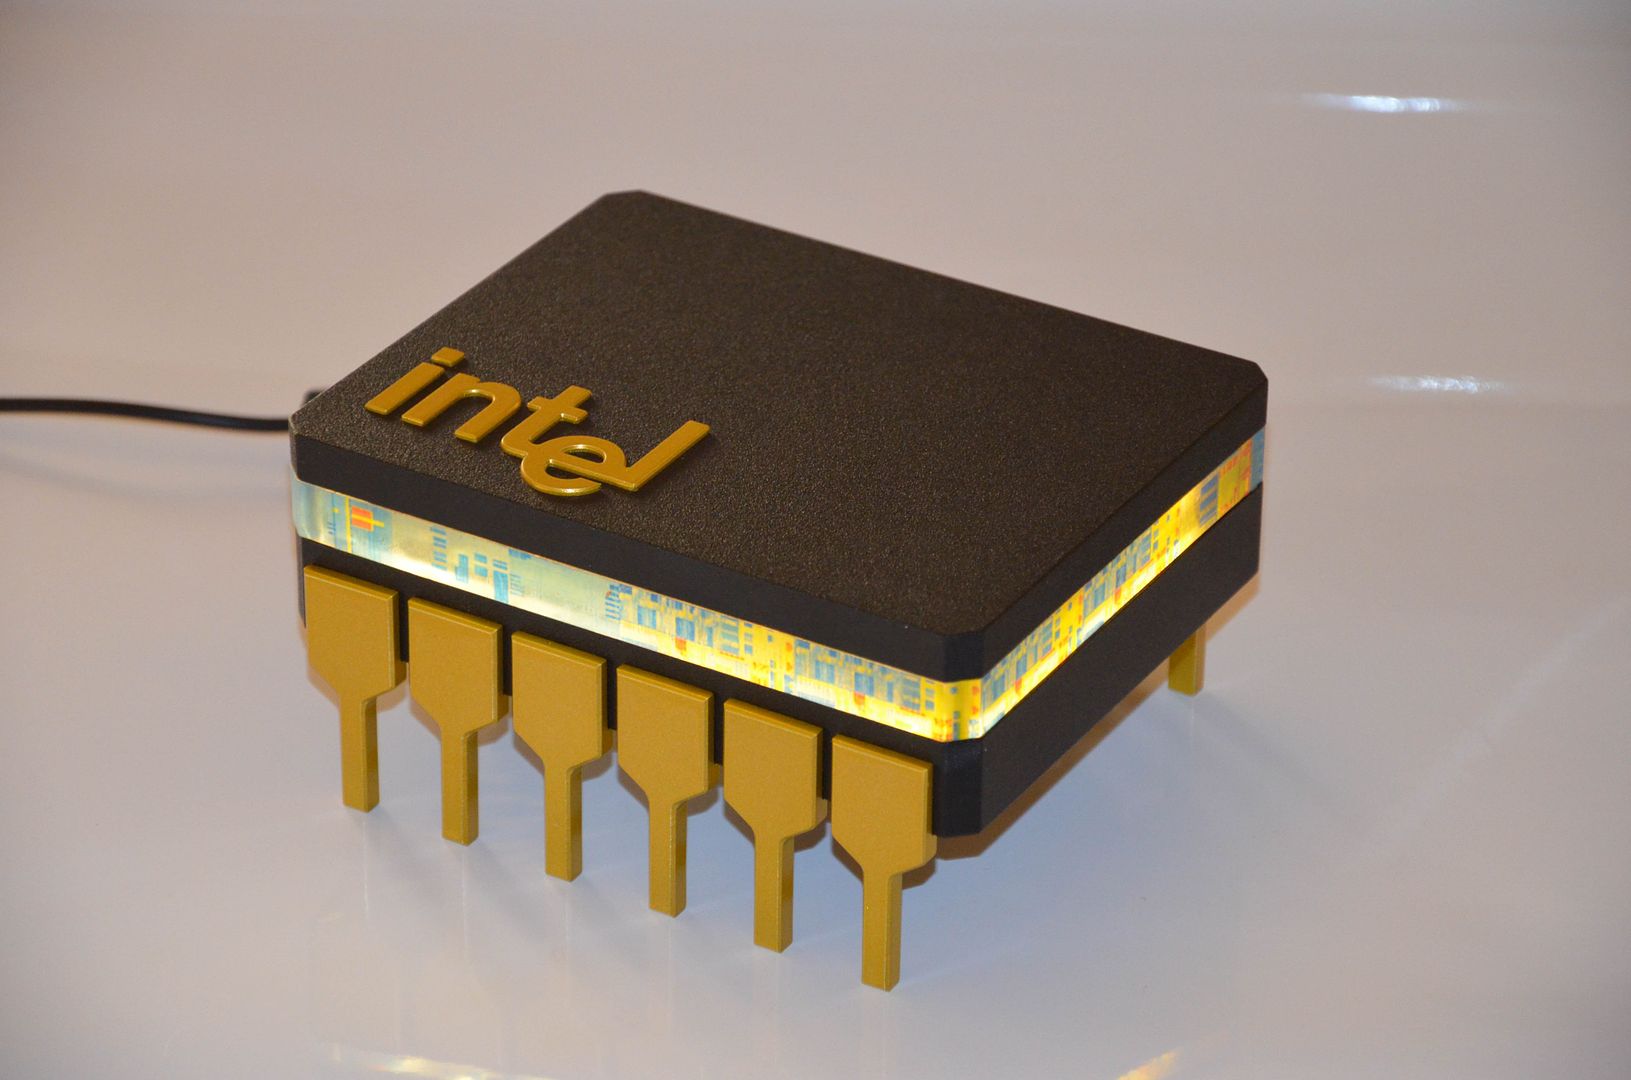
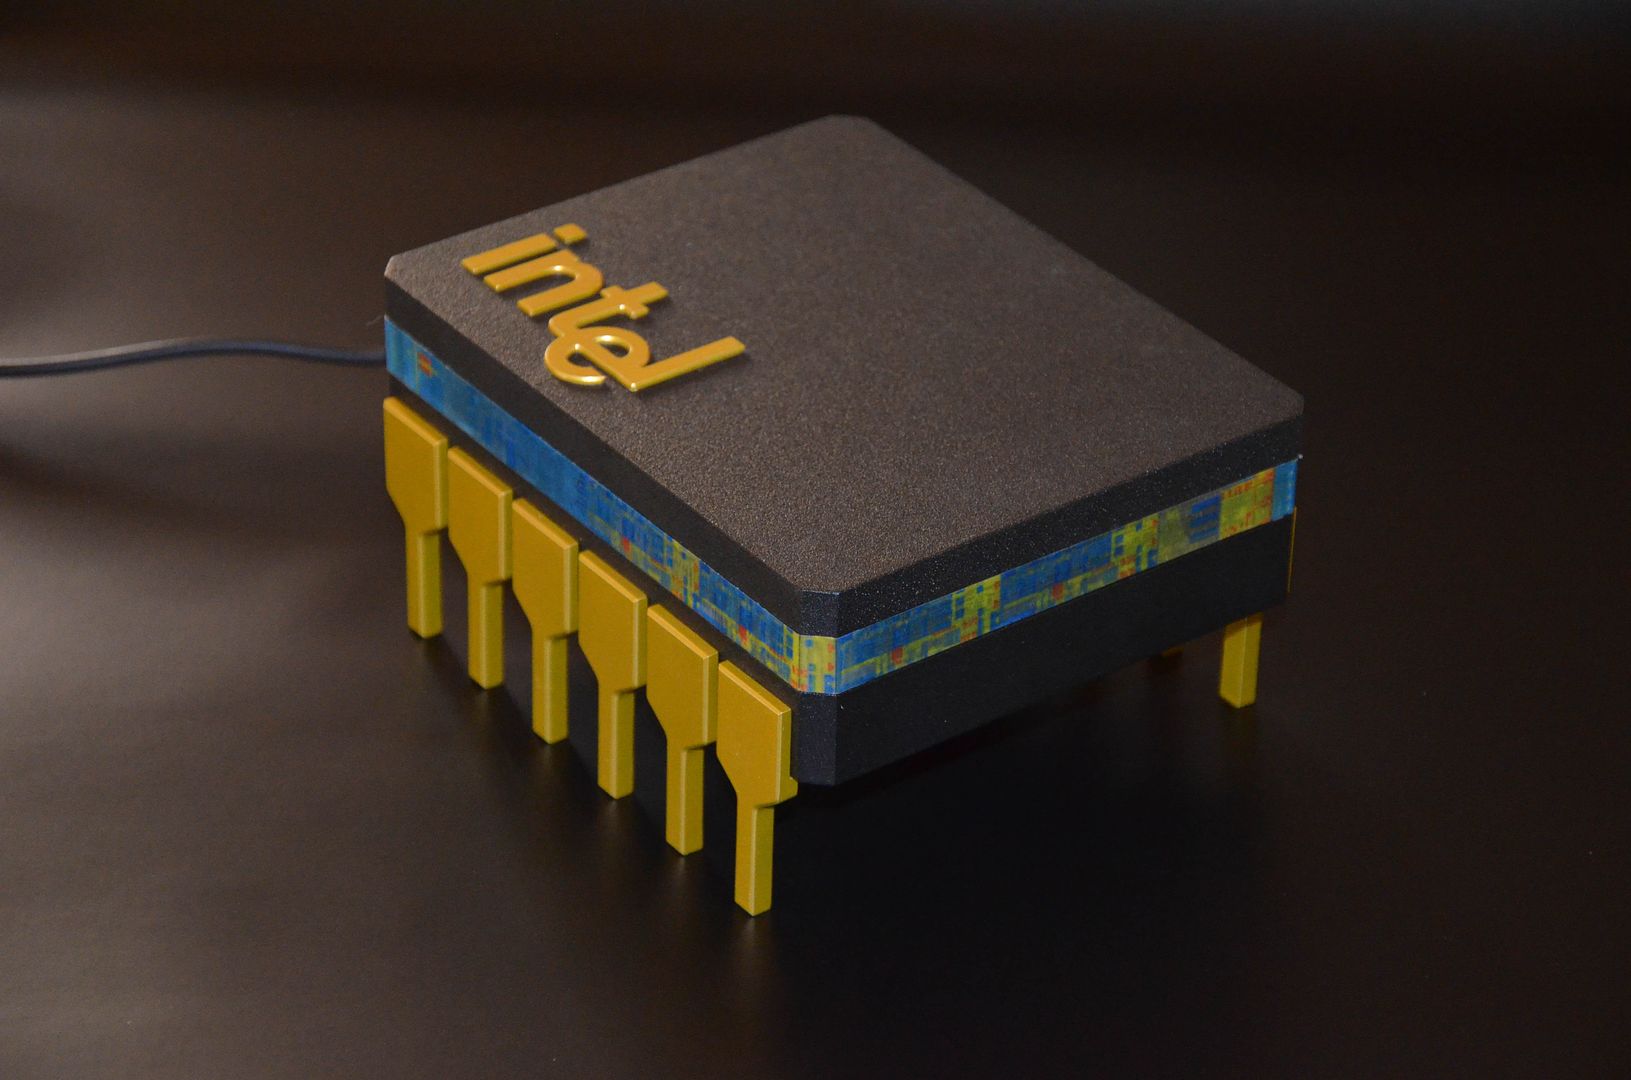
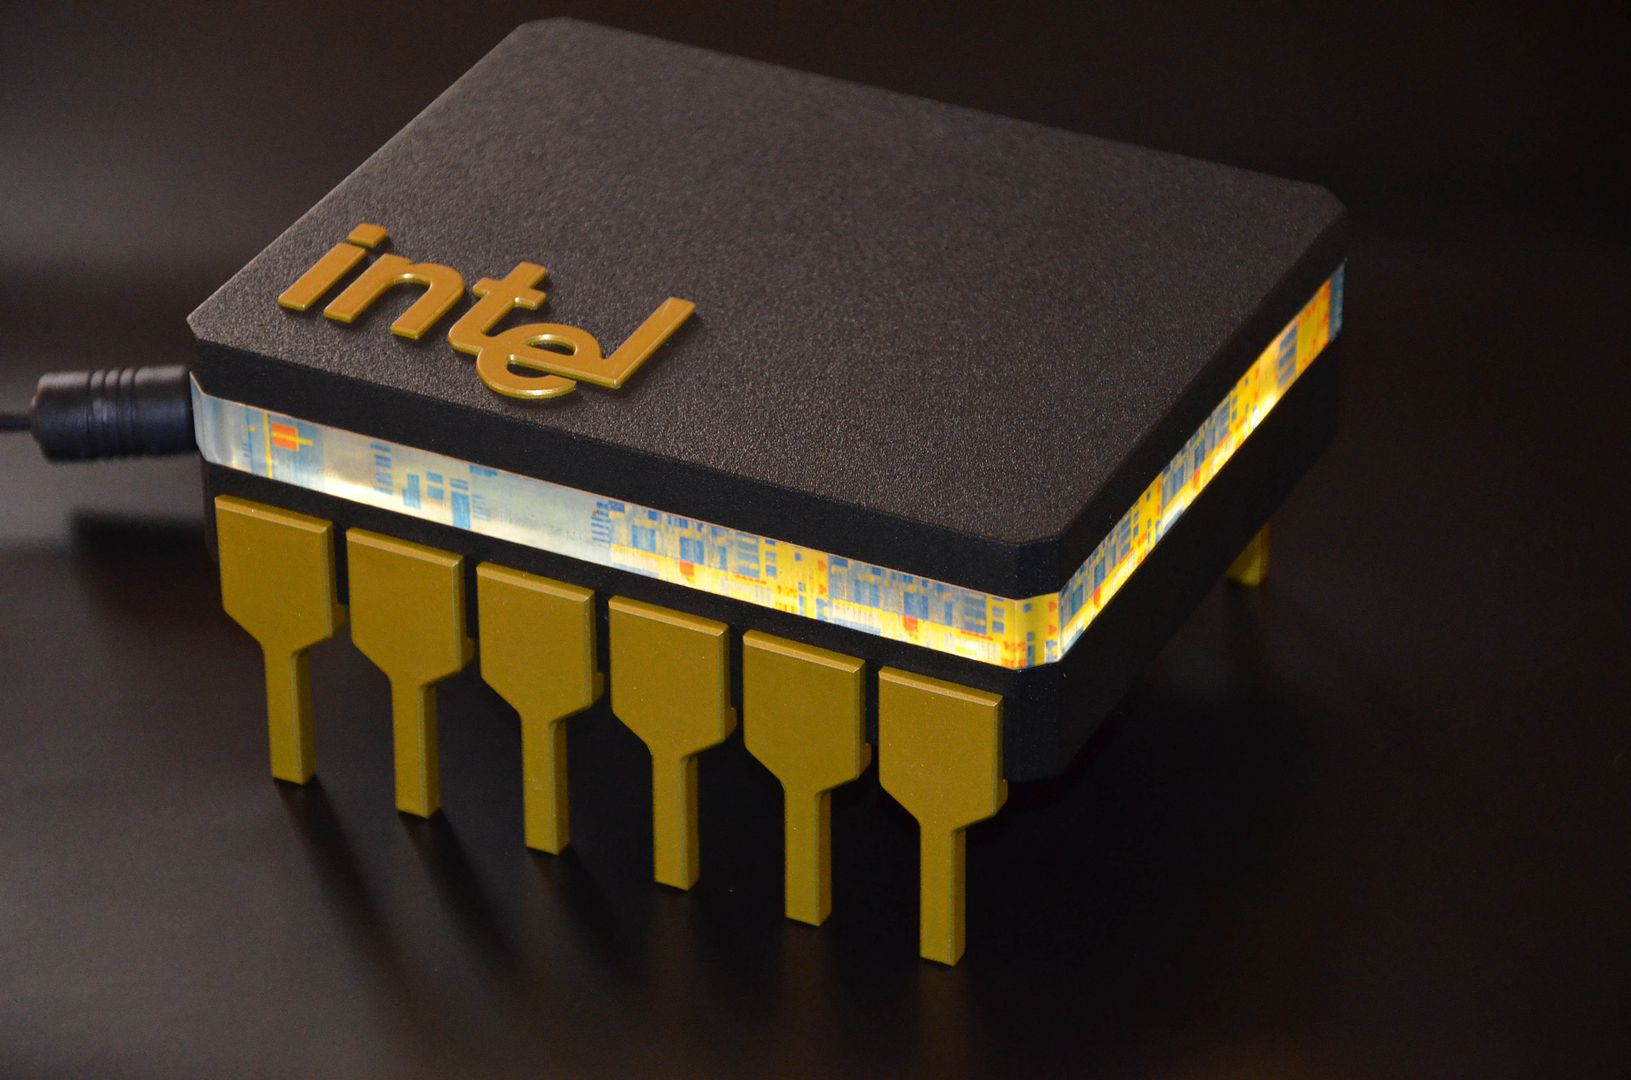
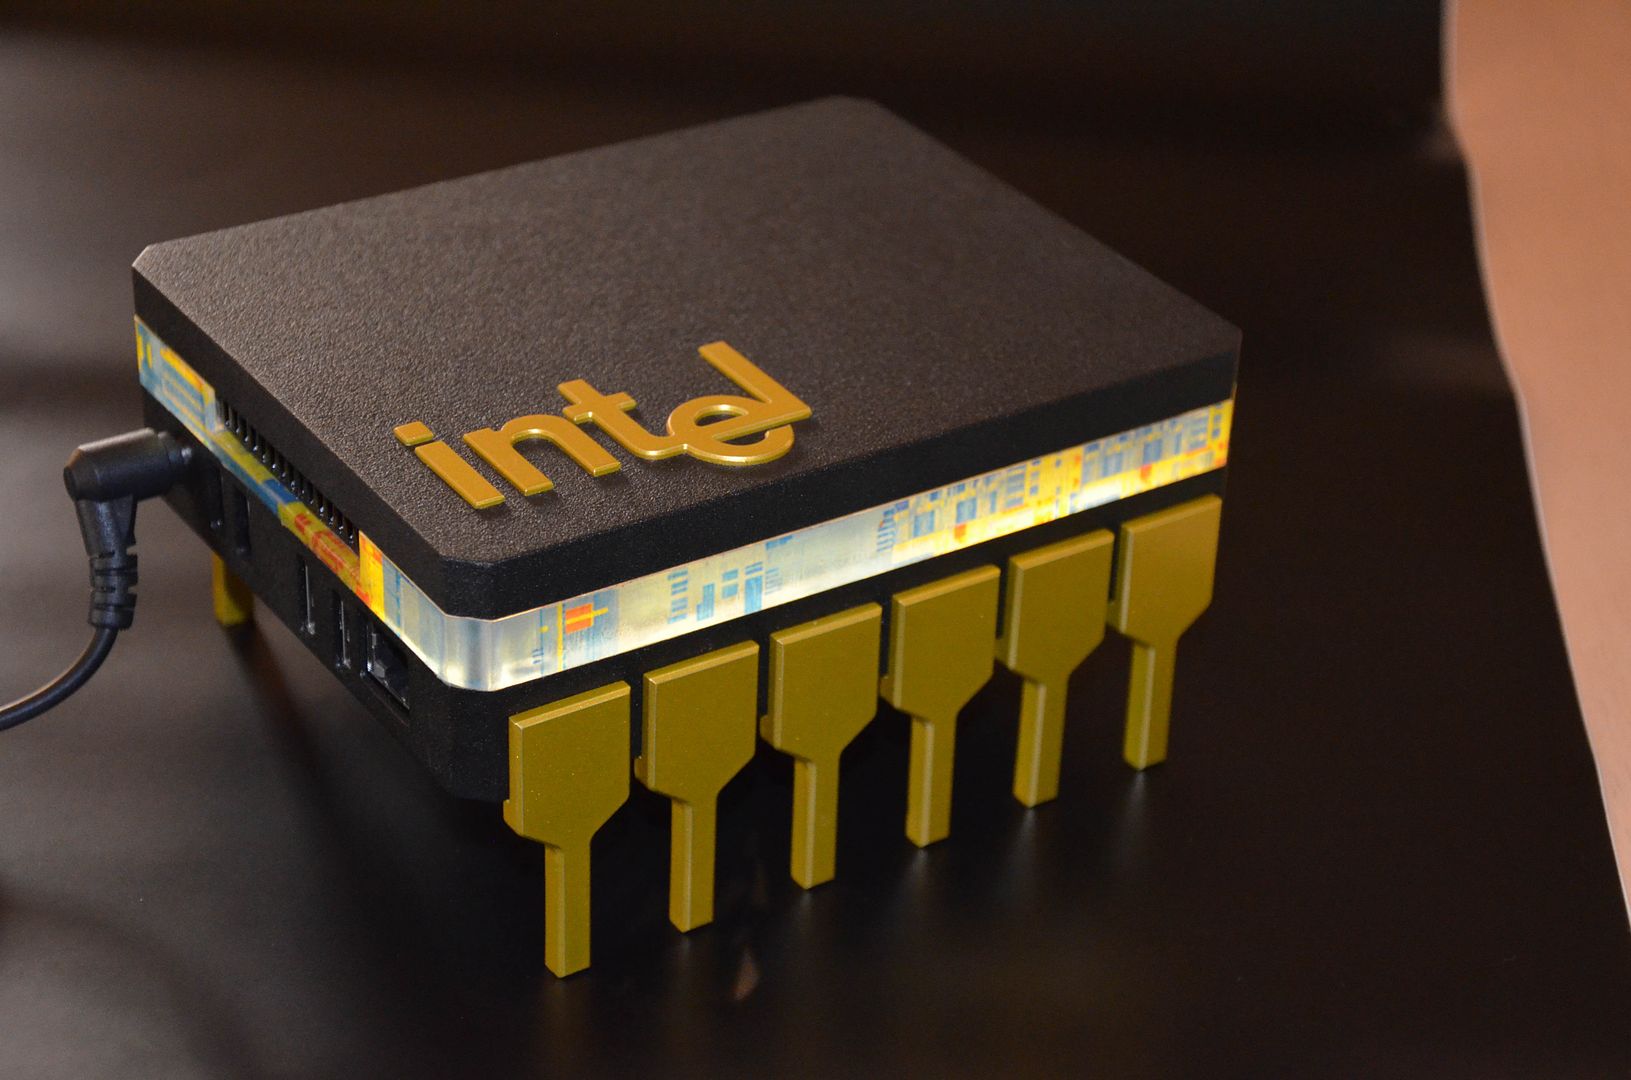
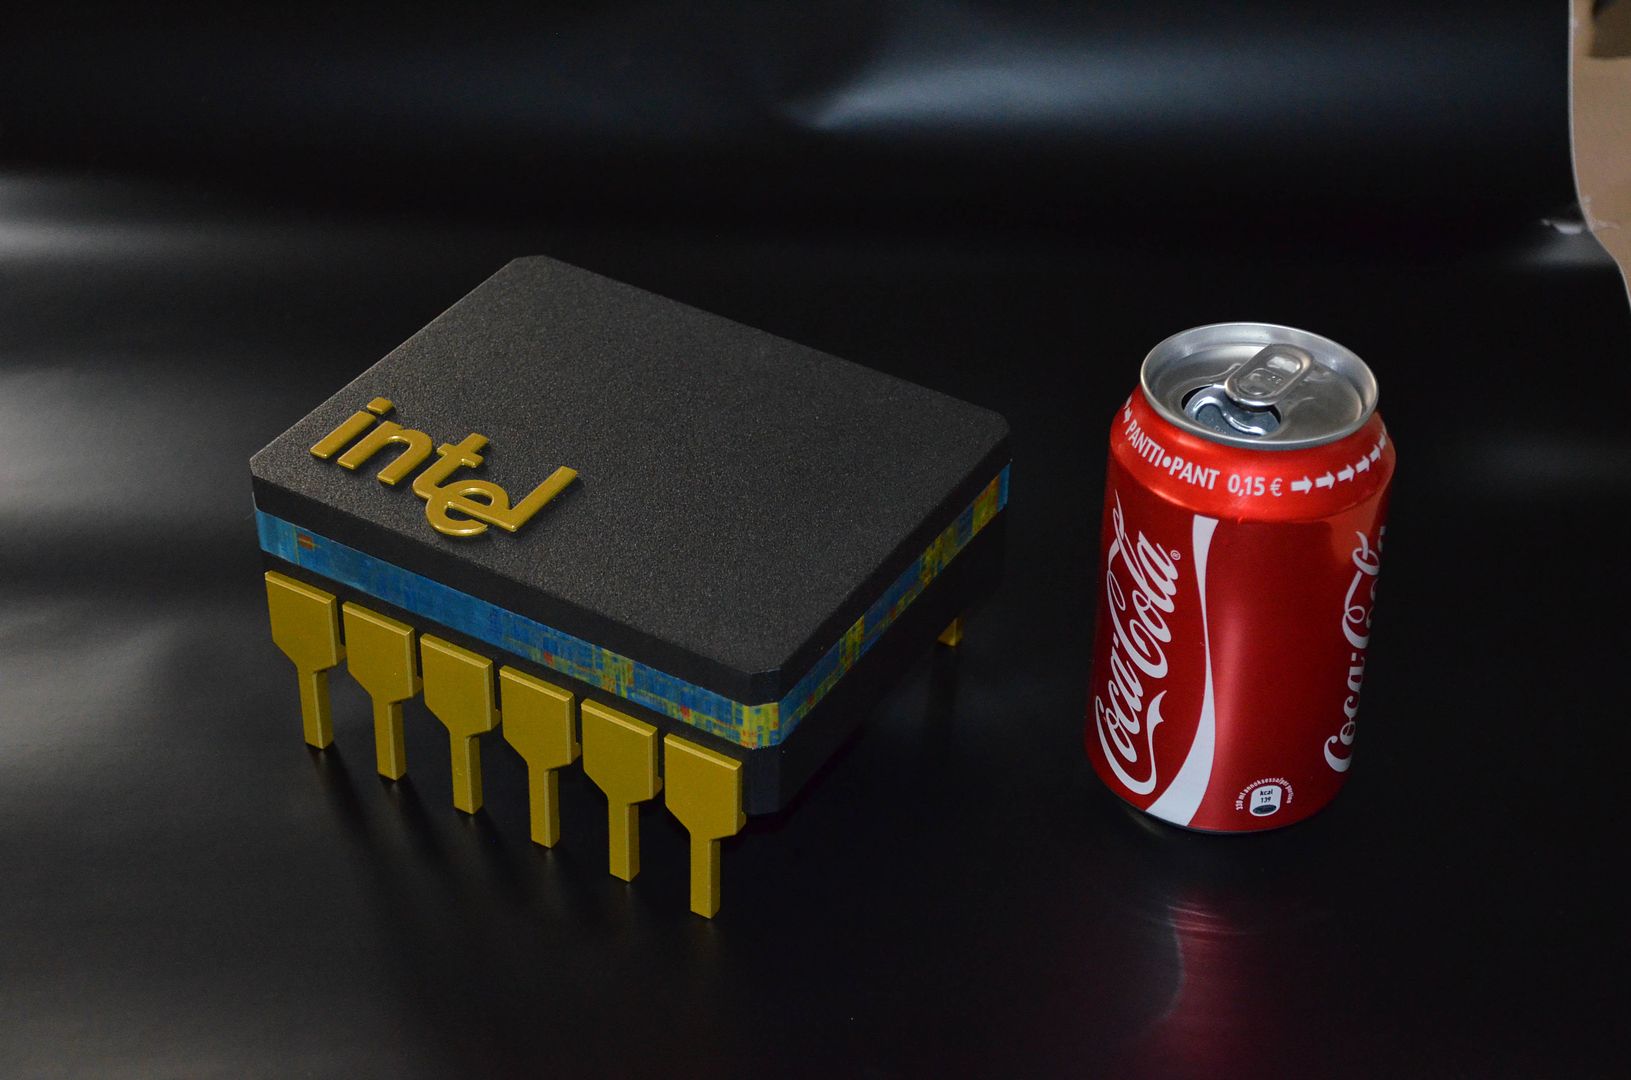
Hope you like it
 I've been so busy at work i haven't even had time to reply
But.... Final update!
Was thinking a while how the easiest way to get a film on the acrylic, after some searching i found some transparent acetate film with an adhesive backing on ebay. Ordered a glossy version made for inkjets. Printed out to test it and it looked alright, but def not as glossy as i imagined. For some reason it would not stick well to the transparency film either. So fixing to problems at one go i decided to try and spray it with a clear coat and using sticky tape over the color. In the end the sticky tape had as even surface as the clear coat and no dust in it. So decided with sticky tape.

The result

And now for some final pictures
 For some reason the acrylic ain't as glossy as real life but i can't use any other functions than auto on this camera


Hope you like it

Inspirational.
I wonder if the film would work better if placed on the inside of the perspex, so it give's depth? (Although heat might be an issue?)
I would be sending pictures of this and an explanation to the people that did the original competition
I wonder if the film would work better if placed on the inside of the perspex, so it give's depth? (Although heat might be an issue?)
I would be sending pictures of this and an explanation to the people that did the original competition

Last edited:
Soldato
- Joined
- 17 Aug 2003
- Posts
- 20,167
- Location
- Woburn Sand Dunes
That's fantastic, great work there!
- Joined
- 11 Dec 2012
- Posts
- 90
That's fantastic, great work there!
Thx James!
Inspirational.
I wonder if the film would work better if placed on the inside of the perspex, so it give's depth? (Although heat might be an issue?)
I would be sending pictures of this and an explanation to the people that did the original competition
I tried that with a window tint first but its a bit too thick/deep the perspex for it to look good, heat shouldn't be a problem. And i have a build log where the competition is so i'm sure they will see it

Associate
- Joined
- 28 Feb 2013
- Posts
- 1,710
- Location
- Leeds
you done a realy good job there mate, 10/10 from me 


