Lian Li v350 review *LOTS OF PICS*

Soldato
Joined
11 Jun 2005
Posts
2,643
Location
Worcestershire
Ok then, Got back from taking my car in on Friday afternoon to find a note had been left on my doorstep 'citylink have been....'... oh noes thought i, but it turns out they delivered next door, so i instantly went over and grabbed my new toys...

This is what was waiting for me:

box.jpg


First thoughts again were 'oh noes!' as it's plastered with pics of the silver case, when, we all know black is made of win... Anyway, closer inspection saw that there were stickers all over the box saying that it was the black version, and alas, when i opened the box, it was!

So, first things first, pics of the closed case (i apologise in advance for all of the greasy finger marks all over the case.. what can i say, i'm dirty...)

Front (mmm!):
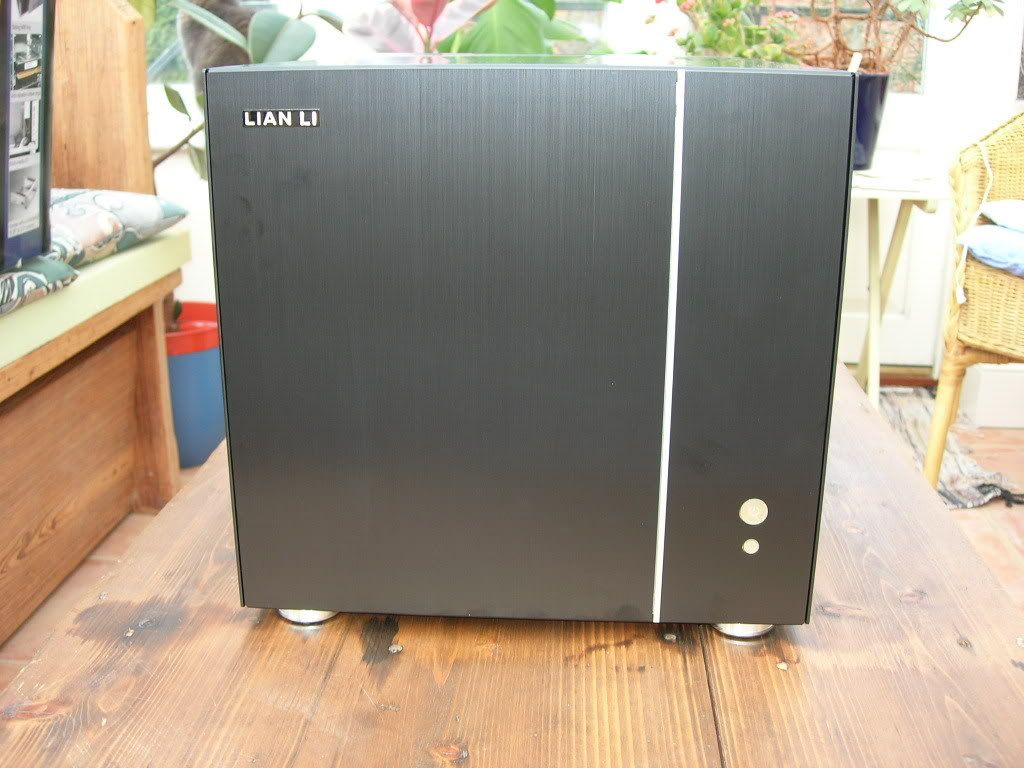
front-1.jpg


Right hand side:

right.jpg


Left hand side:

left.jpg


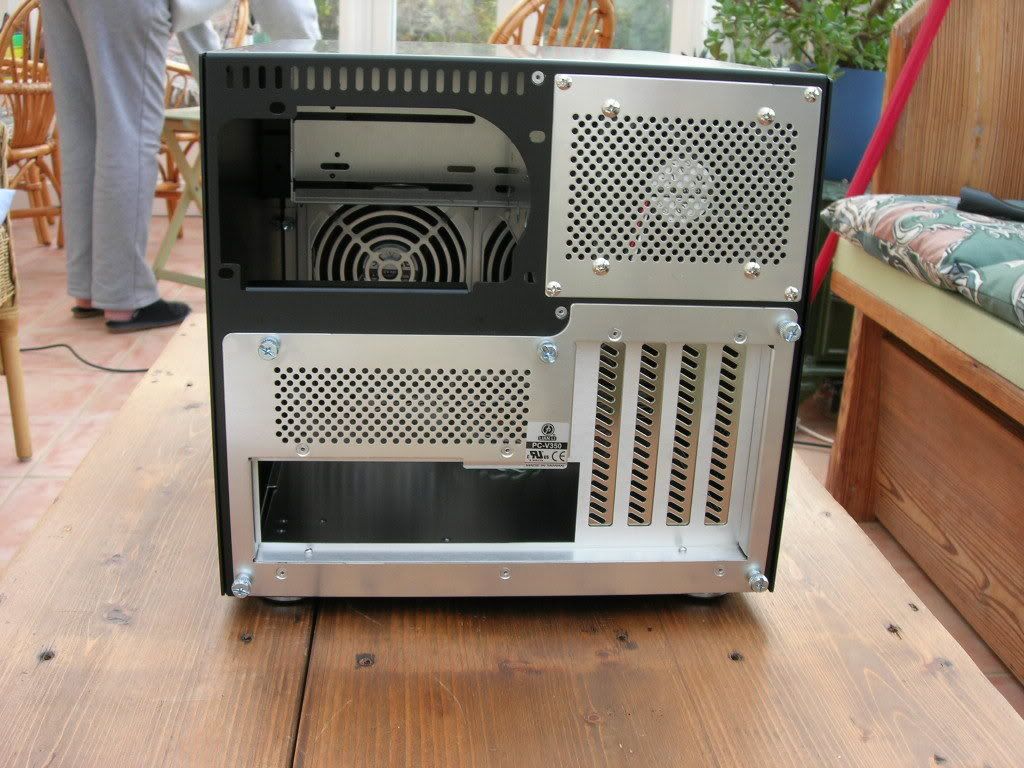
Rear:

back-1.jpg


Ever since my first Lian Li case just over a year ago, i have been in love with them ever since. They just look and feel... executive... Plain without being boring, it's almost as though Lian Li cases are... sophisticated, and the v350 is no exeption. Now for some close up on some of the detail:

As there are 2 120mm intake fans, and the only exhaust fans will be the psu and the 80mm fan on the rear, there is going to be rather a large pressure differentional, thus, Lian Li have added vents on each side panel, above the psu, and on the PCi blanking plates:
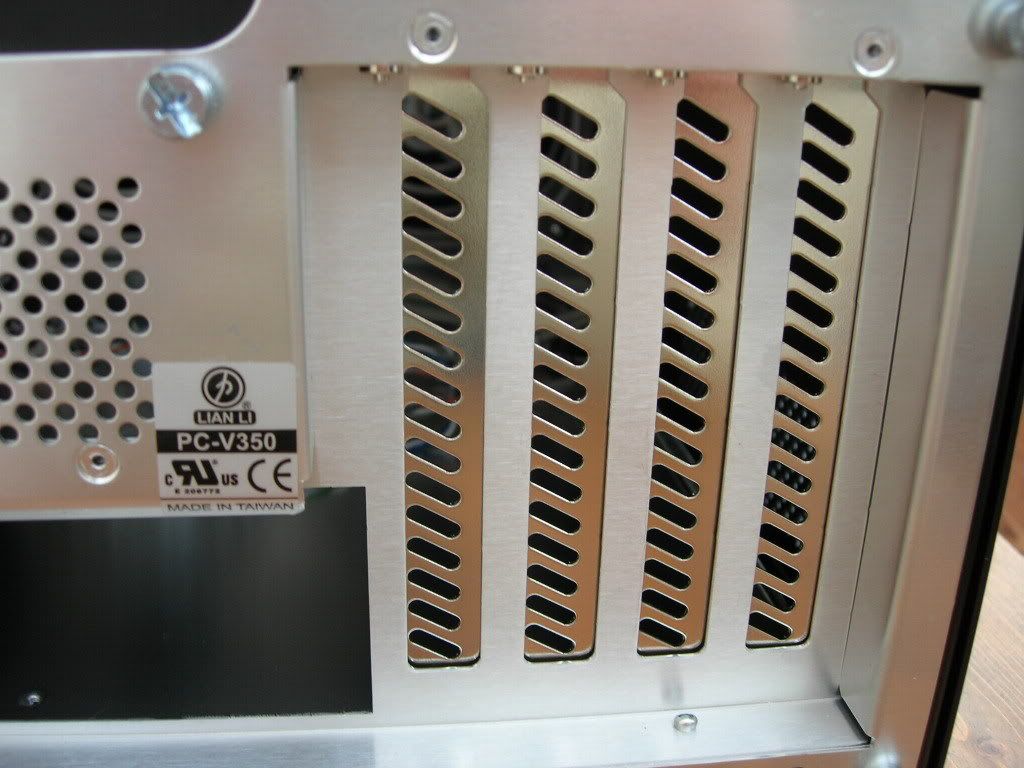
pci.jpg


Here we have the 'front panel' albeit on the left side panel:

ports.jpg


Close up of the power and reset switch:

buttons.jpg


A close up the detail stripe on the front:

detail.jpg


And finally, the Lian Li logo:

logo.jpg
 
Last edited:
Ok, time for a look inside.

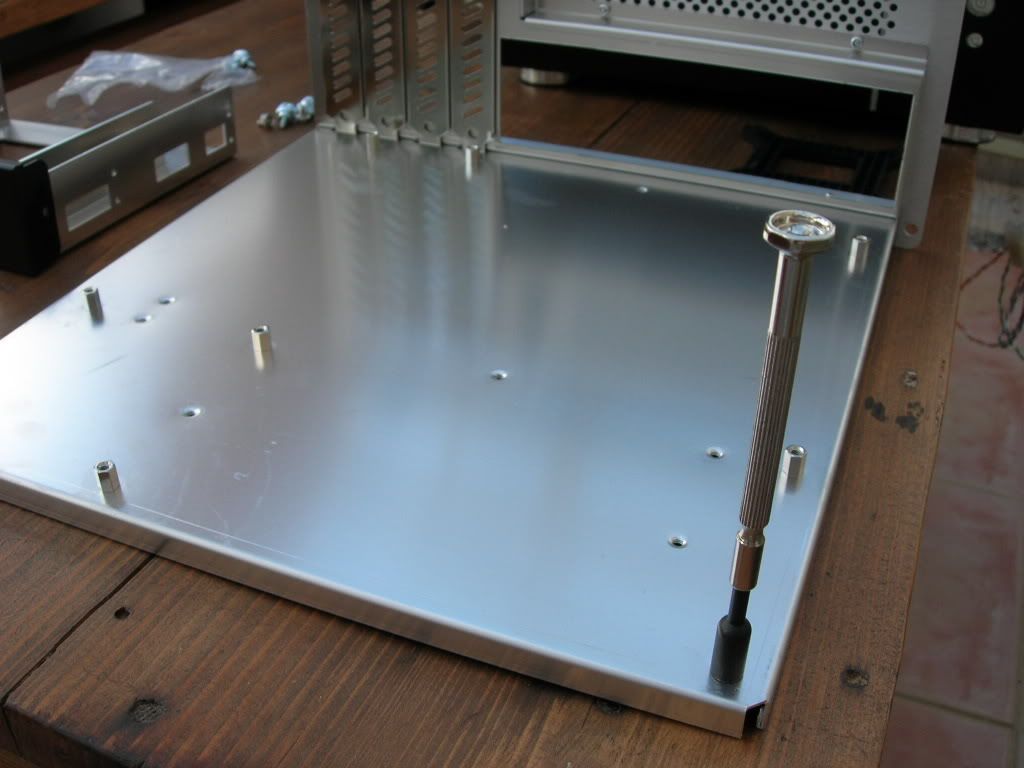
We'll start with removing 5 thumb screws and sliding this beast out:

tray.jpg


Never had a removable motherboard tray before, i like... Also get a handy tool for tightening and loosening the standoffs, here she is in action:

standoffs.jpg


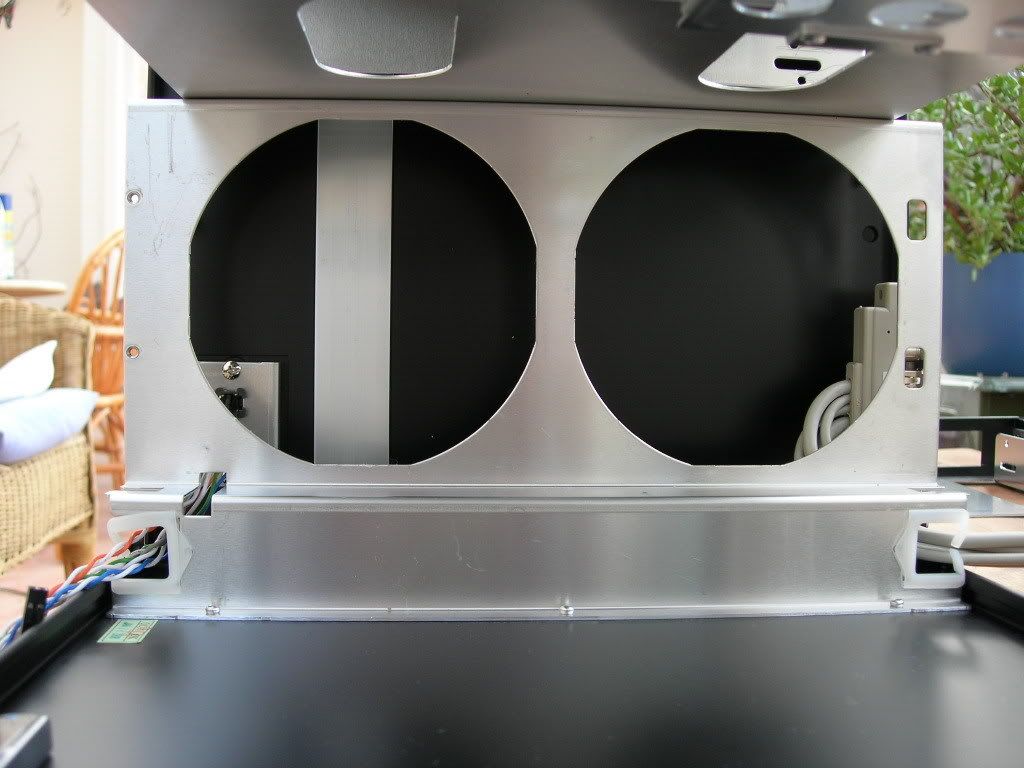
A shot of the dual 120mm fans:

inside.jpg


And 2 thumbscrews later:

fansremoved.jpg


I've also take both side panels off, ok, so there's 6 screws per side panel, but at least there's no rattling like there is in other Lian Li cases.

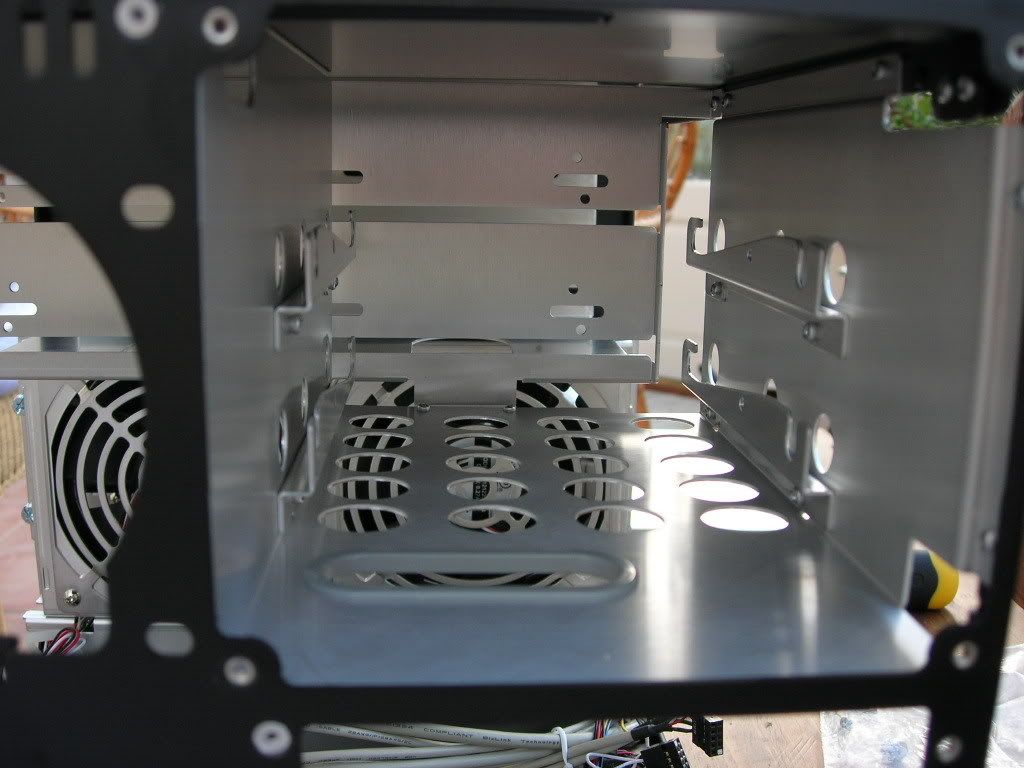
HDD racks, nice to be able to use 2 HDD's, could add more in the 5.25" bays (assuming you haven't filled them with something else...)

hddrack.jpg


And here's the extras that come with the case as standard:

bits.jpg


Installation

Ok, time to get some hardware inside, the specs are:

G33 mobo (have the ds2r and p5k-vm, haven't decided which one to go for yet...)
e2200 w/ zalman 8700 cooler (for now...)
2 or 4 gig of ram
8800 GT
250gig hitachi deskstar
Optical drive
Corsair HX520w

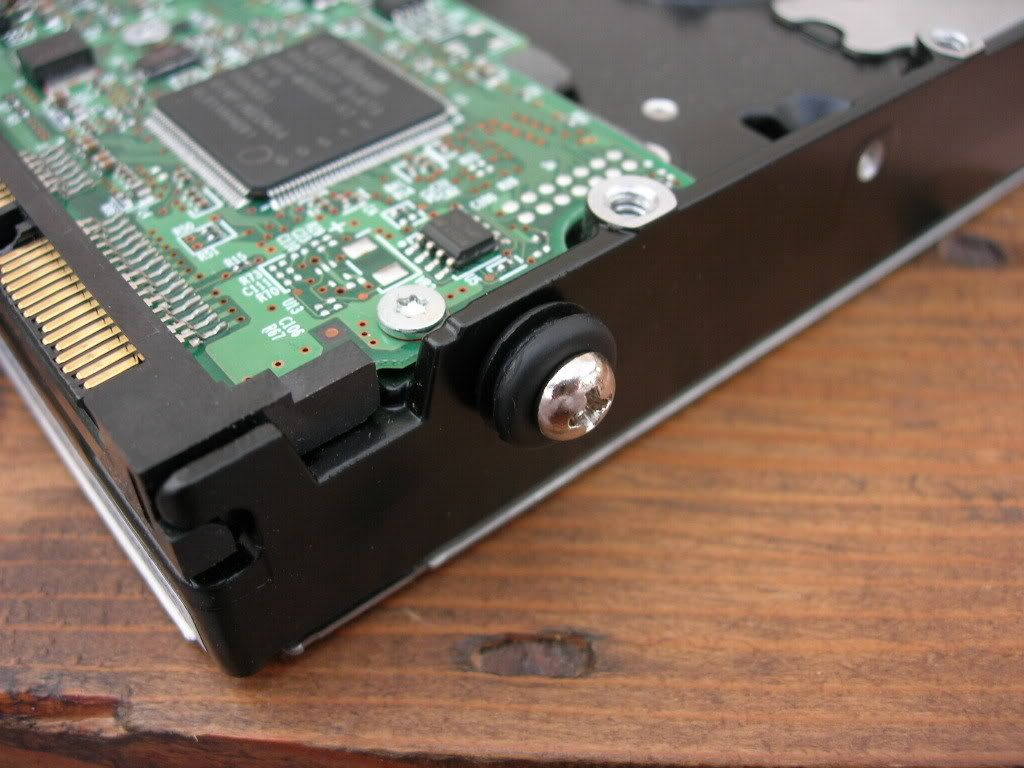
HDD mounting bolts and anti-vibration mounts installed:

hddantivibration.jpg


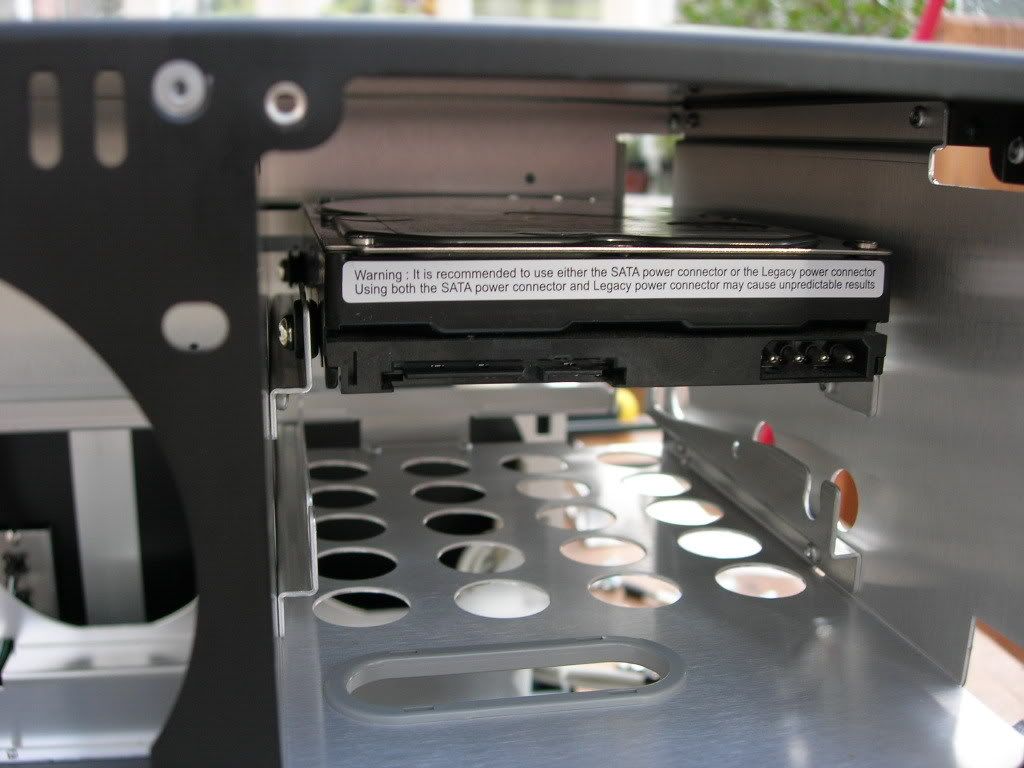
Hdd installed:

hddinstalled.jpg


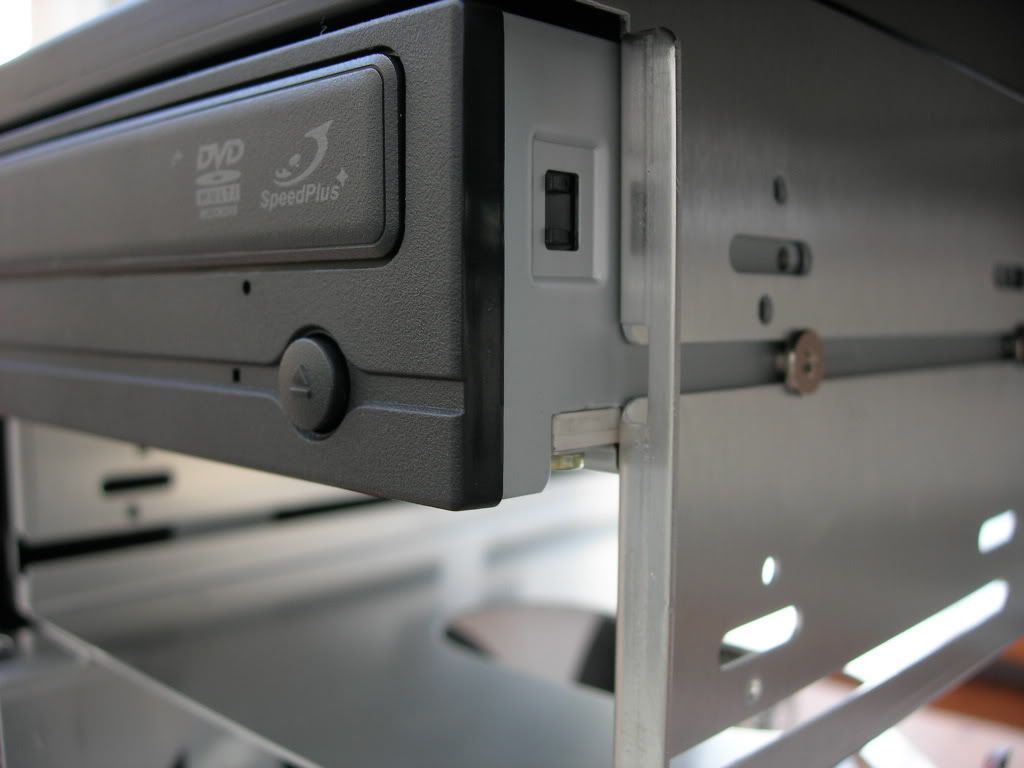
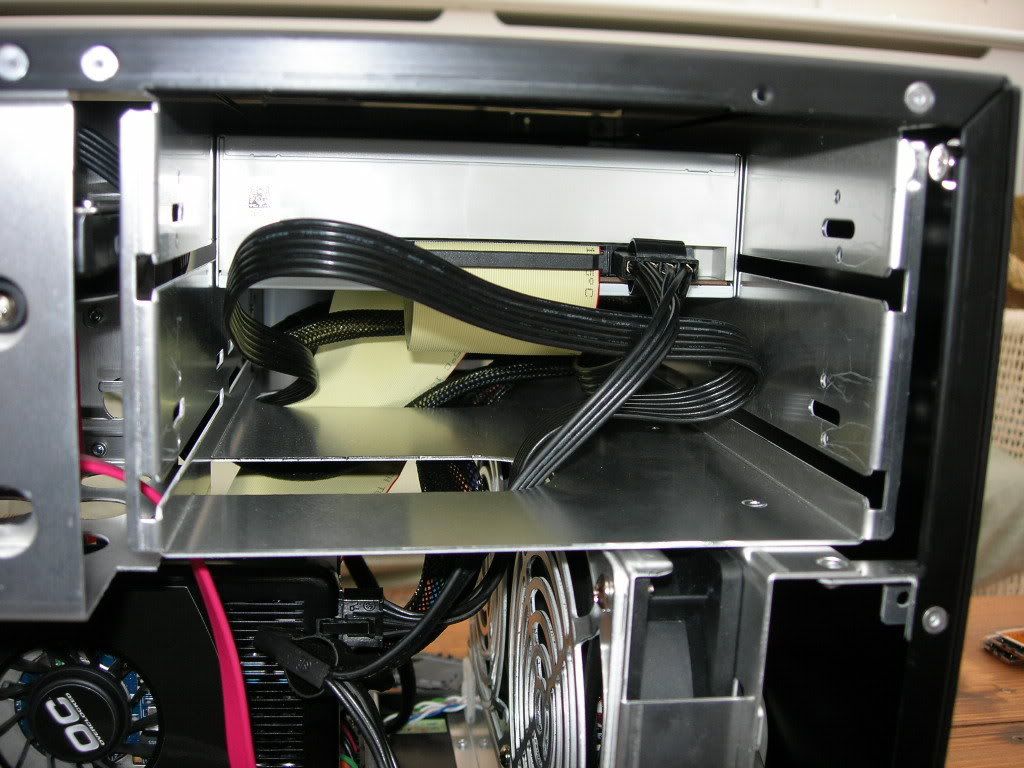
Installed optical drive, note, the rail where the screws slide down has a slight notch in the end, so it holds the optical drive in place. Others are reporting that they have to use an extra screw to hold it in place, which is a pain, as you need to remove the PSU and/or the HDD's to do this:

opticalinstalled.jpg


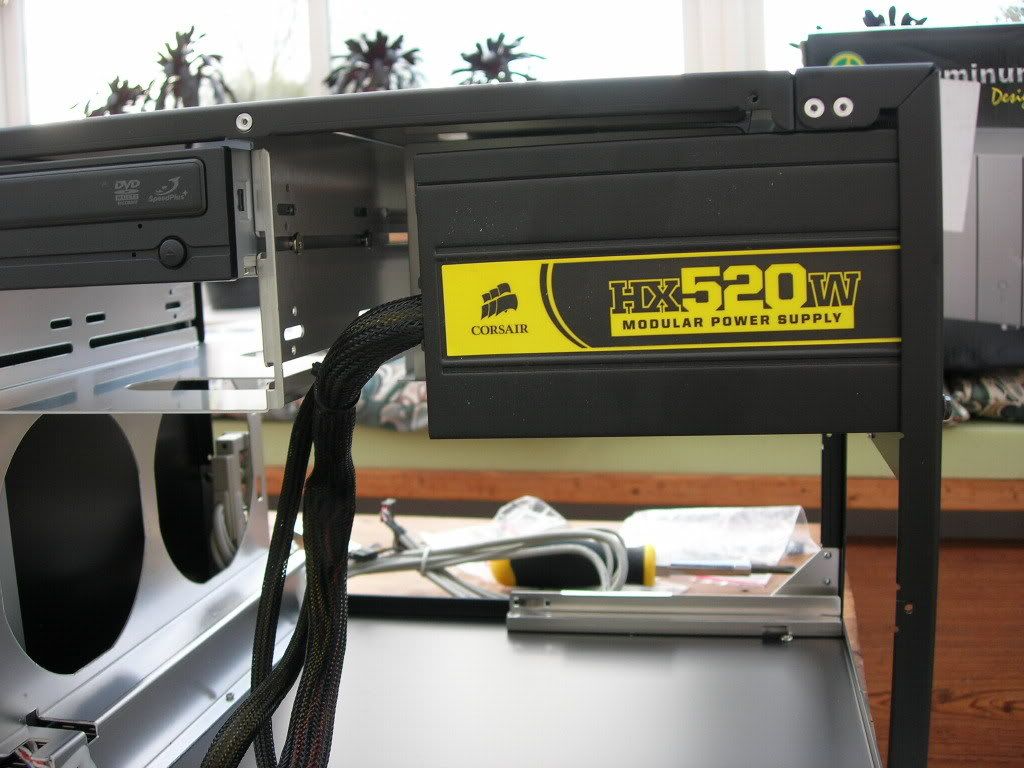
And PSU installed... very easily actually. Also note there is enough room behind the psu to hide some cables if need be:

psugap.jpg


That is all for now, as i am still awaiting the cpu. But rest assured i'll get pics up of the rest of it going in.
 
Last edited:
HARDWARE INSTALLATION

Righty guys, CPU arrives this morning (cheers cupra) and thus i now have everything needed to get this beast up and running.

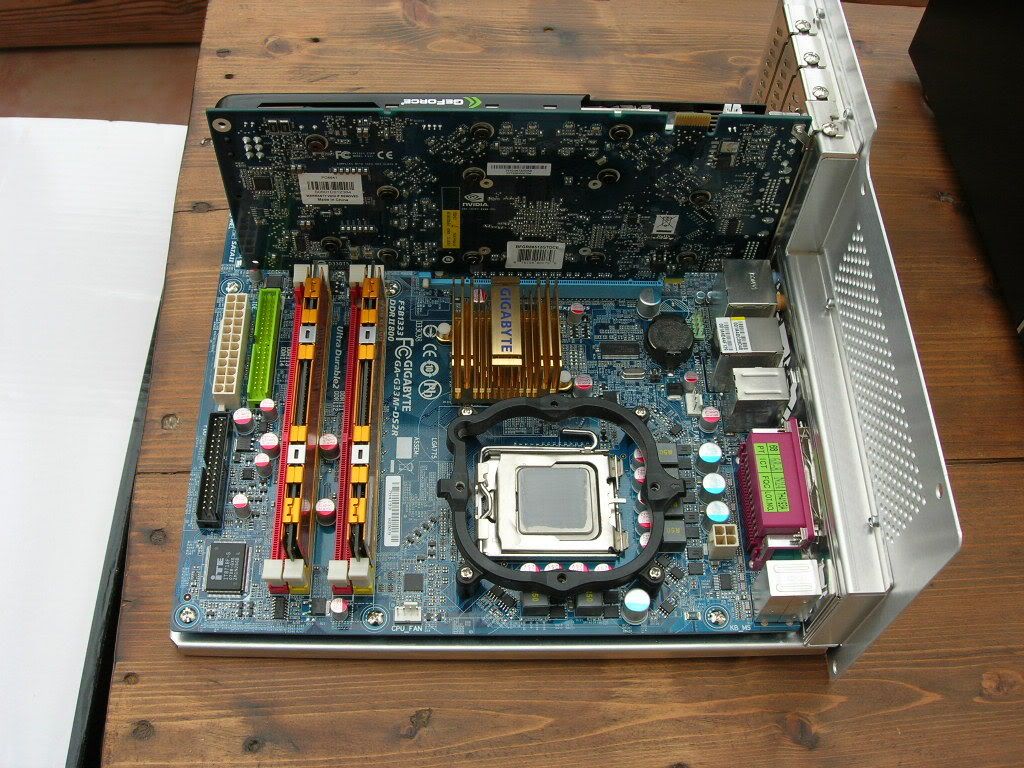
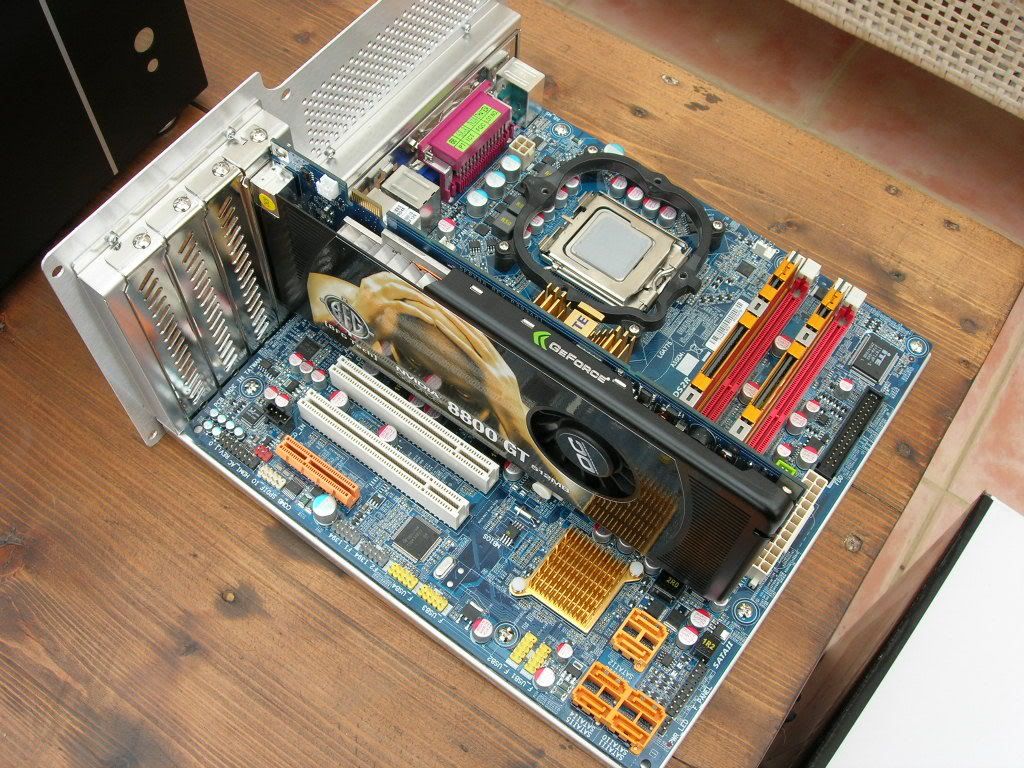
Ok, have already got the psu, hdd and optical in (my mistake with the optical, i ordered an ide one, should have been sata...) And here's the rest of the stuff installed onto the motherboard tray, and, this was the EASIEST motherboard install i have ever done...

hardware1.jpg


hardware2.jpg


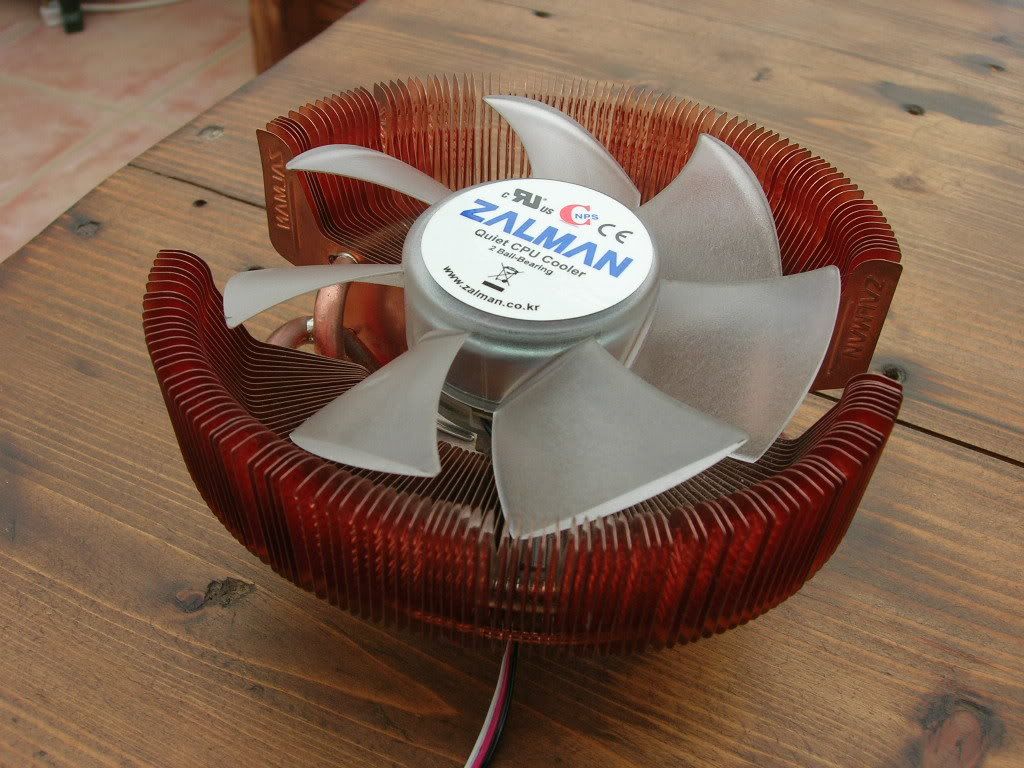
Note that the CPU cooler isn't installed, because it was a little too large and would have snagged on the edge of the case.

Weapon of choice:

zalman.jpg


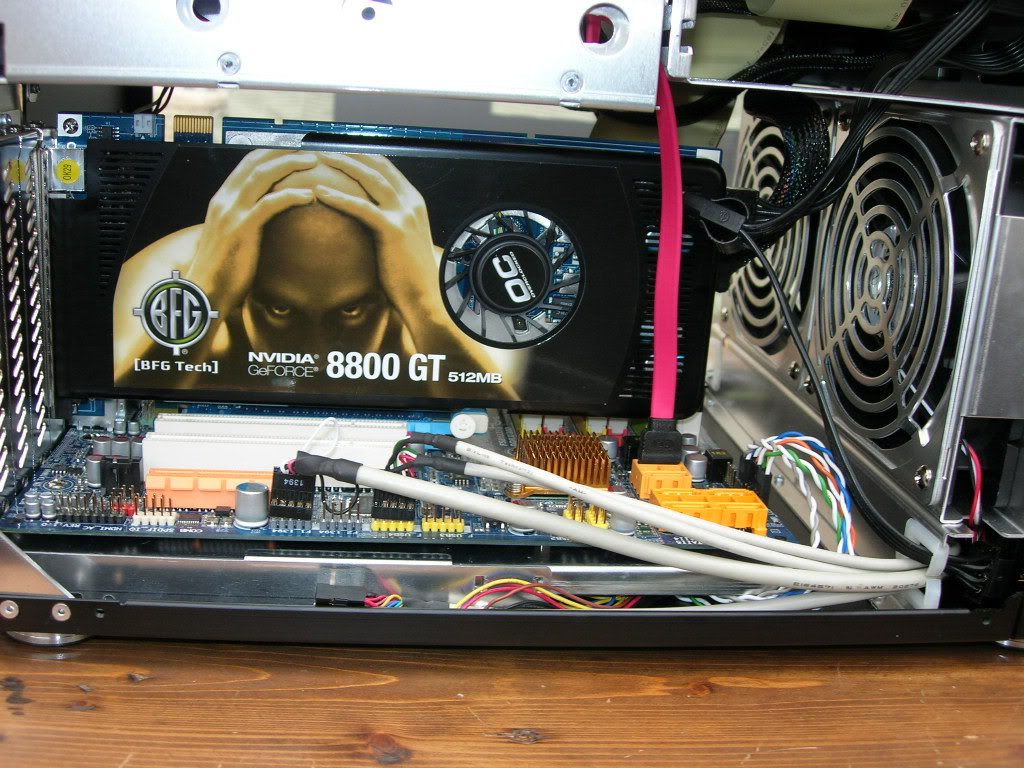
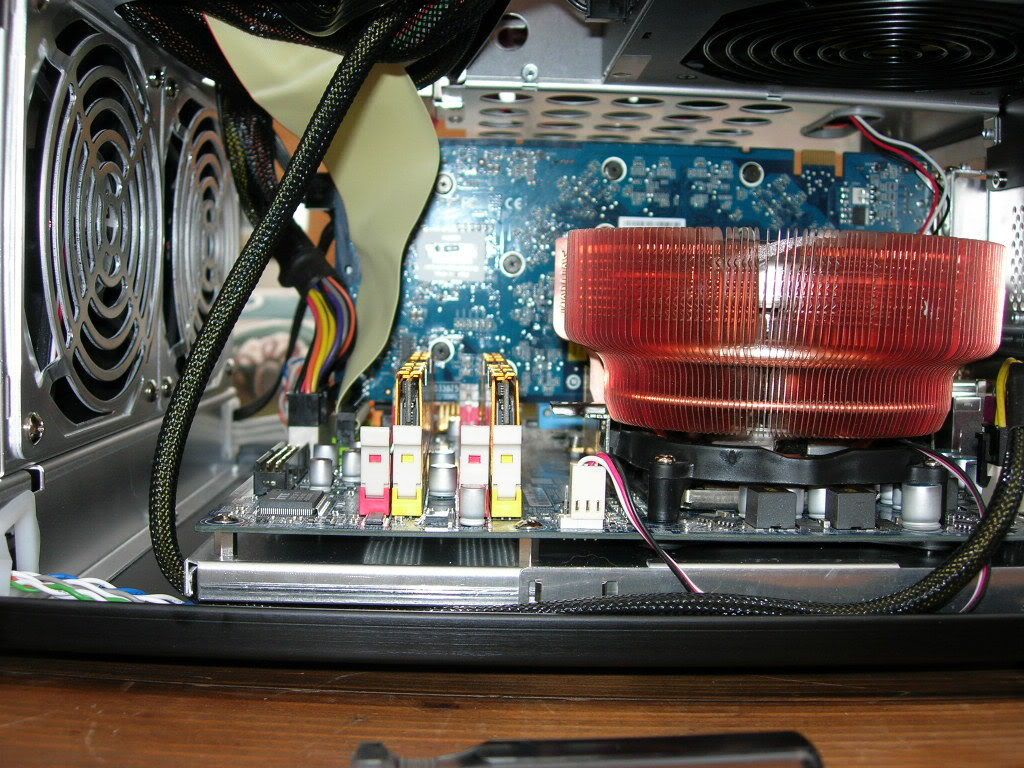
It was easyenough to slide the tray back in, but installing the cooler was a little more problematic, mainly due to the crappy catch mechanism from zalman, but alas, it was sorted. Also turns out i could have installed it prior to putting the tray in, it only just catches, but will go through pretty easily. (a not to people getting this combination of mobo and cooler, the cpu heatsink touches the NB heatsink) Last thing to get done... the cabling... always a pain in the arse job, but needed even more so in a SFF case, and, approximately an hour later, i got this:

installed1.jpg


installed2.jpg


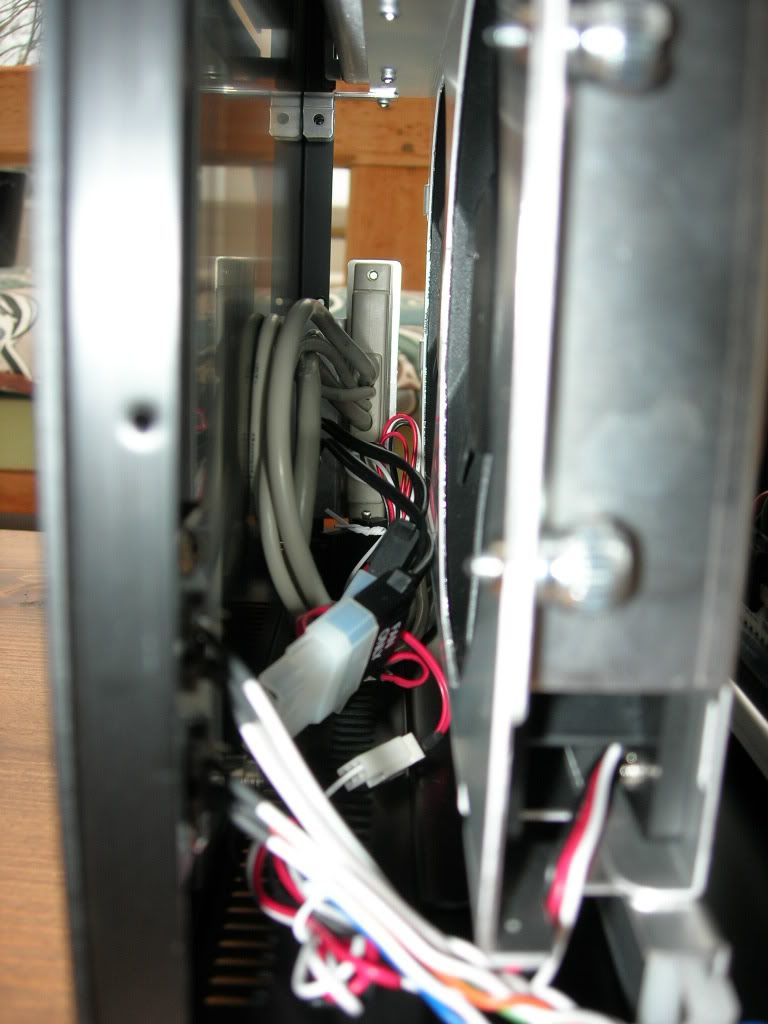
And i cunningly hid the cables in 1 of 3 places, under the motherboard tray(or down the sides of it)

here:

cabletidying1.jpg


and here:

cabletidying2.jpg


Careful when hiding cables in the front, there's no guards on the fans, and you dont want one of your fans to get wasted on cables (or vice-versa)

Now, to get windows up and running.


Lastly, Dingleberry88: There was a lot more room than i thought between the mobo and psu, i make it 128mm +/- 2mm, which is getting very VERY close, as ocuk state that the ac7pro is 126.5mm tall... good luck :eek:
 
Last edited:
I've had my v350 (in black, of course) for a month or two now. Its not as quiet as the Antec NSK2400 I had before it, but I can live with it. Few issues I've found with it:

You can change which side the optical drives are on, but not the USB and headphone ports, meaning they're on the wrong side for me
You have to remove the PSU and hard drives to get to the screws for the optical drives, and its very annoying to only discover that after you've installed said PSU and hard drives
The Lian-Li CD bezel doesn't fit, despite being listed as an accessory on Lian;Li's website
Fitting a hard drive caddy (in my case the Scythe Hard Disk Stabiliser II) in one of the 5.25" bays is a lot of hassle thanks to how the blanking plates fit
Oh, and it picks up finger prints far too easily.

Seems like a long list, but its still a very good case. Managed to fit everything I want in it (just, cpu cooler was a squeeze) and it fits in with me hi-fi a lot better than my antec did.

Might take a few pics for you all later
 
You can change which side the optical drives are on, but not the USB and headphone ports, meaning they're on the wrong side for me

Aye, this was going to be mentionned in my final roundup, although i suppose it can be argued both ways:

'It's not facing me, i have to reach round to plug stuff in'
or
'It's not facing me, which means i don't have to look at all the cables hanging out of the side of my PC'

Would have been nice to have a door and the option to put it on each side though.


You have to remove the PSU and hard drives to get to the screws for the optical drives, and its very annoying to only discover that after you've installed said PSU and hard drives

I didn't... they just slide in and click into place with the supplied screws...


The Lian-Li CD bezel doesn't fit, despite being listed as an accessory on Lian;Li's website

This is indeed an annoyance :\


Fitting a hard drive caddy (in my case the Scythe Hard Disk Stabiliser II) in one of the 5.25" bays is a lot of hassle thanks to how the blanking plates fit

Why would you need a HDD caddy? the HDD's already have anti-vibration rubber mounts?


Oh, and it picks up finger prints far too easily.

The Bane of all black lian li cases... got bless meths :D


Seems like a long list, but its still a very good case. Managed to fit everything I want in it (just, cpu cooler was a squeeze) and it fits in with me hi-fi a lot better than my antec did.

I'm going to try out the zalman 8700 in there, and, it fit's, but you'll h ave to fit it after the tray has been put back in, as it sticks out a bit and thus prevent the motherboard tray from being inserted... this'll be 'fun'


Might take a few pics for you all later

Go for it!
 
I didn't... they just slide in and click into place with the supplied screws...
Mine didn't seem to do any clicking, so I had to add a normal screw in addition to the rails to secure it in place

Why would you need a HDD caddy? the HDD's already have anti-vibration rubber mounts?
Because I had to be awkward and have 3 hard drives

I'm going to try out the zalman 8700 in there, and, it fit's, but you'll h ave to fit it after the tray has been put back in, as it sticks out a bit and thus prevent the motherboard tray from being inserted... this'll be 'fun'
I have a Zalman 8000 in mine, and when I slid the tray in the fins scraped along the side of the gap. Bent a couple of them, but no major damage.

Go for it!
Will do soon. Case is open at the moment and cables are everywhere as I was tinkering the other day and haven't bothered closing it up again yet (which reminds me of another problem, 6 screws per side panel? Seriously?) Will take some shots when its all neatened up
 
Do you have to remove all those screws to get the sides off? And I'm a bit concerned with the restrictiveness of the intake and exhaust...

Very nice looking case though. I was really close to getting a 350 but ended up going back "full size" with an A05b.
 
A few shots of mine, not in too much detail, don't want to steal V|per's thunder after all.

First up, the lovely brushed aluminium front

dscf2576kc0.jpg


The back. All expansion slots used, I've got this case pretty much as full as you can get it

dscf2571qe9.jpg


The neat side which you show off to all the people who want to see inside your nice new case

dscf2575mu9.jpg


And the messy side which you keep hidden away (although I have given it a quick tidy up, it was a lot worse)

dscf2569jq7.jpg


And a couple of it in situ

dscf2588jd9.jpg


dscf2587ax7.jpg


Need to replace that silver DVD drive at some point. Will probably get a black blu-ray drive when they're a bit cheaper. The read SATA cable also needs to be replaced with an SATAII cable, the lack of a clip on it has been causing me issues recently
 
*update*

Nice pics there dude, mines going to become more of a 2nd gaming rig, a pc that'll allow me to carry it without my back giving in :D (main PC is a v2k with dual loops, each with a litre of fluid in and PA120.3's... as you can imagine, it's a bit heavy!)

Massive Attack: Spec as above, and i shall indeed be posting temp/sound data when it's up and running (at a rough guess, sometime after next weekend)
 
I'm thinking of getting one of these very soon, one question though, how stable is that PSU? Considering it has no shelf to rest on?

Supprisingly, it's very stable. Actually, it was very stable after i put only 1 screw in :)


Looks awesome :)

To those who aren't happy with the USB and audio ports - would a small 5.25" breakout bay of USB ports and the like fit?

Good idea, assuming you have a free 5.25" bay free, it would be quite easy to mod it into this new location. It would mean that there are saome rather random holes on one side of the case though...
 
Back
Top Bottom