MSI NIGHTBLADE project

It looks like you've done a good job painting the case. It looks much better in black than before :)

Thanks :)

-----------------------------------------------------------

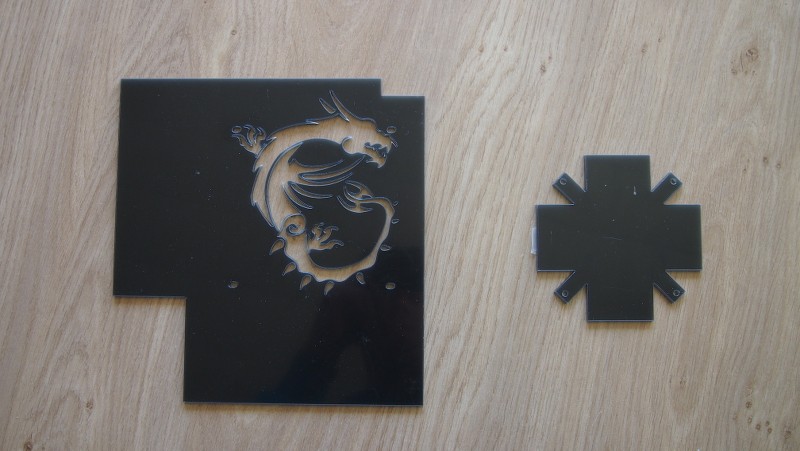
My good friend Django helped me out again with the drawing of the following 2 covers. One is a grill for over the radiator and one is a cover for over the CPU block and pump. This way I can also illuminate gfx there.

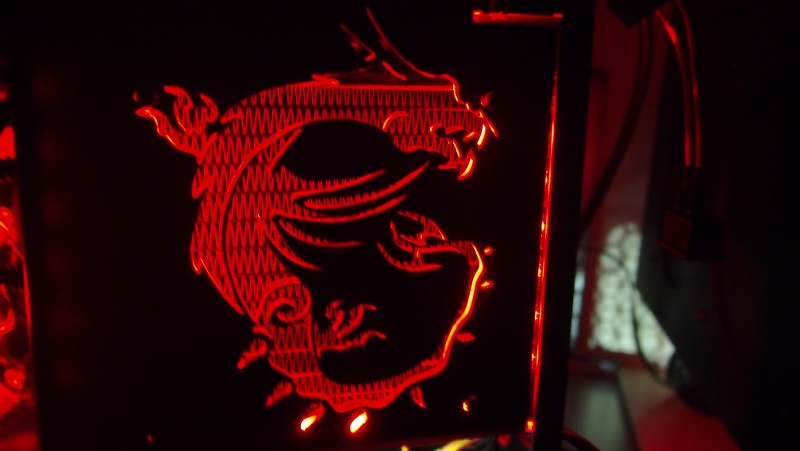
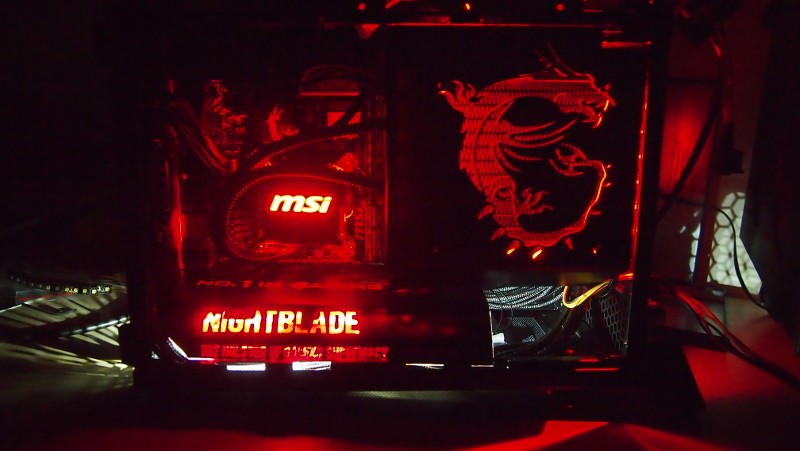
The plexiglas is special kind that changes colour with the light behind it. Put white LED behind it and the entire panel becomes a white glowing plate. I am hoping the dragon will have its outline highlighted with light when I add a few LEDs.

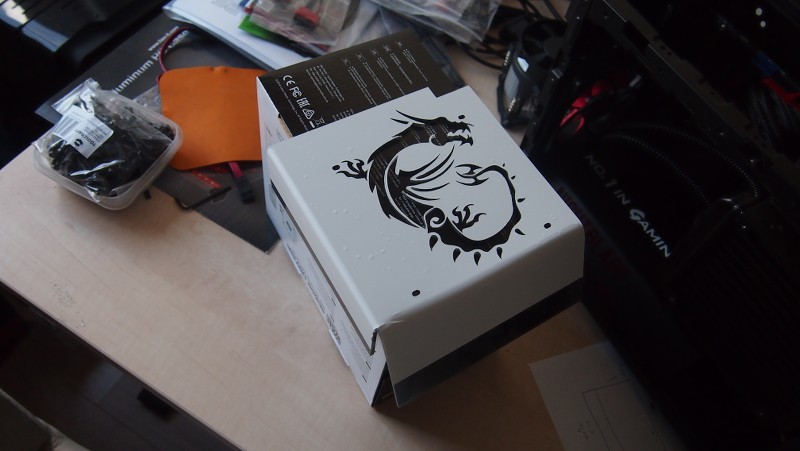
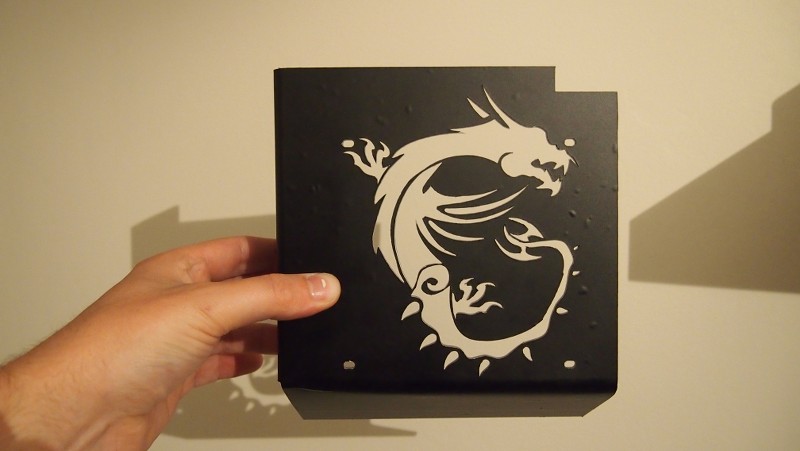
First I apply a layer of white vinyl, then a layer of black vinyl. This way hoping the light will be spread evenly and won't be visible through the vinyl itself.

I cut out the image with a super tiny knife out of both layers.

But fiurst off all I bended the edges to make sure the radiator and fan cannot be seen from any side.


This part I was making myself. I bought the Silhouette Cameo not too long ago and wanted to try something with it.

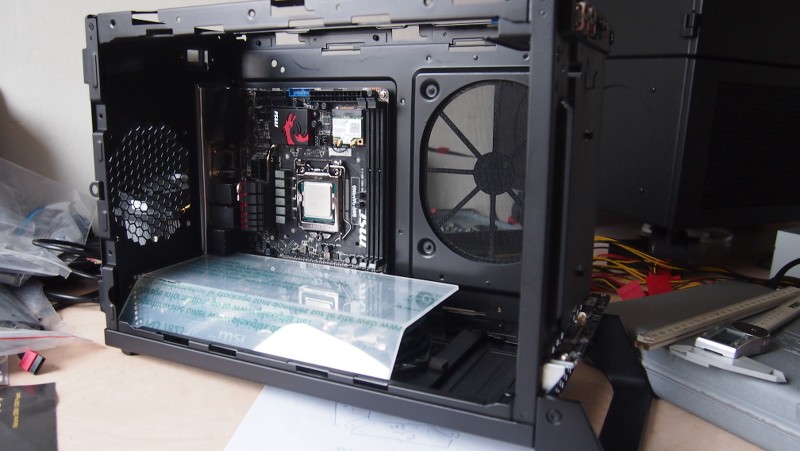
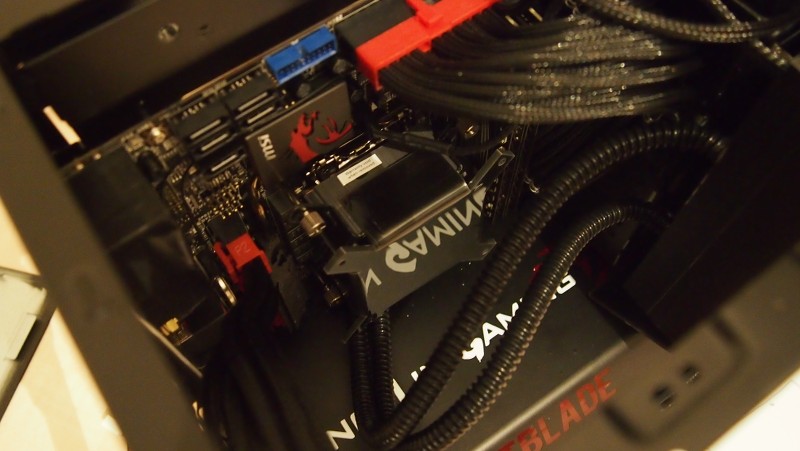
It is basically a backplate for the gfx card. But it also reaches out downwards so the gfx card becomes almost entirely invisible.

I gave it a base layer of transparent red and over this a black layer with gfx cut out of it.
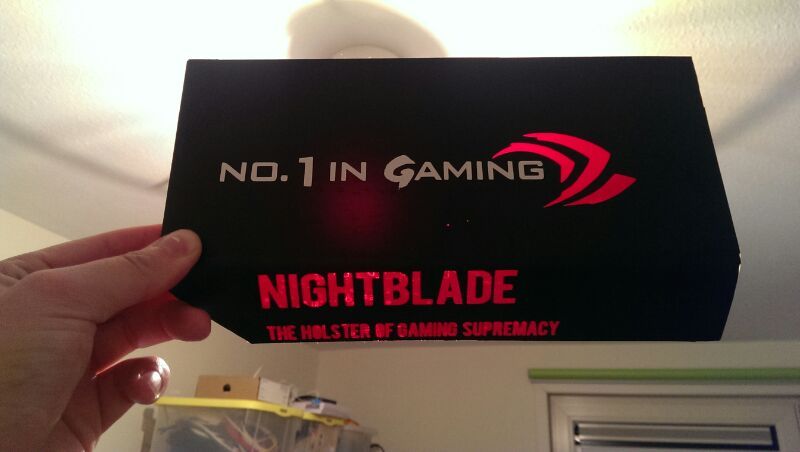
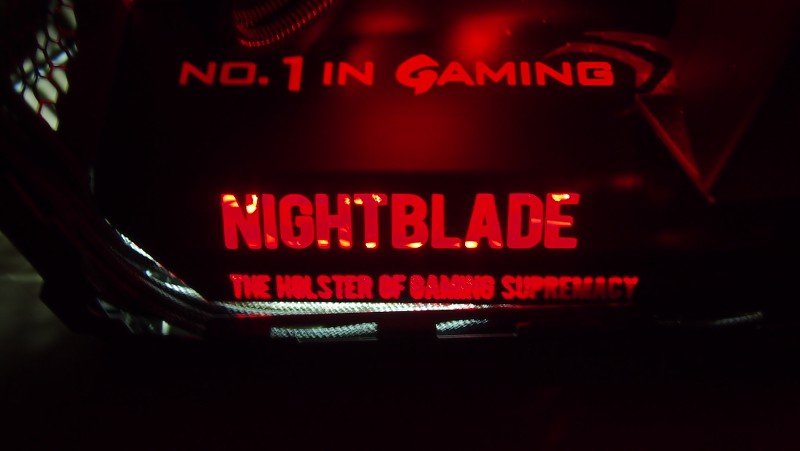
Then I cut some white letters for on top of it. The Nightblade logo will be illumnated from below.

I cut the bottom left corner from it because the 8 pin EPS cable runs underneath it and on the left side up again towards the motherboard.

I hope you guys like it.


The backplate/shroud looks very nice, it looks professional and it's almost as if it came with the case. It should give the system a nice clean look and I can't wait to see it all fitted (I know theres a photo of it fitted but thats not with the design :D).

As always, smashing work :)
 
The backplate/shroud looks very nice, it looks professional and it's almost as if it came with the case. It should give the system a nice clean look and I can't wait to see it all fitted (I know theres a photo of it fitted but thats not with the design :D).

As always, smashing work :)

Thanks man :)

I show one thing at a time haha. Otherwise the log will be done in 15 miinutes ;)
 
yes I noticed that you give one dose at a time. keep your audience on their feet itching for more. haha

b/w its looking really nice

Thanks Faheem :)

------------------------------------------------------

I went ahead and bent the other plexiglass piece I had lasered.

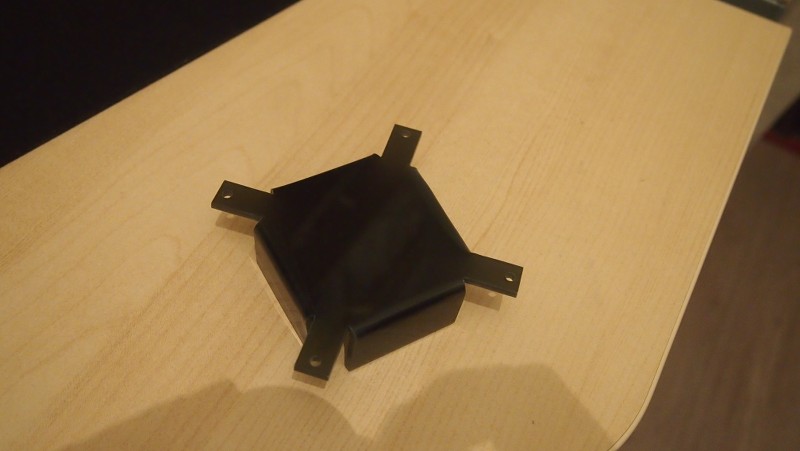
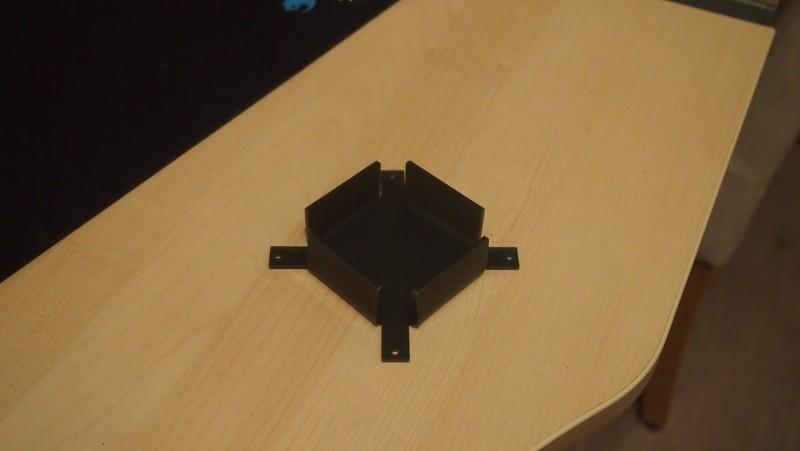
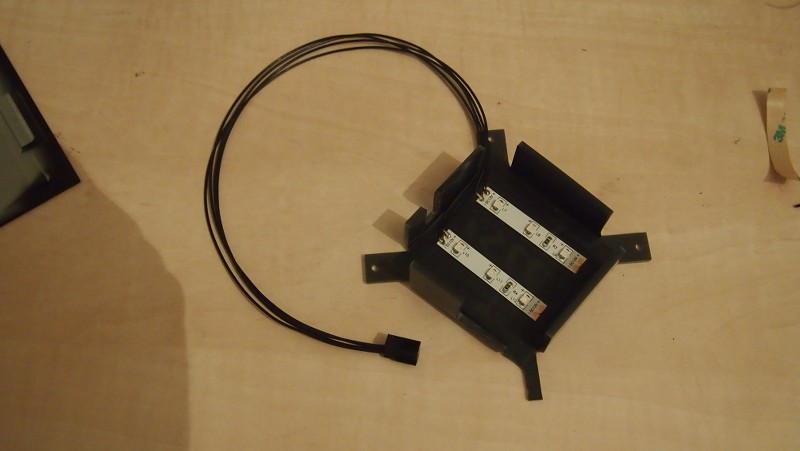
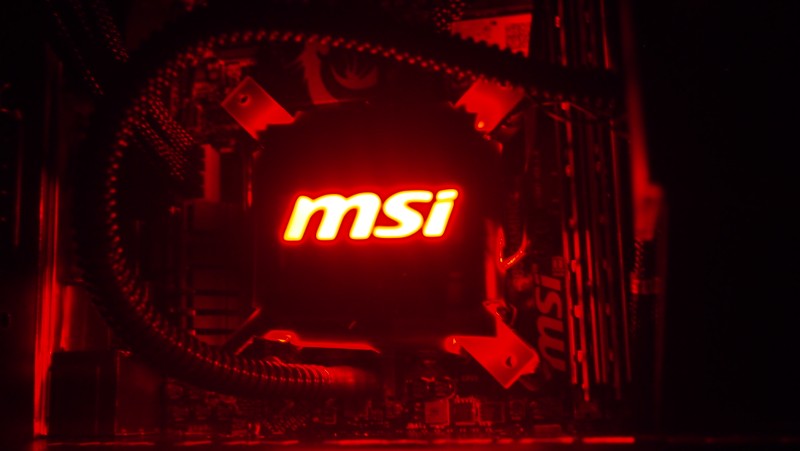
It is a cover for the CPU block so I can again add an illuminated logo to it.

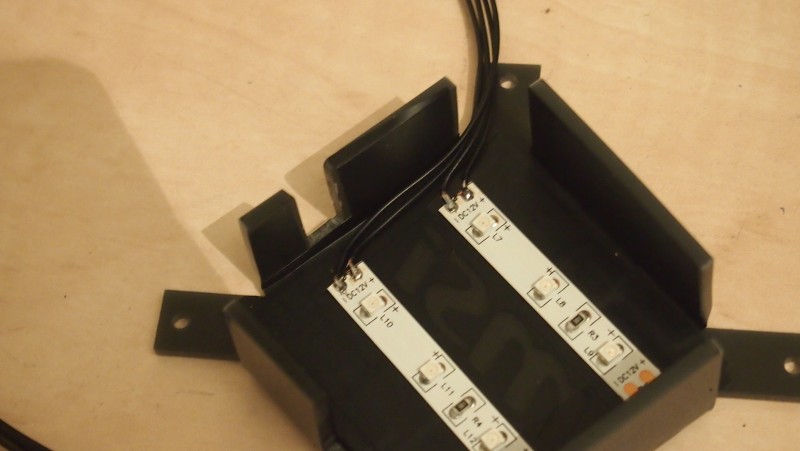
I used the vinyl to create the logo and added 2 small LED strips to give indirect light to it.

The cover actually clamps to the CPU block/pump now after bending the acrylic.
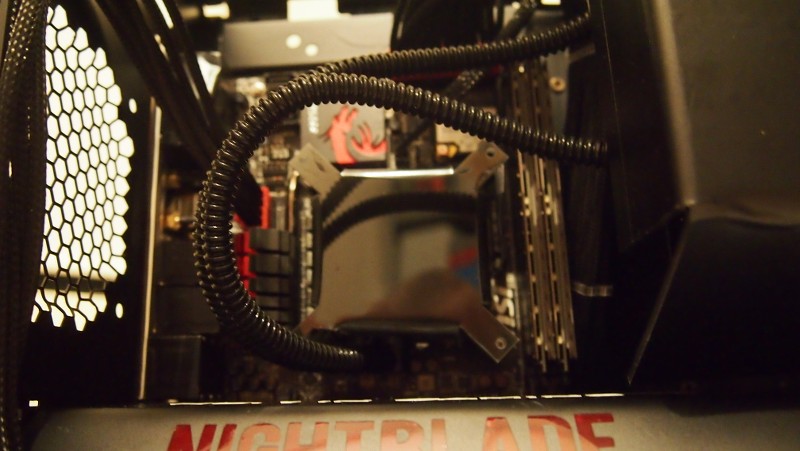
I had to take a small bit from the bottom of the cover due to the coolant hoses and a small piece because of the power cable.

Next update I will show the items illuminated.


I can't wait to see the plexi glass CPU block cover lit up with the rest of the system powered on as it looks excellent. I wish I had the skill to design and make additions such as those as it adds a whole new level of quality to the build. :)

Stunning work and I can't wait for the next update :D
 
I can't wait to see the plexi glass CPU block cover lit up with the rest of the system powered on as it looks excellent. I wish I had the skill to design and make additions such as those as it adds a whole new level of quality to the build. :)

Stunning work and I can't wait for the next update :D

Thanks a lot :)

Hope it won't dissappoint.
 
that logo will be a real eye candy when illuminated.

I hope so :)

I see the master is at work ! how are you heating for the folds, wire or gun?

Up untill now with a heatgun on everything that I have done. I would like to have a decent tool for it to make the bends perfectly straight. But I can't buy and store everything I want in the world :D

But I do think a wire one day will be one of my tools.
 
I forgot to show this up untill now.

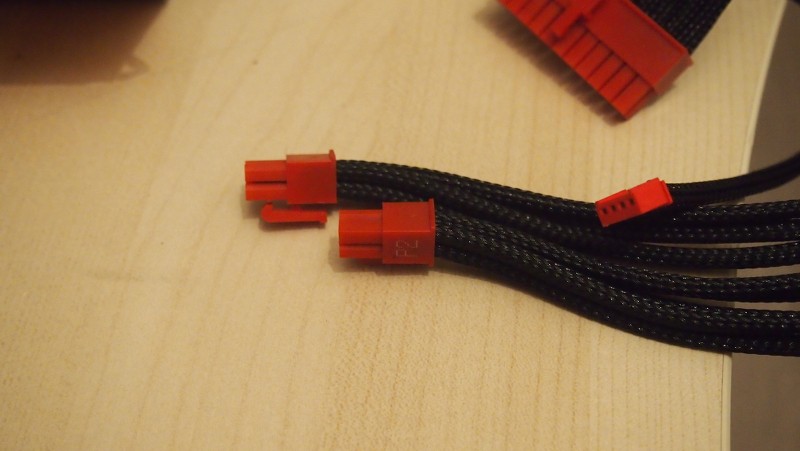
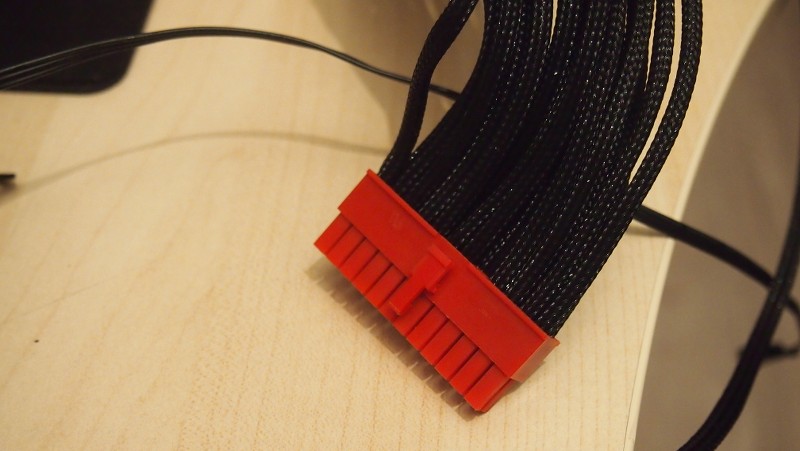
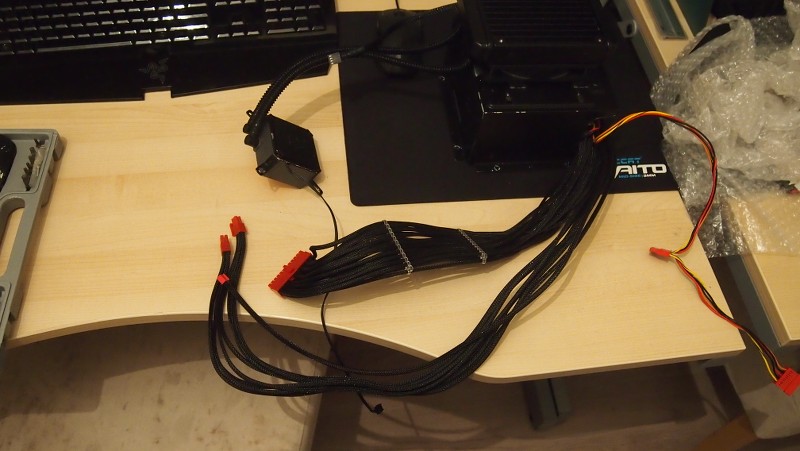
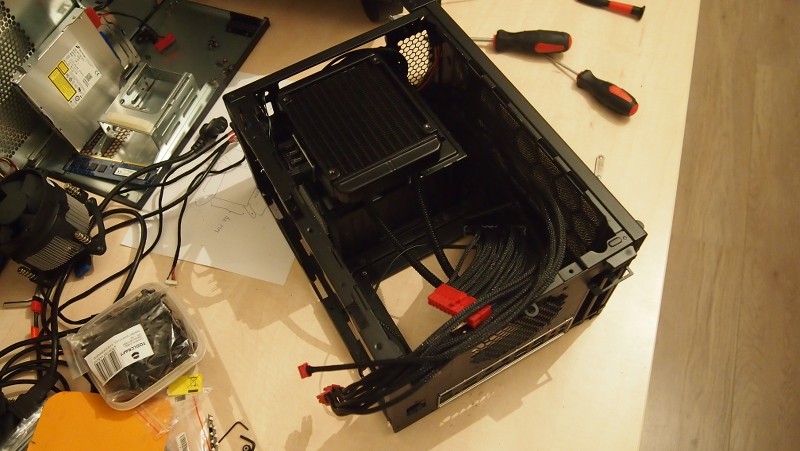
I decided to sleeve all visible wiring with black sleeving.
Usually I do a colour theme to the sleeving jobs.
But for this system and its many illuminated parts I decided to just go with all black and keep the original red connectors.
This because they will now just look clean and tidy. No original coloured wires. Make the entire build look a lot cleaner. Less busy. Which was for me the challenge doing this project. To open up the inside and make it look less crowded even though it is a small case with a lot going on inside.


Those cables look very suave. I especially like the red connections on the cables as it just adds a subtle hint of colour without being too garish. The black colour also adds a nice stealthy look to the system as it pairs well with the case interior being black. :)
 
Interested to see the finished product here, being such a small case you even thought the same yourself that it will be difficult being so small. Looking at it so far I like it.
 
Those cables look very suave. I especially like the red connections on the cables as it just adds a subtle hint of colour without being too garish. The black colour also adds a nice stealthy look to the system as it pairs well with the case interior being black. :)

Thank you TechMiner :)

Interested to see the finished product here, being such a small case you even thought the same yourself that it will be difficult being so small. Looking at it so far I like it.

Thanks Craig :)

-------------------------------------------

I promissed these photos earlier on. Here are the photos showing the current parts together and illuminated.


Back
Top Bottom