

Associate
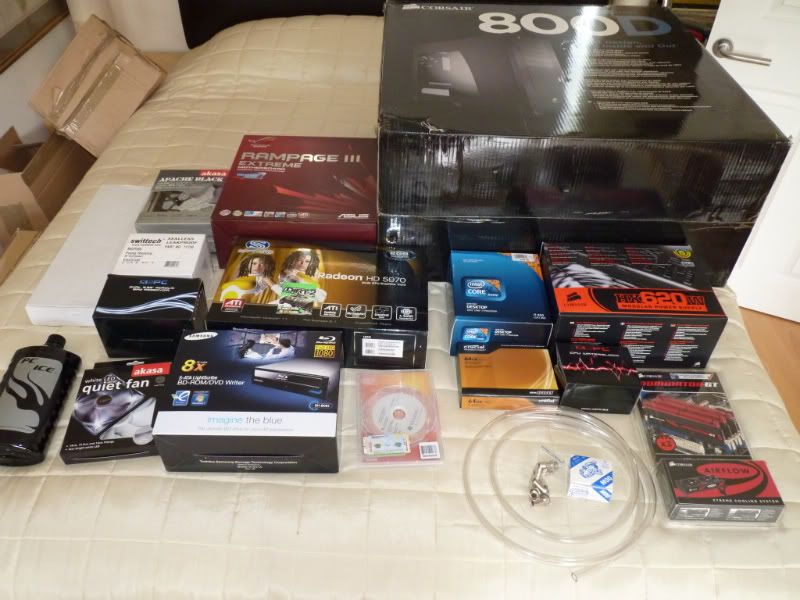
so 2 weeks after deciding on the kit for my first watercooled set up it has evolved into this and I am very happy at least until the credit card bill arrives
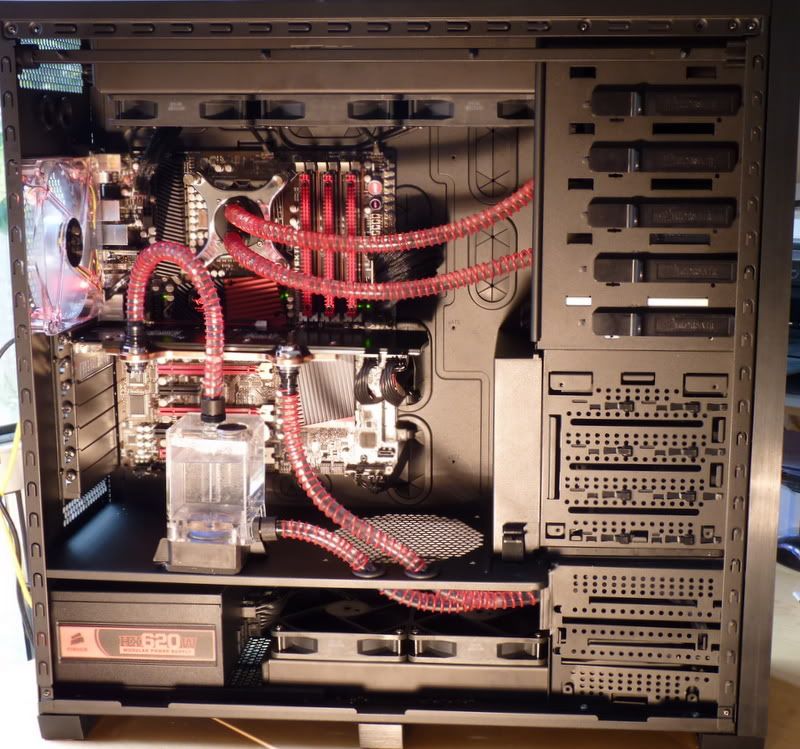


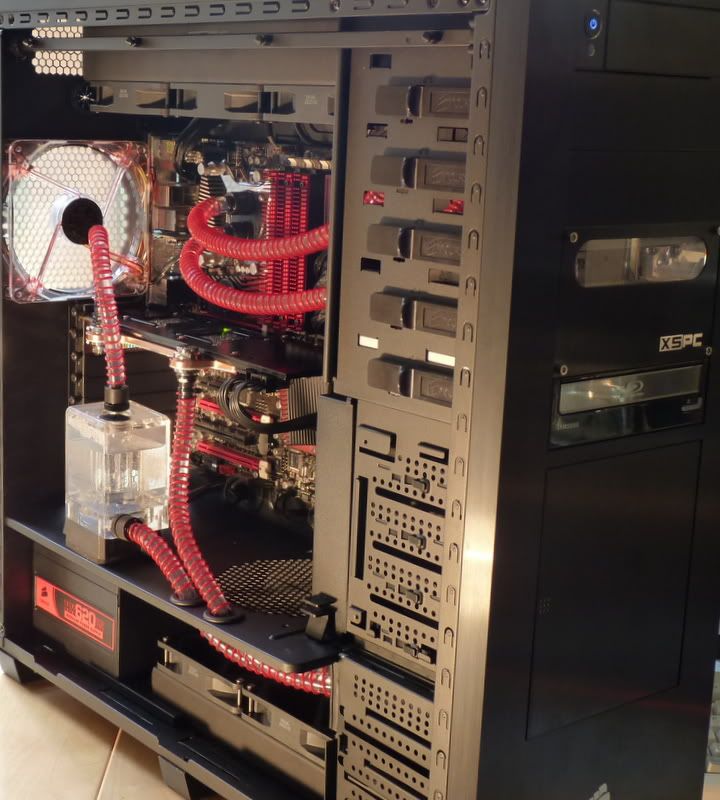
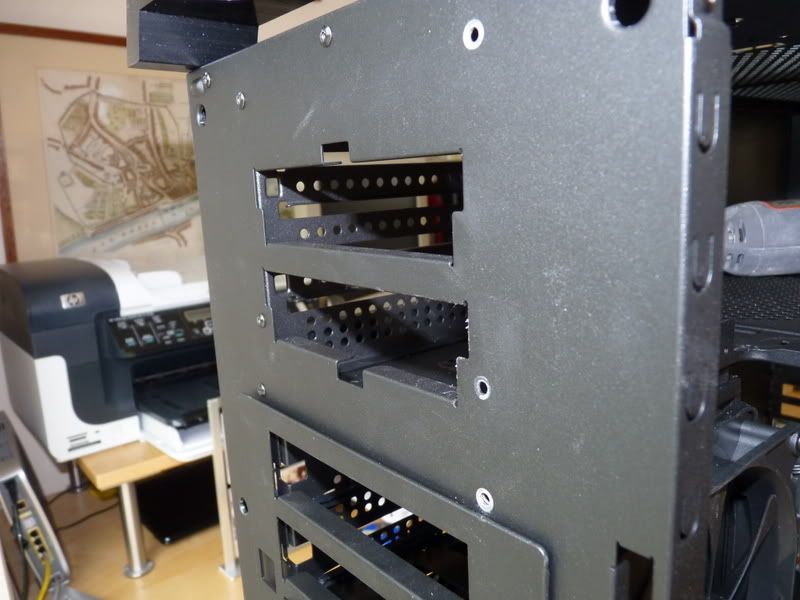
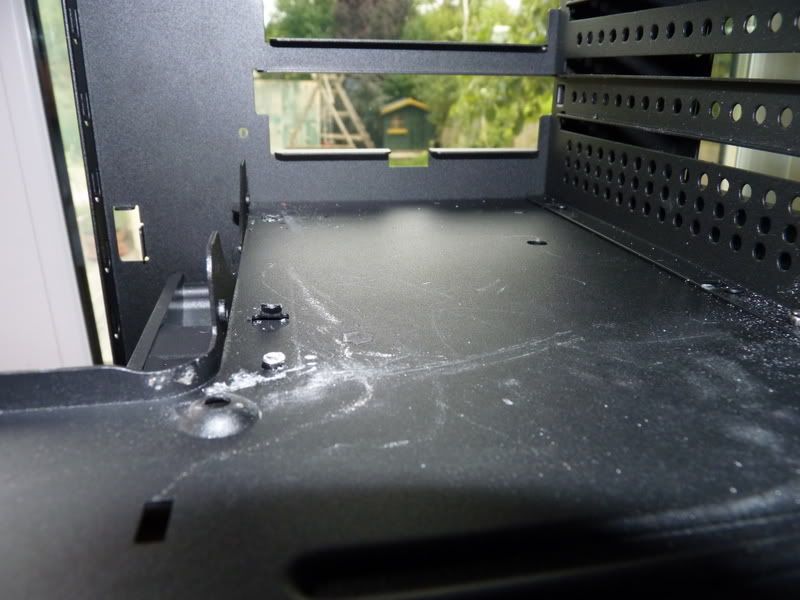
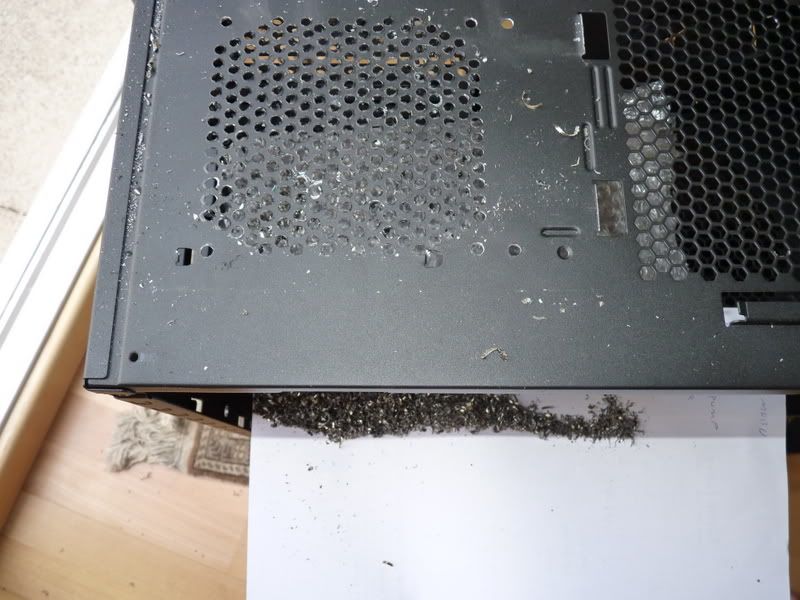
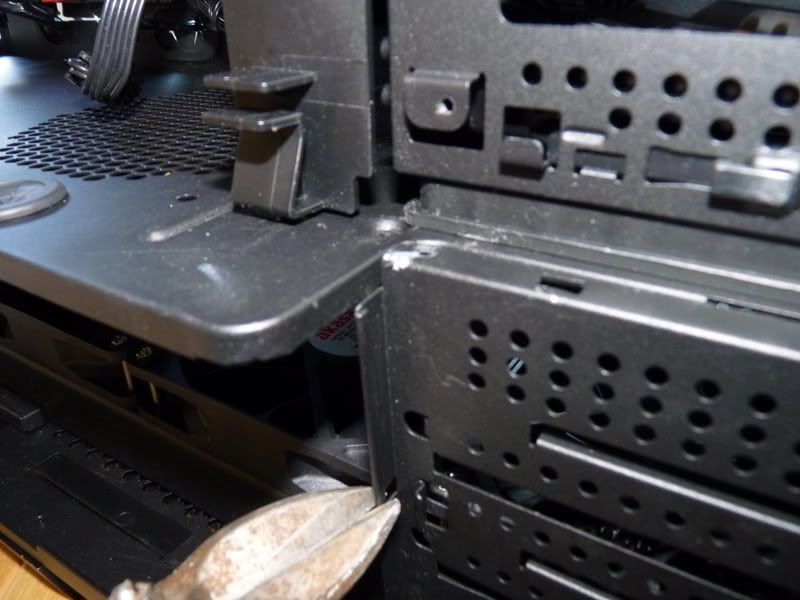
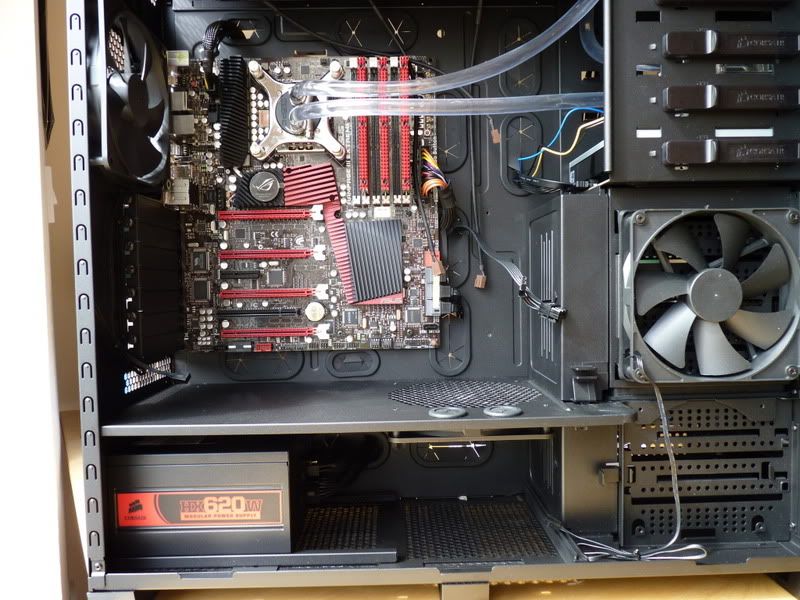
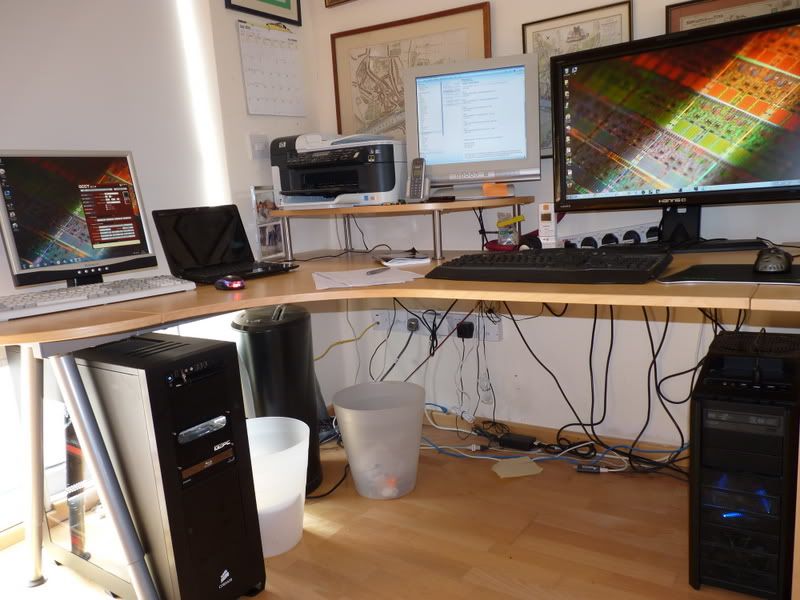
Did you mod the case to fit in the bottom 360 or is it just sitting there after removing the lower drive cage?
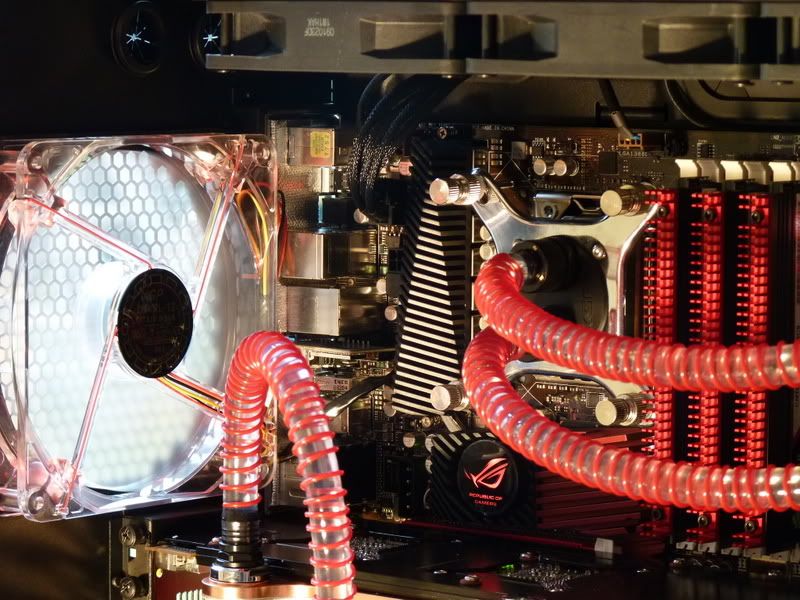
Looks Great, Really nice job and colour scheme.
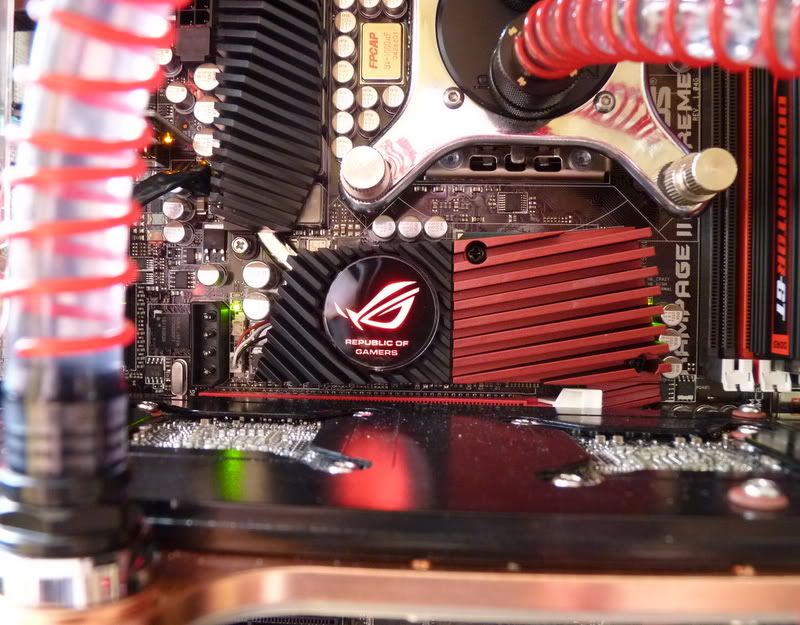
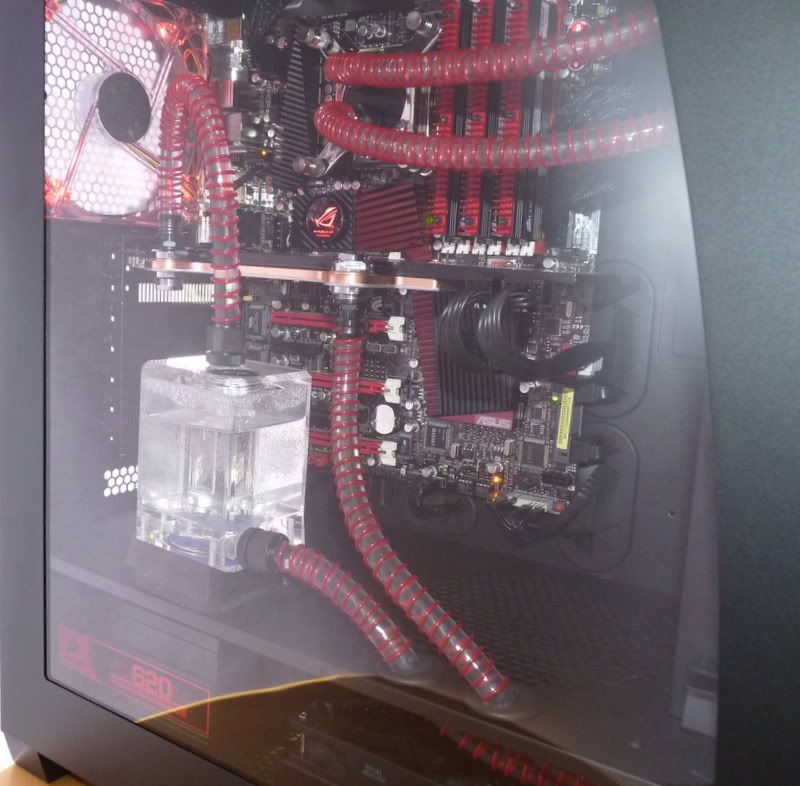
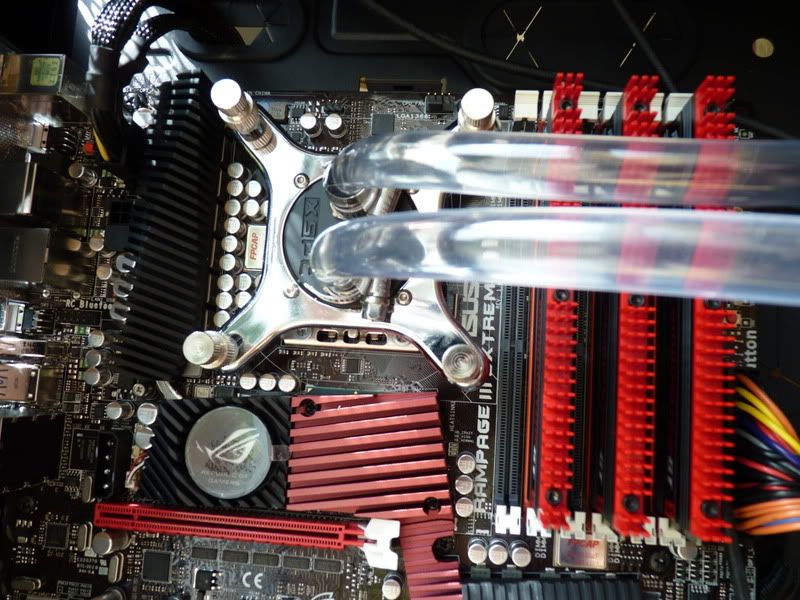
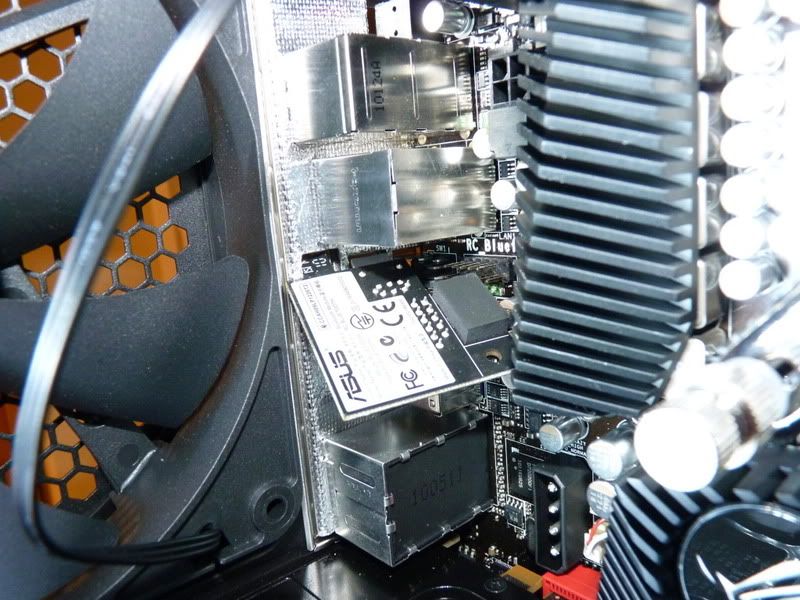
Gotta say though a motherboard as nice as that needs to be accompanied by a Chipset block. xD
"Damn the expense!"
Really nice build though would love to see some Temps. =]
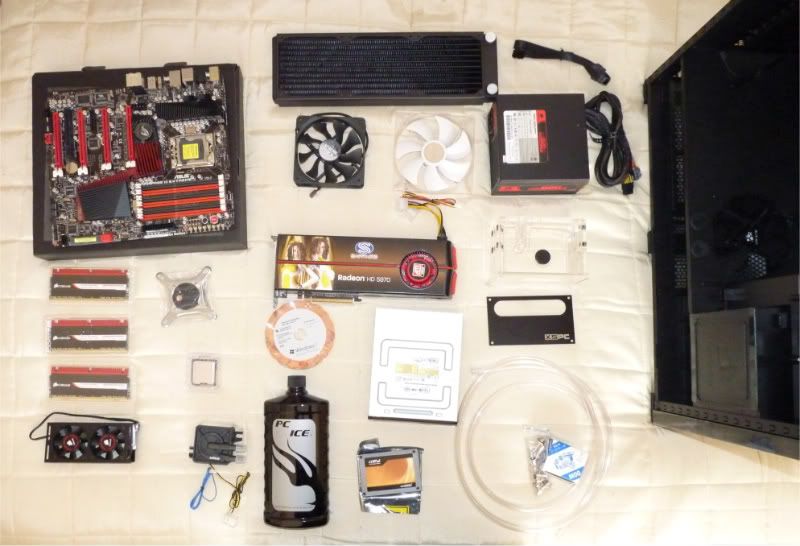
Spot on that mate!!! I hope mine will look somewhere near! Ive gone for the 2 rs triples and new as well. Figured it best as its gonna be for the long haul this case. What is the gpu your running?
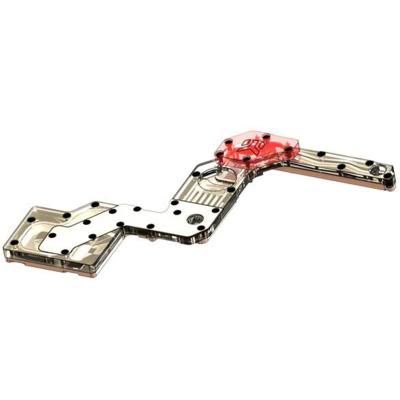
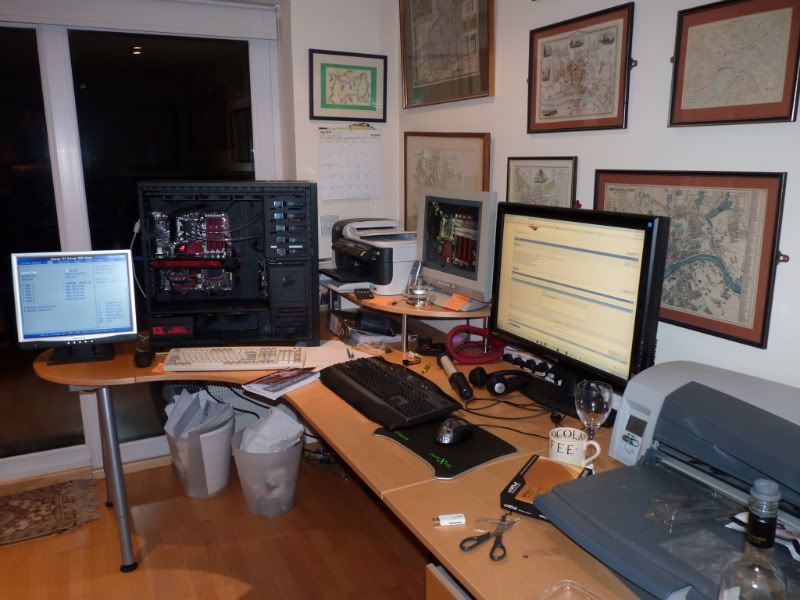
Now that i DOOOOOO like! i like that a lot. Very simple but clean and pretty.
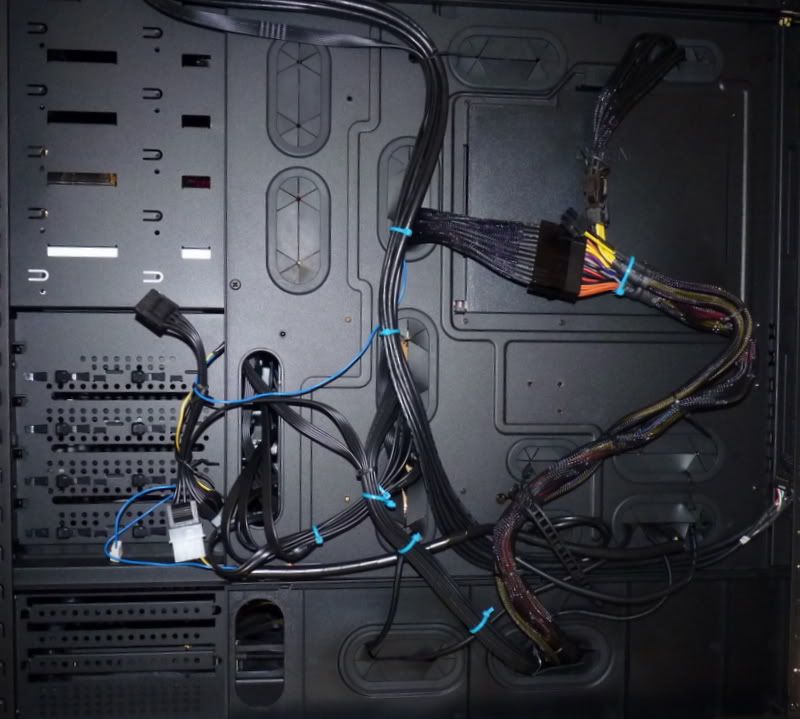
Nice job with cable management.
Do you have two loops or dual rads single loop?
Looking good! Chipset block required though, and at least one more GPU.
What's the spec of it?
")
I'd do away with the red spirals and use black tubing. Looks good though.
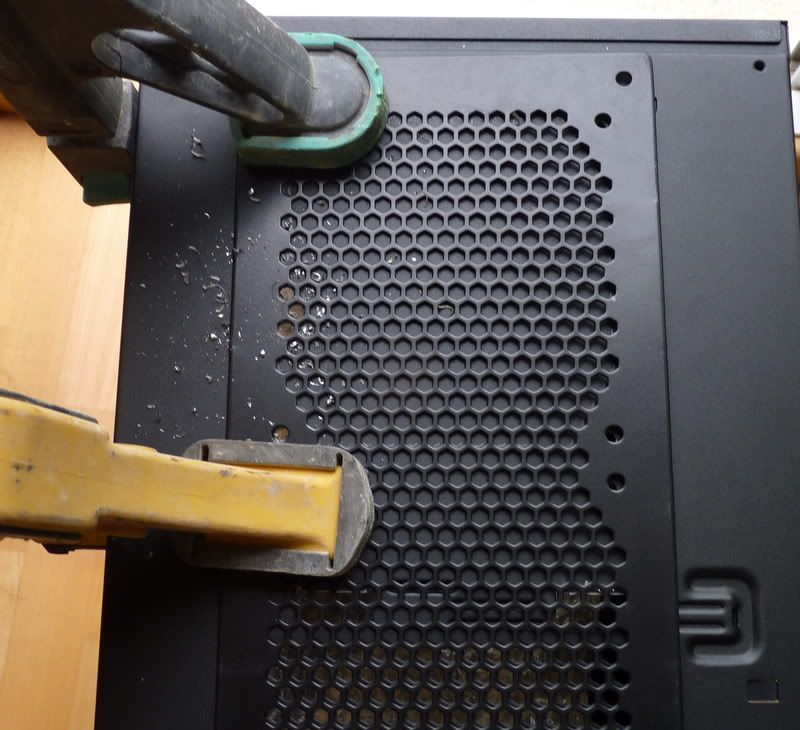
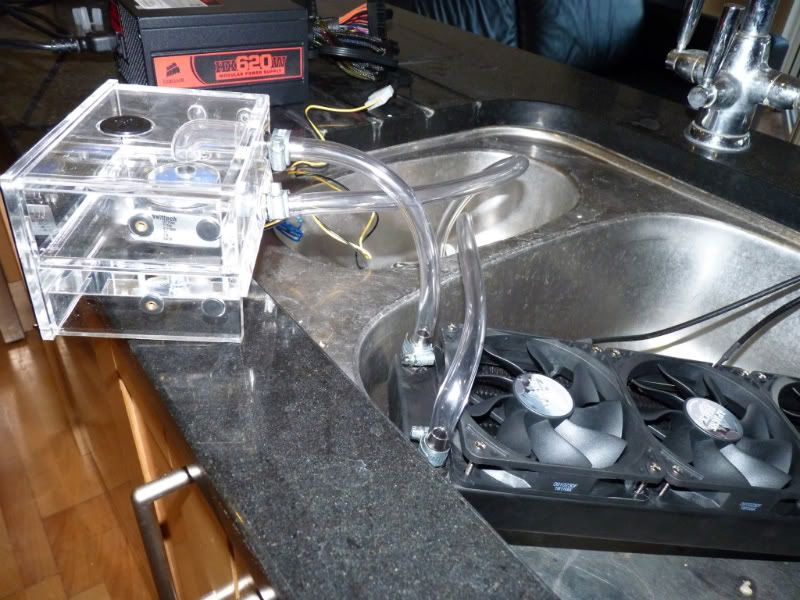
any chance you could go into more detail.
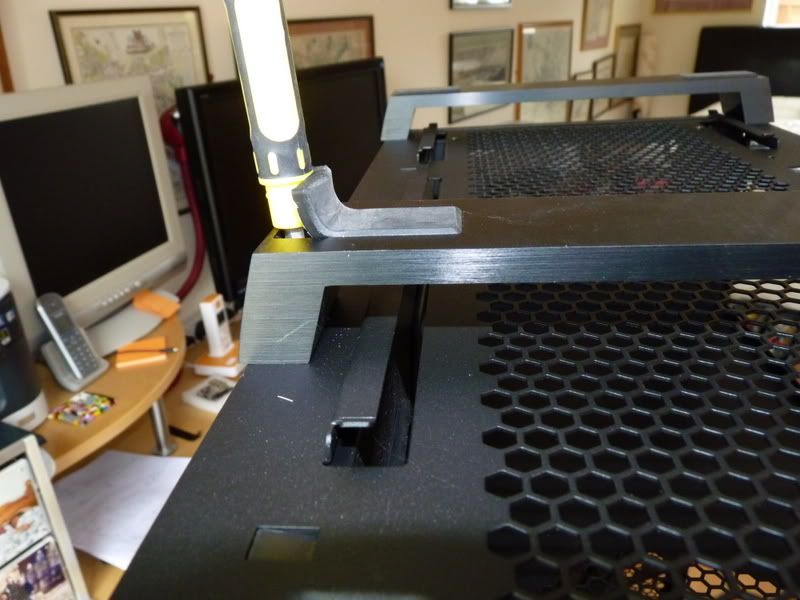
perhaps show us how you put the rad in the bottom?

Now that i DOOOOOO like! i like that a lot. Very simple but clean and pretty.
Nice job with cable management.
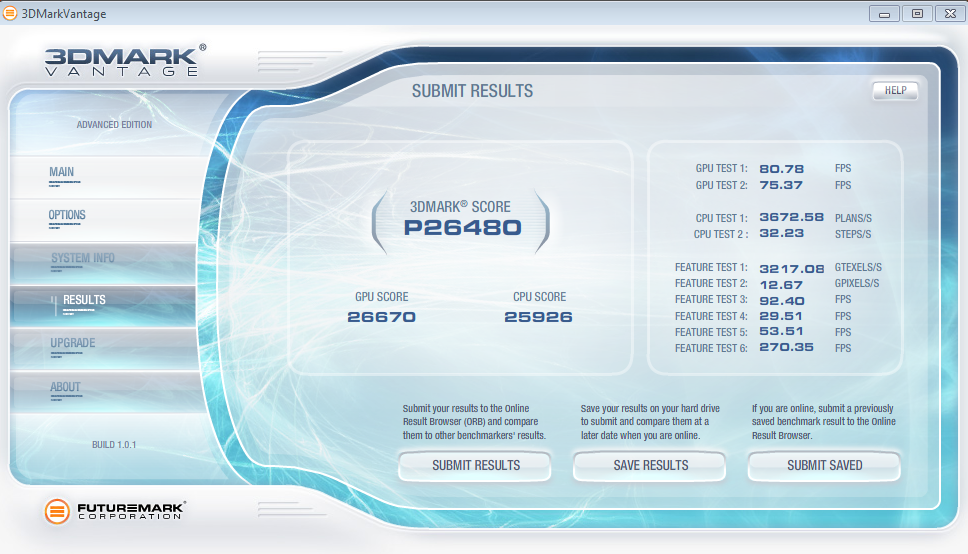
Yeah but you have a 5970 so its not a fair comparison. He's getting that off 1 GPU
Do like the x2 360 rad mod, very interesting.

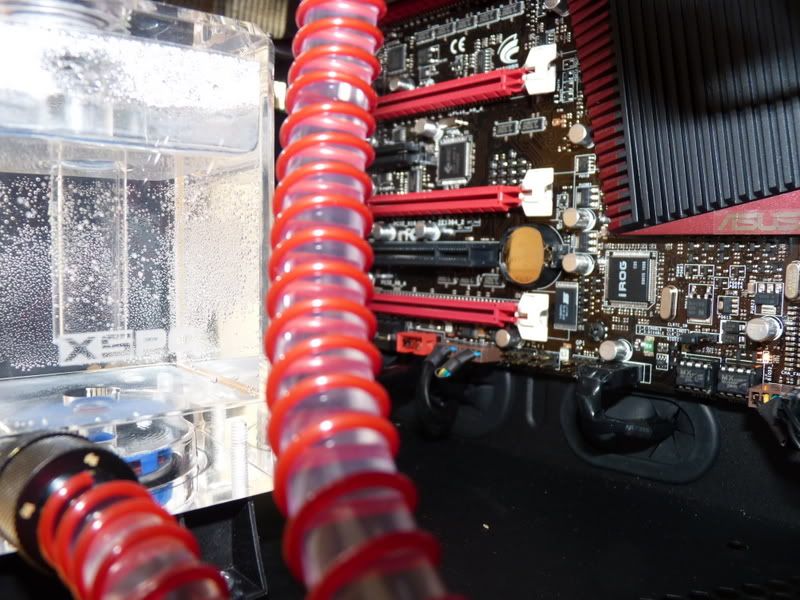
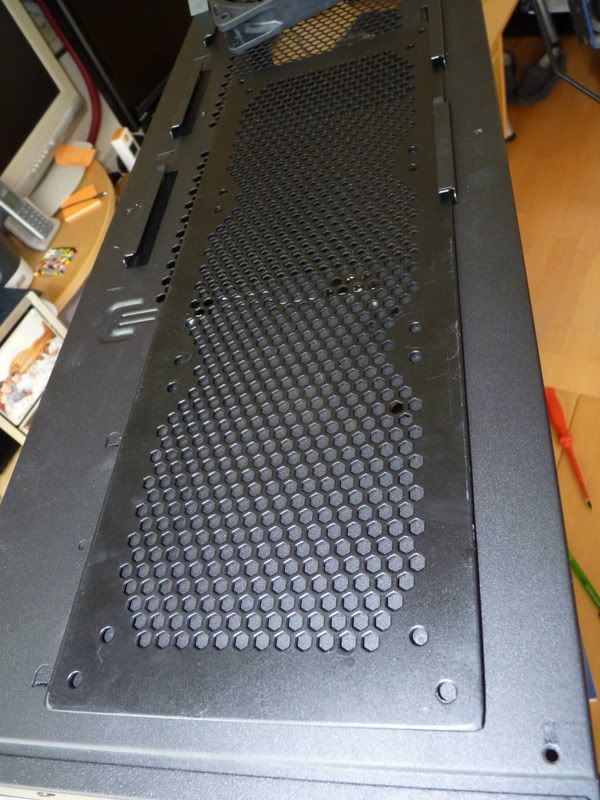
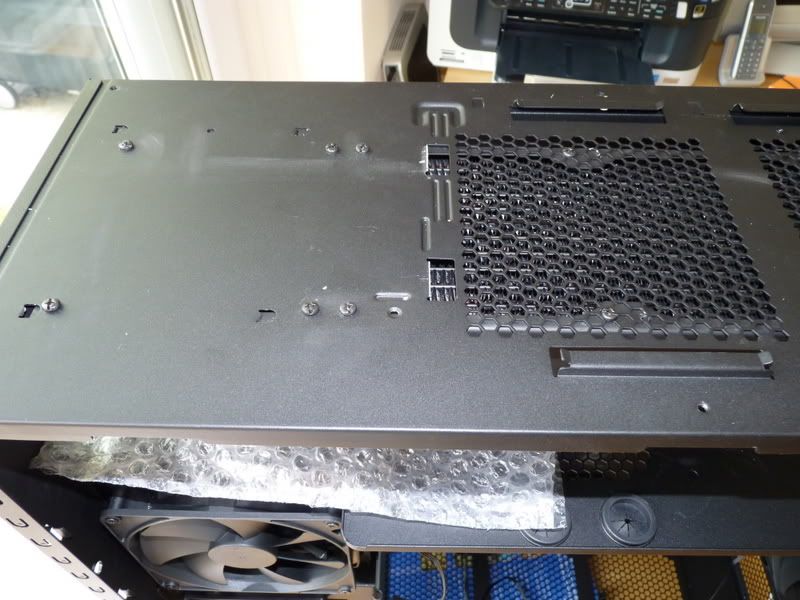
very weird !Holy sheet, you drilled the mesh yourself, brafreakingvo bro
, really well done, looks spot on.
I'm confused. I've just realised that your Drive Bay res supports 2 pumps. Why Dont you use both pumps in that res so you Dont need to have the pump mounted under the GPU.

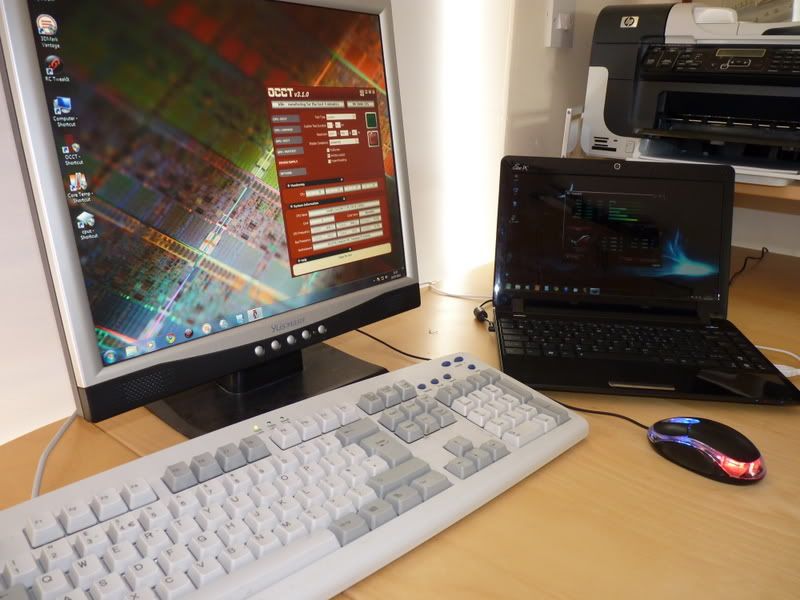
It's a Hanns-G, it says it narb
