Lopéz said:He's very neat isn't he? Hardly any overspray there really.
He put up fresh sheets to make it look less messy for photos

")
Looks a nice job, always nice to see an engine bay being looked after, and done properly!
Lopéz said:He's very neat isn't he? Hardly any overspray there really.
Steady onLeeum said:Awesome work. The MK2 is one of the best cars ever made imo
hominid said:Just one thing really, will the paint be sufficiently hardened after only a couple of days? I would take it very carefully as it'll most likely be very delicate for a couple of weeks, especially if you haven't had it in an oven.

L1J said:Paint should be ok, will mask some potential contact areas with cardboard before putting everything in gently...
")
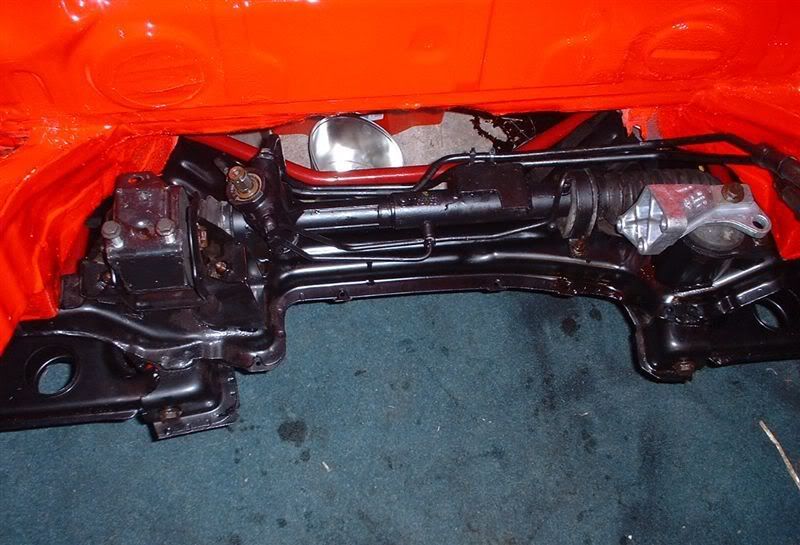
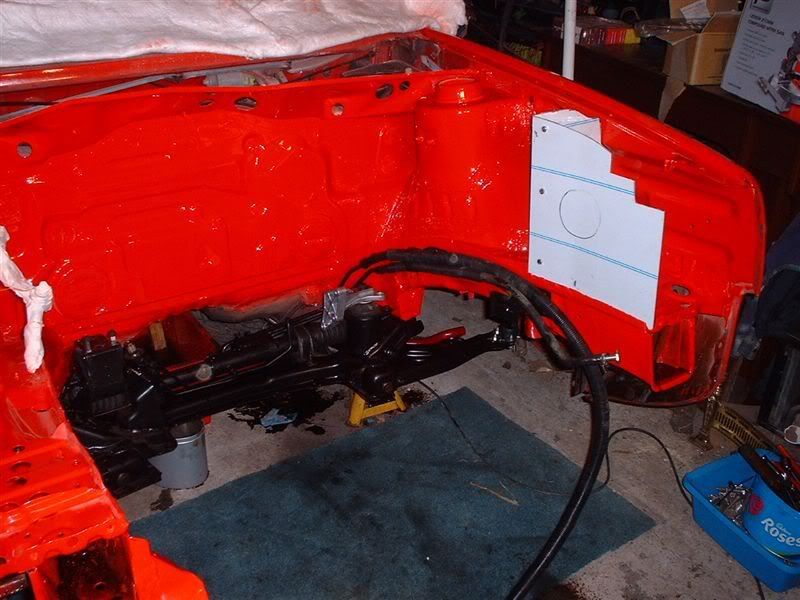
mark66 said:Excellent! Must be a good feeling starting to put stuff back in now! Amazing what a bit of paint can do, even the steering rack looks great
Each night when I check my OcUK mail folder I am chuffed to see more updates from you with yet more photo's for us to see, keep up the great work, we are all really enjoying seeing this car come together for you!
Firestar_3x said:Nice update
Looking good!
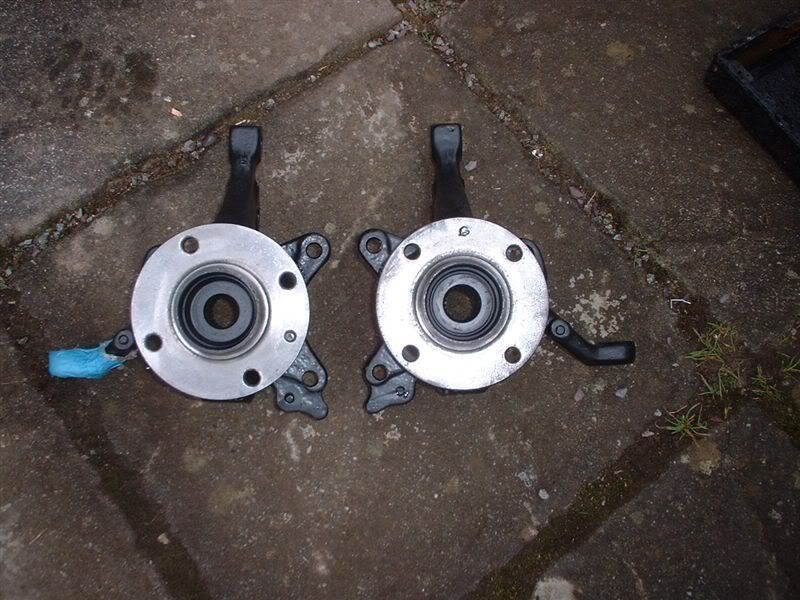
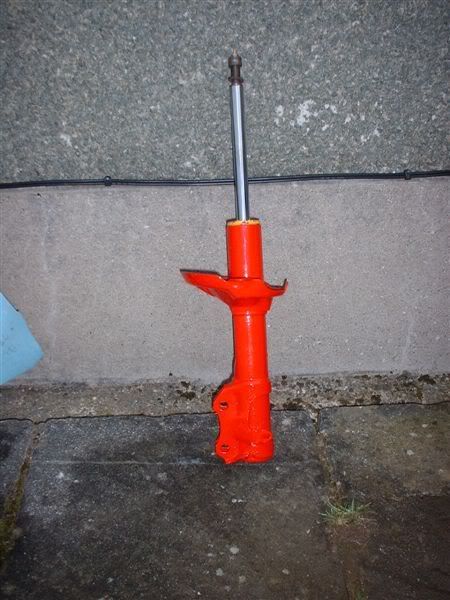
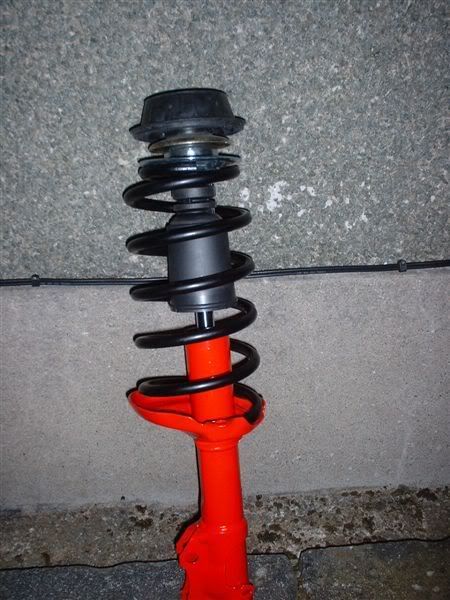
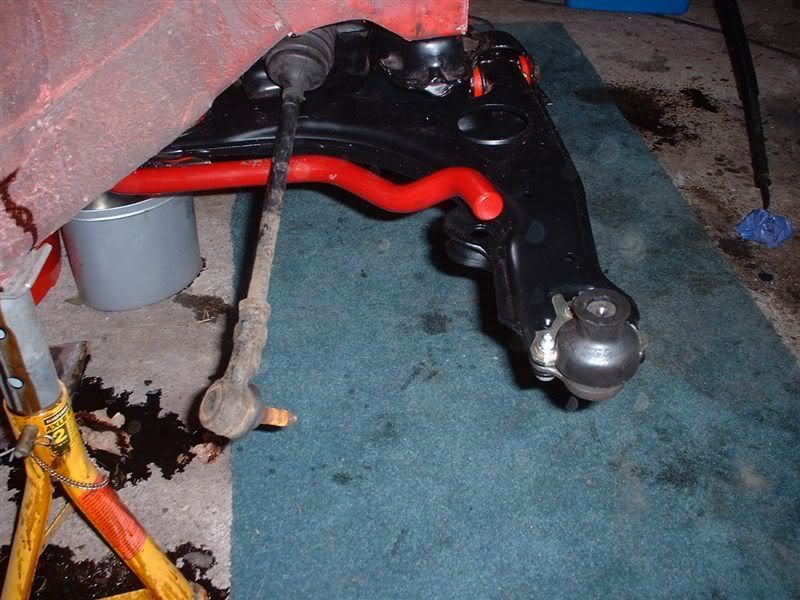
L1J said:Shocks all cleaned up and ready to be assembled tonight, these were also sprayed the other night and now match the bodywork....
andi said:Shock is short for shock absorber, which is a damper..
andi said: