You are using an out of date browser. It may not display this or other websites correctly.
You should upgrade or use an alternative browser.
You should upgrade or use an alternative browser.
My Golf Project
- Thread starter L1J
- Start date
More options
Thread starter's posts[huzeeee] said:I am very sorry to burst your little google search bubble my friend, but it appears the rest of the world is actually wrong as any real physicist/engineer will agree with me. The spring absords the shock and the damper removes the energy from the compresssed spring. The real name for it is critical damping- this is where and oscillating system is bougt to rest at its natural position in the shortest time possible.
Give over would you. IMO and the OP's opinion he's correct so don't trash a fascinating thread
If you didnt have any dampers the car would just bounce around.
And the other way around, if you had no springs the car would wallow about and be very boat like, very little resistance to push the car straight again if any from the oil inside the damper dependant on setup.
And the other way around, if you had no springs the car would wallow about and be very boat like, very little resistance to push the car straight again if any from the oil inside the damper dependant on setup.
[huzeeee] said:I am very sorry to burst your little google search bubble my friend, but it appears the rest of the world is actually wrong as any real physicist/engineer will agree with me. The spring absords the shock and the damper removes the energy from the compresssed spring. The real name for it is critical damping- this is where and oscillating system is bougt to rest at its natural position in the shortest time possible.
An engineer has targeted the info in this thread so everyone that reads it will have some understanding of what's going on. Rule number one in communication, consider who the information is intended for. I'm trying to keep things simple here so that 99% of whoevers reading it will understand. As a damper is commonly revered to as a shock absorber (as proven by andi) I think its appropriate to use it here.
I agree with you that its actually a damper, I've even mentioned damping in a previous post somewhere. The spring is a means of storing the energy in order for the damper to dissipate this energy through friction.
Everyone happy now?

Suspension update to follow tomorrow

L1J, I'm utterly dumbfounded.
What an incredible revamp and an absolutely stupendous amount of work you've put into this. Serious, serious respect.
I'll be following this with avid interest matey, and I'll be asking for an e-mail address to ask a few question when I start my own, comparitively tiny, project

Ant
What an incredible revamp and an absolutely stupendous amount of work you've put into this. Serious, serious respect.
I'll be following this with avid interest matey, and I'll be asking for an e-mail address to ask a few question when I start my own, comparitively tiny, project


Ant

You mean you successfully stayed awake through one of Roger's lectures or did you know that anyway?L1J said:I agree with you that its actually a damper, I've even mentioned damping in a previous post somewhere. The spring is a means of storing the energy in order for the damper to dissipate this energy through friction.
I guess all those years studying Automotive + Motorsport Engineering taught us something after all eh mate?

Deleted member 329
D
Deleted member 329

Little update
Did the front bumper this afternoon
Before:
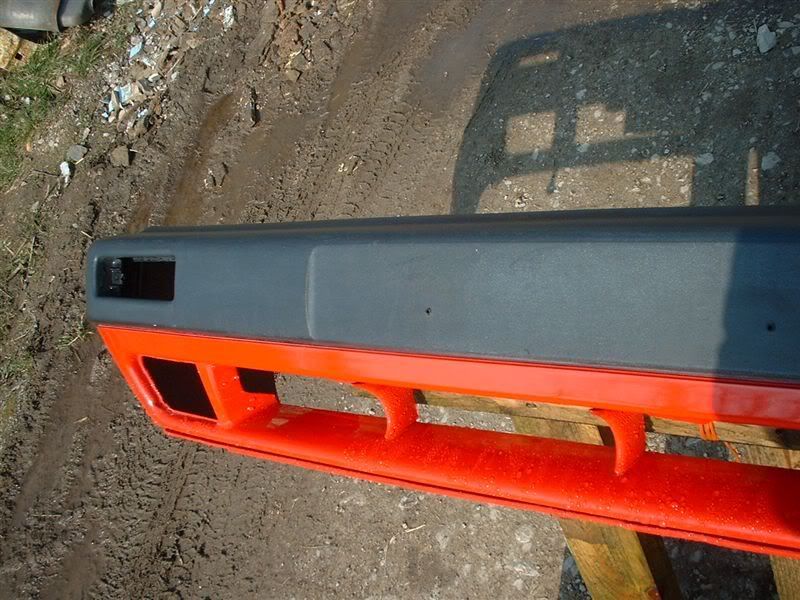
Bumper masked and then given a good wipe and clean with a scouring pad and panel wipe
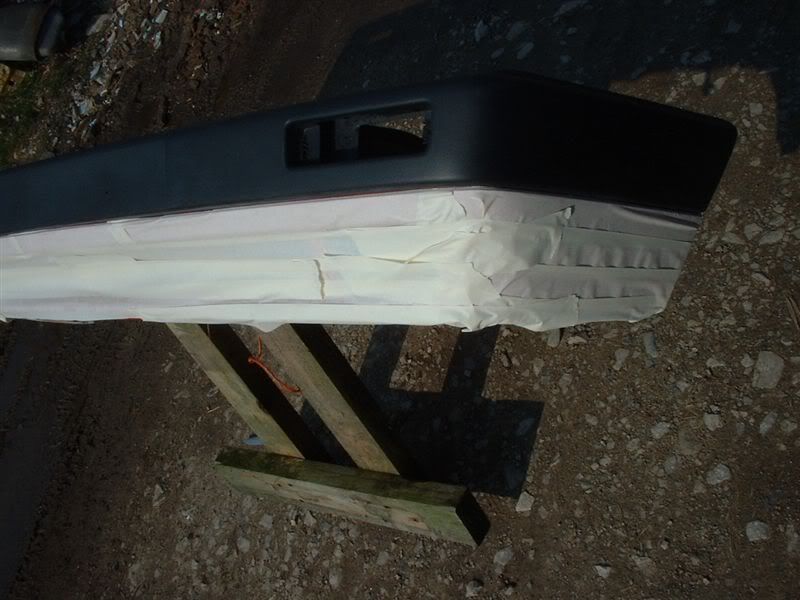
Bottom trim front bumper before (New from VW)
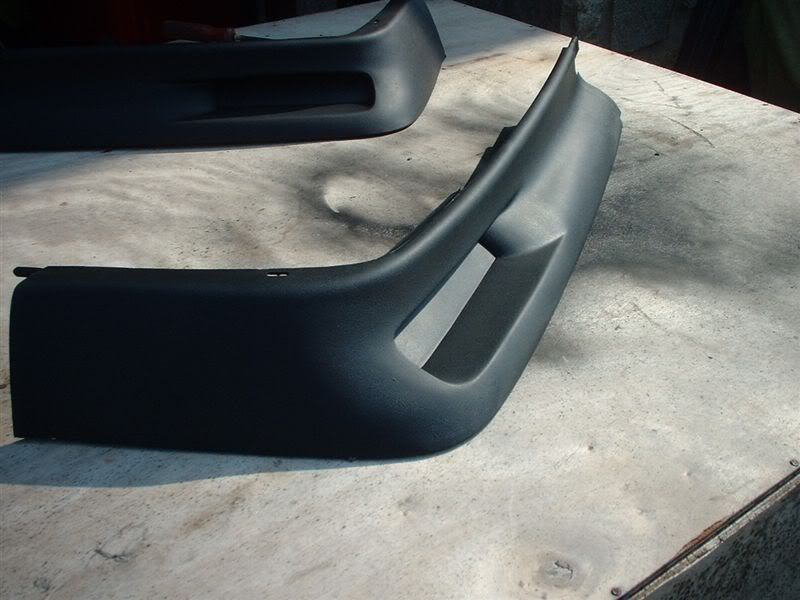
After:
Bumper all assembled and painted with vinyl paint, again very difficult to get a good shot of the finish in direct sunlight.
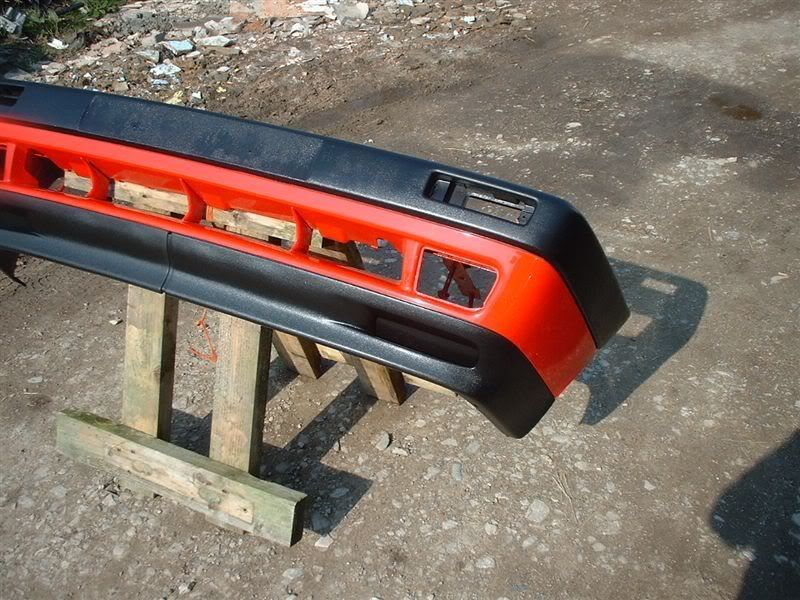
Did the front bumper this afternoon
Before:

Bumper masked and then given a good wipe and clean with a scouring pad and panel wipe

Bottom trim front bumper before (New from VW)

After:
Bumper all assembled and painted with vinyl paint, again very difficult to get a good shot of the finish in direct sunlight.

Soldato
- Joined
- 13 Jan 2004
- Posts
- 12,751
- Location
- Leicestershire
looking good... what do you think your doing on here posting updates???
get back out there and get working....
get back out there and get working....

helpimcrap said:looking good... what do you think your doing on here posting updates???
get back out there and get working....

Another update!
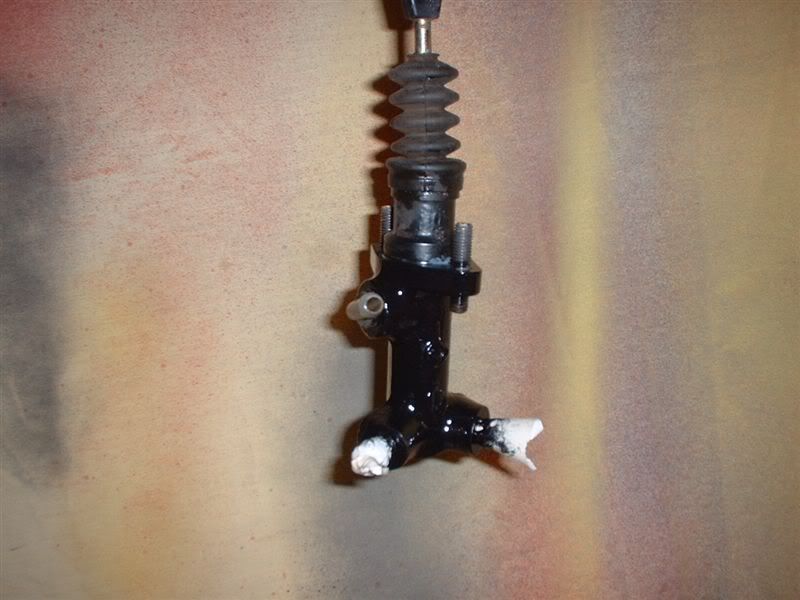
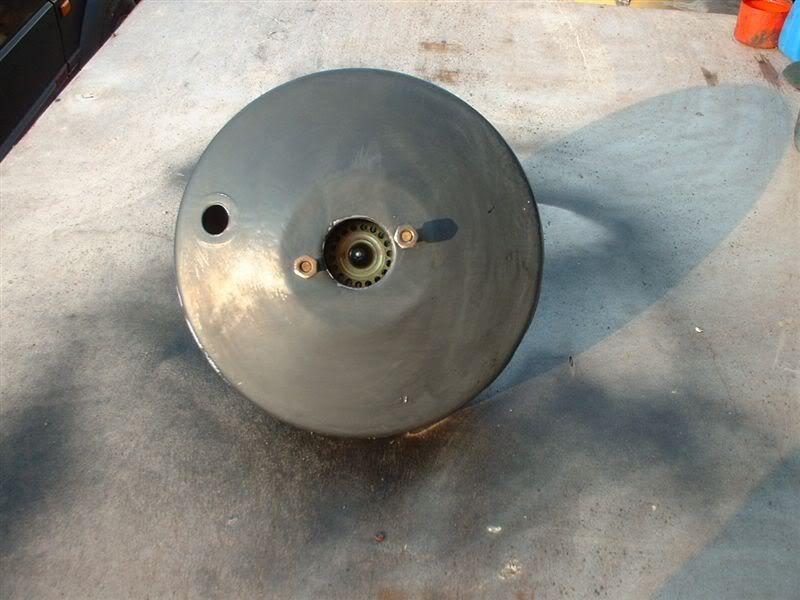
Mainly painting today (weather is far too nice to be stuck in the garage!)
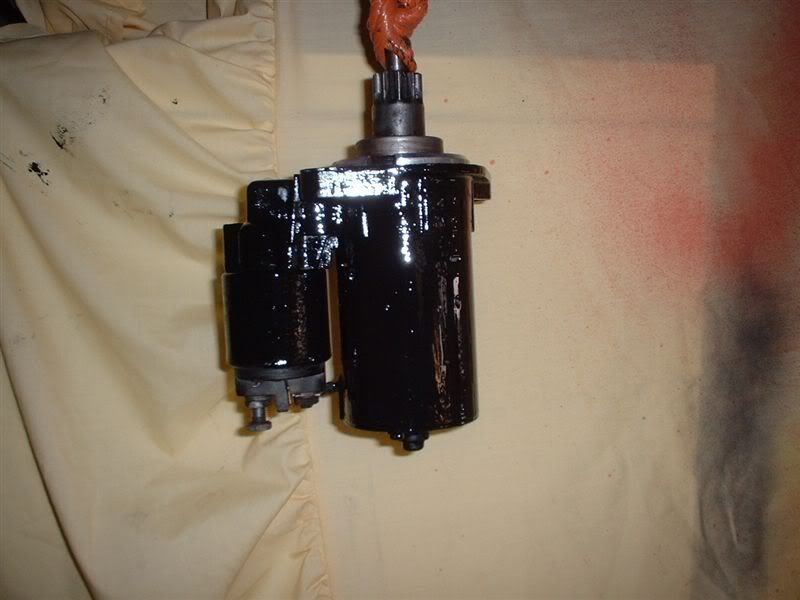
Starter motor prepared for paint, wire brush, degreaser, panel wipe
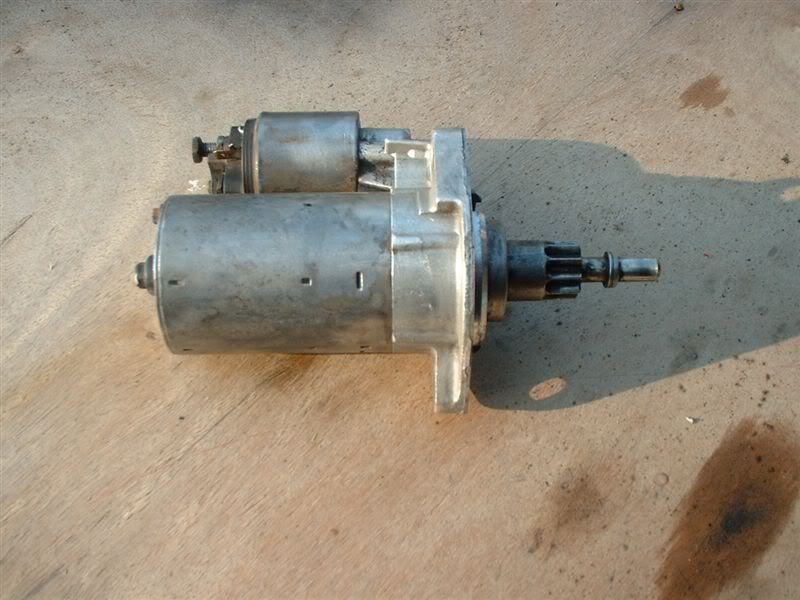
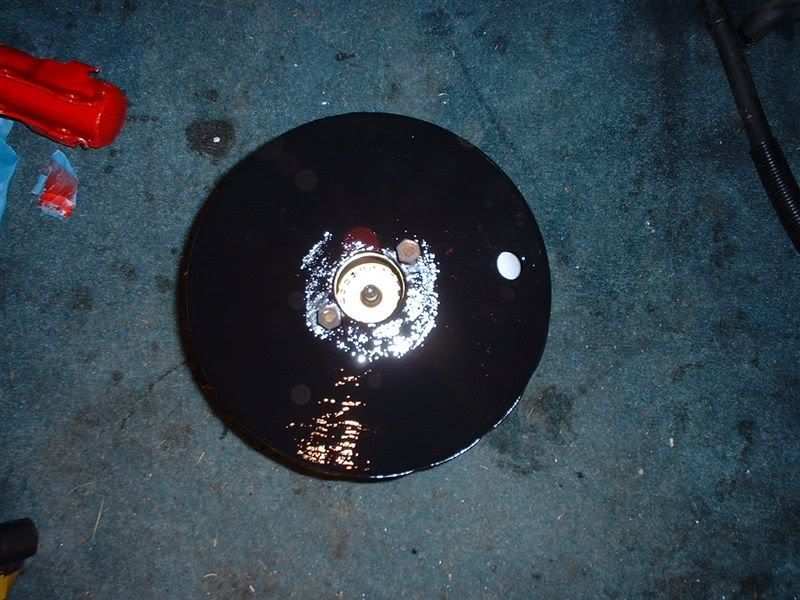
Brake servo given a rub down before a second coat
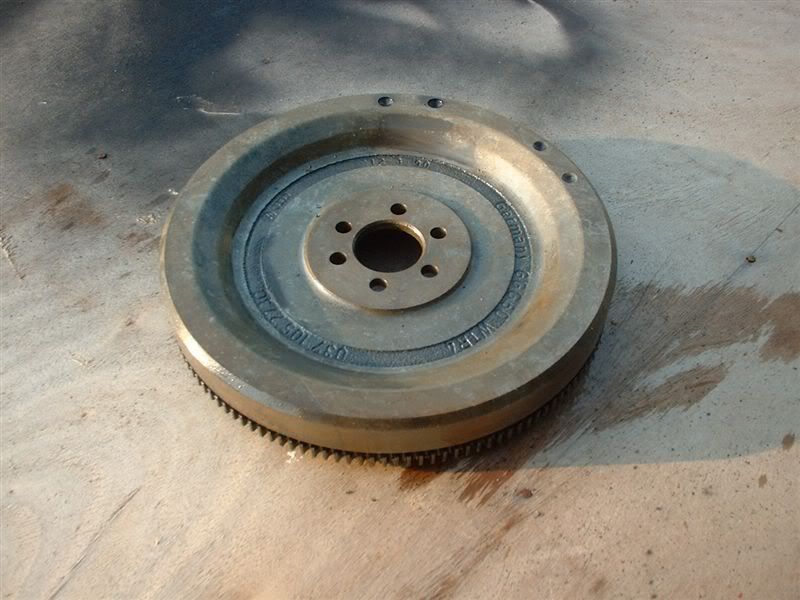
Flywheel after a bath in the parts washer followed by a day in the deox bath
tonyyeb said:Get on with it
Yes Sir!
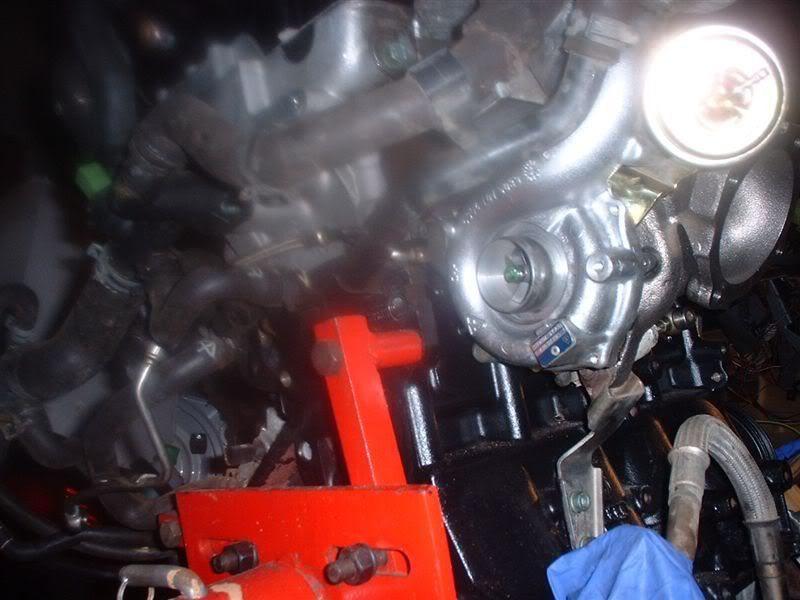
Removed the old turbo from the leon engine tonight:
Before, old rusted small thing!
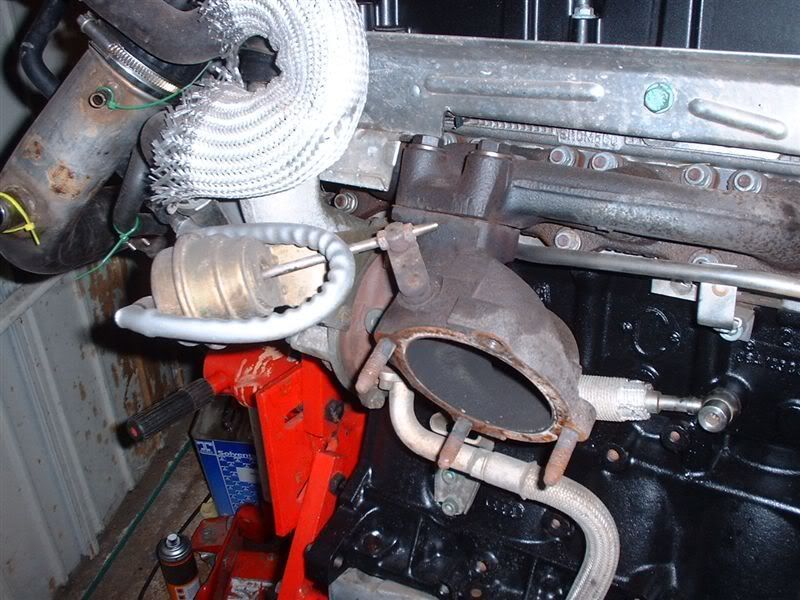
Oil and water pipes that needed to be removed
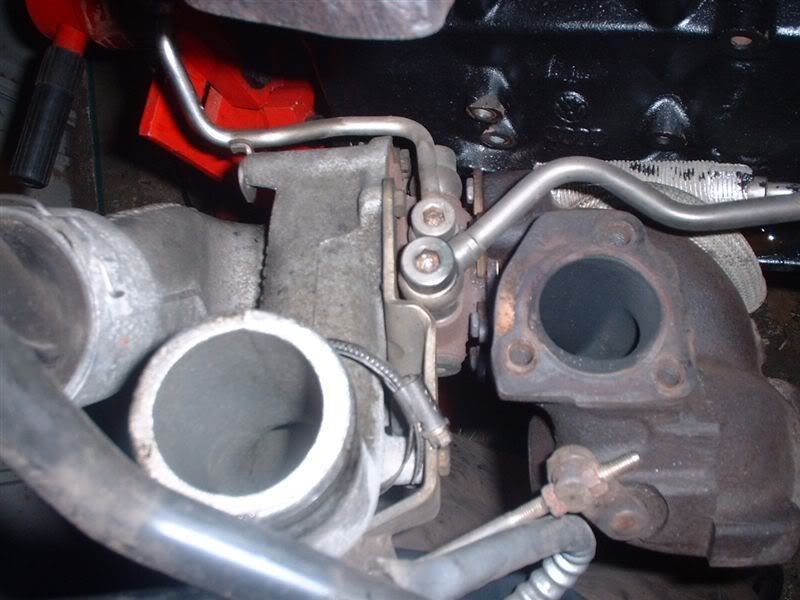
New small shiny turbo in place, excuse the smudge must have got some oil on the camera!
Whilst *gently* tapping the intake pipe back in place I managed to do this
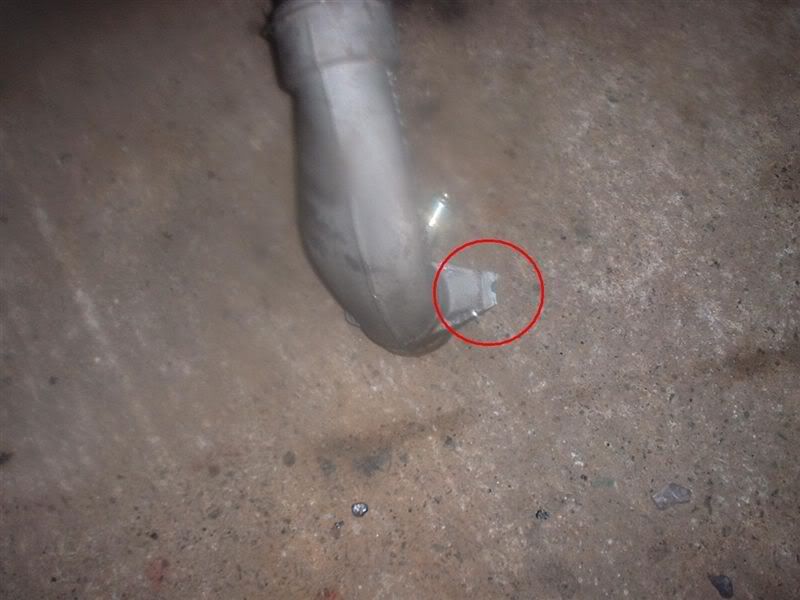
Will have to find another one monday or make an alternative out of silicone pipes or similar. Not bad thats the first breakage in this project!
Last edited:
Thanks guys, streching it a bit though!
Firstly an explanation on flaring brake pipes, so you know what I'm on about!
Brake pipes need a flare at the fitting end in order for them to seal. This flare needs to be created using a special tool. When the fitting is tightened up, the flare is compressed against a surface which creates a seal.
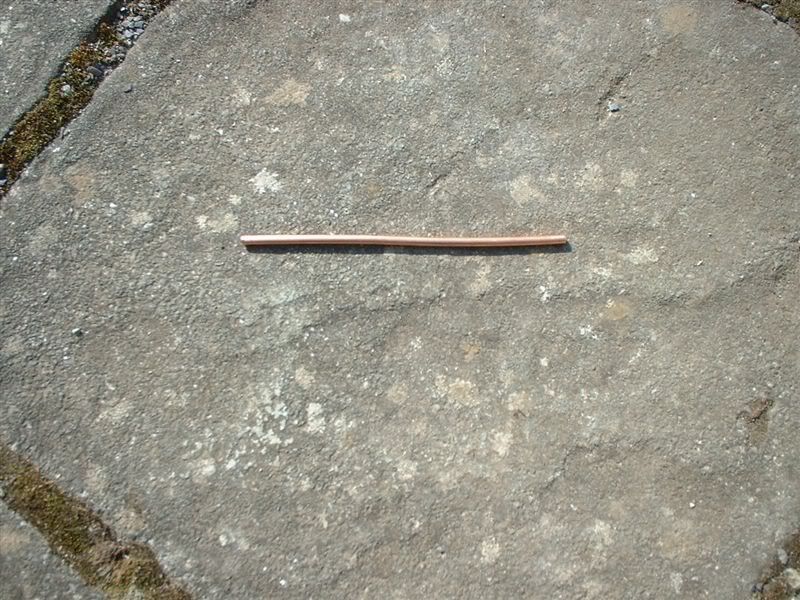
Length of brake pipe
Pipe placed in the flaring tool
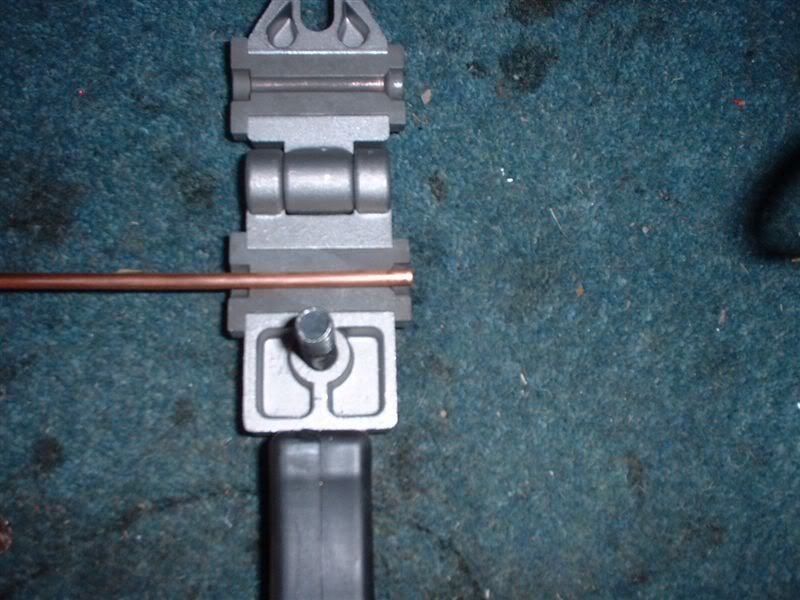
Pipe clamped down and hydraulic wind down tool attached to the clamp, as the handle of the wind down tool is turned a specially shaped section forms the flare at the end of the pipe
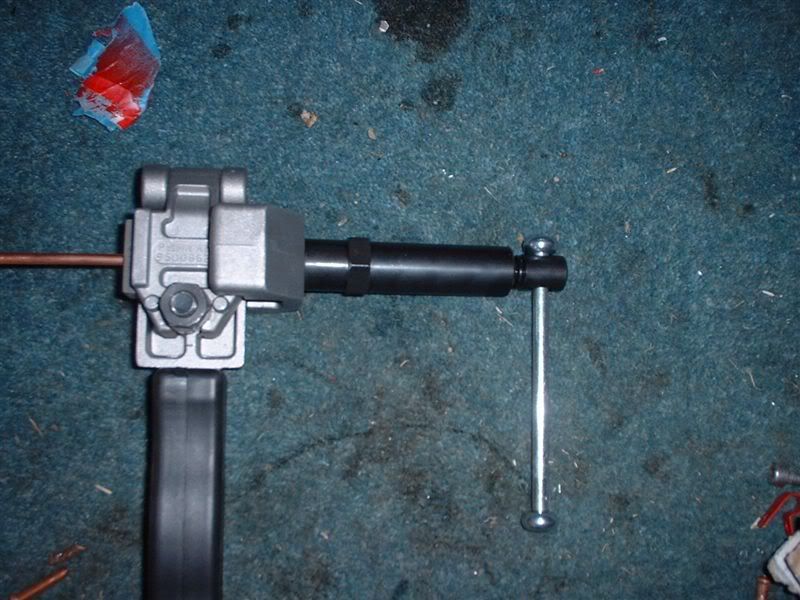
Wind down tool removed and clamp opened
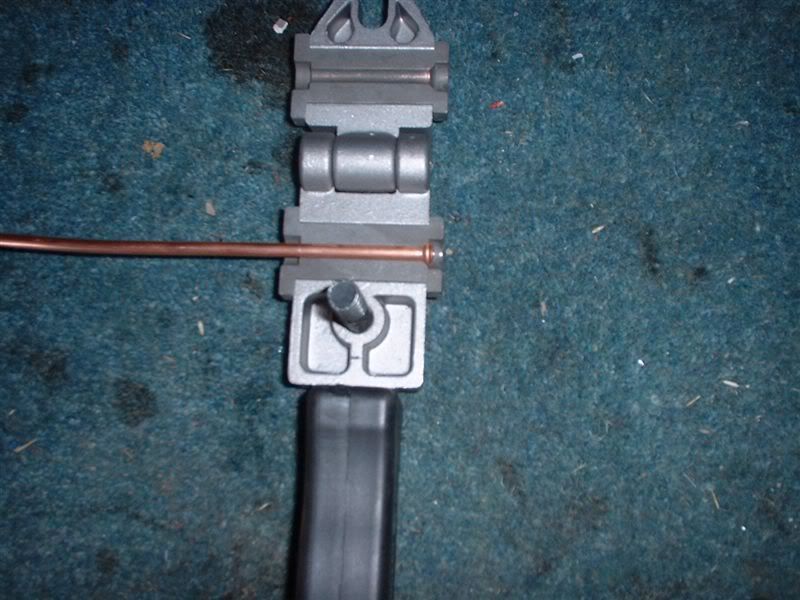
Finished article complete with male fitting
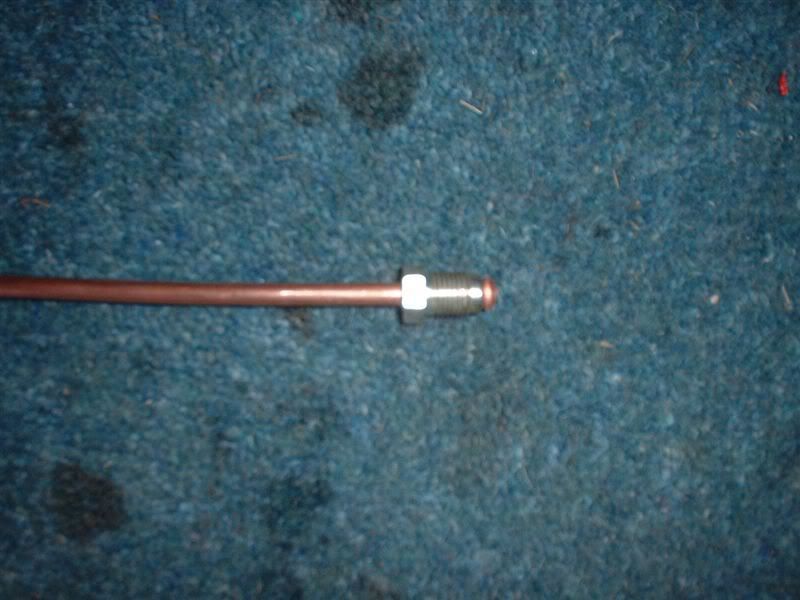
Firstly an explanation on flaring brake pipes, so you know what I'm on about!
Brake pipes need a flare at the fitting end in order for them to seal. This flare needs to be created using a special tool. When the fitting is tightened up, the flare is compressed against a surface which creates a seal.
Length of brake pipe

Pipe placed in the flaring tool

Pipe clamped down and hydraulic wind down tool attached to the clamp, as the handle of the wind down tool is turned a specially shaped section forms the flare at the end of the pipe

Wind down tool removed and clamp opened

Finished article complete with male fitting

Todays update:
Was up early this mroning, quick visit to work and came back home determined to sort these brake lines out. No idea why I was putting it off to be honest, was pretty simple once I actually thought about what I was doing and bent the pipes by hand using the former from a bending tool.
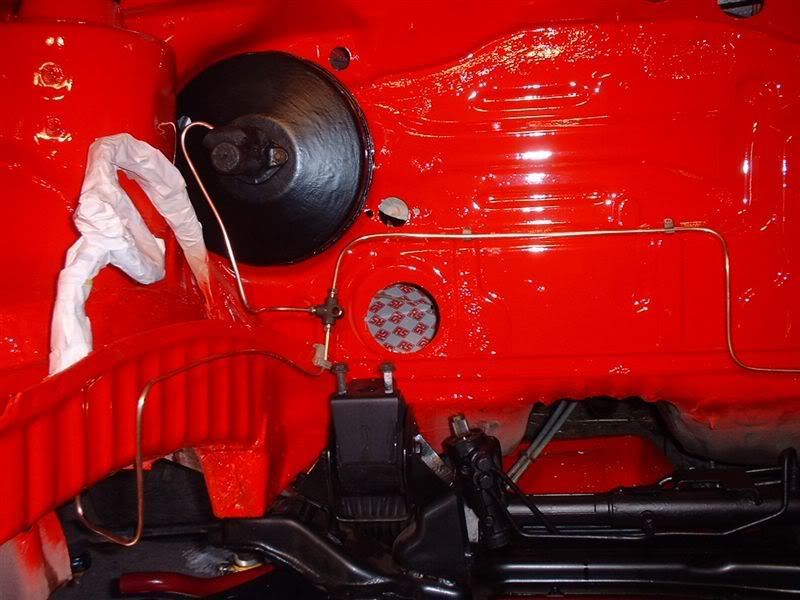
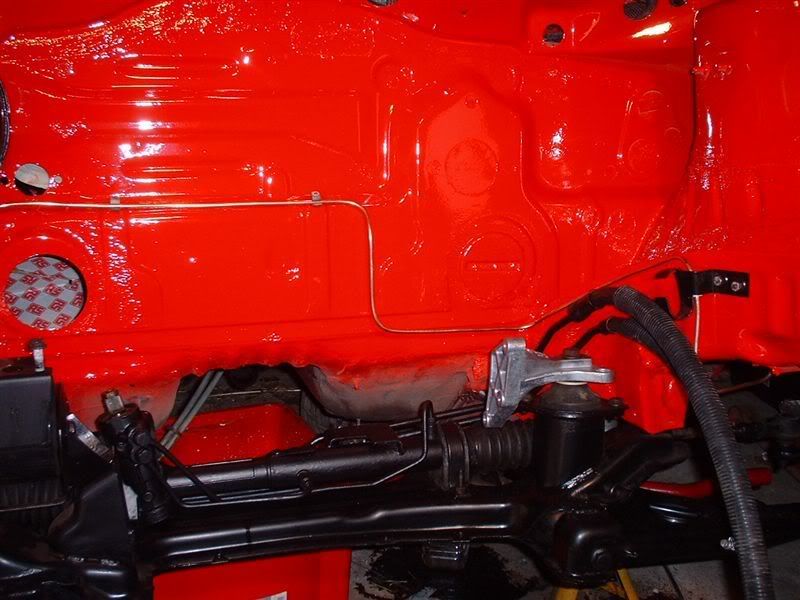
I need to clip them in place, they will look much better then.
Tip: When flaring brake pipes, remember to put the fitting on before flaring!
Was up early this mroning, quick visit to work and came back home determined to sort these brake lines out. No idea why I was putting it off to be honest, was pretty simple once I actually thought about what I was doing and bent the pipes by hand using the former from a bending tool.


I need to clip them in place, they will look much better then.
Tip: When flaring brake pipes, remember to put the fitting on before flaring!

Looking good so far..
Another thing that I did think about was the engine, I might have missed it, did you think about replacing the big/main end bearings and oil pump on the new block? I did this just a precaution on my build just so that I knew I wouldn't have problems which meant an engine out job. If the engine is guarenteed very low millage then I doubt it would be worth worrying about but might be worth thinking about as it only takes a few minutes with the engine out.
Another thing that I did think about was the engine, I might have missed it, did you think about replacing the big/main end bearings and oil pump on the new block? I did this just a precaution on my build just so that I knew I wouldn't have problems which meant an engine out job. If the engine is guarenteed very low millage then I doubt it would be worth worrying about but might be worth thinking about as it only takes a few minutes with the engine out.


