My Golf Project

  • Thread starter Thread starter L1J
  • Start date Start date
Barry Smalley said:
Qpeng stuff offers an easy solution and Emerald is supposed to be ok, but what about DTA? It's supposed to be very very good for the 20VT.

Not sure on the weight differences of the 20VT and the PB engine, but I think you definitely need to think about putting coilovers on to get your height bang on. Koni T/A's and standard springs would certainly be interesting, as the Koni bodies are shorter than standard fayre.

Are you on ClubGTI? If not, you need to be - plenty of good advice over there.

The wheels? From a sportline, or are they just black centres? I'd get some nice 8" RM's on the car when it where finished. 6"/7" wheels don't do anything for the stance. :)

A friend has gone down the DTA route on his mk3 20VT conversion. I think it all comes down to who maps it in the end. QPEng route looks easy and no further mapping required to get it running. It's not going to be an optimum map but it should be close enough for now.

Konis should be fine on standard springs, used this combination on lots of cars. Suits our roads up here well. I think the TA shocks I've got are standard length.

There shouldnt be that much of a difference in weight, block is essentially the same isnt it? Will see how it sits when I finish and take it from there. KW V3 coilovers are on the wish list! :)

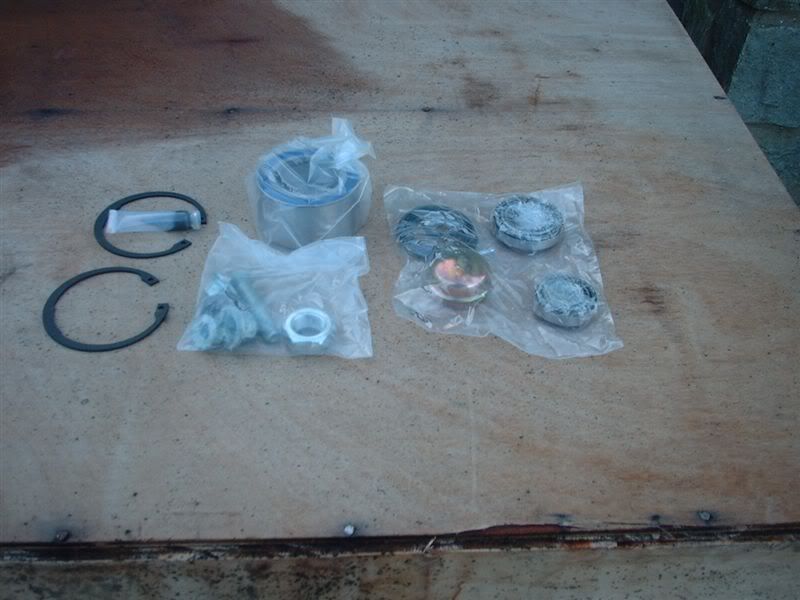
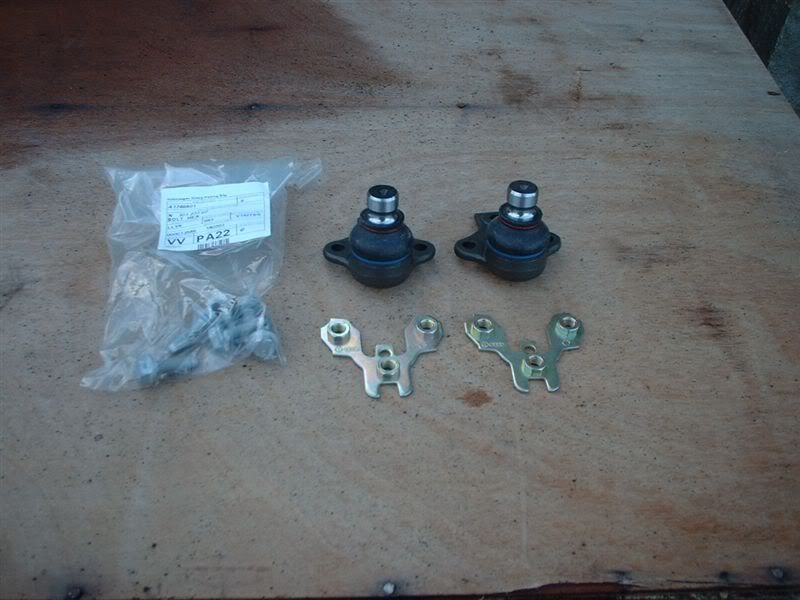
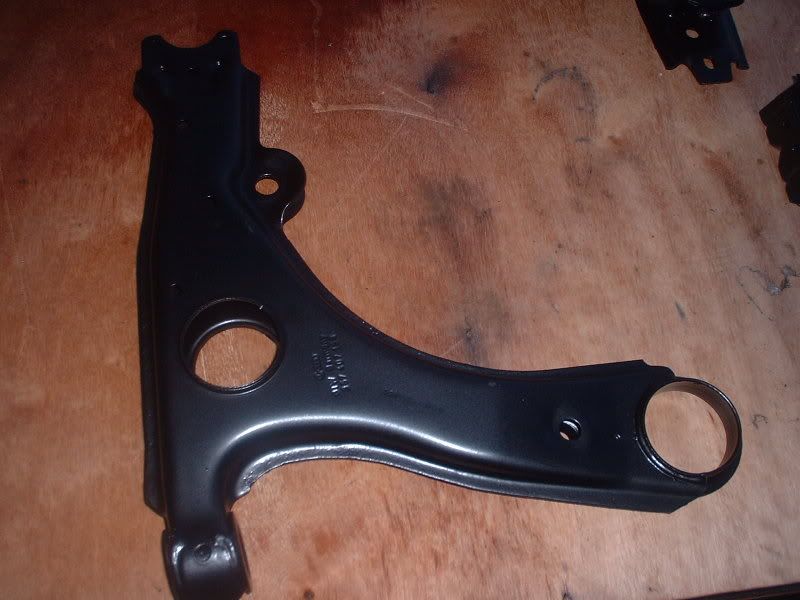
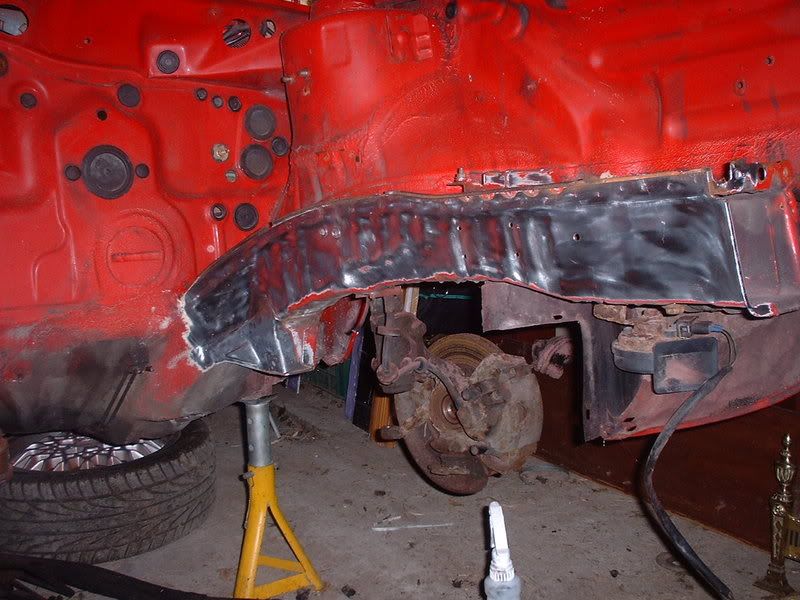
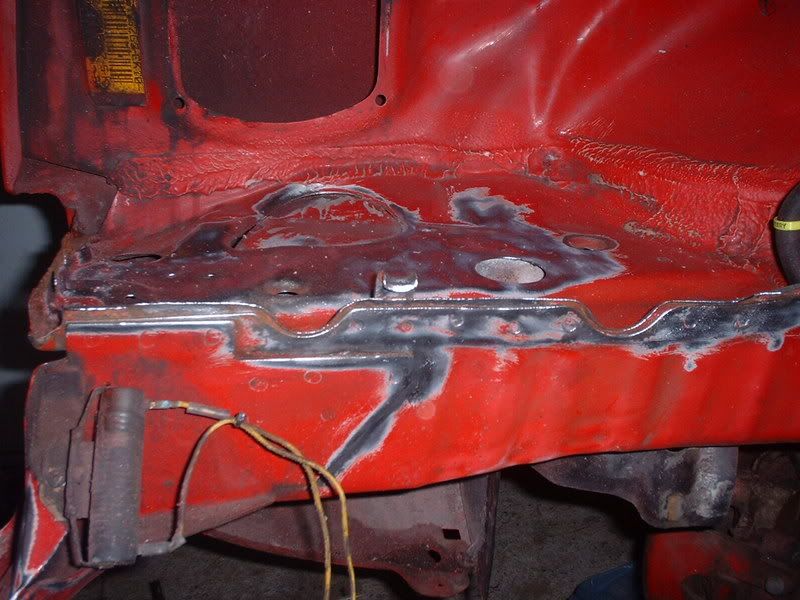
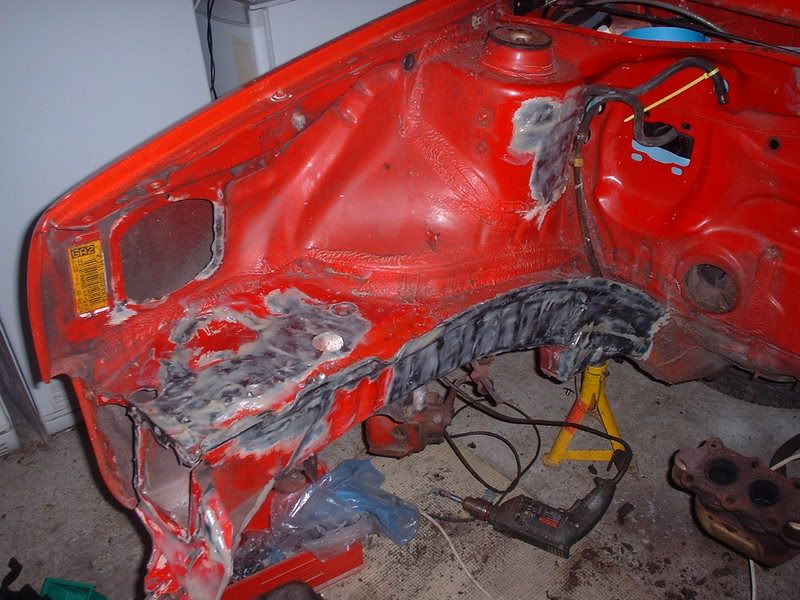
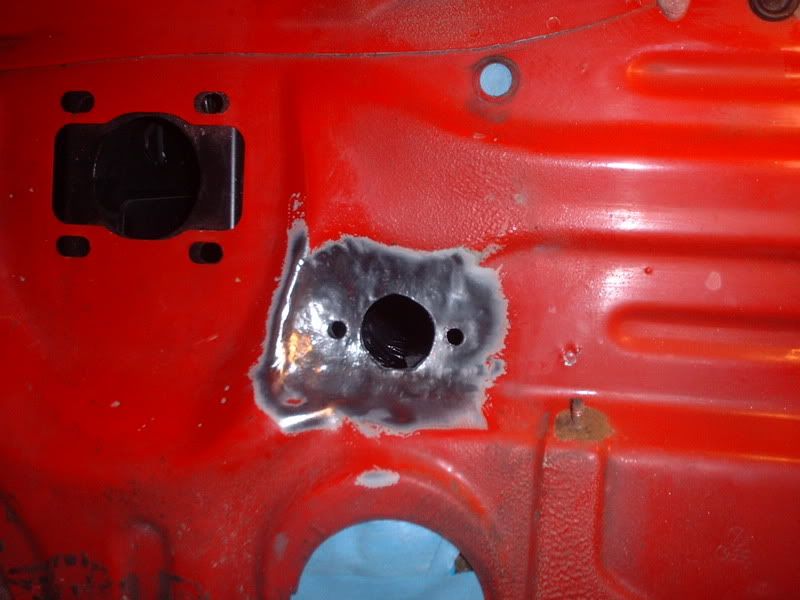
G60 brakes are a definate, trying to source some carriers at the moment.

Spent many an hour searching on Club GTi, most of this conversion is well documneted over there thankfully!

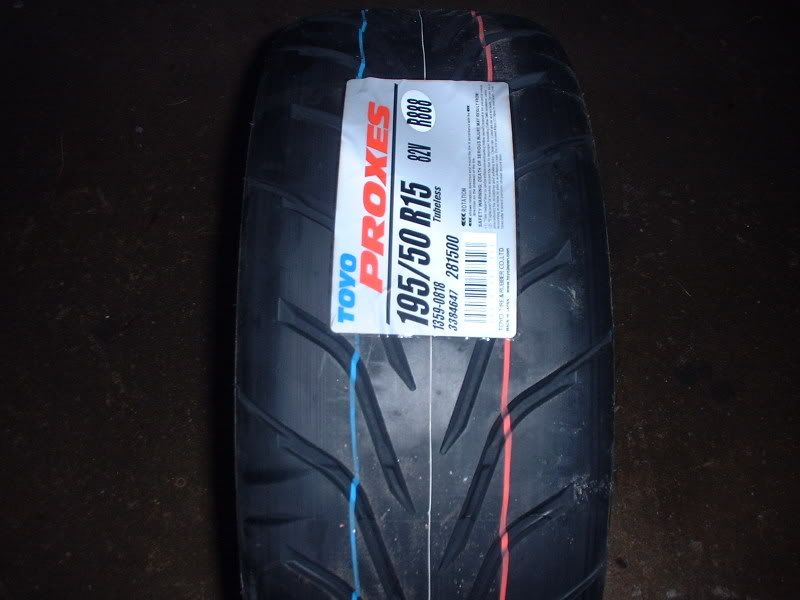
Wheels are going to be standard RAs, trying to keep it looking as standard as possible. I think a 8" wide wheel would kill the handling, I'm more of a how it goes not how it looks person :)
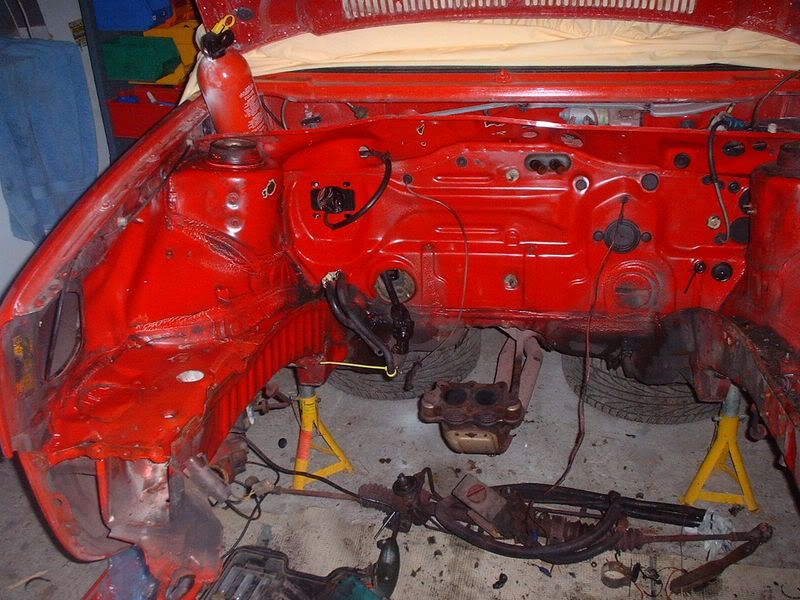
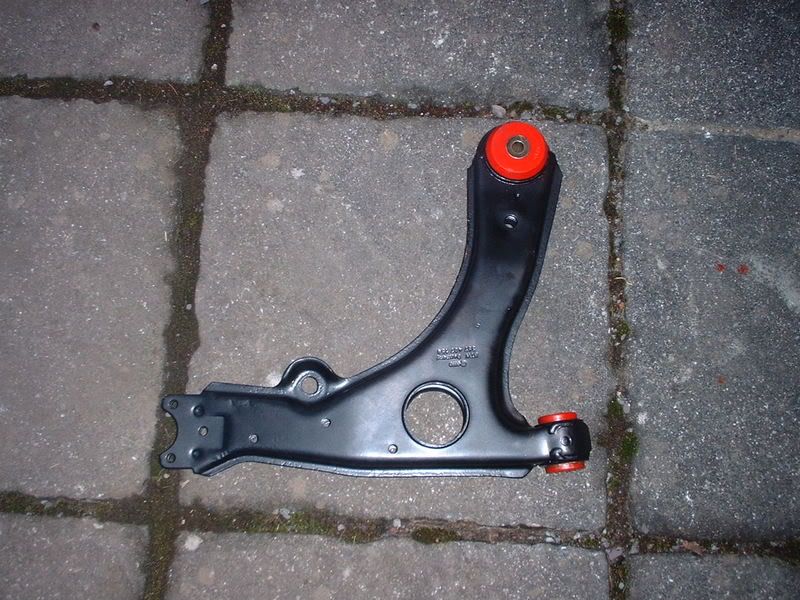
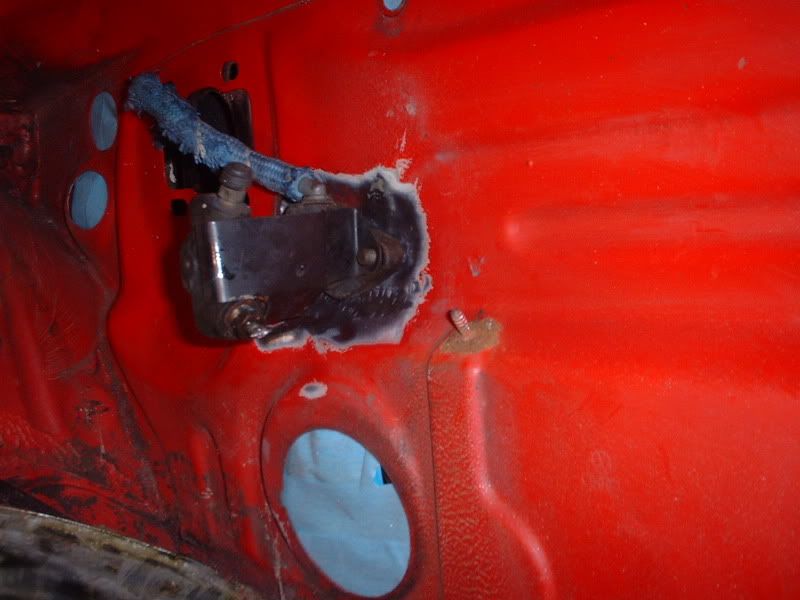
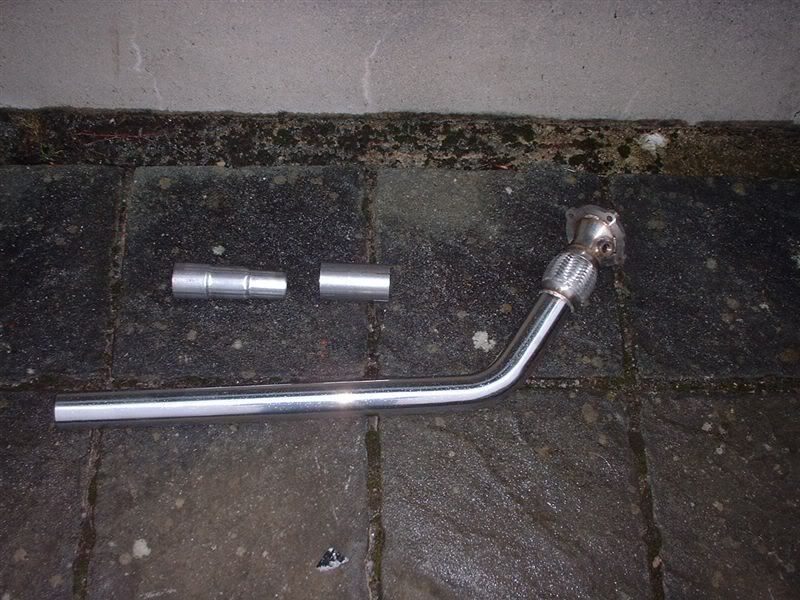
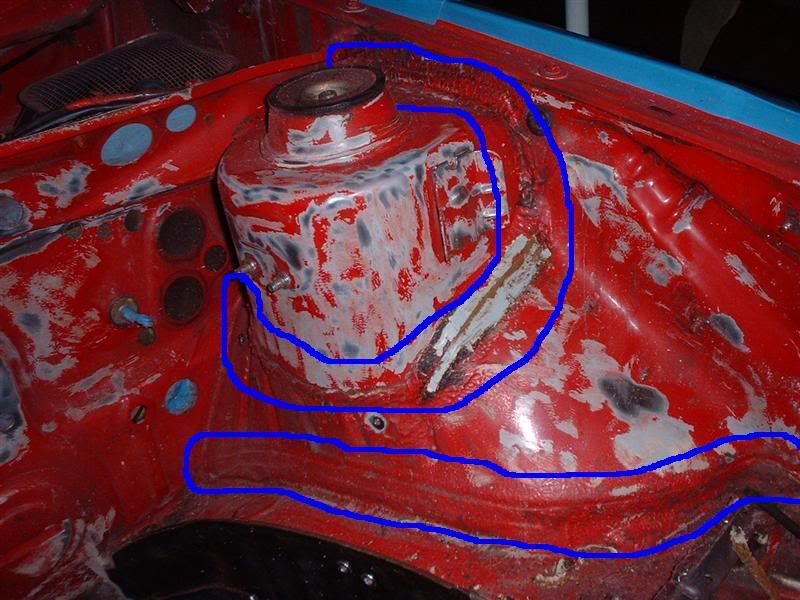
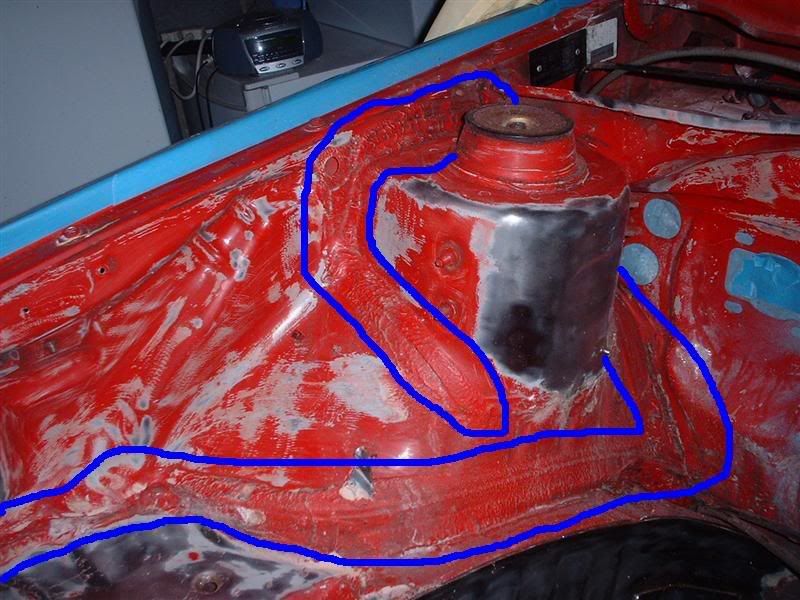
lozza23_uk said:
oooh you wont like that front engine mount. solid as a rock.

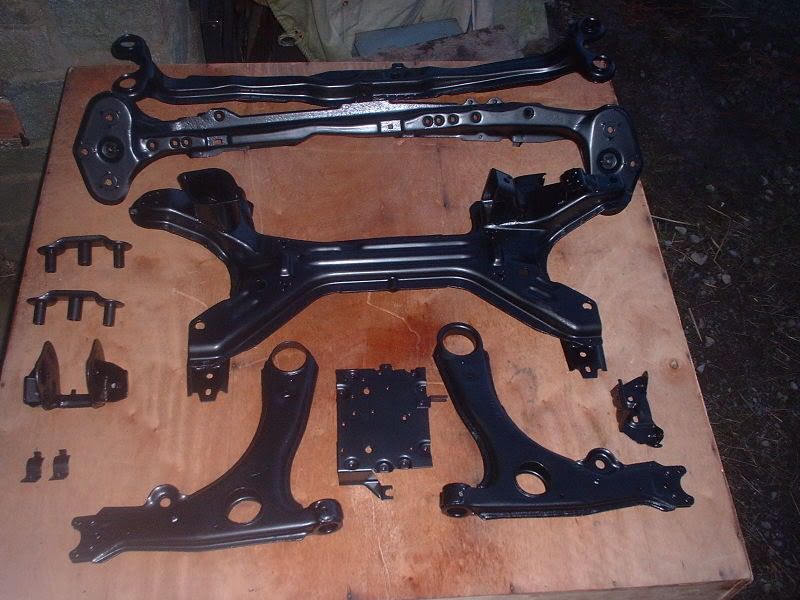
The subframe that it's mounted to is bushed from the body so hopefully it wont be that bad. As you say quite easy to change if I dont like it!

Barry did you notice any increase in noise when you fitted yours?
 
I was working today so haven't done anything to the car

Picked up some bits from the powder coaters

DSCF0083.jpg


Close up of the expansion tank bracket

DSCF0087.jpg


Bottom arm, bushes will be fitted tomorrow

DSCF0086.jpg


Really pleased how the parts have turned out, they look really good in the flesh.

These arrived earlier in the week, can wait to try them out :D

DSCF0089.jpg


Plans for tonight are to carry on preping the engine bay...
 
The rusty tool update!

DSCF0090.jpg


It really does work!

Going to get some of the gel in powder form to make a bath I think, I have loads bolts etc that could do with that treatment.

Nothing done to the car today, hopefully can take a half day tomorrow and get on with it.
 
I should be on commision!

The Dynax s50 looks impressive, can you let me know how you get on with it please?

Barry,

Your rallye sounds awesome, I've PM'd you on Club GTi.

How can I tell if the wheels were from a sportline?

The QPEng ECu can be remapped for future upgrades, I'm going to sit down and compare the ECUs one day and try and decide which one to go for. The only thing that worries me about all the aftermarket ECUs I've looked at is that they dont seem to have any knock monitoring/control.

I dont really want to fill the dash up with displays such as AFR meters and knock sensors!
 
Todays update

Wiring loom, brake pipes, brackets etc removed from engine bay and started to clean it.

DSCF0111.jpg


The bay is covered in black stuff, it's a total pain to remove as it mixes with the degreaser and forms some sort of paste! I've tried gunk and brake cleaner on it, any other suggestions?
 
Todays update

Took this

DSCF0113.jpg


Out of here!

DSCF0118.jpg


Picked up a passat pedal assembly on the way home from work

DSCF0112.jpg


The passat unit has a hydraulic clutch that goes with the gearbox I've got. It is possible to convert to a cable clutch but as it's going to be a daily driver so a llighter clutch action will be better!

Finished stripping the engine bay

DSCF0117.jpg


Waiting for some wire brush attachments to arrive for the angle grinder before carrying on with the engine bay.

I managed to remove most of the black stuff using megs APC, once it soaked in it came of much easier than yesterday!
 
Gave every bit of bare metal a coat of rust removal gel

DSCF0128.jpg


Also put the bushes in the bottom arms

DSCF0127.jpg


Plans for tonight are to 'modify' the bulkhead to fit the passat clutch master cylinder
 
andy said:
does that rust removal gel leave a residue or anything on the metal ?

will it need a good clean before painting ?

It needs a good wash with water, the gel dissolves in water.

Nothing is left but bare metal.
 
Lopéz said:
I might get to try it myself on Sunday IF THEY EVER DECIDE TO BLOODY POST THE STUFF

I ordered mine on a Friday it arrived the following Wednesday!

Tonights update

Needed to flatten the bulkhead for the clutch master cylinder (CMC) to sit flush. I drilled a hole from inside the car using the passat pedal box as a guide

DSCF0132.jpg


Then I used the gasket supplied with the CMC to mark the area I needed to flatten

DSCF0133.jpg


After a lot of bashing with a hammer the area was reasonably flat so I drilled the both mounting holes out and used a bolt and washer to pull the metal flat against the pedal box

DSCF0136.jpg


Centre hole made by drilling lots of small holes then using a file to match it up to the pedal box. Area cleaned up using my new favourite tool!

DSCF0138.jpg


Trial fitting of the CMC all ok and ready to be bolted on after painting the engine bay

DSCF0139.jpg


That rusty stud will be dealt with tomorrow!
 
TaKeN said:
Looks to be an awesome project which you are realy enthusiastic about :)


Can't wait to see it finished :D


Motiavtion is being kept high as I have a month booked off from work in May and I intend to take the golf on a road trip round europe, including a visit to the 'ring! :D
 
Thanks for all the replies guys, it does help knowing everyone is expecting an update!

Not much done today

Gel turned to this overnight

DSCF0144.jpg


DSCF0143.jpg


DSCF0141.jpg


I've started to clean the gel up and rub the paint down in the engine bay ready for the primer. Also masked some of the holes in the bulkhead.

DSCF0145.jpg


I also tidied the garage up as it was a mess! :p
 
tbz_ck said:
May I ask what you do for a living? Are you a mechanic? I'm just wondering what kind of skill level is required to undertake such a project as its brilliant !!

well done :)

I'm a Maintenance Team Leader at a local food factory! My team repair and maintain allsorts of machinery dealing with all the mechanical, electrical, hydraulic and pneumatic aspects. A Golf is *very* simple compared to some of the kit we work on!

We also have a welder/fabricator on site, which is going to be very useful once the pipework is ready to be put in place.

I've been messing around with cars since I remember, my first toy was a spanner! I've always maintained and modified my own cars. The Golf is easy to work on compared to the Scooby I used to have! It's not actually that hard to work on cars, you just need a logical approach and take your time.

The only thing I'm not fully confident in doing is bodywork!

As Westy says, forward planning is the key, making sure every thing that is removed is documented and pictured for easy refitting. I also have another Golf that I use as a daily driver so I can compare to that one if I get stuck!
 
Last update before the weekend and I'm back at work!

Engine bay prep stil carrying on....

DSCF0147.jpg


Looks like little progress but took hours! Hopefully can start painting it early next week. Once that's done I can actually get started on the mechanical side.

Stainless downpipe from QP engineering has arrived along with adapters to connect to an exhaust once I decide on which one I'm having!

DSCF0146.jpg
 
Plans for the engine are a K03s turbo. I think 210-230 ish will be enough in a front wheel drive car! If when it's running I decide I want more power I can go for a K04 turbo which will be capable of poducing about 270bhp!

Mechanically I'm going to replace.the water pump, cambelt etc before installing it.
 
Quick update for today

Peeled some of the seam sealer away from the suspension turret and found some surface rust. Going to strip all the sealer away now, treat all the rust I find and stich weld all the seams under the bonnet. Shoud strengthen the front end , which is always a good idea when doubling the power!

Pictures to follow tomorrow!
 
Some pictures of the rusty seam I found

DSCF0149.jpg


Going to have to strip the seam sealer from all the areas shown below in order to check and stich weld them

DSCF0151.jpg


DSCF0150.jpg


It's going to take hours! Im away for the rest of this week so no work can be done until the weekend, it's not looking good for May....
 
I've been away all week, back now though. Have some bits to do on the house tomorrow morning, then hopefully the afternoon will be spent on the golf.

Plans for the engine bay have now changed! Guy from work has offered to spray it the same colour as the rest of it in 2 pack paint so no hammerite under the bonnet :)

Going to dismantle the passat hubs tomorrow and hopefully get them shotblasted, also need to take the dash out and remove all that horrible seam sealer so we can stich weld the seams.

Picked up lots of parts this week:

From VW
Full set of wheel bearings
Various under bonnet brackets
New indicator lenses
Bolts and lock plates for the bottom ball joints

From the painters
1l of Red top coat
1l of primer
1l of Activator
1 tin of brush on seam sealer
Lots of wet and dry

Also been in contact with the guy that did the full respray, he has pictures of the work he did and is going to email them to me. Also got the colour from him..... It's radiant red from a..... Ford :eek: Don't tell anyone please ;) :D

Time wise my aim is to be at the Nurburgring on May the 15th with the golf!

Will update with some pictures tomorrow
 
Some pictures of last nights update to keep you all going!

Paint etc

DSCF0152.jpg


Passat gearbox mount bracket, this was missing from the box I got

DSCF0153.jpg


Front and rear wheel bearing kits (one side)

DSCF0155.jpg


New bottom ball joints, lock plates and bolts

DSCF0156.jpg


Todays update will be posted tonight
 
Back
Top Bottom