My other Golf Project!

L1J

L1J

Associate
Joined
25 Oct 2002
Posts
778
I cant believe I'm doing this again!

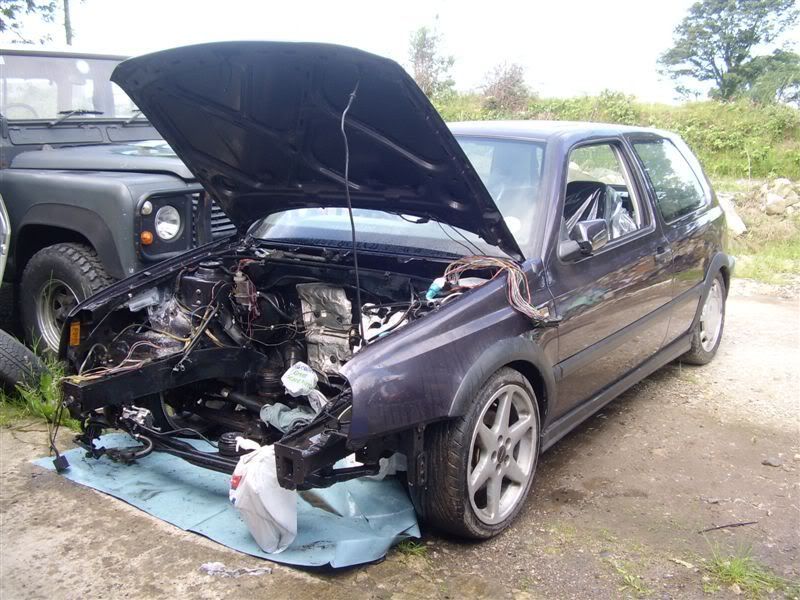
I have a new project! Friend of mine asked a garage to carry out a 1.8 20V conversion on his mk3 golf 3.5 years ago. After lots of excuses, little progress and seeing mine being finished in 3 months he asked me to complete his project!

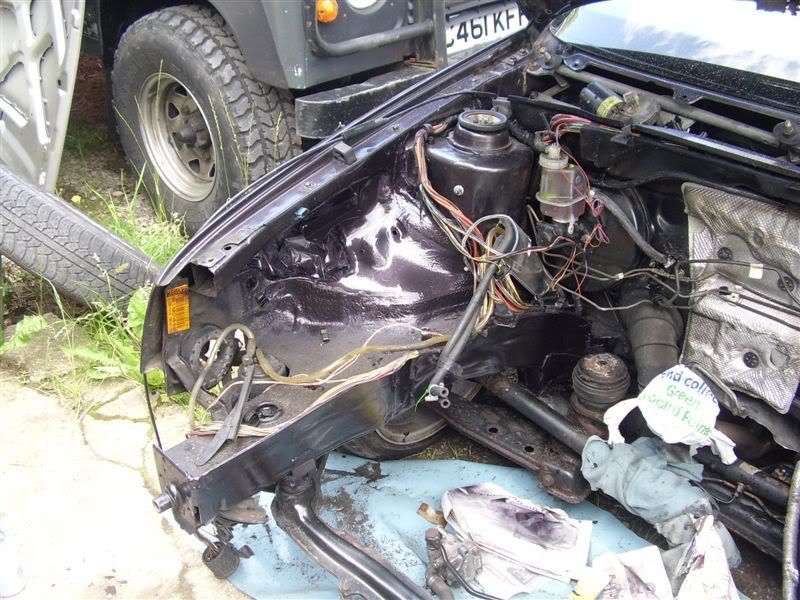
We towed her here earlier:

DSCF0874.jpg


DSCF0875.jpg


DSCF0882.jpg


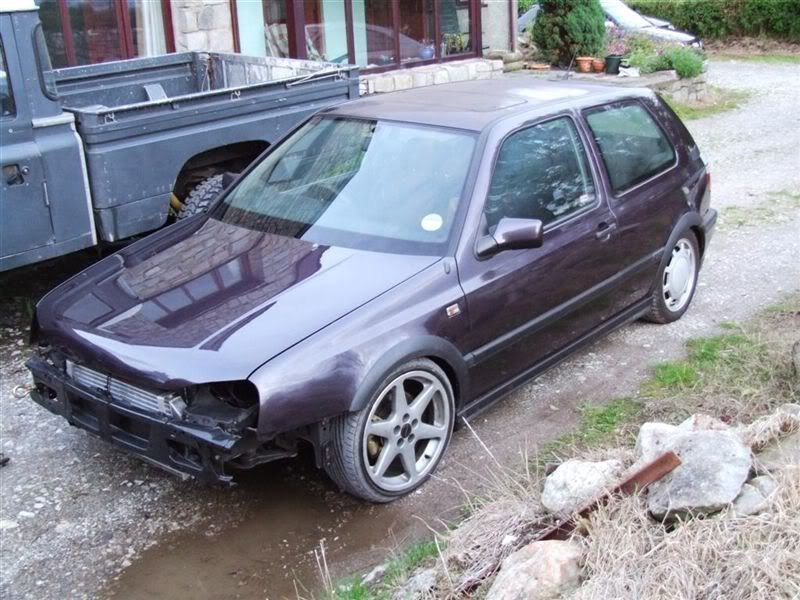
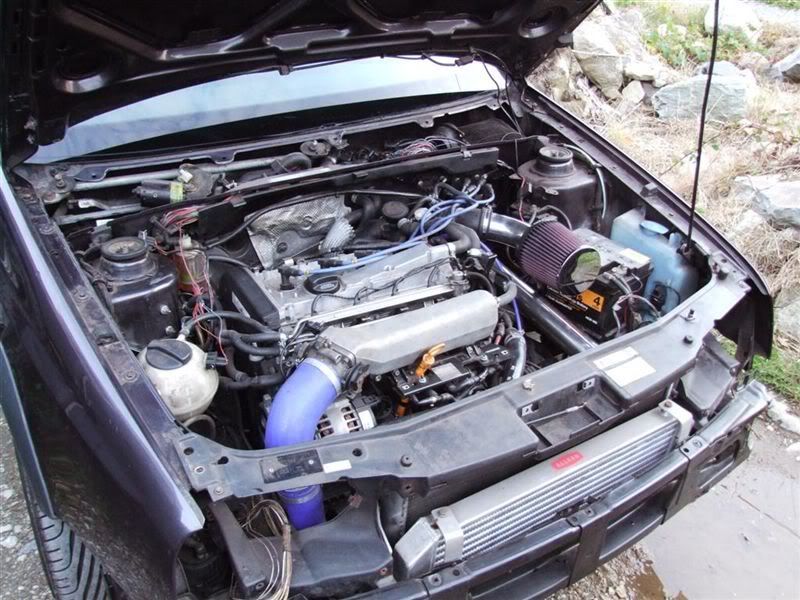
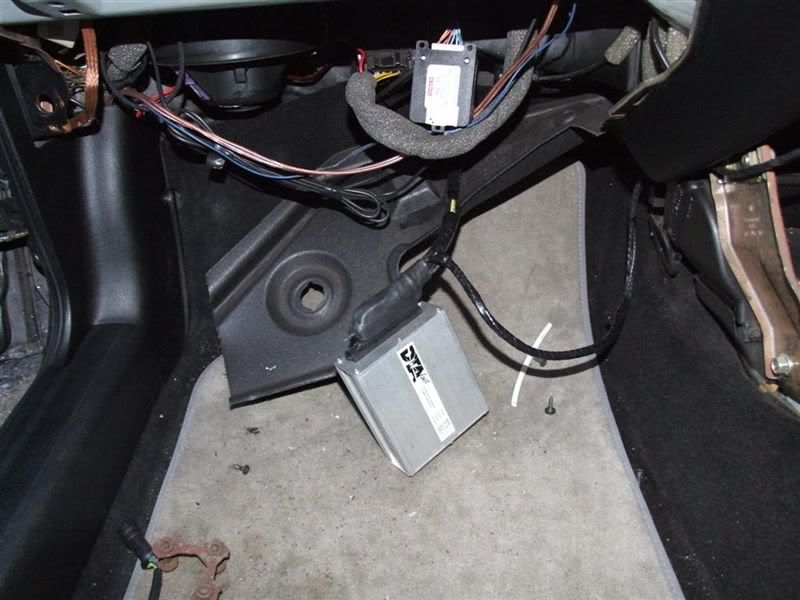
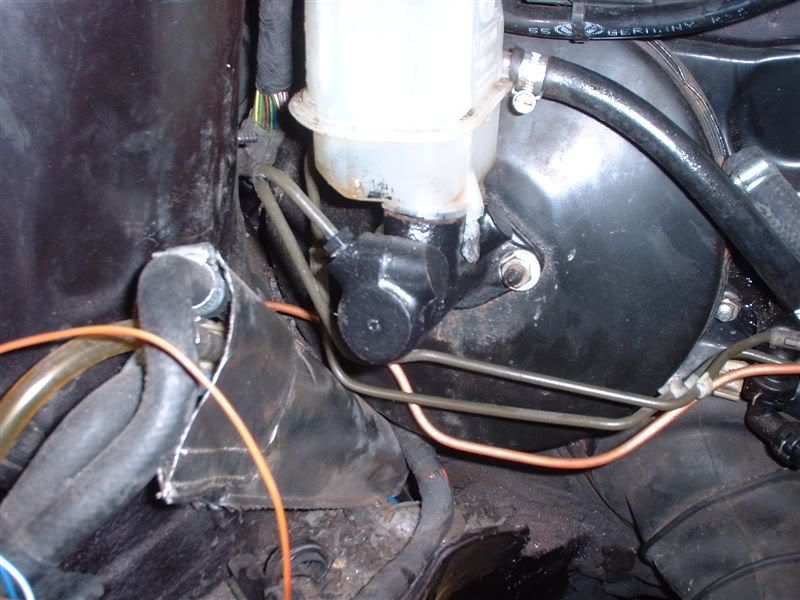
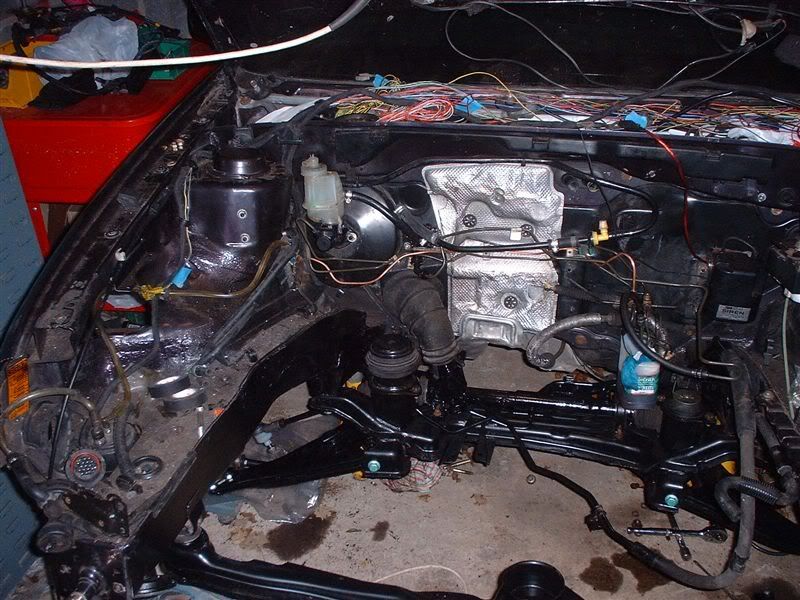
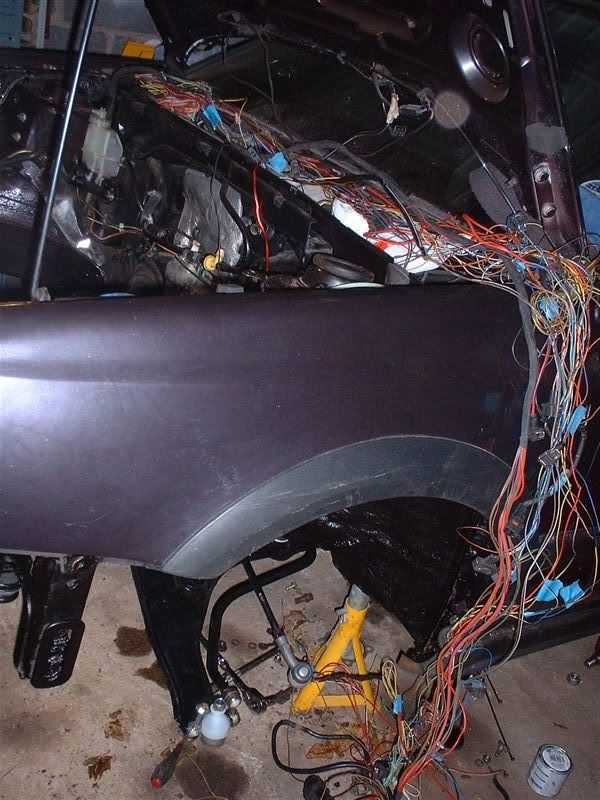
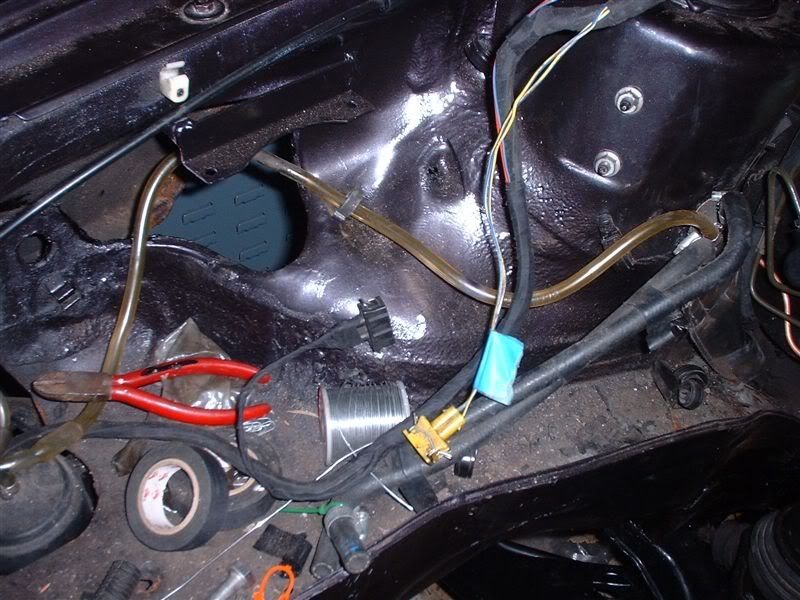
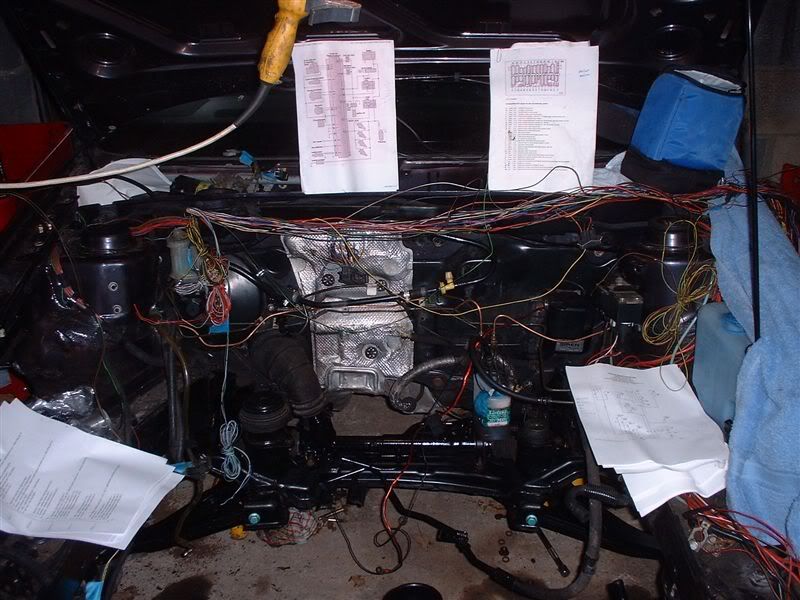
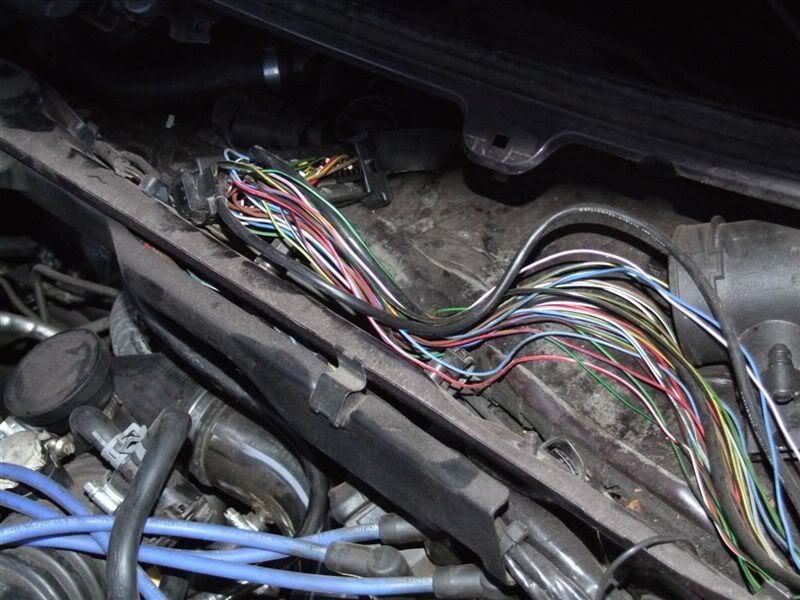
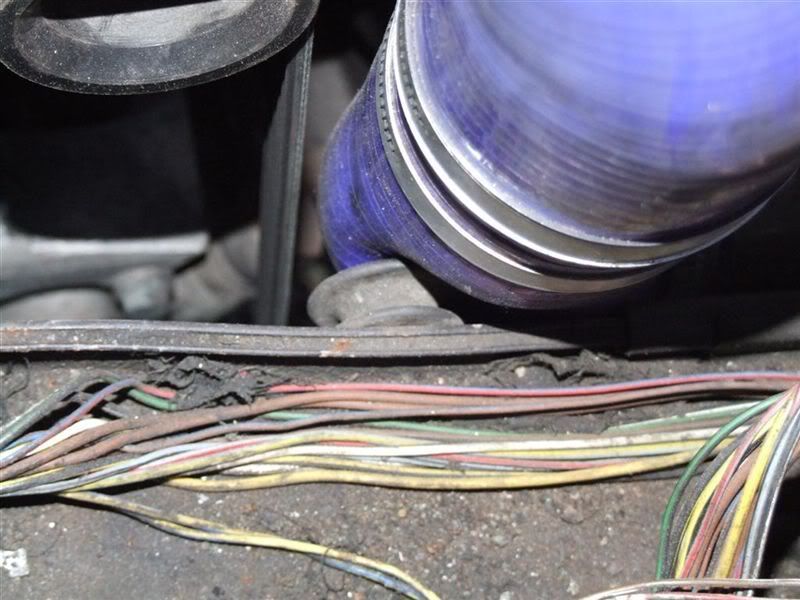
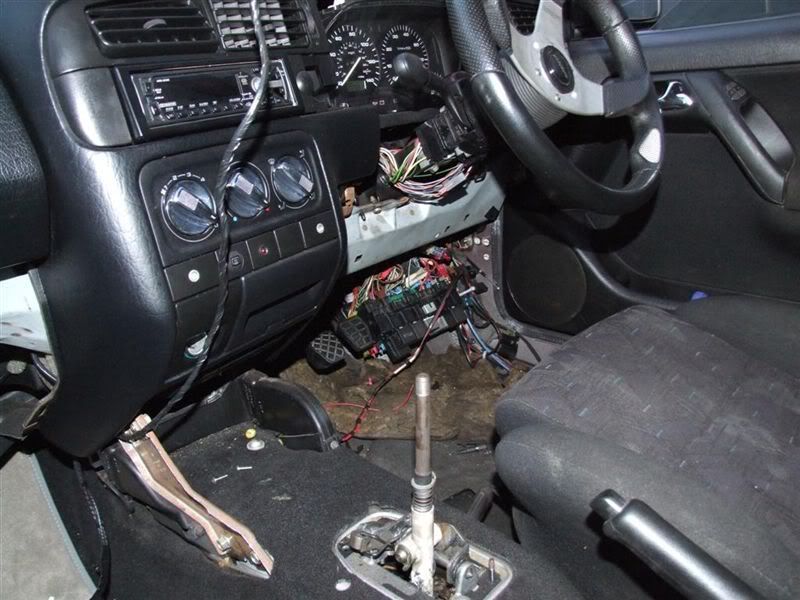
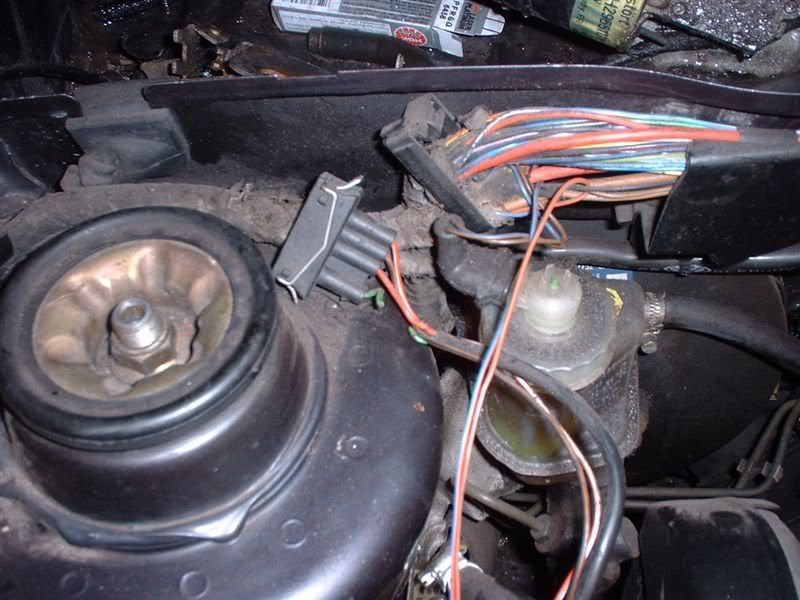
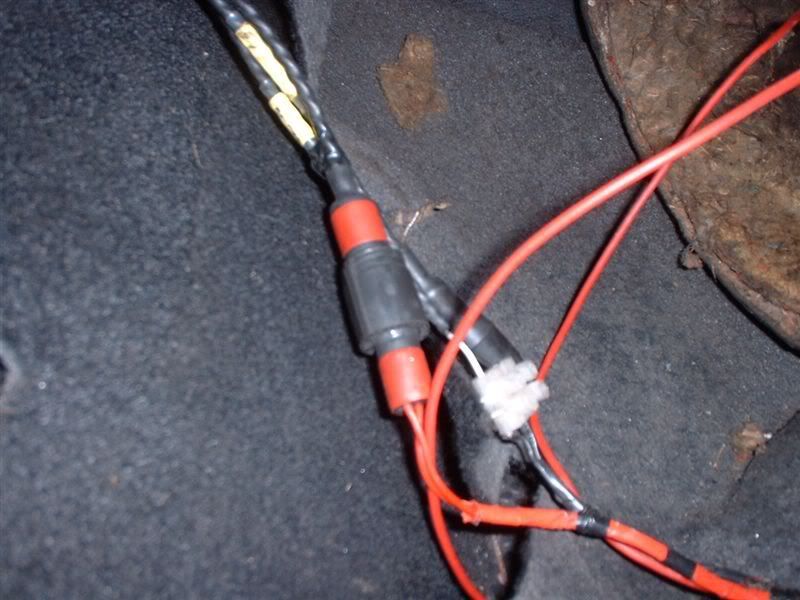
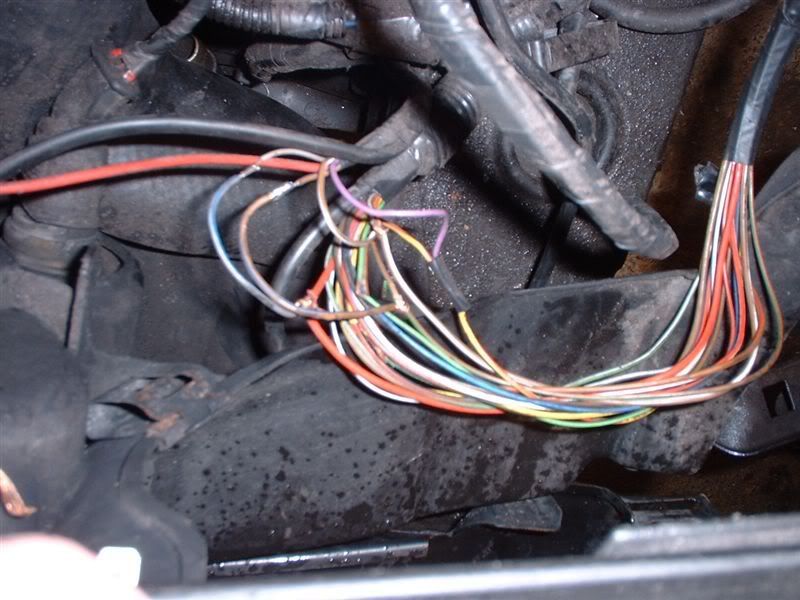
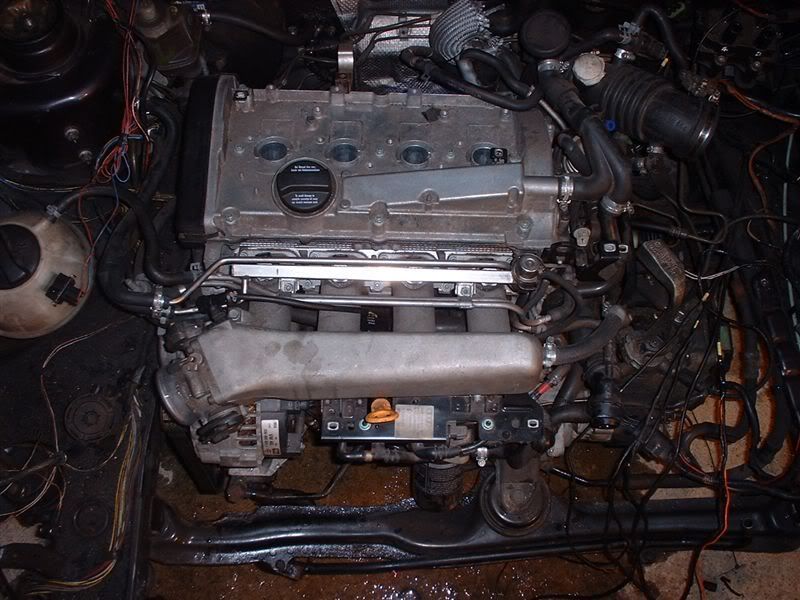
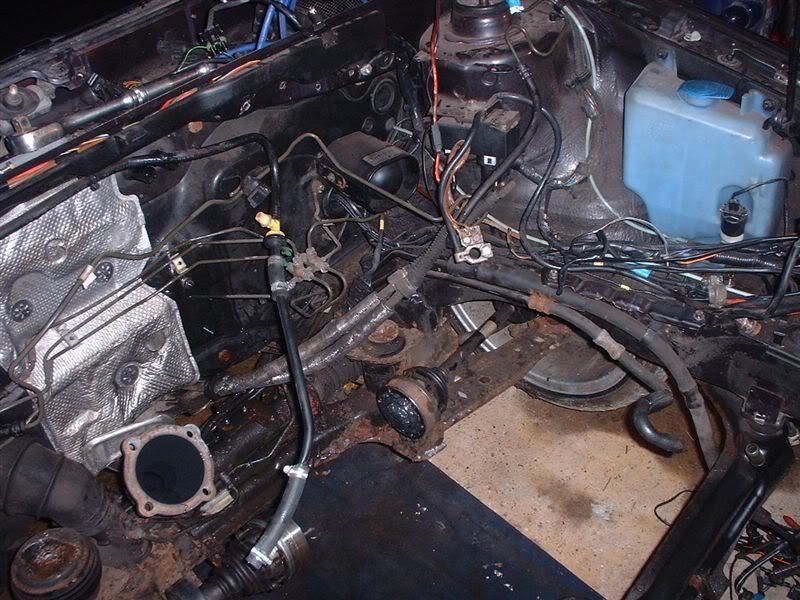
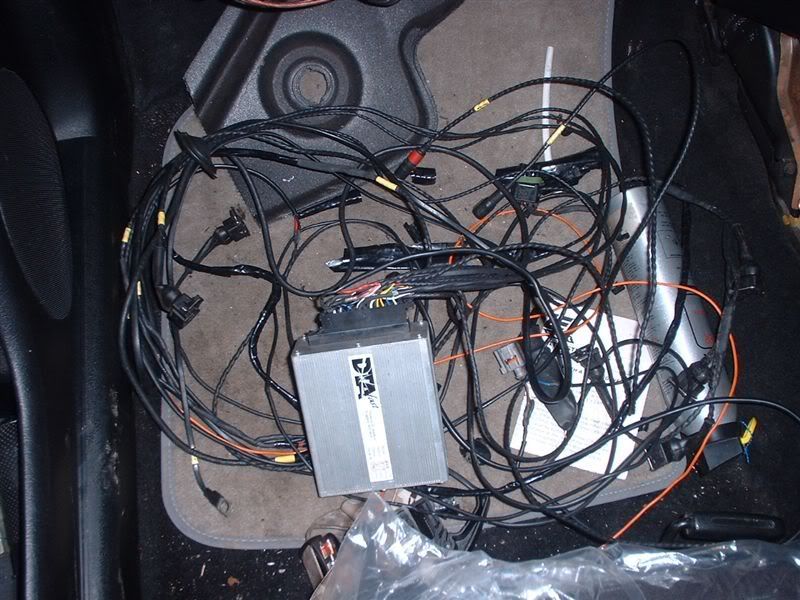
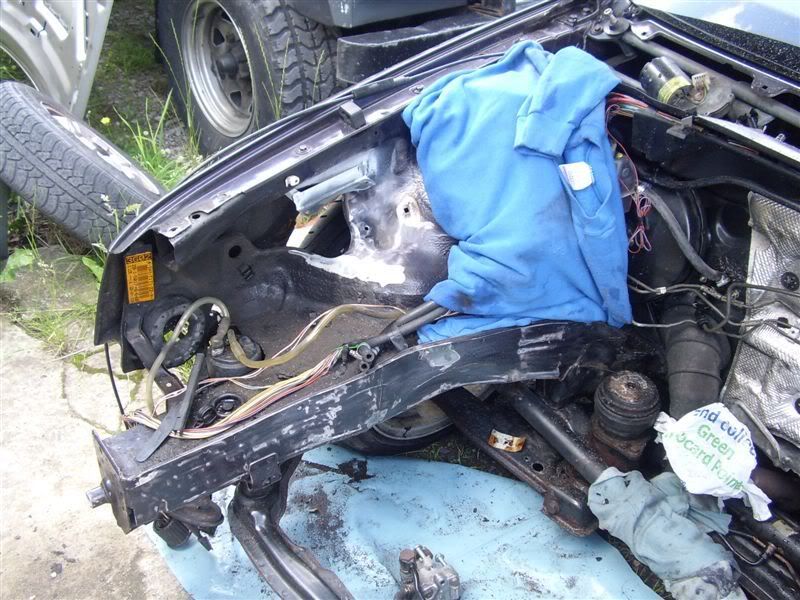
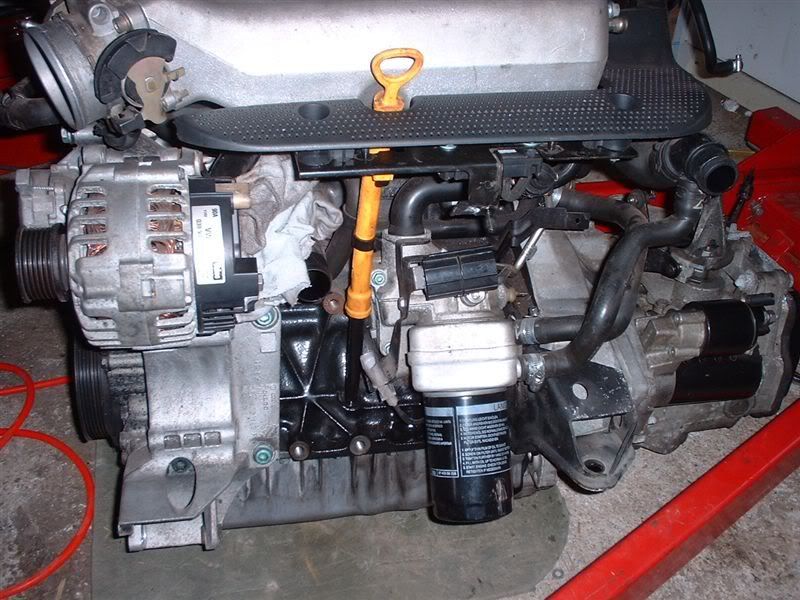
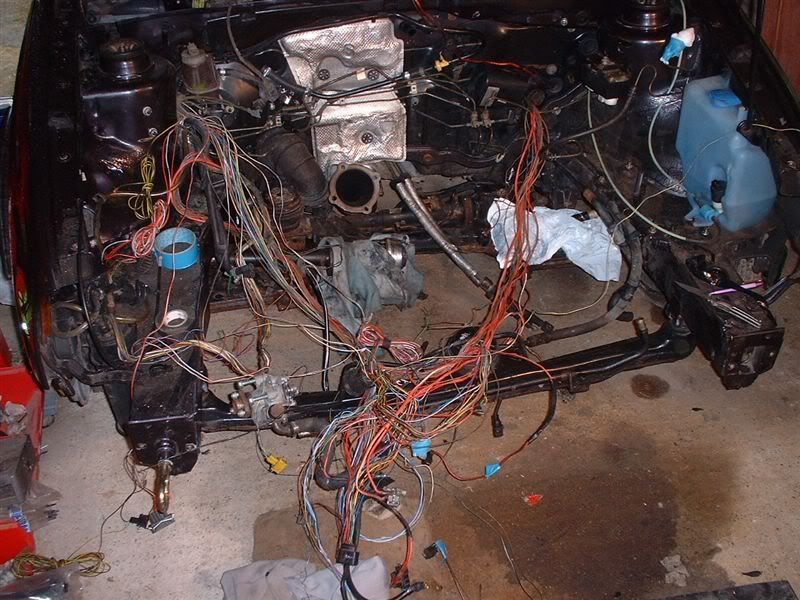
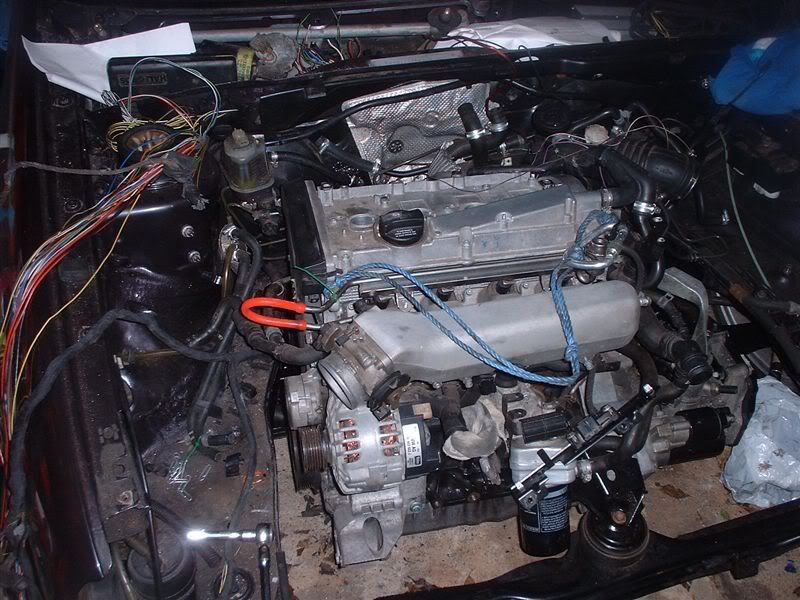
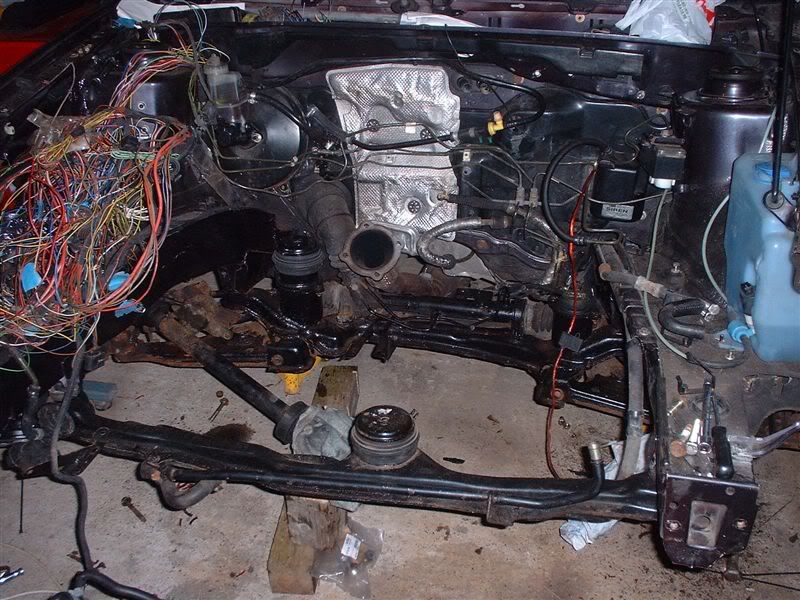
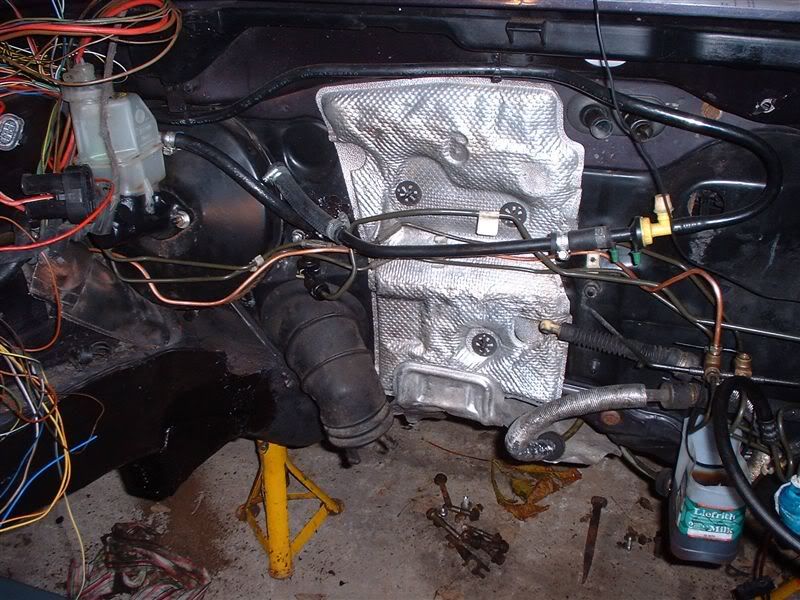
Basically engine is fitted, but won't start, wiring looks a nightmare at the moment.

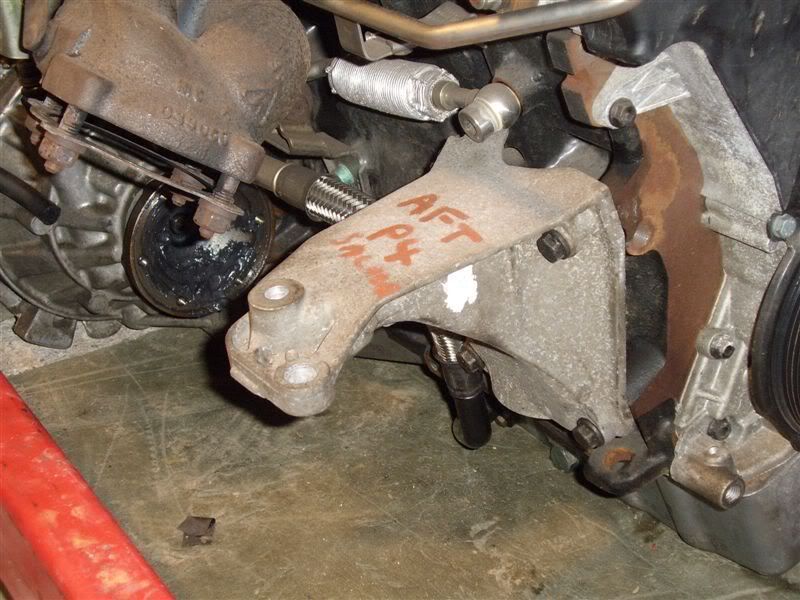
Plan is to inspect her tomorrow to see whats been done and take it from there.

This project will not be moving at the same pace as the original Golf Project thread due to lack of deadlines and me wanting a social life! :D
 
Some bits I've found that need correcting so far:

Original engine wiring still in place

DSCF0881.jpg


Pipework fouling

DSCF0880.jpg


Lots of random wires about

DSCF0883.jpg


WTF have I done :D
 
Thanks everyone! Just to repeat this one will be moving at a much slower pace so dont get hooked! ;)

Car is now in the garage and being stripped down, the wiring is erm interesting!

DSCF0004.jpg


Power supply to the DTA ECU!!!!!

DSCF0008.jpg


I have no idea what's going on here

DSCF0006.jpg


Engine is not sitting right, I suspect the incorrect engine mounts have been used

DSCF0015.jpg


Sorting this one out is going to be worse than the mk2, the to do list is getting bigger and bigger!
 
Engine is now out:

DSCF0020.jpg


I dont think this is the right bracket somehow

DSCF0017.jpg


Empty engine bay

DSCF0021.jpg


DSCF0022.jpg


Tomorrow I'm going to go through all the wiring to see what can be removed. Also need to read the DTA manual to work out what does what.
 
Quick update:

DTA ECU wiring now removed so I can trace wire by wire where everything needs to go, my major concern at the moment is that I cant find anything marked for boost control!

DSCF0024.jpg


Corrrect brackets fitted to gearbox, much better than the one previously fitted

DSCF0026.jpg


Few bits to order over the next few days, planning to put the engine back in over the weekend then a week of wiring hell!
 
Got some more done yesterday:

Car was pushed out of the garage and the engine bay given a quick jetwash

STA41965.jpg


Prep work done on chassis leg and inner wing prior to painting

STA41966.jpg


Lots of bits that arent required were removed from the engine, MAP sensor now mounted on the engine itself (just to the right of the dipstick) not the bulkhead to eliminate a long vac hose run. Correct front engine mount also fitted.

DSCF0028.jpg


Im now in the process of removing the old engine wiring loom from the car, not as easy in a mk3 golf due to it being combined with the engine bay loom.

DSCF0027.jpg
 
After shot of painted wing

STA41967-1.jpg


Mk3 2.0 16V rear engine mount bracket fitted

STA41969-1.jpg


Tony (the owner) did all the bodywork, I've just been dealing with wires and engines!
 
tbz_ck said:
Is this one gonna get a full respray like yours did?

No! Just an engine install, this one is going to be sold straight after. It was started 3.5 years ago and he has a rather nice S3 now so doesnt need another car with a 20V turbo engine!
 
tbz_ck said:
Whats with the dodgy rear alloys

They are the standard ones!

Front ones were fitted to give a tiny bit more ground clearance to get it up the bumpy road up to the garage. The coilovers platform adjusters are seized solid.
 
tbz_ck said:
Progress on this one?

:o :o

Not much done for a few weeks, work has been silly busy, lots of stag weekends and weddings to attend and I've found a new job that I'm starting soon!

Some work will be done on it next week, as I need to put the other Golf in the garage to fit a gearbox prior to the second ring trip in September! I need some pressure to get my arse into gear :D
 
Some more bits and bobs done over the weekend:

Subframe given a coat of paint

DSCF0060.jpg


Engine back in

DSCF0061.jpg


Two problems found

Lack of clearance by master cylinder

DSCF0062.jpg


Exhaust downpipe used touches the steering UJ boot

DSCF0063.jpg


Engine will have to come out to fit a custom downpipe and for the master cylinder to be adjusted.

Suspension wasn't in a good state after being standing for 3+ years, was coated in oil and left until next weekend.

DSCF0065.jpg


New wishbones on order for next weekend.
 
Well this one needs a right big kick up the arse to get it moving so.....

Lopez and me are going to have a little race to see who finishes their project first.

Deadline is set for January the 4th for a MOT.

May the fastest spanner monkey win!
 
Out of interest how much can one of these engines be had for? Been toying with the idea of something for a while and undecided as to which would be easier/best/cheaper :p

Turboing an original non turbo engine, so having to replace a lot of the internals and the annoyance of it being a one off, but the fact you don't have to sorry about anything fitting.

Or dropping in an existing turbo lump but with all the hassle of getting it to fit, plus the cost of a whole engine and ancilleries.

First engine I purchased was £700 off ebay and knackered!
Second with a warranty was about £850 IIRC
The one for this one with a gearbox and had only done 5k miles was about £1400 I think
 
What a day, I have never coem across so many seized bits on one car before, I had to heat up most of the bolts we removed today.

Engine is out again....

DSCF0067.jpg


Suspension, wishbones, track rod ends removed

DSCF0069.jpg


To get the downpipe out you need to drop the subframe

DSCF0071.jpg


Since the subframe was out, we decided to give it a proper clean

DSCF0072.jpg


DSCF0073.jpg


We weren't happy with the finish so we decided to take it to get powder coated during the week along with all these other bits

DSCF0078.jpg


Steering rack removed from subframe and cleaned

DSCF0077.jpg


Coilovers did free up a bit, but the adjusters are still a little tight so more soaking with oil required

DSCF0076.jpg


Hubs were stripped down after removal, the caliper carrier and disk retaining bolts were ridiciously tight

DSCF0082.jpg


The to do list for the next two weeks:

  • Powder coat subframe etc
  • Free up coilovers
  • New brake lines
  • Paint hubs, drive shafts, steering rack etc etc
  • Fit new bottom arms, bottom ball joints, suspension etc
  • Order new bolts for everything removed today
  • Order new downpipe
  • ECU wiring
  • Order more gas for all the other seized bolts we are going to encounter!

Good day I think :D

All yours Mr Lopez!
 
Nice spending someone elses money isn't it?

That loom looks er... interesting!

Yes it is :D

Loom will be fine, I have no worries at all about getting that back and working!

Matt82 said:
a smaller front engine mount brings the engine forward for a better fit in mk2 conversions

I had no issues at all with space doing this in my mk2, once we get the correct downpipe and take a few mm from the unused master cylinder port it will be fine.
 
Lunchtime update:

Bits back from the powder coaters

DSCF0083.jpg


Tony painted the steering rack during the week, the finish is :cool:

DSCF0085.jpg


Under the front arches given a coat of under body sealant

DSCF0087.jpg


Front subframe started to be built up

DSCF0092.jpg


These need a coat or two of paint!

DSCF0089.jpg


New brake lines made and fitted

DSCF0090.jpg


DSCF0093.jpg


Bottom arms etc to be fitted this afternoon, hubs need to be cleaned and painted ready for assembly tomorrow.
 
Thanks :)

More done this afternoon

Master cylinder attacked with a grinder and painted for a bit more space

DSCF0096.jpg


Wiring started to be routed to where it should be

DSCF0098.jpg


ish.....

DSCF0099.jpg


Header tank wiring relocated from passenger to drivers side

DSCF0100.jpg


Calipers and carriers painted

DSCF0103.jpg


DSCF0104.jpg


One hub stripped down and painted

DSCF0105.jpg


Plans for tomorrow are to route all the wiring as it should be (a friend is coming over with his Mk3 GTI so we can compare), finishing painting all the bits and hopefully put the engine in place.
 
hey dude, dont happen to have any springs for a mk3 golf gti kicking around do ya?

Good job with the work too!

No sorry, they were binned a long time ago.

Wiring coming along slowly here today, painting coming along nicely. Will update with some pics tonight. Nothing exciting to see now really!

Anyone got any decent wiring diagrams for a mk3 golf? :o
 
What an afternoon, coilovers were a PITA!

The coilover de seizing station, lots of heat a big hammer and some choice swear words lead from this:

DSCF0111.jpg


To this

DSCF0106.jpg


All covered in some deox gel to hopefully clean them up

DSCF0107.jpg


Springs off and being sent for powder coating this week

DSCF0113.jpg


Then the lovely wiring, some bits sorted out. I need to sit down now and see what parts from the old VW loom I need/can use, and what needs doing from scratch.

DSCF0110.jpg


I think thats going to be my new home for the next few weekends......

Driveshafts cleaned and painted, looking much better now

DSCF0108.jpg


Wiring took far more time than I thought today, so engine not going to be put in place until it's sorted.
 
Slaking with updates, work done last weekend and some today:

Last weekend

Downpipe has arrived

DSCF0114.jpg


Coilovers looking a bit better

DSCF0116.jpg


Springs back from powder coaters and some new bump stops

DSCF0120.jpg


New CV boot fiitted to diveshaft

DSCF0117.jpg


Coilovers given first coat of paint

DSCF0118.jpg


Today saw the car sit on the floor for the first time in a while.

Coilovers assembled and ready to fit

DSCF0121.jpg


Hubs, calipers and suspension in place (Forgot to take a pic before the wheel went on!)

DSCF0123.jpg


With the front down we could start on the back suspension

We found this

DSCF0124.jpg


That's going to be fun to get unseized!

These calipers were new when it first went in for the converison 3 years ago!

DSCF0125.jpg


Overhaul of the rear suspension and beam tomorrow
 
Back
Top Bottom