My other Golf Project!

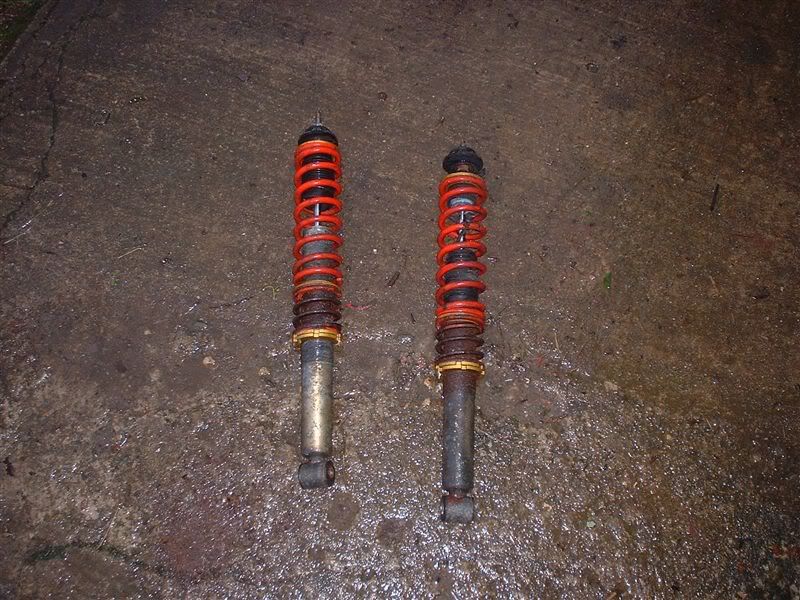
what coilovers were they?

I have no idea! Will try and find out, I think any steel coilovers need the threads greasing to stop corrosion. These will be coated with waxoyl before going back on the road.
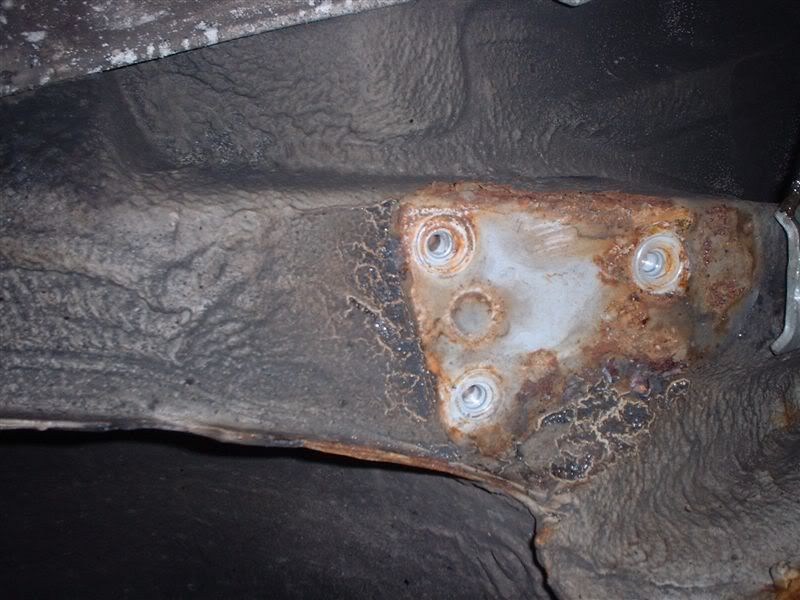
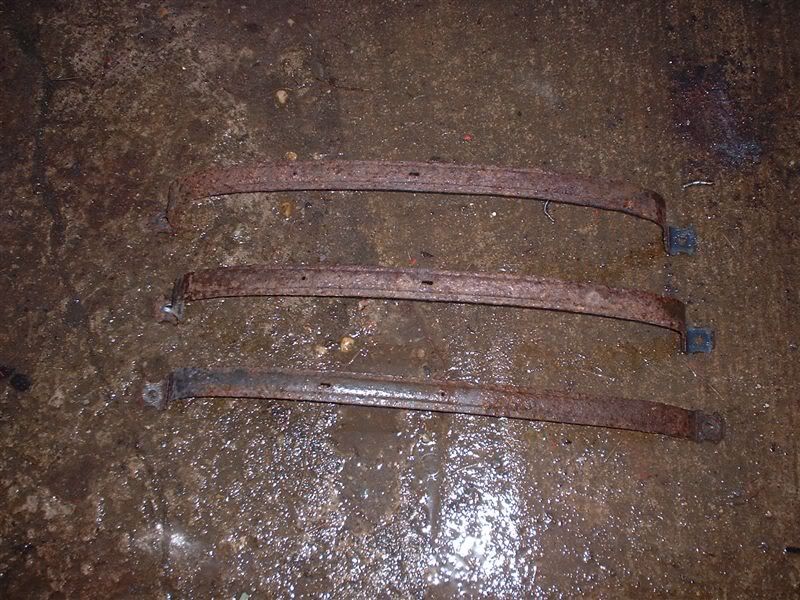
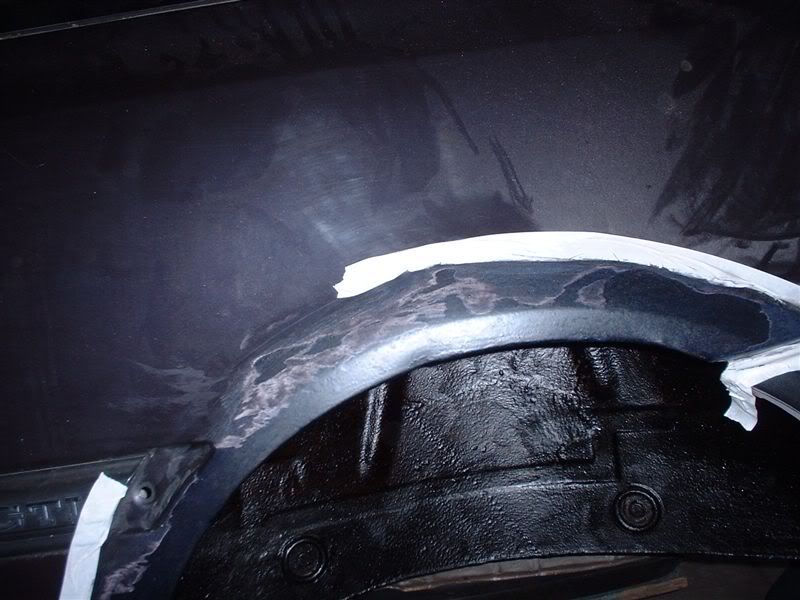
agw_01 said:
Yikes! That's some corrosion there. Was it left outside or garaged during the previous attempt?

It was kept in a garage, how they got to that state I have no idea. They should clean up quite well hopefully.
 
Exmas are now over so time to do some proper work!

Rear coilovers removed, ready for taking apart tomorrow. The top nuts on these were a major pain to remove. I had to butcher a spanner to make it fit.

DSCF0126.jpg


Rear beam removed

DSCF0128.jpg


and stripped down

DSCF0131.jpg


Every nut and bolt we undid today was seized solid, I had to use loads of heat on everything. Bushes will be removed form the beam tomorrow so it can be powder coated during the week.

Some bits of rust underneath need to be treated, will be done tomorrow.

DSCF0130.jpg


Just read that back, seems we're going to be busy tomorrow!
 
Tedious isn't it? On the 205 they tend to be siezed solid and just snap when you try to undo them, which is even more aggravating as you then have to waste time drilling out etc.

Have you tried using some heat? It makes so much difference. I havent snapped many yet! ;)

Will Gill said:
wish i could fast forward time to read the finished thread

love your work

So do I :D Shouldnt be long now hopefully!
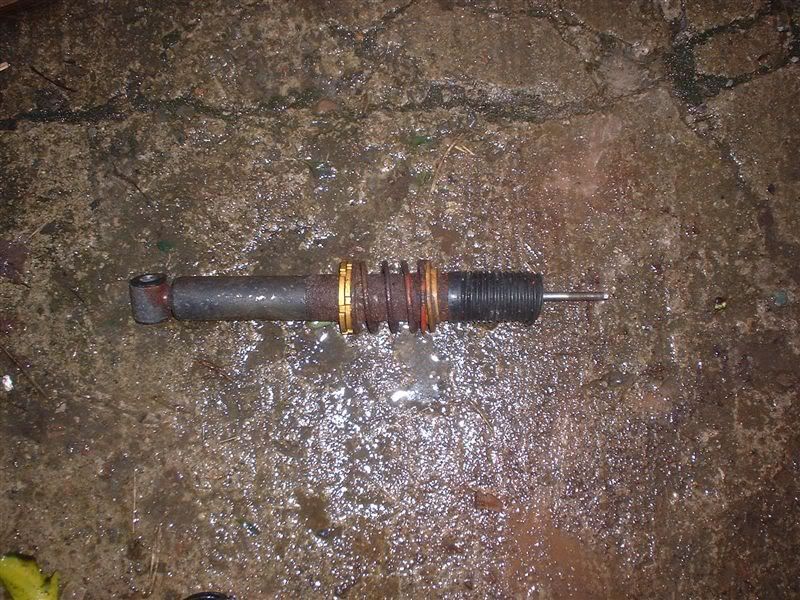
 
Last coilover we stripped down today was knackered, piston will push in very easily and won't come out unless you pull it. Looks like we will have to order a new set of coilovers.

DSCF0134.jpg


Rear beam mounting point cleaned up and given a coat of hydrate 80

DSCF0136.jpg


Plastic wheel arch taken off to find arch rolling by demon tweeks.....

DSCF0138.jpg


DSCF0139.jpg


Rust removed with a wire brush attachment and flap disk

DSCF0142.jpg


DSCF0143.jpg


Coat of hydrate 80 again

DSCF0145.jpg


Will need another once its dry

Petrol tank brackets removed for powder coating

DSCF0141.jpg


Rear beam brackets, the beam itself and a few other bits will be powder coated this week.

Found a few other things that need to be ordered so we can carry on:

Copper brake pipe to make some lines up
Flexi brake lines front and rear
Rear wheel bearings
Rear beam bushes

Once the rear is back in place we can start putting the engine back in again! :D
 
Llyr, can you not get the coilover revalved or reconditioned? I'm sure AVO offer the service.

Tony (the owner) wants to fit a new set, the ride was "interesting" with these on!

Muncher said:
Llyr, how much does powdercoating cost? It it on a per item/batch/weight basis? I assume the shotblast and degrease the bits before coating them?

Yes they degrease and shotblast before applying the coating.

Last batch we did on this car consisting of

DSCF0083.jpg


was £95 for primer and paint. I have no idea how he prices stuff up to be honest, I usually turn up with a bunch of items and he gives me a price. I'm assuming he does it on the labour time for shotblasting and how much coating he thinks he will use.

If he has a batch of the colour you want going through at the same time the price tends to be cheaper. He usually has a minimum charge of £30 so I try and take a lot of stuff at once. I've also noticed the more I use him the less the price seems to be!
 
I've got a mate that works at a powdercoater's, I got all 4 of my wheels shotblasted, acid dipped and powdercoated for £120 :D

Is the guy not tempted to do cash-in-hand jobs then?

I think he quoted me £35 per wheel for a refurb, so his prices aren't that bad at all. I've always paid him in cash ;)
 
/sees scary looking wiring and runs off :D

It wasn't that scary!

Wiring half sorted today, all the wires for the engine have been identified and all the original loom that's unused has been removed. The two runs below will need to be combined once the engine is in. The one on the left is for the engine itself and the one on the right is for the instruments, oil warning lights etc.

DSCF0148.jpg


DSCF0147.jpg


It looks a lot better than it did this morning!

Wheel arch now ready for paint, the back of it was also undersealed

DSCF0153.jpg


Hopefully the rear beam will be back from the powder coaters next weekend, once the back is on the floor we can put the engine in and try and start it!
 
How did you manage to strip down the front cross member (top of pic) ive got a spare ive been trying to clean up but cant get the bushes out at all?

The big washers on top of the tubes that go through the bushes will break off if you use enough force. I used a pair of mole grips. They tend to bend when you remove them. I straightened them up and dressed the tube and washer with a file before putting them back together.
 
Engine started today :D

It was put back in last weekend, and the wiring put temporarily in place to make sure everything was working.

DSCF0154.jpg


Yes it's messy!

Trying to connect my laptop to the DTA using a USB to serial converter wasn't succesful so plan B of taking my main PC and an old monitor into the garage was put in place!

DSCF0155.jpg


The DTA software has a really useful screen for checking all the inputs

DTAScreenShot.jpg


Found a few wiring faults:
MAP Sensor wiring broken
TPS wired incorrectly (was seeing full throttle at closed throttle and vice versa)

Silly settings found on the original ECU map, really weird things going on. Engine had 121 cylinders, 8 injectors, rev limit of 14999RPM and incorrect settings for the crank sensor. No wonder it wouldnt start when we got it!

The DTA software comes with a base VW1800 Map so I uploaded it to see what would happen.

With the above done we turned the key and it spultered into life. :D

We need to connect the cooling system etc up now and let it run for a while to try and find any potential problems.

Progress at last! :)
 
Few bits done over the weekend:

Rear beam before

DSCF0156.jpg


and after

DSCF0165.jpg


Underside of the car after rust removal and sealing

DSCF0158.jpg


ECU wiring re terminated properly and tidied up

DSCF0164.jpg


DSCF0162.jpg


Rear beam should be mounted next weekend. I'm having a little trouble getting the temperature gauge to work on the instrument cluster so need to look into that.
 
Some more done.


The car now starts first time and idles :D

It's back on the floor and we've turned it around for more space to work in. The bumper bar has been modified to let some more air to flow to the intercooler.

DSCF0166.jpg


All the pumbing has been put back in and we've found some more bits that need modifying:

Turbo outlet pipe fouls on the heater hoses and coil pack

DSCF0173.jpg


DSCF0170.jpg


Lambda sensor fouls on the rear engine mount

DSCF0171.jpg


Tony is going to call the downpipe supplier during the week as the one I've used on my mk2 goes in a different direction and has plenty of clearance.

Laptop can now be used to monitor the ECU by using a PC Card to RS232 adapter, the Hi-tech workstation!

DSCF0172.jpg


Does anyone have any experience of using the DTA mapping software?
 
Back
Top Bottom