You are using an out of date browser. It may not display this or other websites correctly.
You should upgrade or use an alternative browser.
You should upgrade or use an alternative browser.
My rigs.
- Thread starter ALXAndy
- Start date
More options
Thread starter's postsAwesome, I might make myself a backplate for my 290x but without the dinoc, as I like the look of just the acrylic
Then you'll need to be super careful when cutting and polish the edges. I toyed with the idea then decided to just stick with what I know

The issue isn't polishing, that's easy.
All you do is get a nice sheet or block of wood (look in my pics to see mine) and lay a sheet of sand paper flat down on it, then drag the edge over the flat surface.
The issue is that when you cut acrylic, especially with a Dremel, the edges are not straight. This is because of the fact you're doing it pretty much free hand and that the cutting wheel is usually not big enough to fit down through the acrylic without having to tilt the body of the Dremel, giving you an angled cut.
To get that flat you need to sand on pretty heavy paper, and by doing that to 'rip it' back you then need to spend hours sanding to get all of the sanding marks out.
The only part I edge polished was the circle plate for the cooler pump, and I bolted it into the drill lol. Then spun up the drill and applied paper....
As promised, a tutorial on making the graphics for BPM.
OK, first go into Photoshop and put together your design. The design used here is for the IO cover.

Once you have that you need to get it into a rough size and shape.
Create a new file in Photoshop, for this we're going to use A4 dimensions.
File should be 72 DPI, H = 842 x W = 595.
Then place your graphic onto the A4 file and size it accordingly.
OK, now you want to go to Layer-Duplicate layer. Move this clear of the other one. Now Edit-Transform-Flip horizontally. You should end up with something that looks like this..

NB - there is no need to put the numbers 1 and 2 on there, that's only for this tutorial.
OK. Now cut out your flipped image, or number 2. Then apply pritt stick to the back and stick it to the back of the vinyl. DO NOT dispose of image 1 !
Lay Image 1 down on your desk and as you cut parts of your graphic out lay them onto Image 1. It's like a jigsaw now ! I use the tip of the blade to maneuver them into place combined with patience and a very light touch. It's obviously a lot easier with more chunky graphics..
What you should end up with is something a bit like this..
v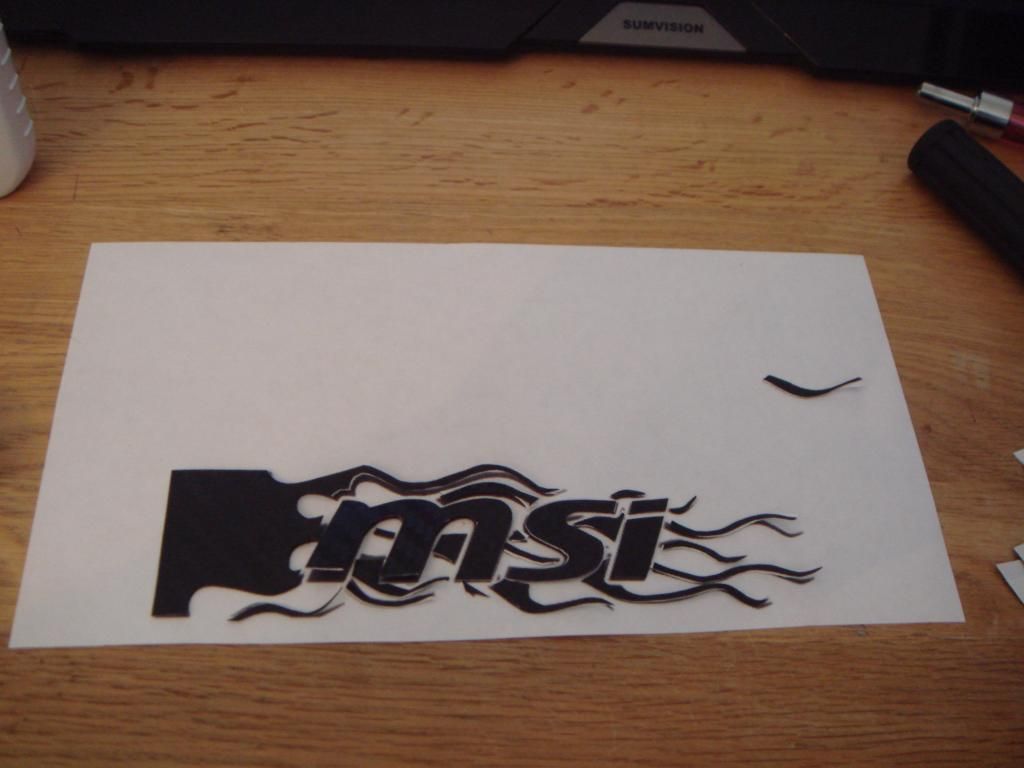
OK. Now take a roll of masking tape and lay it over the graphic. As you do so rub it down, but only rub it onto the surface of the graphic, NOT on the paper...
Be careful, again you need a very gentle light touch. You should end up with something like this.
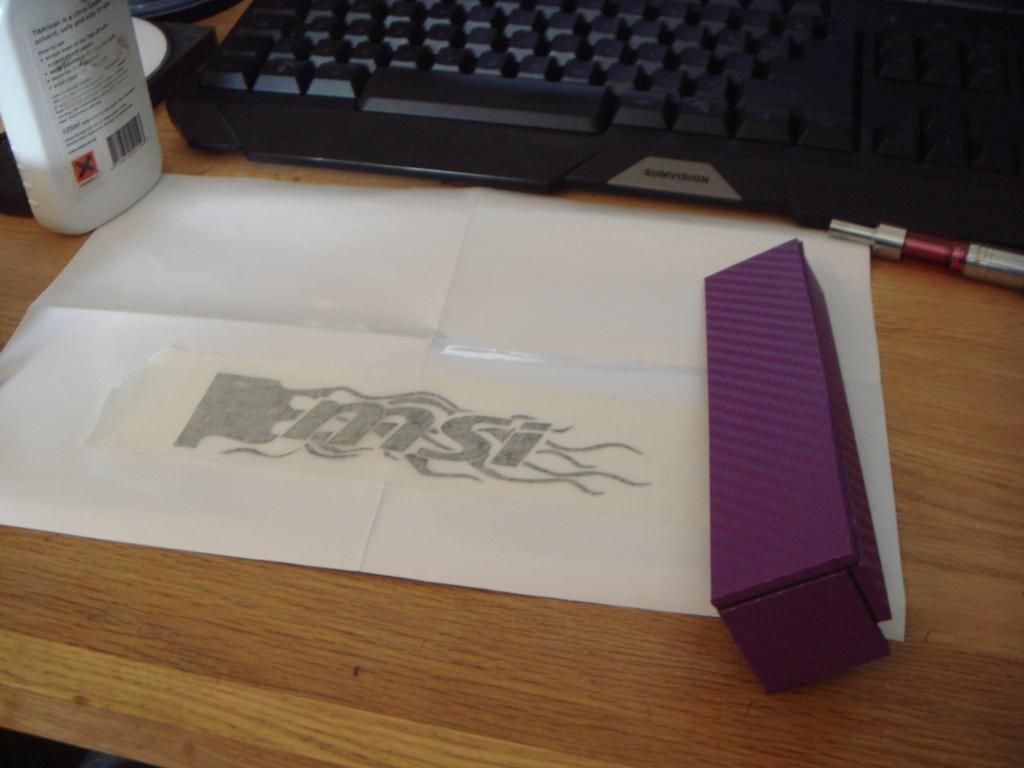
If something has been knocked out of place, don't worry. You can adjust that free hand in a moment..
OK. Now you need to peel up the graphic from the paper. To rub it down I use the back end of my scalpel. Make sure you've rubbed it down onto the vinyl very hard, otherwise you could lift and leave bits of it behind. Once removed it should look like this.

If the paper gets snagged and tears a little don't worry. Just run the scissors around the edges of your graphic and it'll fall away.
For storage.. There are two methods I use. Method one is to remove all of the backing like this..

And then just put it on a single large piece of backing (usually left over from covering panels) or, I just leave the backing on and remove it before applying.
Either way that should explain the method used. Couple of tips..
1. The adhesive on the vinyl can be pretty strong, especially in the case of 3M. This means your blades and scissors will become gunked. To fix this I simply clean the scissor blades and my scalpels before I begin with TIM cleaner. This breaks down the residues and cleans the blades and scissors, keeping them sharp.
2. The scissors I use are pretty expensive fish scissors out of an expensive chef's set. They need to be super, super sharp to cut intricate curves.
3. As you cut make sure you keep cleaning the waste away. Small pieces of waste can easily look like the parts you want to keep, and it can easily get confusing. Remember - stay clean !
4. I have a 1" thick green oak desk. Thus I don't need anything to cut on. However, I recommend a chopping board or something or else you'll trash your desk. Medium soft is good, don't push to hard or the blade will follow the pattern of the wood.
OK, first go into Photoshop and put together your design. The design used here is for the IO cover.

Once you have that you need to get it into a rough size and shape.
Create a new file in Photoshop, for this we're going to use A4 dimensions.
File should be 72 DPI, H = 842 x W = 595.
Then place your graphic onto the A4 file and size it accordingly.
OK, now you want to go to Layer-Duplicate layer. Move this clear of the other one. Now Edit-Transform-Flip horizontally. You should end up with something that looks like this..

NB - there is no need to put the numbers 1 and 2 on there, that's only for this tutorial.
OK. Now cut out your flipped image, or number 2. Then apply pritt stick to the back and stick it to the back of the vinyl. DO NOT dispose of image 1 !
Lay Image 1 down on your desk and as you cut parts of your graphic out lay them onto Image 1. It's like a jigsaw now ! I use the tip of the blade to maneuver them into place combined with patience and a very light touch. It's obviously a lot easier with more chunky graphics..
What you should end up with is something a bit like this..
v

OK. Now take a roll of masking tape and lay it over the graphic. As you do so rub it down, but only rub it onto the surface of the graphic, NOT on the paper...
Be careful, again you need a very gentle light touch. You should end up with something like this.

If something has been knocked out of place, don't worry. You can adjust that free hand in a moment..
OK. Now you need to peel up the graphic from the paper. To rub it down I use the back end of my scalpel. Make sure you've rubbed it down onto the vinyl very hard, otherwise you could lift and leave bits of it behind. Once removed it should look like this.

If the paper gets snagged and tears a little don't worry. Just run the scissors around the edges of your graphic and it'll fall away.
For storage.. There are two methods I use. Method one is to remove all of the backing like this..

And then just put it on a single large piece of backing (usually left over from covering panels) or, I just leave the backing on and remove it before applying.
Either way that should explain the method used. Couple of tips..
1. The adhesive on the vinyl can be pretty strong, especially in the case of 3M. This means your blades and scissors will become gunked. To fix this I simply clean the scissor blades and my scalpels before I begin with TIM cleaner. This breaks down the residues and cleans the blades and scissors, keeping them sharp.
2. The scissors I use are pretty expensive fish scissors out of an expensive chef's set. They need to be super, super sharp to cut intricate curves.
3. As you cut make sure you keep cleaning the waste away. Small pieces of waste can easily look like the parts you want to keep, and it can easily get confusing. Remember - stay clean !
4. I have a 1" thick green oak desk. Thus I don't need anything to cut on. However, I recommend a chopping board or something or else you'll trash your desk. Medium soft is good, don't push to hard or the blade will follow the pattern of the wood.
double sided 3M foam. I just cut small pieces and place them on top of the screw heads, then put the plate on.
@bbbearrr - this is how

@bbbearrr - this is how
Cheers, that'll teach to me skim through a thread

Sorry guys forgot I posted this /doh.
Indeed yes, I use 3M or an equivalent (I've got them in various thickness and colours too)
jimbaw - np mate, hope you come out OK
I'm currently building a massively modded Hackintosh, so I'll post a log when I'm not so busy.
Indeed yes, I use 3M or an equivalent (I've got them in various thickness and colours too)
jimbaw - np mate, hope you come out OK

I'm currently building a massively modded Hackintosh, so I'll post a log when I'm not so busy.
@ALXAndy nicely done on your builds so far cant wait to see your Hackintosh...wish I could have more than 1 pc at a time
Truncated. Will post full log updates next..
Here is what I have managed to pilfer, purloin and scavenge so far.
Intel ?. OK so it's basically a 8 core 16 thread Intel IVBE running at 2ghz on all 8 cores. Very low powered, very little heat (this is good, main aim with X-8 is absolute silence..
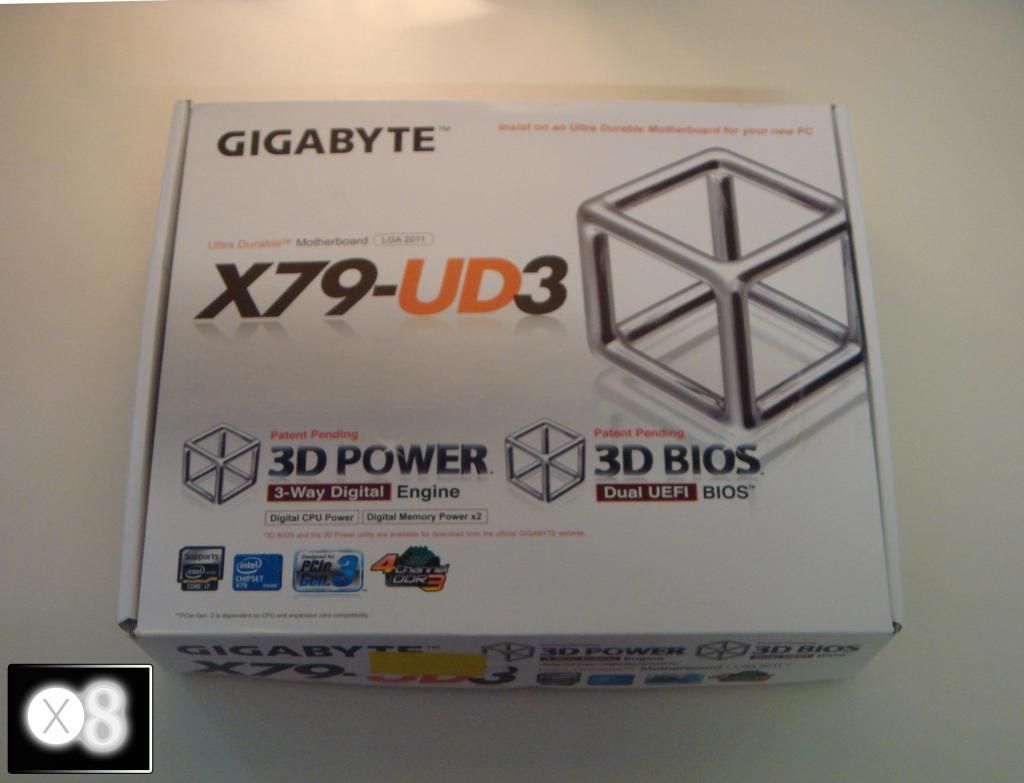
Gigabyte X79 UD3.
4gb Geil Extreme 2333mhz memory (Apparently 4gb is still the norm on Macs..)
MSI GTX 480 Lightning. The card needs some work and some cleaning up, but it's ****** powerful.
XFX Pro series Black Edition 750w non modular PSU. I bought this for my media rig for £40 inc but it's wasted in there. Gonna buy a 300w and switch it out.
Case - undecided.
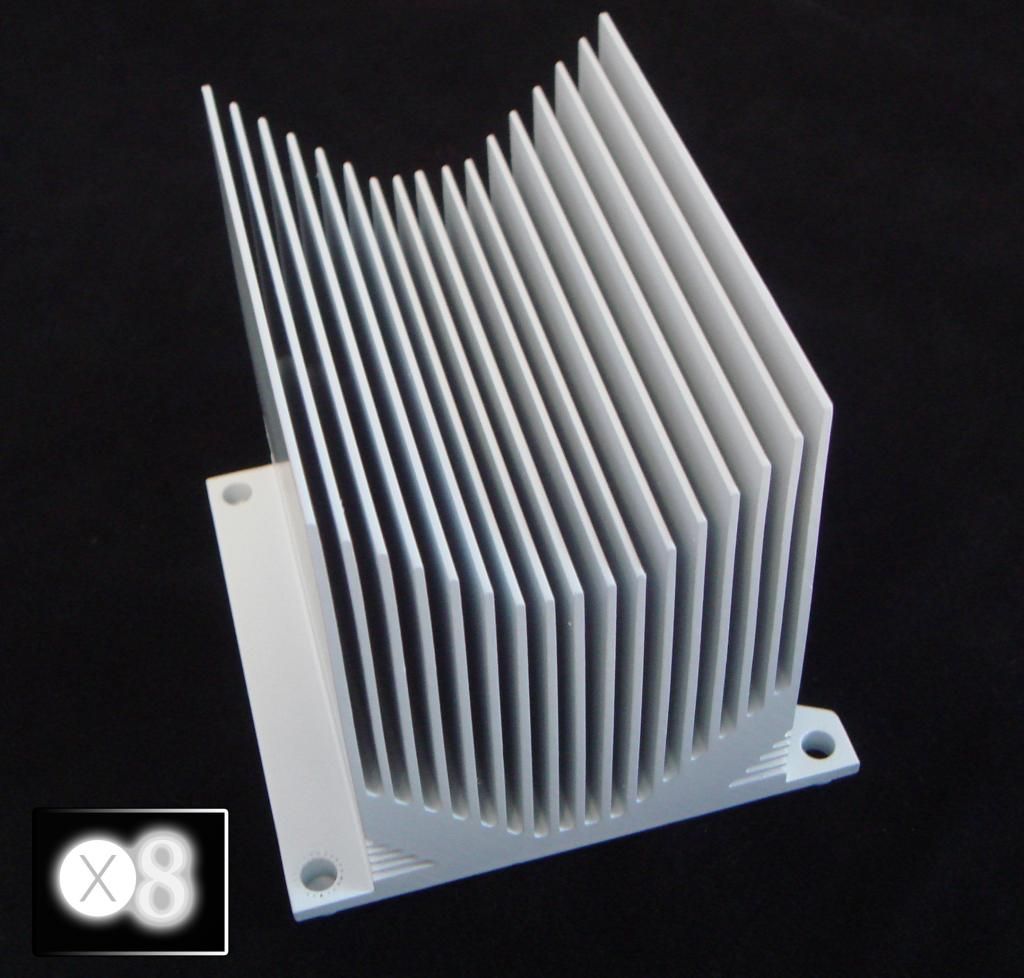
Cooling - a huge great brick of Aluminium, originated in an old Dell. I am going to use a 60mm San Ace fan, modded, running on a stand alone fan controller.
Cables. Going to do some braiding with paracord.
OS - OSX Mavericks.
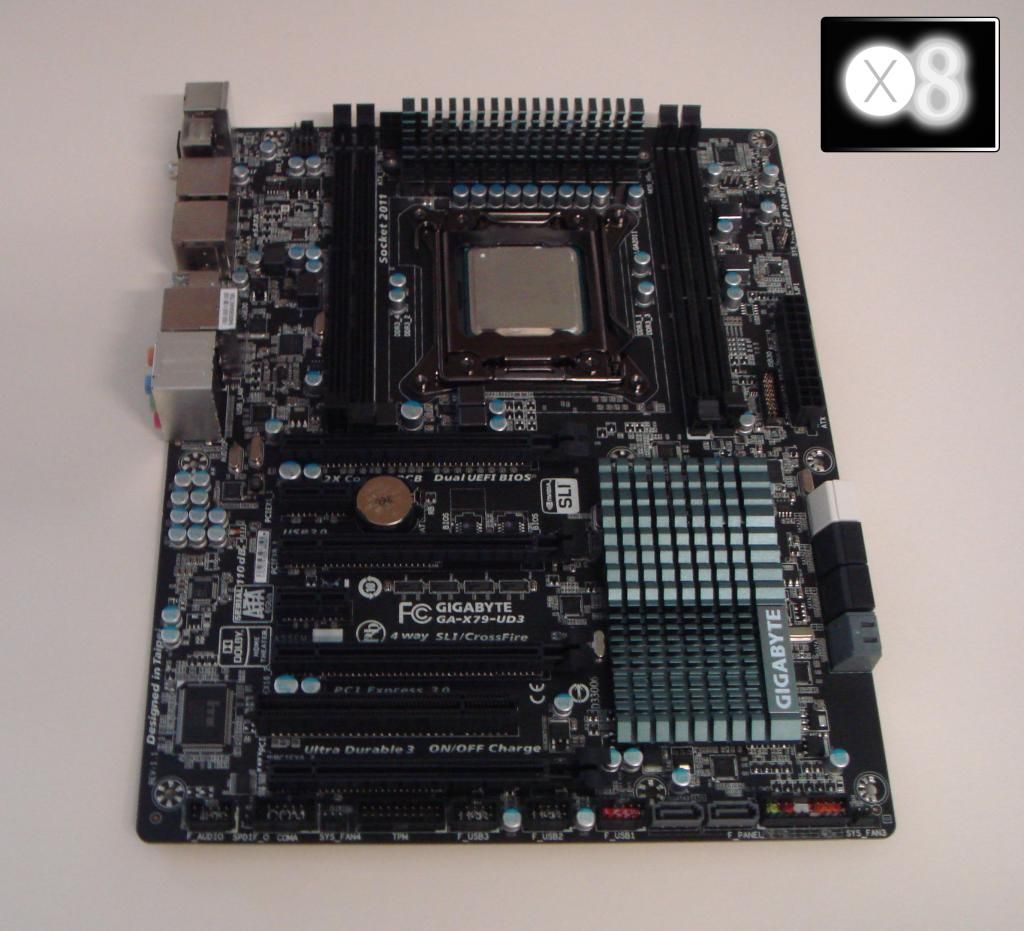
ALXAndy said:OK. So this afternoon I took apart TDC and removed the UD3 and Xeon. I replaced them with the 8320 and CHFZ that I took out recently.
And the board.
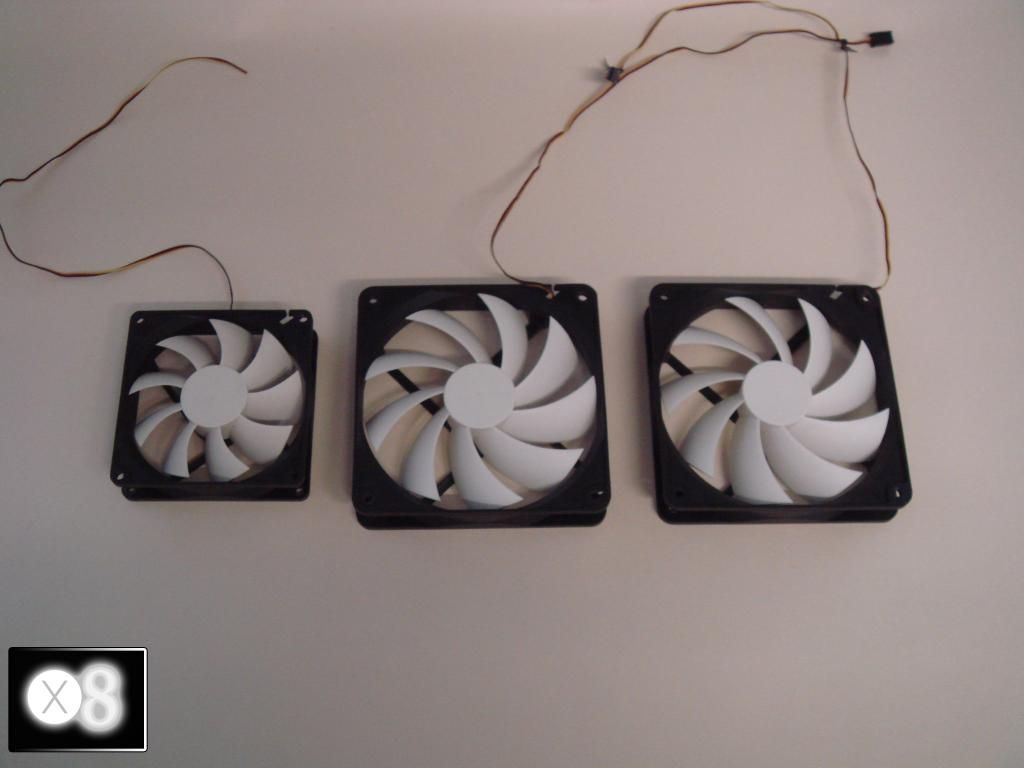
I also spent ages removing the horrible stickers on the fans.
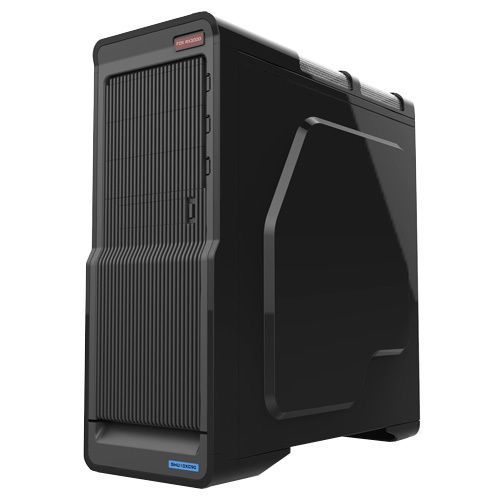
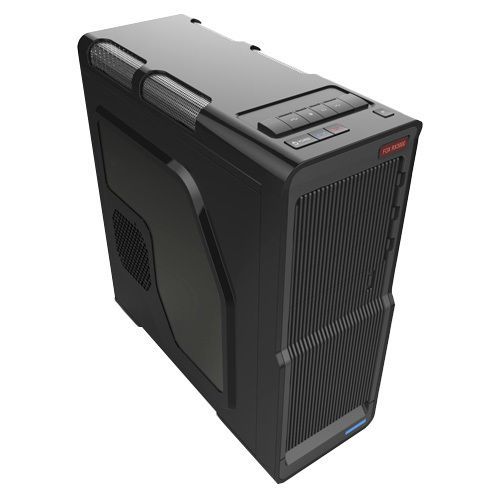
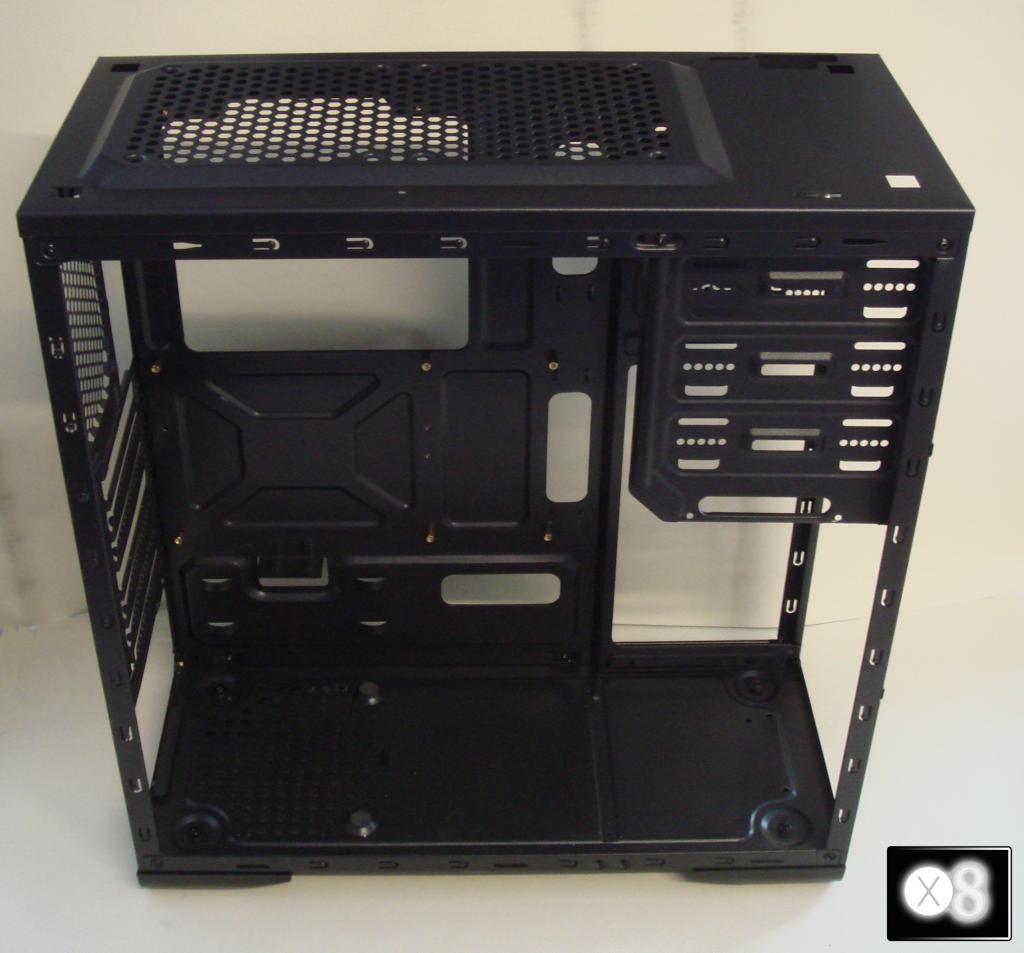
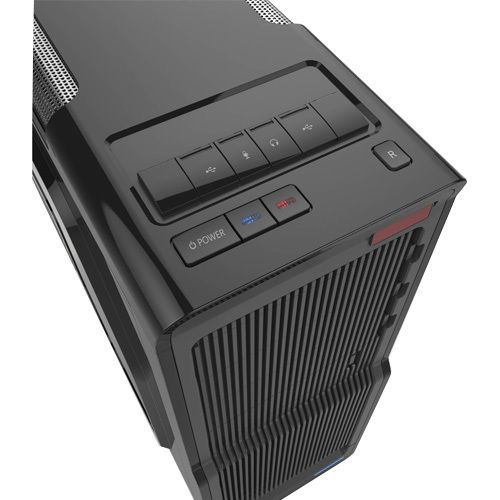
The case. It's a toss up ATM, but I want something professional and mean looking. Many years ago I had a IBM Intellistation M Pro which was dual Xeon. It had a slatted front, which I fell in love with. Here is the case.. £28 or so, expect it to be cut to within an inch of its life.
It comes with a window, which will save me £6 or so.
And the top panel.
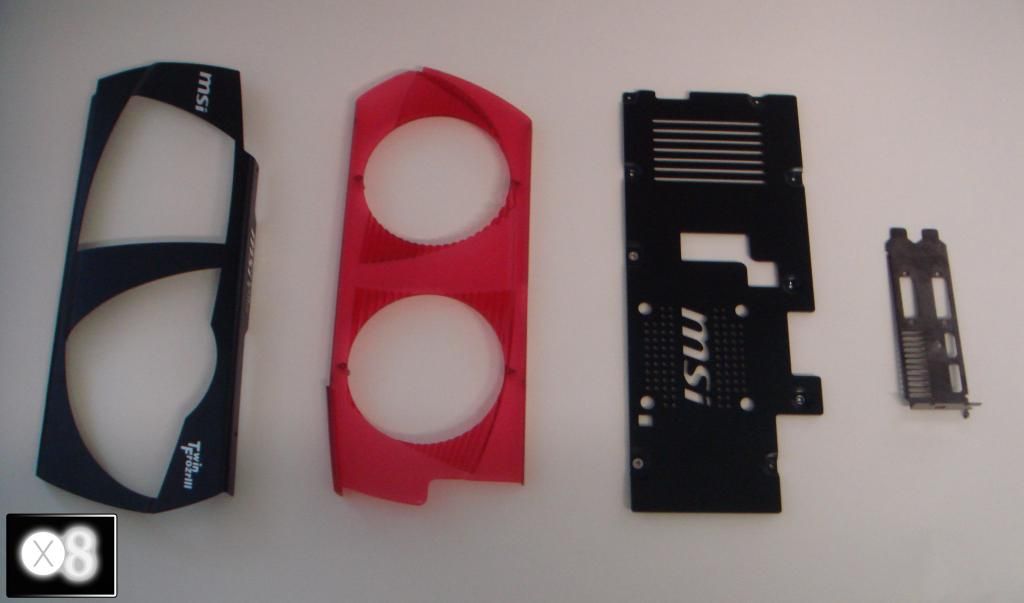
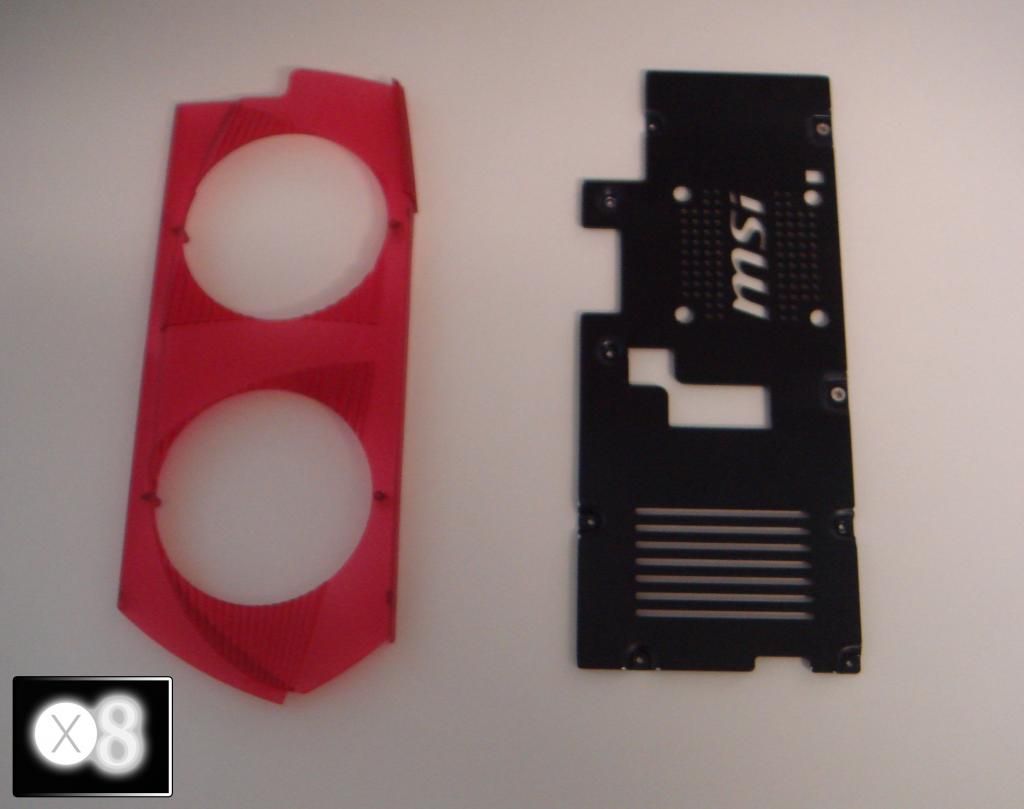
ALXAndy said:OK so I got some stuff done. First I took apart the graphics card and broke it into the component parts so that I can modify it. Here are the parts to be modded.
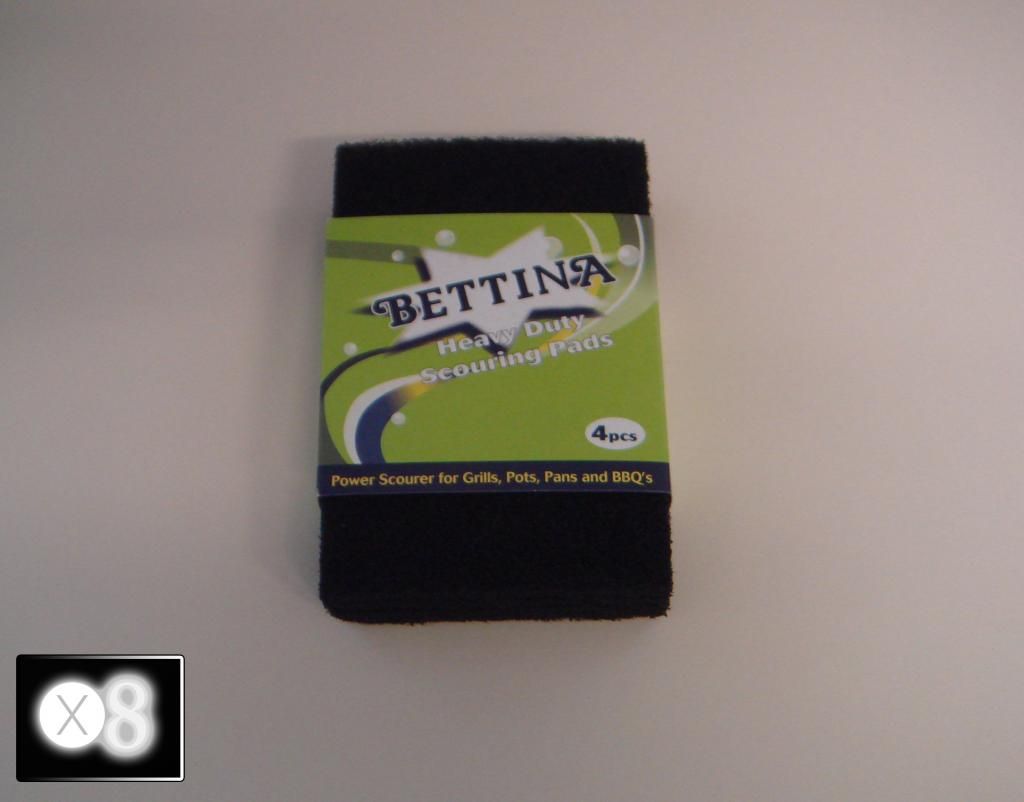
Apologies for the quality of the photos. It's now very dark here.. OK, so whilst I was away I saw these.
Which are very good for creating a key on plastic. I did the main body of the plastic with these, then hit the rest with P600 wet. The back plate has also been wet sanded, both are now cleaned, dry and ready for paint.
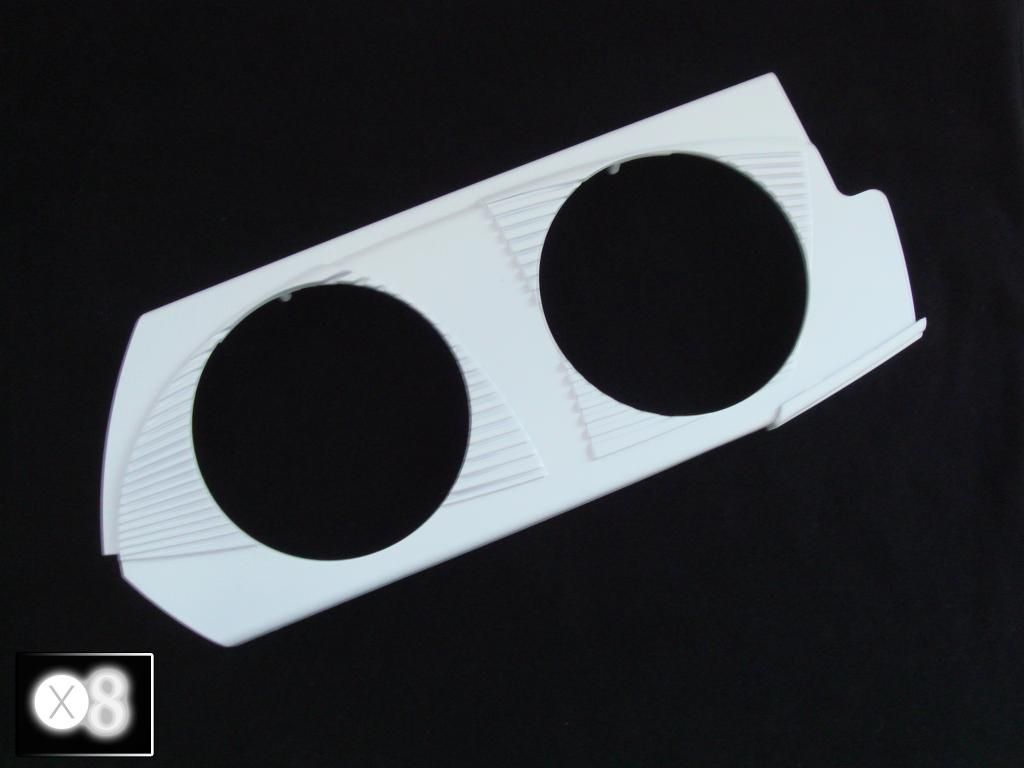
Been working pretty hard today. So the parts for the Lightning are now in flat white. Here they are..
The back plate.
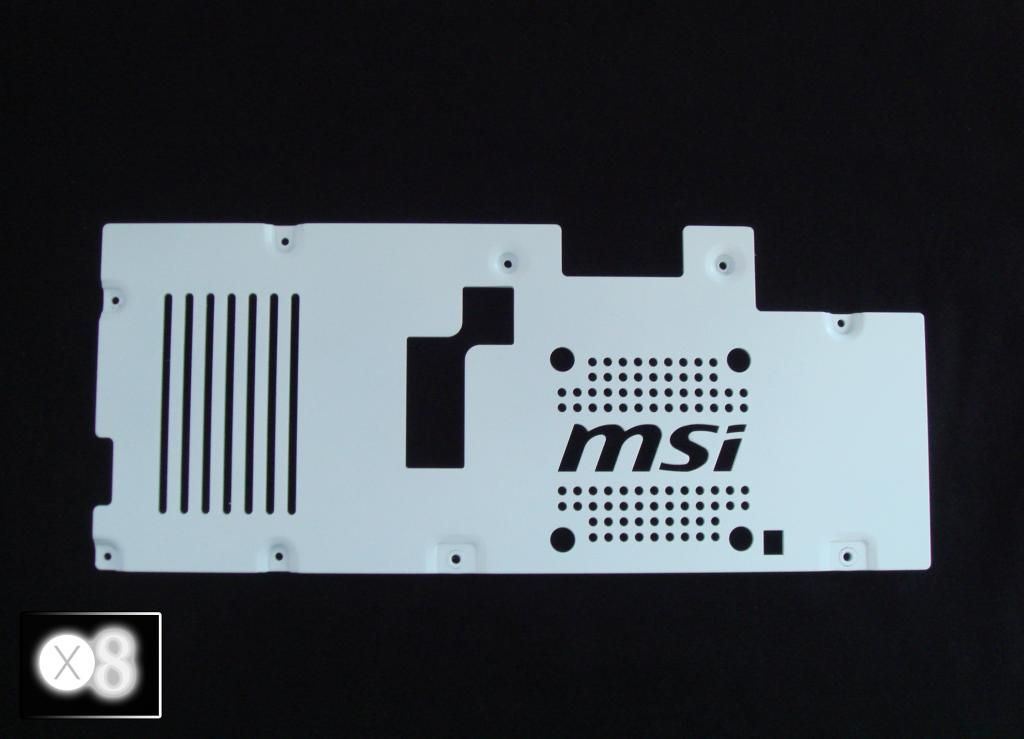
The other back plate.
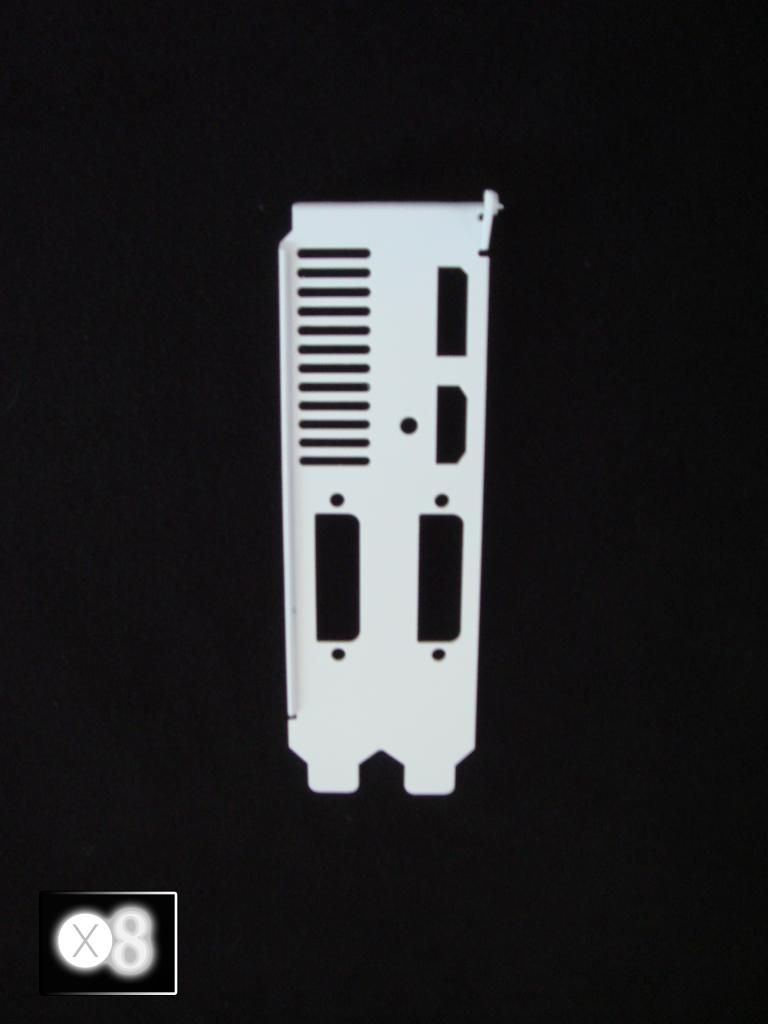
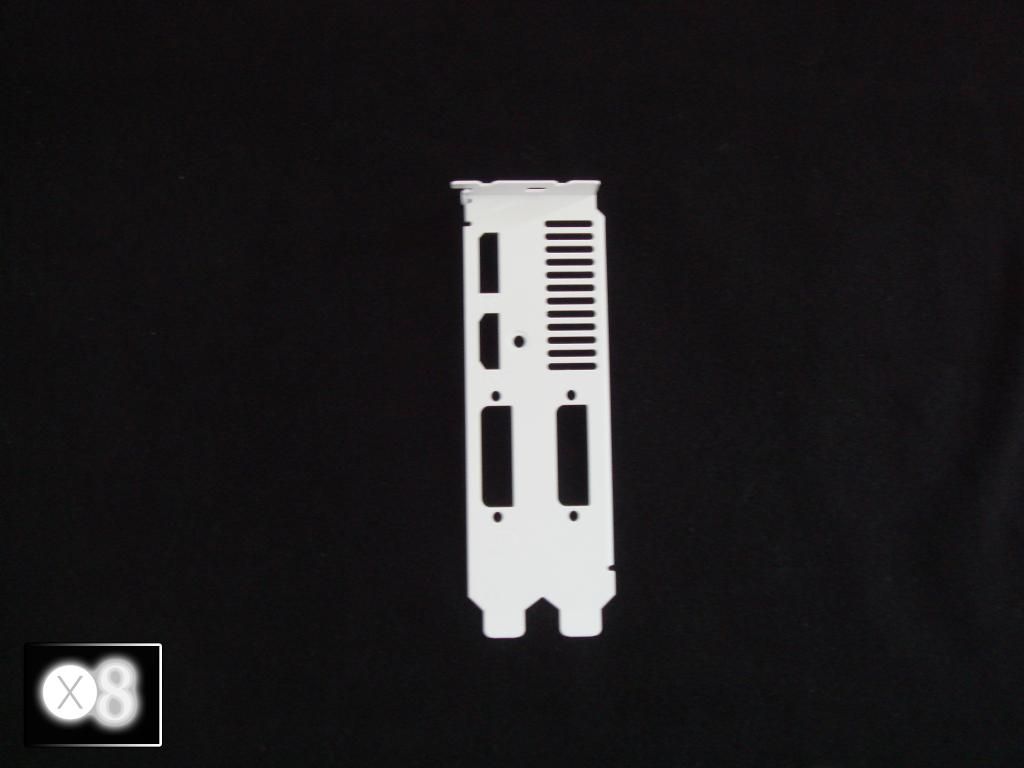
And all together.
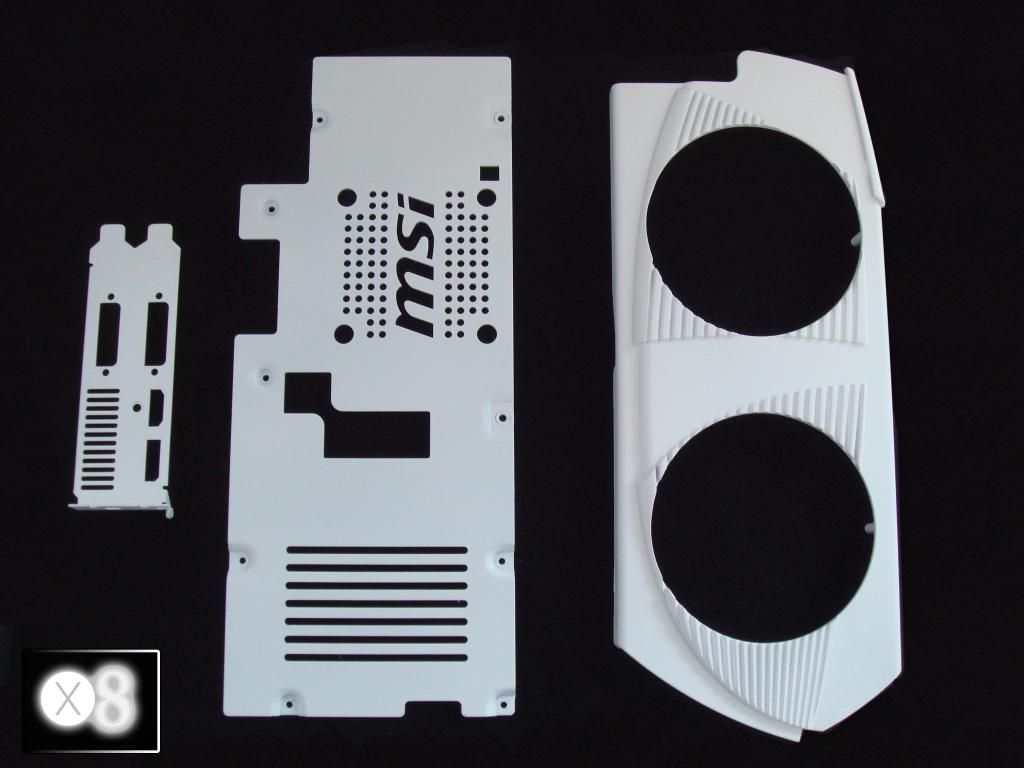
I will now leave those to harden for a few days, and if I like the way the white glitter sprays I will coat them, then hit them with laquer.
Also today I have been making the cooler. I have made parts for it, will post more on that later What I need to do now is convert the Nidec fan that's on Dell connectors to a 4 pin PWM. I've found this..
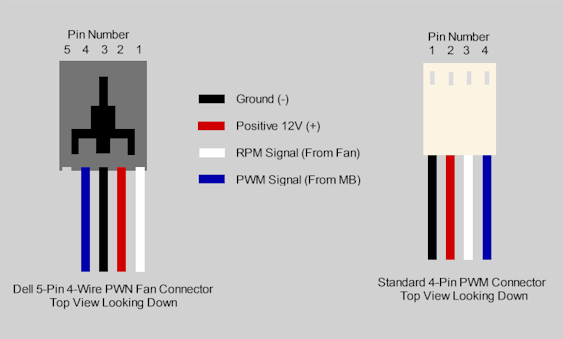
So at some point today I will need to crack out the solder iron, braiding and so on.

The back plate.

The other back plate.


And all together.

I will now leave those to harden for a few days, and if I like the way the white glitter sprays I will coat them, then hit them with laquer.
Also today I have been making the cooler. I have made parts for it, will post more on that later
 What I need to do now is convert the Nidec fan that's on Dell connectors to a 4 pin PWM. I've found this..
So at some point today I will need to crack out the solder iron, braiding and so on.
Any way, time to talk about the top, and how much I hate it.
As you can see from the photos of the case the front has that lovely slatted late 90s IBM Intellistation look about it. Sadly, unlike the photos it's not matte. It's gloss, but it's really horrible gloss that has absolutely no place on the rig at all. That's why I've not taken any photos of it yet. Now the front is lovely, nice and solid too, but the sides of the front (the side edges) are the same as the top. It really is putrid.
Now I thought about just masking up the case, giving those shiny areas a quick sand and then blowing on some matte black, but then I had an idea. This stuff is relatively new, but basically it's 3M with a twist.
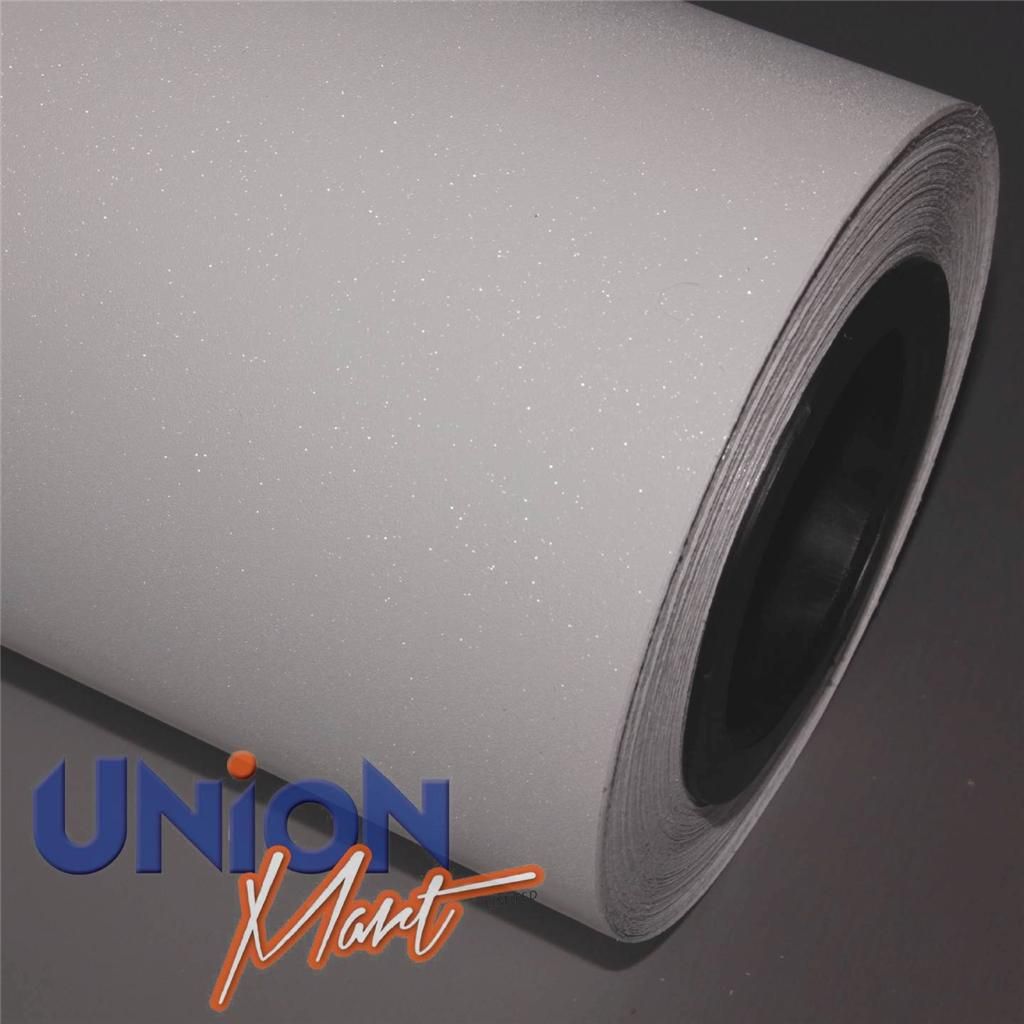
White matte glitter vinyl. So, what I intend to do is cover the entire top, cut out the nasty button panel and cover it in and then mount my own power button. Instead of taking out the mesh and painting it white I will take it out, cover the top white and then just put it back in as is.
Not sure how this will look tbh, but it'll look a darn sight better than the crap it looks now. I've also not seen this vinyl used yet on a build and it should go nicely with the white glitter painted parts
As you can see from the photos of the case the front has that lovely slatted late 90s IBM Intellistation look about it. Sadly, unlike the photos it's not matte. It's gloss, but it's really horrible gloss that has absolutely no place on the rig at all. That's why I've not taken any photos of it yet. Now the front is lovely, nice and solid too, but the sides of the front (the side edges) are the same as the top. It really is putrid.
Now I thought about just masking up the case, giving those shiny areas a quick sand and then blowing on some matte black, but then I had an idea. This stuff is relatively new, but basically it's 3M with a twist.

White matte glitter vinyl. So, what I intend to do is cover the entire top, cut out the nasty button panel and cover it in and then mount my own power button. Instead of taking out the mesh and painting it white I will take it out, cover the top white and then just put it back in as is.
Not sure how this will look tbh, but it'll look a darn sight better than the crap it looks now. I've also not seen this vinyl used yet on a build and it should go nicely with the white glitter painted parts

Update. The Postman came just as I said "Oh come on Postman I want to get modding !" which was kinda strange.
Anyhoo, lots of stuff came. I got white glitter spray* white heatshrink, the fans for the GTX 480, and the fan and controller**
So here is the fan and controller**

The fan. This is going in the front***

I've already moved the stickers around, so this side is bare.

Oh, and the white GPU fans.

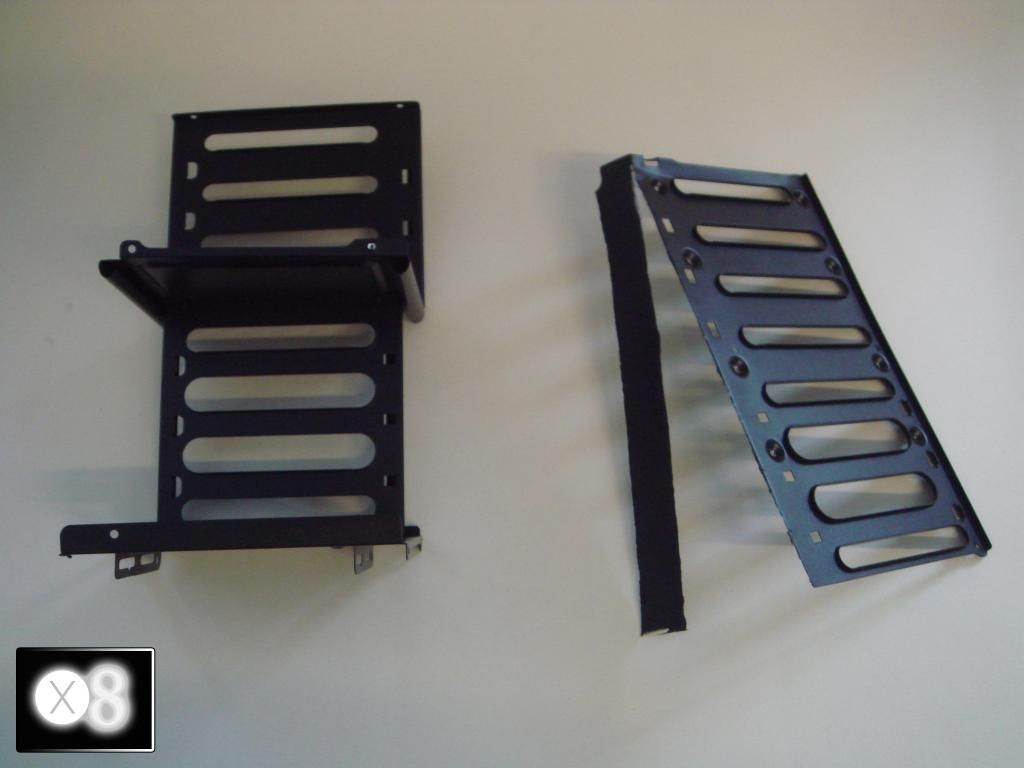
OK, so I had an idea. I did not want to mount a silver 3.5" panel in my PC as it would look kinda stupid. As you've seen I have already chopped out the bay (in metal from the inside of the front of the case structure) so I had no way to screw it in any way. So, I took it apart like this.

And then bought a knurled knob (hehehehe) and did this.

So I ground out the back to make it flat, drilled a hole and simply mounted it into the actual case panel. This clips in and out very easily. Here is the knurled knob (hehehehe)

*s.
* The glitter spray does not have any glitter and is just white spray paint. So the white parts will go back together as they are.
** Sadly the fan controller only works with the 120mm supplied fan. This is not an issue as I will just use it for the front intake.
*** The front of the case does not have a mount for the 120mm fan. It is not on the plastic part, and wasn't on the metal part I cut out. Strangely it does have a dust filter in the front :?
All very, very odd. Any way, I have made a plate that carries the fan (will be glued into the front panel) and have began painting it black.
More later guys, be good !
A.
Anyhoo, lots of stuff came. I got white glitter spray* white heatshrink, the fans for the GTX 480, and the fan and controller**
So here is the fan and controller**

The fan. This is going in the front***

I've already moved the stickers around, so this side is bare.

Oh, and the white GPU fans.

OK, so I had an idea. I did not want to mount a silver 3.5" panel in my PC as it would look kinda stupid. As you've seen I have already chopped out the bay (in metal from the inside of the front of the case structure) so I had no way to screw it in any way. So, I took it apart like this.

And then bought a knurled knob (hehehehe) and did this.

So I ground out the back to make it flat, drilled a hole and simply mounted it into the actual case panel. This clips in and out very easily. Here is the knurled knob (hehehehe)

*s.
* The glitter spray does not have any glitter and is just white spray paint.
 So the white parts will go back together as they are.
** Sadly the fan controller only works with the 120mm supplied fan. This is not an issue as I will just use it for the front intake.
*** The front of the case does not have a mount for the 120mm fan. It is not on the plastic part, and wasn't on the metal part I cut out. Strangely it does have a dust filter in the front :?
All very, very odd. Any way, I have made a plate that carries the fan (will be glued into the front panel) and have began painting it black.
More later guys, be good !
A.
This is my graphics card. There are many like it, but this one is mine.
My graphics card is my best friend. It is my life. I must master it as I must master my life.
My graphics card, without me, is useless. Without my graphics card, I am useless. I must overclock my graphics card true. I must overclock higher than my enemy . I will...
My graphics card and I know that what counts in war is not the hardware we run, the noise or heat, nor the brand. We know that it is the megahertz that count. We will score higher...
My graphics card is human, even as I, because it is my life. Thus, I will learn it as a brother. I will learn its weaknesses, its strength, its parts, its accessories, its limits and its temperatures. I will keep my graphics card clean and ready, even as I am clean and ready. We will become part of each other. We will...
Before God, I swear this creed. My graphics card and I are the defenders of my country. We are the masters of our enemy. We are the saviours of my life.
So be it, until benchmarks are mine and there is no enemy, but peace!
Ladies, Gentlemen, boys & girls, I present -White Lightning.


I also braided the 120mm fan and put on some dinoc to cover the wires. This is the front intake fan.

My graphics card is my best friend. It is my life. I must master it as I must master my life.
My graphics card, without me, is useless. Without my graphics card, I am useless. I must overclock my graphics card true. I must overclock higher than my enemy . I will...
My graphics card and I know that what counts in war is not the hardware we run, the noise or heat, nor the brand. We know that it is the megahertz that count. We will score higher...
My graphics card is human, even as I, because it is my life. Thus, I will learn it as a brother. I will learn its weaknesses, its strength, its parts, its accessories, its limits and its temperatures. I will keep my graphics card clean and ready, even as I am clean and ready. We will become part of each other. We will...
Before God, I swear this creed. My graphics card and I are the defenders of my country. We are the masters of our enemy. We are the saviours of my life.
So be it, until benchmarks are mine and there is no enemy, but peace!
Ladies, Gentlemen, boys & girls, I present -White Lightning.


I also braided the 120mm fan and put on some dinoc to cover the wires. This is the front intake fan.


