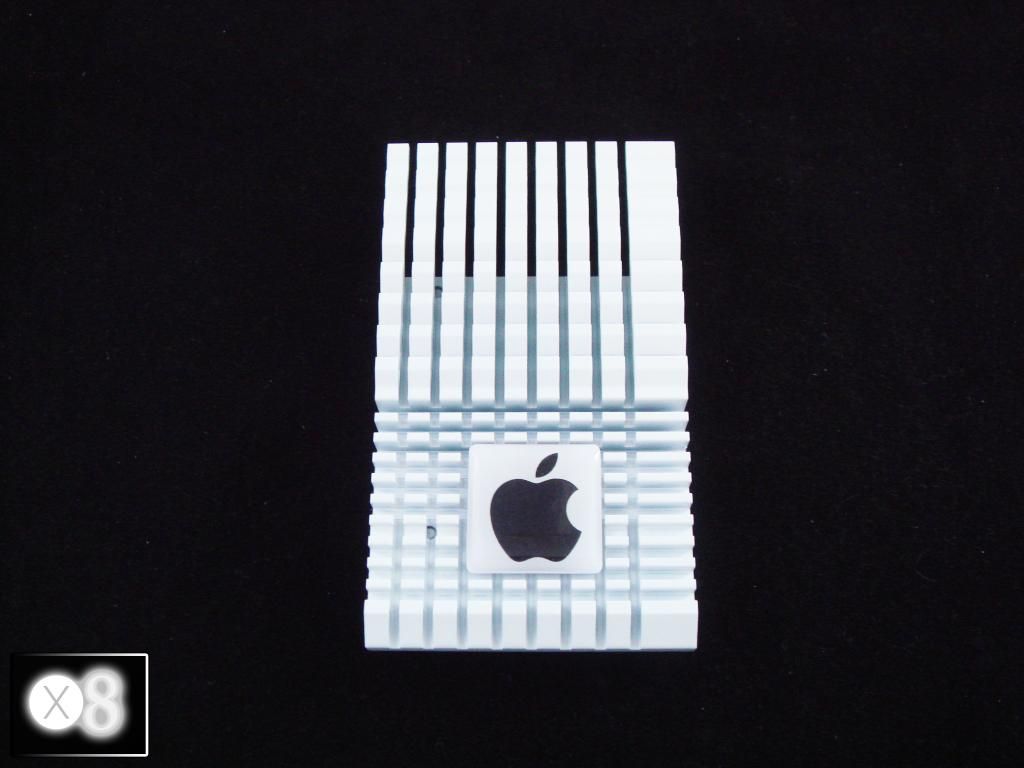
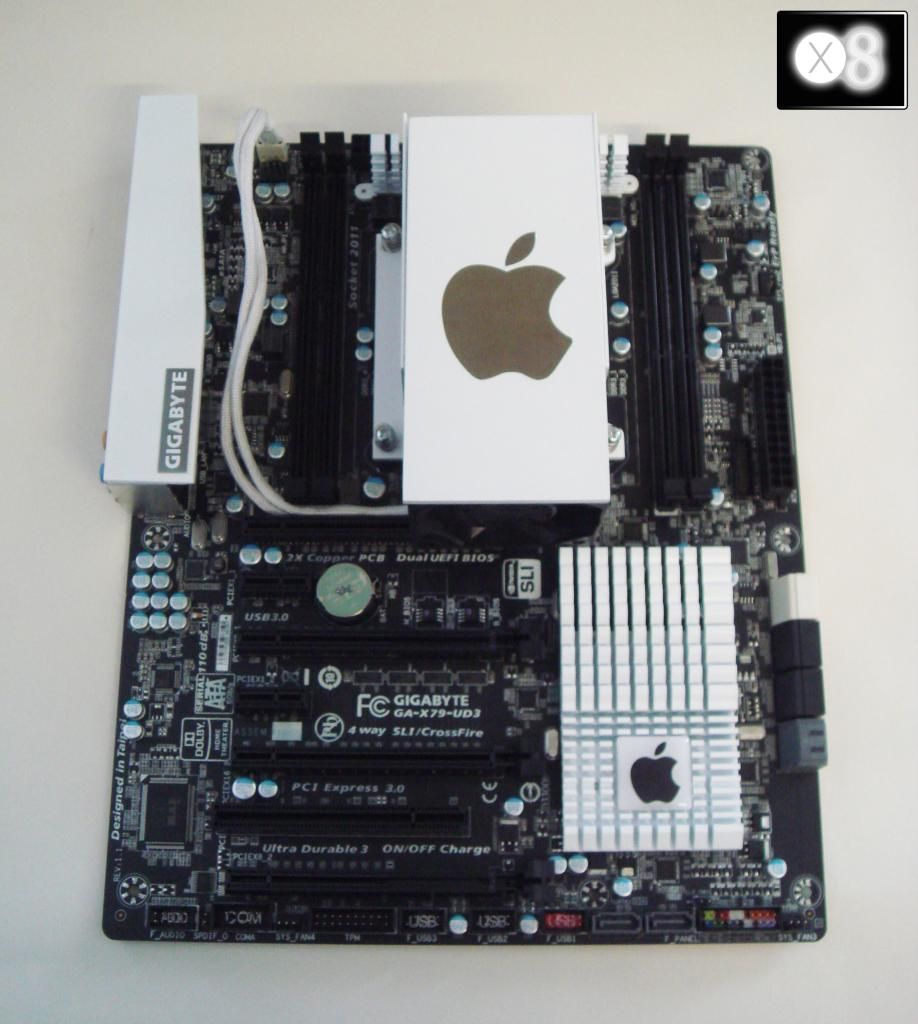
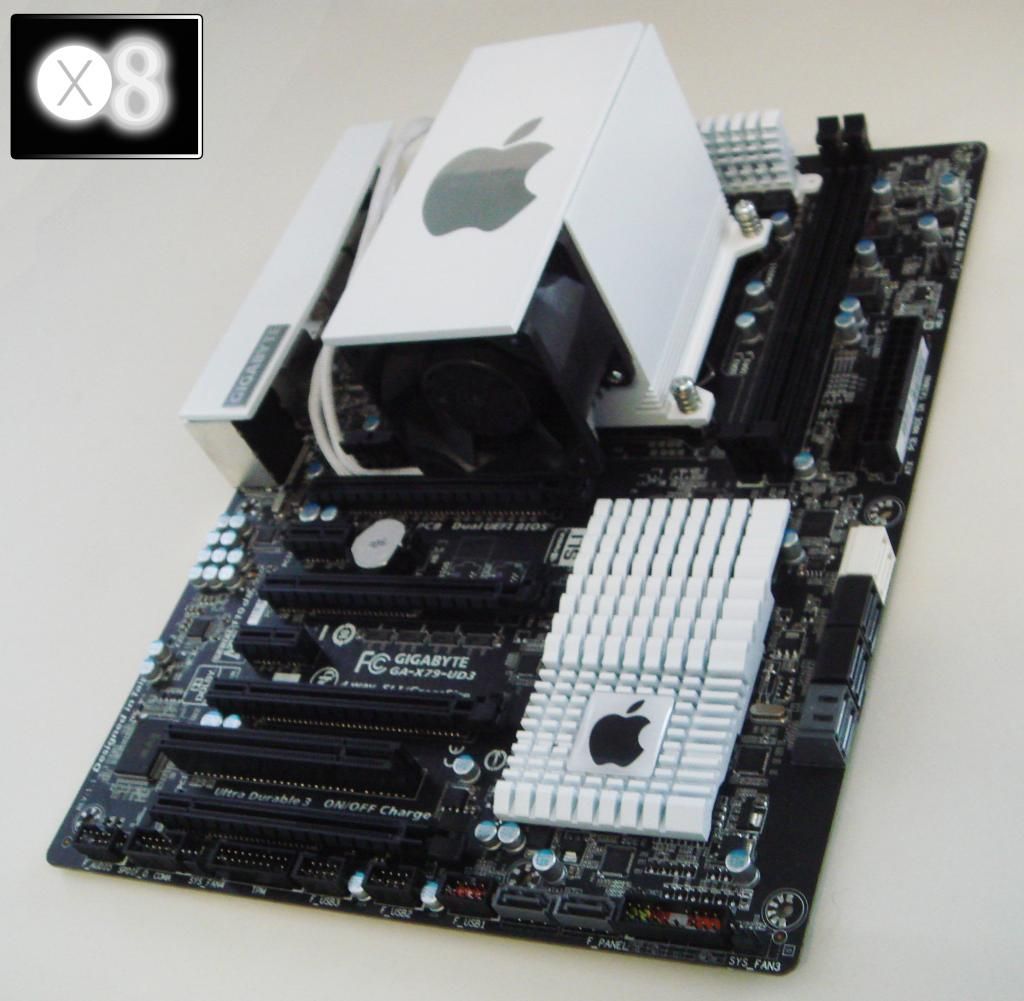
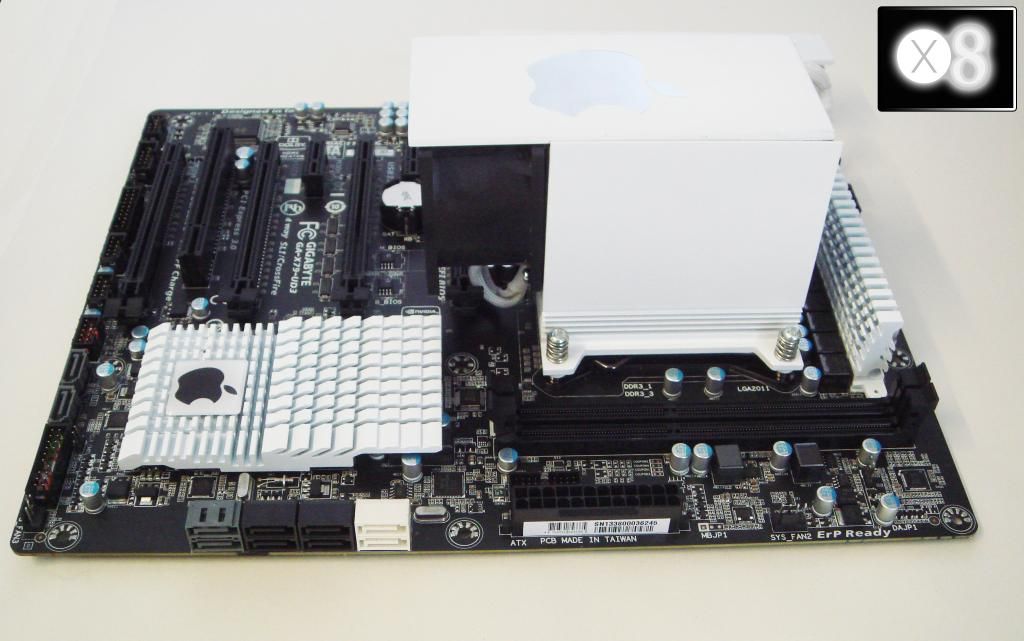
My rigs.

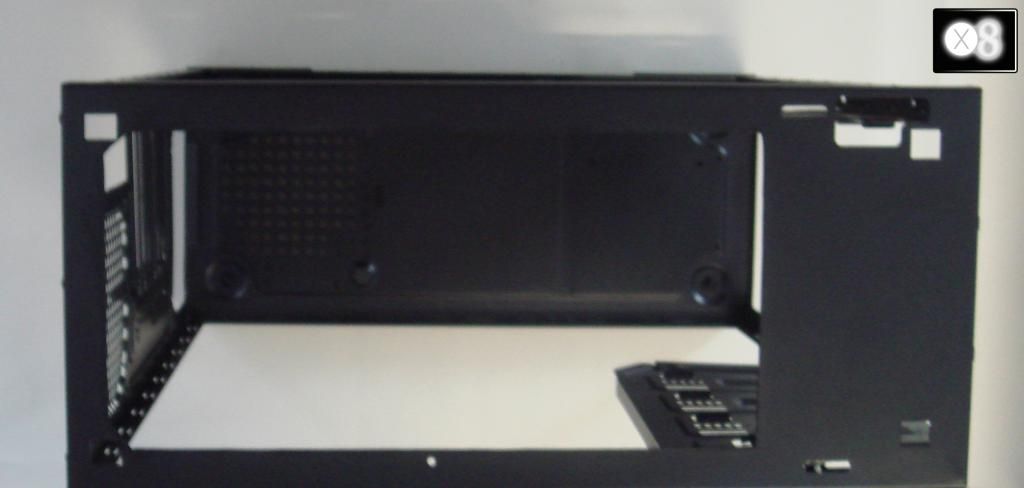
Update. So today I needed to do some pretty intensive cutting. The top area where the fans fit in was pressed so it faced upwards into the top. The issue I had with that is that it fouled my floating fans. Time to remove it...
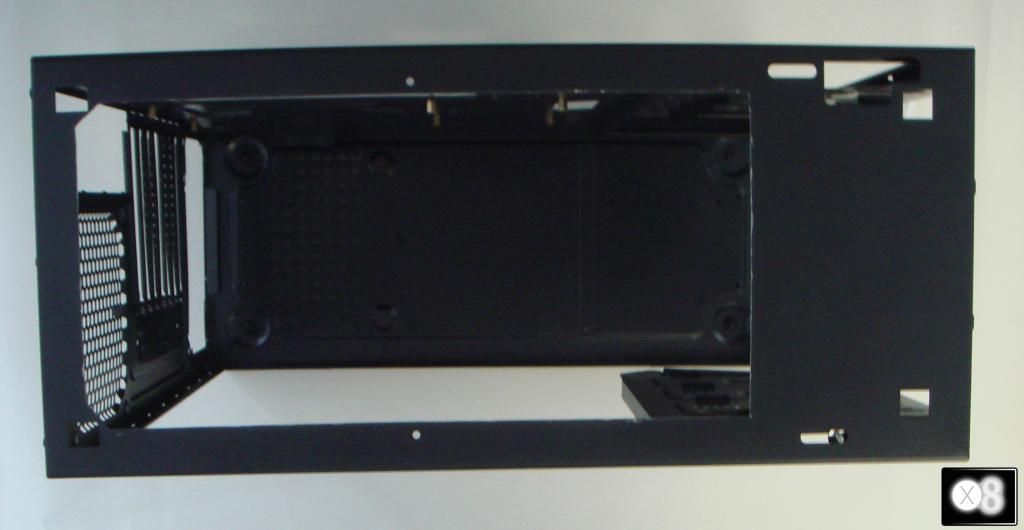


More pig iron.
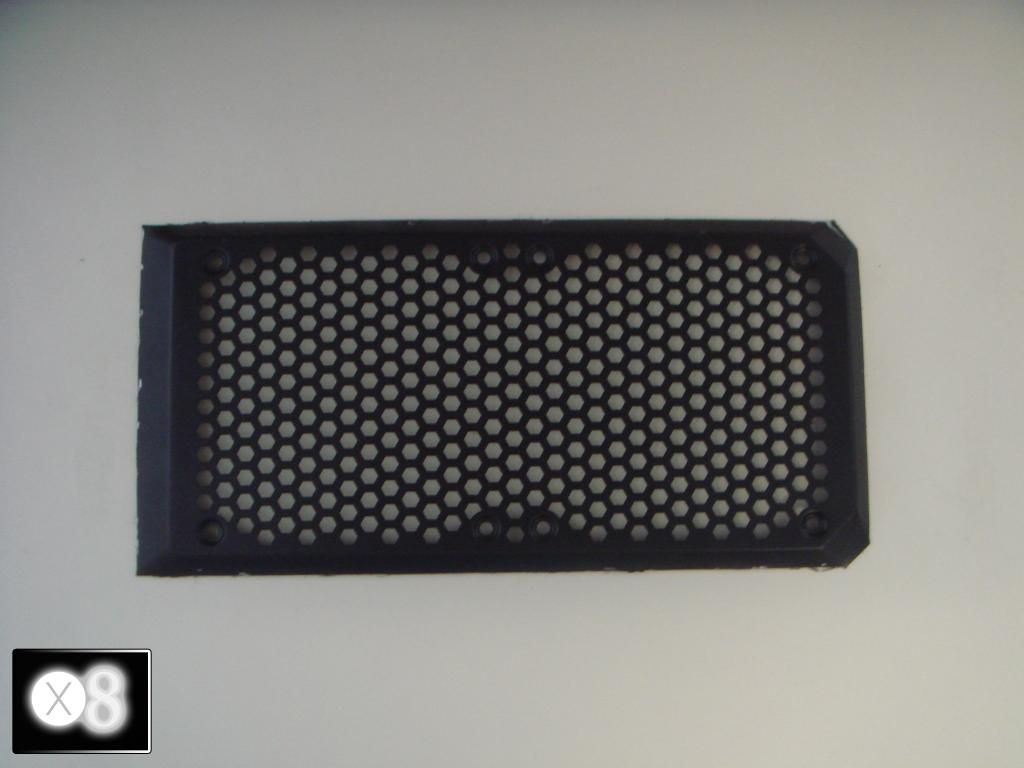


And then....
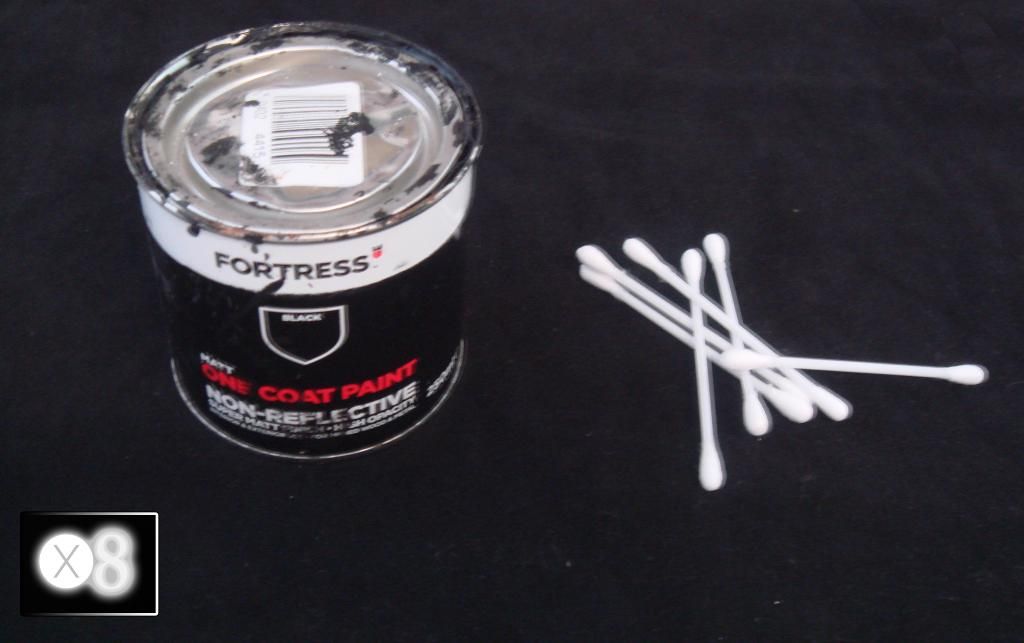


OK that's two coats inside and out :)


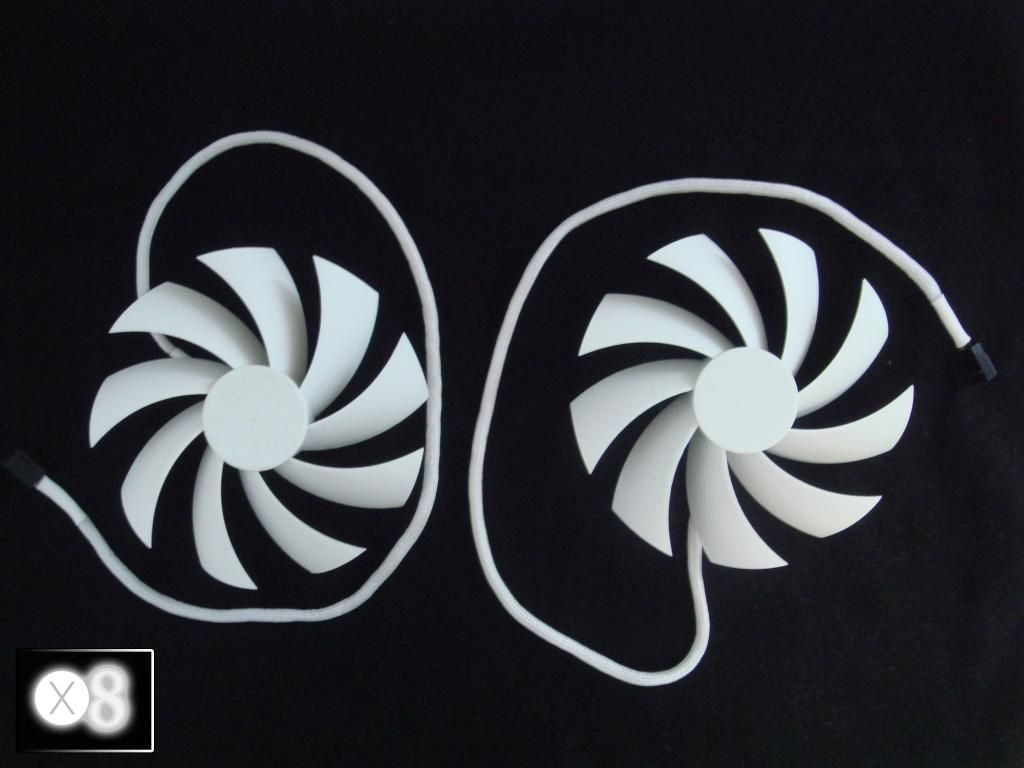
And my liberated floating fans. These will become part of the top when I'm finished.


I also removed the power supply I need for the build today, simply switching it out with the crap one I bought.
 
K so today I had two jobs to do. 1. Rewire the San Ace fan to comply with a regular 4 pin PWM. 2. Build the cooler.

So first up I rewired the fan.


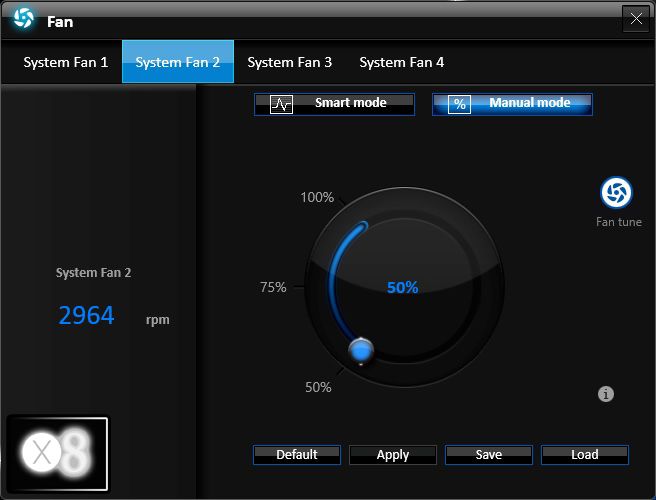
And then have some fun with it. I connected it to BPM and installed MSI Command Center.


And videoed the testing procedure.

https://www.youtube.com/watch?v=mxvvANL2eb4&list=UUDOy9ygUBbMsQXkBAZ48IxQ

Trust me, it's not for the faint of heart.... Thankfully I can make it no louder than the ambient noise of BPM, so I may shove a 7v resistor on the live wire..

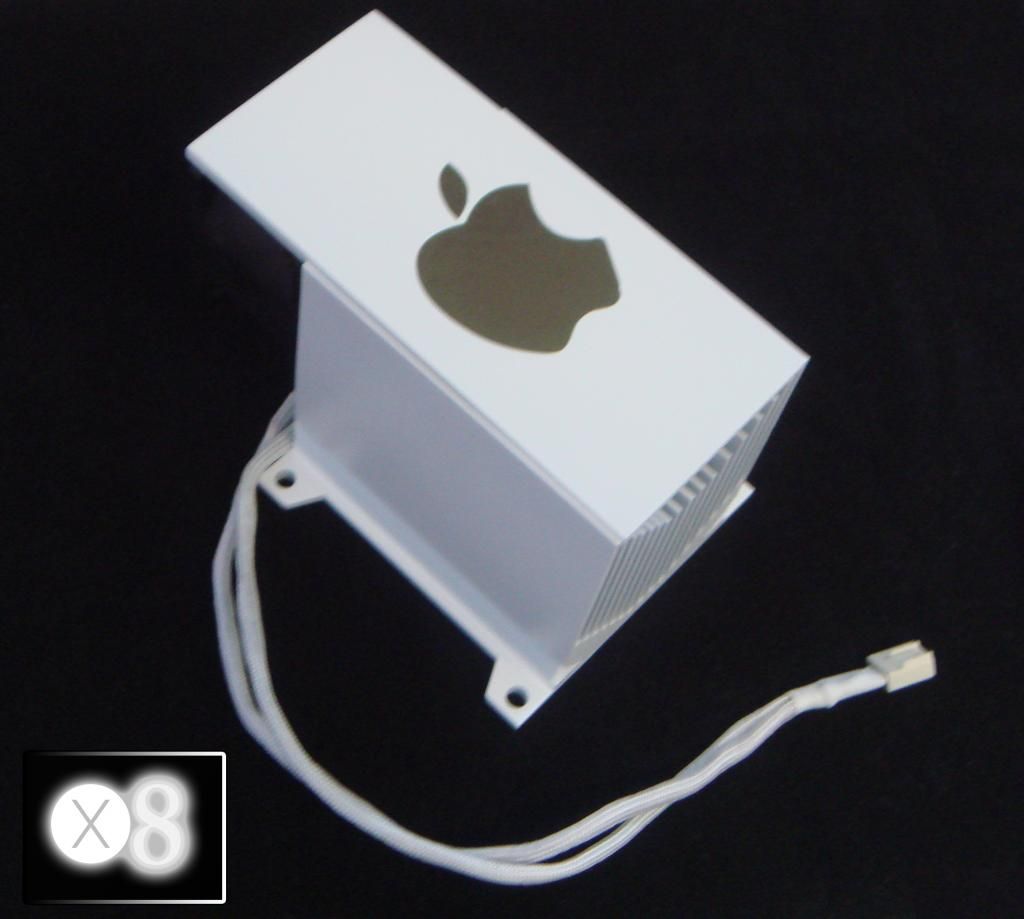
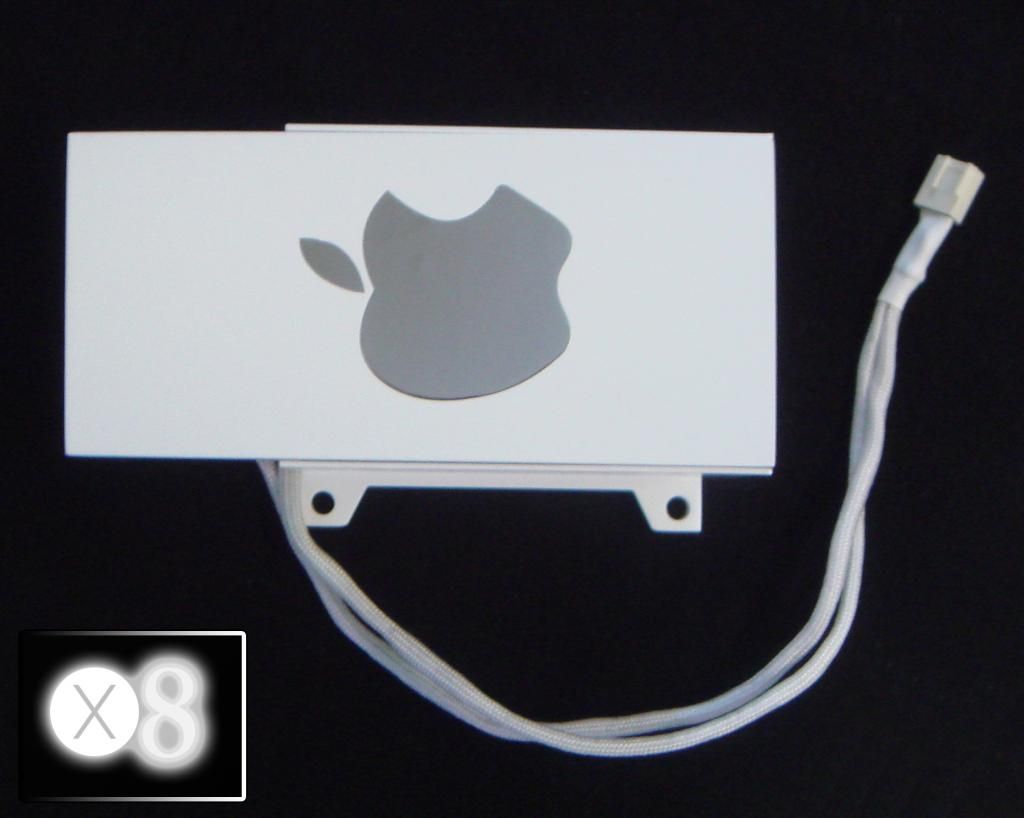
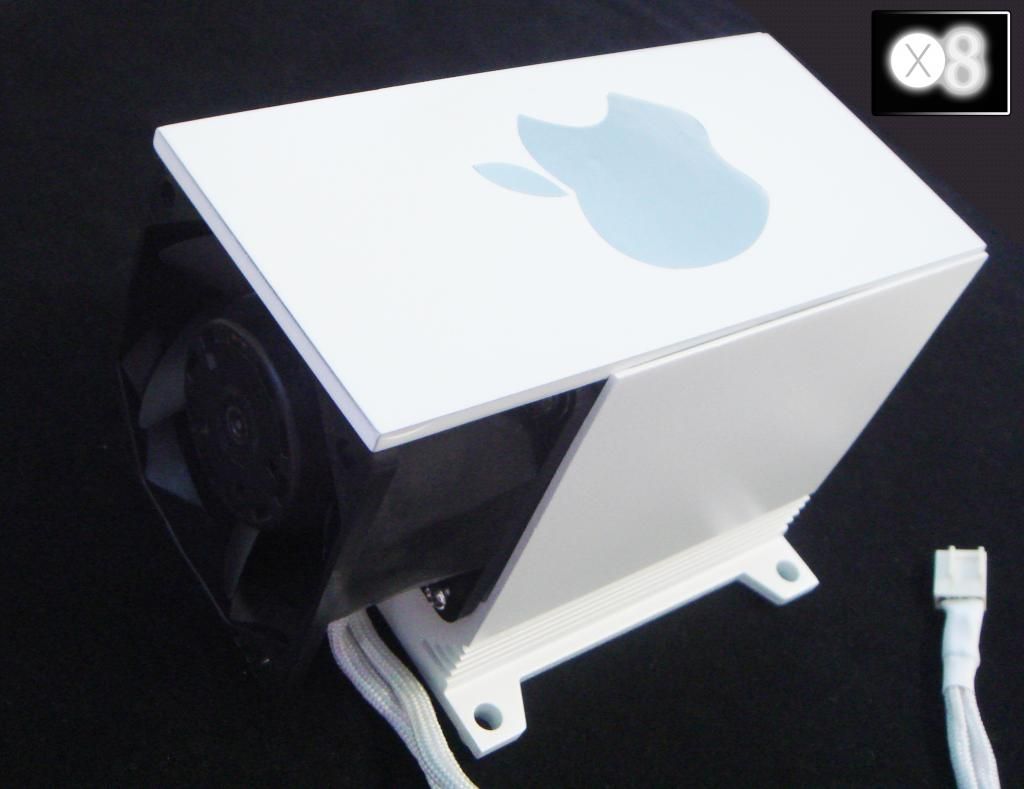
And then it was time for the cooler.


And here is where the fan lives.


iCooler.
 
Afternoon all. Been another busy day for me yet one with a little disappointment.

The parts I need to finish the top are not here. The parts I need to start braiding the PSU are not here and then yesterday I ran out of solder and heat shrink. I should have prioritised all of that before I started building but that stuff lasts a while and I just didn't check.

Any way, as I said I am very busy, and here is a teaser of what's to come.


OK that brings it completely up to date on OCUK. Will update as usual. Cheers !
 
Thanks Clov!s. Yeah, you could pour poop on that card and it would still look amazing :D

Today I am doing some structural work on the case. Basically I am now fitting/mounting the hot swap bay from the Cosmos 2, and as I suspected it's not just a case of screwing it in and replacing the 5.25 covers. Basically it sits 14mm into the cover above it so I have had to mod one of them to be 14mm high so it can all fit in there with no gaps.

Not exactly very exciting, but the acrylic and vinyl I have ordered have yet to show so I'm clutching straws a little when it comes to what to do next.

I can't braid the PSU until I have the acrylic, as I plan to run the wires through it. So all I could do in theory is braid up the 8 pin EPS. Not very exciting at all :(
 
Update. Yesterday the glittered vinyl finally came. This morning I decided to cover the top.


Closer..


And here are the floating fans, finally set in place. Obviously I've not routed the wires yet but all fitted and ready for wiring.


And finally getting the vinyl meant I could finally cross another small job from the list..

 
Mini update. The postman came with these..


7v resistors and protection for the fan, which fits as such.


Remember kids, safety first ! - Danger Ehren. And I also ordered another of these.


Dodgy pic C/O other company. That will be going in the back. The control for it will be fitted to the back of the rig.

I also think the postman actually tried to deliver my acrylic today, so I can collect it Monday, yay.

Also.. The front panel is now completed. The sides have been covered and the fan plate and controller are in. More pics later :)
 
I started the braiding on the PSU today. I can't do any of the GPU cables or the 24 pin because they are going to be running through holes in panels, but I did get the 8 pin EPS done.


It went well. Thankfully a guy over at Bit-Tech sent me a tool he makes which makes it pretty straight forward.

Didn't take too long either, so has enthused me for the many cables I have left to do (24 pin, then two 8 pin GPU and a six pin GPU).

And did this last night.
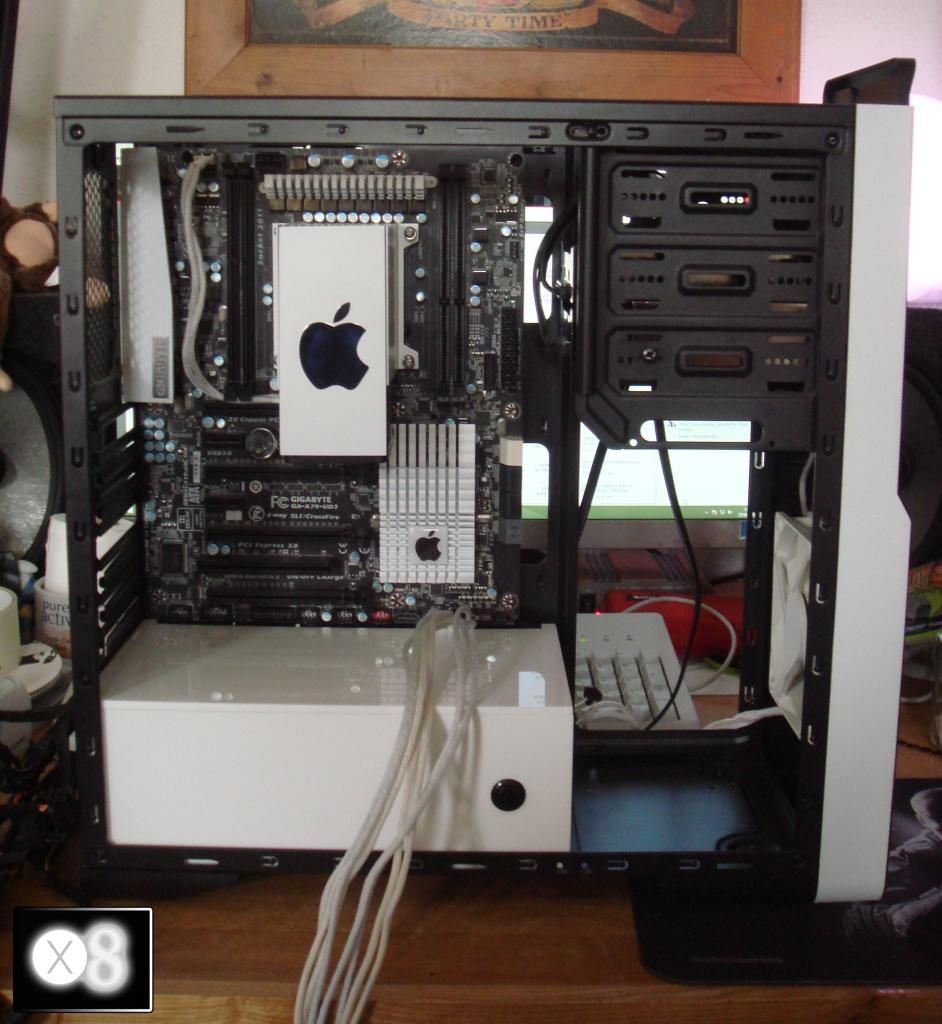
 
OK so it's time to remove the veil of mystery and finally show some pics of the case. As I mentioned, when I bought it the top and the sides of the front were in the most nasty gloss plastic I have ever seen. It really put a dampener on things. Thankfully the case was only £28, and it had plenty of scope in it for making it right.
So as you all know, I covered the top. I also covered those wretched sides and of course the logo. Please note - case is far from finished, it's only because I've been so mean with pics of it that I'm putting these up now.

The window side is still sitting in the box, as it was when it was delivered, but I have plans for that also.


And that lovely* front slatted panel.


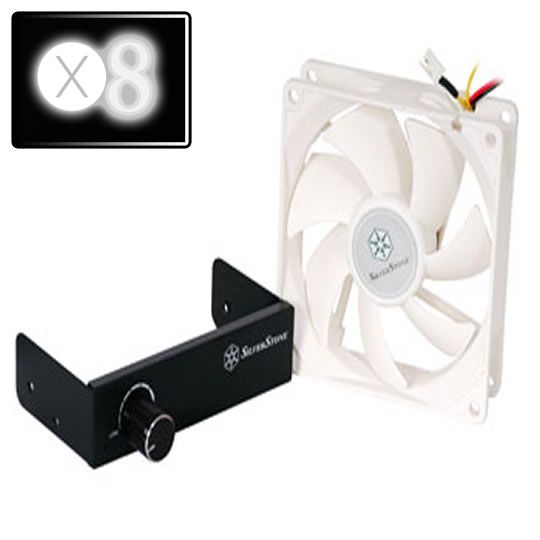
And finally a frontal shot, showing the 120mm white Silverstone fan that is now fitted.


More to come soon :)
 
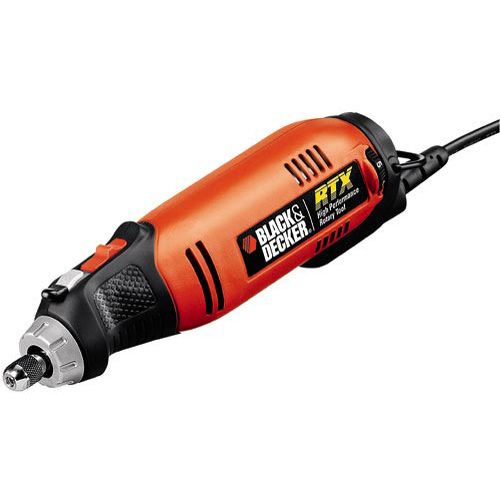
Sort of an update. So last week I ordered a new rotary tool. I had a Silverline but the chuck lock went so I couldn't get bits in and out. I ordered another one, and to be fair it did last around 13 months, but sadly it too has suffered the same fate.
Back when I lived in the USA I had a Firestorm by Black and Decker. So I ordered the UK equivalent here.


Now what I like most about it is the locking mechanism. No more pressing a button you simply pull over a lever. Only issue is the lever on the UK model is plastic, which is kinda disappointing. Ah well, it seems to work any way.

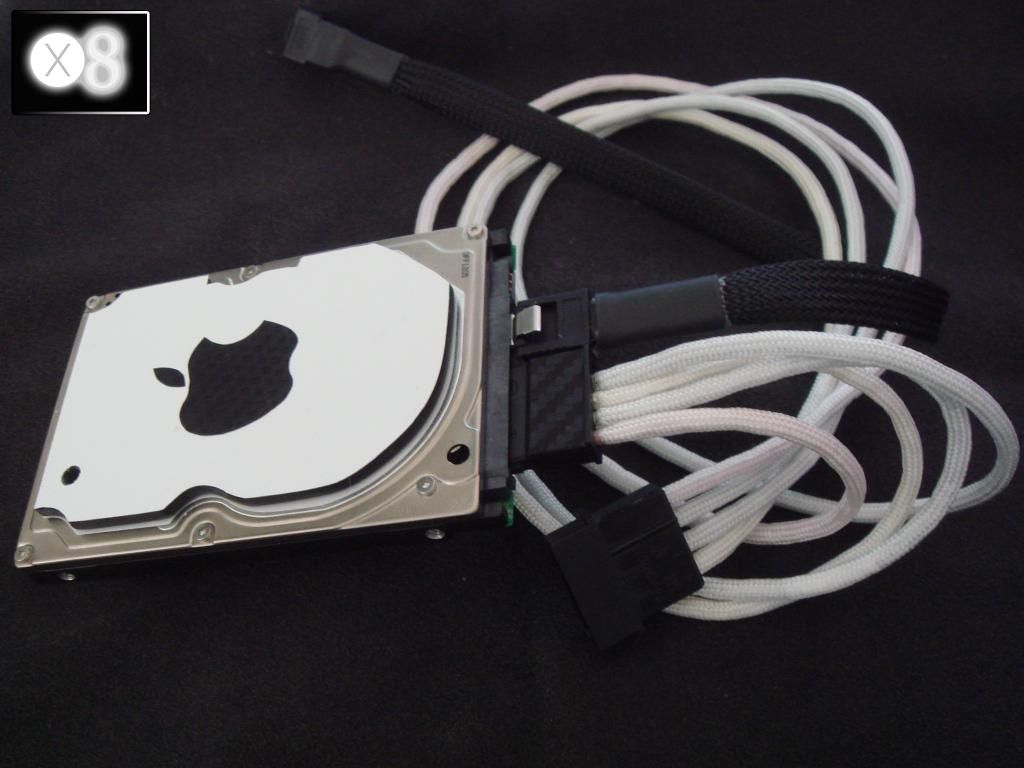
So today after braiding a few cables (power button, reset button etc) I was bored as ****. So I decided to make a cover for the hard drive. First I photocopied the drive, then cut out the covering sticker that I had copied and glued it down to some acrylic. Then I cut it (and carved it) and then polished the black edges before fitting some glittered vinyl.


I'm very happy with how it came out. All it needs now is an Apple logo and it'll be done.
 
PSU box.


Hole.


Secondary reset button.


Clean and dry.


Clamp it into the workbench and line it up.


And glue. Don't worry about any excess it is very easy to carve it off.


So that's it for now. In about two hours I will be able to take it out of the bench and glue on the top.
 
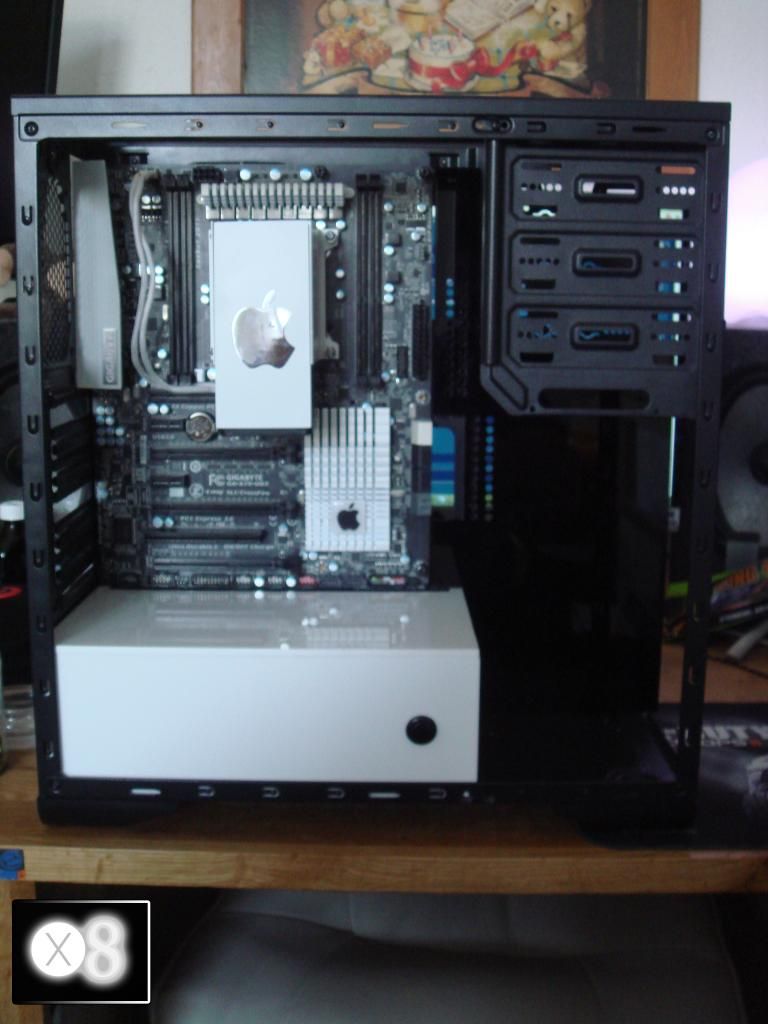
OK PSU box done.

All I had to do today was basically clean off some of the overlapping glue (scalpel) and give it a wipe over before fitting the power button.


Very happy with it. The last one I made was a bit messy so needed wrapping. This one shines :D

Am growing a little concerned that the PSU simply has too many wires in it to make the side panel close, so I may have to open it up and remove some of the runs. Either that or cut them off close to the PSU and cap them (easier).

Ignore those wires coming out they have to go up under the motherboard as there is no cable management for the EPS.
 
Thanks. Yeah, there's an awful awful lot of work going in. Basically I've sort of created a bit of a rod for my back here by being so anal.

Thankfully I would say 99% of the small jobs are done. What I haven't shown is me basically making braided LEDs for the front centre piece (watch this space) as well as braiding up all of the header cables and reworking the power/hdd LEDs. So lots of small jobs with the soldering iron and braiding etc.

Coming up next is the main IO panel as I've named it. If you look into the case you will see how this will fit. It runs parallel to the motherboard running upwards.


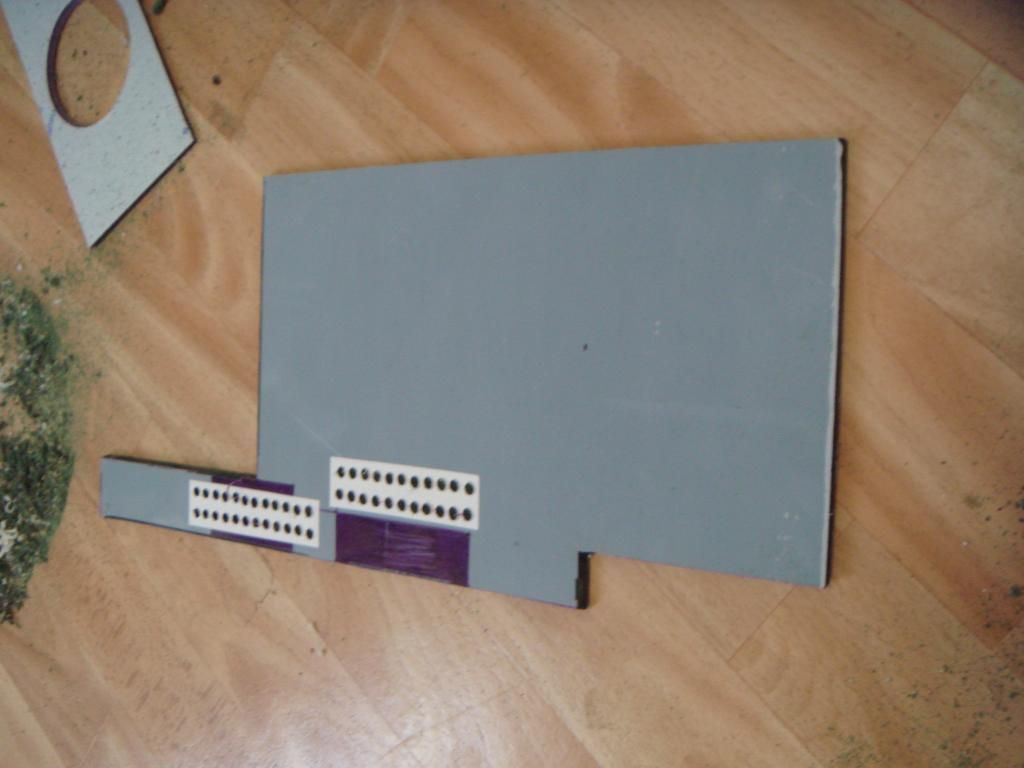
That is basically what the 5mm black sheet of acrylic is for. Many holes need to be drilled in it (I would say about 70+) lol so I've again created a rod. Not an issue though, I'll do all of those before I cut it out, so there will be a far less chance of any cracking or splitting.

Think that one's gonna be a bit of a headphone job haha. Just get something calm playing (David Gray?) and then drilling frenzy :D
 
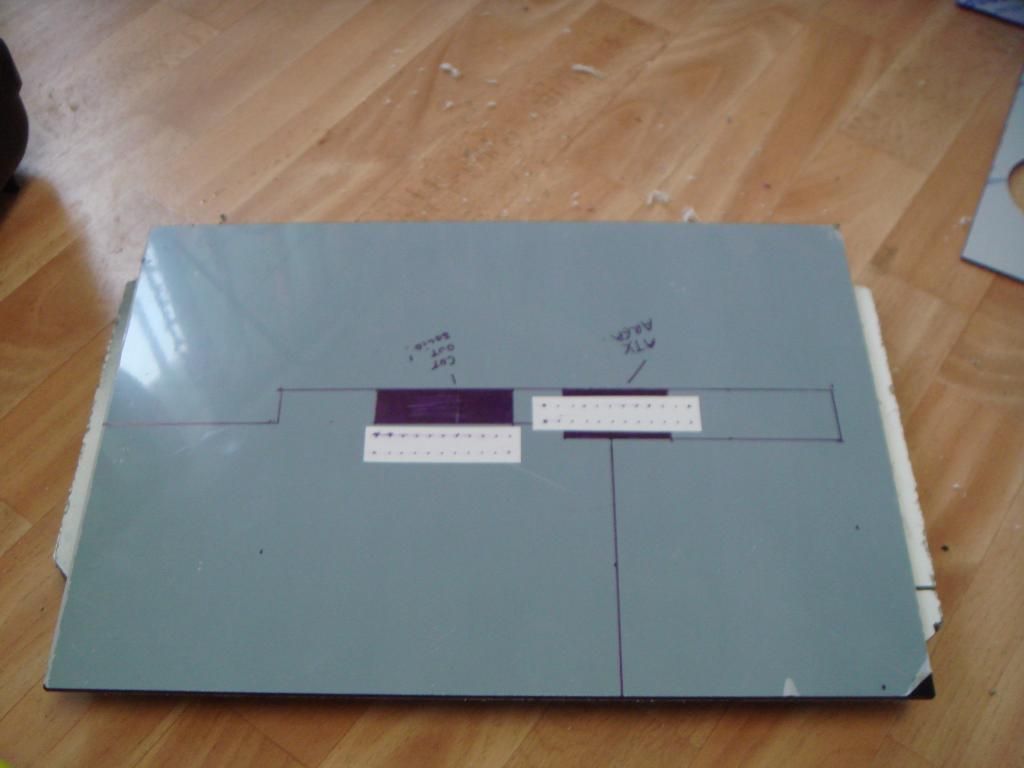
OK it was time to mark it out. This will not make any sense yet...


Then drill lots of holes.


Then cut it out.


It looks like a dog's arse at the moment but don't worry, I've done the two hours of sanding it needed and polished up the edges.

It doesn't quite fit yet because there's a chunk of metal in the way. I have some serious cutting to do next to remove more pig iron from the shell of the case so that everything fits as it should and I can route the wires.

More to come soon :)
 
And another job done... I can see the light at the end of the tunnel !


(although there's this 24 + 22 pin braid job getting in the way....)
 
Back
Top Bottom