Nuclear Blast Project - Custom Acrylic Case

I would guess some kind of solvent based acrylic cement would be the best option, the kind of stuff they use to bond acrylic fishtanks would be strong enough :D and not mist up the acrylic.

Would love to have a go at making something crazy also for a LAN PC.

I have a case somewhere on paper for LANs :)
A very funny design too, but would require some serious skills and some sacrifices (i.e. no high end full length gpu). I can give you a general idea :)
Send me a trust and I will send you a description and whatever data I have - I won't be making it anyway :)
 
Wow, didn't realise you were practically building from scratch! OK, defo got me hooked now. So CaseLabs components are for a carcass? Then building your own acrylic frame around that? Can't wait to see some pics
 
I have a case somewhere on paper for LANs :)
A very funny design too, but would require some serious skills and some sacrifices (i.e. no high end full length gpu). I can give you a general idea :)
Send me a trust and I will send you a description and whatever data I have - I won't be making it anyway :)

Thanks for the offer but I will pass, crazy busy right now and trying to get my current build done, ready for the new Nvidia launch. Perhaps next year :D
 
Sounds like you have a lot of ideas in your head mate, have you ever tried Sketchup or anything. I've tried a few designs like that but I'm not very good at using it, but its a great way to test theories and plans. Oh and its cheaper than making real thing !
 
Yeah Sketchup is well worth a go, I try all my designs in it
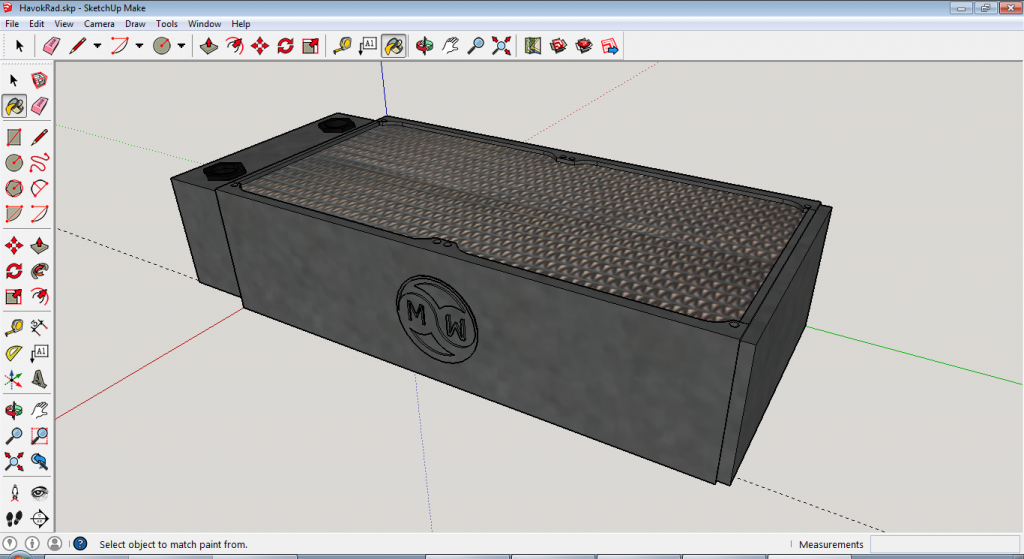
Like this attempt at the new Mayhems Rad:
HavokRad_zpsd46e8440.png
It'd be great to see your idea all laid out :D
 
Yeah, I did.
Mt brother works in IT industry as a designer and I kept bothering him about drawing something for me, so he told me to bugger off and download Sketchup :D
Problem was and still is, I can't draw a straight line there.
I was watching tutorial on youtube, repeated every single step, they got straight column and mine was leaning to one side at 45 degrees.
So it wont work, lol. I will keep making projects on paper and in Paint I guess :D
Or give it another try sometime, maybe.

EDIT: I can't do 3D, but apparently Sketchup Layout is my thing, so there will be some layout images coming soon :)
 
Last edited:
Hey guys

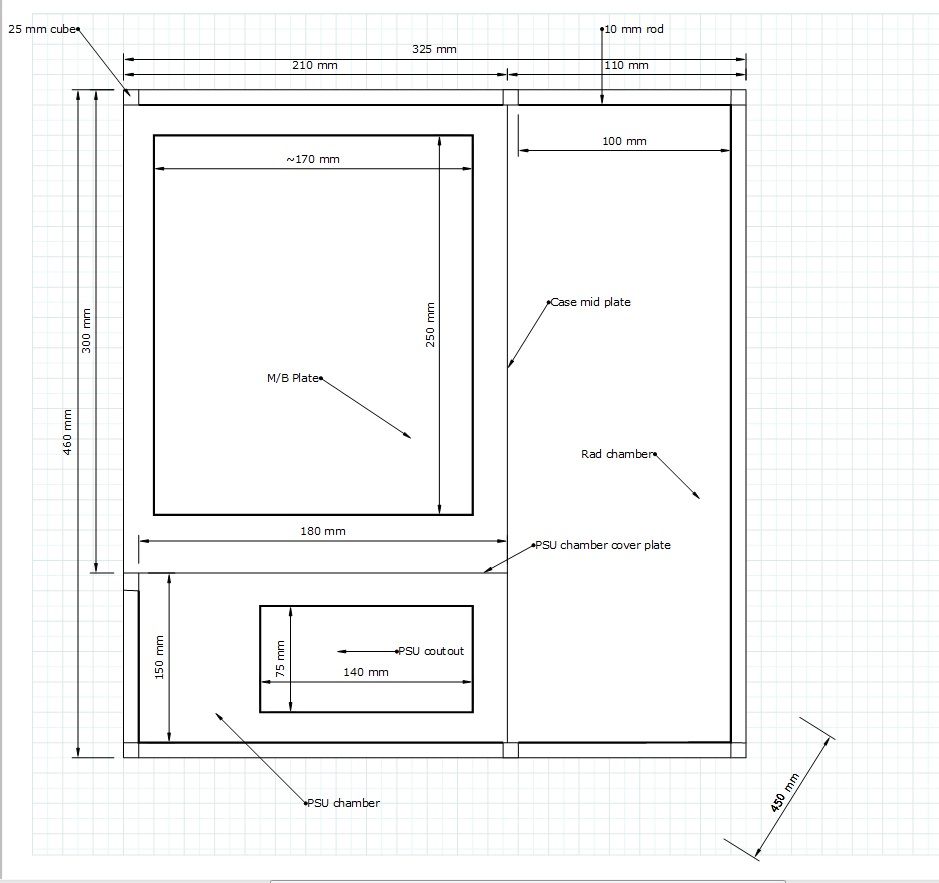
As promised above, I made some more detailed schematics.
I am very happy that I've found Sketchup Layout, it's a great program for newbs like me who can't draw in 3D :D

Ok, so below you will find most of the panels for the case.
Those not listed are top (clear, no cutouts), bottom (single circular cutout for PSU fan), rear (I will add it when I get the CaseLabs SM5 tech station), left panel (with window cutout).

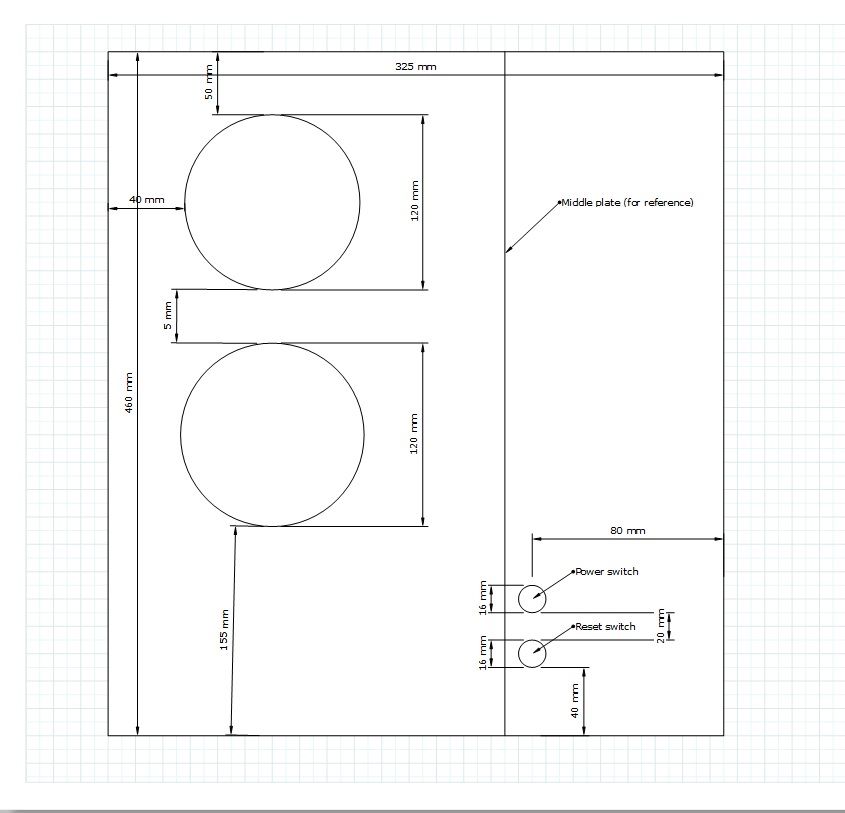
1. Layout from front (with front panel off, EDIT: Dimensions are wrong, cutout for tech station size is 285x205mm):

Layout_front_zps6b85b6c3.jpg


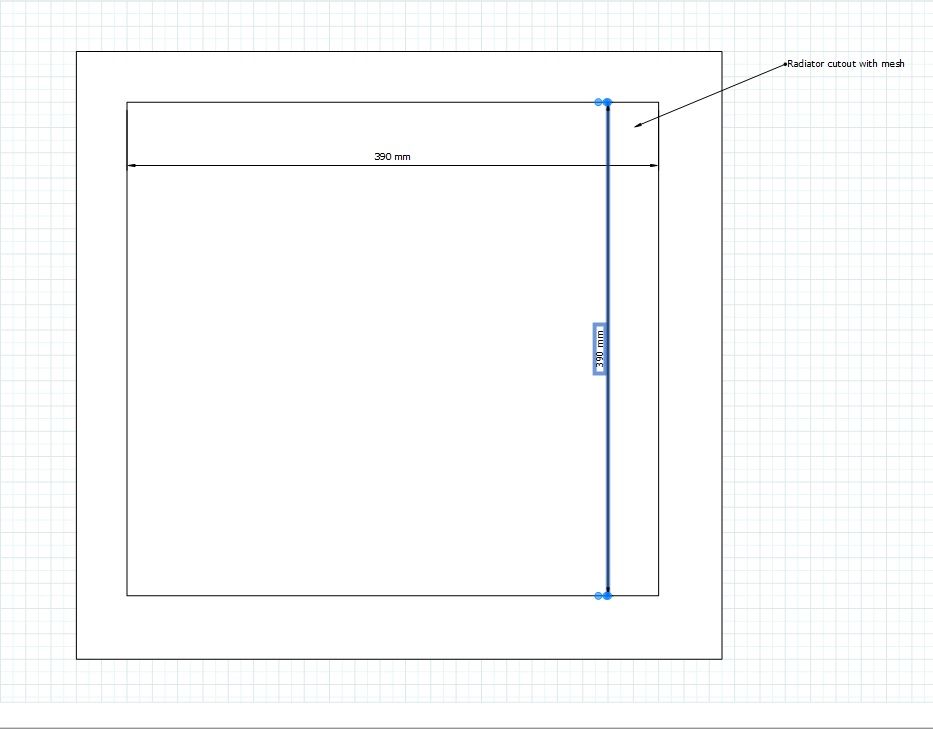
2. Right external panel (radiator side):

Rightlayout_zps74004a2a.jpg


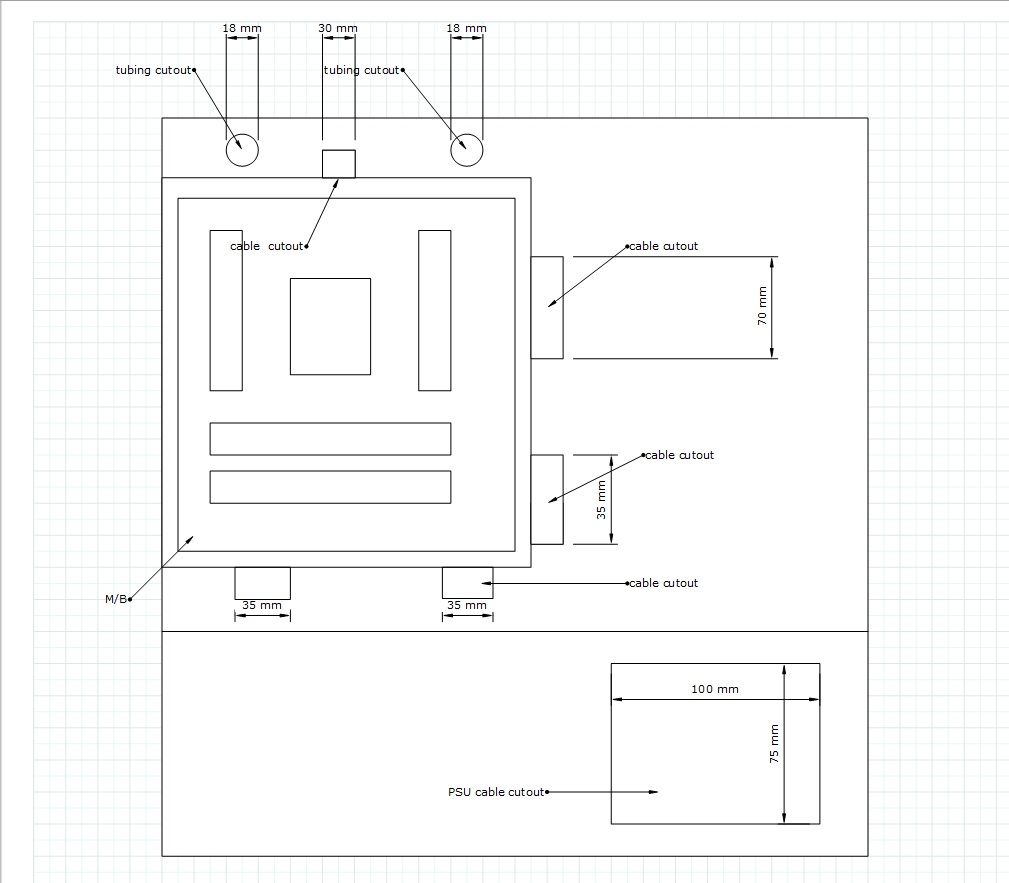
3. Middle panel cutouts (window side):

layoutleft_zpsca6d1937.jpg


4. Front panel (with fan cutouts):

Frontexternalschematics_zps9131aac9.jpg


There are some dimensions missing, but this should give you better idea.
I included placements of acrylic cubes and rods, which will act as a skeleton, you can see them on first drawing.

More updates soon :)
My CaseLabs parts are already on their way from Stanstead and I expect acrylic skeleton parts to arrive early next week.
A little set back, I won't be able to order EVGA X99 Miccro via my friends family in US, so will have to wait until it is available in Europe.

That's all for now :)
As usual thank you for your comments and advice

Bart
 
Last edited:
Just a small thingy.
I managed to find a US retailer with EVGA X99 Micro, who actually ships stuff to Europe.
I paid a bit more than I planned, but I think it will be worth it - or so I hope.
At least I will be able to tell you guys if EVGA fixed their early BIOS issues.
 
Hello guys

Good news for today :)
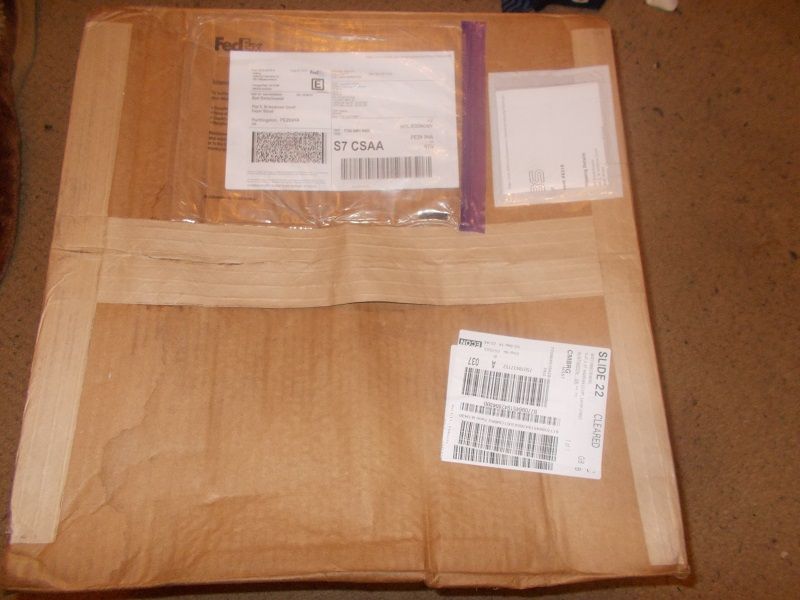
I received a FedEx parcel from CaseLabs, today around 10 am and right away started unpacking.
I left accessories for later and I unpacked the techstation first.
It's solid built, all screws align, powder coat was good too.
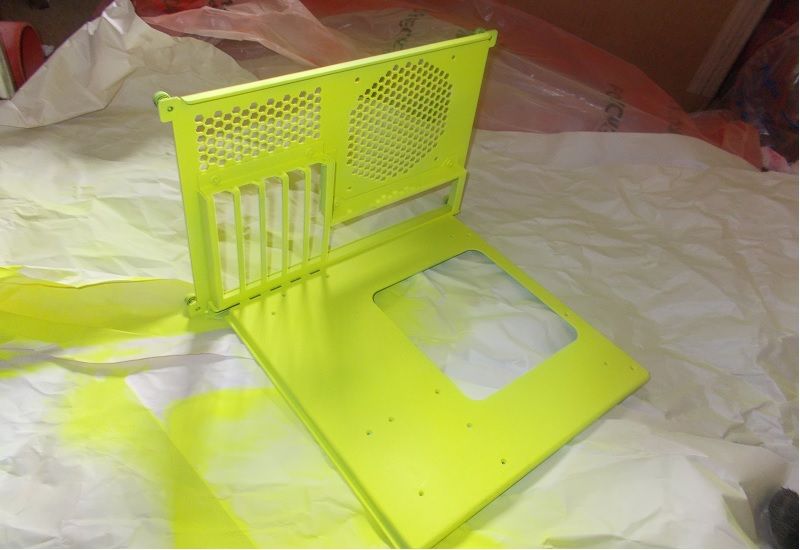
I chose primer gray as color for all parts as they are going to be painted in different colors.

I took few photos for you, with flash on and with natural light only.

1. At last :)

Atlast_zpsd47320cd.jpg


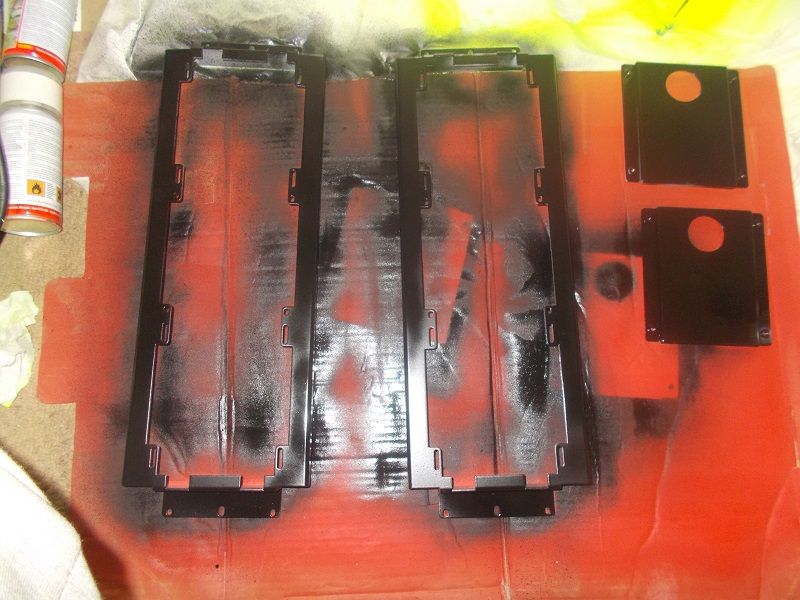
2. Radiator mounts and tubing routing plates.

Radiatormountsandtubingrouting_zpsb149b151.jpg


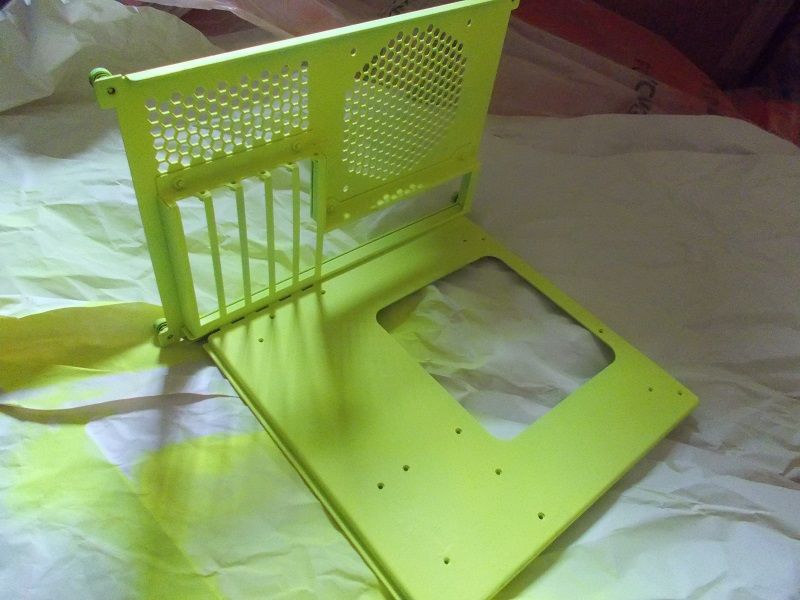
3. Tech station in natural light.

Techstationnaturallight_zps6e1a56a7.jpg


4. Tech station - flash on.

Techstationflashon_zpsbf25d75f.jpg


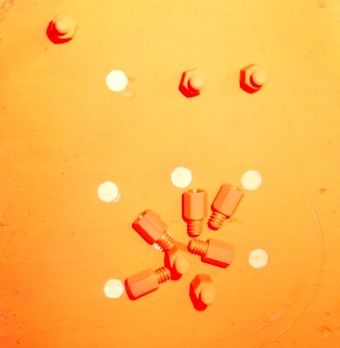
5. Motherboard standoffs.

Motherboardstandoffs_zps893b3f3b.jpg


I am running out of yellow and black paint, so will have to stop painting stuff for now :)
I will order some more tomorrow and will continue next week.

EDIT: Actually, scratch that - spray cap was stuck, had to replace it.
Everything is sprayed with at least 2 layers, tech station also have single layer of mat varnish.
 
Last edited:
The fluorescent paint looks rather bleak in natural light.
I wonder if it looks more vibrant in uv?
Will have to see.

Edit: Had a change of heart and second thoughts about EVGA x99 Micro.
I decided to buy MSI X99S SLI Plus, based on very good reviews and much better price.
I will have to find a way to fix lower motherboard standoffs to chasis, but I already have an idea how to do it.
 
Last edited:
Wow, your right about the difference of that paint in natural vs artificial light... Mind you, its one thing for the inside of the case to glow nicely (which I'm sure it will with some choice lighting effects) but would you really want the outside of the case to be glowing 24x7 as well? :cool:
 
Most of the Tech station will be hidden under motherboard and only back will be exposed 24/7.
I will be painting heatsinks on motherboard with same MTN's Fluorescent Yellow, ddr heatsinks and I will be making i/o cover with some acrylic, SLI bridge and GPU backplates.
i/o cover and GPU backplates will only have some motive painted in MTN fluorescent yellow, but ddr's will be painted as whole.

I am most likely going to get 4 x 4gb 2666mhz Kingston Predator's.
With cheaper motherboard, there is a chance that I will be getting a 5930k instead of 5820k too.
All depends on the new GPUs. Not sure which ones I will be getting yet.

Motherboard ordered, 1st part of hardware, yay :)

MSIx99ssliplus_zps74b8fa7b.jpg
 
Last edited:
Hello guys

A small update.
I received a suspicious looking tube parcel - yup, acrylic rods and blocks.
I found a problem with blocks though, not all of them are exactly same size.
It will be a bit tricky, will have to be very careful with drilling.

I ordered some extra drill bits and acrylic glue, it should arrive next week.
I will start building the skeleton then.
Due to the cost of cutting the acrylic, I will most likely split the project into 2 more phases.
Phase 1: After finishing the skeleton, I will order middle plate, bottom and rear and connect it with the skeleton, making a sort of bench.
Phase 2: I will then add the rest, after about 2 weeks.

Acrylic plates this size and thickness, plus cutting it, costs a lot.
So there will be fewer updates this and next month.

I will post pictures when I get the supplies next week and start making the skeleton.
 
Does that board come with free shipping? Or because of that qualifying criteria for OcUK?

WHen you say the cubes are of different sizes, how much of a difference are you talking about?

Looking forward to some build pics mate, it'll be worth the wait :D
 
Back
Top Bottom