Update post 45!!!!!
As you can probably guess this build is based around a corsair obsidian 700D. Though won't have anything to do with the Cardassians.
The project started due to me wanting a new case and also the fact that I wanted to quieten down my gtx470.
I'm planning a couple of small mods, nothing major. I decided to go with the 700D as i'm planning to cut a custom window due to me not really liking the 800D window and I also think the 700 has a cleaner front.
Anyway on to the pics.
My old case.. cm690
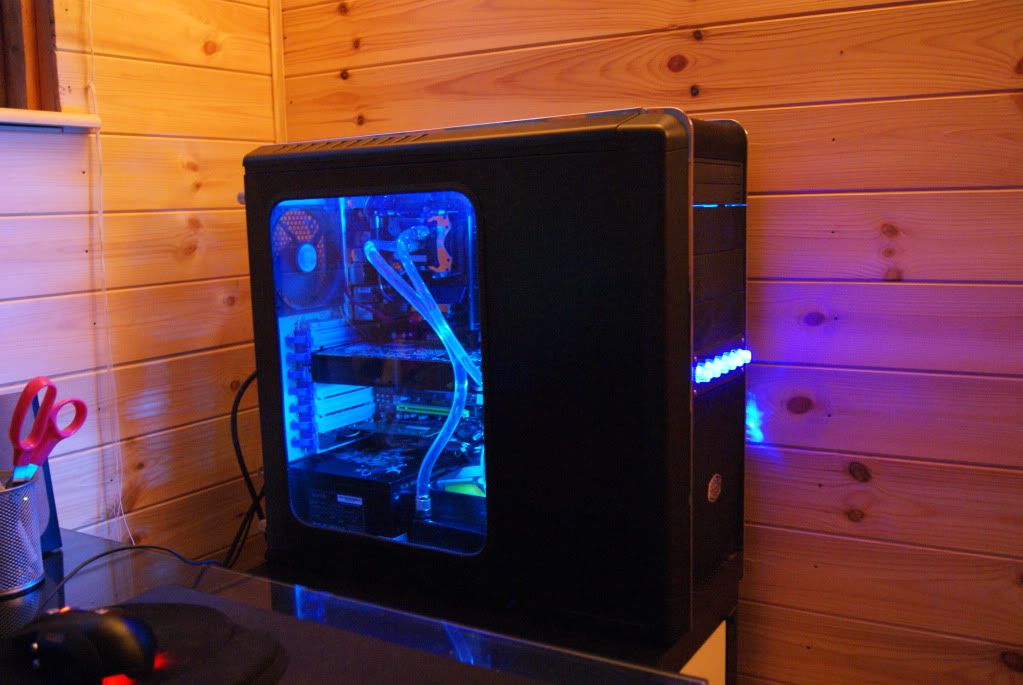
Please excuse the photos. They where just quick point and shoot.
The new parts
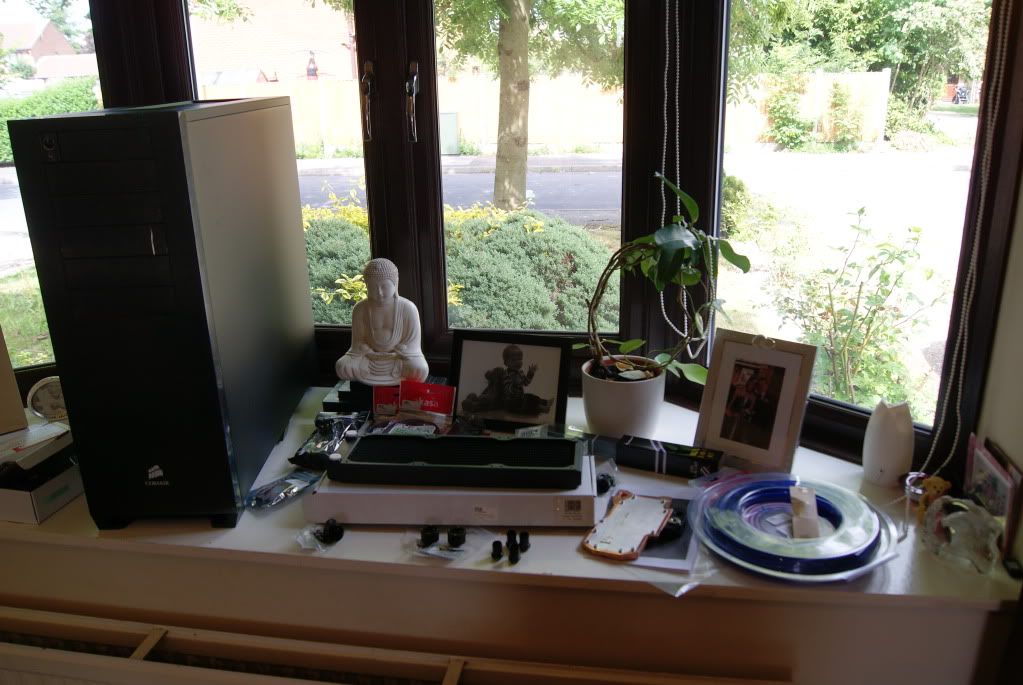
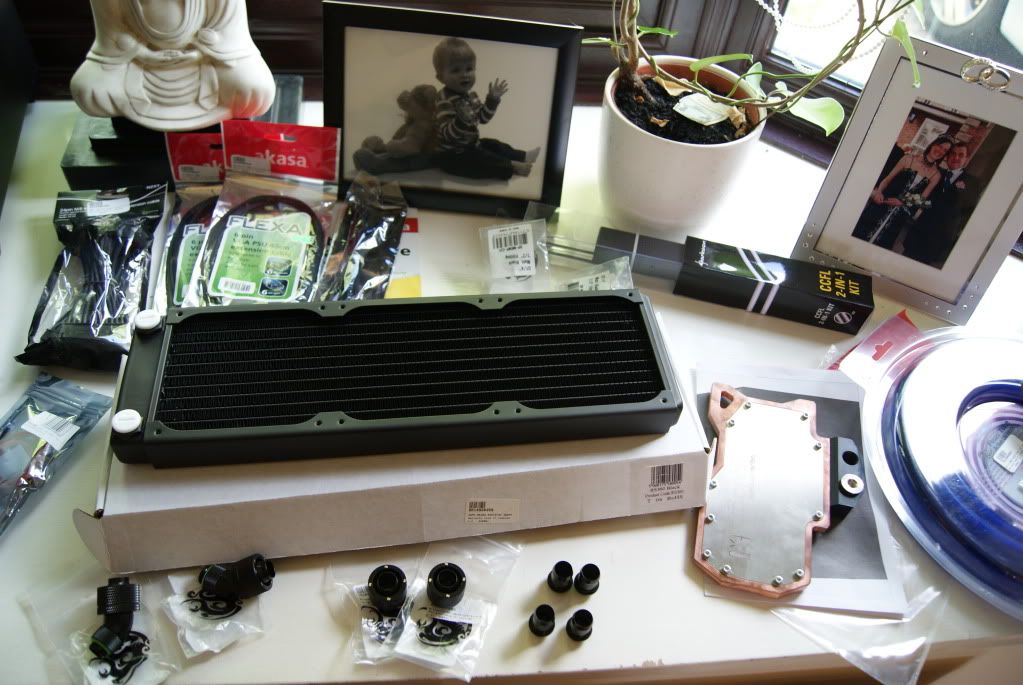
I'm not going to bore you with pics of the flushings from the rad (xspc rs360) But it was clean!!!
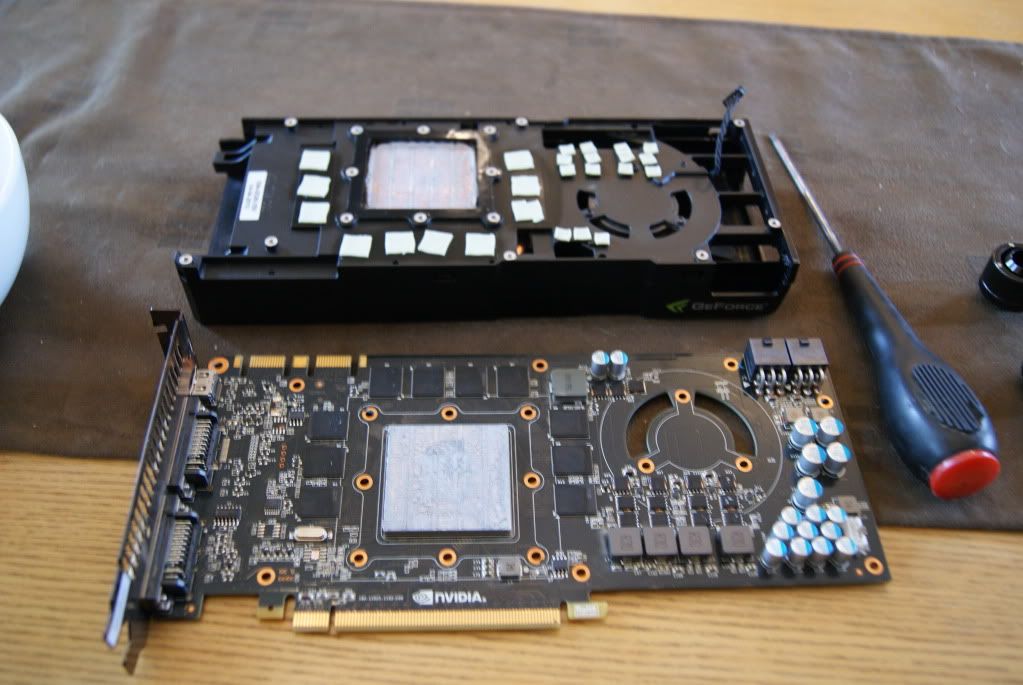
Time for the gtx470. I was alittle nervious about removing the old cooler, but it was easyer than i thought it would be.
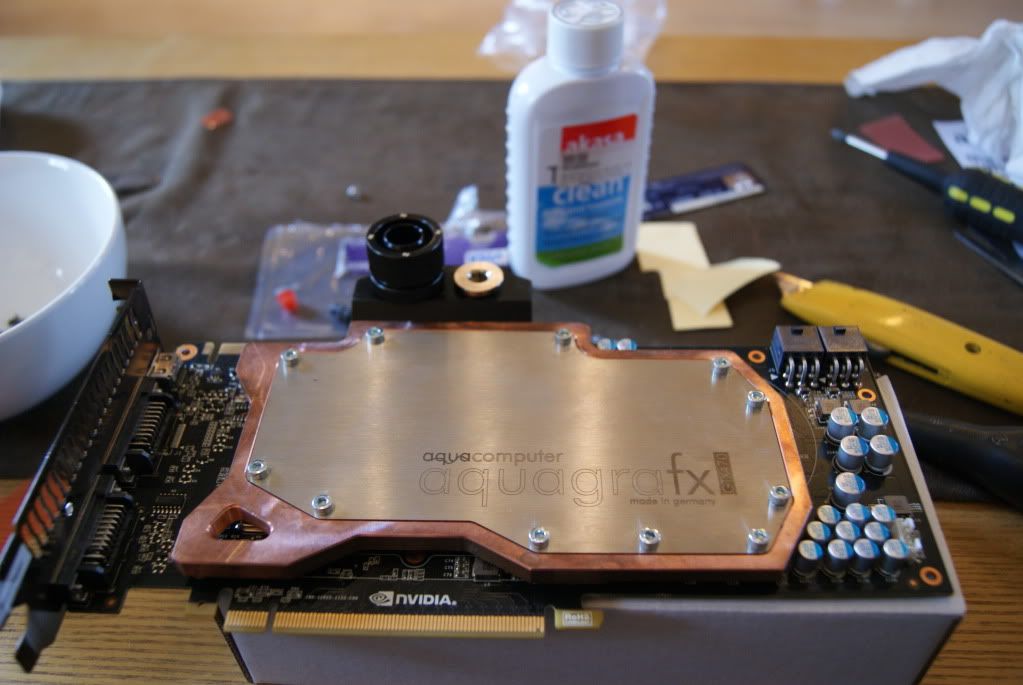
And with the block and bits power fittings.
I going to keep using my q9450 for the time being. This will give me time to save up for ivy bridge.
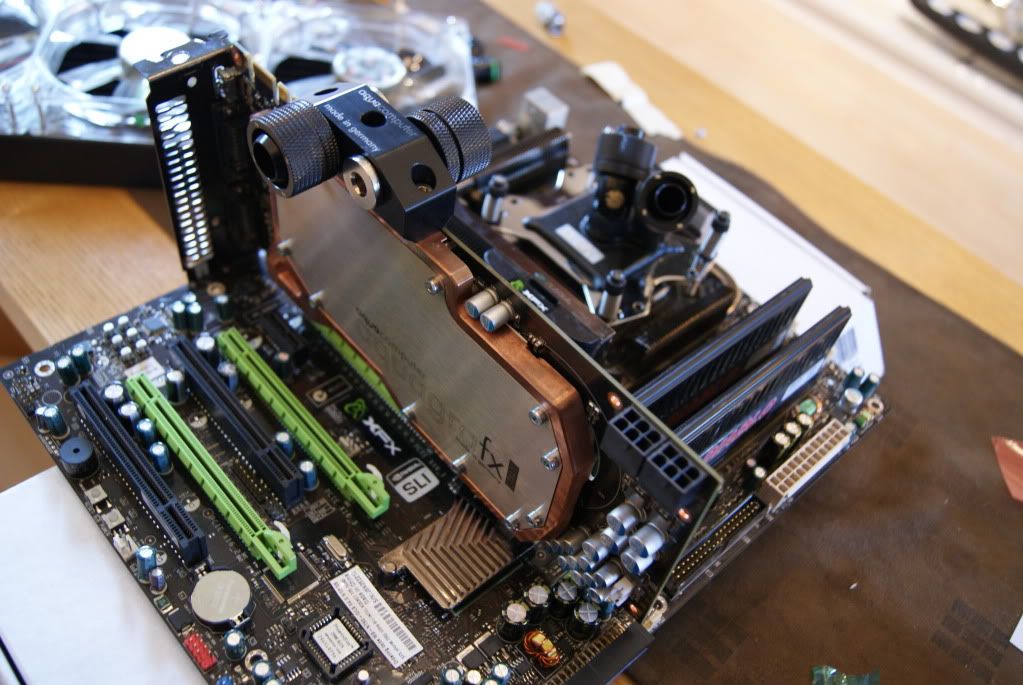
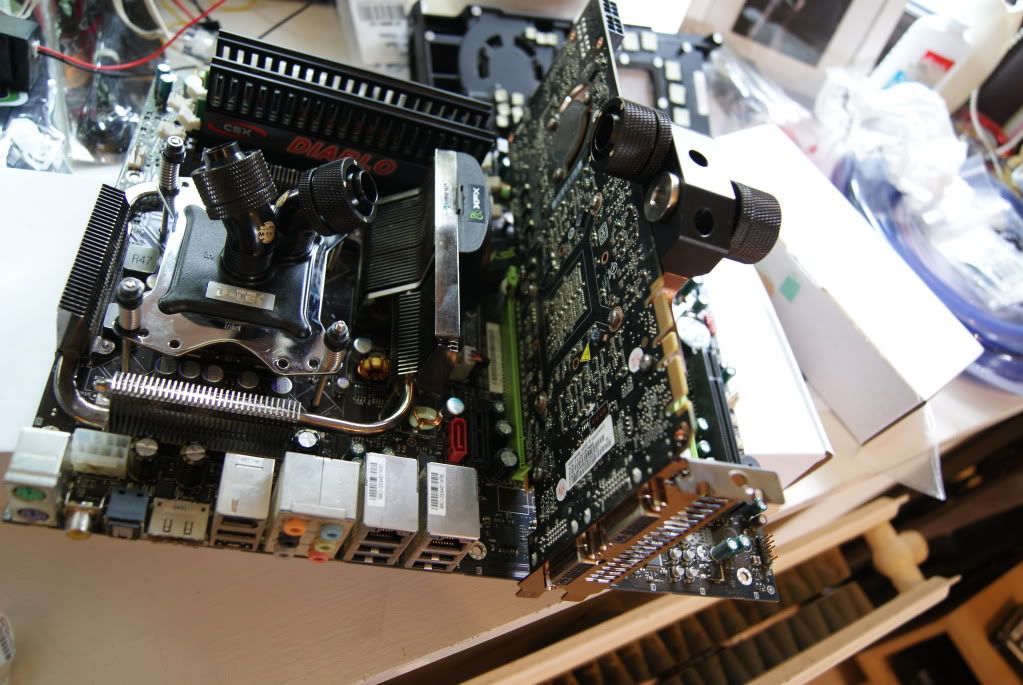
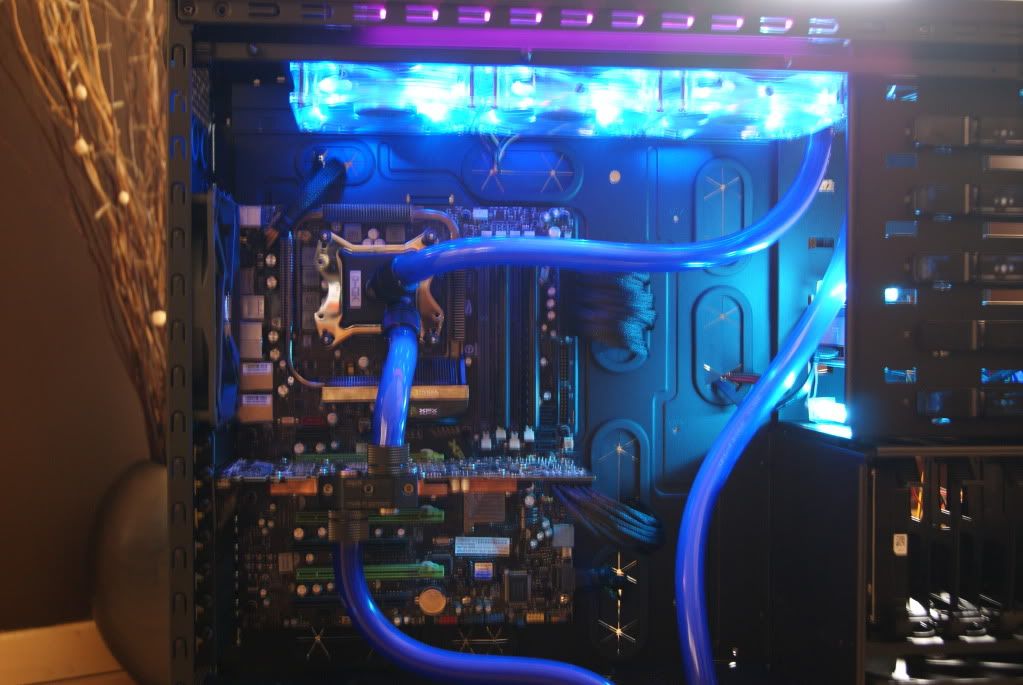
I decided to rotate the cpu block round by 90 decree to allow for a better route for the tubing between the cpu and gpu.

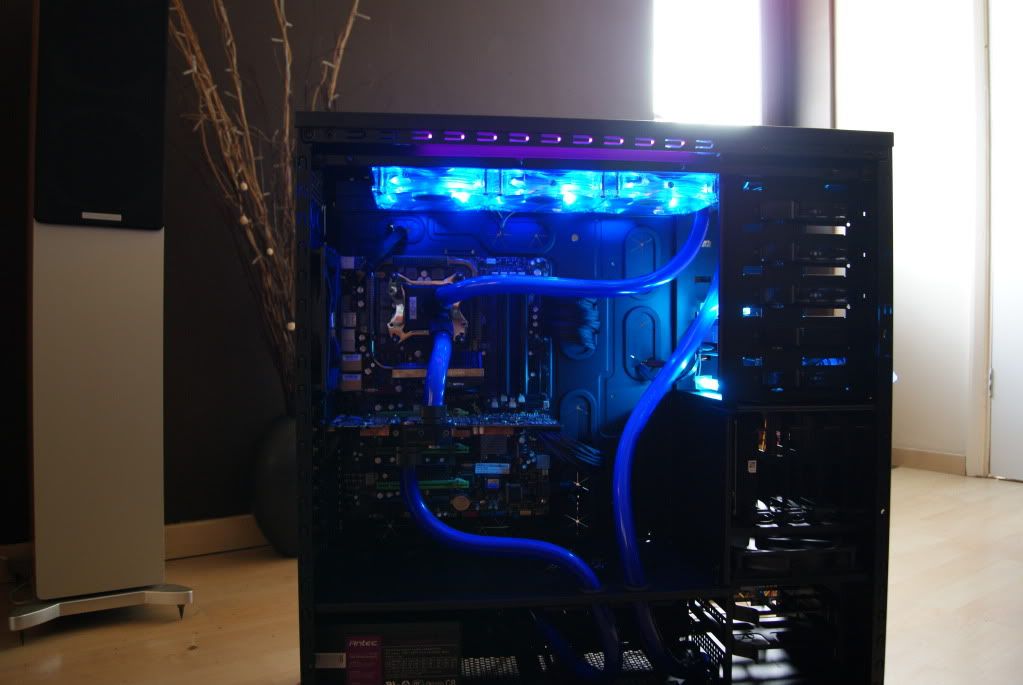
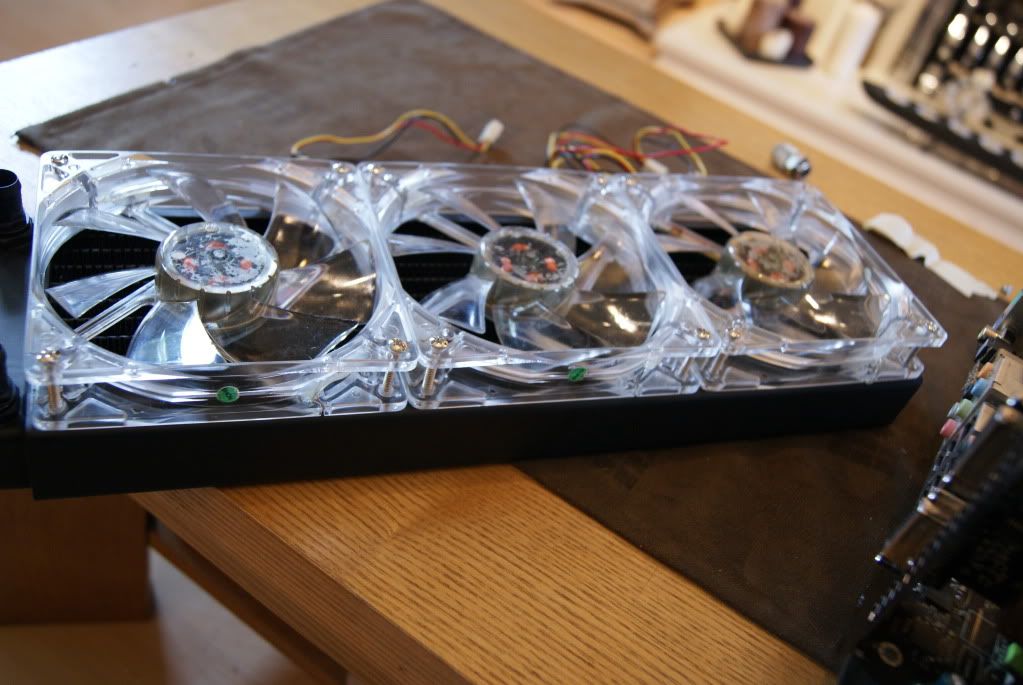
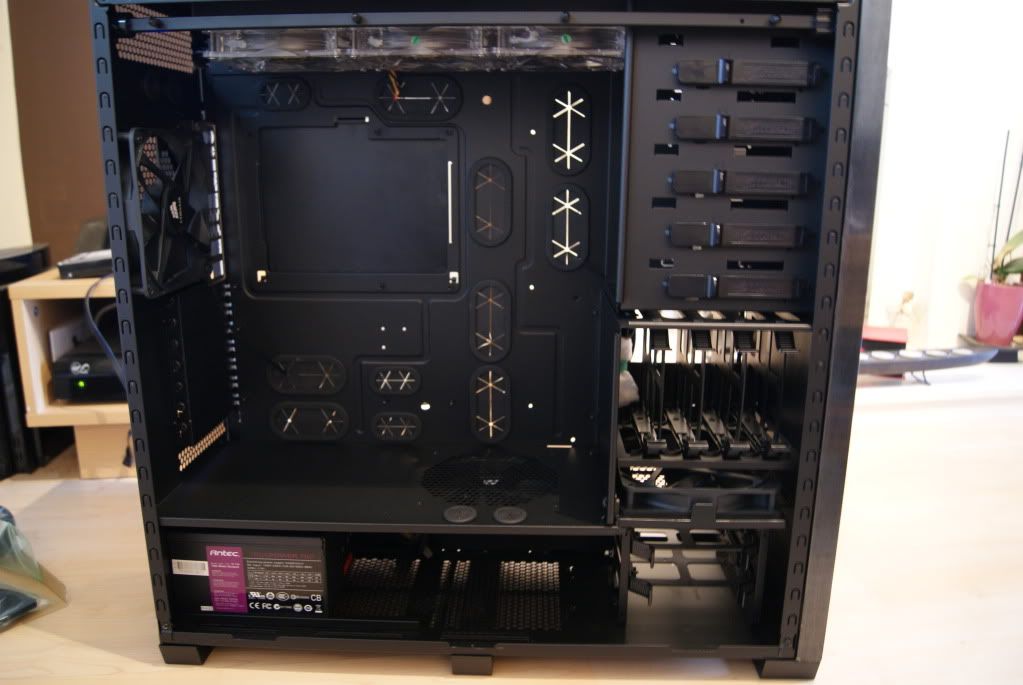
Radiator and fans installed in the case.
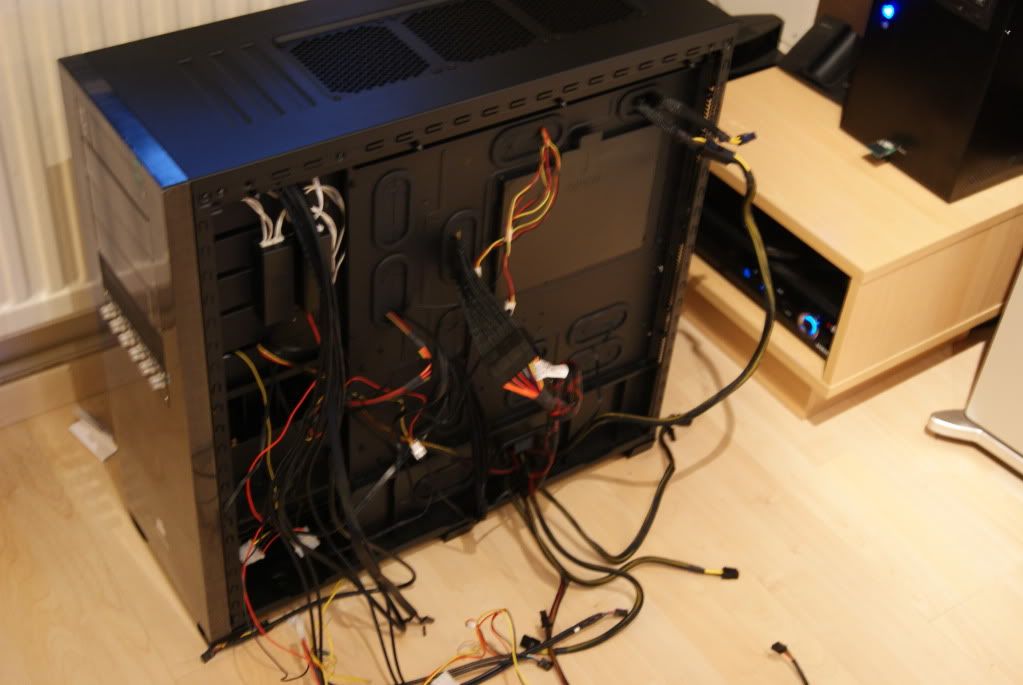
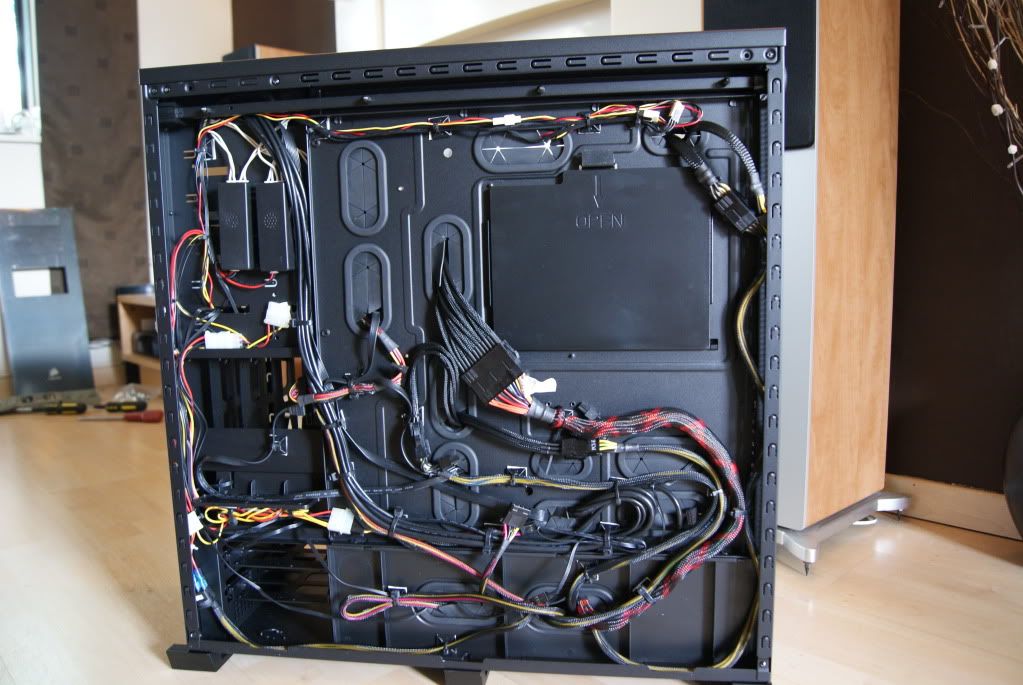
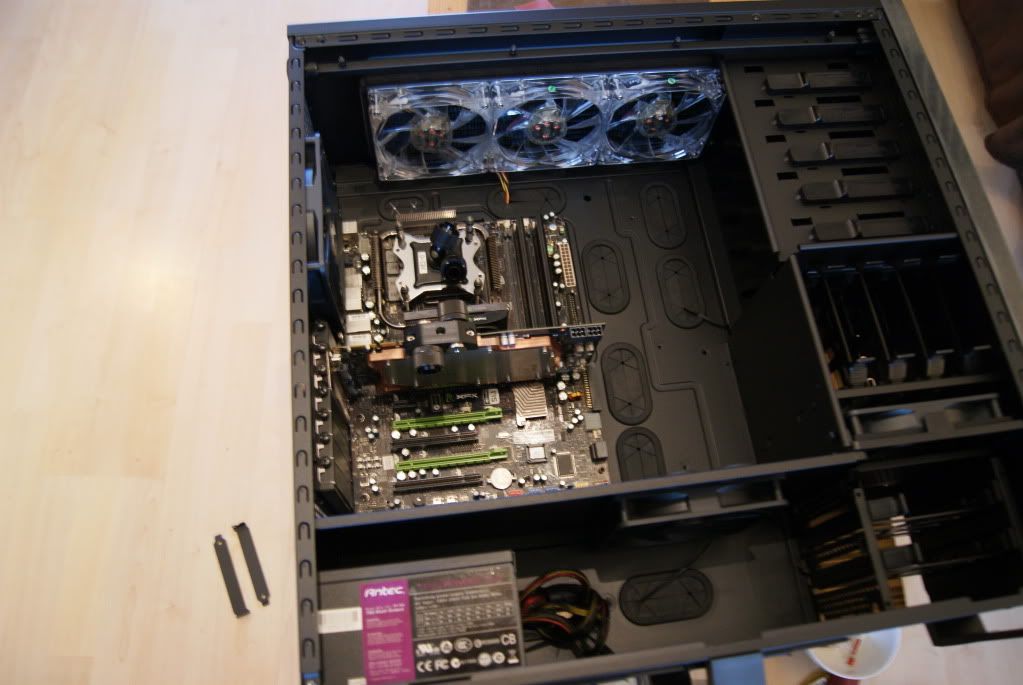
Mobo psu added.
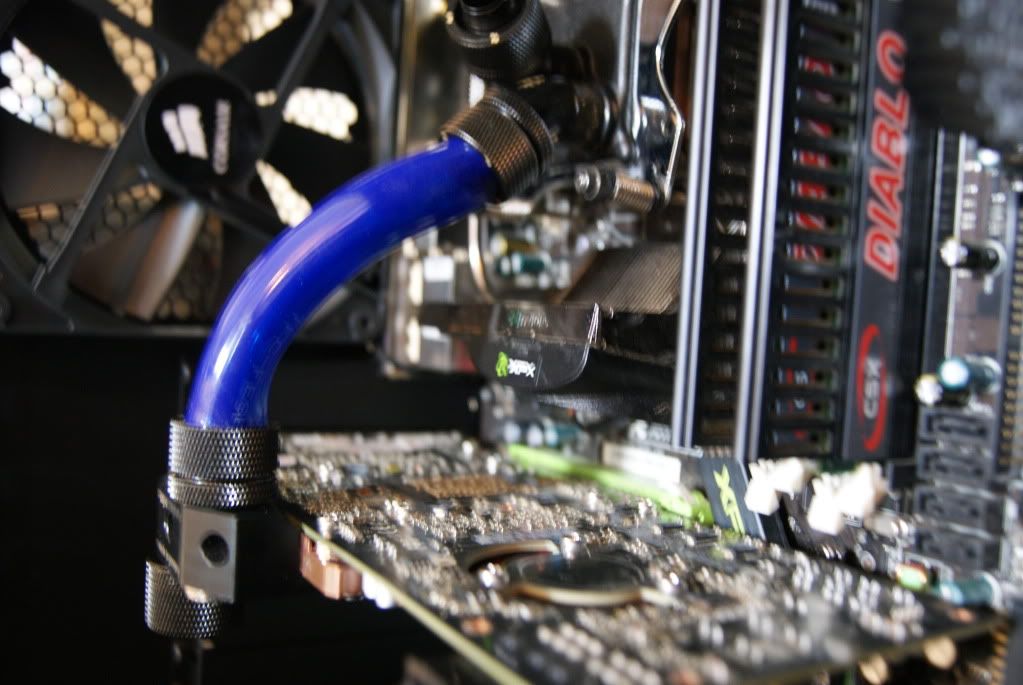
I just couldn't wait to see how the tubing looked. So I had to add a piece between the cpu and gpu. The bits power compression fittings made it quite easy. The tubing is 3/4" od and 1/2" id. And is also uv active.
Stay tuned folks.
As you can probably guess this build is based around a corsair obsidian 700D. Though won't have anything to do with the Cardassians.

The project started due to me wanting a new case and also the fact that I wanted to quieten down my gtx470.
I'm planning a couple of small mods, nothing major. I decided to go with the 700D as i'm planning to cut a custom window due to me not really liking the 800D window and I also think the 700 has a cleaner front.
Anyway on to the pics.
My old case.. cm690

Please excuse the photos. They where just quick point and shoot.
The new parts


I'm not going to bore you with pics of the flushings from the rad (xspc rs360) But it was clean!!!

Time for the gtx470. I was alittle nervious about removing the old cooler, but it was easyer than i thought it would be.

And with the block and bits power fittings.

I going to keep using my q9450 for the time being. This will give me time to save up for ivy bridge.


I decided to rotate the cpu block round by 90 decree to allow for a better route for the tubing between the cpu and gpu.

Radiator and fans installed in the case.

Mobo psu added.

I just couldn't wait to see how the tubing looked. So I had to add a piece between the cpu and gpu. The bits power compression fittings made it quite easy. The tubing is 3/4" od and 1/2" id. And is also uv active.

Stay tuned folks.
Last edited:


