Obsidian order.

UPDATES

Hi guys a bit of an update. The system is now up and running. temps are fantastic! I will post some bench marks soon.

Any my first update is of epic Fail
11


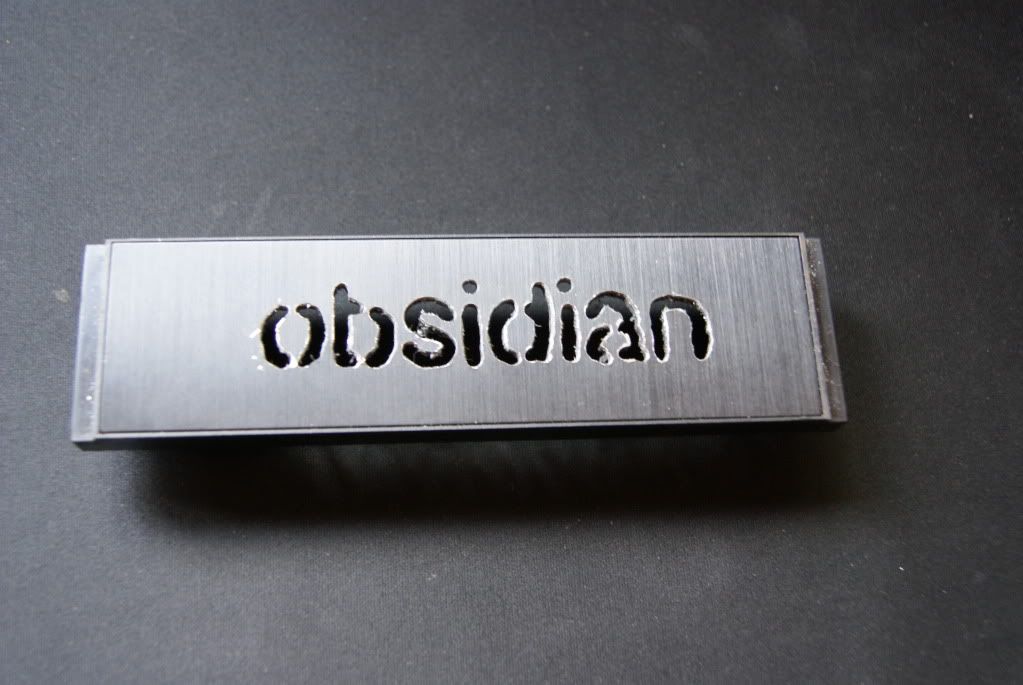
DSC02535.jpg


I didn't realise that the obsidians have a thin alu sheet across the drive bays. The idea was, to cut out the name of the project, mount perspex behind it and light it up with blue leds.
After spending about an hour with my dremel, i decided i hated it. it looks tacky...!!

Next up the window, and this is just pure win!

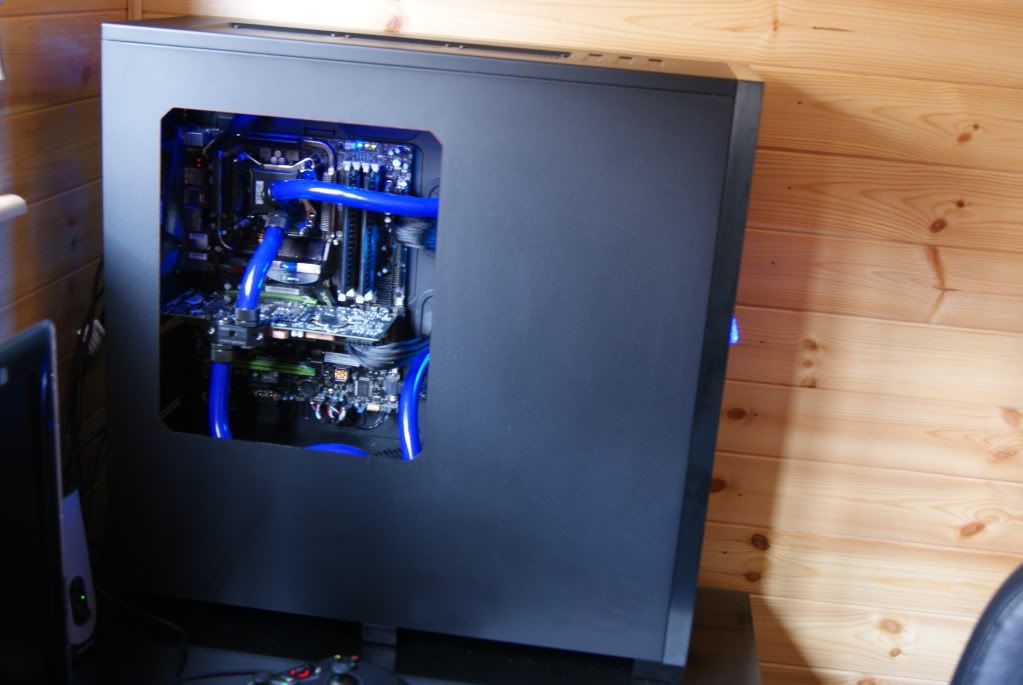
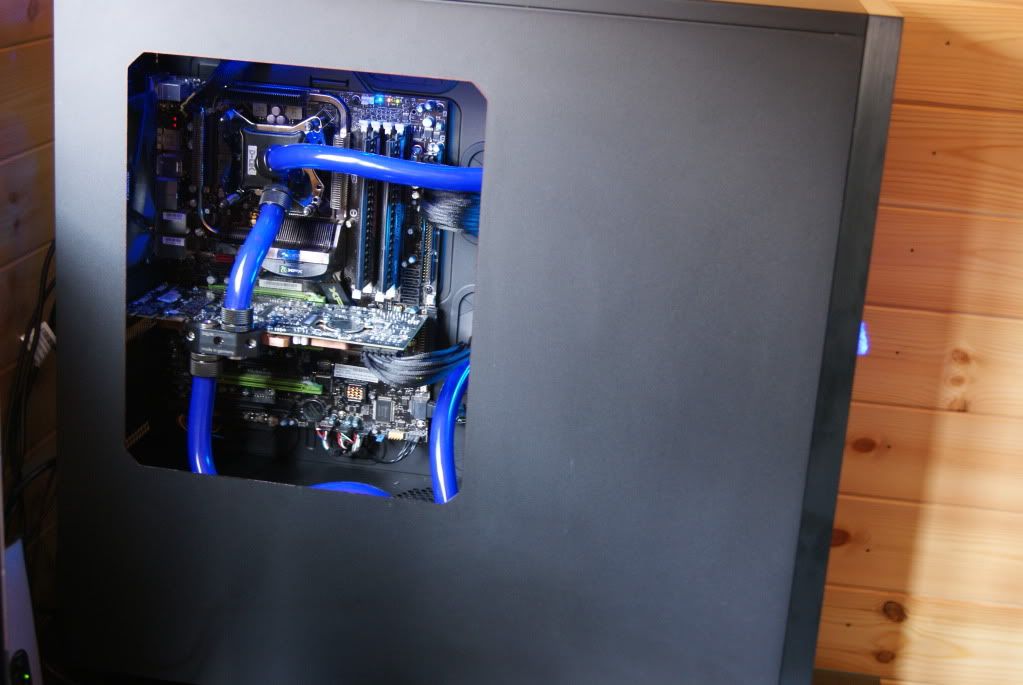
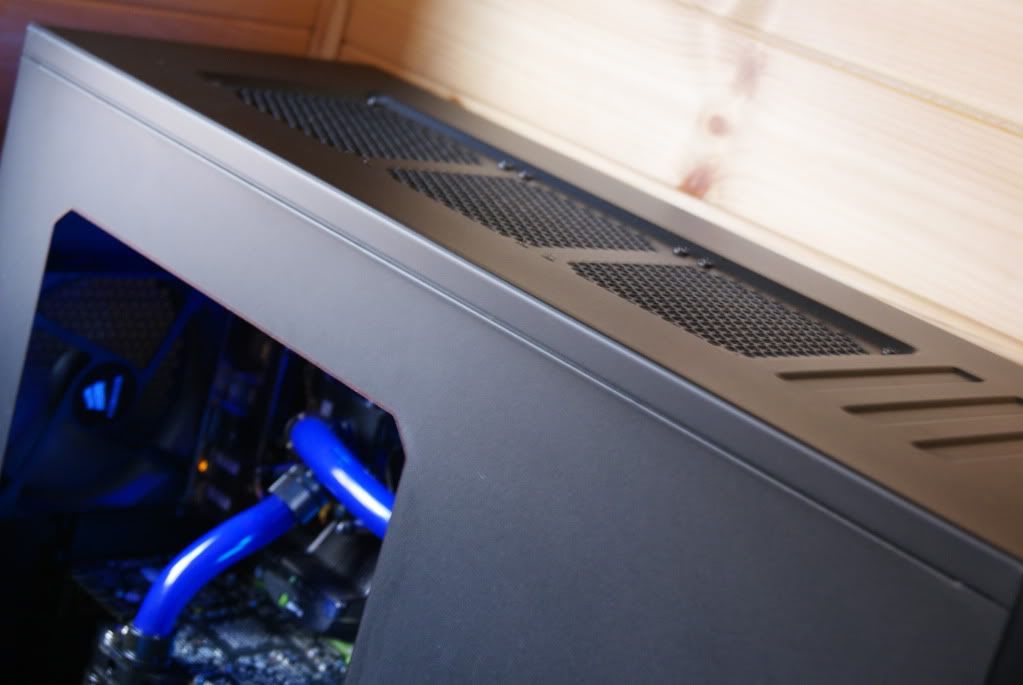
I wanted to go for a different design than the normal retangular with rounded corners. So i drew out a battlestar paper design. (if you know what i mean you too are a geek!) The corsair case is straight and angular and i wanted to keep that theme in the window.

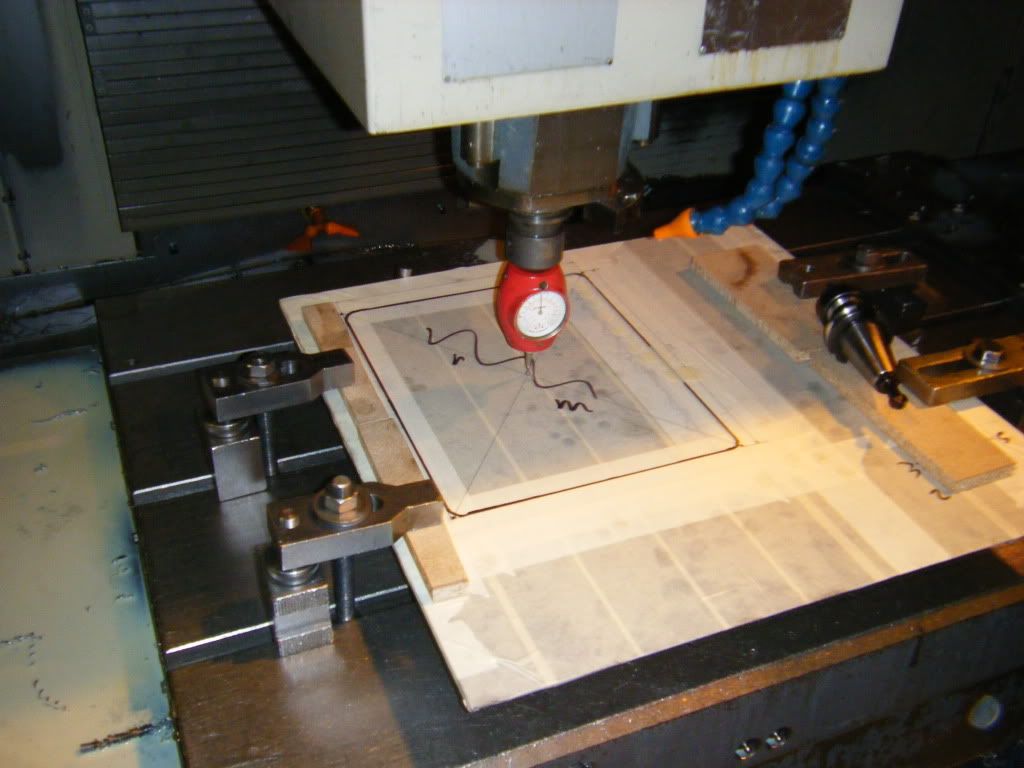
After masking and marking i set the side pannel up in my cnc. The pannel was clamped down onto a sheet of ply board so i could go right though with the cutter.
DSCF2012.jpg


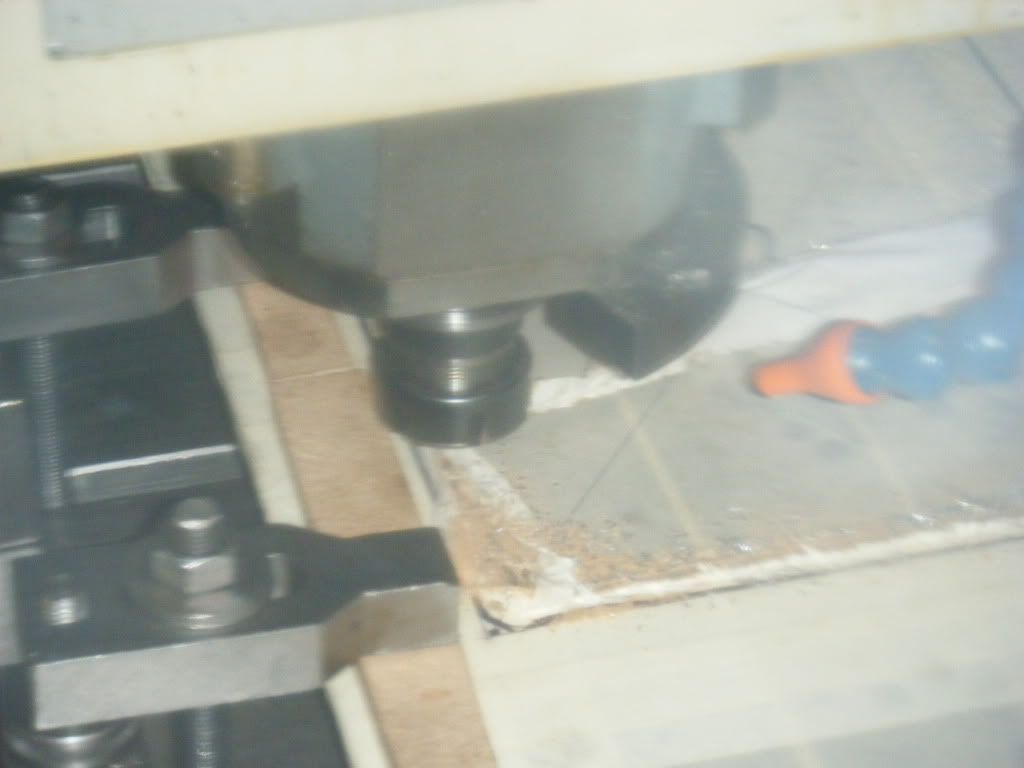
Then used a 8mm carbide slot mill. By using a brand new cutter i kept the burrs to a minimum.
DSCF2013.jpg


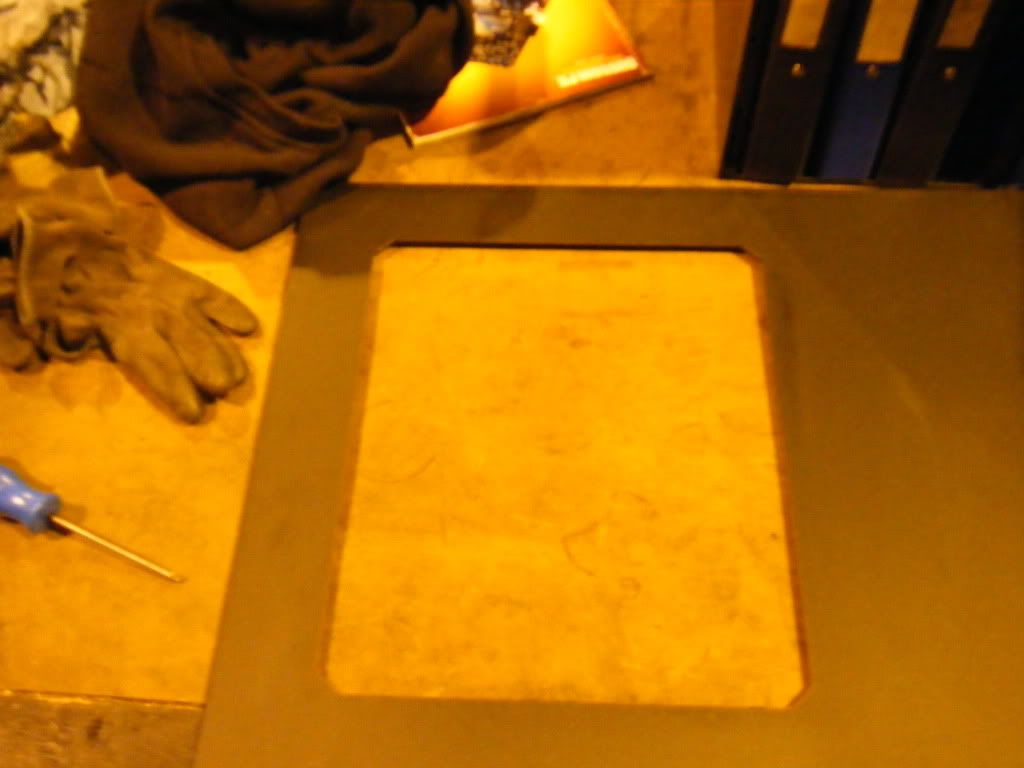
Finished panel ready for deburring. i only needed to use a fine piece of emery to remove the burr.
DSCF2016.jpg


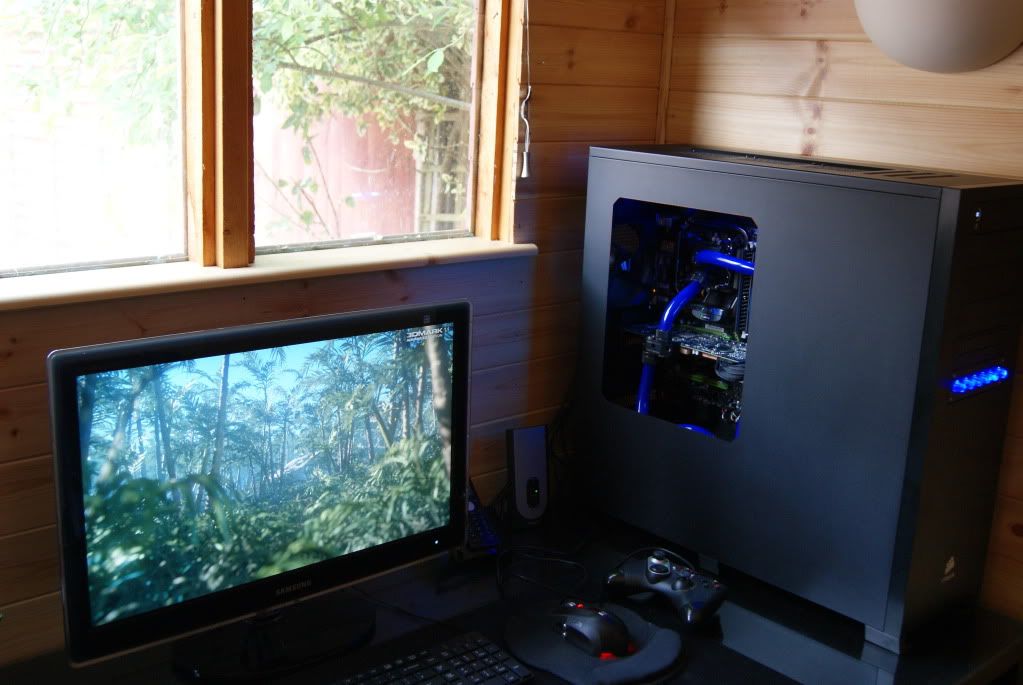
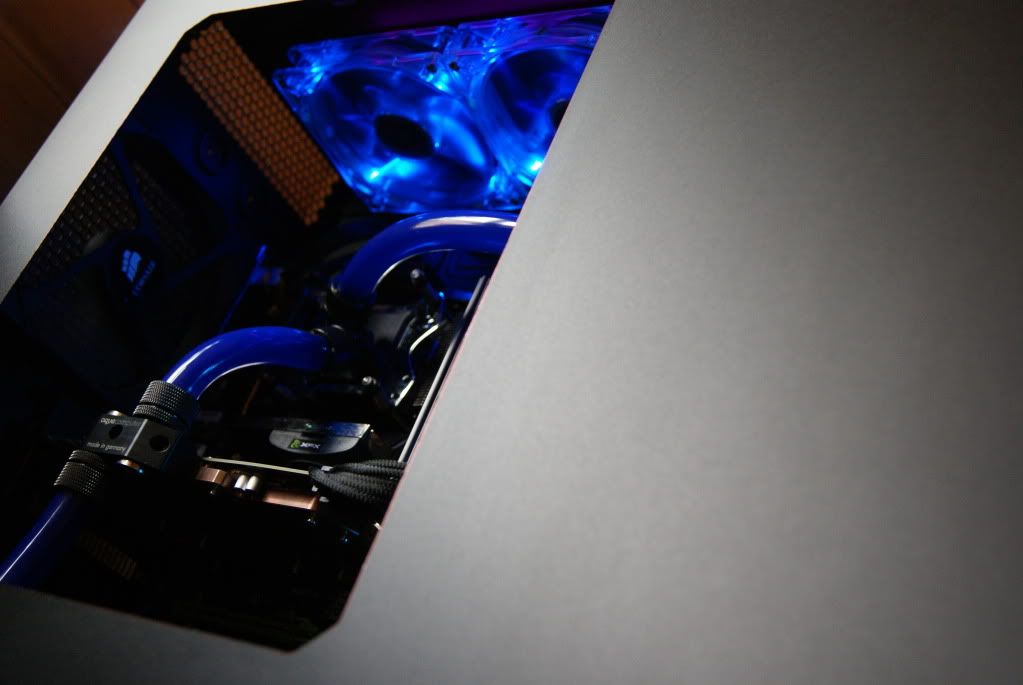
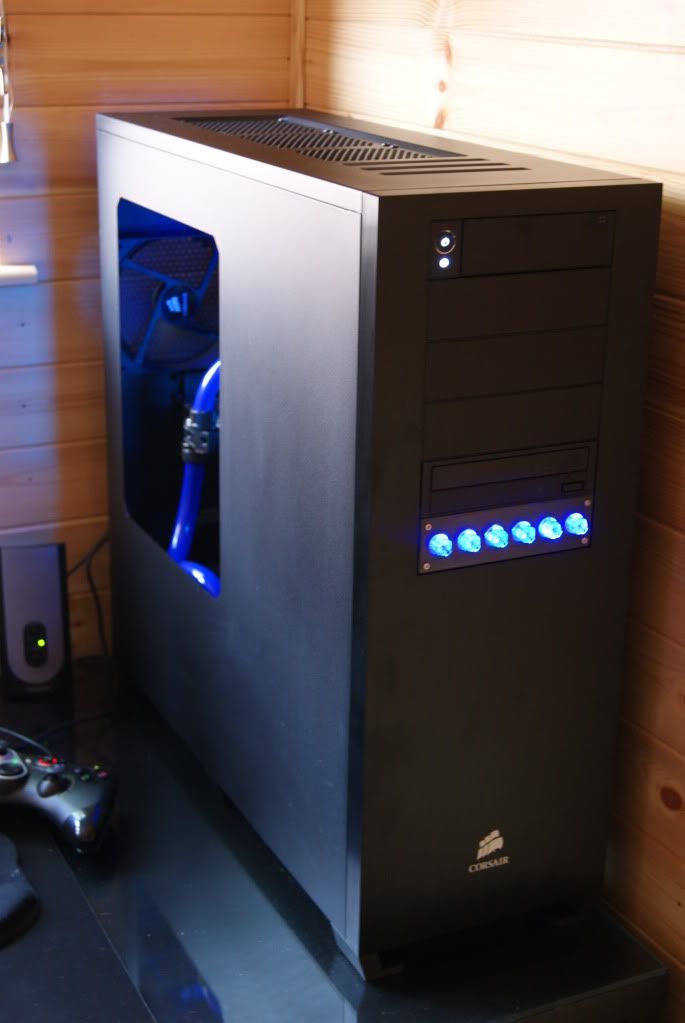
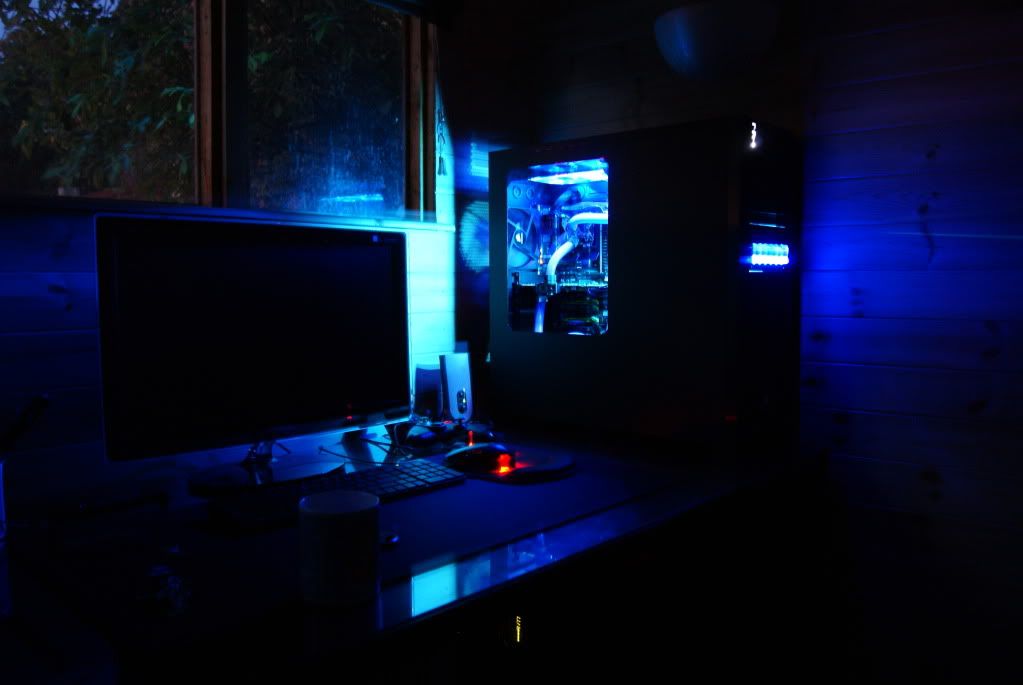
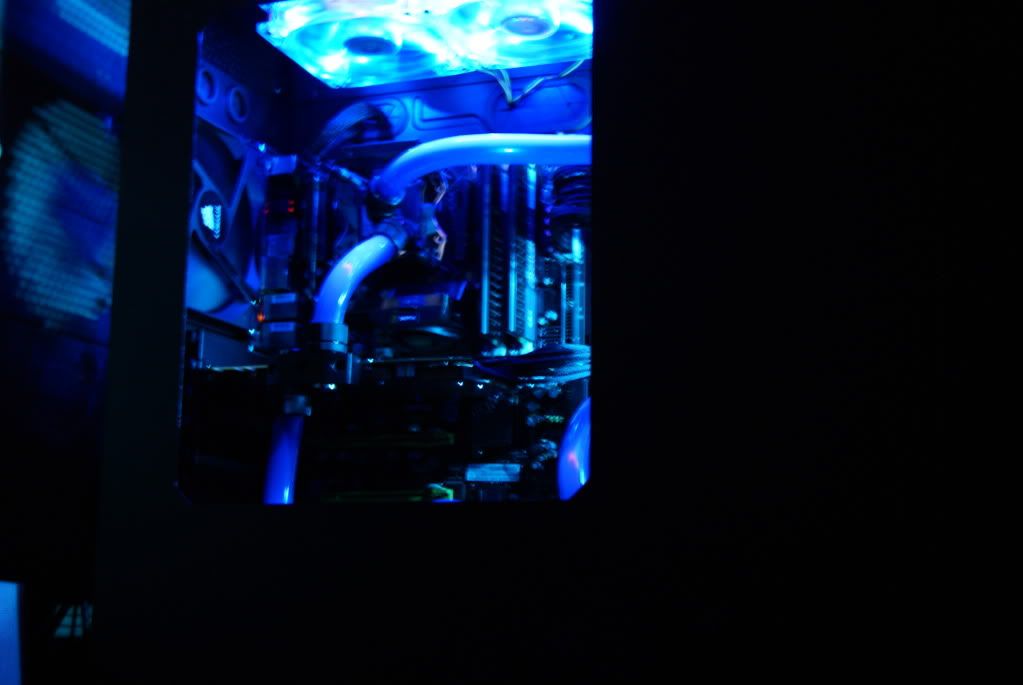
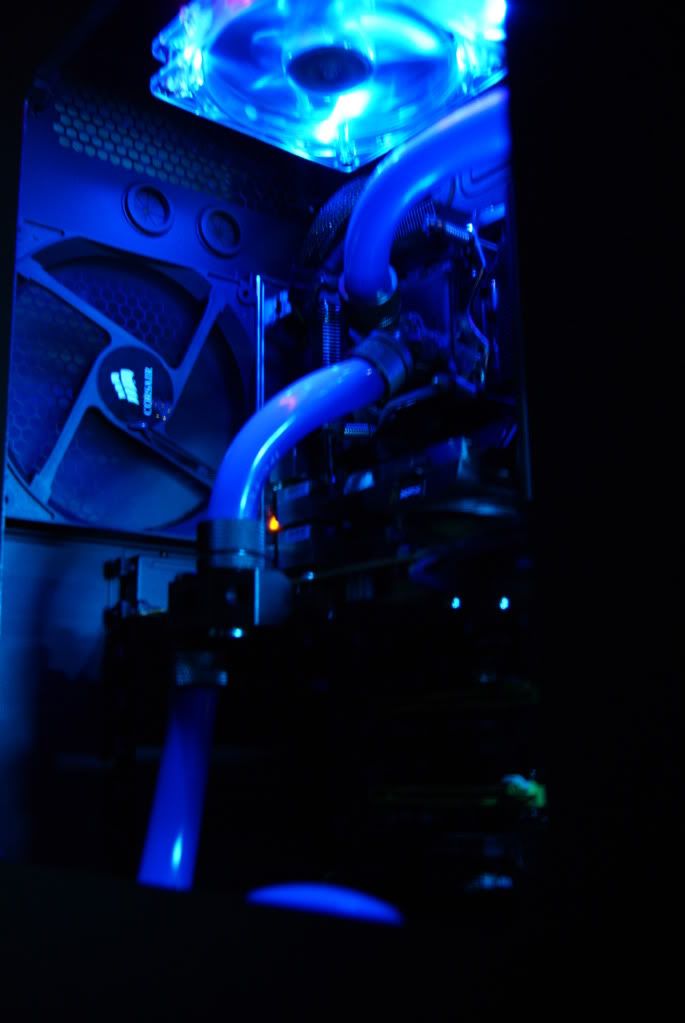
My pc is now back in my shed (office/man room)
DSC02547.jpg

DSC02540.jpg

DSC02539.jpg

DSC02548.jpg

DSC02538.jpg

DSC02542.jpg


I still have a little way to go. I will dig my tripod out, and take some finished shots once shes fully completed.

I need you help as i cant make my mind up to go for clear, or light tint for the perspex?

Next update will be SSD mounting and a custom lcd pannel.

Cheers guys
 
clear with a black mesh behind looks loads better than tinted mate,(you can also remove the mesh if you fancy a change and vice versa for the perspex) nice build by the way, also why not use the cnc to cut the sign you tried or is it not possible to do with it.
 
clear with a black mesh behind looks loads better than tinted mate,(you can also remove the mesh if you fancy a change and vice versa for the perspex) nice build by the way, also why not use the cnc to cut the sign you tried or is it not possible to do with it.

It would take me about a day to write a programe that complex. As we dont have cam software for that machine.
My boss is great and turns a blind eye to alittle homework, but a days worth would be to much.
Quite like your idea about the mesh. I will do some googling..:)
 
imo that window looks so much better than the one on the 800D which shows the psu gubbins. top notch job mate
 
It would take me about a day to write a programe that complex. As we dont have cam software for that machine.
My boss is great and turns a blind eye to alittle homework, but a days worth would be to much.
Quite like your idea about the mesh. I will do some googling..:)

How complex is it? You can get a program called Skeinforge (open source) that can product g codes for milling machines and 3d printers.
 
How complex is it? You can get a program called Skeinforge (open source) that can product g codes for milling machines and 3d printers.

We do have cam software of other machines. we mostly use mazaks and use mazacam.
After doing it just by hand its given me an idea of how it will look, and even if it was cut prefectly i dont think i will like it. I'm now looking at another idea. I want the case to look quite stock. Like a special edition from the factory.
Thanks for the software tip PhillyDee, i will have a play with it. it may come in handy for anouther little project i have.
 
I have never used it for milling, but its great for 3d printers!

Oh, and I program and set mazaks . . . . Makes my job nice and easy!
 
I have never used it for milling, but its great for 3d printers!

Oh, and I program and set mazaks . . . . Makes my job nice and easy!

mazatrol.... for the win....lol.. I hate having to go back and do ISO programs, they take me forever now. Mazatrol is so nice and quick to use. I rarely use cam software now, only really when doing profiles.
 
looking good:)
you should be ok with 5mm acrylic with the way you have cut out your window

3mm for me even is too thick as I have a giant window and the acrylic extends over the lower section divide...causing a small raising of the side panel.

I think tinted is the new clear, it looks sophisticated, clear is well, too clear!

Cheers mate. i went with 5mm acrylic in the end. Though it was a pain to find high strength double sided tape. As all the high strength stuff seemed to be quite think. And i wanted the window to sit flush.
I have finished a few other jobs on the build, i will take some pics when i get chance but i became a dad last week.
DSC02582.jpg
 
Back
Top Bottom