Project Alter-Ego

Associate
Joined
9 Feb 2017
Posts
19
Location
Grimsby, UK
Hello! Im Joe Campbell, Owner of YouTube channel Gadget Joe and im a reviewer/videographer and modder from Grimsby, UK.

My latest project build is Alter-Ego, a custom desk build (yes another desk build!) with a unique one of a kind twist! Work and play built into one unit with 2 systems and 2 different personalities!

Sponsored by Alphacool and Mayhems.
and Alphacool sponsor all the liquid cooling components, radiators, tubing, blocks and more.
Mayhems sponsor the maintenance of the loop and system in form of Blitz Kits.

Specs:

(main system)
Mobo: Asus M5A97 LE R2.0
CPU: AMD FX 8350
RAM: Kingston 1600mhz 16gb (2x8)
PSU: 500w
GPU: Radeon RX480 8gb
SSD: 120gb Hyper-X
HDD: 500gb+320gb HDD

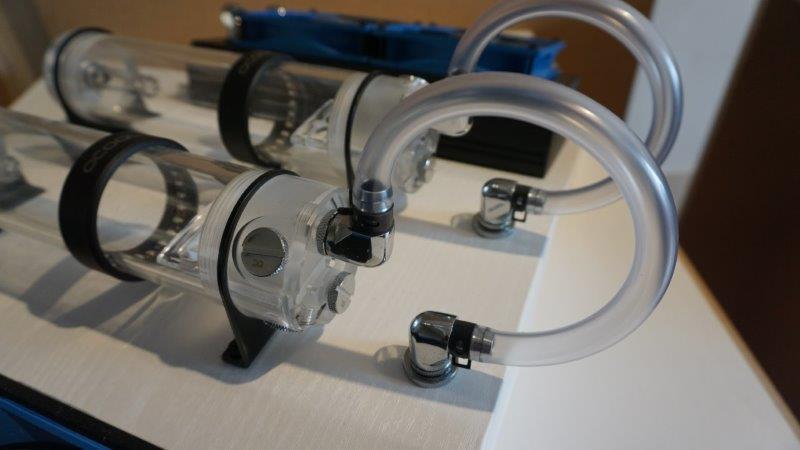
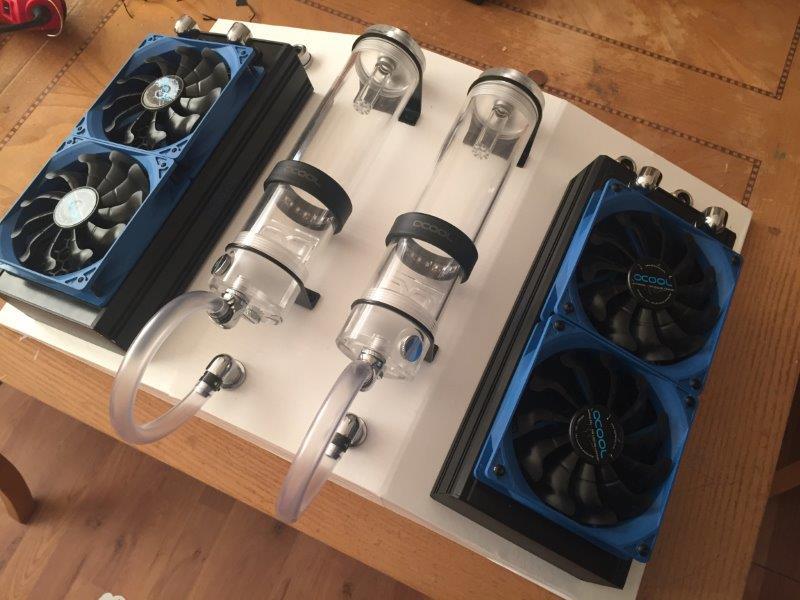
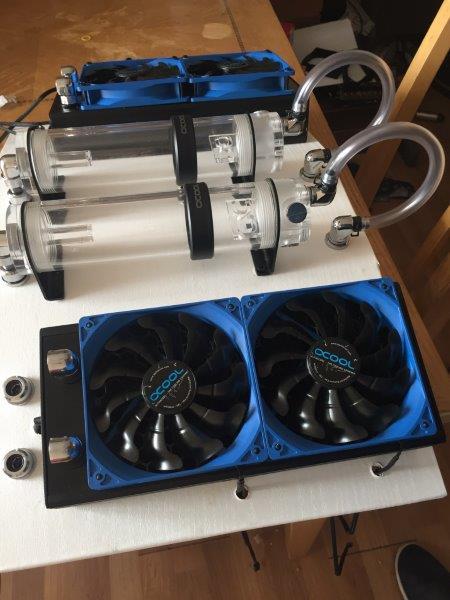
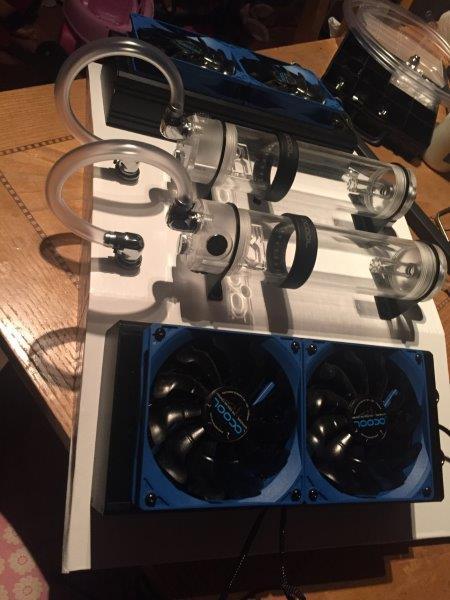
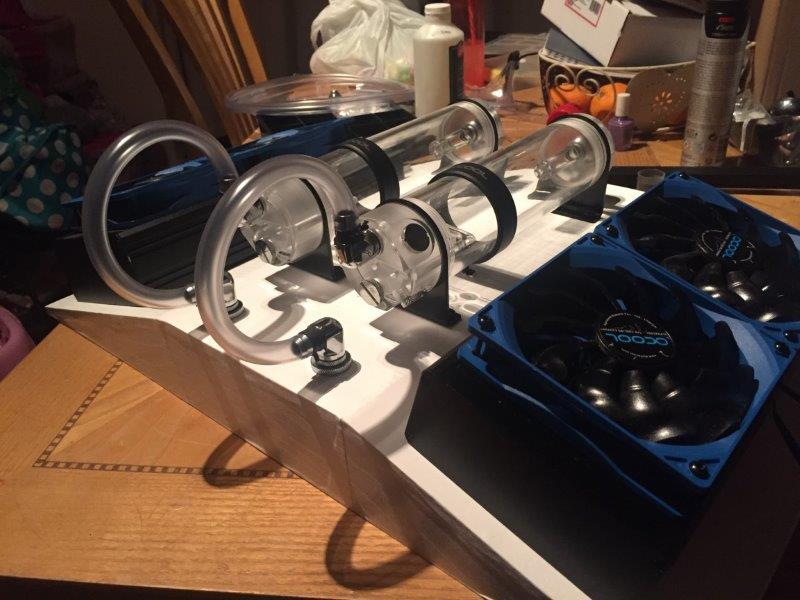
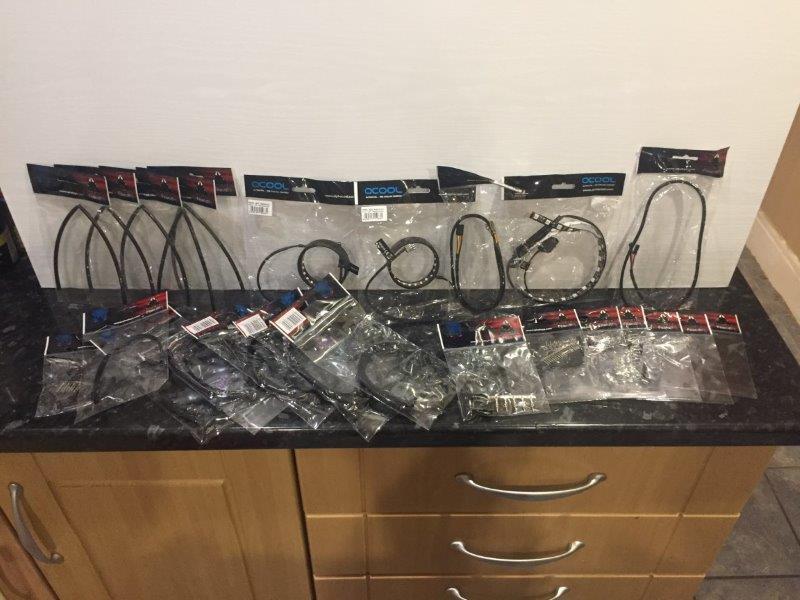
(watercooling loop - Parts being provided by Alphacool/Aquatuning)
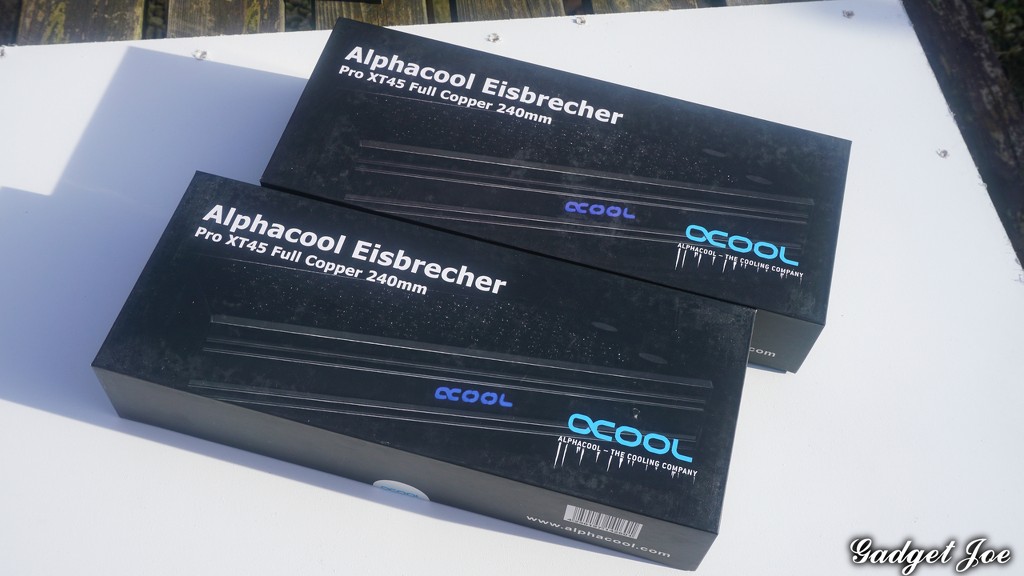
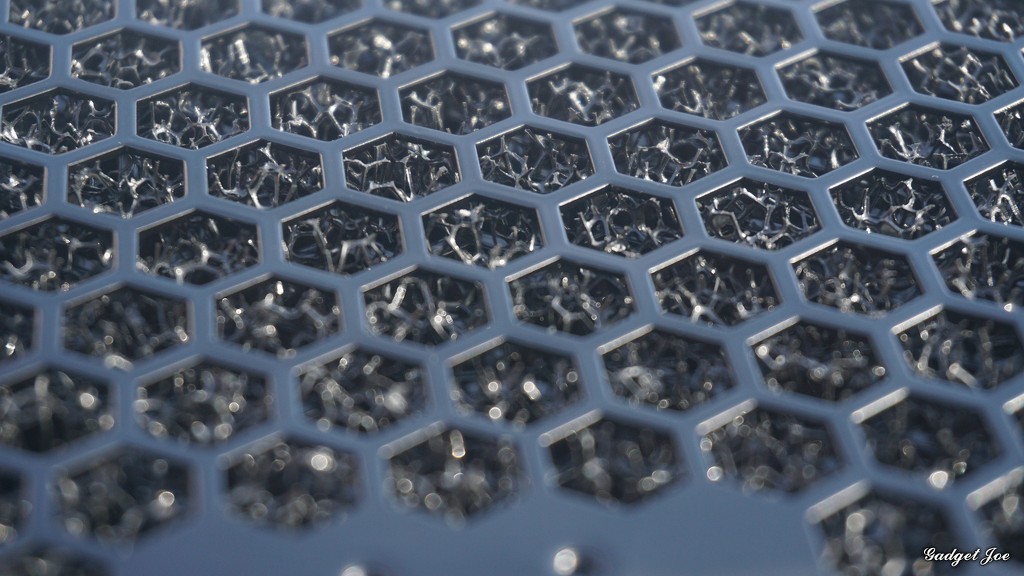
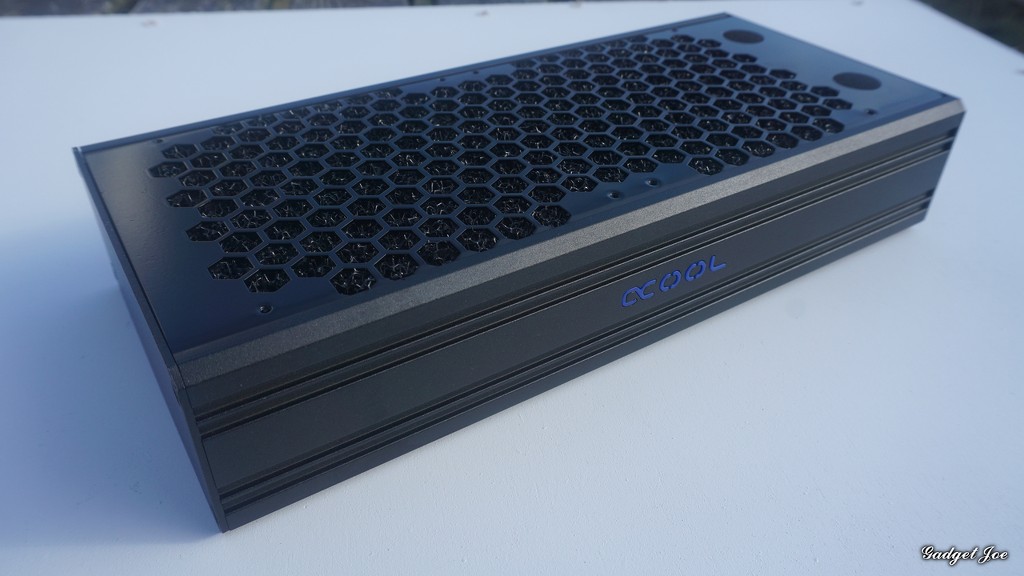
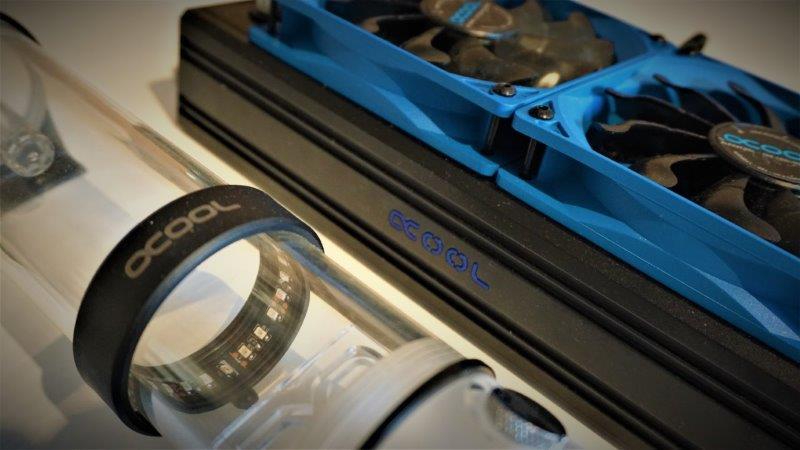
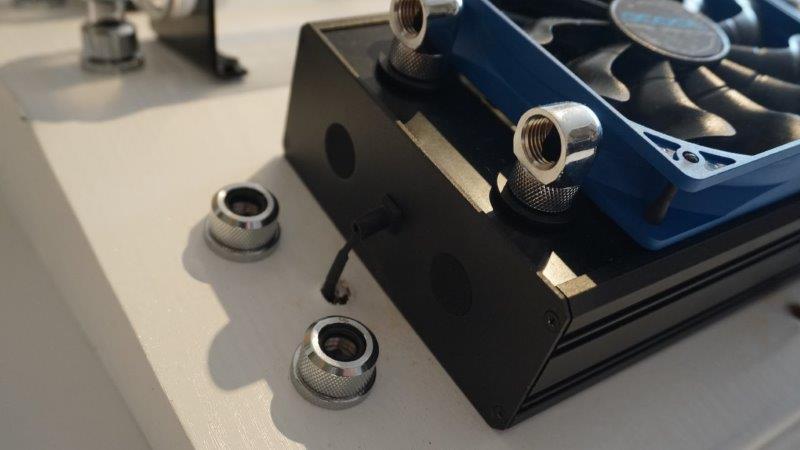
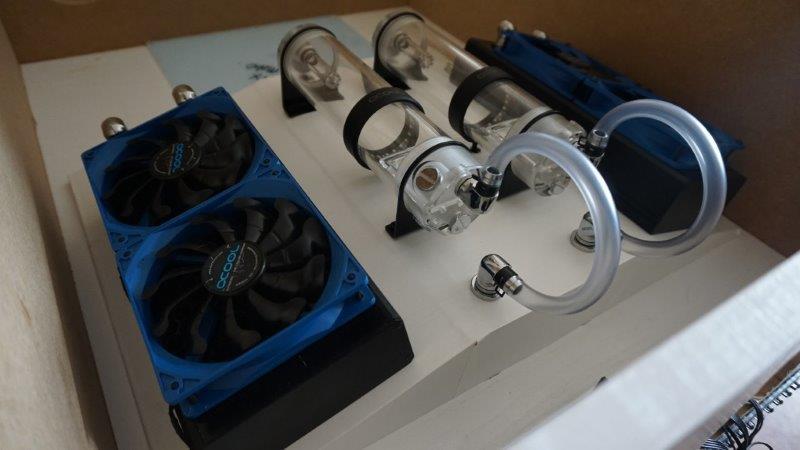
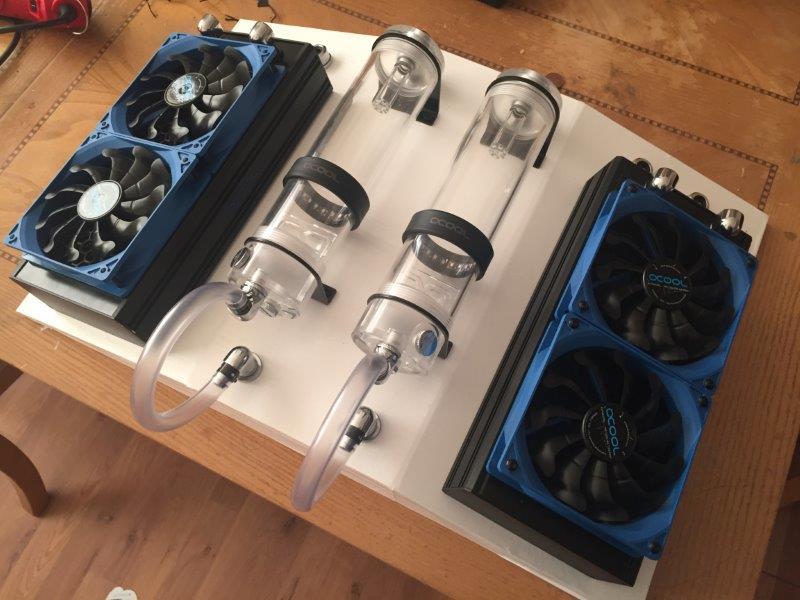
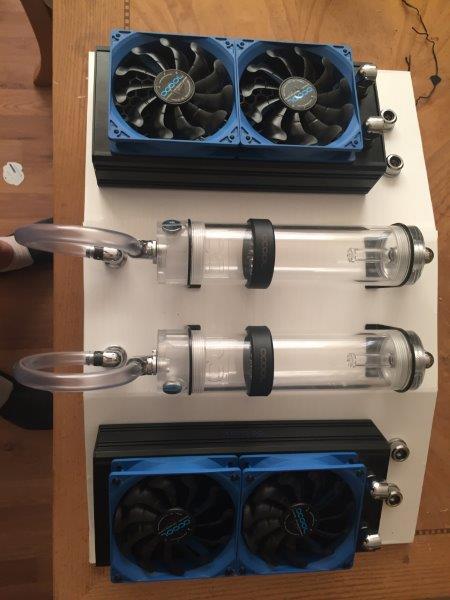
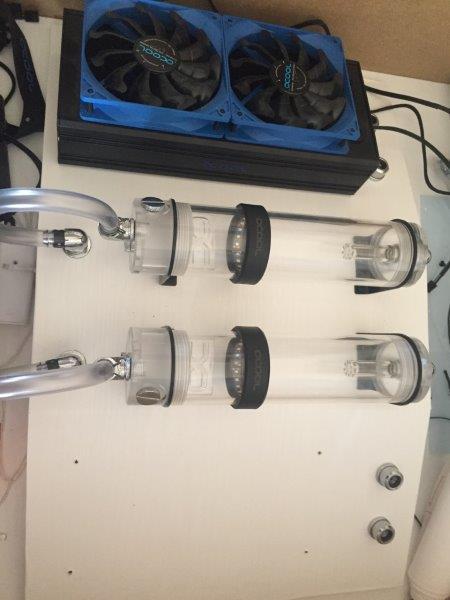
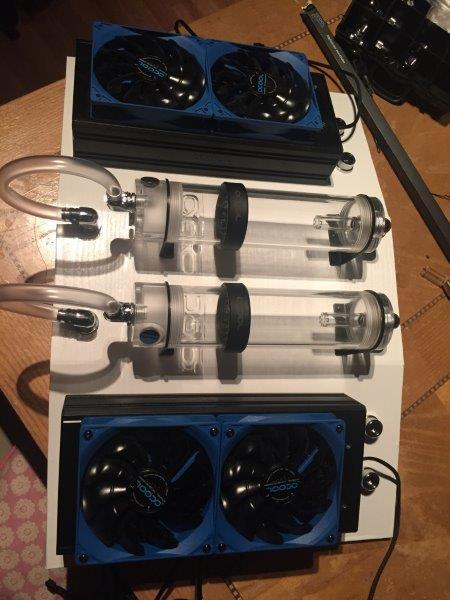
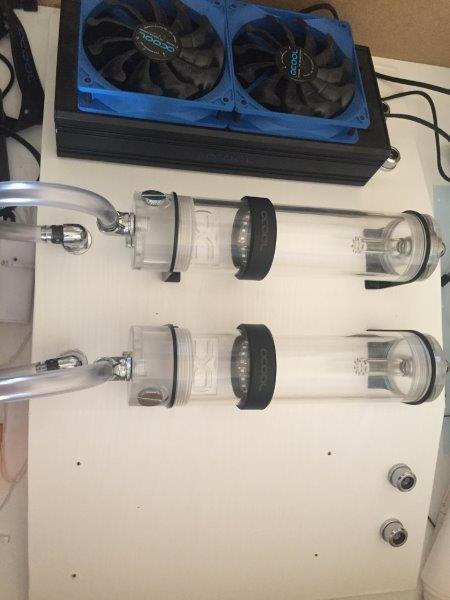
Alphacool Eisbrecher Pro XT45 240mm Rad x2
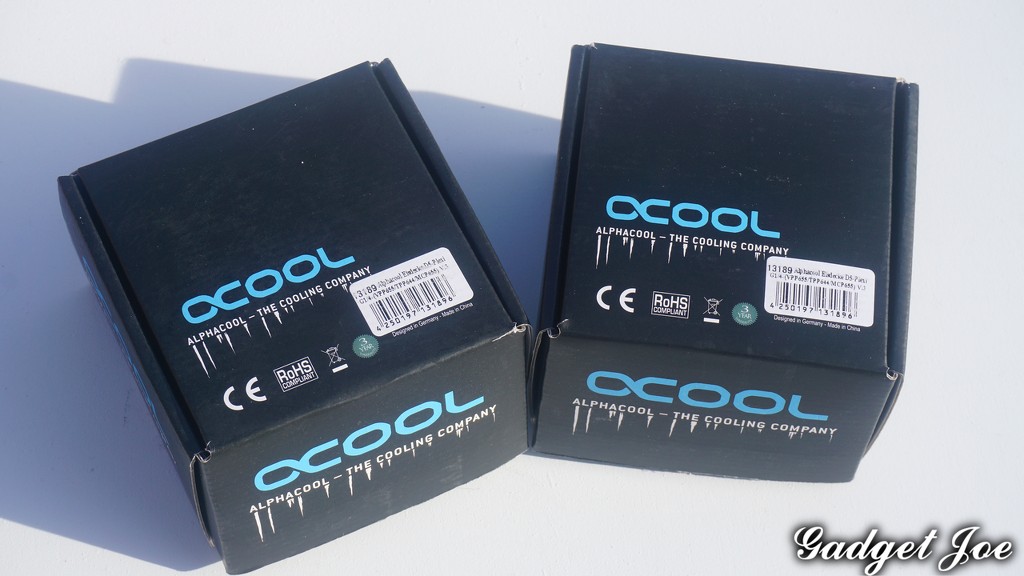
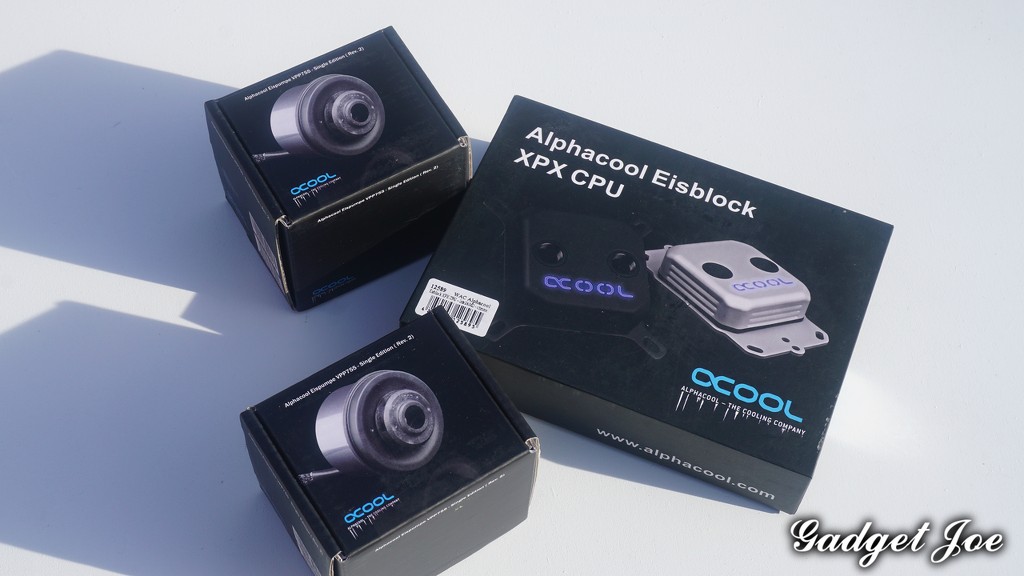
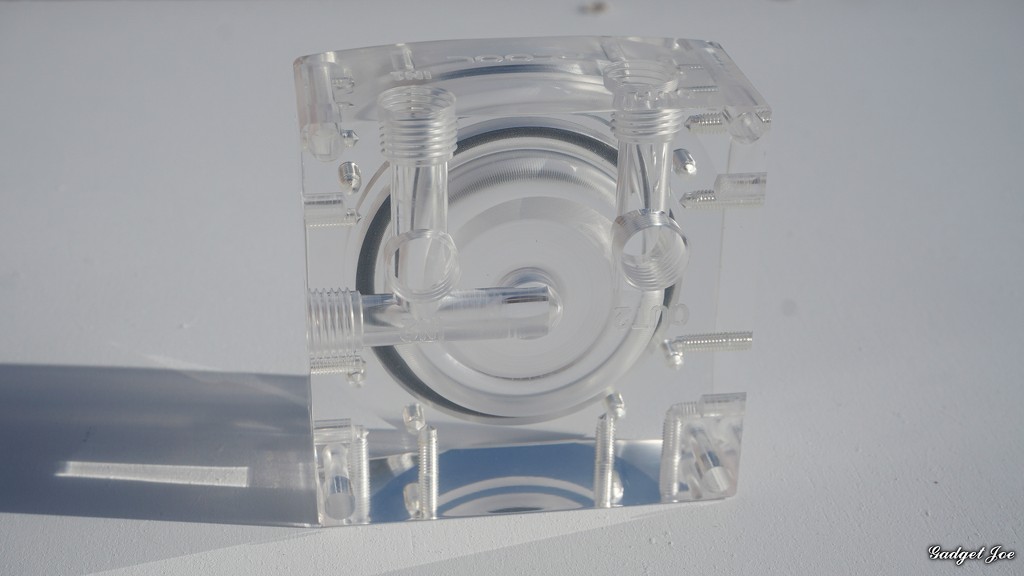
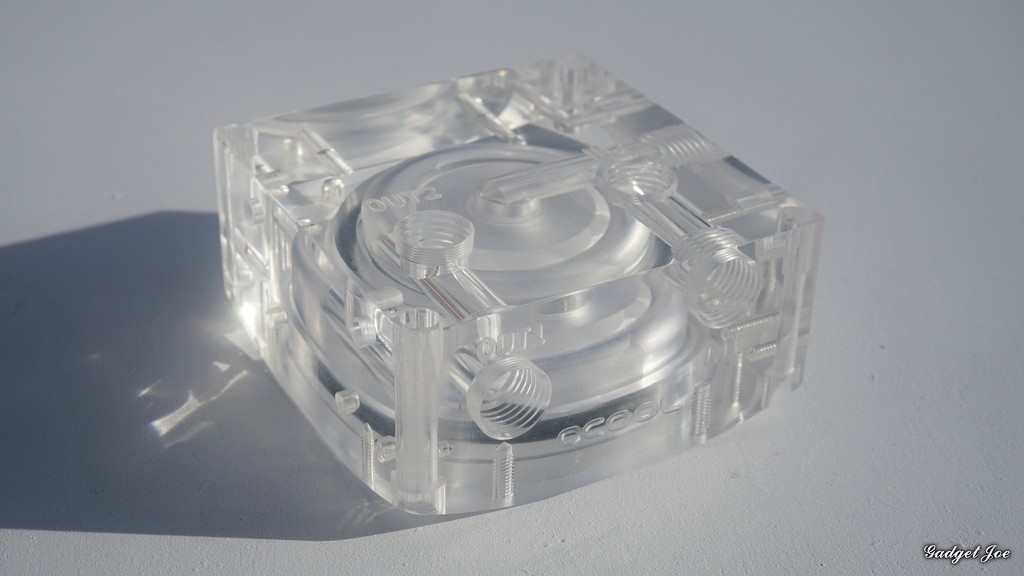
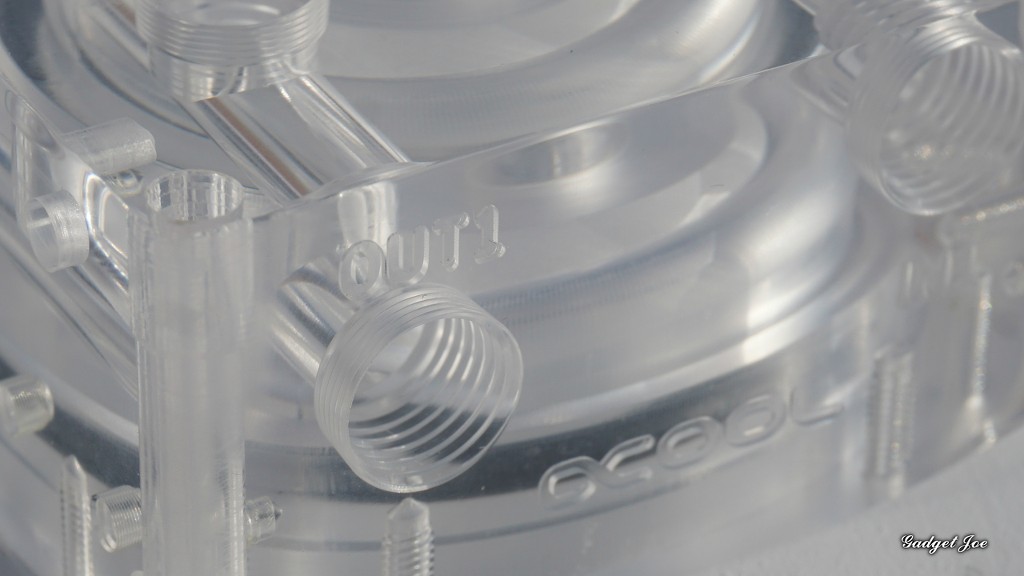
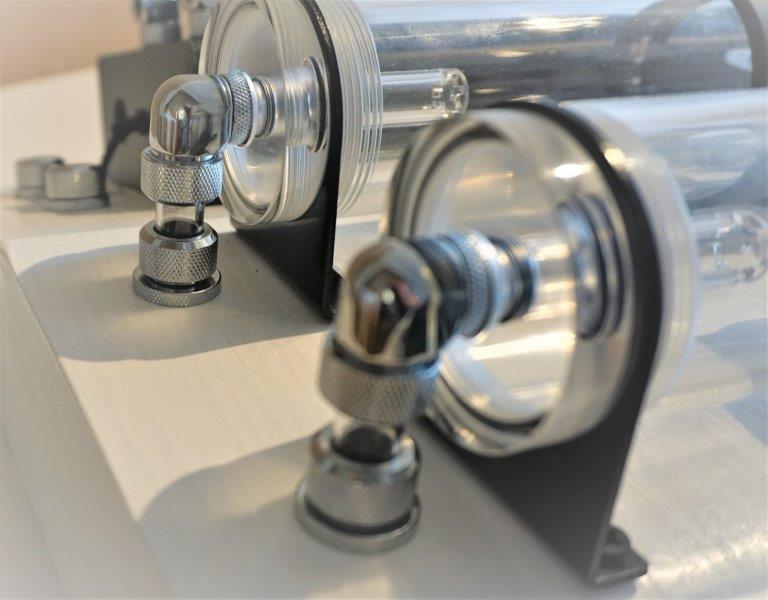
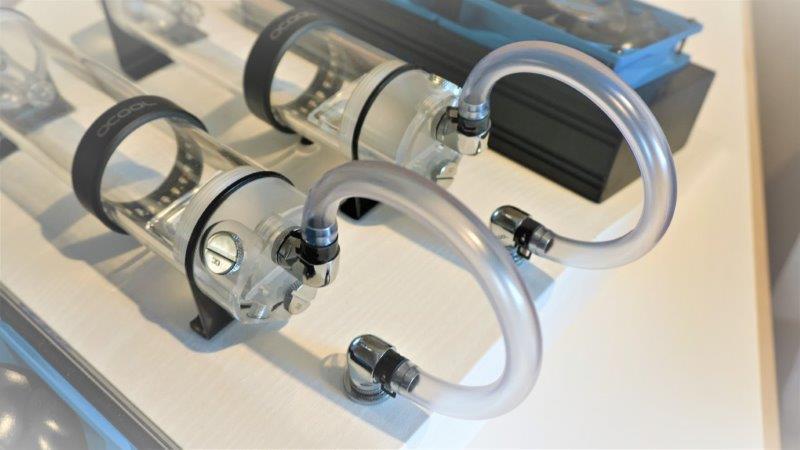
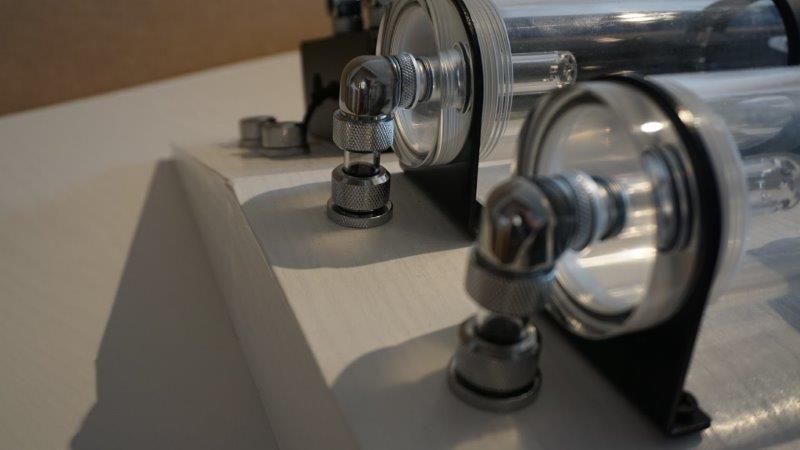
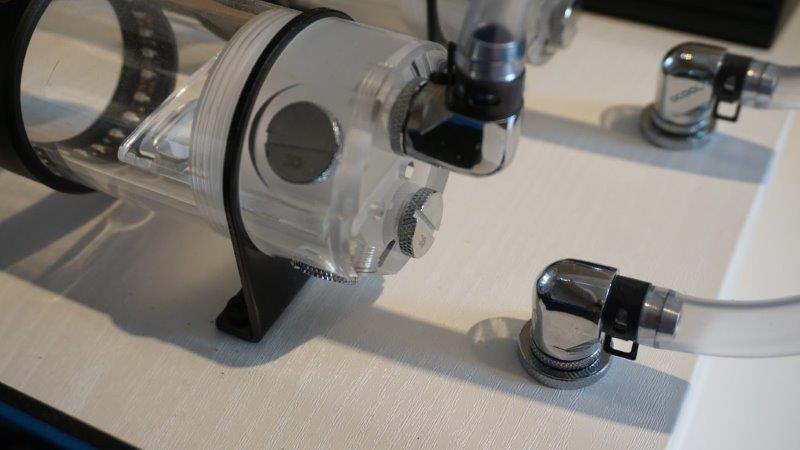
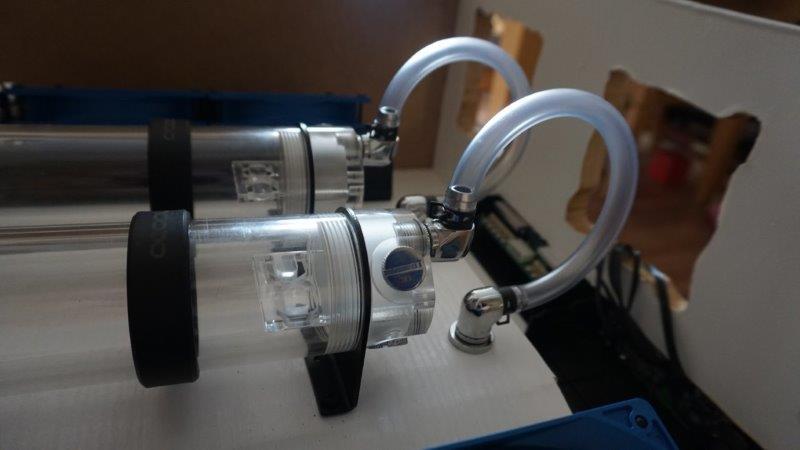
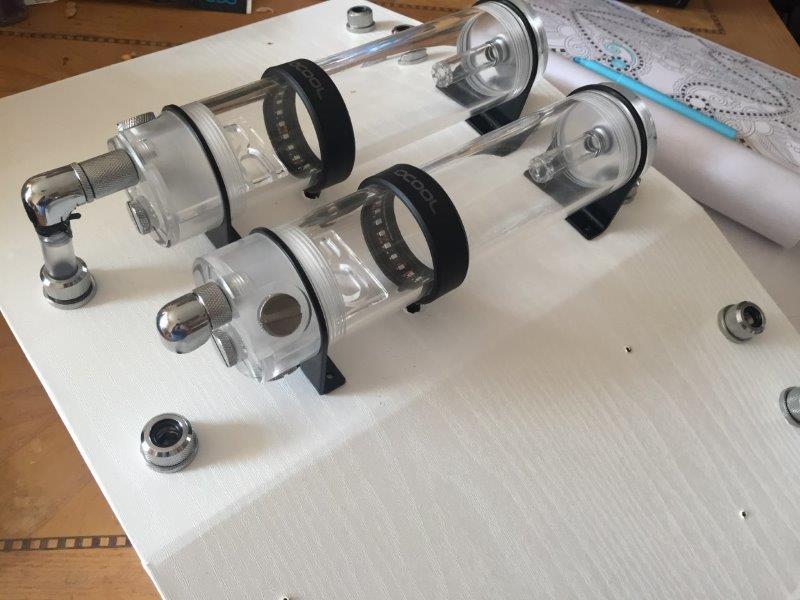
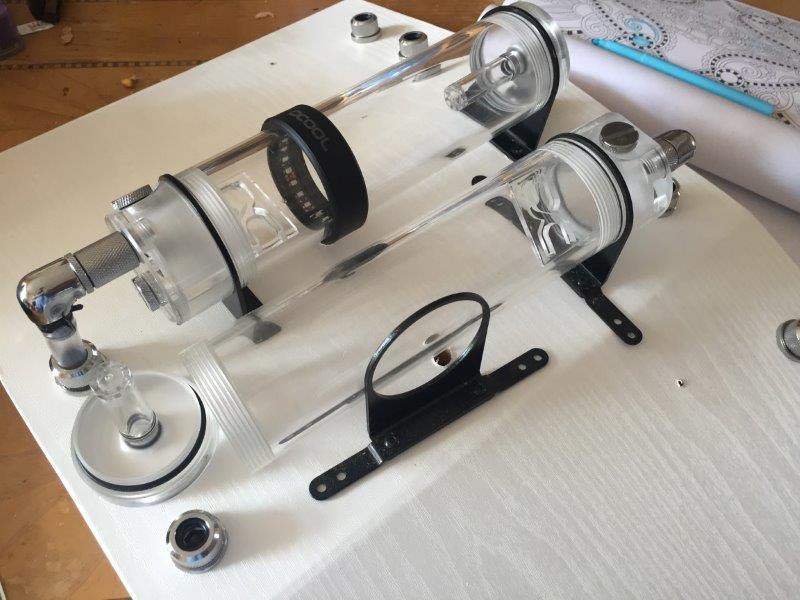
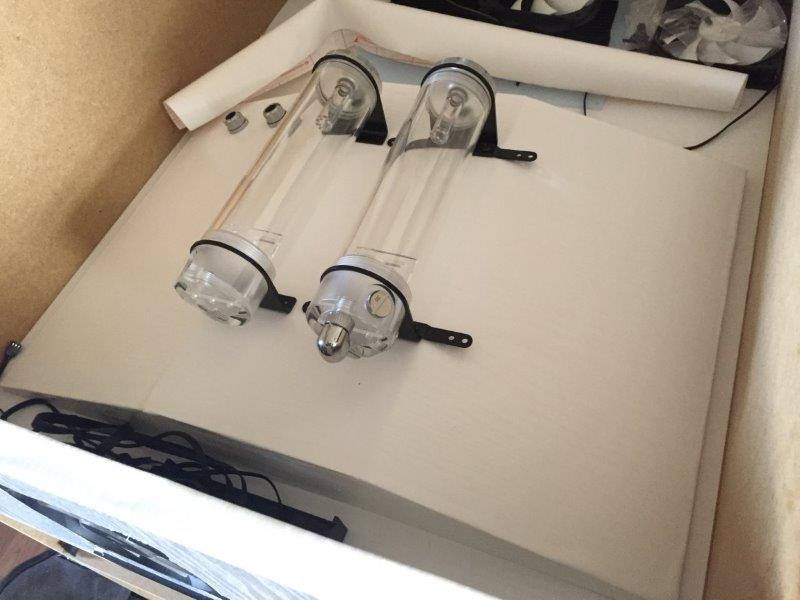
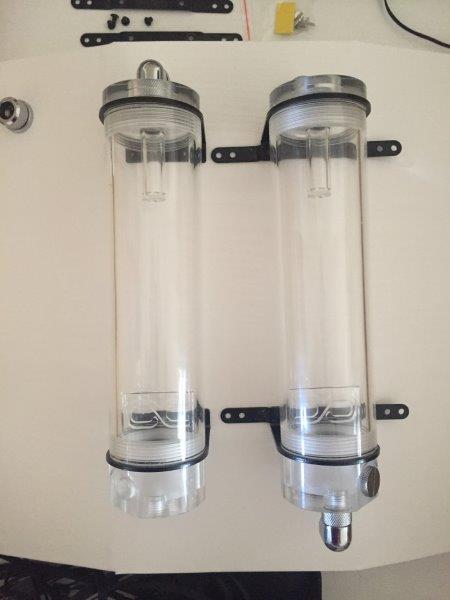
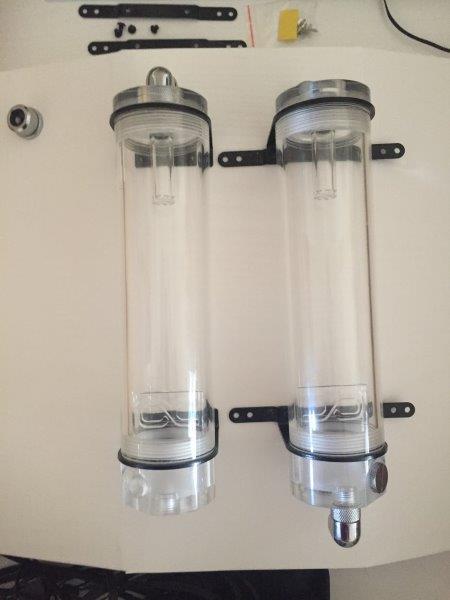
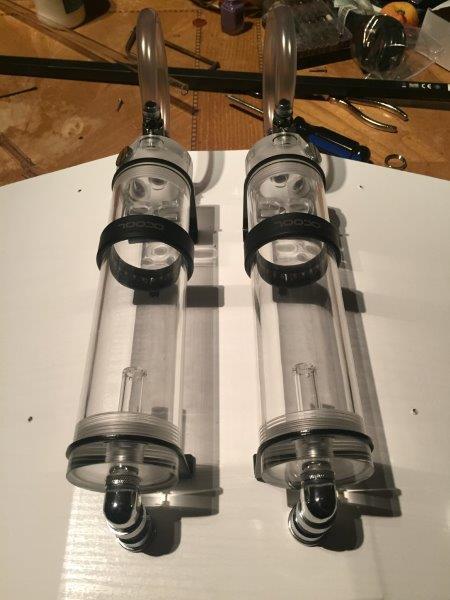
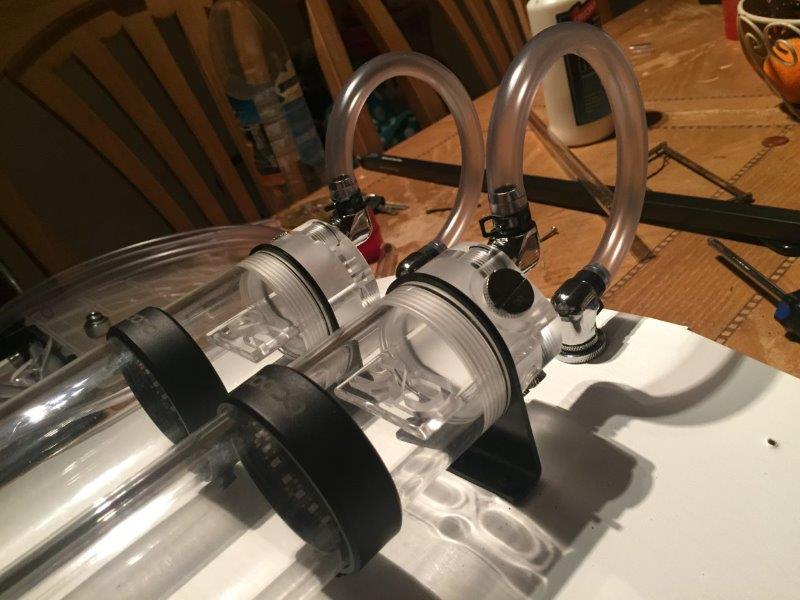
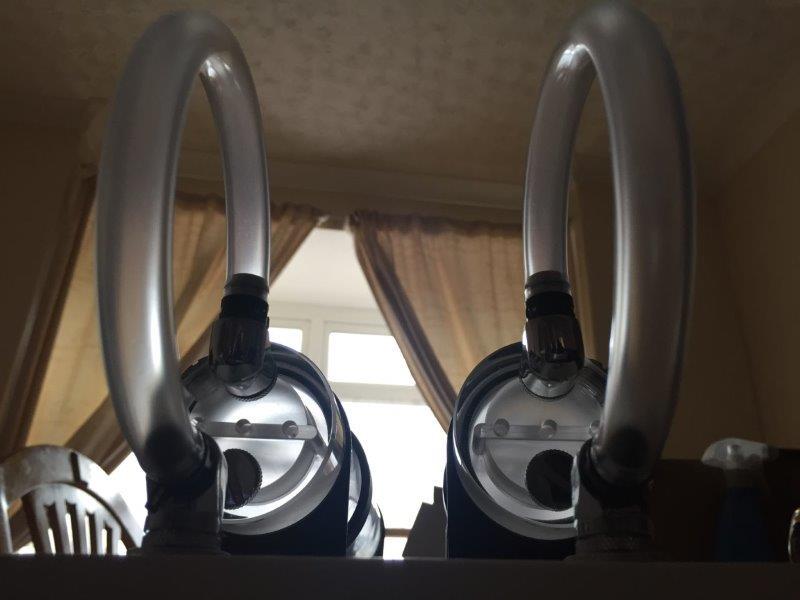
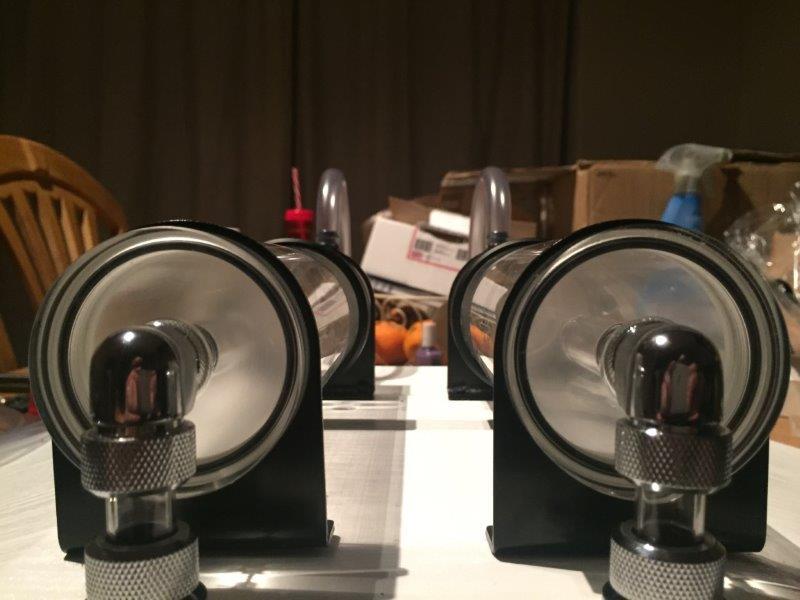
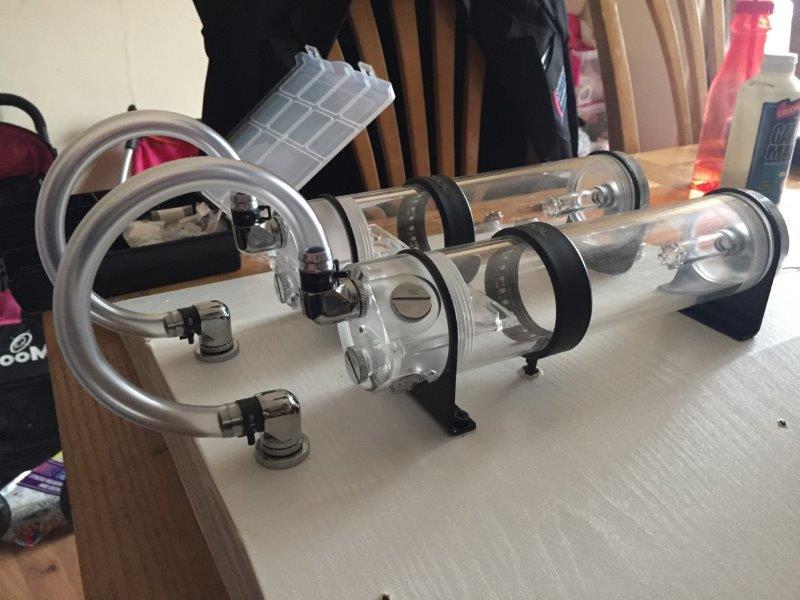
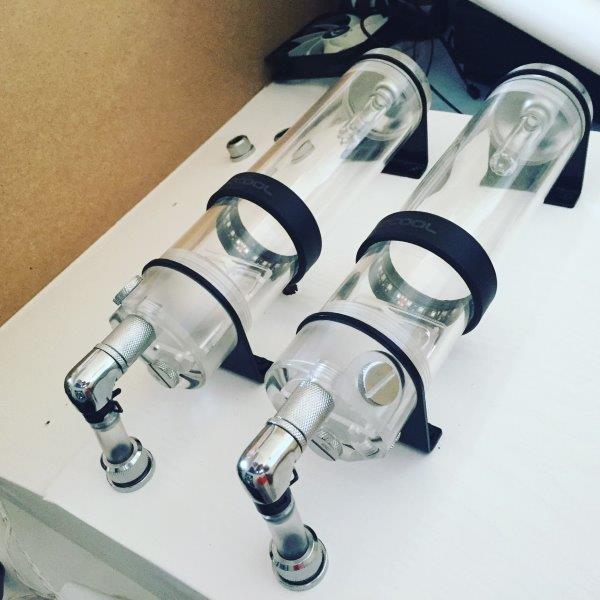
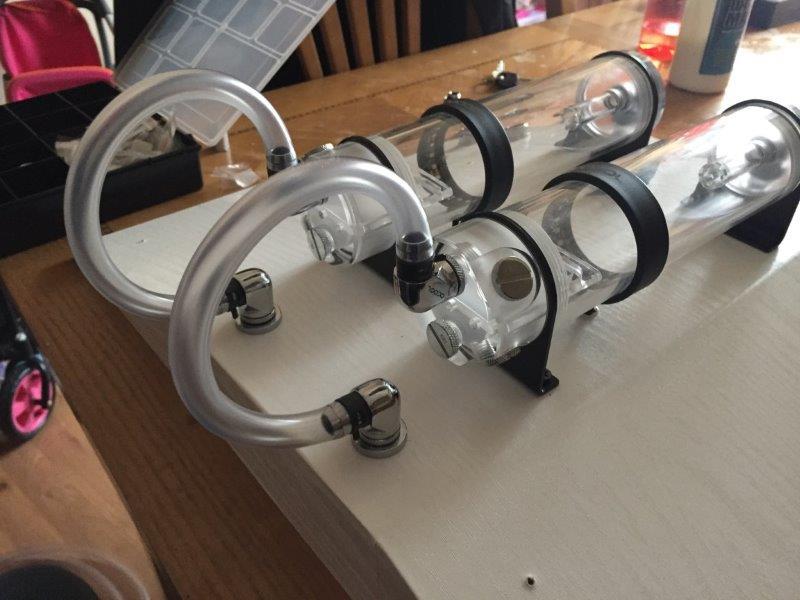
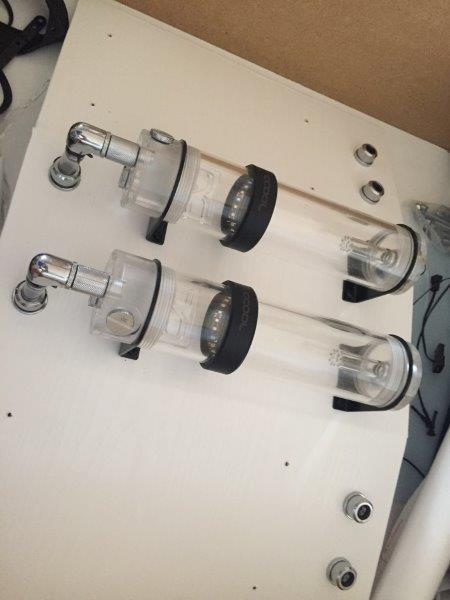
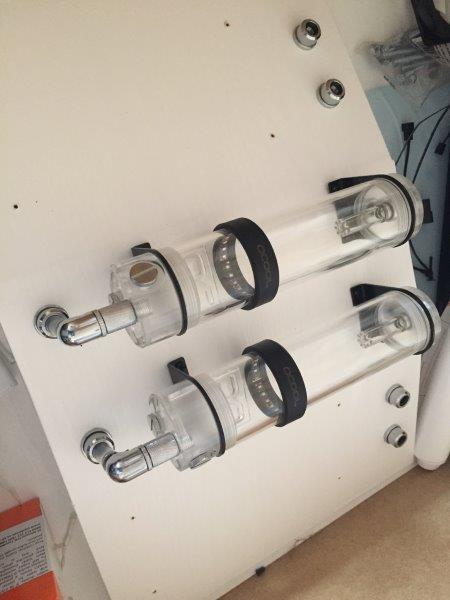
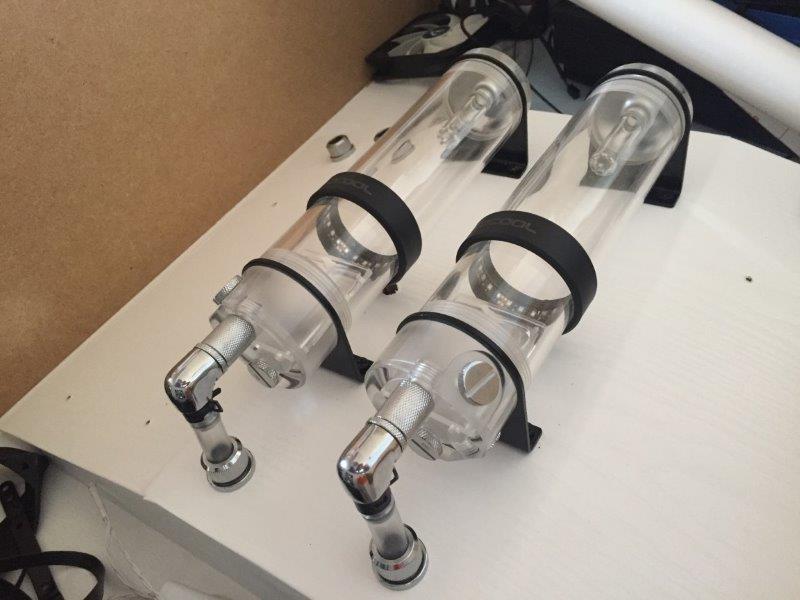
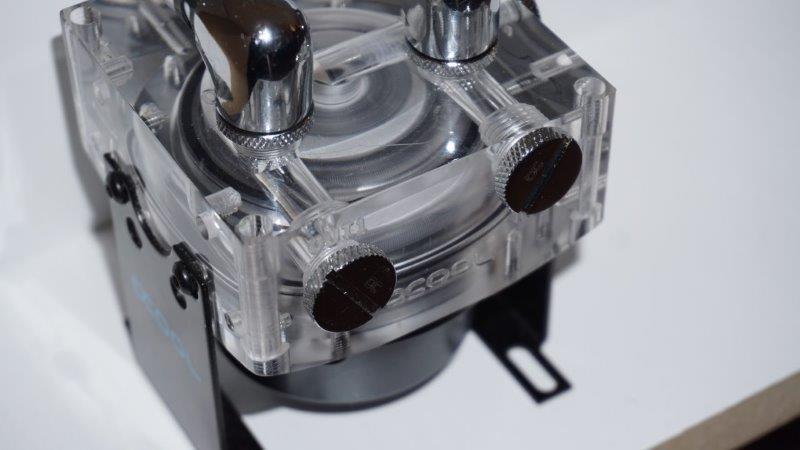
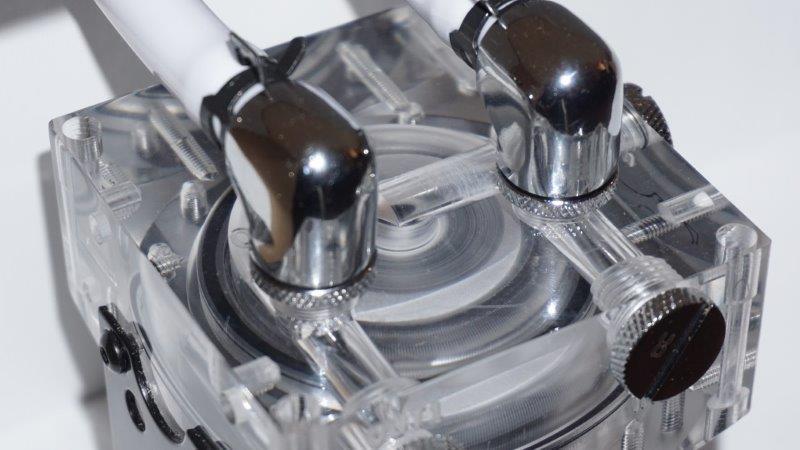
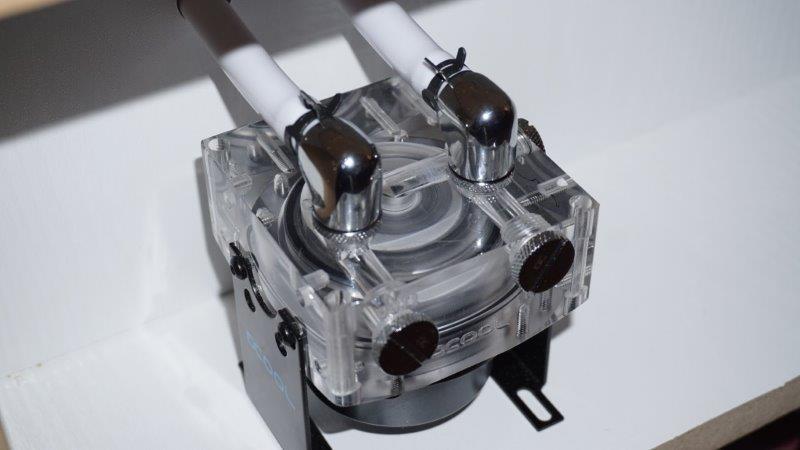
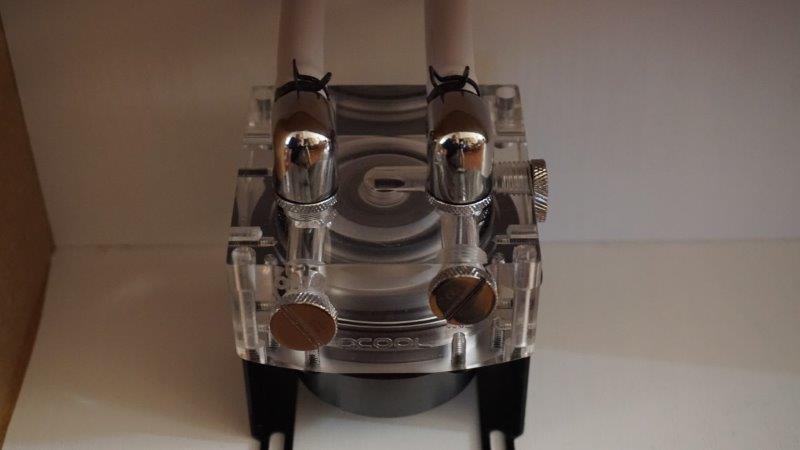
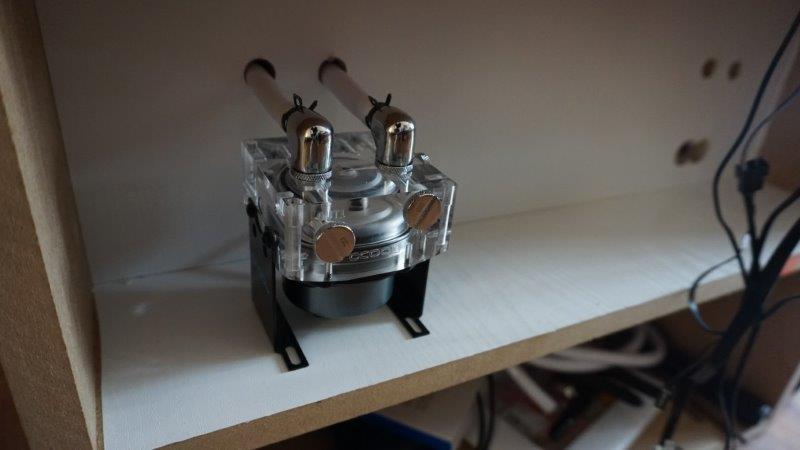
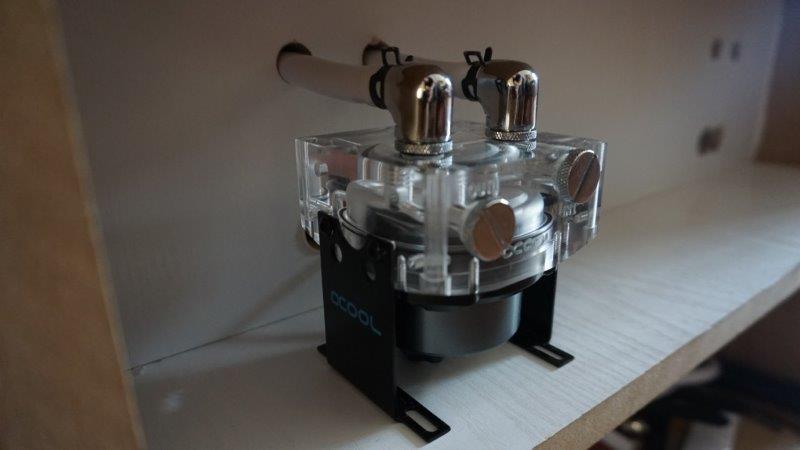
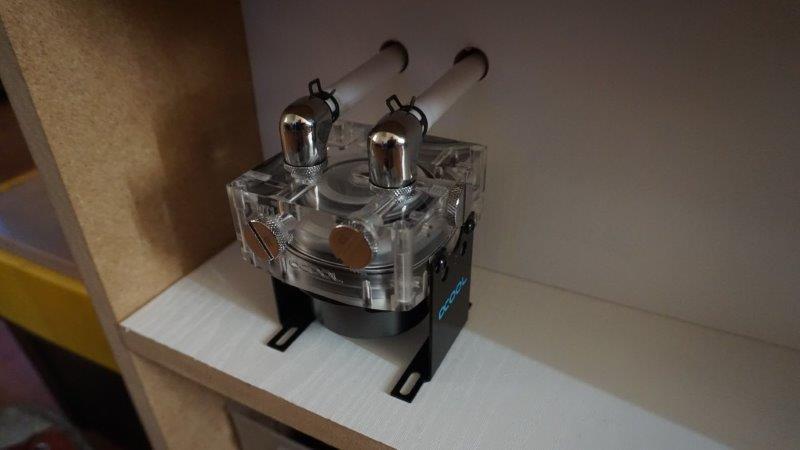
Alphacool VPP655 Eisdecke D5 x2
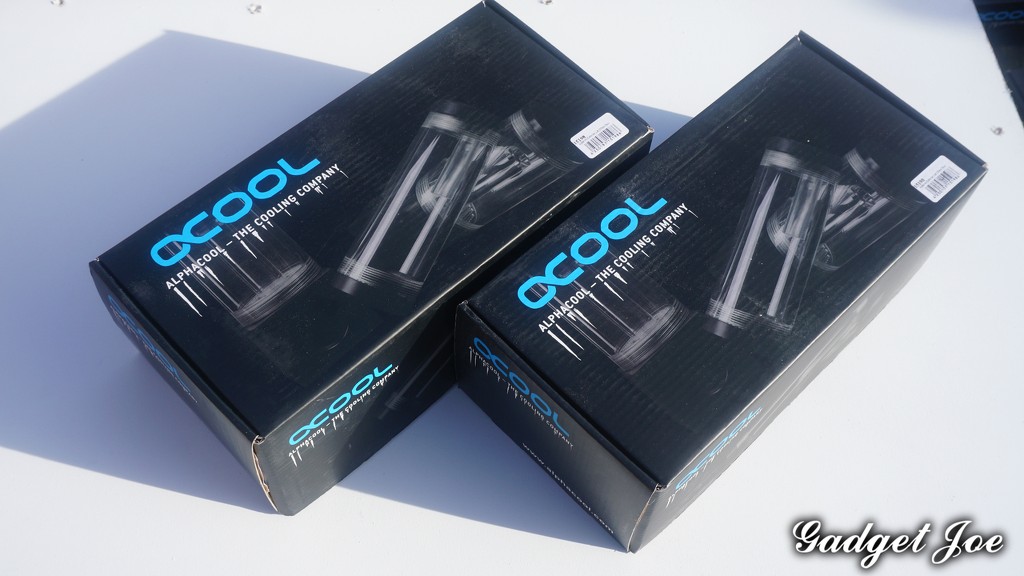
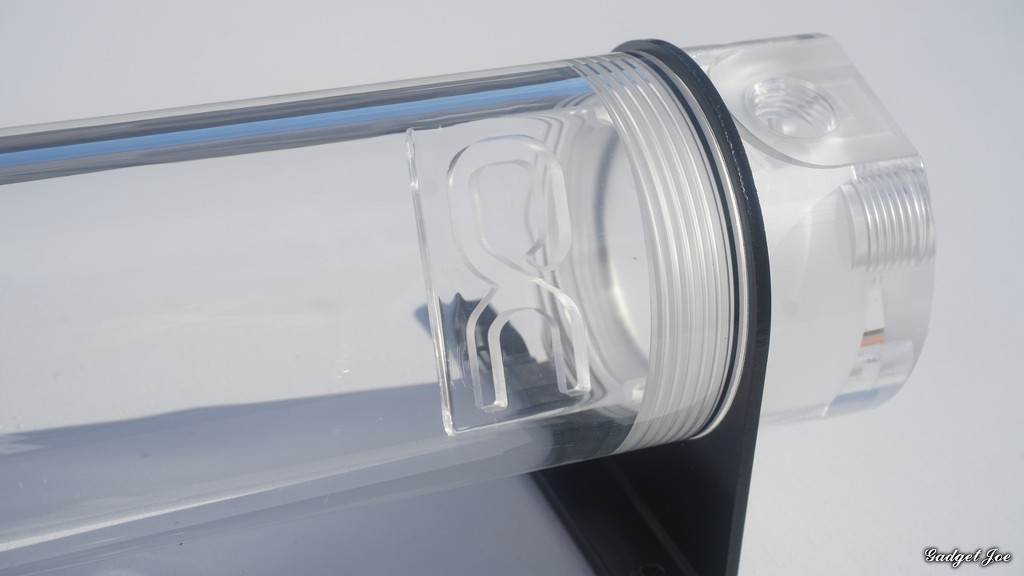
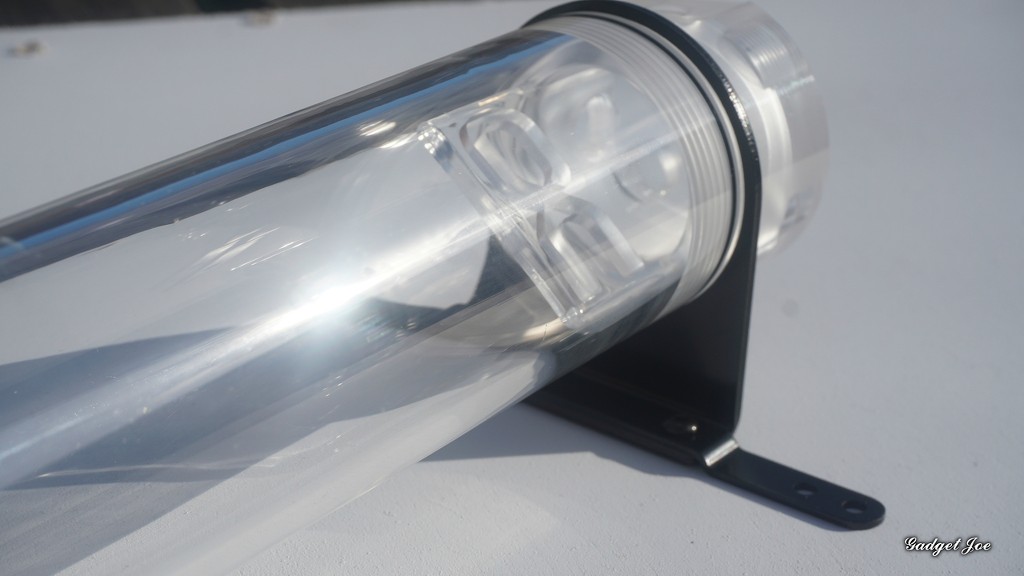
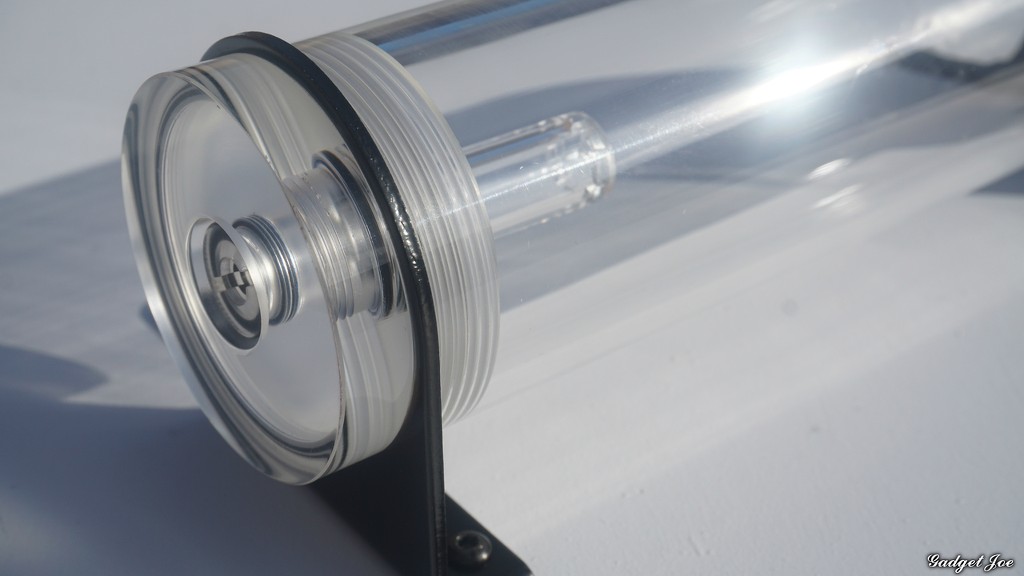
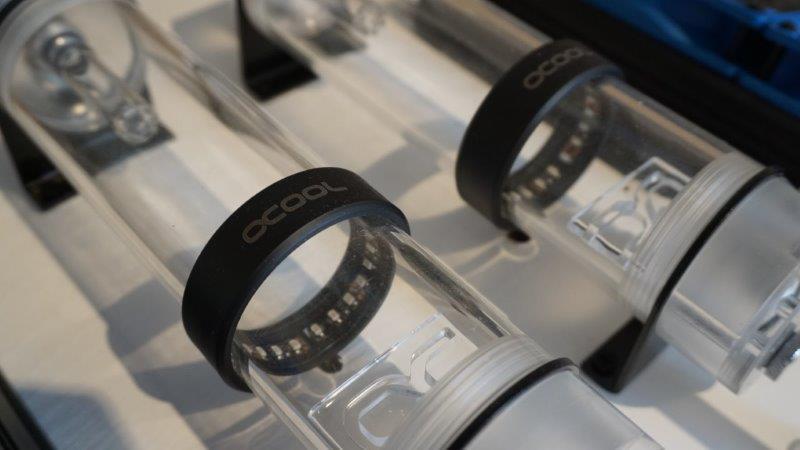
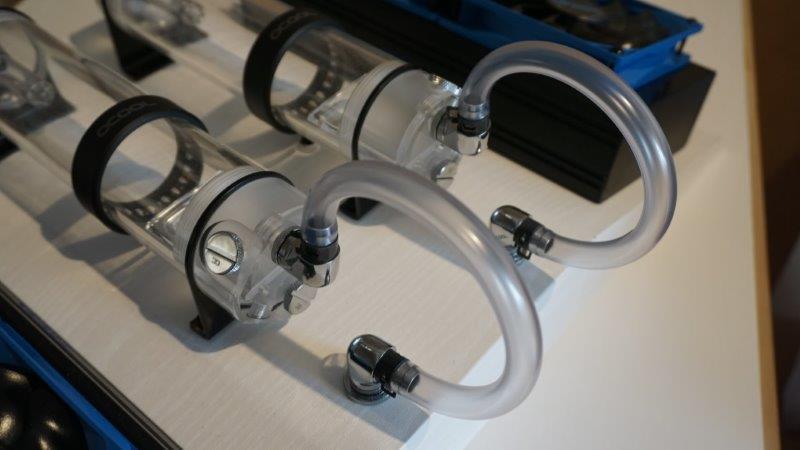
Alphacool Eisbercher Lite 250mm Plexi x2
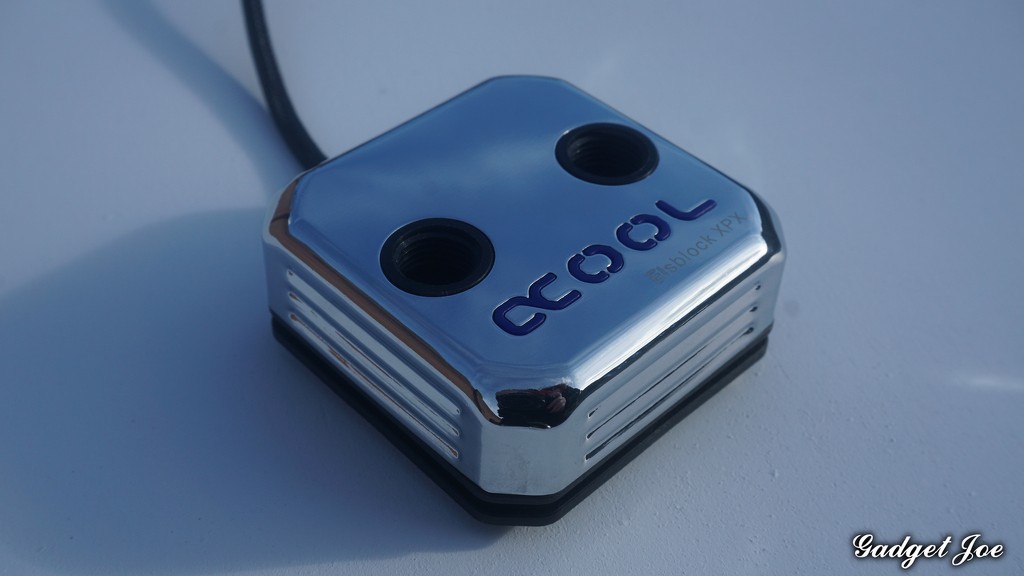
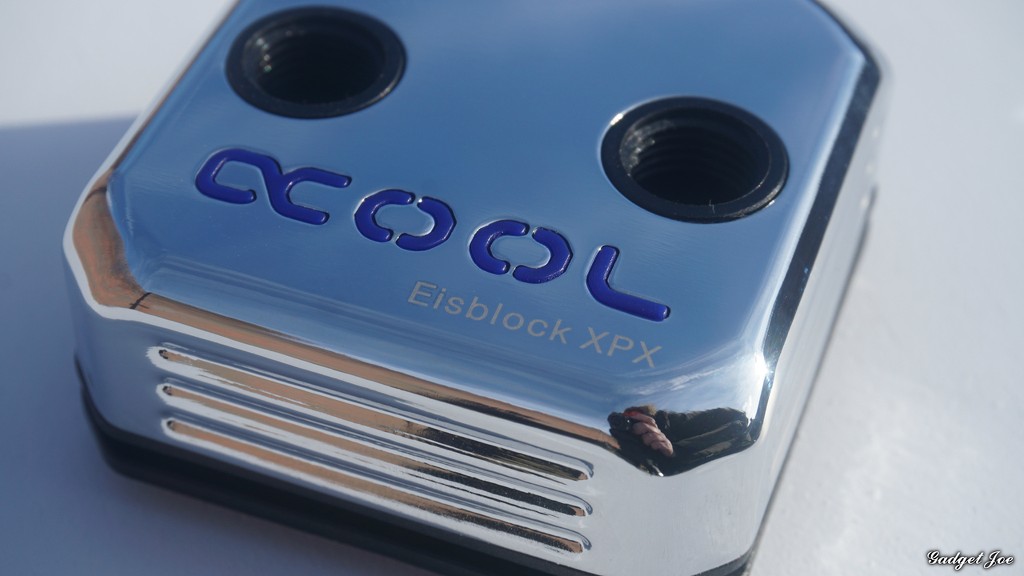
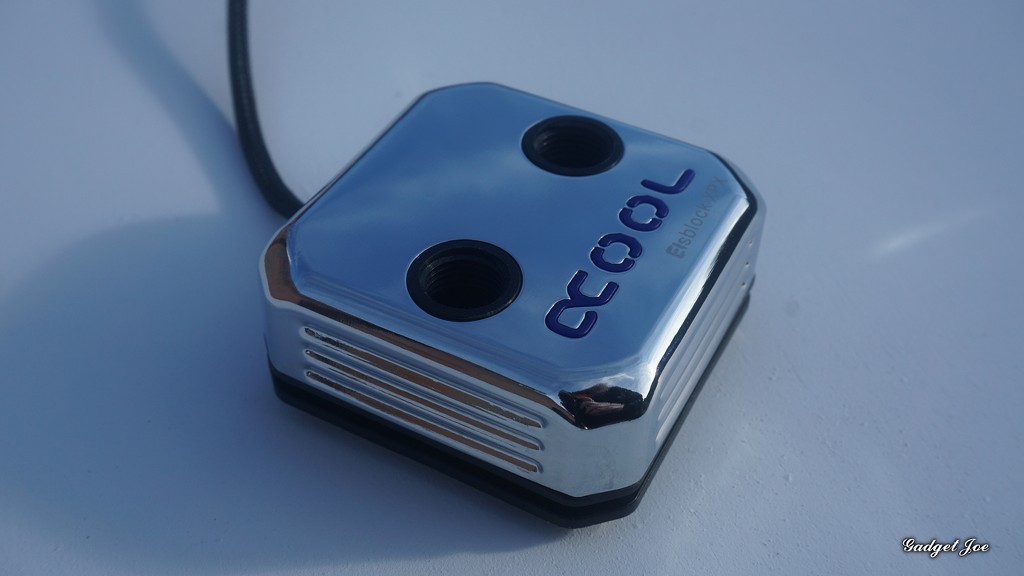
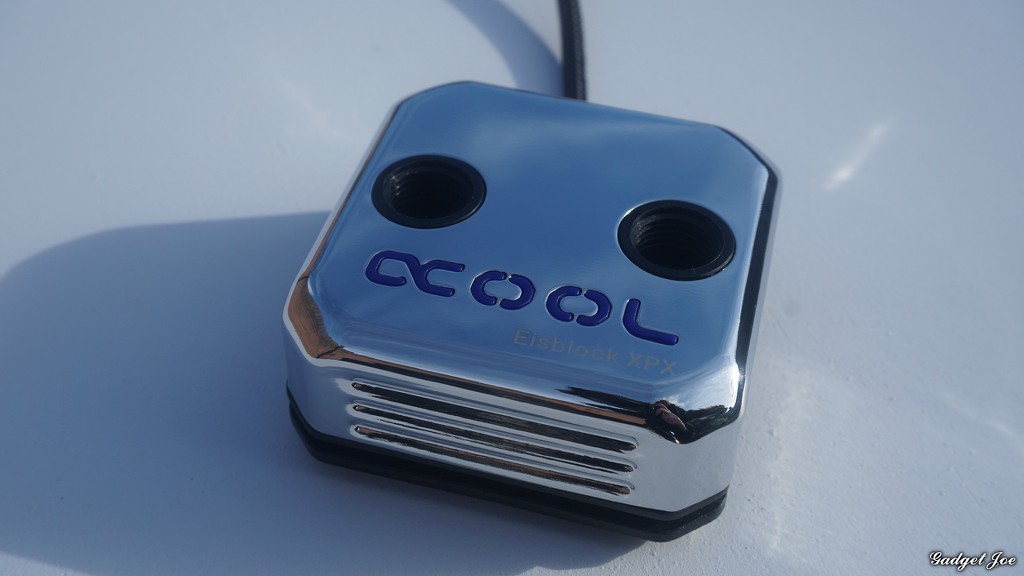
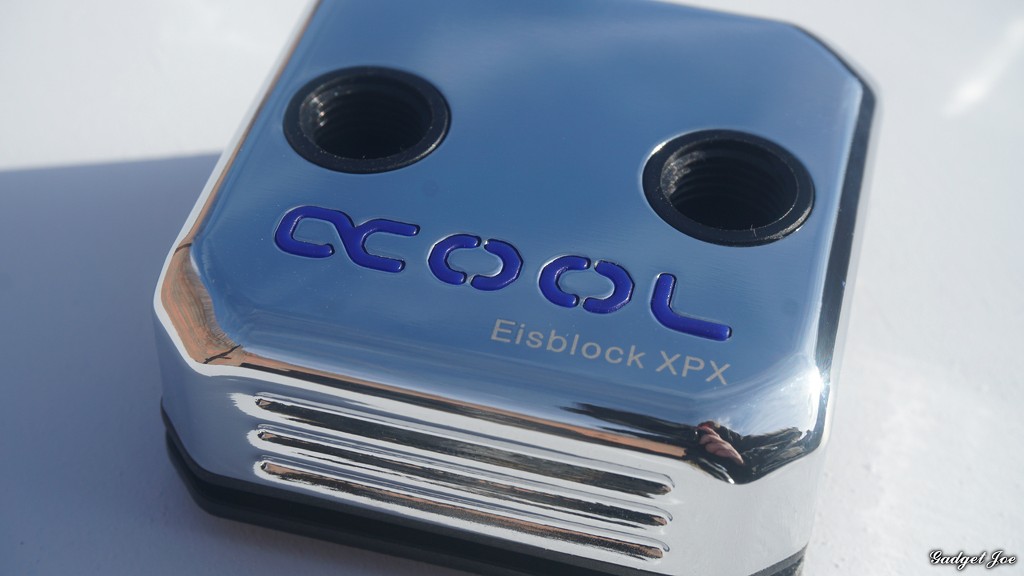
Alphacool Eisblock XPX CPU Chrome
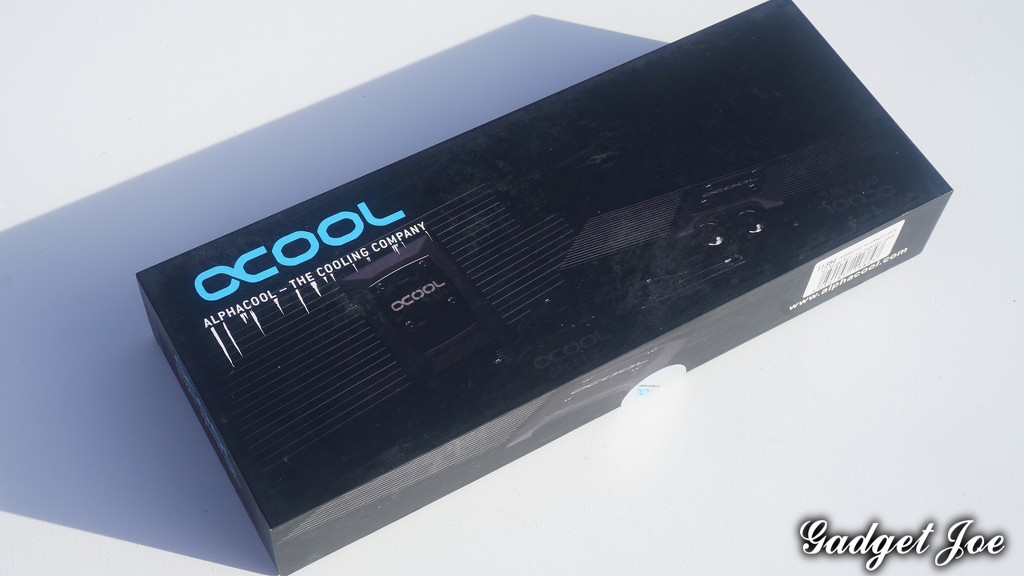
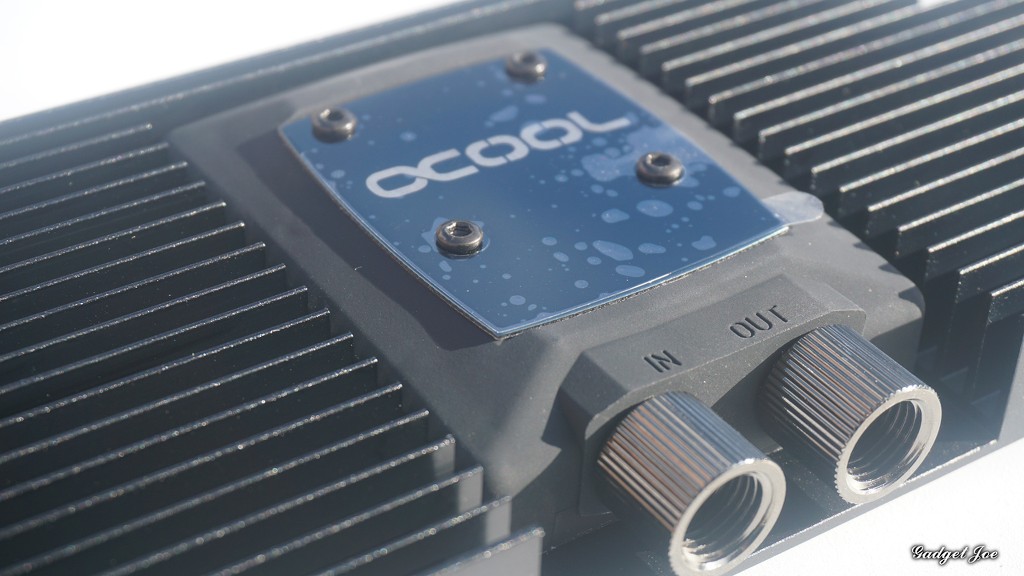
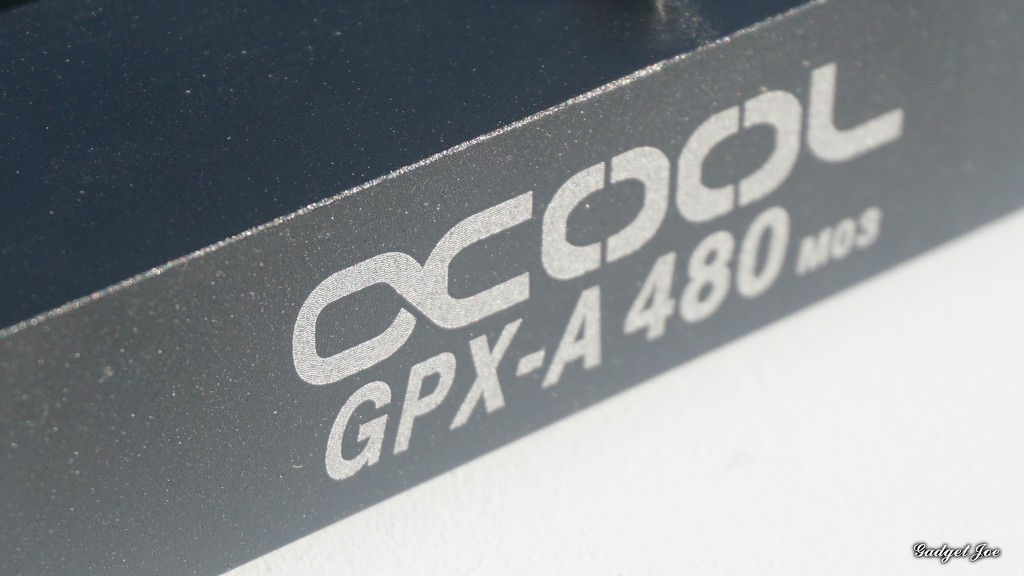
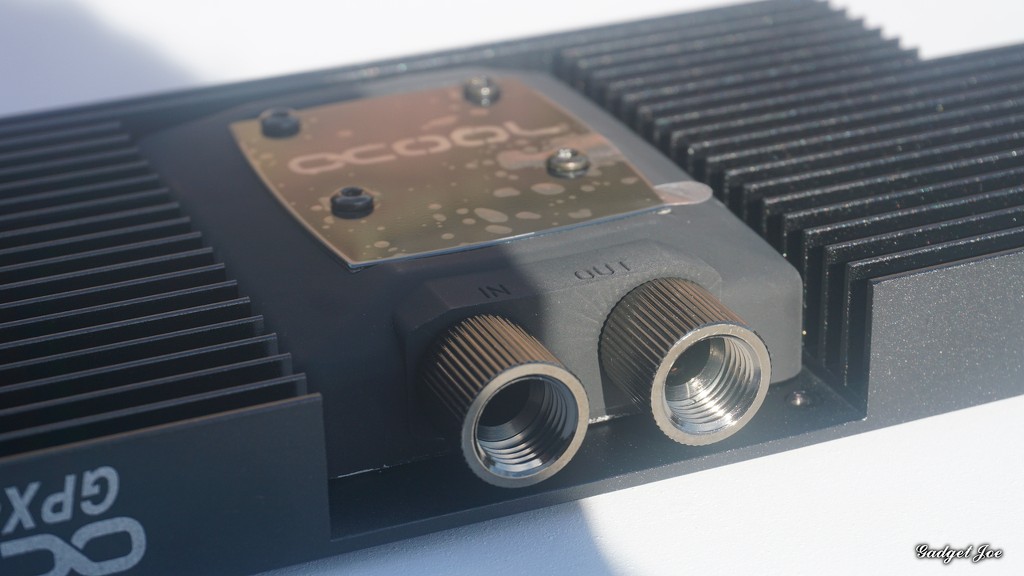
Alphacool NexXxosS GPX 480 Gpu Block
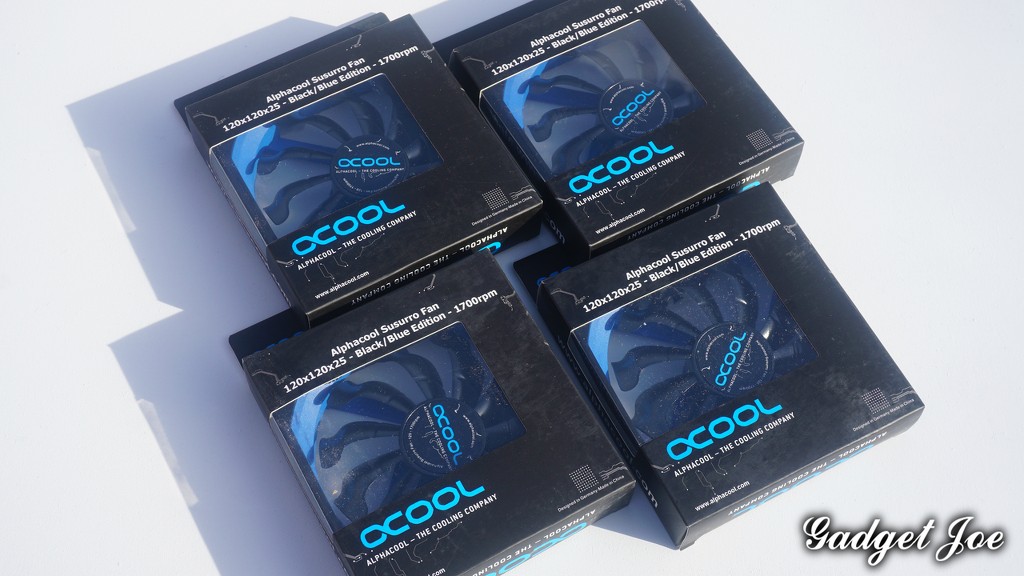
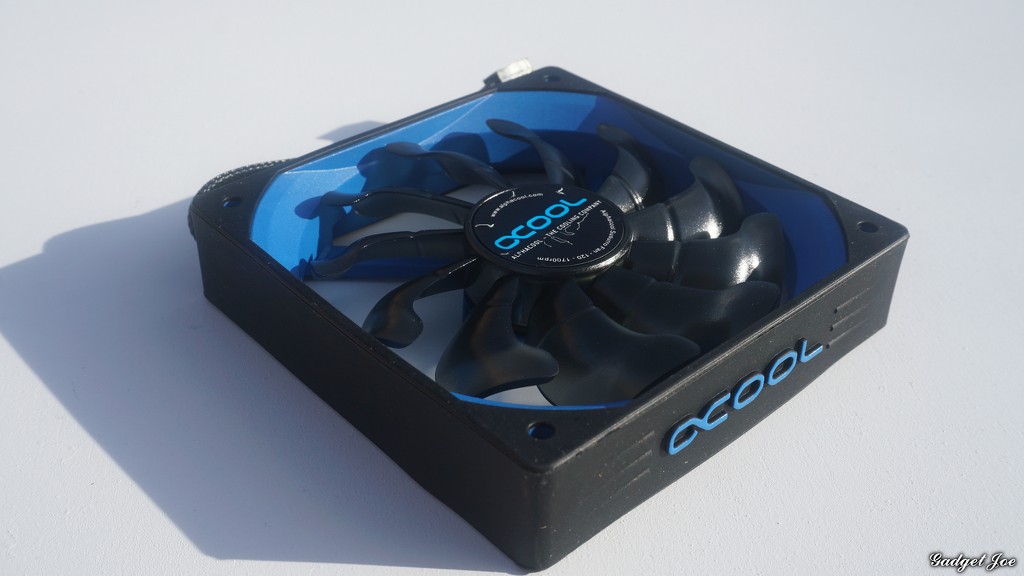
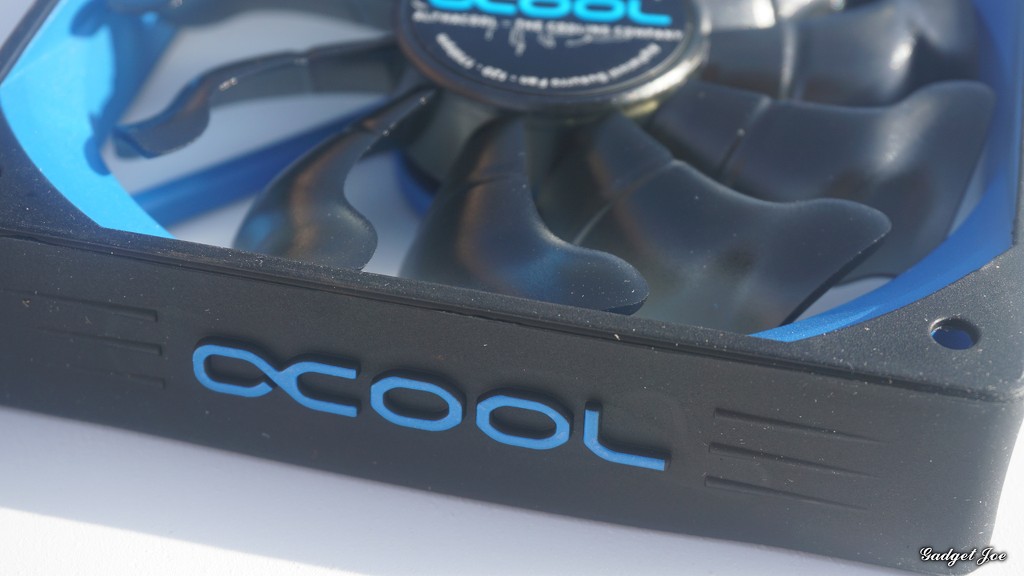
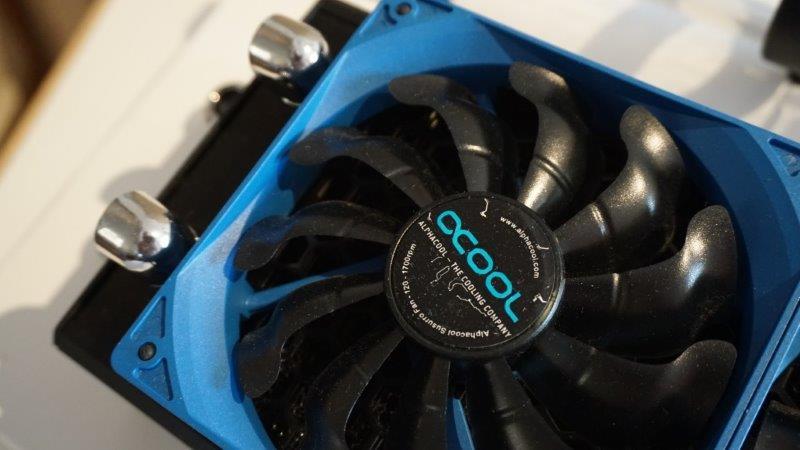
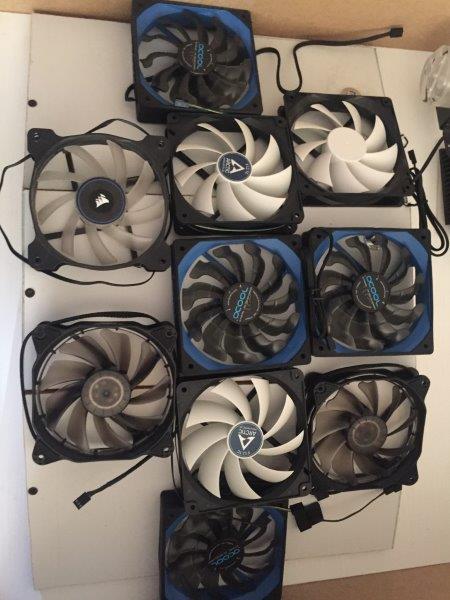
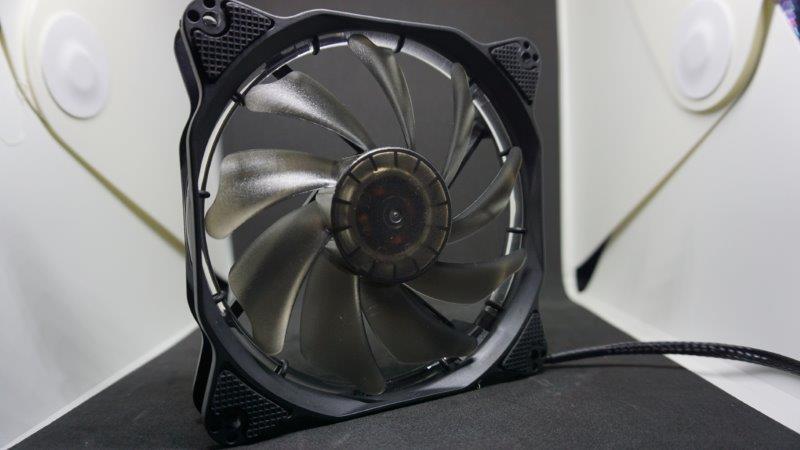
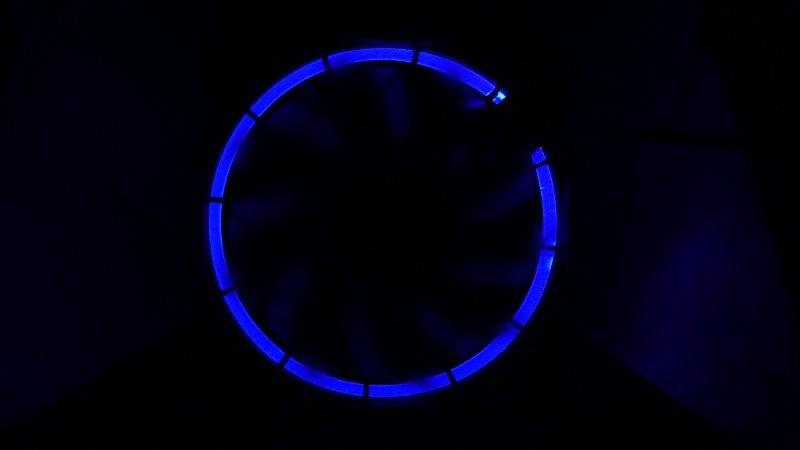
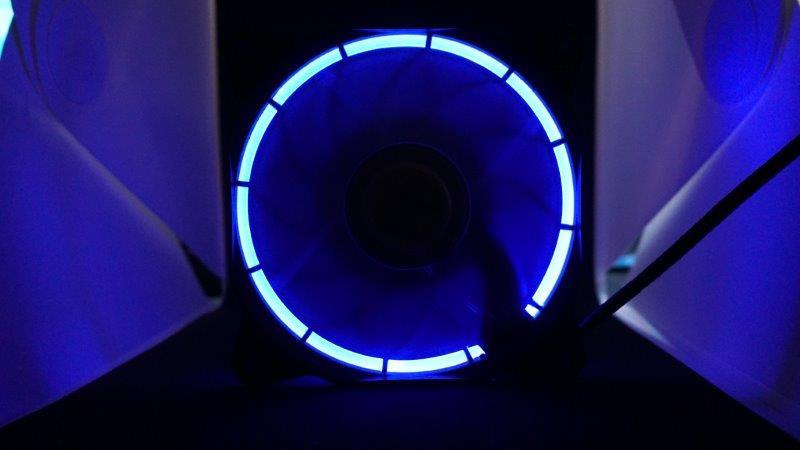
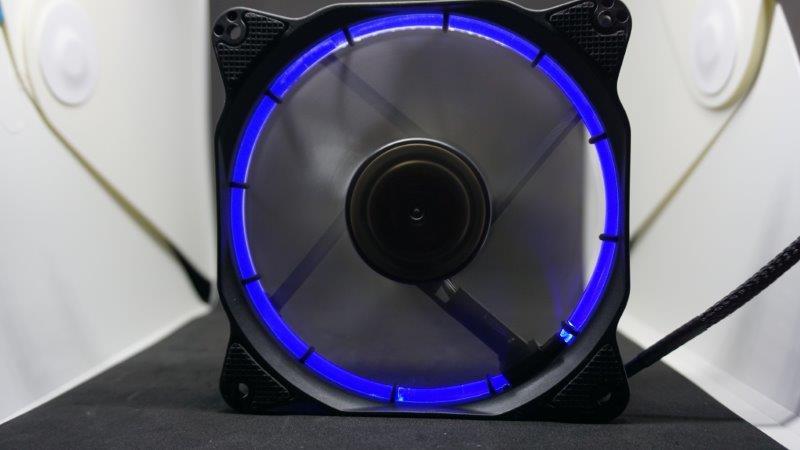
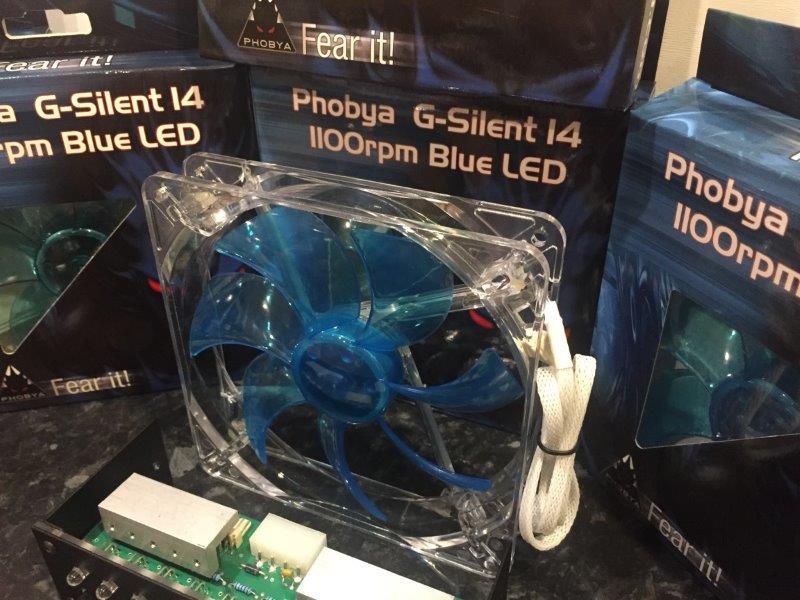
Alphacool Susurro Fan 120mm x4
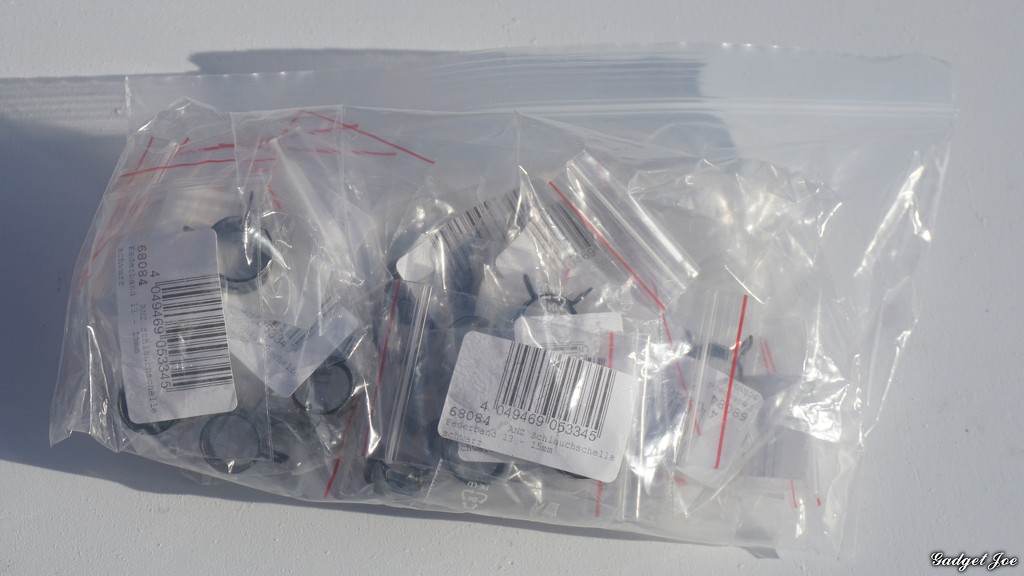
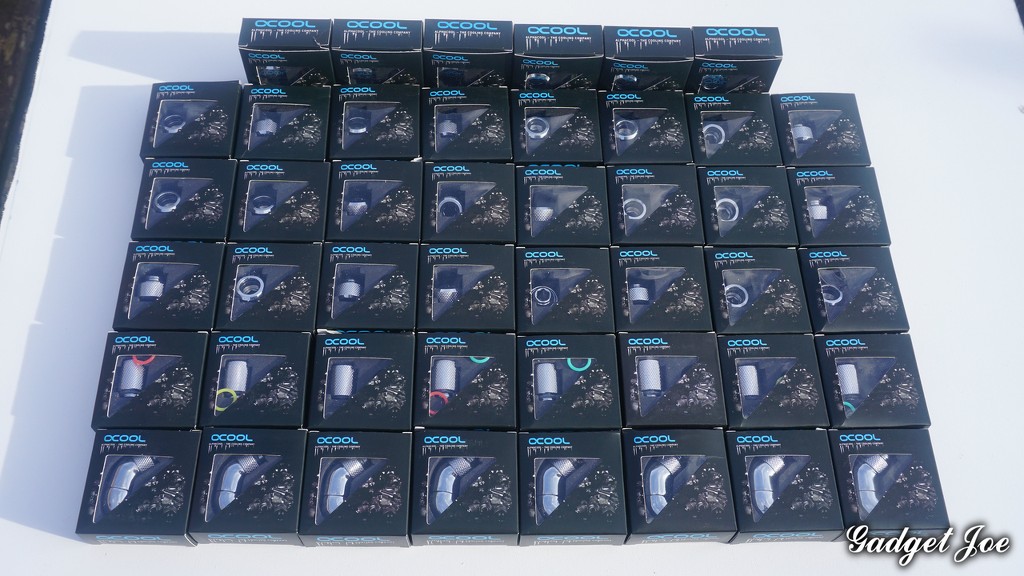
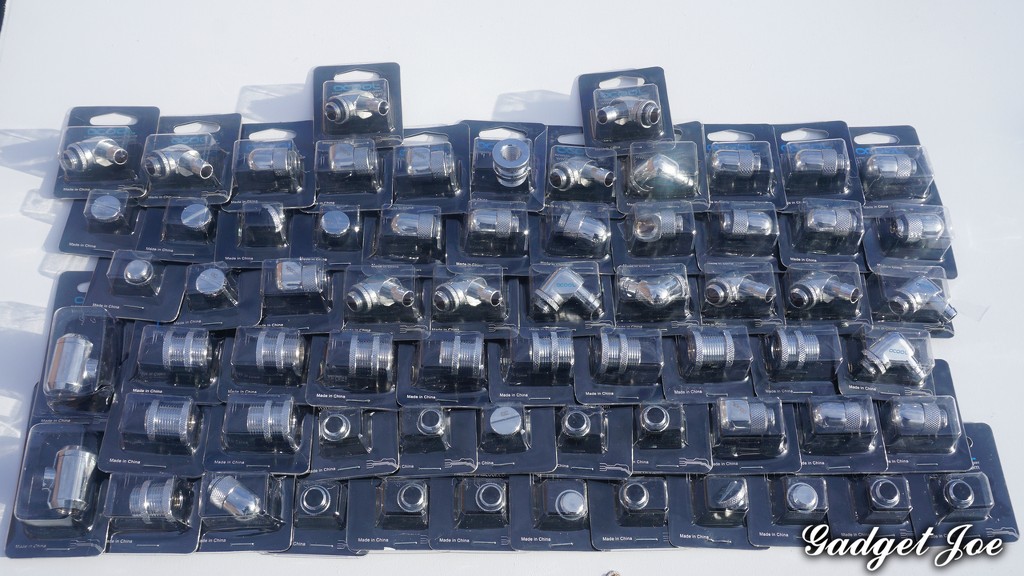
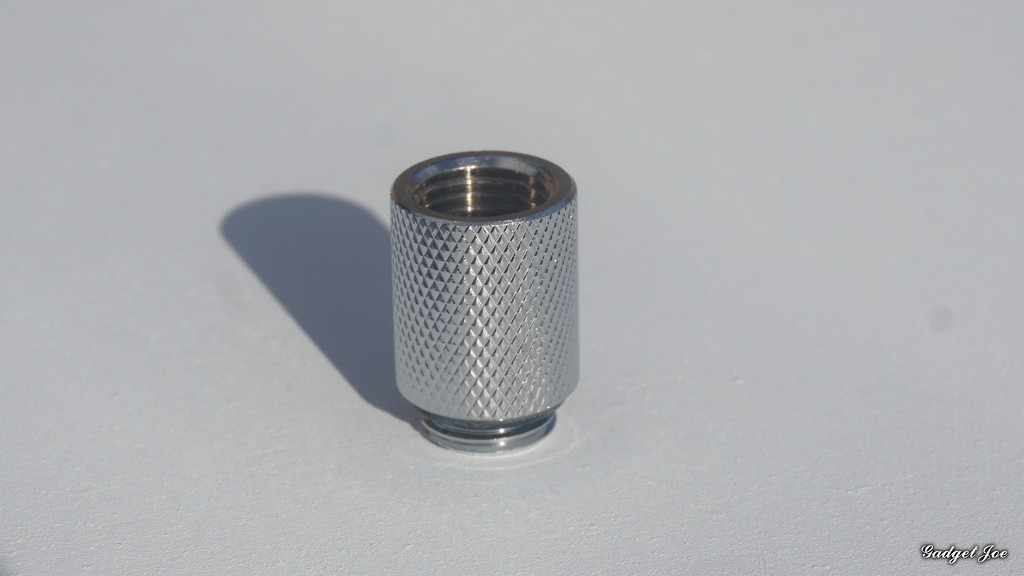
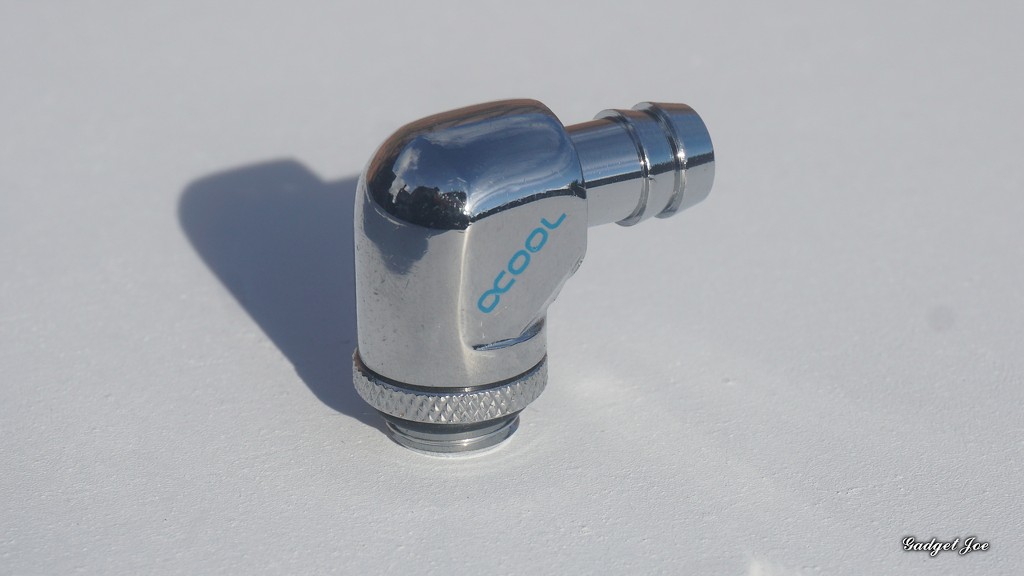
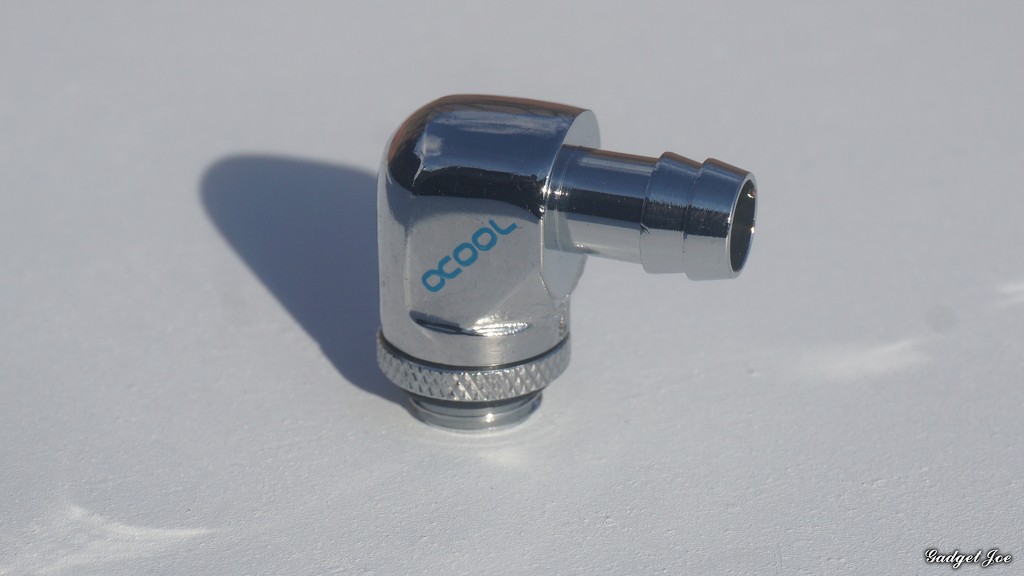
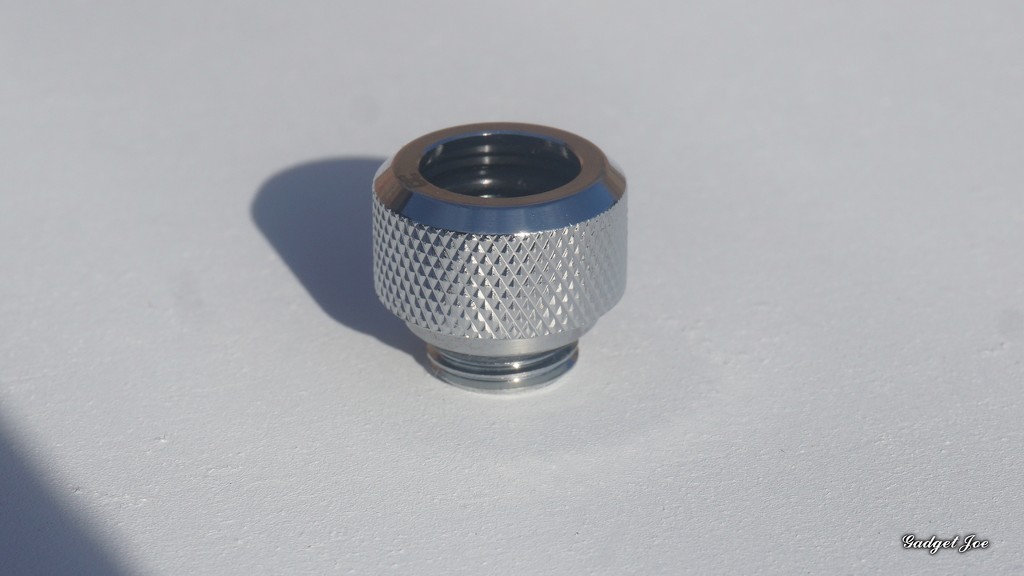
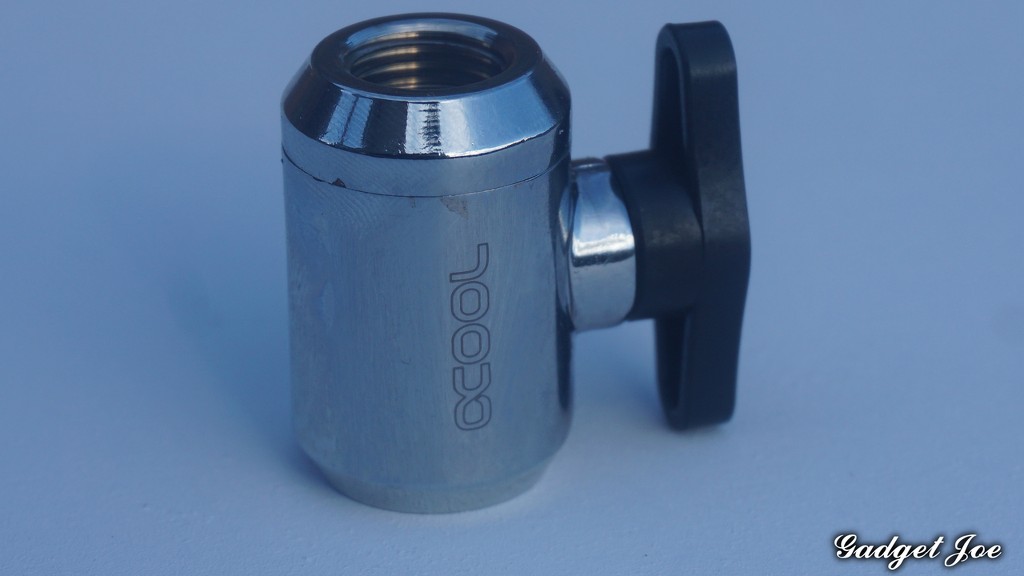
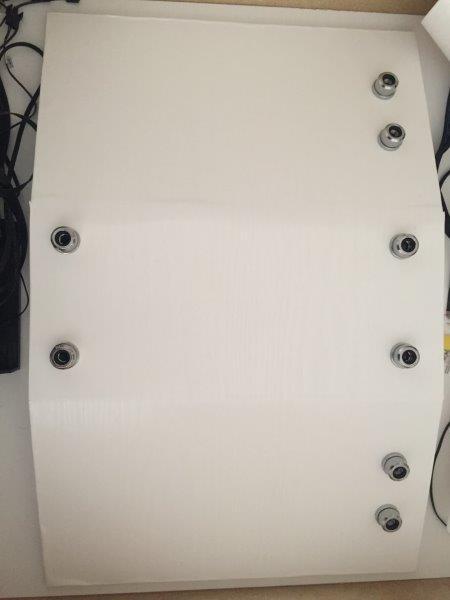
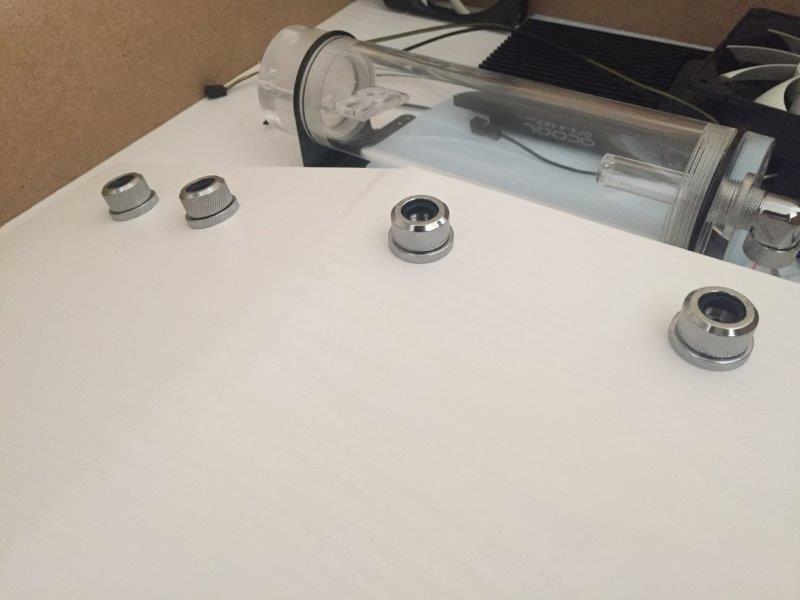
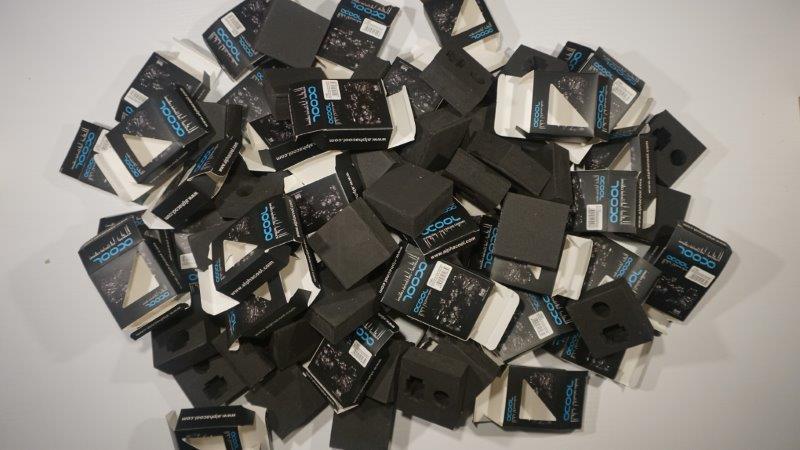
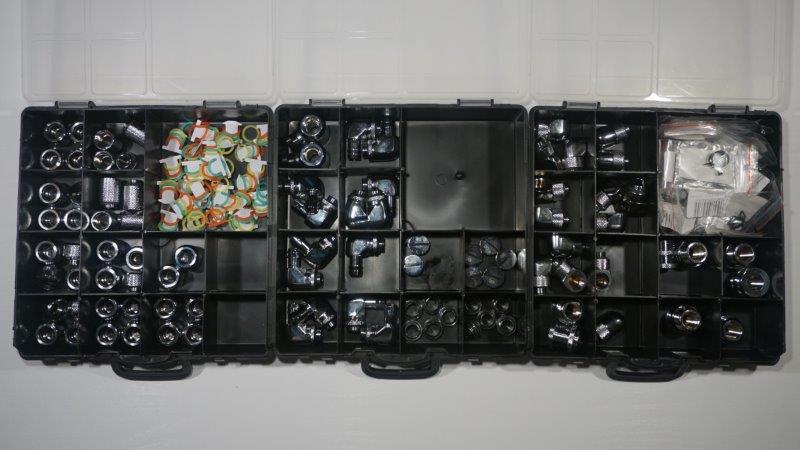
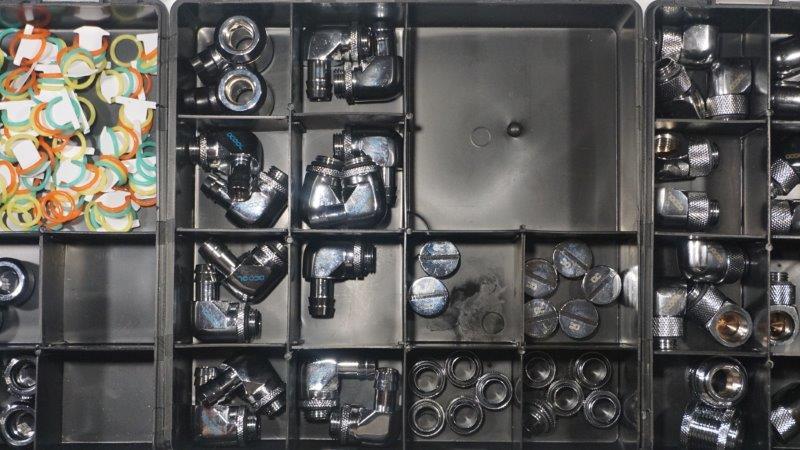
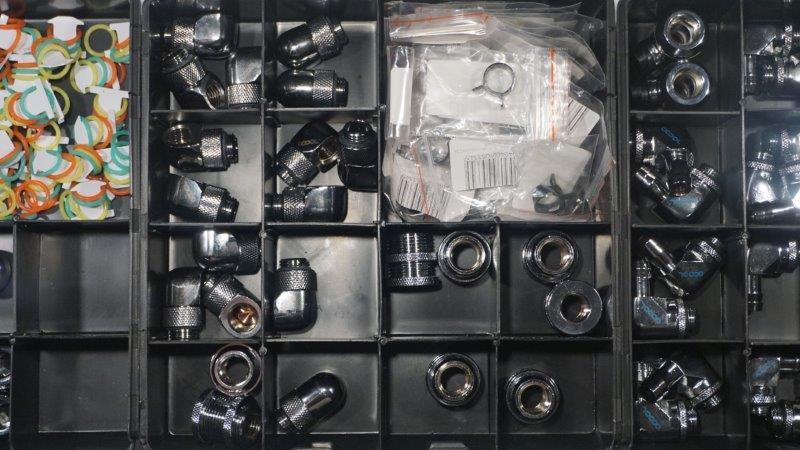
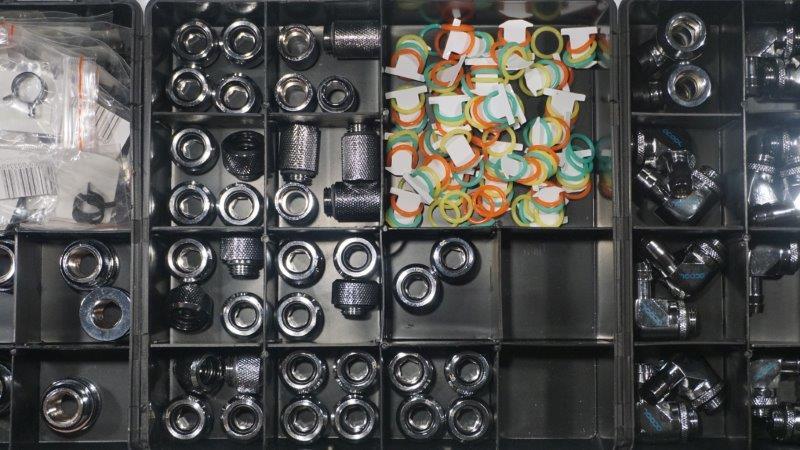
Multiple Alphacool chrome fittings
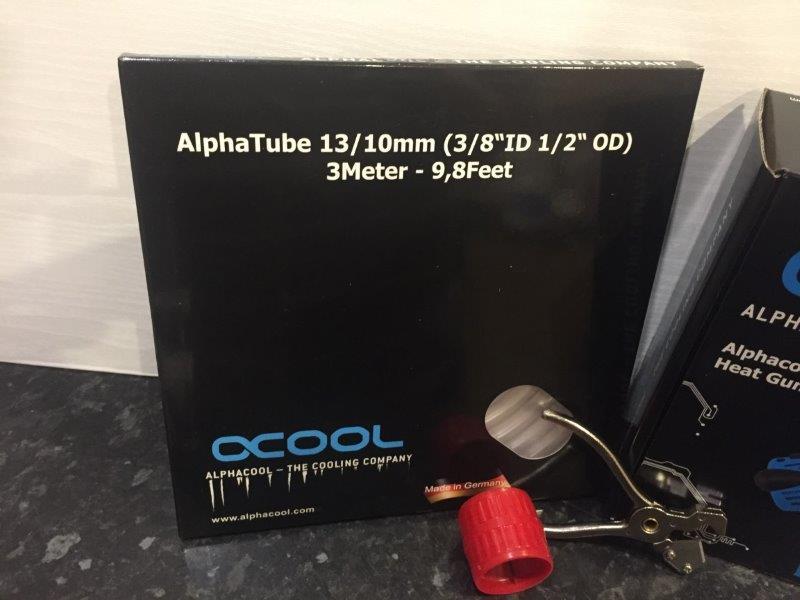
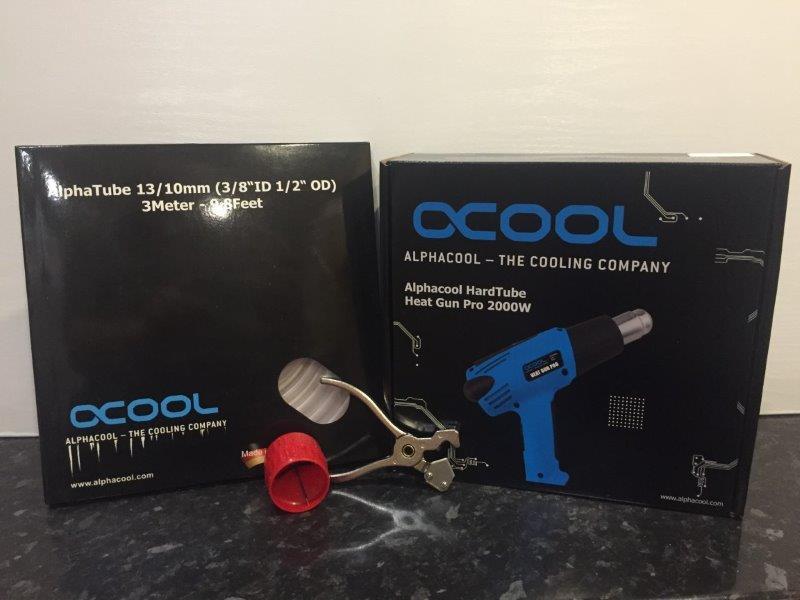
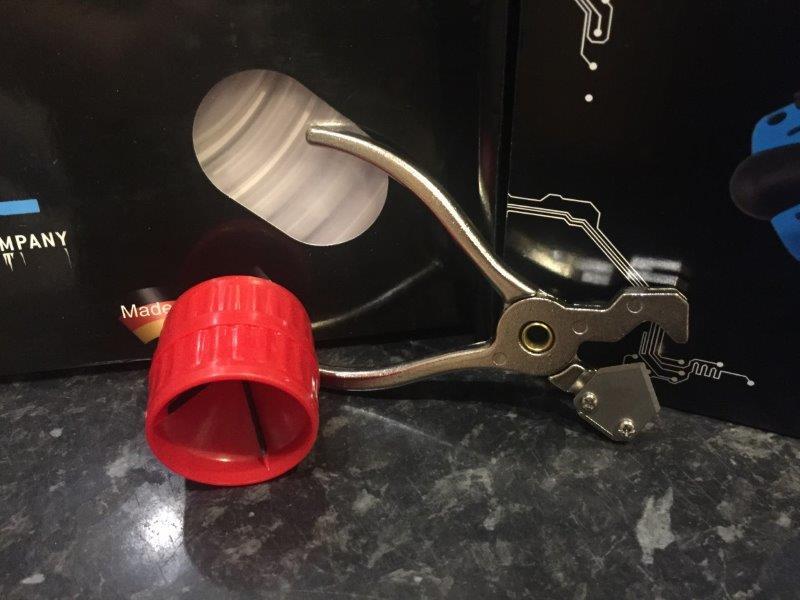
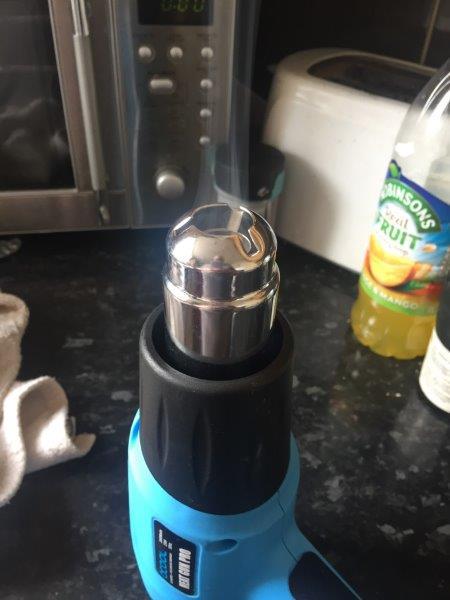
13/10 PETG and Soft tubing

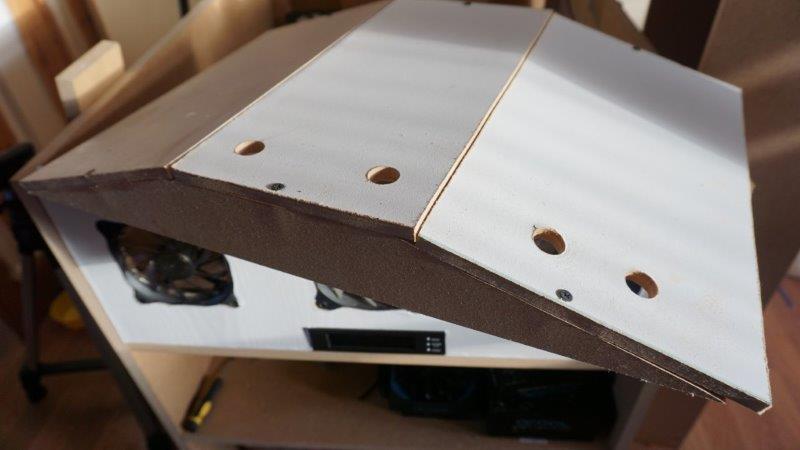
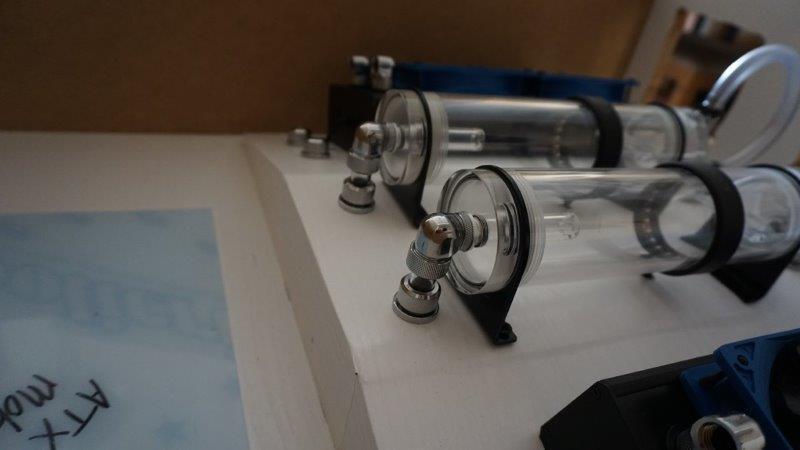
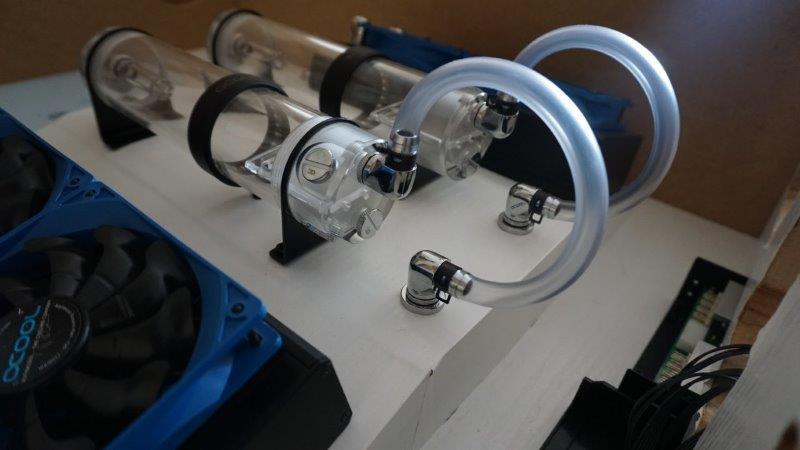
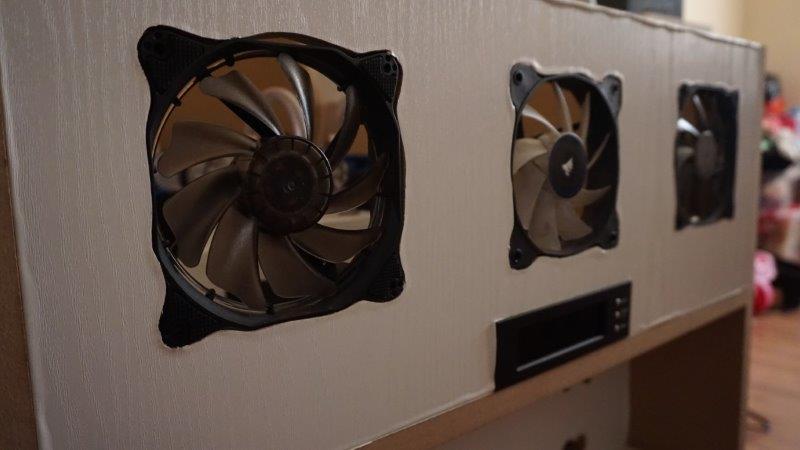
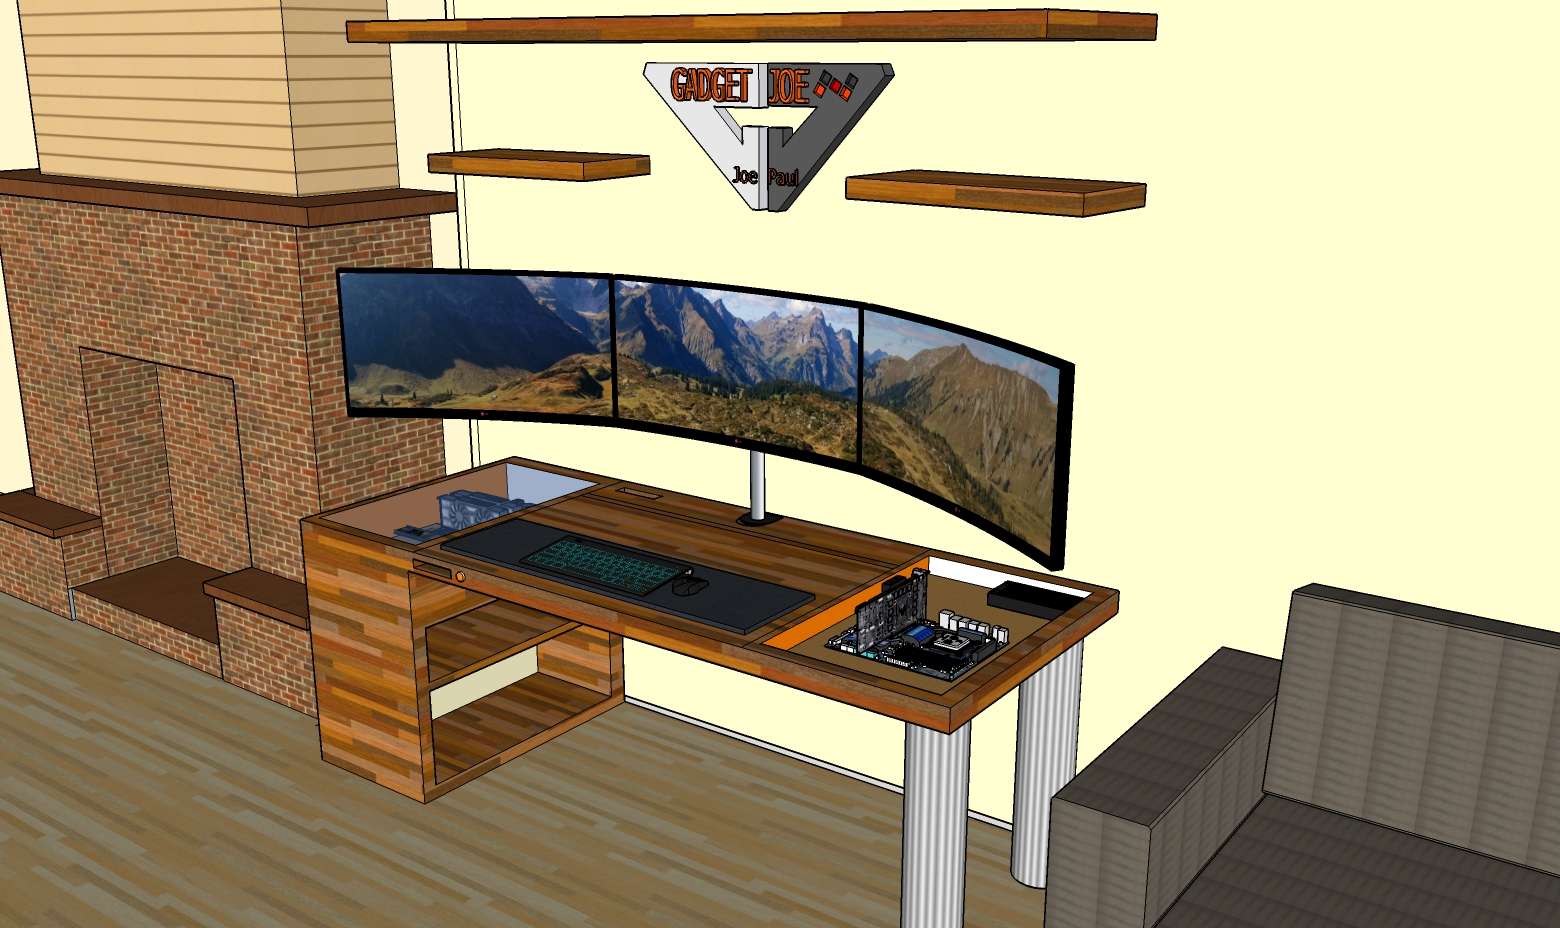
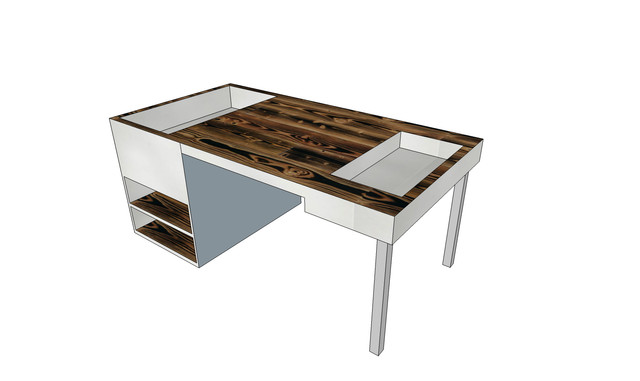
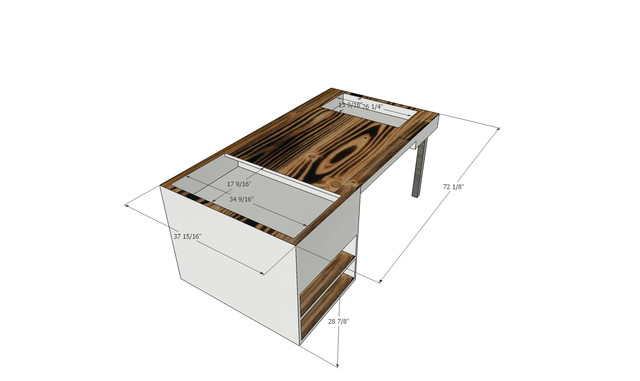
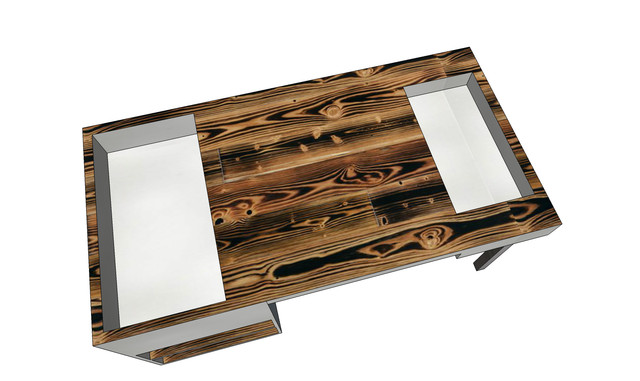
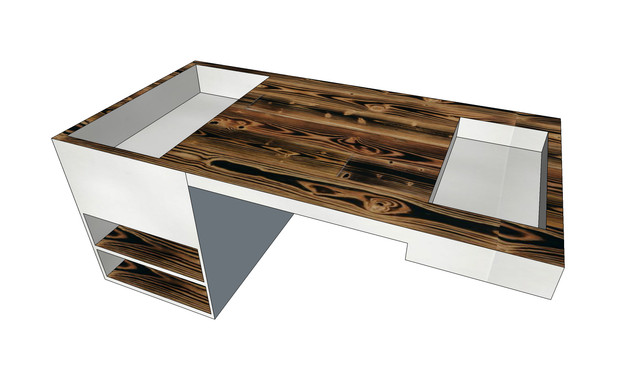
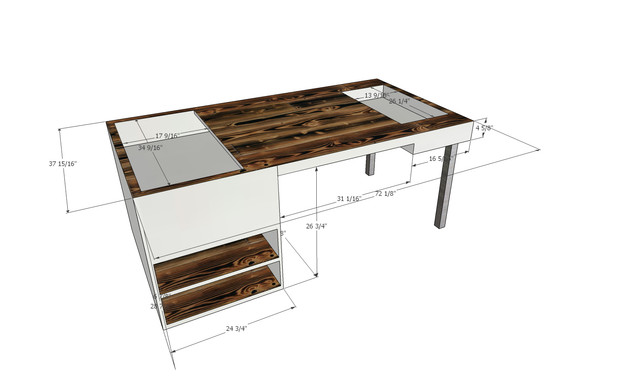
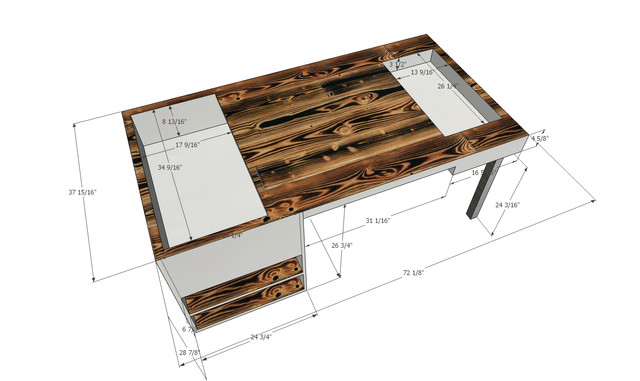
Alter-Ego is a 6ft long by 38" wide desk with main system built into a white gloss box that sits at 24"x32" sunk into left hand side housing main system with polished glass top, Test bench with AIO to the right of the desk in an 8" recessed white gloss box. Top is burnt and stained pine, rest is white with burnt pine accents and LED backlighting and RGB LED embedded around the build. Wall mounted triple monitor setup. Power switches from main to test bench with one button. 2x reservoirs with different shades of UV blue each powering GPU Block and CPU block respectively, Hard tubing on top, soft tubing in hidden void underneath.

Acrylic detailing, sheeting and Gadget Joe and sponsor logos embedded throughout desk courtesy of Admodz
Pine top, MDF treated Carcass, Chrome Legs, Acrylic panels, Safety glass and sealants.
Main system will be white, blues and blacks. Test bench will be red, purple, black, orange.

Sponsors Links:
Alphacool

www.alphacool.com


Gadget Joe channel Link: www.youtube.com/c/gadgetjoe

Part 1 - Alter-Ego build on YouTube: https://www.youtube.com/watch?v=2myavu7GdHc&t=2s

Special thanks to Admodz and Jo (BJPC) for continued support.

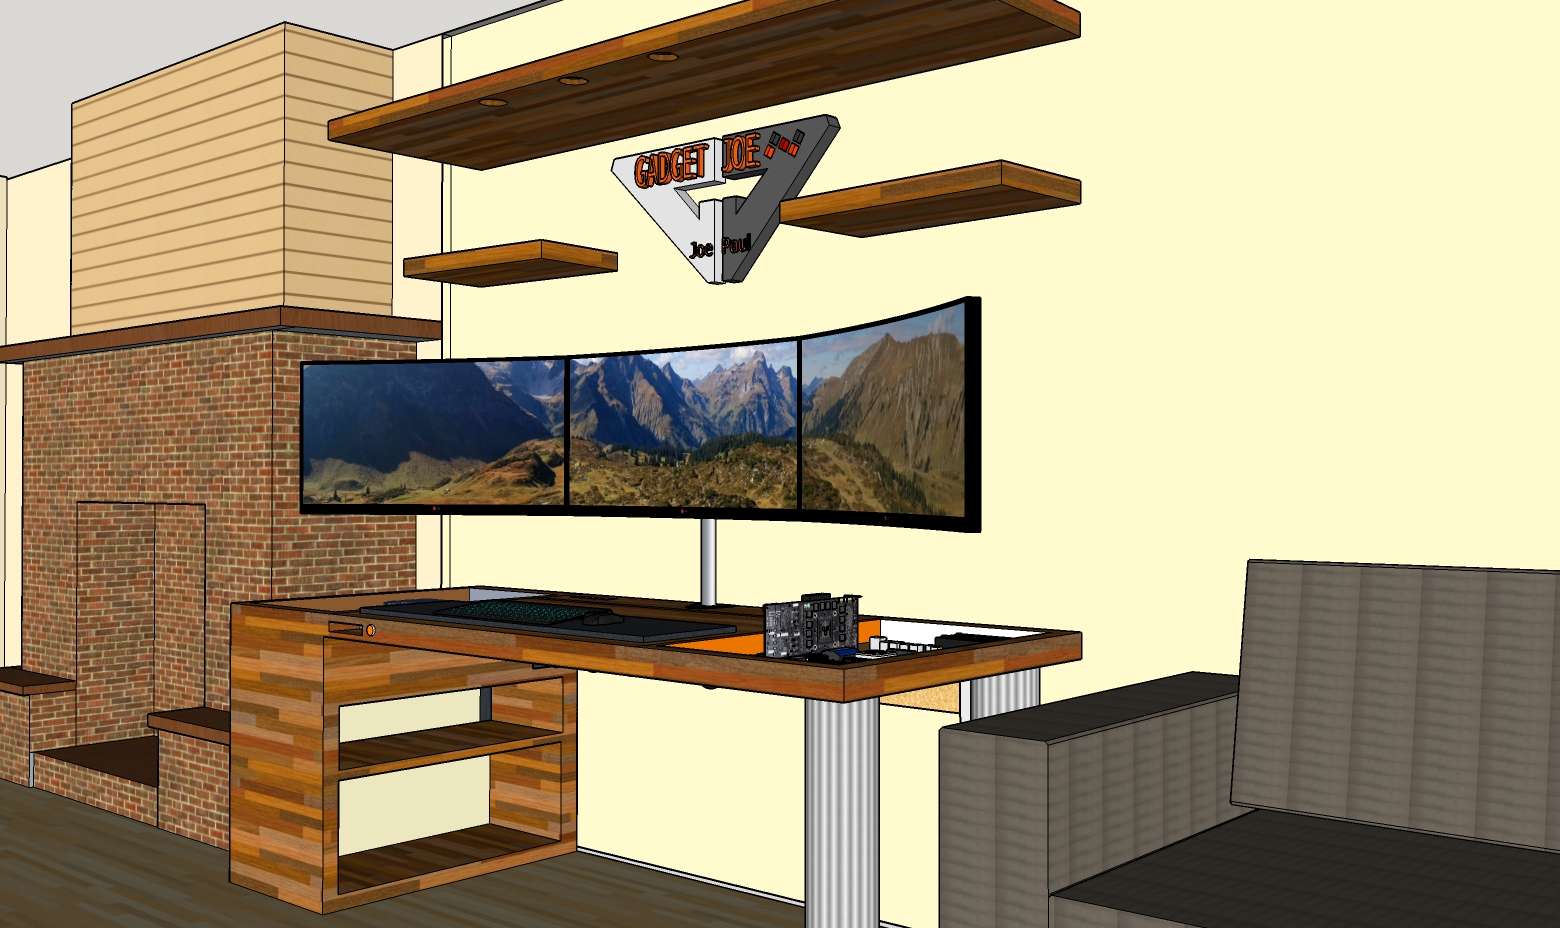
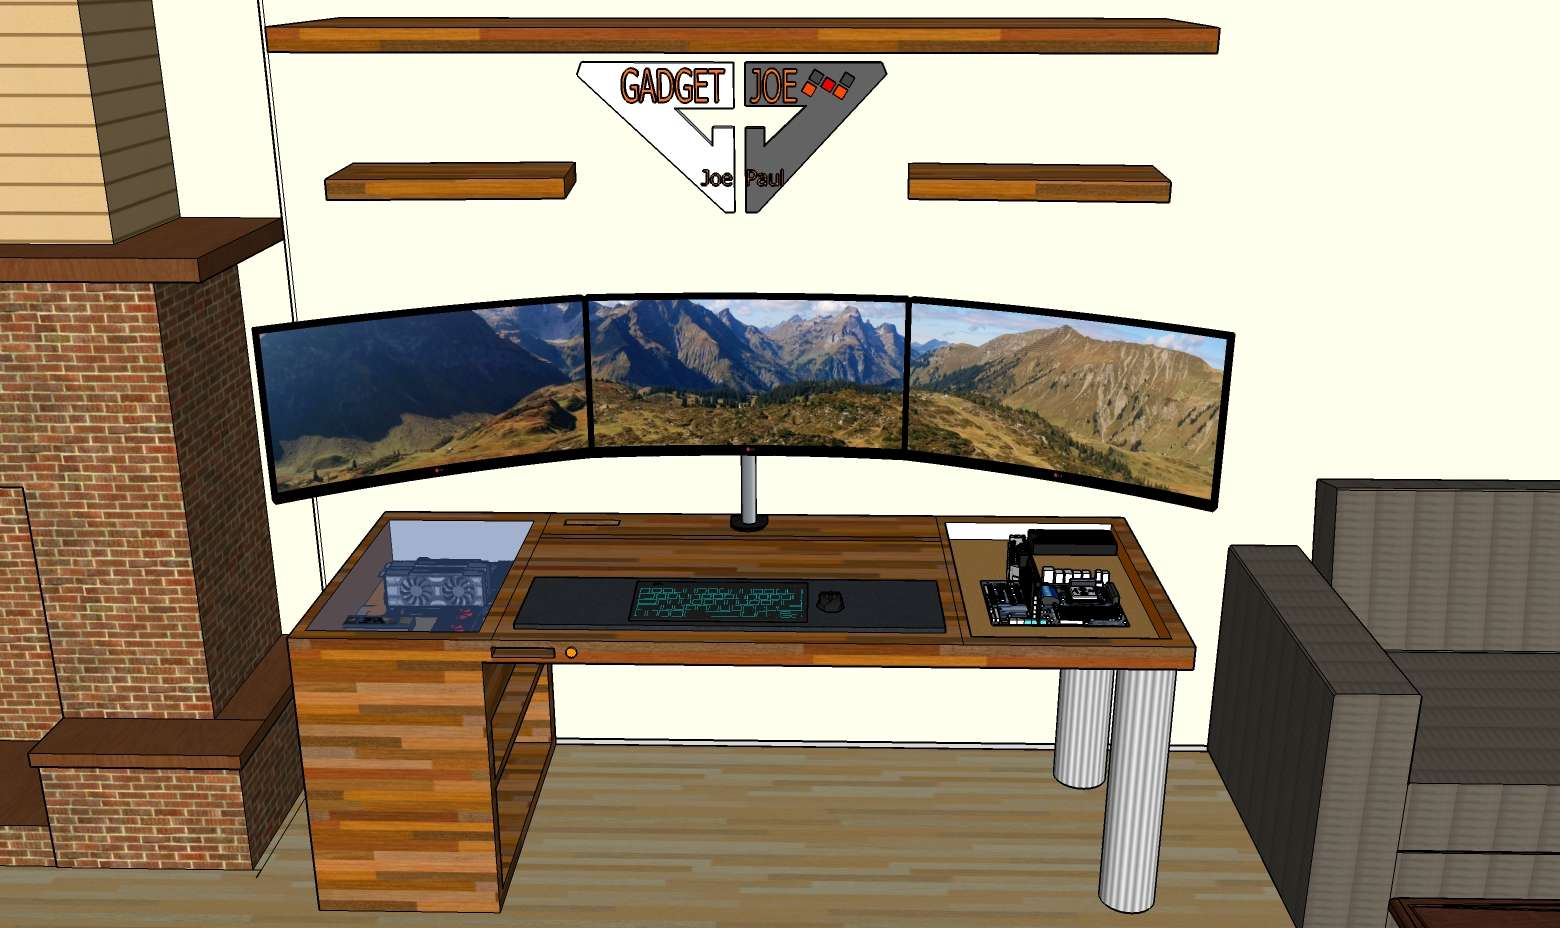
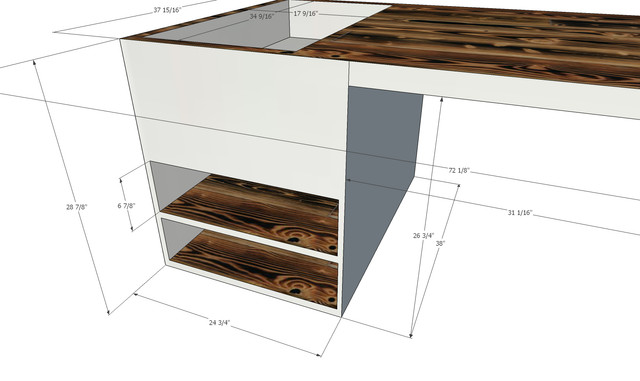
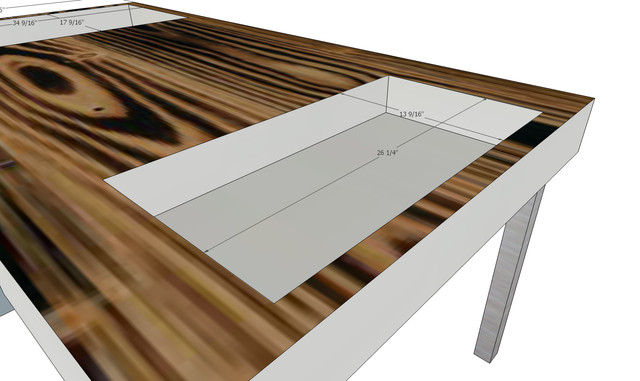
Original renders of desk:

oHSj1b.jpg

PYrysx.jpg

F5Ylwp.jpg

YIeEnY.jpg

qY4mp6.jpg

NiuUly.jpg


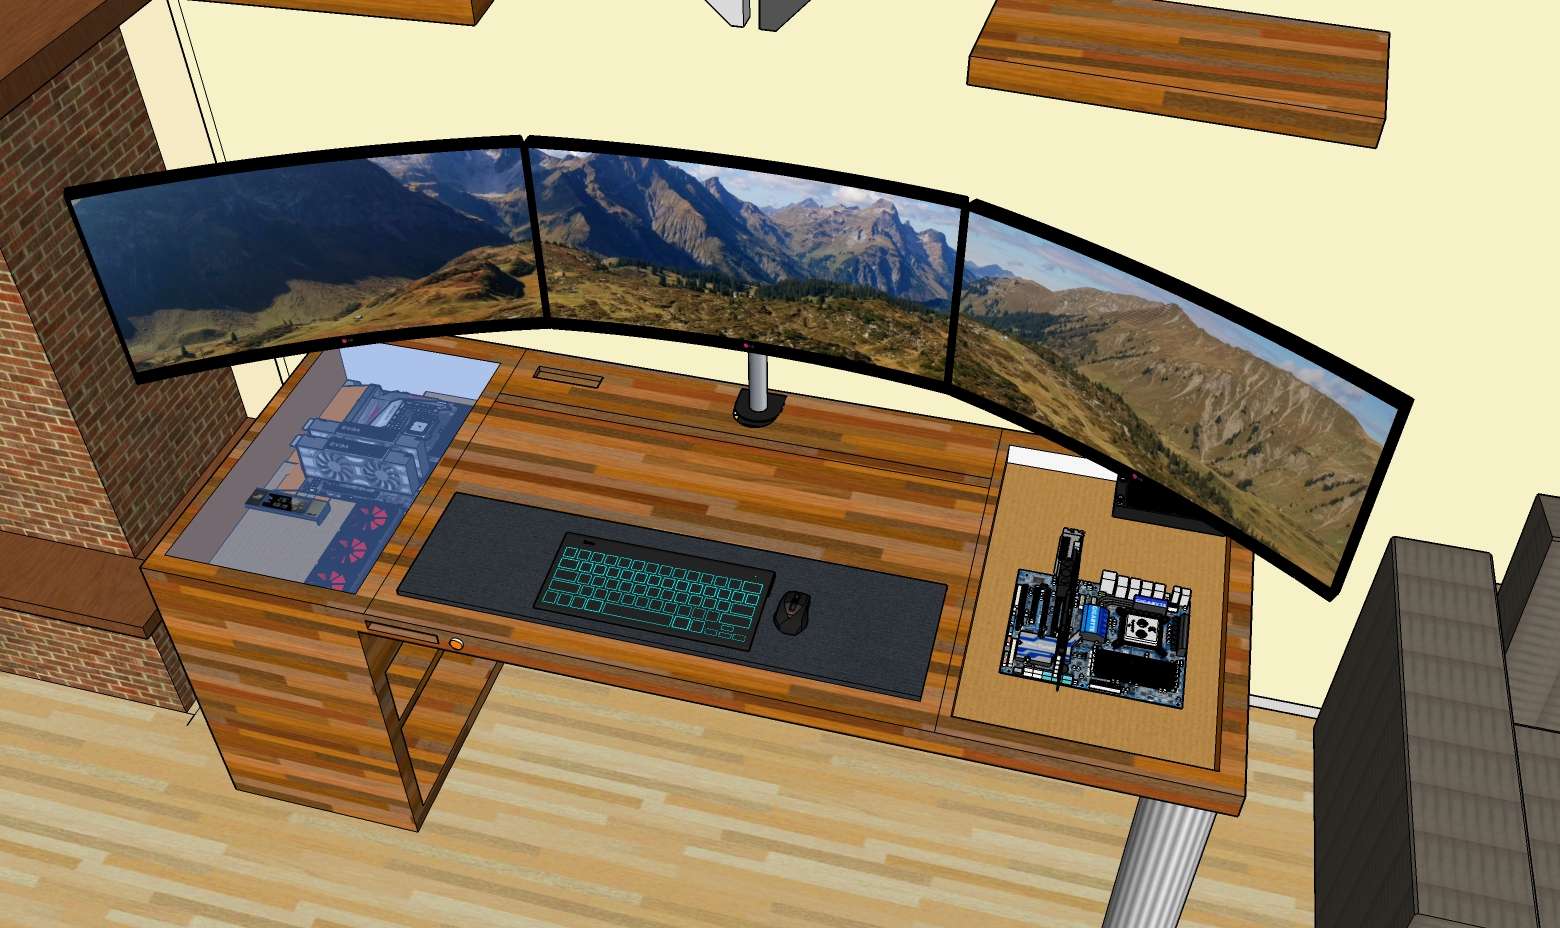
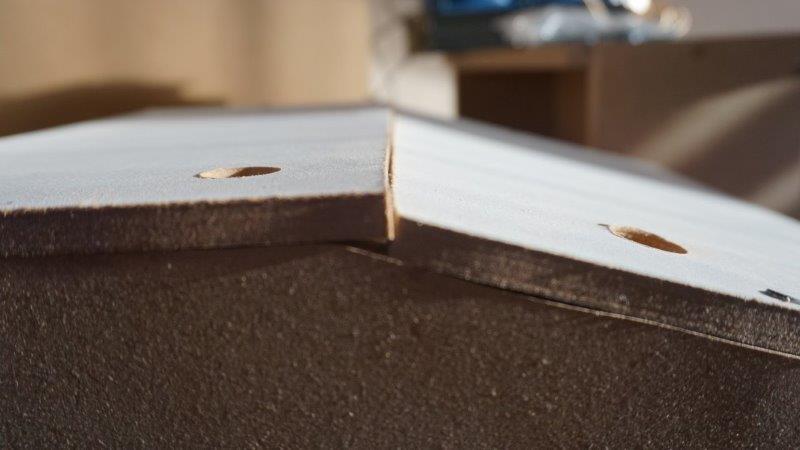
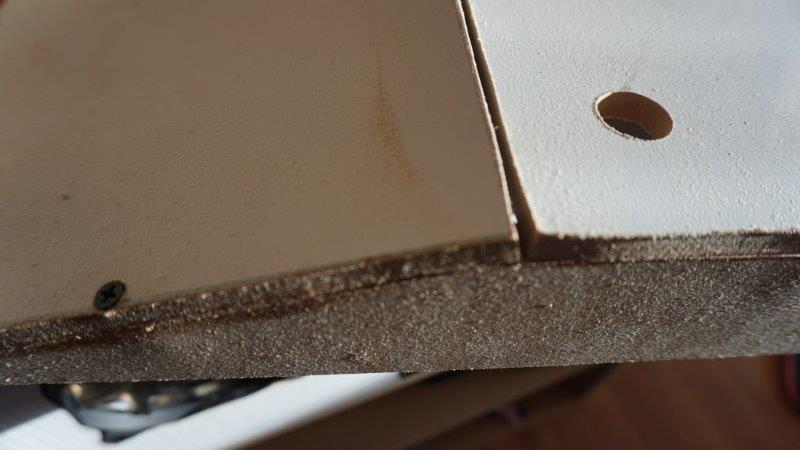
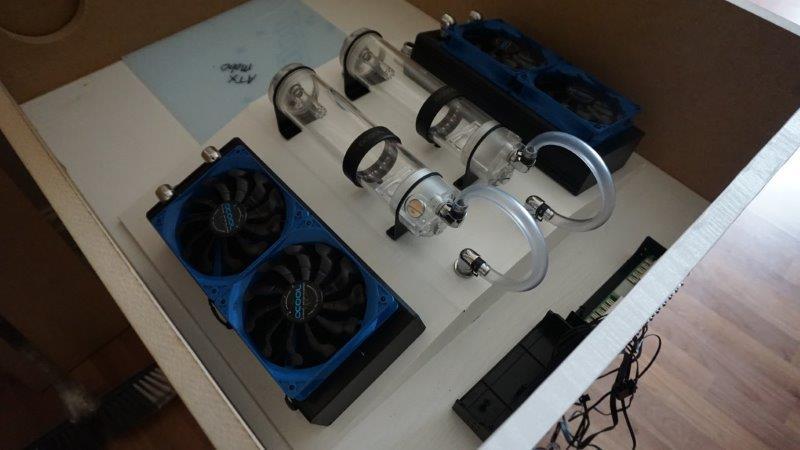
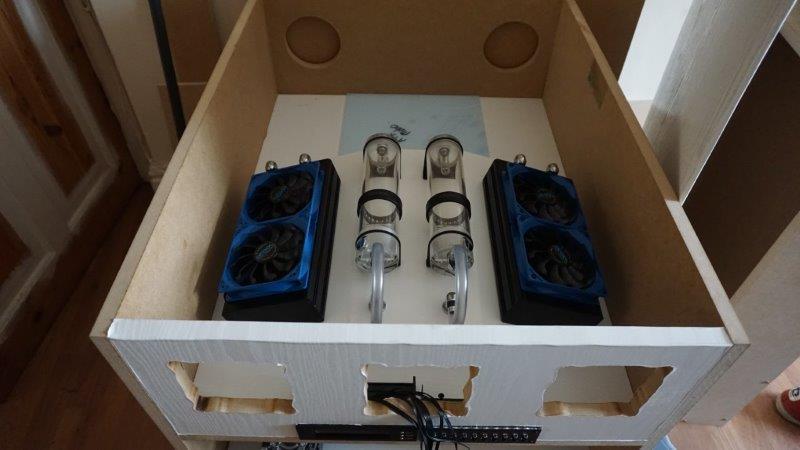
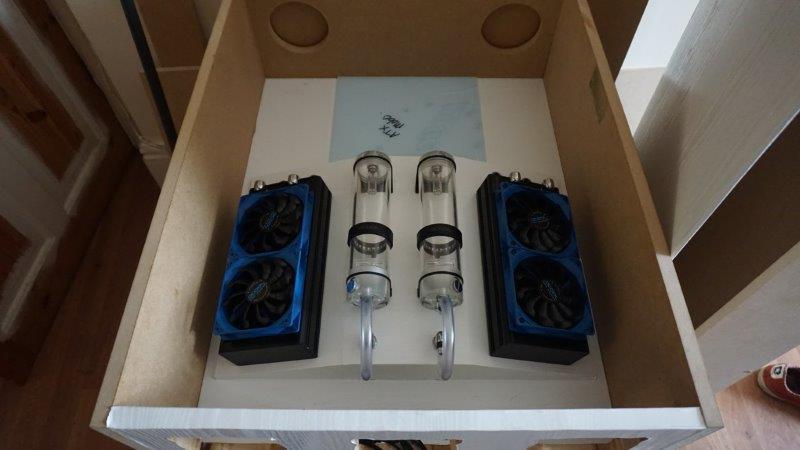
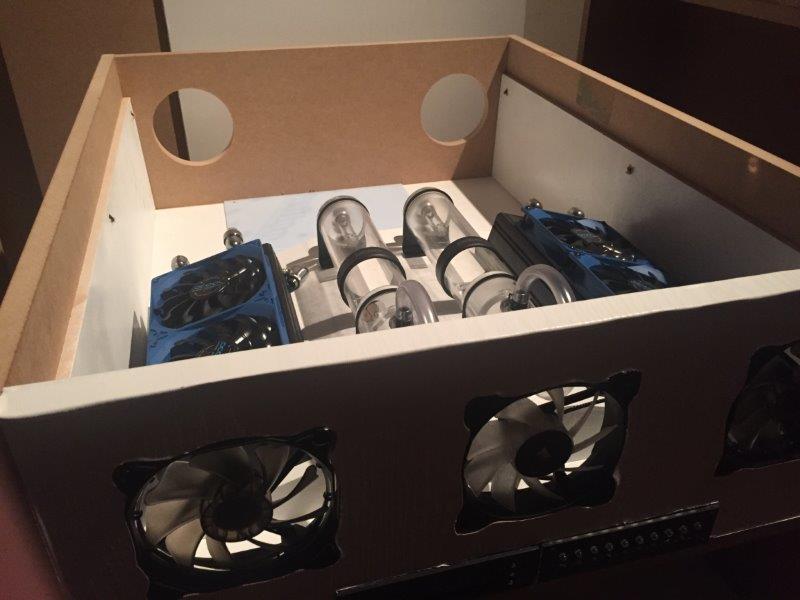
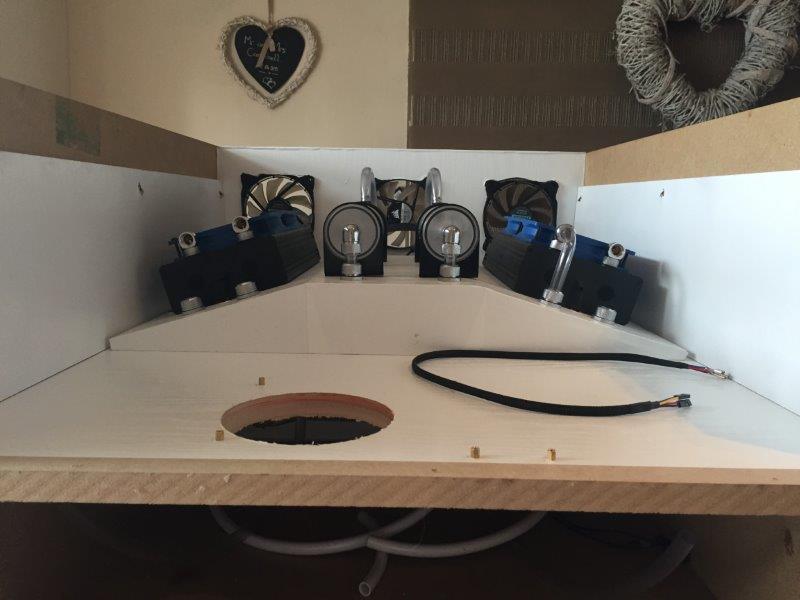
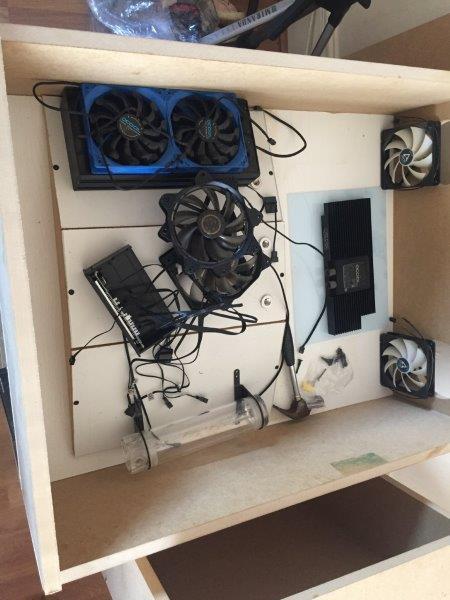
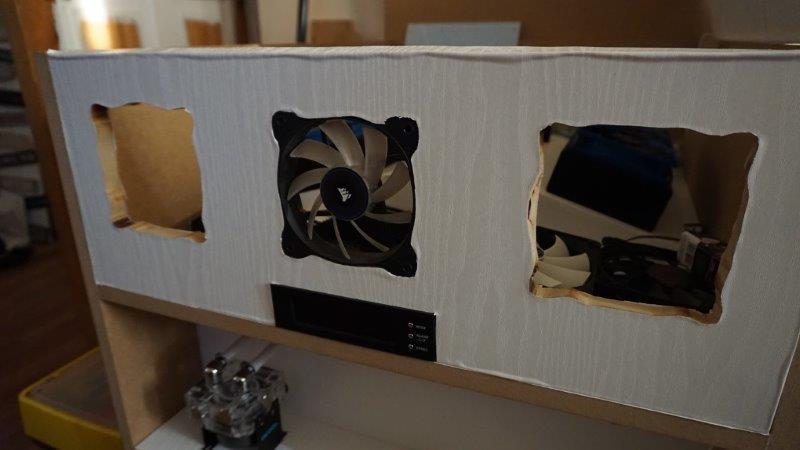
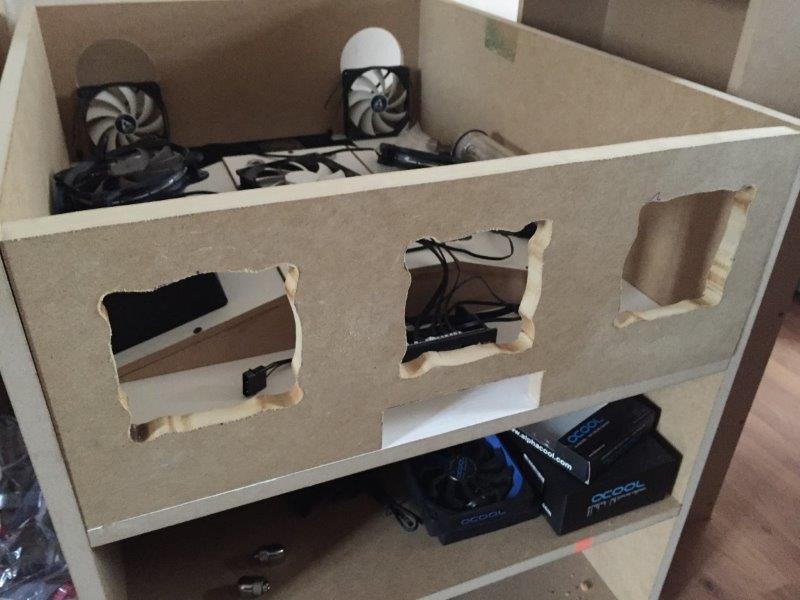
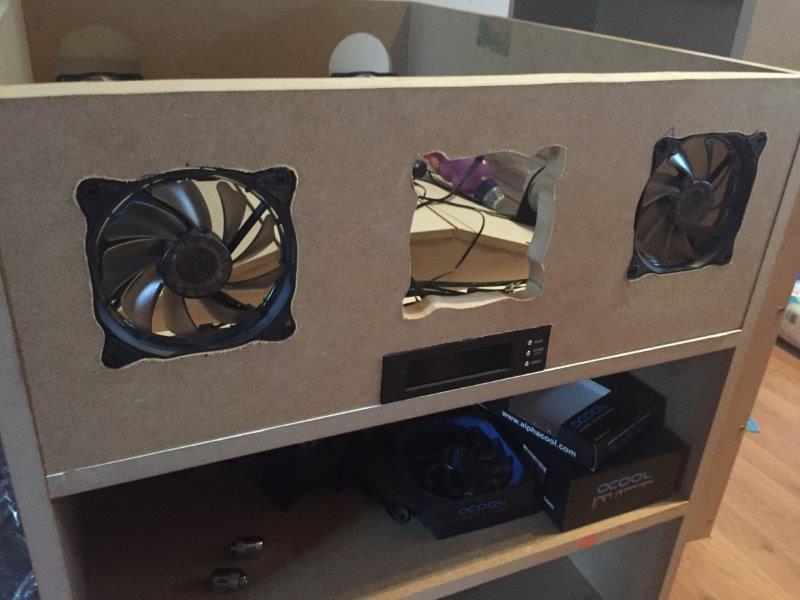
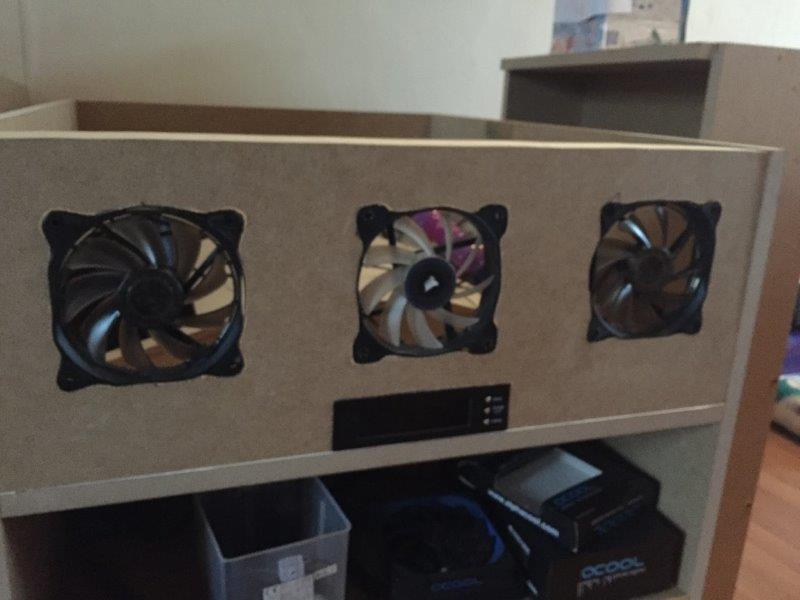
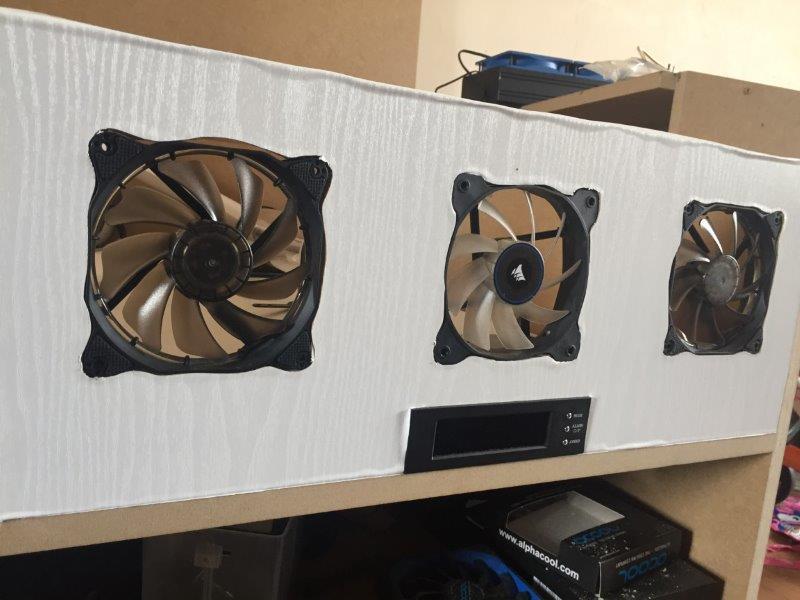
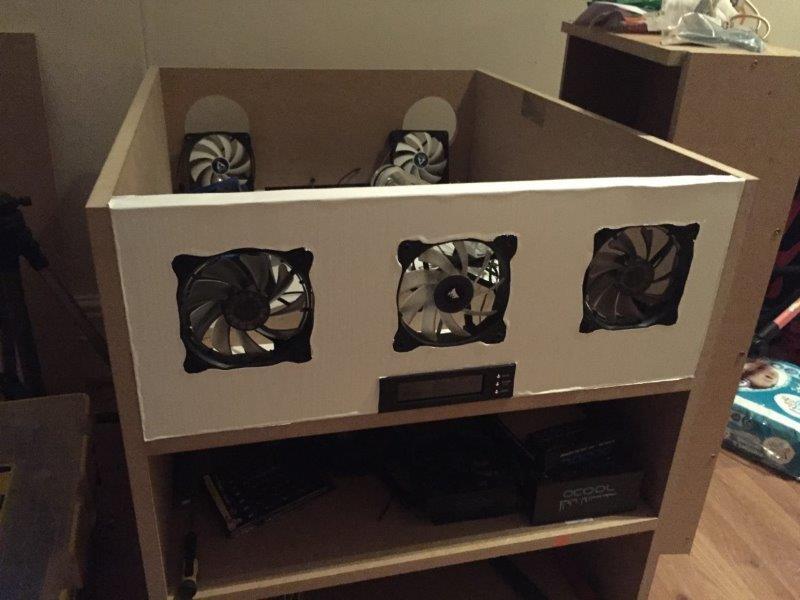
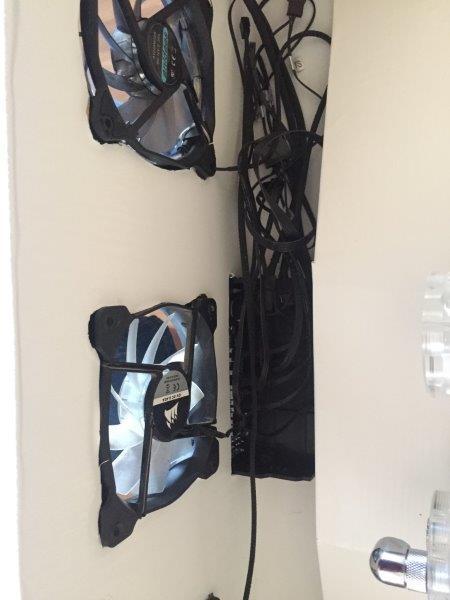
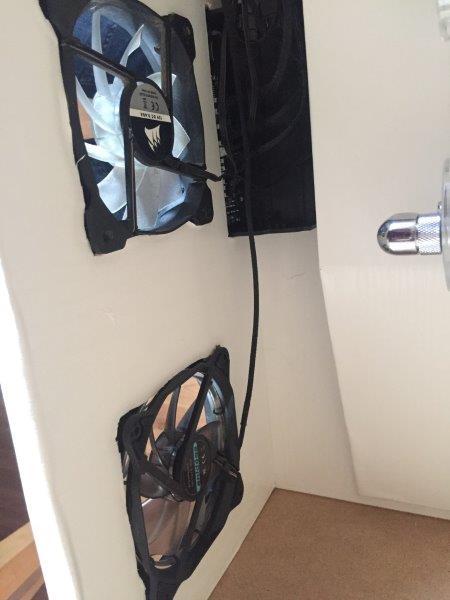
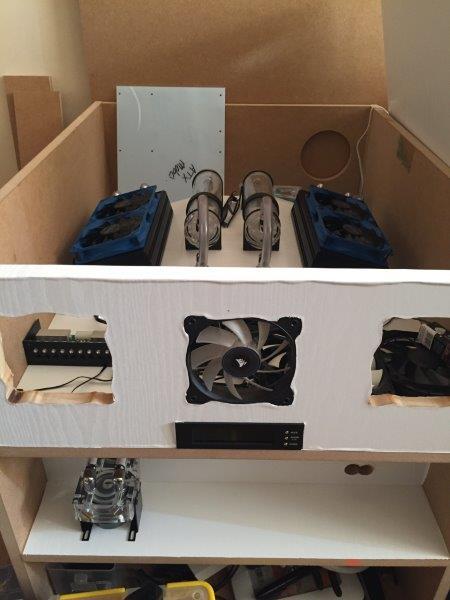
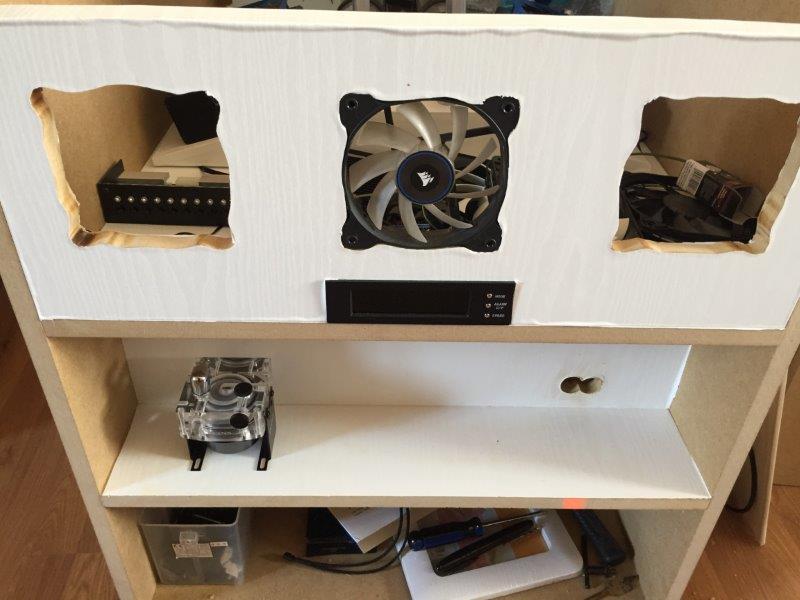
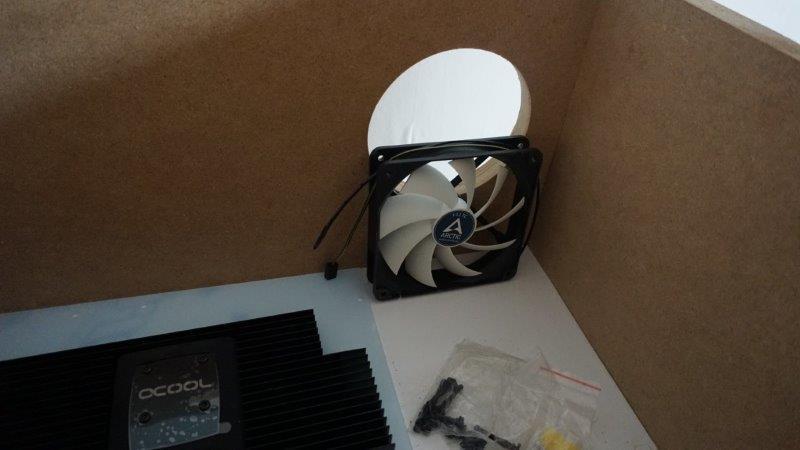
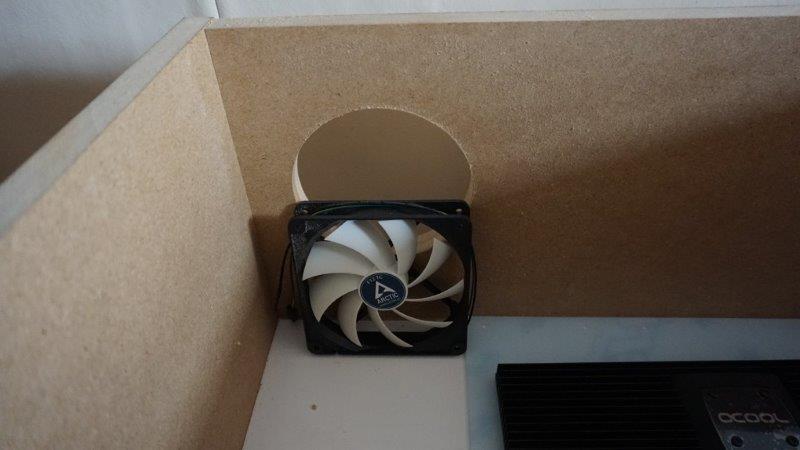
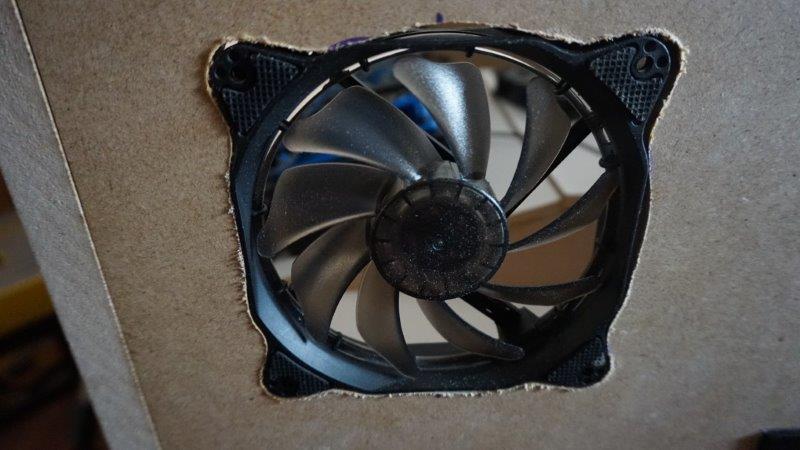
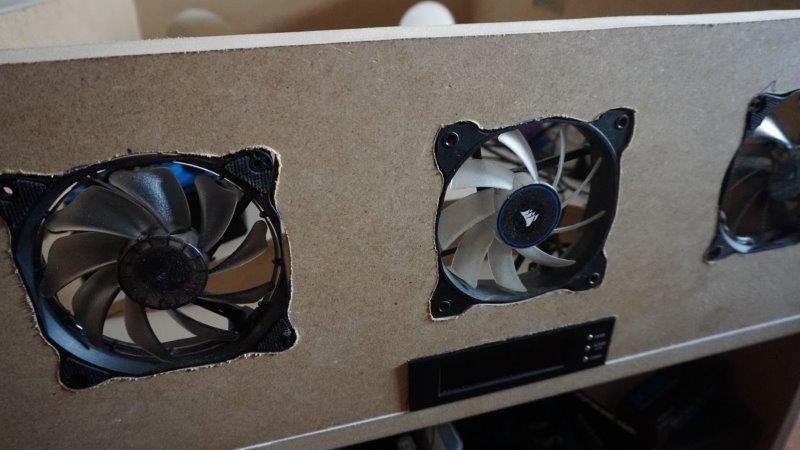
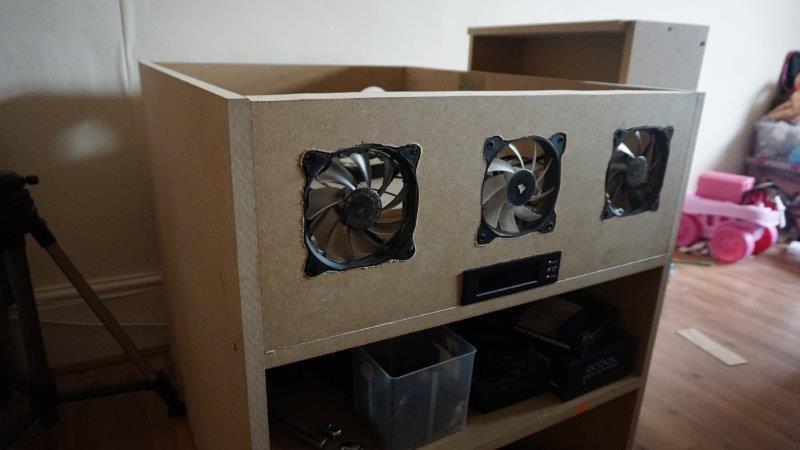
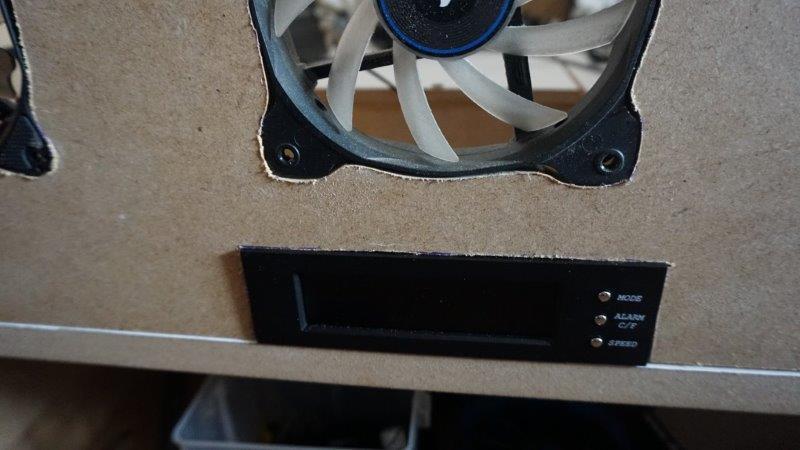
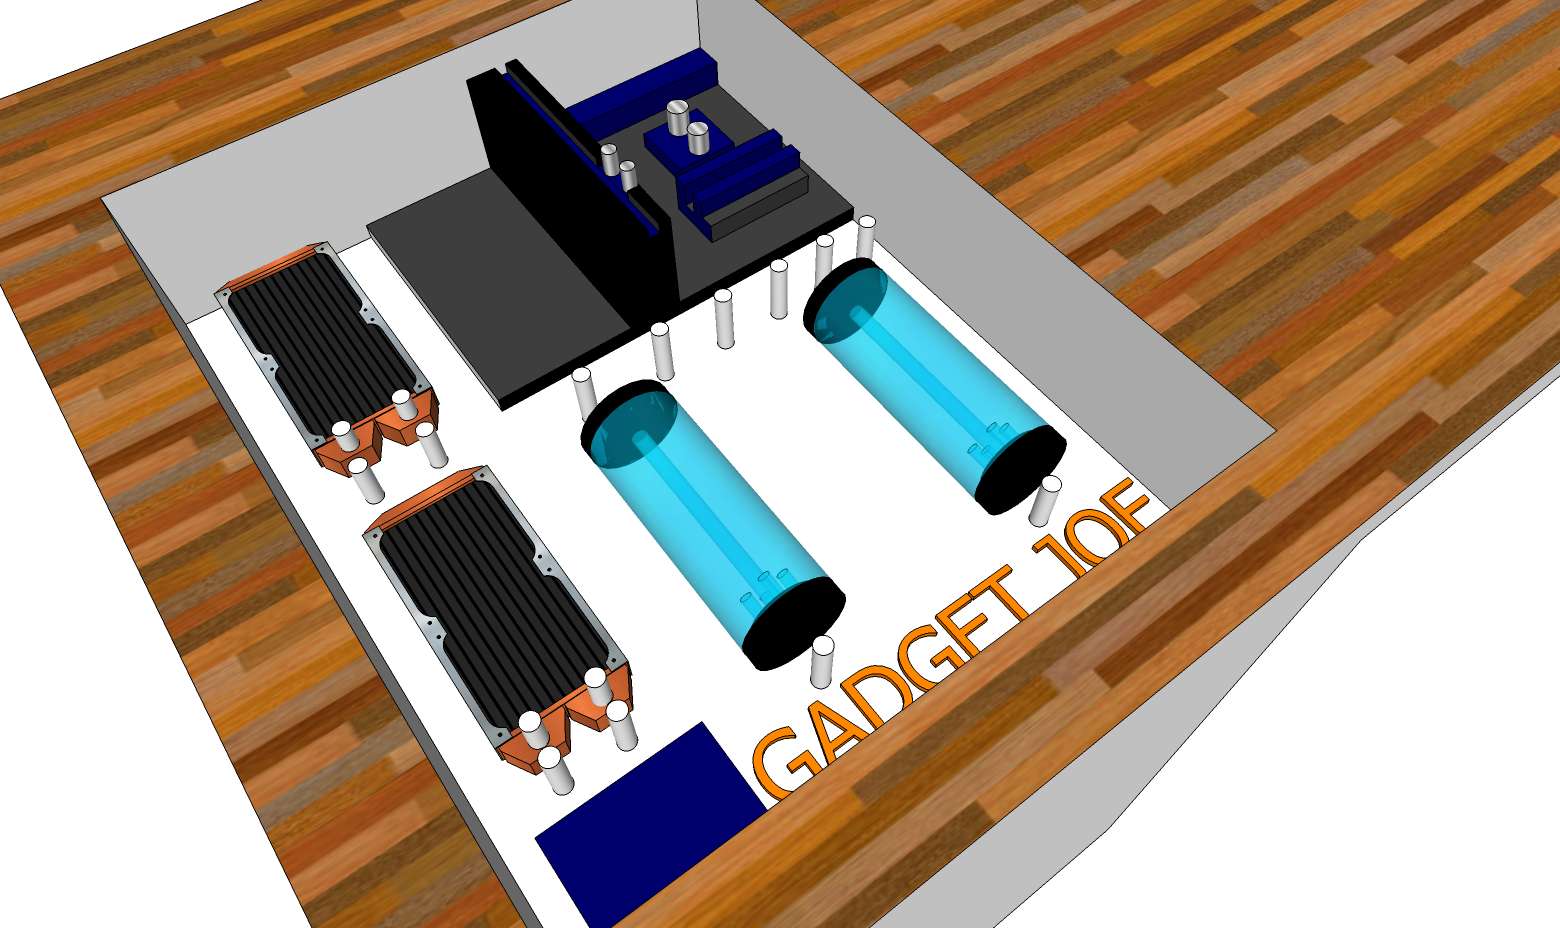
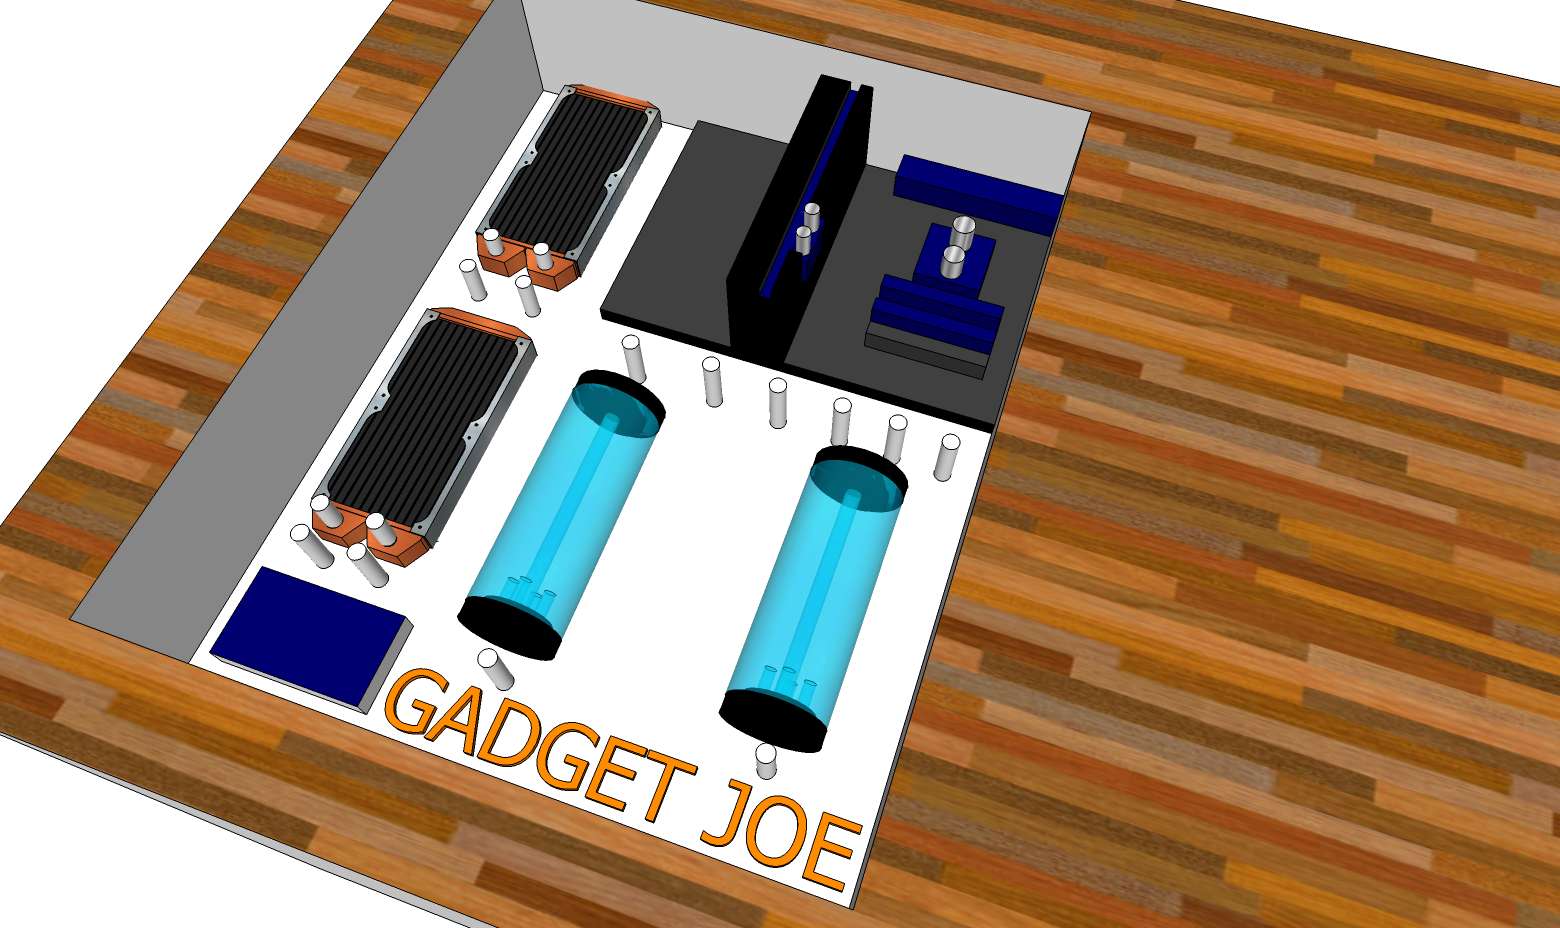
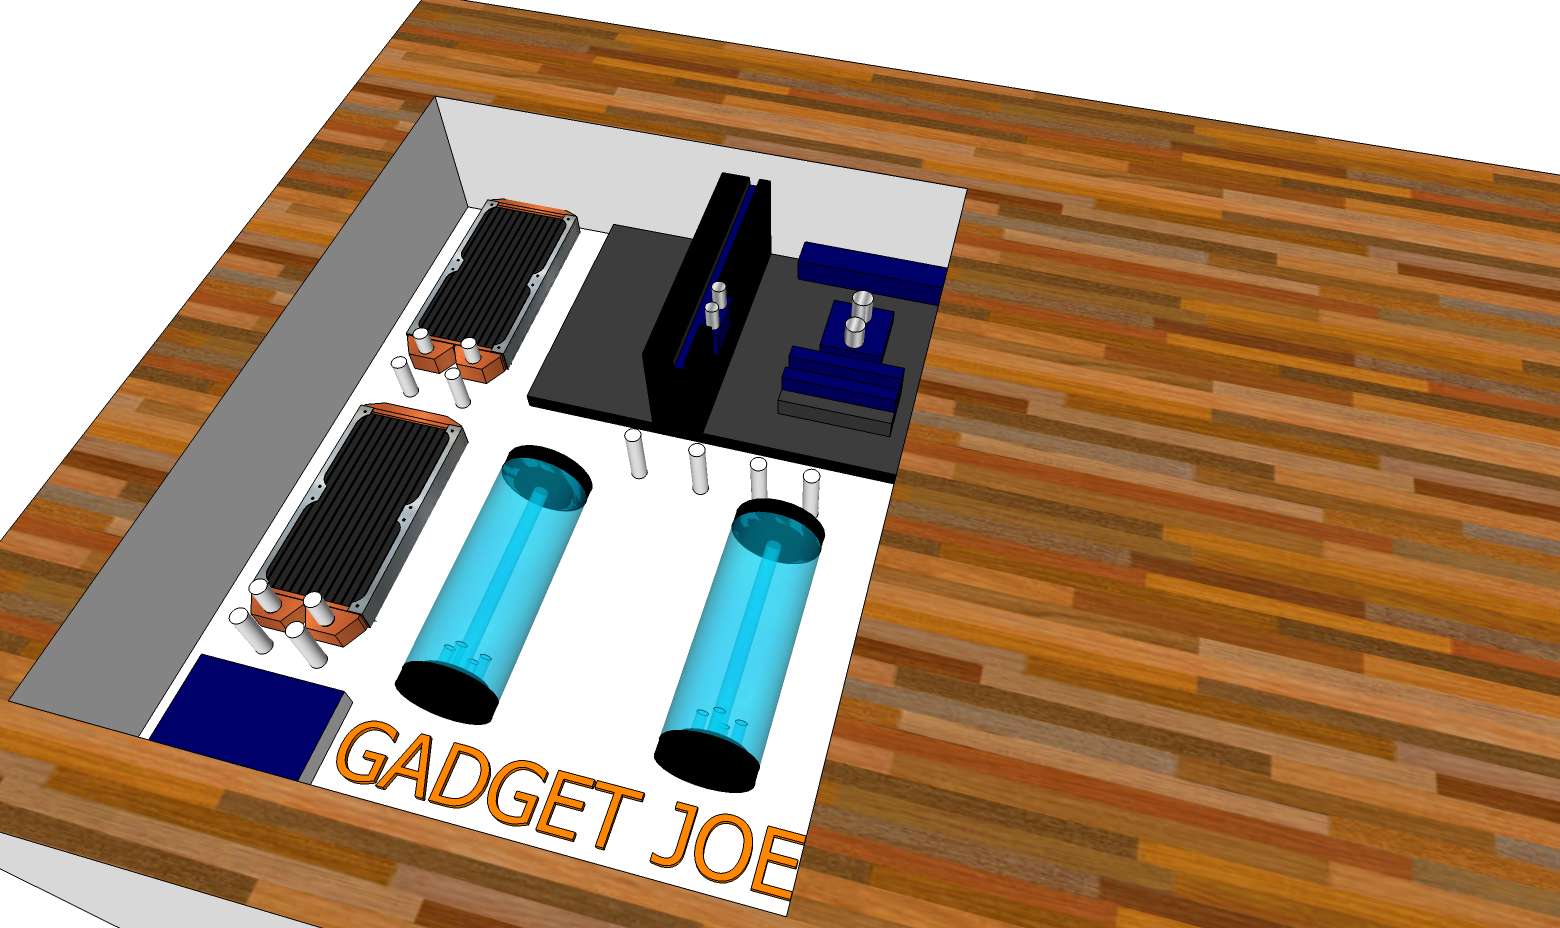
Mock up of Main system "box" layout

0Py7W2.png

n4kQf7.png

vwBvQQ.png
 
Last edited by a moderator:
Associate
OP
Joined
9 Feb 2017
Posts
19
Location
Grimsby, UK
Updated Sketchup files with a rough representation of the final appearance and measurements of the desk itself, Parts from aqua-tuning and alphacool are due to be delivered so will be updating pictures accordingly as they arrive and when work starts on the desk build!

h92pPg.png
OzIUpd.png

g3uz6F.png
UfWarG.png

beQISl.png
EWKofy.png

iSafJe.png
MKS8WX.png
 
Associate
Joined
16 Oct 2016
Posts
131
Updated Sketchup files with a rough representation of the final appearance and measurements of the desk itself, Parts from aqua-tuning and alphacool are due to be delivered so will be updating pictures accordingly as they arrive and when work starts on the desk build!

h92pPg.png
OzIUpd.png

g3uz6F.png
UfWarG.png

beQISl.png
EWKofy.png

iSafJe.png
MKS8WX.png

Very nice dude.mod on
 
Associate
Joined
22 Nov 2015
Posts
997
Location
Wales
Fair play, seen loads of desk builds but never one with a test bench! Can't wait to see how this one turns out but the renders look epic, nice work :)
 
Associate
OP
Joined
9 Feb 2017
Posts
19
Location
Grimsby, UK
Fair play, seen loads of desk builds but never one with a test bench! Can't wait to see how this one turns out but the renders look epic, nice work :)

Thank You! That was exactly my thought, with the sort of work ill be doing with it, it would make sense to incorporate a test bench amongst my normal daily workhorse system. This will stop me having to find more space to setup the test bench each time I need to use it, the renders are still pretty raw as ive not long learnt how to use SketchUp!
 
Associate
OP
Joined
9 Feb 2017
Posts
19
Location
Grimsby, UK
New updated pictures of the watercooling components sent over by Alphacool and Aquatuning! The chrome components really are stunning!
Including XPX Chrome CPU Block
Alphacool Eisbrecher Pro XT45 240mm Full Copper x2
Alphacool Eispumpe- VPP755 x2
Alphacool RX480 Gpu Block and Backplate
Alphacool Eisbecher Lite 250mm Plexi Res x2
Alphacool Susurro Fan 1700rpm Black/Blue edition x4
Alphacool Eisdecke D5-Plexi x2
A whole Plethora of Alphacool fittings and fixings with brackets
13/10mm PETG 80cm x16
and much more

rfiBgz.jpg
wGwvpp.jpg
Dprg9z.jpg
RcRhFK.jpg
Z1FQ7I.jpg
6dsEd5.jpg
kHuty5.jpg
yKvra7.jpg
z2AW6Y.jpg
W1gTkN.jpg
z2AW6Y.jpg
bCH35J.jpg
T4NF5I.jpg
X4Oth6.jpg
rsPVJ9.jpg
4CHZgu.jpg
URJcLS.jpg
tYW3aP.jpg
DHKxRE.jpg
LUZUN0.jpg
zyd9e9.jpg
eFPsKF.jpg
xqwBIr.jpg
b1cL7J.jpg
uazCh0.jpg
GzLjVH.jpg
NVzcTk.jpg
Nz5twL.jpg
hJucaW.jpg
y5oPaS.jpg
zHYKuQ.jpg
xc9EHk.jpg
5yyApv.jpg
hlabhs.jpg
muIaZj.jpg
CiTRCr.jpg
MHYEx9.jpg
zmouJi.jpg
CN5waL.jpg
h6hGbg.jpg
5LWb7P.jpg
5LWb7P.jpg
 
Associate
OP
Joined
9 Feb 2017
Posts
19
Location
Grimsby, UK
Well.... Its been a while but the ball is rolling once again on the desk build and building has started!

we now have 2 carcasses, one smaller one for the test bench on the right and a larger one with shelves on the left hand side housing the main system! Using 18mm MDF for the structure we ended up with a good base to work on, the working space is vast also which allows for plenty of working room!

Still a bit more left to go building wise which will be done over the following few days but the base is there and I can now lay out everything in its place to get better judgement for holes, cutting and mounting!

The front and back of the housing will be cut to shape with multiple fans to draw cold air into the area and push the warm air out of the back to create the perfect ambient temperature to allow the custom loop to do its job! Originally the reservoirs were to be mounted underneath the motherboard to the right of the housing, and the radiators mounted along the right hand side but that would have caused messy looking tubing and also not utilize and show off the loop, so with the advice of a good friend ( @ADmodz ) it is now set out differently to allow better use of the space and also is symmetrical now, instead of having the motherboard at the top right, it is now in the centre top position with equal distance either side, the radiators are mounted on the left and right underneath the mobo but closer to the inside walls and the two reservoirs are mounted inbetween the two rads.The pumps and blocks are going to be on display underneath the top housing to show off its workings and the gorgeous pump blocks by alphacool, these will be hidden away behind some acylic on the front with maximum clarity to see it all. The psu and other wiring will then be put into the space behind the pumps underneath the housing.

Further updates to follow very shortly, alongside a video update on the channel!

Once again a huge thanks to Alphacool, the build sponsors for making this possible!

DSC02717.jpg

DSC02722.jpg
DSC02724.jpg

DSC02725.jpg
DSC02726.jpg

DSC02727.jpg
DSC02728.jpg

DSC02729.jpg
DSC02730.jpg

DSC02732.jpg
DSC02733.jpg

DSC02734.jpg
DSC02735.jpg

DSC02736.jpg
DSC02737.jpg

DSC02738.jpg
DSC02739.jpg

DSC02740.jpg
DSC02743.jpg
 
Soldato
Joined
1 Dec 2015
Posts
18,514
ah, heads up remove the stupid noise breaker sheet from the rad! all reviews of it shows it performs worse the Alphacools 30mm ST product! once removed it out performs the XT45 ( which is it really in a case) and even the UT60 range!

Fans are also great powerful but can be loud
 
Associate
OP
Joined
9 Feb 2017
Posts
19
Location
Grimsby, UK
Well, its been a while since I have updated this Build Log. There has been a lot happening at the channel recently, and also things have gotten in the way. However, the Alter-Ego build is very much alive and well and is nearing completion finally!

There has been a few changes to the original plans also, namely due to practicality and design flaws that have popped up over the time of building.

There are plenty of Images to go through, so I will stagger them across multiple posts on here, describing each one until your all caught up with the current progress!

Starting off with the initial layout of the system within the desk. Originally it was laid out as you see above, everything would be secured into place on the flat plate, However, now the reservoirs and the radiators are mounted higher up on a custom made platform that I built that emphasises the gorgeous Alphacool Eisbecher Reservoirs by bringing them higher upwards to the top of the case, with the radiators sloping to the sides of them with the Alphacool Sussoro Fans situated on top. Once I made the platform, I created mounts for the Res and Rads. Then I drilled multiple larger holes and fitted 8 Bulkhead Pass throughs that would allow the loop to connect through the desk platform to the lower space to hide the majority of the loop and give a cleaner look on top and also the finished article gives the completed system an extra dimension and a little more unique flair to it all.


Associate
OP
Joined
9 Feb 2017
Posts
19
Location
Grimsby, UK
Once I had the platform created and in place, I set to work on creating the loop for the radiators and reservoirs as you have seen previously, the connections and fittings were all Alphacool fittings in chrome. The tubing is PETG, once again by Alphacool, except for the curved pieces from the reservoirs that were soft tubing just for visual appearance.
I then proceeded to create some holes for spacing for the fans in the desk. I rough cut 3 spaces to fit the fans directly into the walls of the desk, The fans then simply slot in and I will secure them in place with the final cladding of the desk that will tighten everything up and give the cleaner look I desire. I Also then cut the spaces for the fan controllers on the front as you see here in the pictures.


Associate
OP
Joined
9 Feb 2017
Posts
19
Location
Grimsby, UK
I received a couple of packages for the build around this time. One being from Anidees, who agreed to kindly sponsor the build and supply me with 2 of their Anidees Halo 120mm Fans, which have a luminescent glowing blue ring around the outer edge of the fans themselves. These look stunning when powered up and will give the front of the desk that extra wow factor! The pictures do them no justice at all.
The second package was another order from Alphacool, this time it had more LED lighting, Watercooling fittings, Heat Gun, Bending tools, Cutters, Sleeving and more to complete the project.


Associate
OP
Joined
9 Feb 2017
Posts
19
Location
Grimsby, UK
Work then commenced on the fittings and tubing for the loop, I also set up the pumps and pump tops. The pump is an Alphacool VPP755 and the pump tops are Alphacool Eisdecke D5 Plexi tops. The pumps are fantastic pumps that can be individually controlled either on the pump itself with 5 settings that can be changed to reduce or increase the flow rate via altering the RPM of the motor. It works by reducing the voltage supplied to the motor. You can also sync it with your system using PWM connectivity for that extra control level, this way you can change the speed on your system without having to touch the pump itself. It ranges from 1700-4500 RPM and operates at 14 watts.

The Eisdecke D5 Plexi pump top is a stunning top that is made of plexi glass and really shows off the coolant, whilst looking stunning within the setup in its own rights. I decided to mount the pump/pump top on its own shelf underneath the desk to show them off as I feel they would be wasted being hidden away. The soft tubing then feeds off them through some holes cut into the back of the shelf. This shelf when finished will be clad with spaces to view the pump and pump top working. There will be Led lighting placed along the upside of the shelf to light them up.

The fittings were all laid out into boxes, and there were plenty of them!


Associate
OP
Joined
9 Feb 2017
Posts
19
Location
Grimsby, UK
The power supply that I was going to use for the build was originally a Corsair CX600 non modular with some sleeved extensions for display in the top itself. However, this ended up being killed during testing of the supply, which actually turned out to be a good thing as a 600watt power supply probably wouldn't have been the best for everything within the build.

Thanks to a good friend, I managed to purchase a brand new Corsair HX850i Platinum fully modular PSU. This supply is a much better option as it Corsairs Platinum rated range. The supply came with black cables that actually may end up being used in the build as they are. These PSU's are super efficient, delivering upto 92% efficiency. Corsair Link allows me to monitor every detail too, from performance to fan adjustment etc.


Back
Top Bottom