

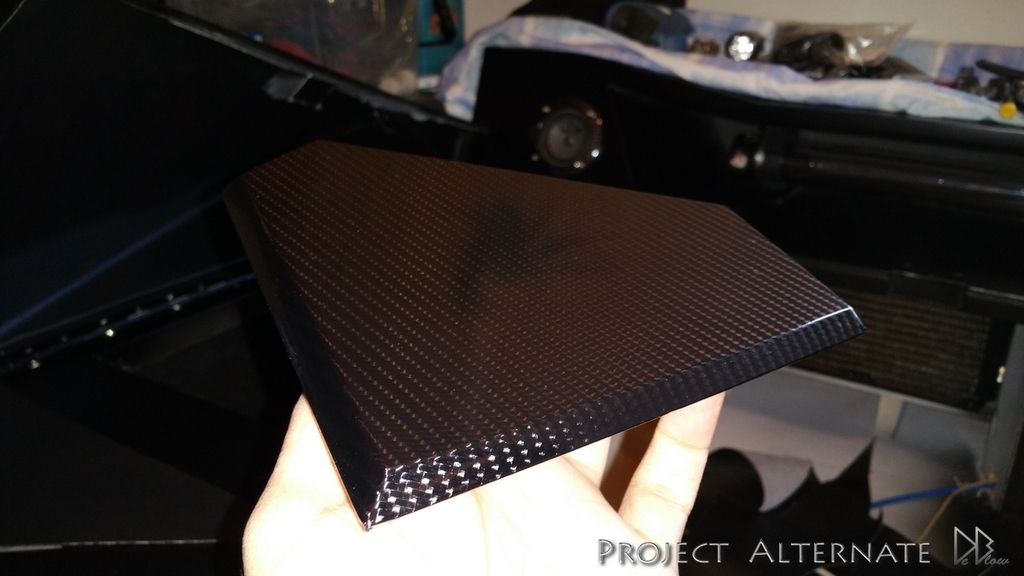
I know it's not for the material properties, but I've seen some truly awful renditions of carbon fibre, especially in car trims, that really spoil the look. I've worked with carbon in a previous life, so perhaps I'm biased. With this said, the fact I had to question if it was real or not goes to show that a) it's good wrap and b) it's well applied!
You are using an out of date browser. It may not display this or other websites correctly.
You should upgrade or use an alternative browser.
You should upgrade or use an alternative browser.
Project Alternate
- Thread starter deblow
- Start date
More options
Thread starter's postsI know it's not for the material properties, but I've seen some truly awful renditions of carbon fibre, especially in car trims, that really spoil the look. I've worked with carbon in a previous life, so perhaps I'm biased. With this said, the fact I had to question if it was real or not goes to show that a) it's good wrap and b) it's well applied!
I too have seen some very badly applied carbons, there's also 4 types out atm
2D, 3D, 4D & now 6D/8D
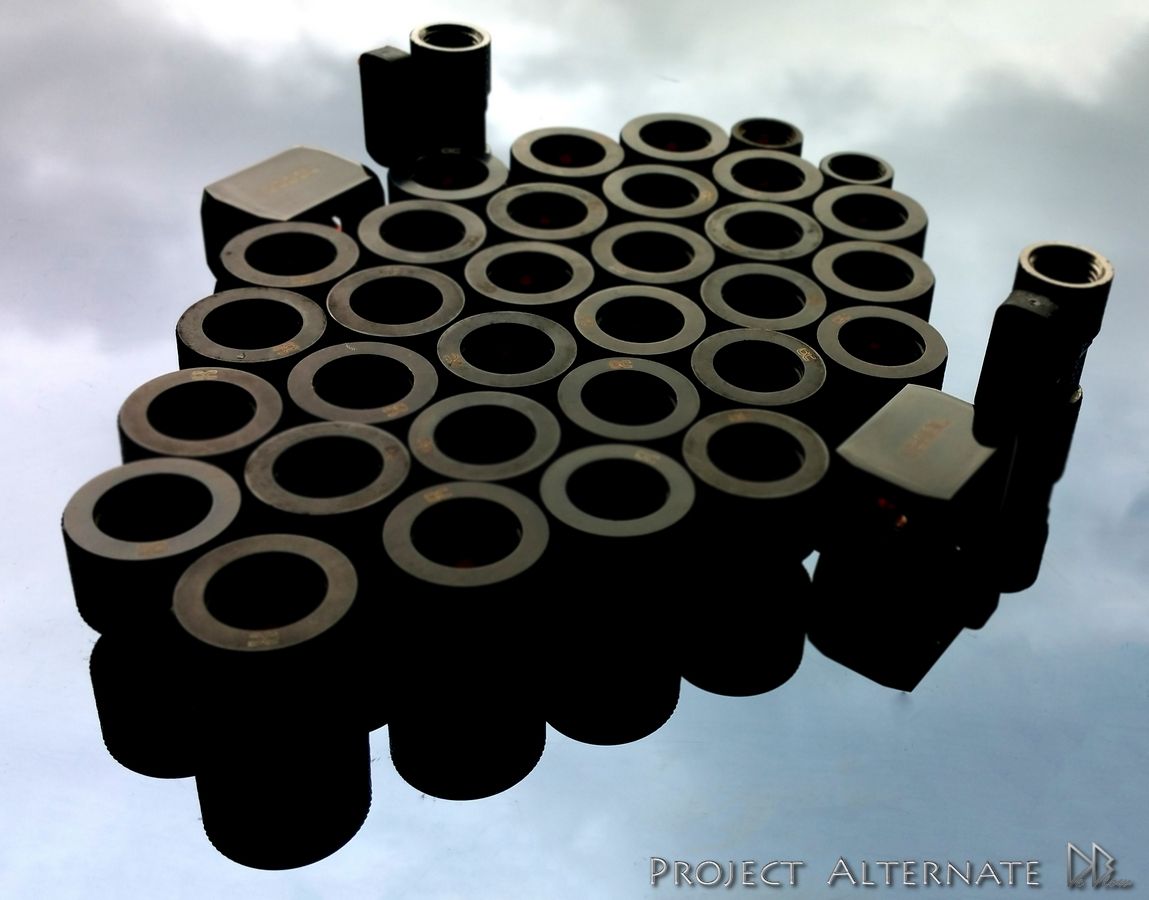
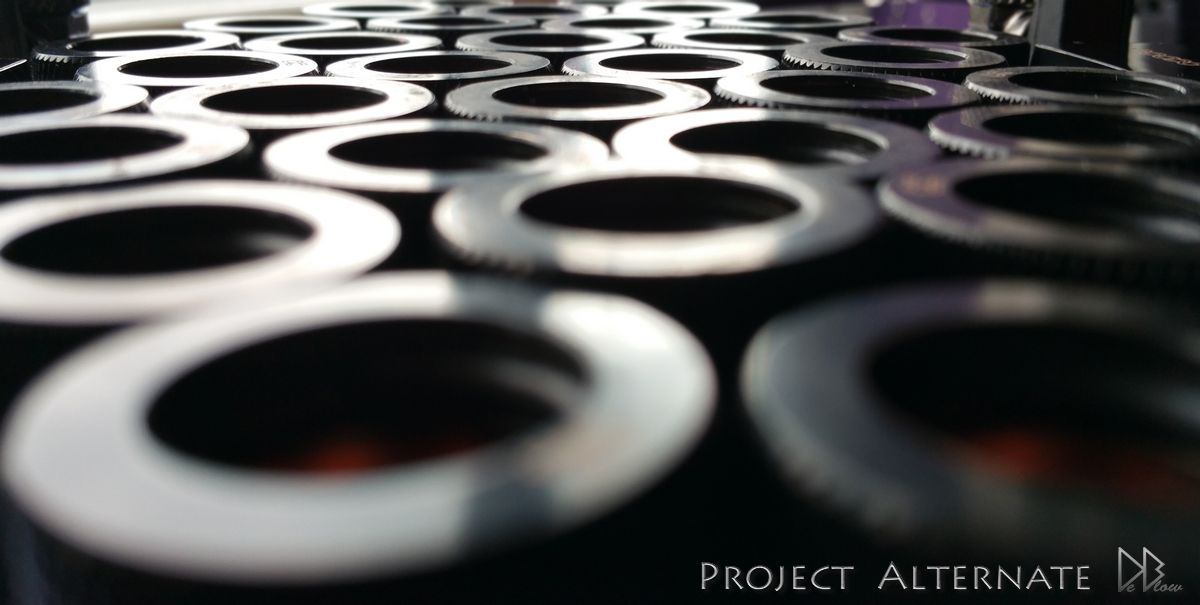
the problem with the carbon i have atm is its impossible to show the effect in photos

I did do a video covering some all the carbon wraps that you might be interested in
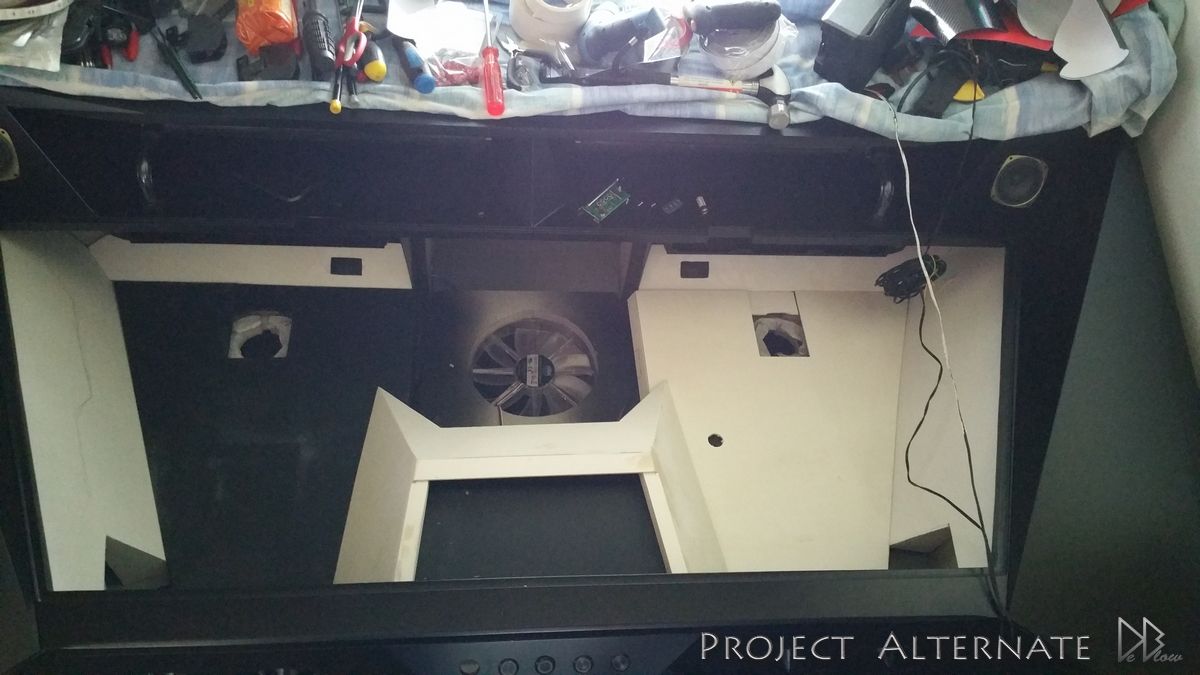
Going to be a busy week, wife due to pop any day now, more packages have arrived that i've been eagerly awaiting
so I can get to work on the internal panels & logos.
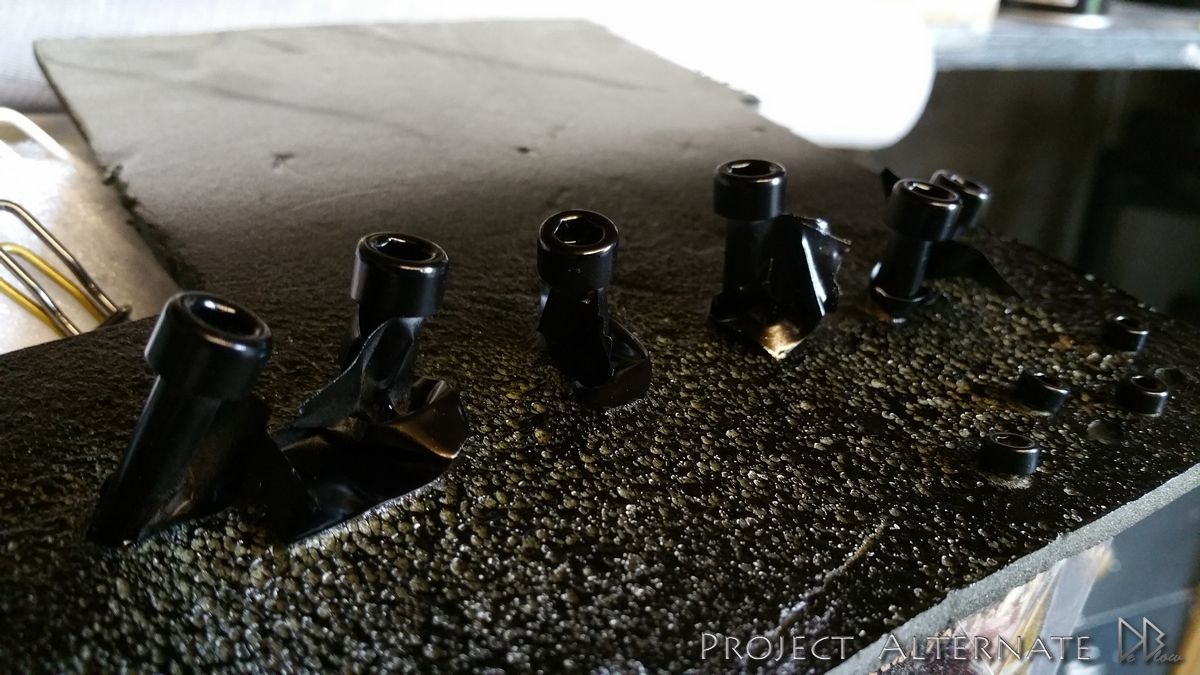
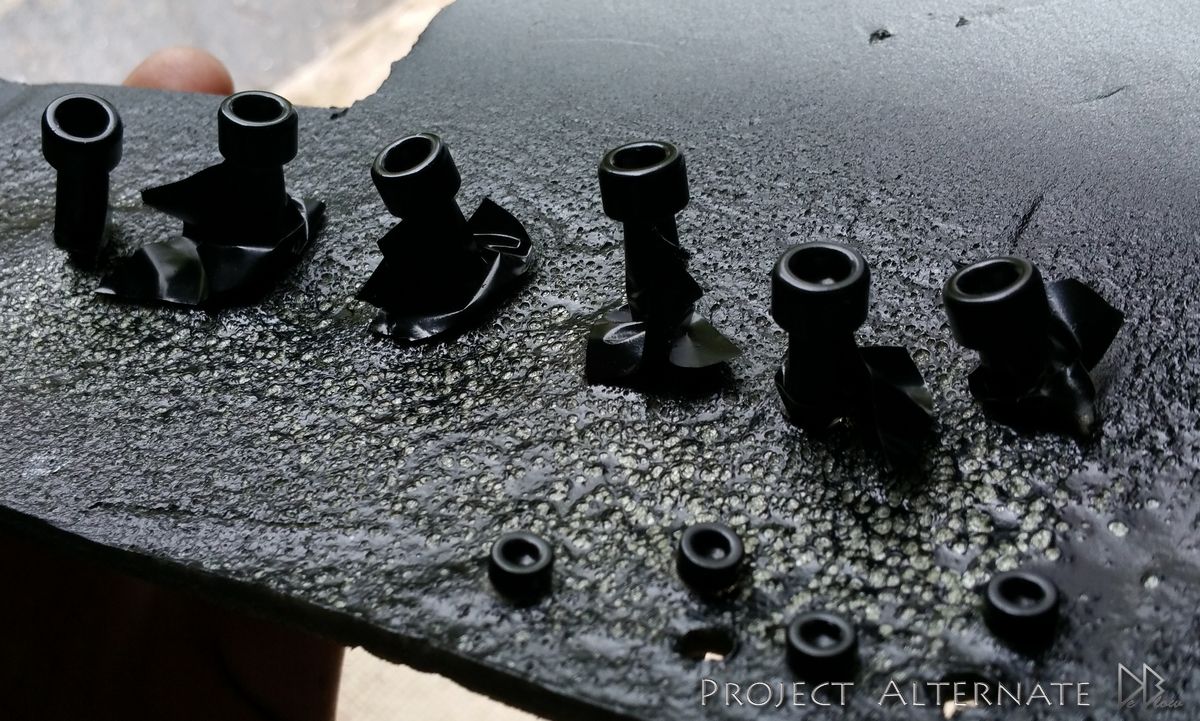
during the past week I started painting my nutz & remote for the desk lifting motor, painted now so there nice
& hard ready for when i pick the speaker housing finish & fit the glass top.
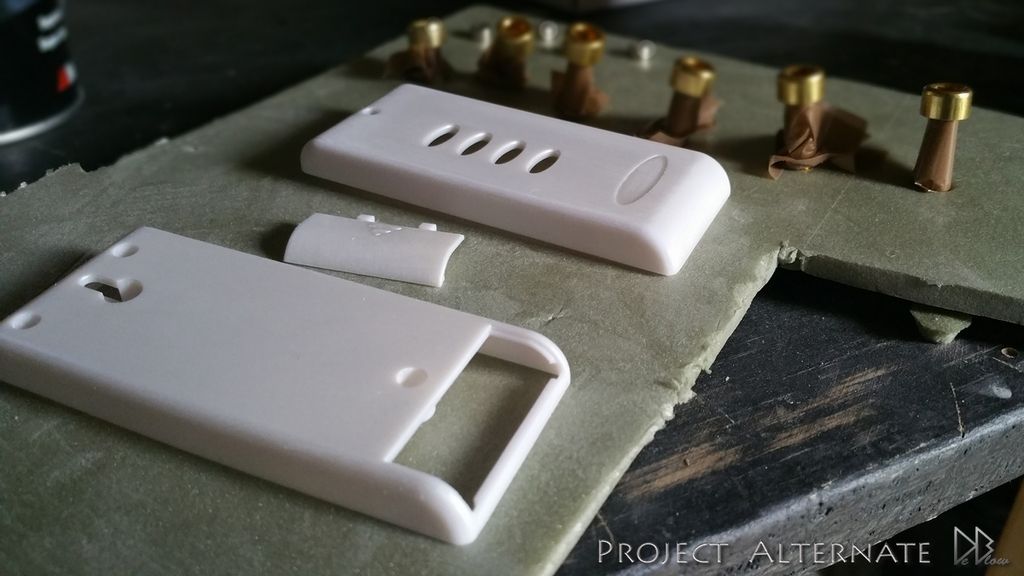
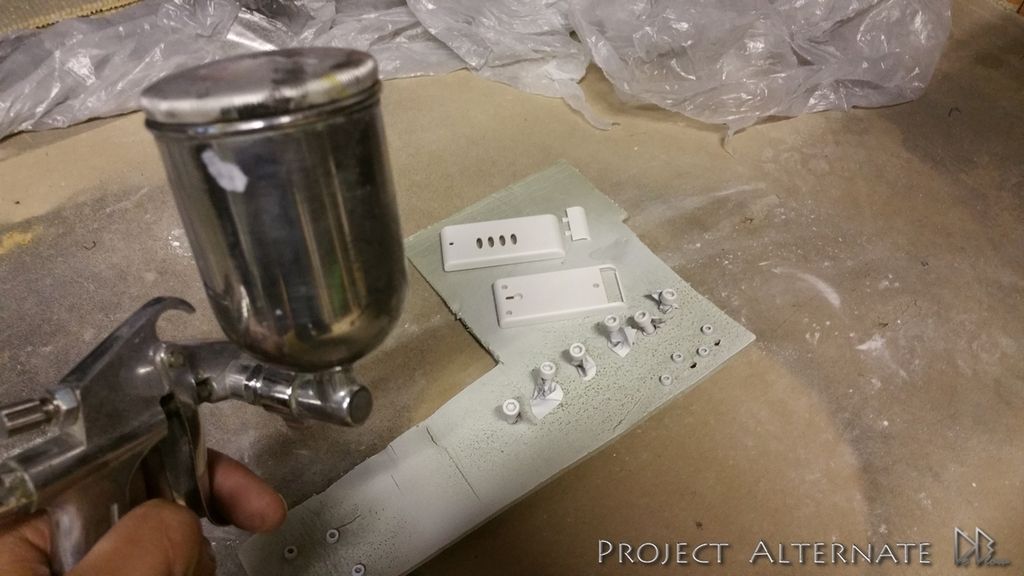
Same finish as the desk, matte black
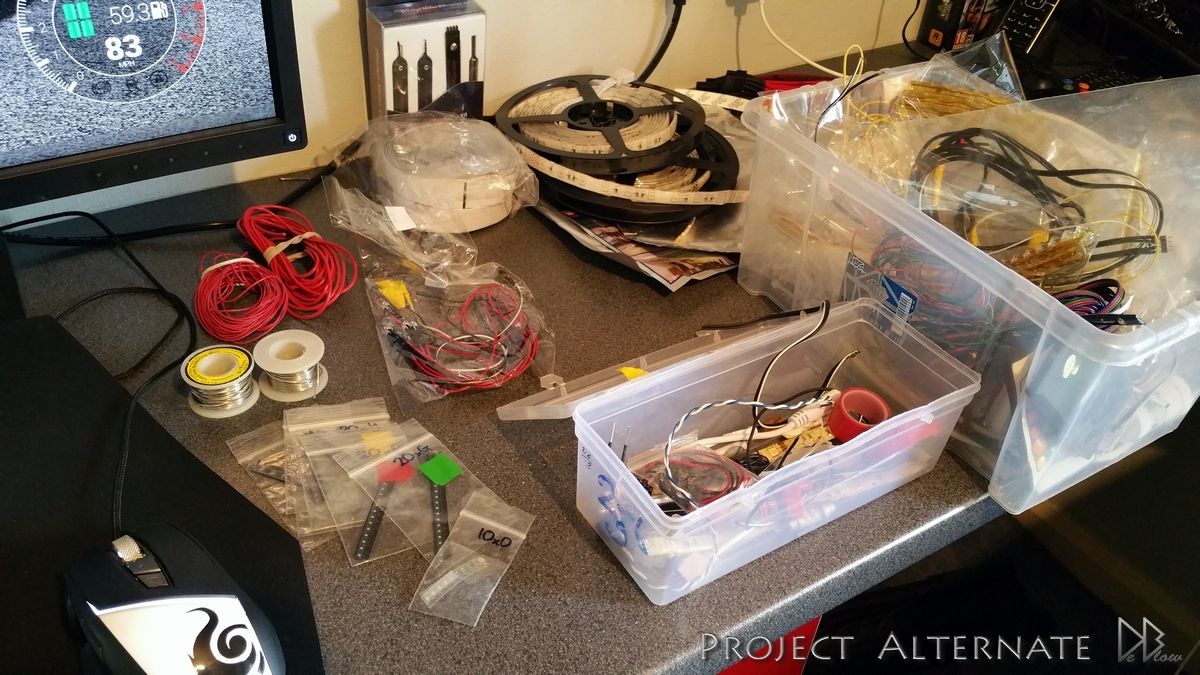
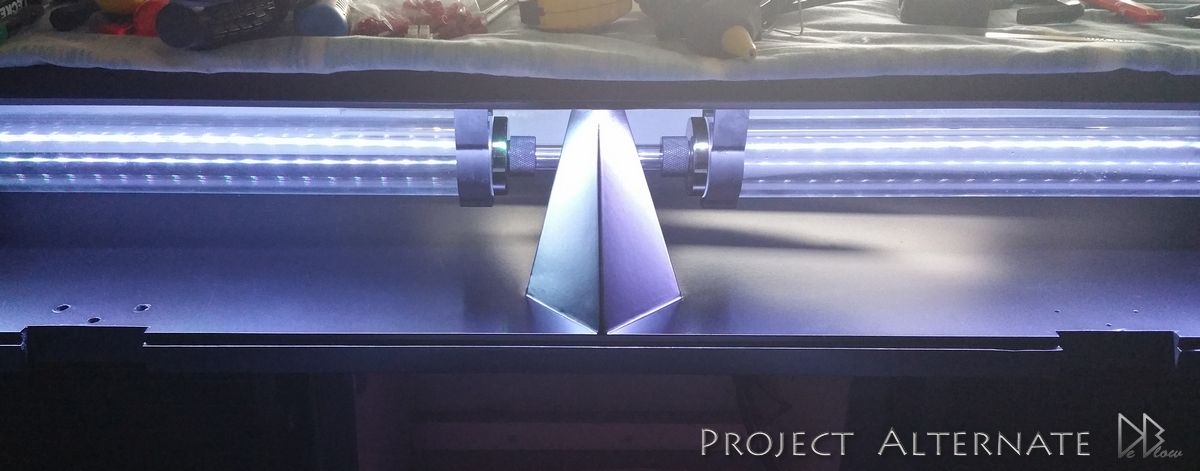
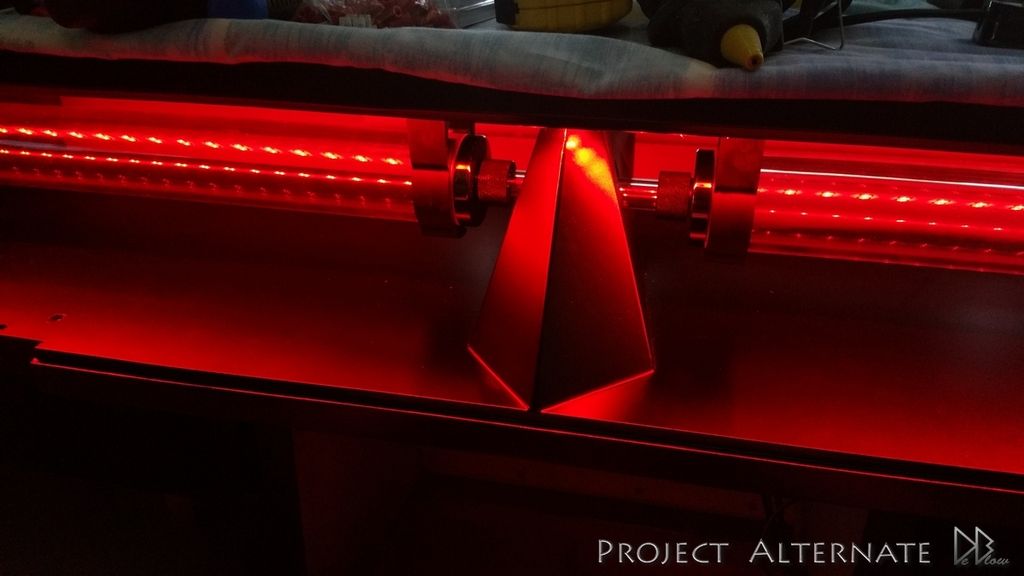
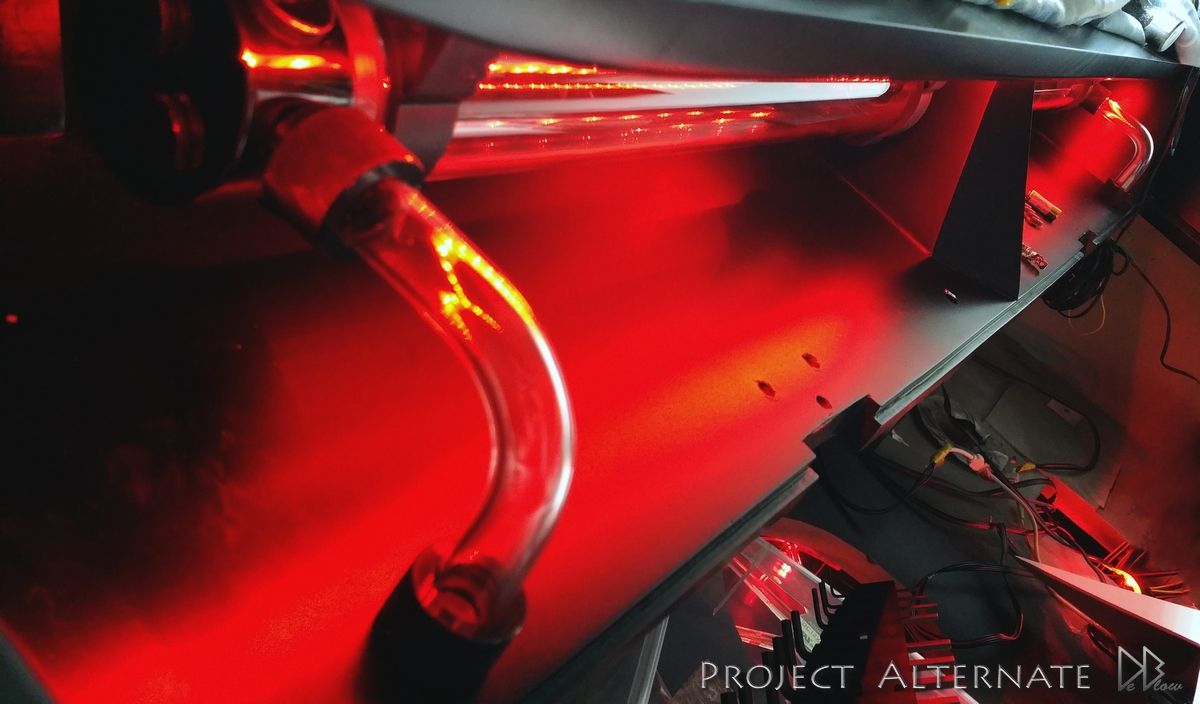
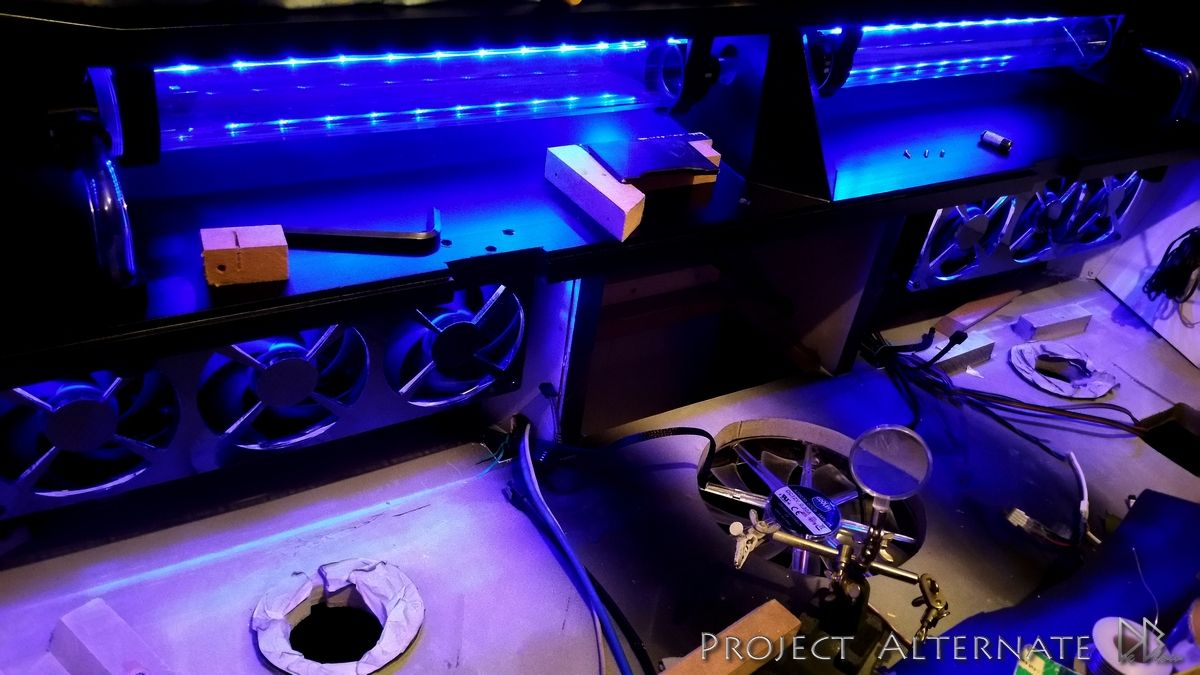
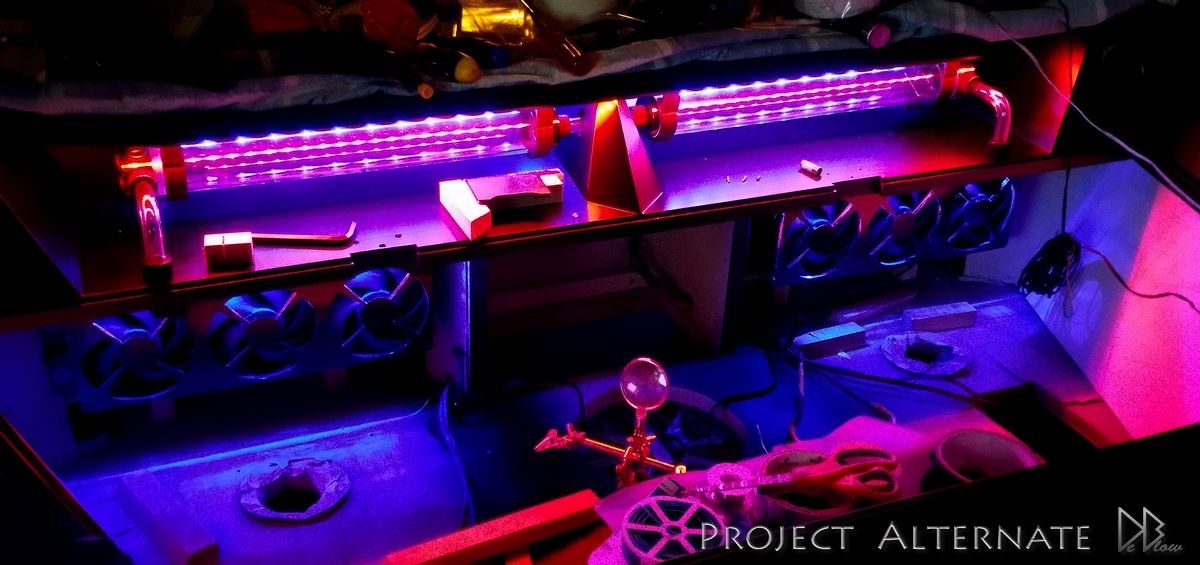
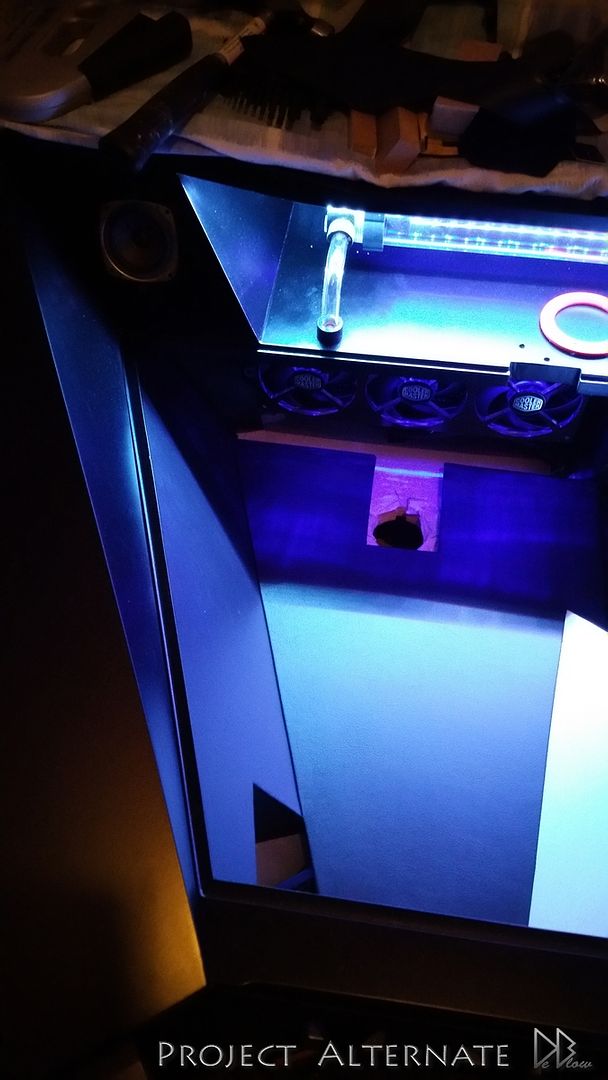
also did the top shelf lighting, using strips & 2 other types of single LEDs on the desk.
on the shelf I now have chaser lights 10 pin & standard 5050 4 pin LEDs,
this gives me hundreds of lighting options & also means I'm able to have chasing lights
set to any shade I want while also having a second light pulsing or one of the other options.
The only downside is, I needed to solder 54 points just for the shelf
so I can get to work on the internal panels & logos.
during the past week I started painting my nutz & remote for the desk lifting motor, painted now so there nice
& hard ready for when i pick the speaker housing finish & fit the glass top.
Same finish as the desk, matte black
also did the top shelf lighting, using strips & 2 other types of single LEDs on the desk.
on the shelf I now have chaser lights 10 pin & standard 5050 4 pin LEDs,
this gives me hundreds of lighting options & also means I'm able to have chasing lights
set to any shade I want while also having a second light pulsing or one of the other options.
The only downside is, I needed to solder 54 points just for the shelf
Fenix has helped me out by getting most the logos laser cut for me along with
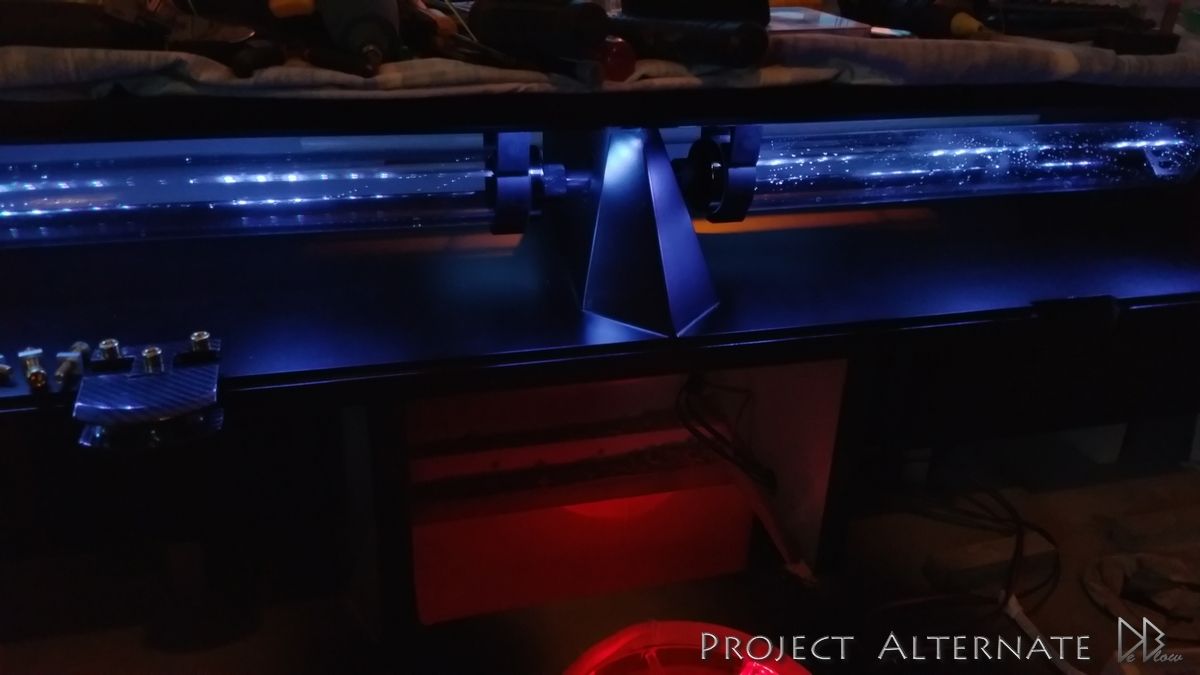
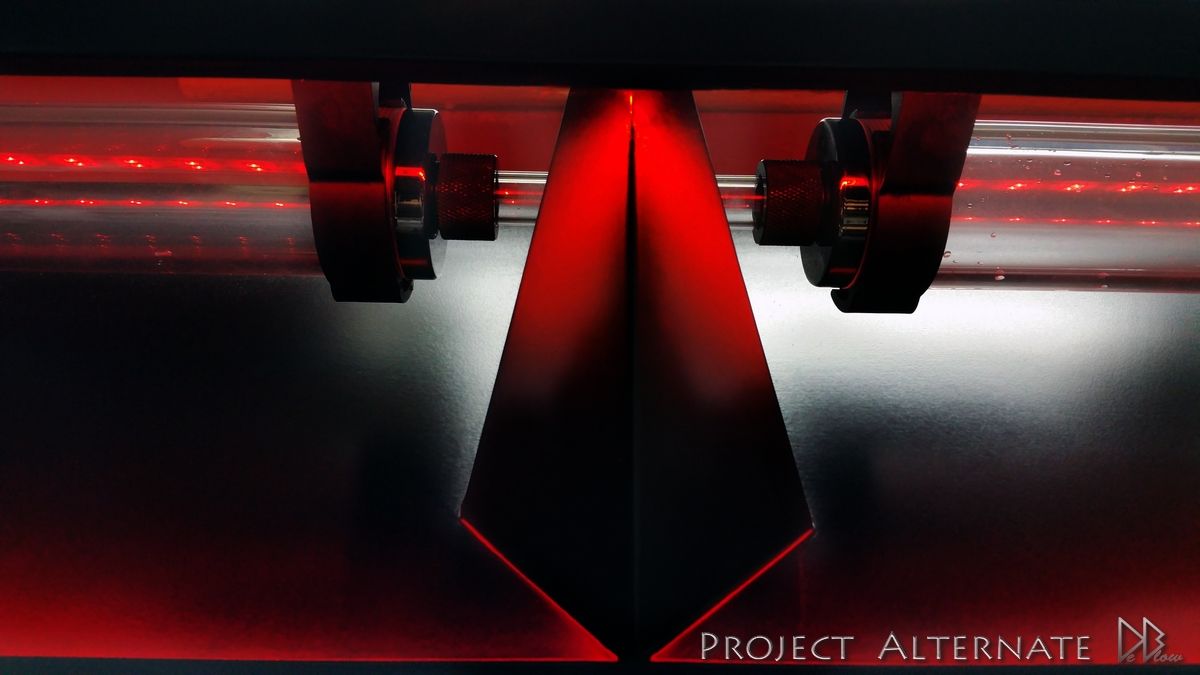
2 360 RAD covers that I plan to wrap & add some bits too later in the build
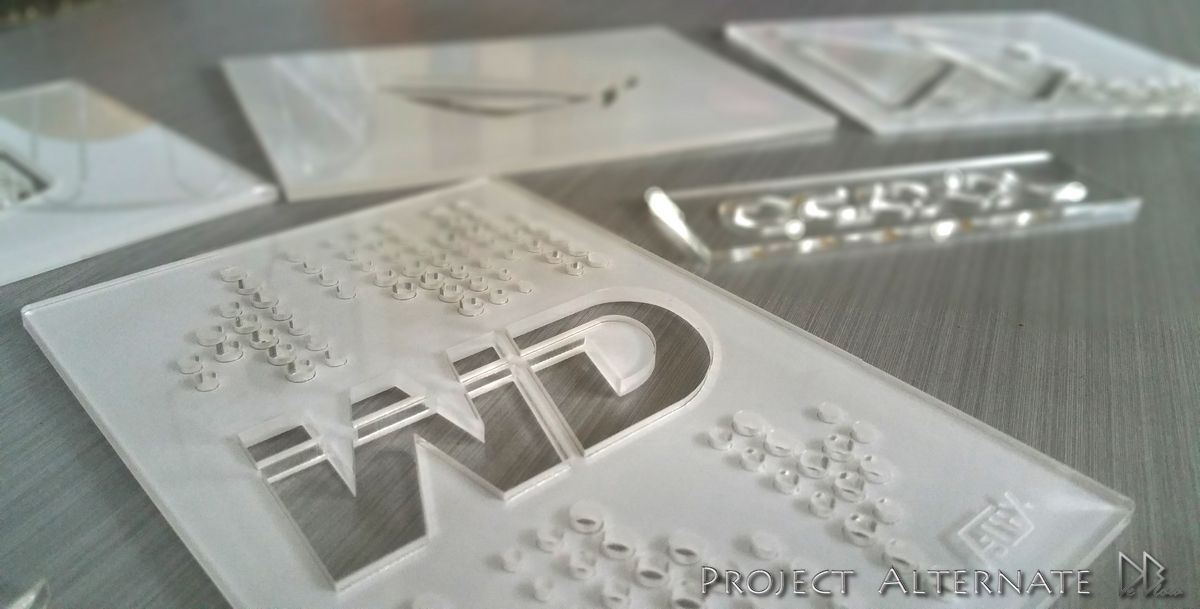
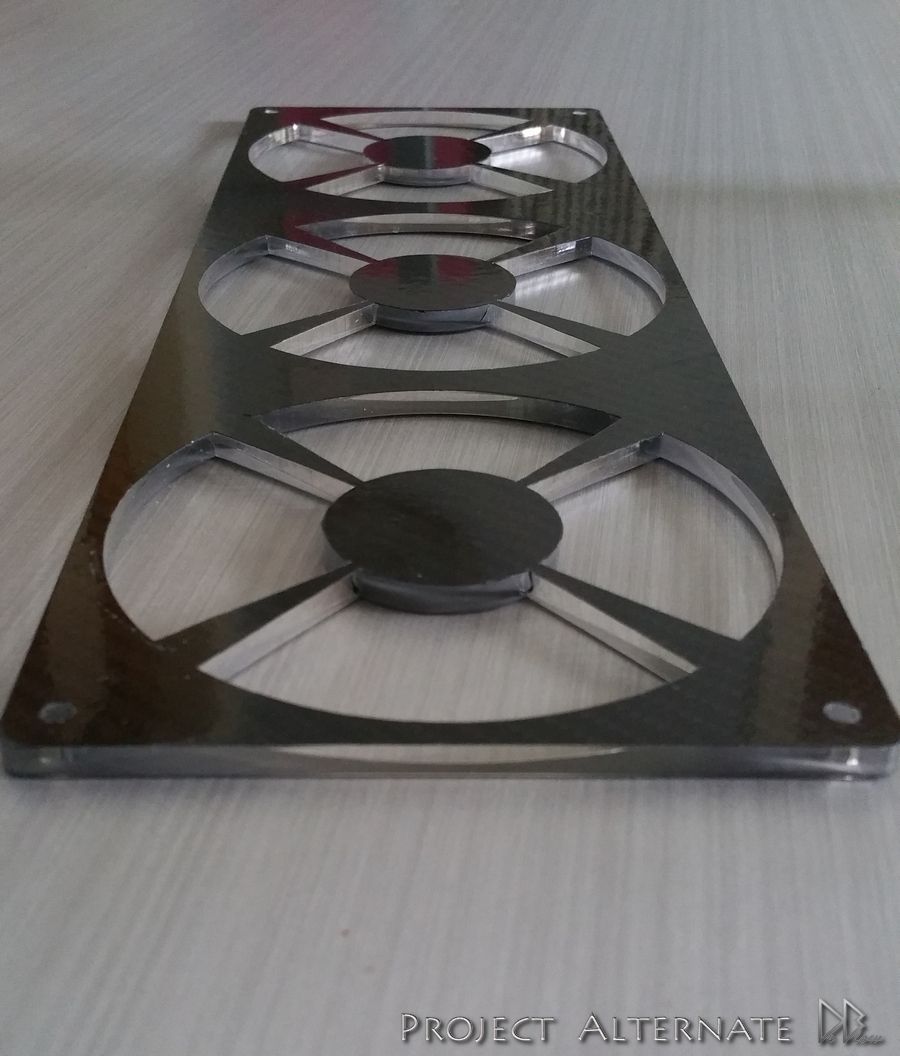
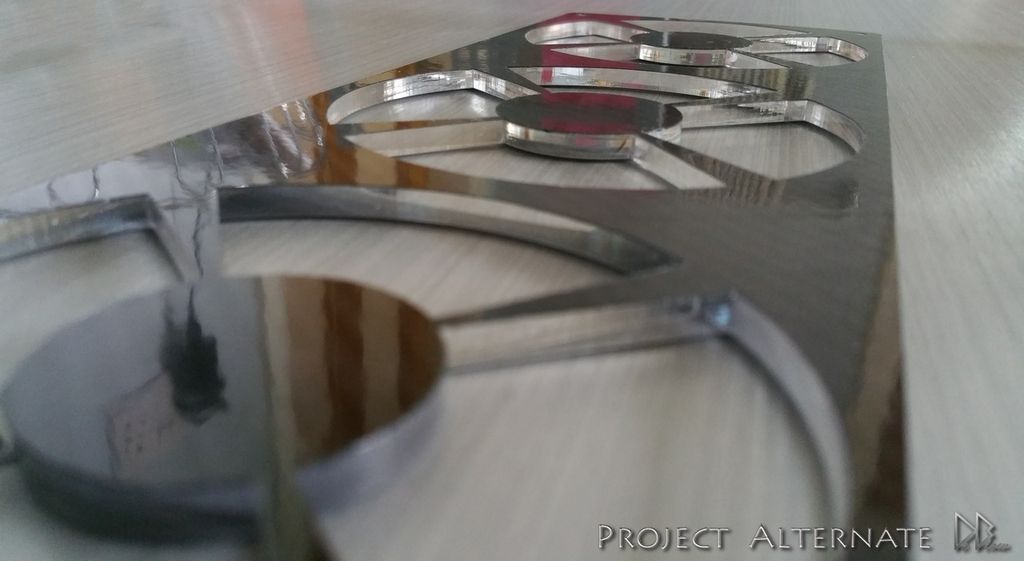
Plan to add some lighting to the RADs that can be changed to any colour should I fancy a change from the current red & black theme
2 360 RAD covers that I plan to wrap & add some bits too later in the build
Plan to add some lighting to the RADs that can be changed to any colour should I fancy a change from the current red & black theme
Amazing as always! Well done, this will look phenomenal when complete
thanks mate, still posting atm
")
some forums don't let me post lots of photos at the same time
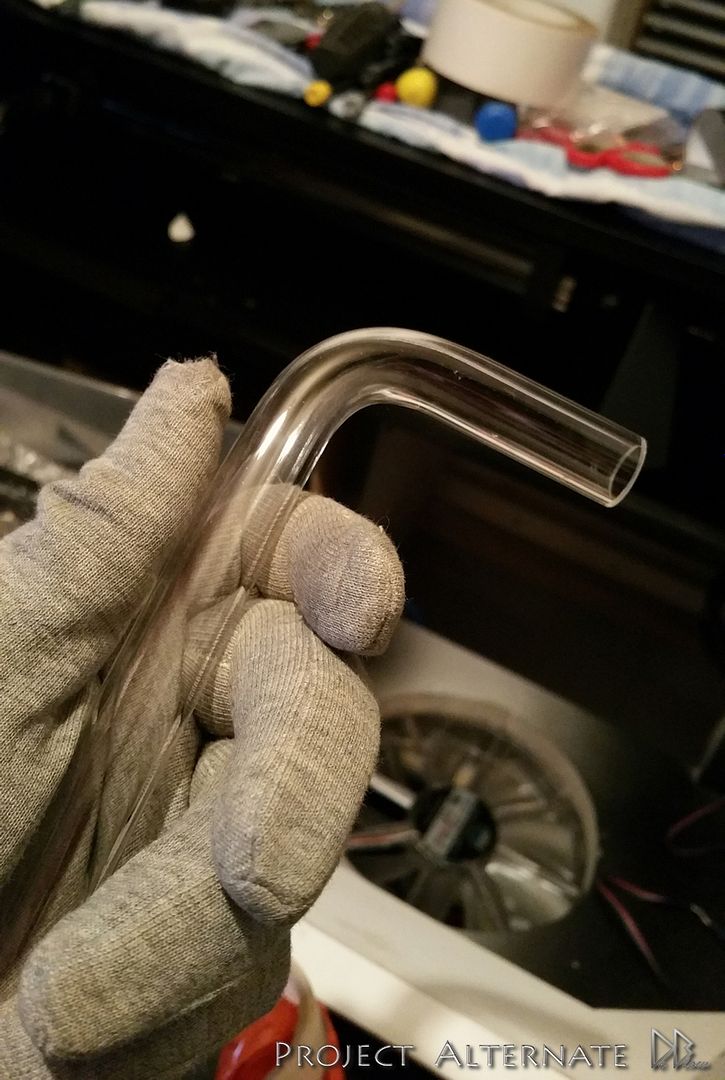
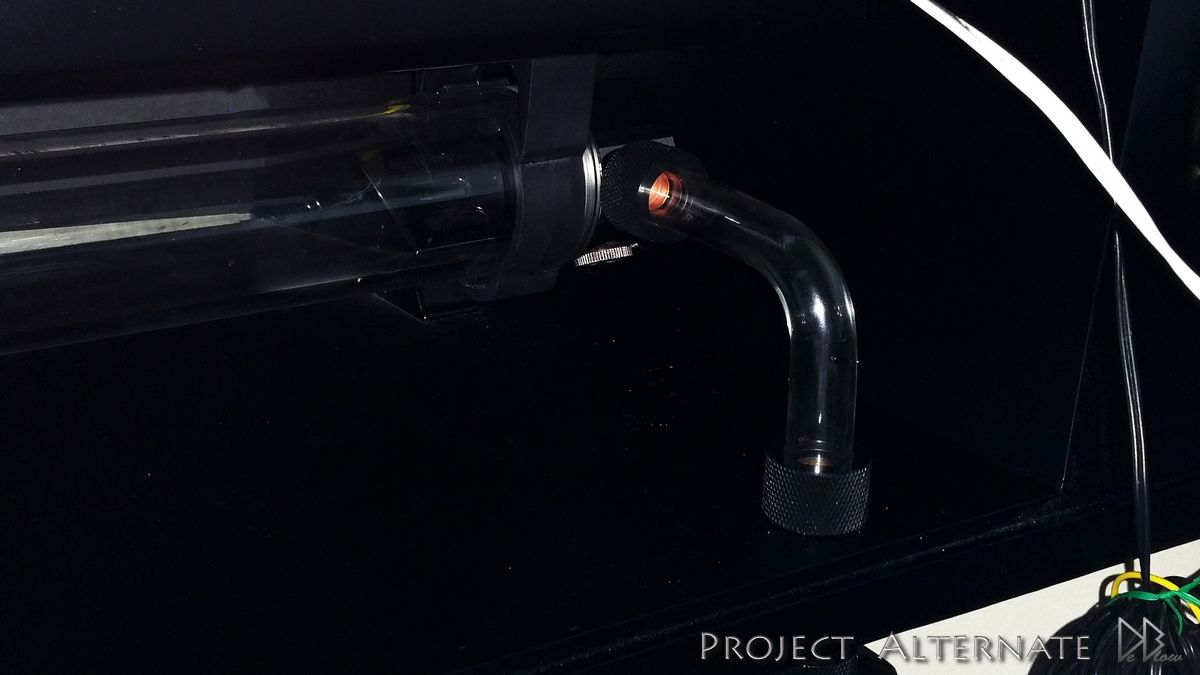
Final update for today & im happy to report Iv bent my 1st hard tube with success 
Using 16mm Alphacool hard tubing with the 16mm Alpha fittings in black for this build, not as easy has the rubber im use to
but should look a lot cleaner

heres my 1st bend, used my motorbike internal gloves as i forgot to buy some
heat gloves
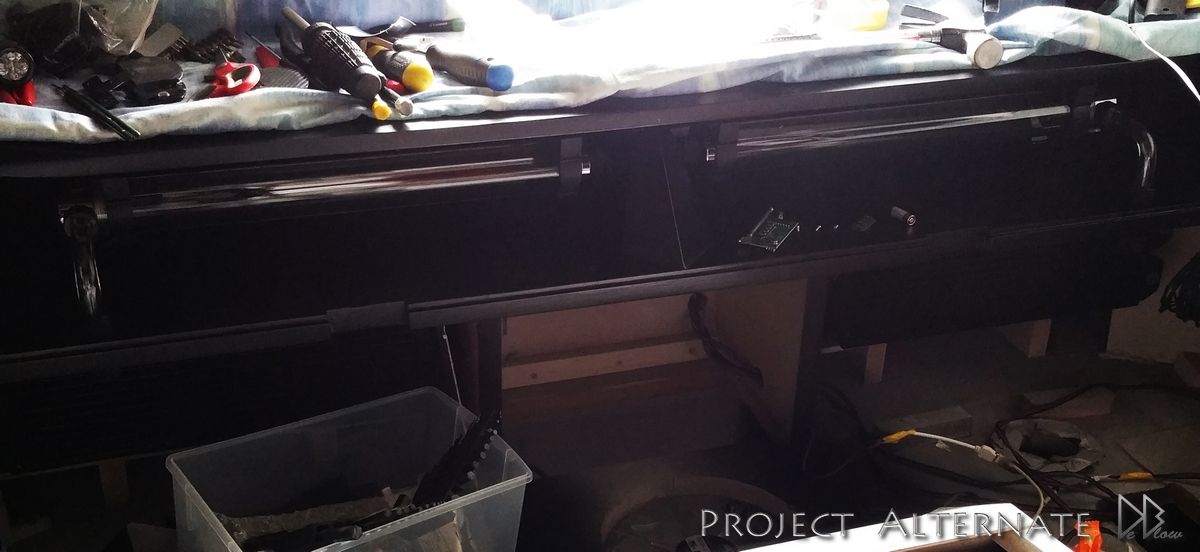

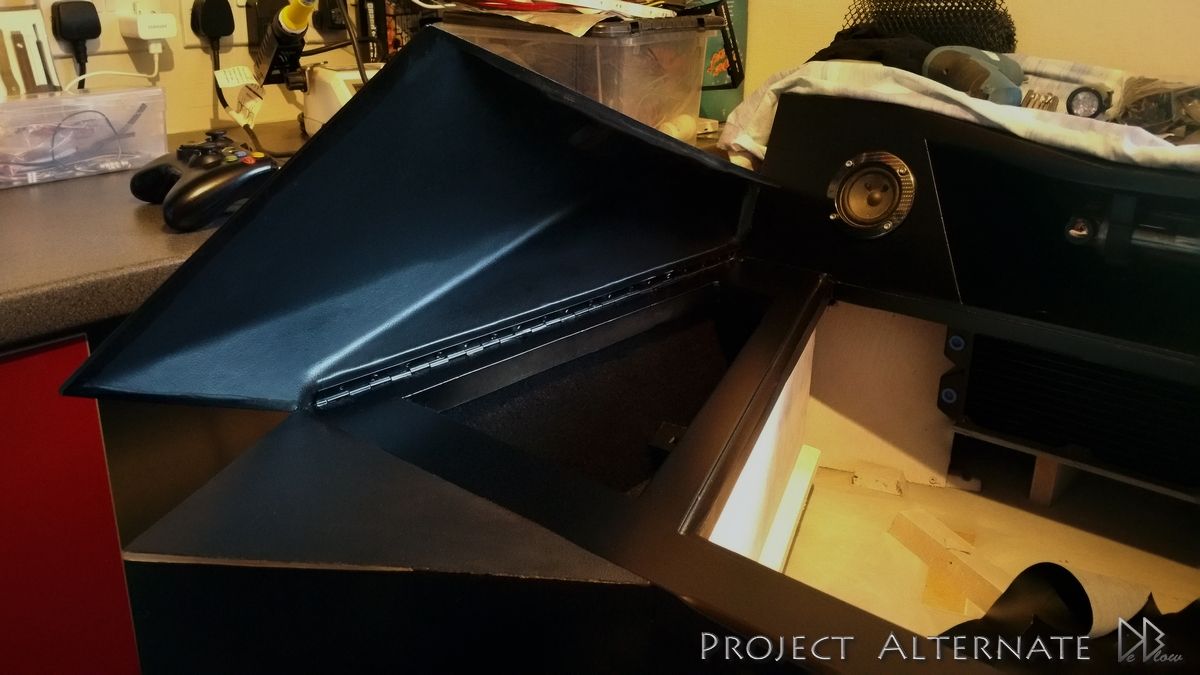
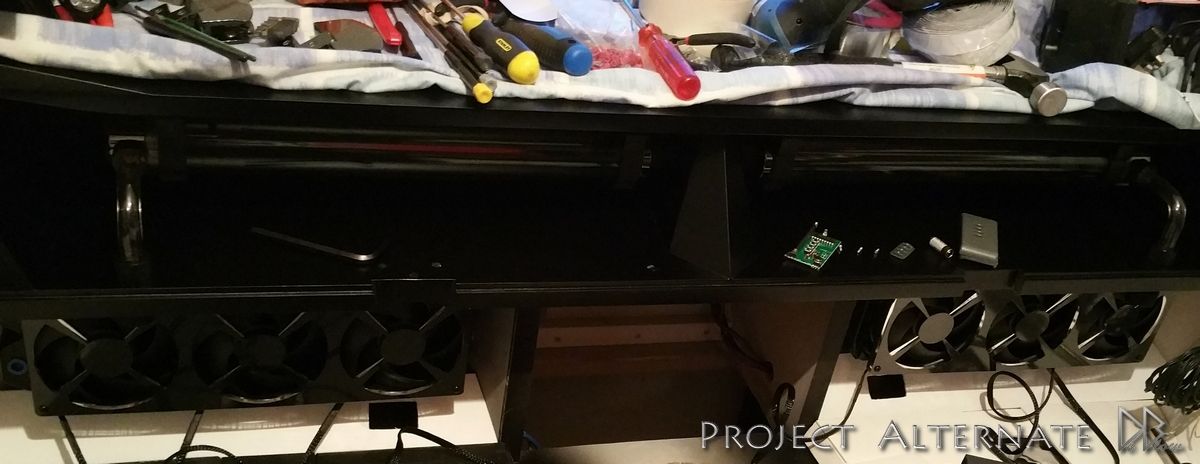
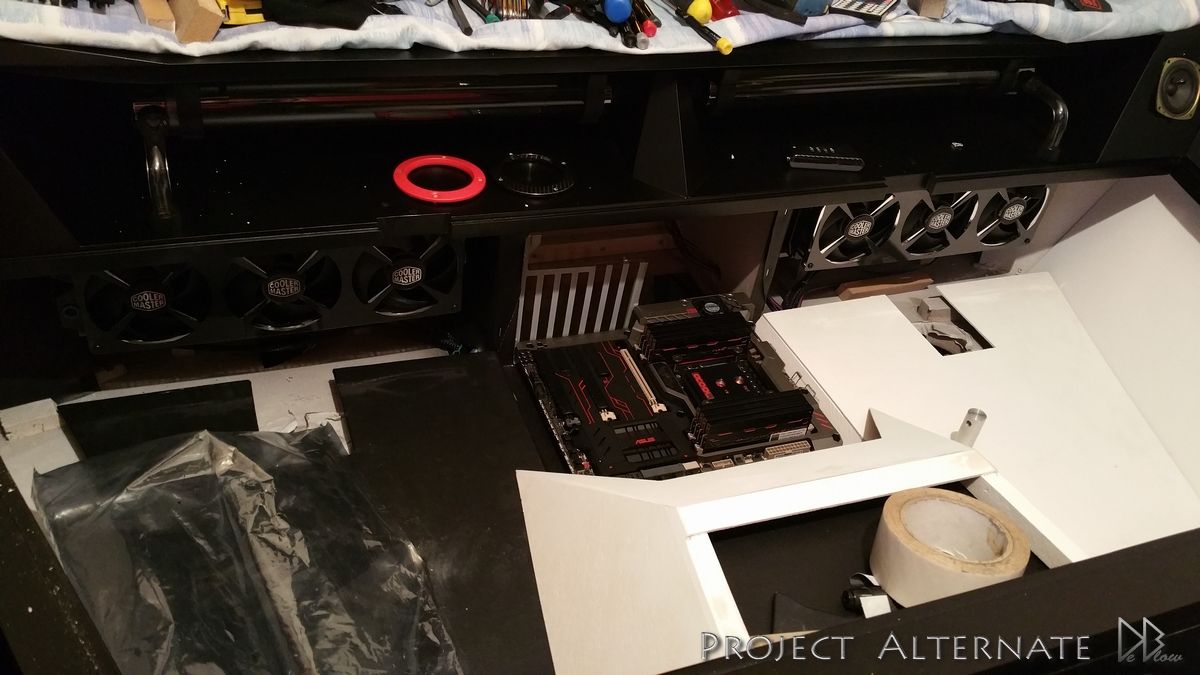
and heres a quick look at the internal setup work thats started, going to be wrapped with leather & carbon for sure.
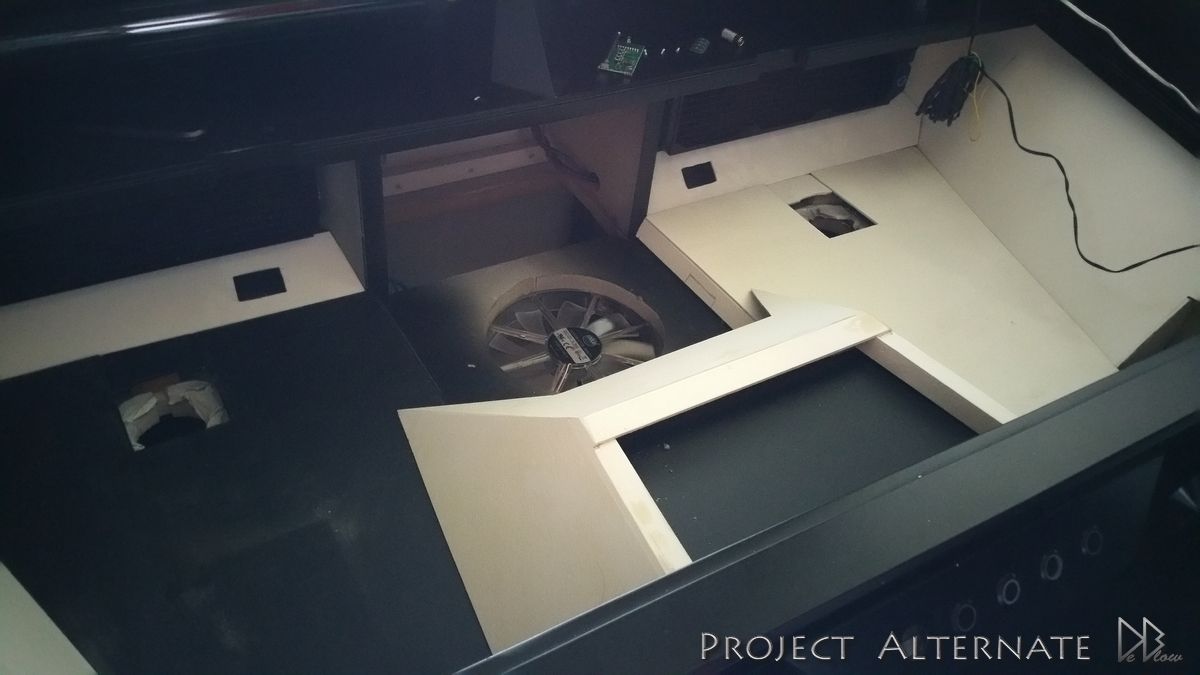
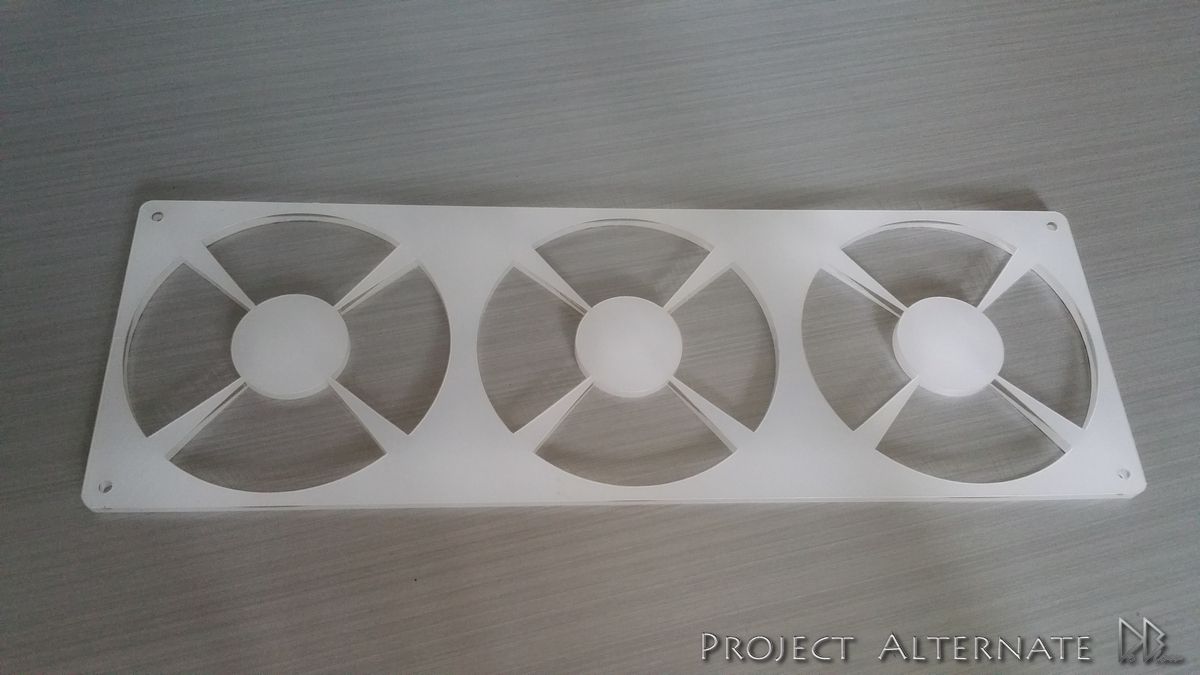
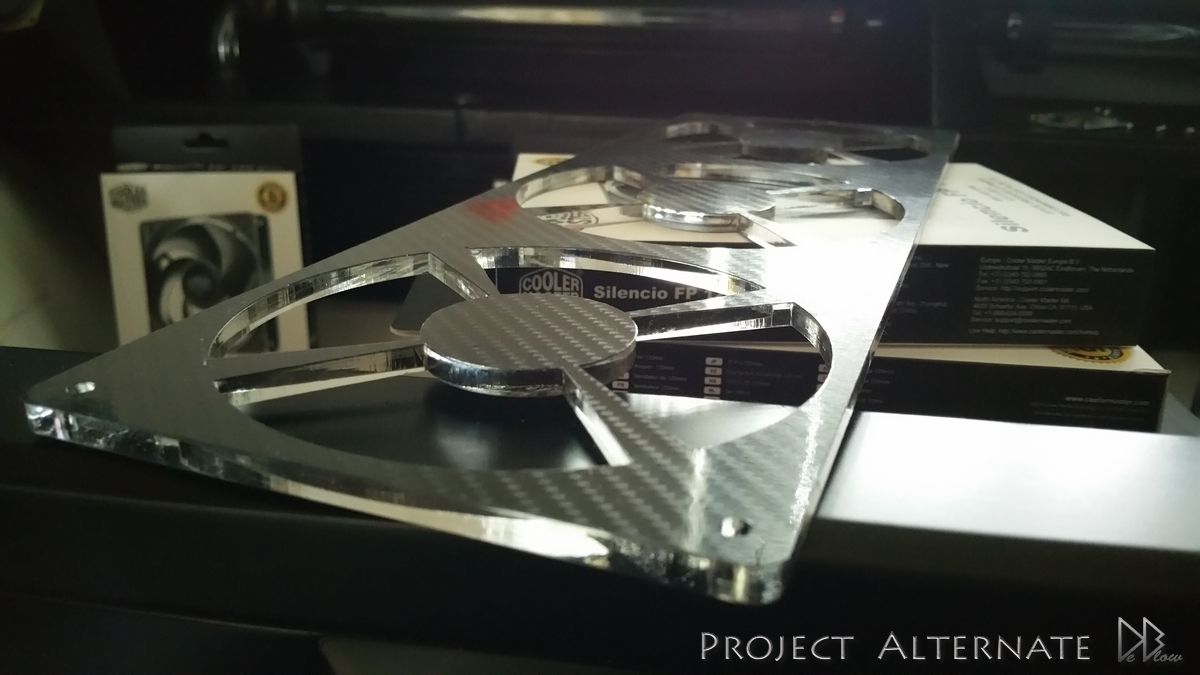
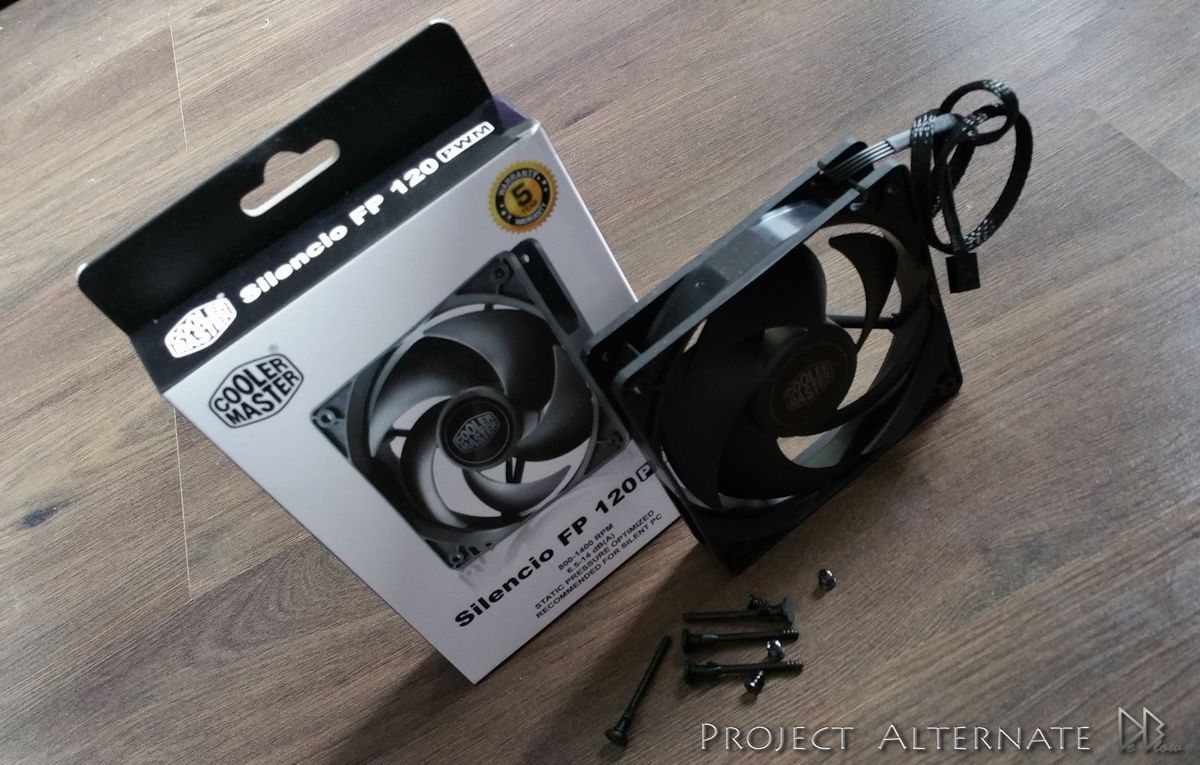
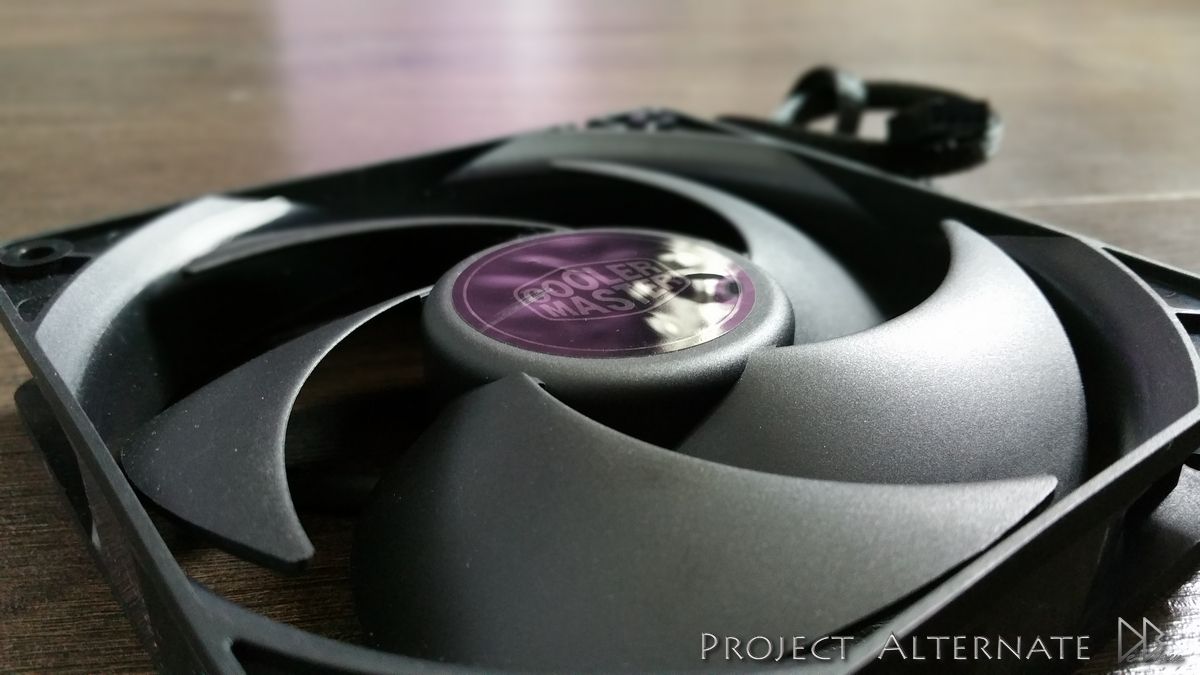
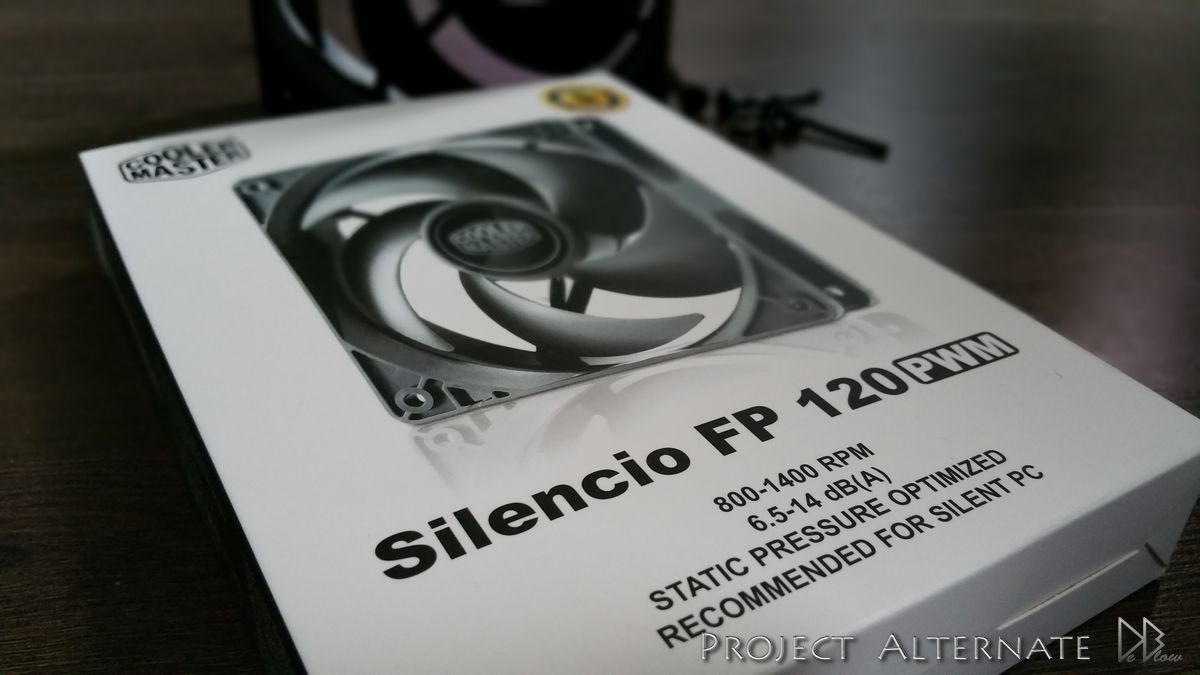
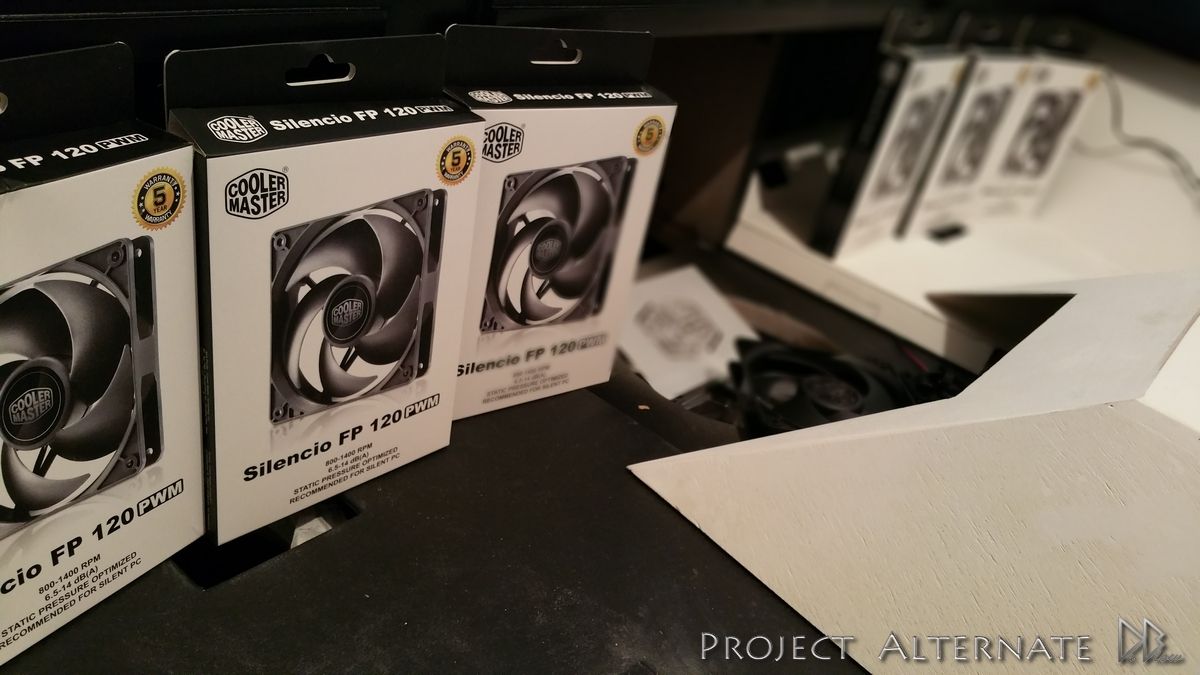
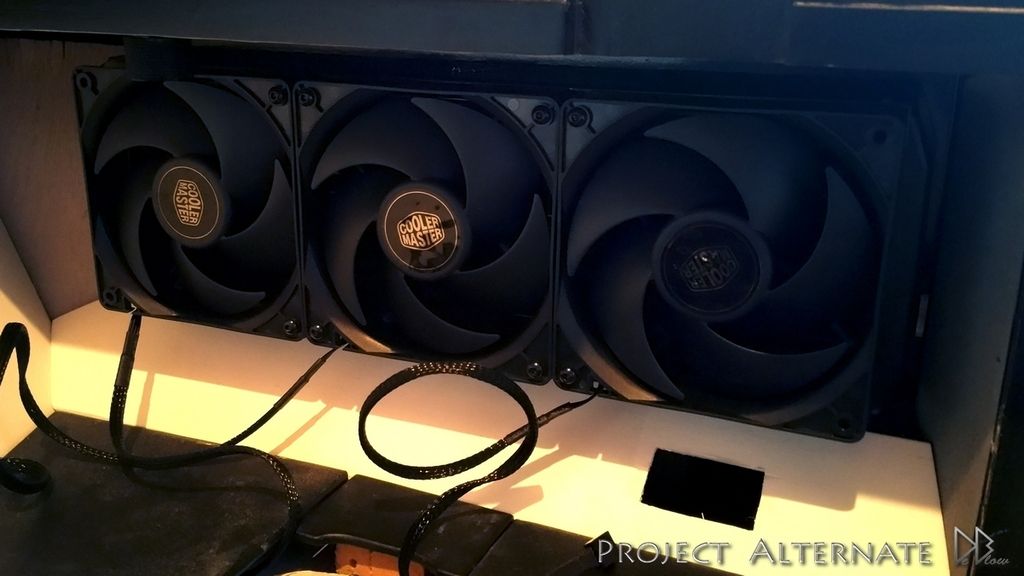
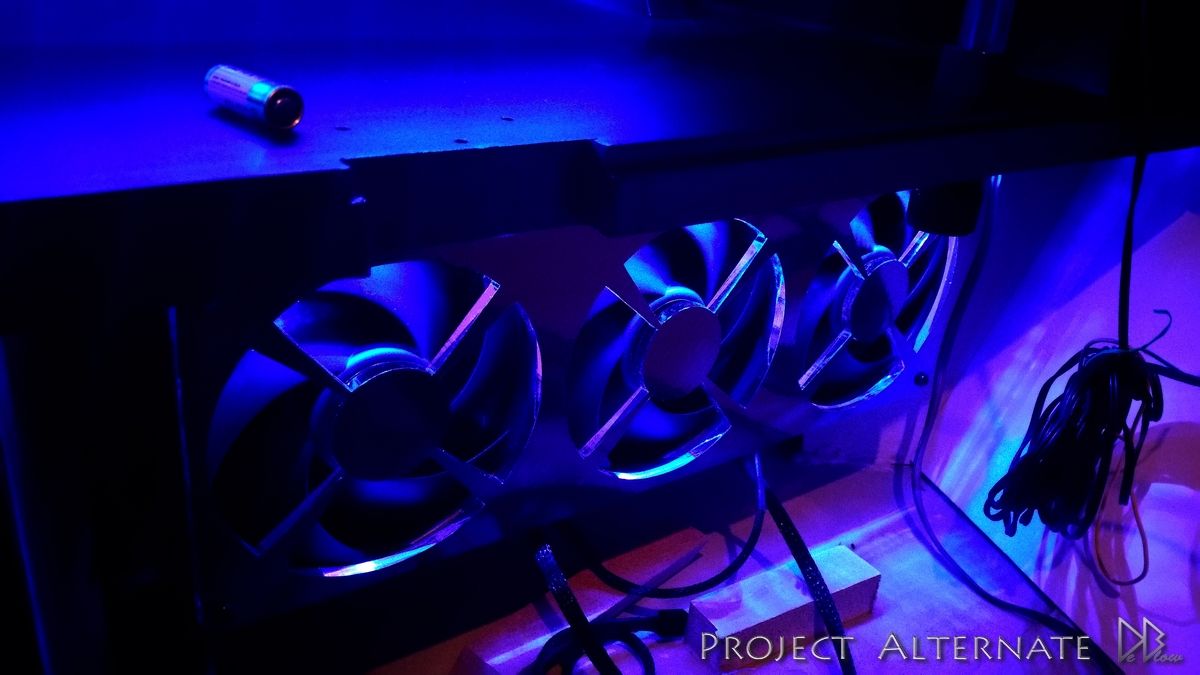
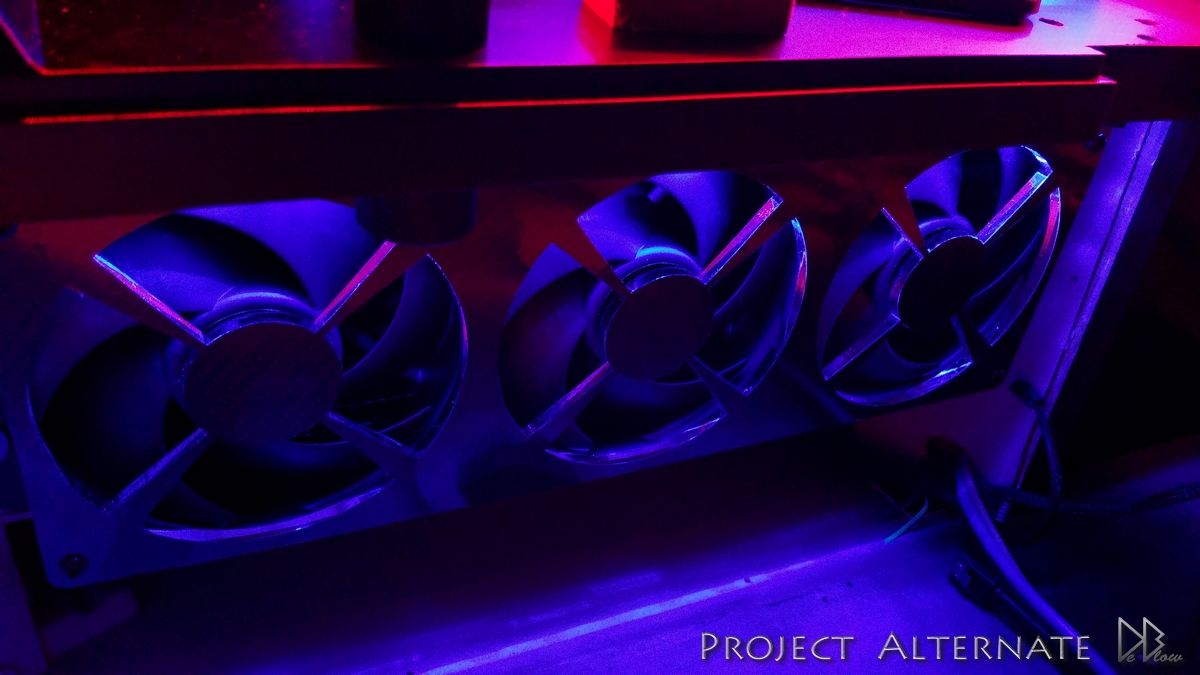
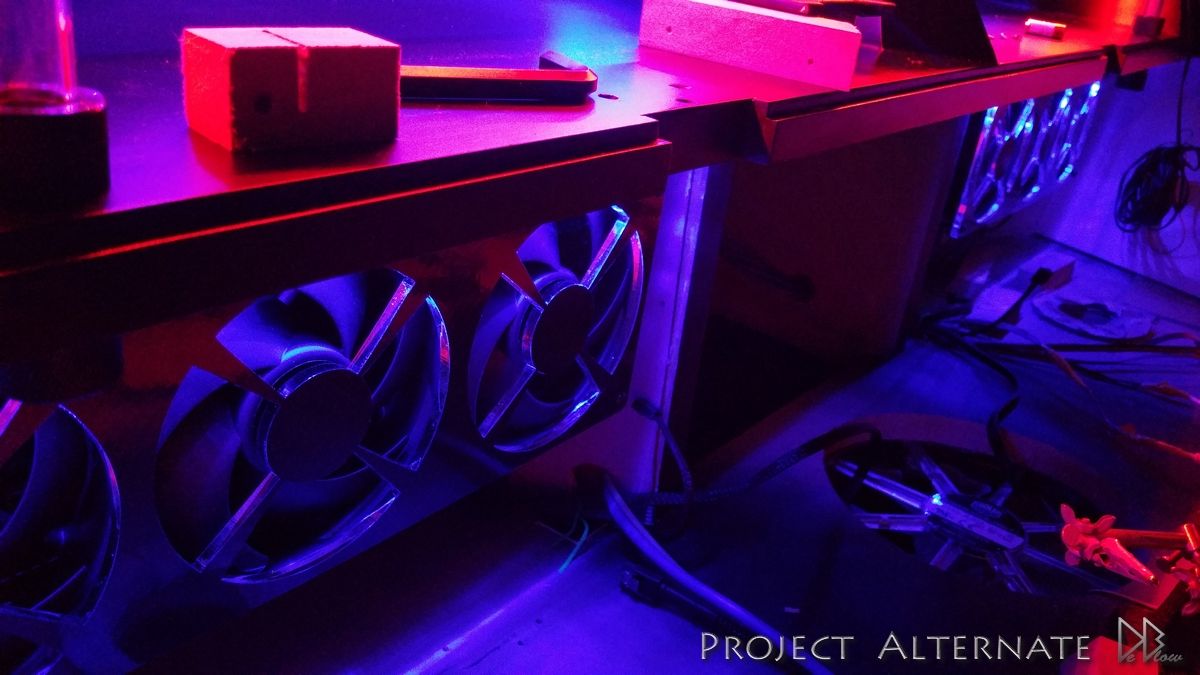
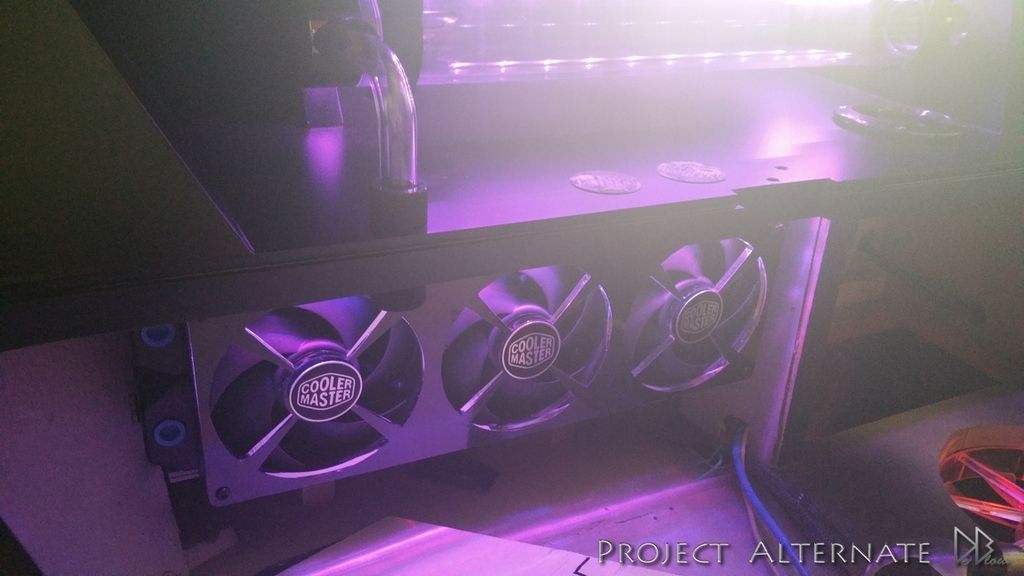
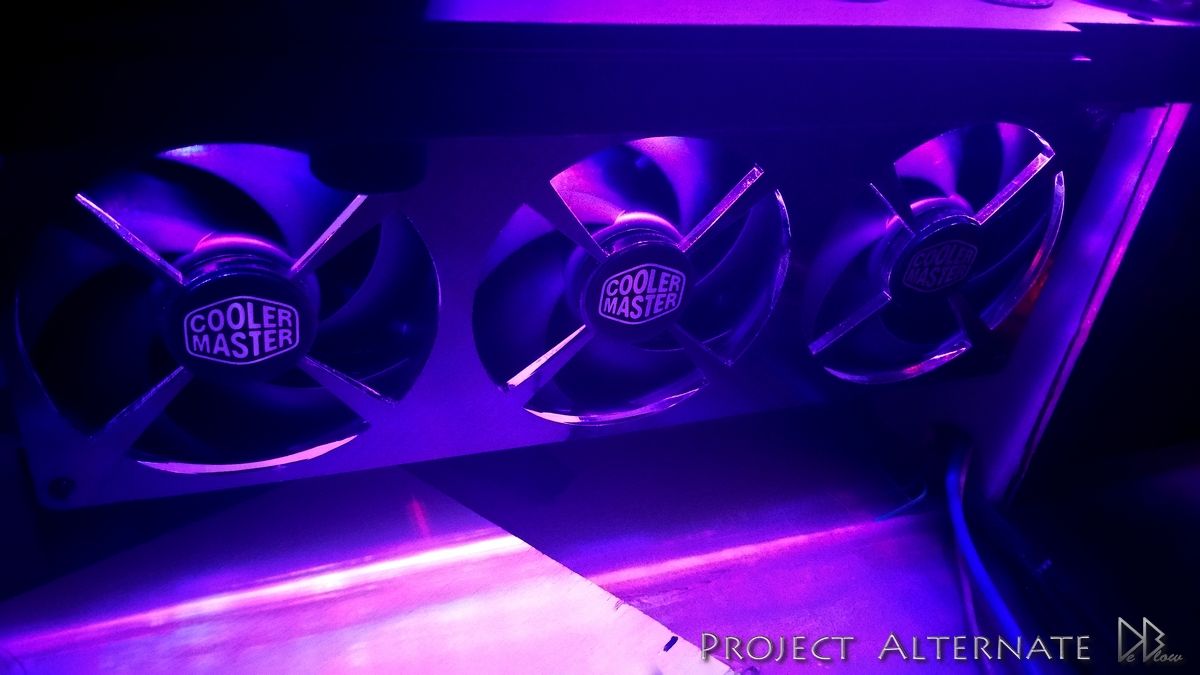
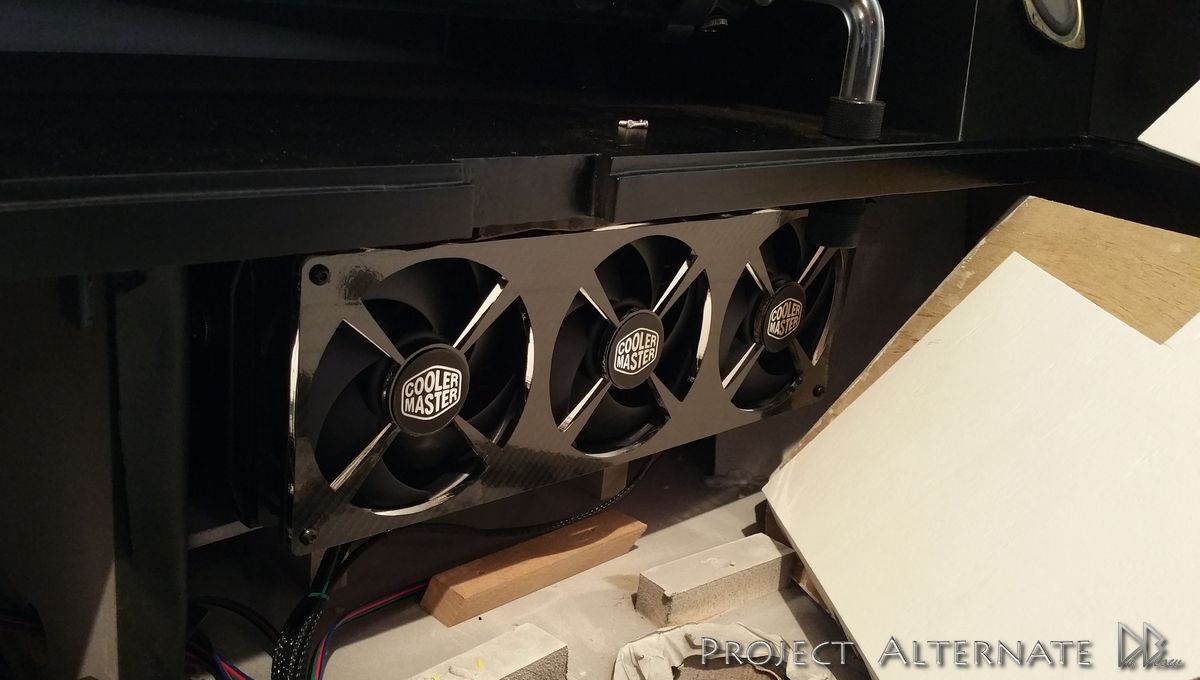
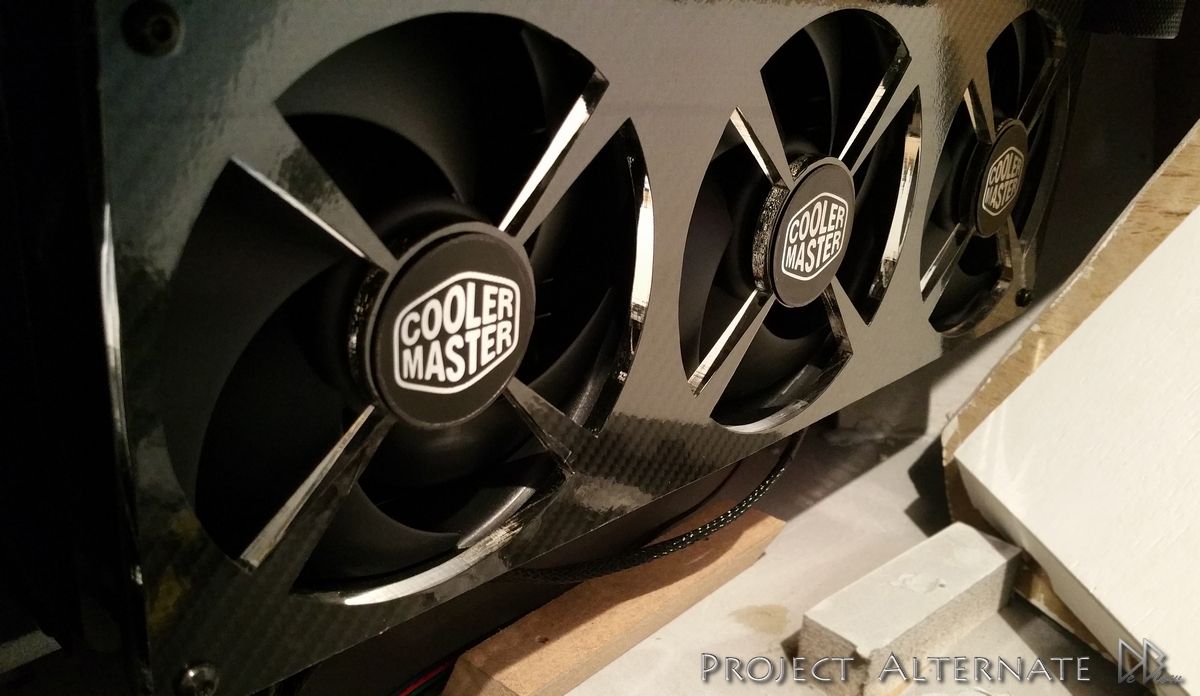
Now i have the fan covers & logos I started to add the CM Silencio FP 120 fans to the RADs

also been working on covering the side compartment with the leather
most of the above is still work in progress, should be able to show more detail when i get hold of a better camera
thats all for today, hope you like it so far?
Using 16mm Alphacool hard tubing with the 16mm Alpha fittings in black for this build, not as easy has the rubber im use to
but should look a lot cleaner
heres my 1st bend, used my motorbike internal gloves as i forgot to buy some
heat gloves
and heres a quick look at the internal setup work thats started, going to be wrapped with leather & carbon for sure.
Now i have the fan covers & logos I started to add the CM Silencio FP 120 fans to the RADs
also been working on covering the side compartment with the leather
most of the above is still work in progress, should be able to show more detail when i get hold of a better camera
thats all for today, hope you like it so far?
Soldato
- Joined
- 20 Jun 2011
- Posts
- 3,673
- Location
- Livingston
This is awesome man. Can't wait to see the finished result. Also can't wait to get my own place and have a go at a desk build Your last project and this one + the other guys desk build, inspiring stuff! I want one!
Your last project and this one + the other guys desk build, inspiring stuff! I want one! This is awesome man. Can't wait to see the finished result. Also can't wait to get my own place and have a go at a desk build
I was just like you 10,20 years ago
did my 1st custom desk in 2002 but was very basic, took all this time to have the space, cash & time to do this build,
hopefully wont take you that long lol but good luck with it!
Loving this, a true one off, top work!
cheers Buck!
this is so nice i would love a build like this
Thanks Keechy, good to see your still with me
looking good on the build, details is great and good to see it coming along.
end result is going to be good so looking forward to seeing the end result!
Thanks mate, glad to see your still with me
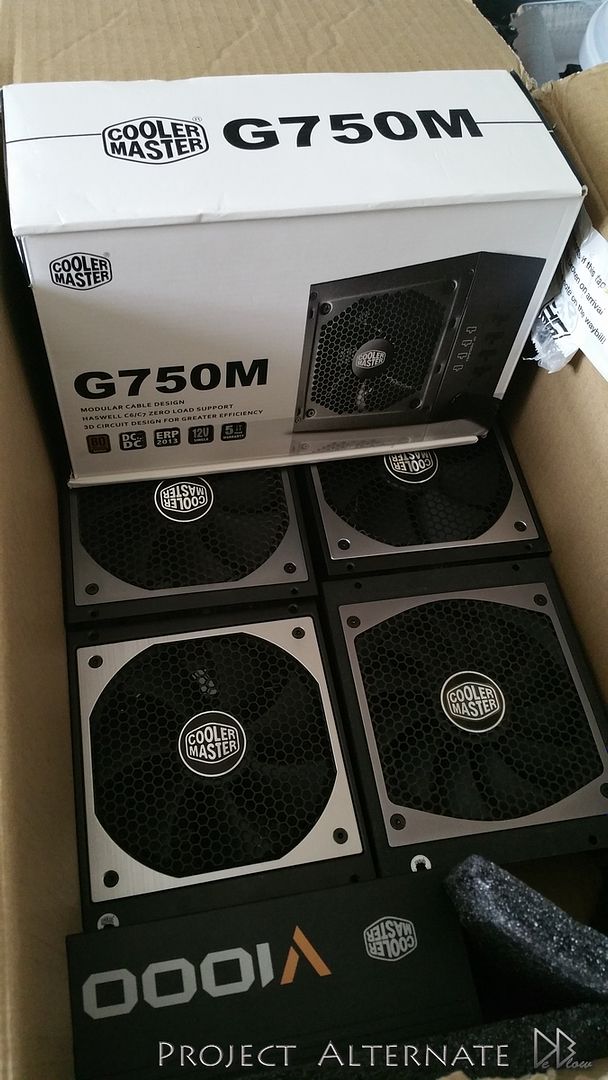
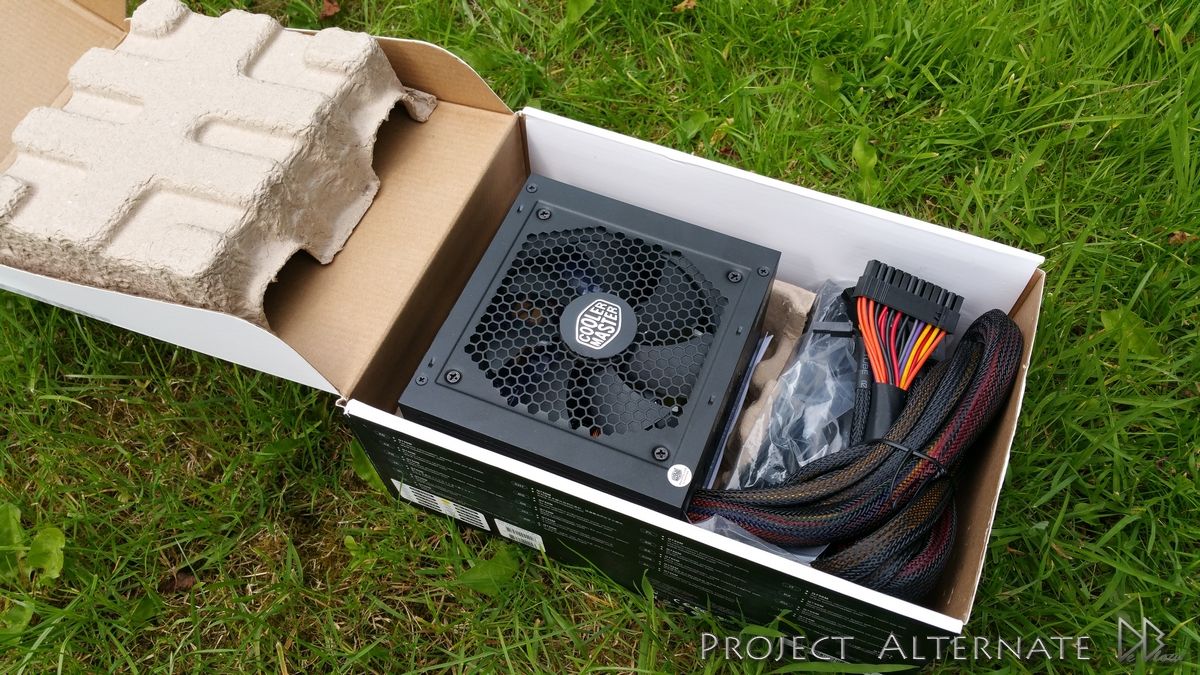
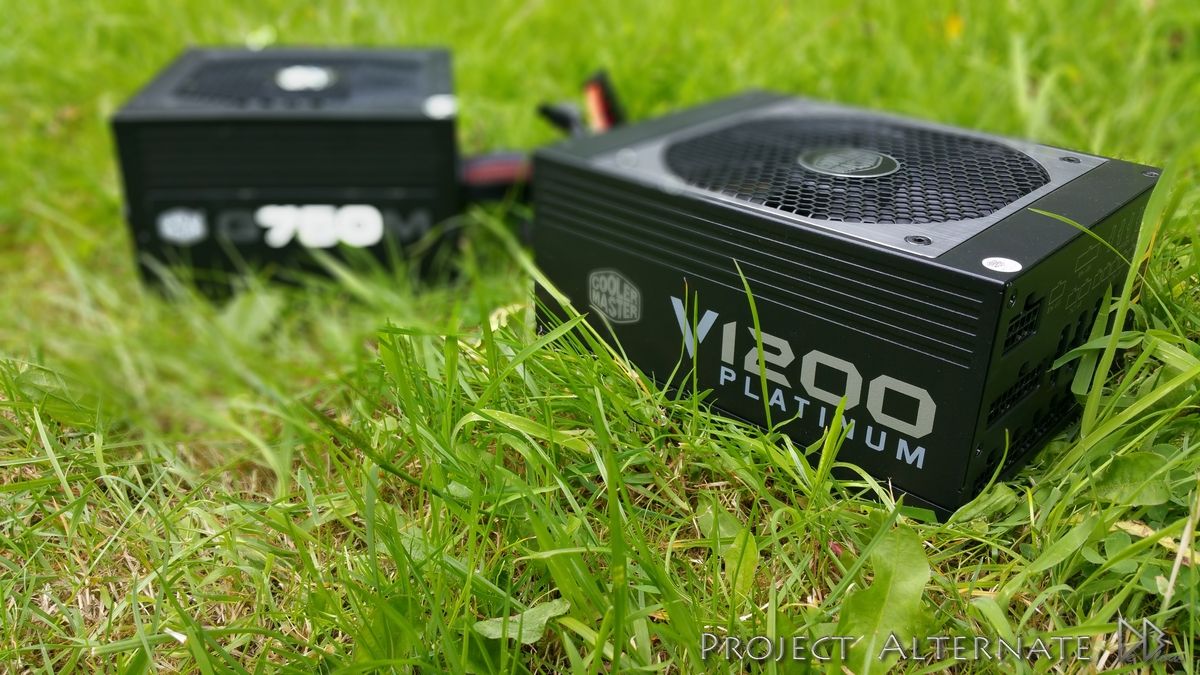
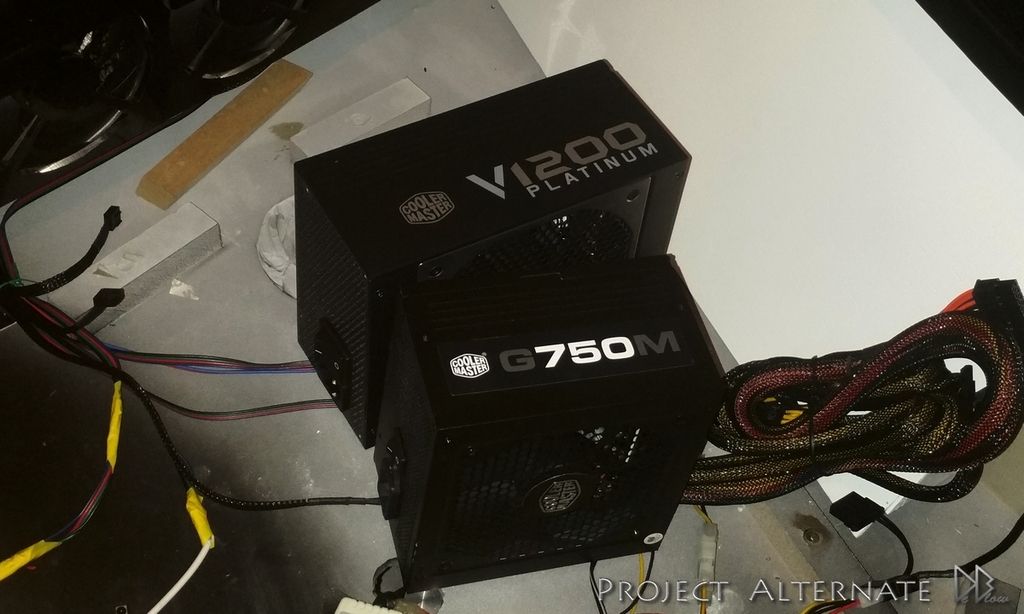
Cooler Master found me to be using an older CM PSU as the power source for my LEDs,
Motor & other none main PSU dependant parts, so kindly offered me a nice new G750M
This will be more than enough for my setup & can even act as a power source for a 3nd/4th GPU
should I add them later down the road.
so the main PC parts are running on the V1200 & extras run from the G750M.
I also got my hands on some other CM parts that I plan to breakdown & use on the desk
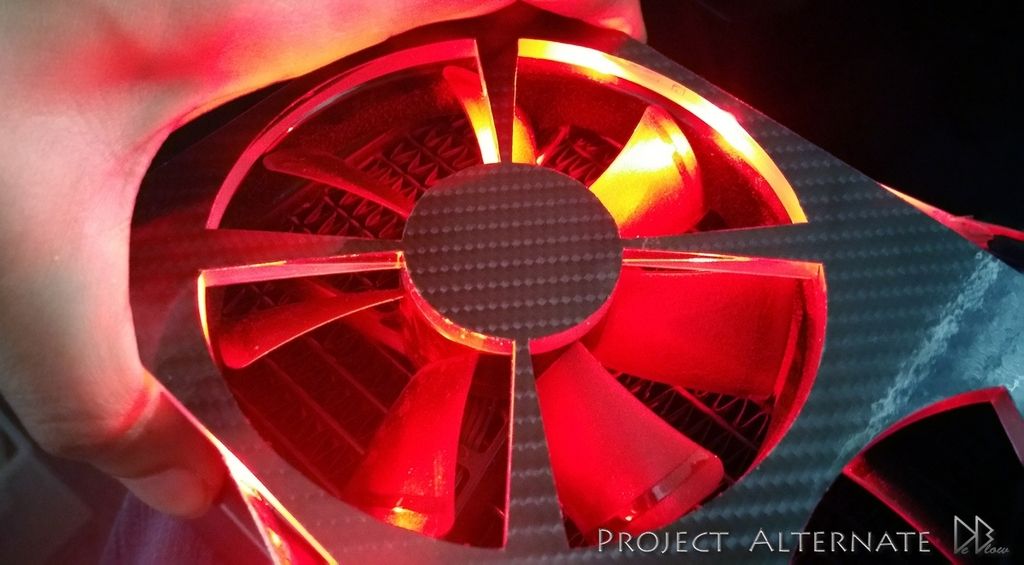
Fitted the RAD covers & added some independent RGB lighting to them
Both the PSU's are going under the right side of the desk on the top shelf,
this is so they have some fresh air & dont add to the temps inside the main part
of the desk,
I can also get to them more easily should I need.
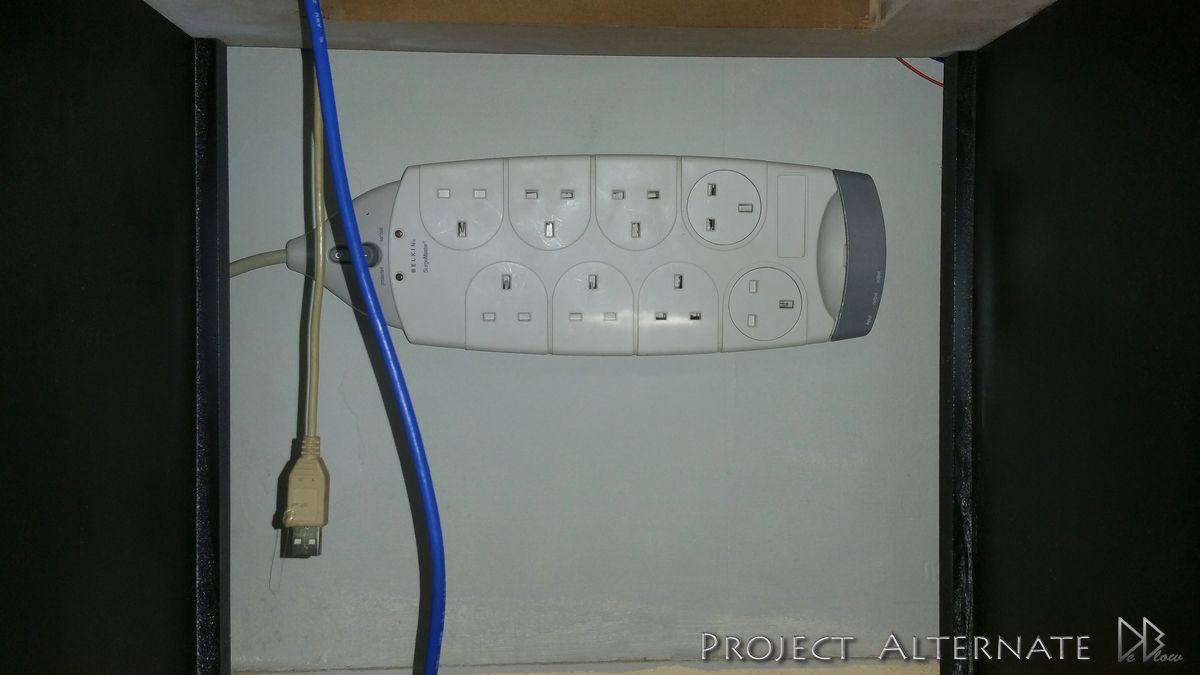
Installed the main power on the back wall under the desk in the center, this is also so I can get to it easily.
Breaking down some of the PSU housings so I can use the badges on the RAD covers
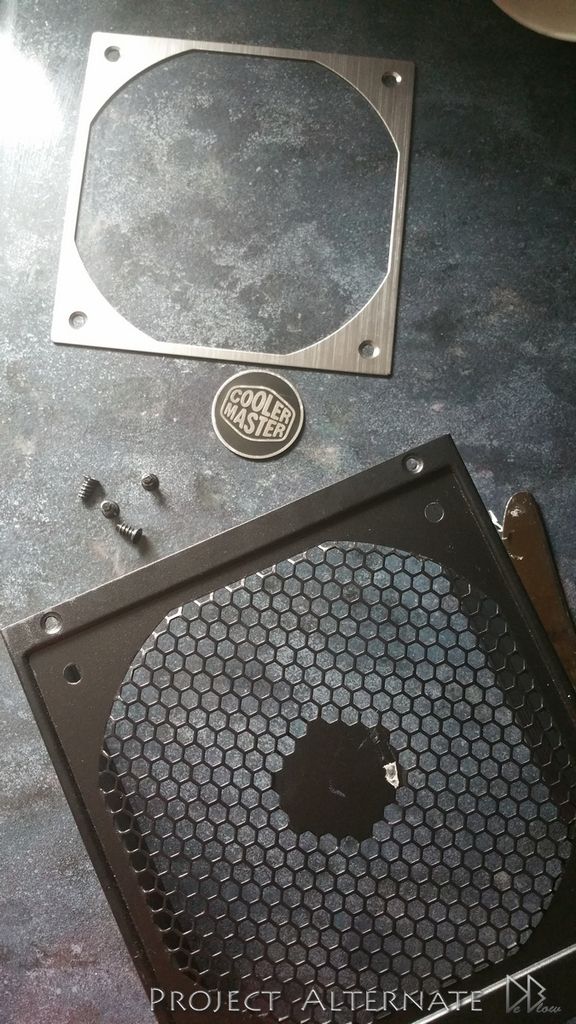
just a quick test fit to see how they looked so not stuck on 100% correct, decided to blackout the outer circles
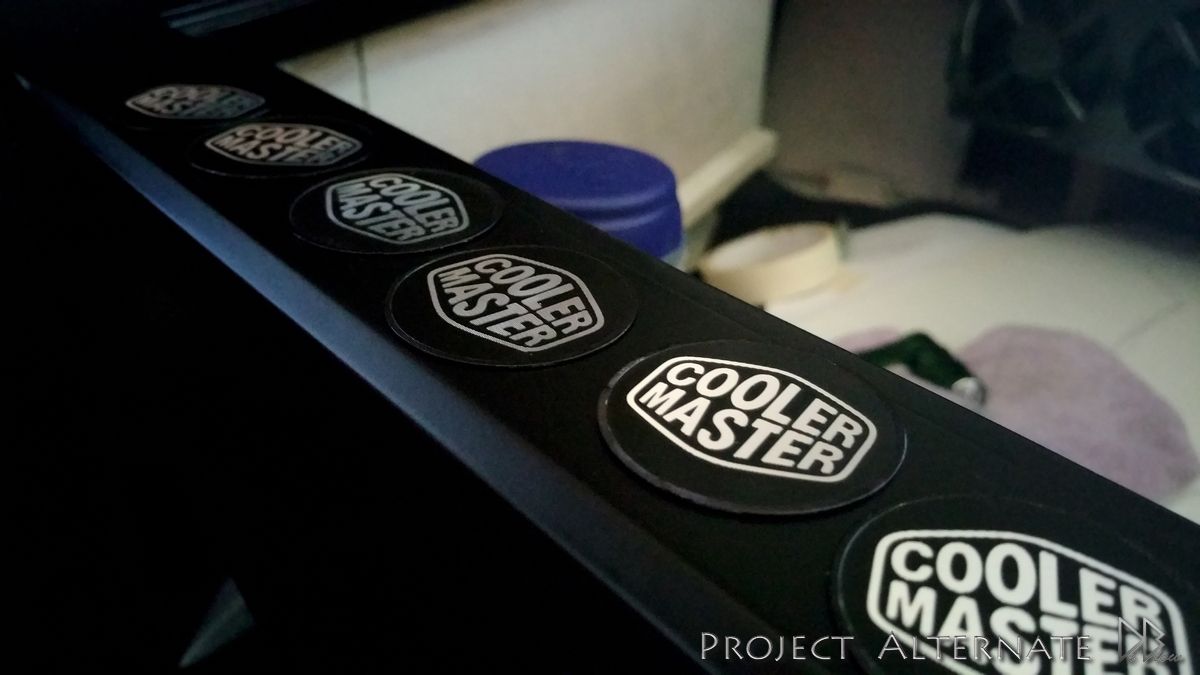
Think they look better now
in this pic you can see some of the internal panels have been covered with black leather (flux)
have never seen anyone do this before so thought it would make a nice change
still lots more to be done to the panels though.
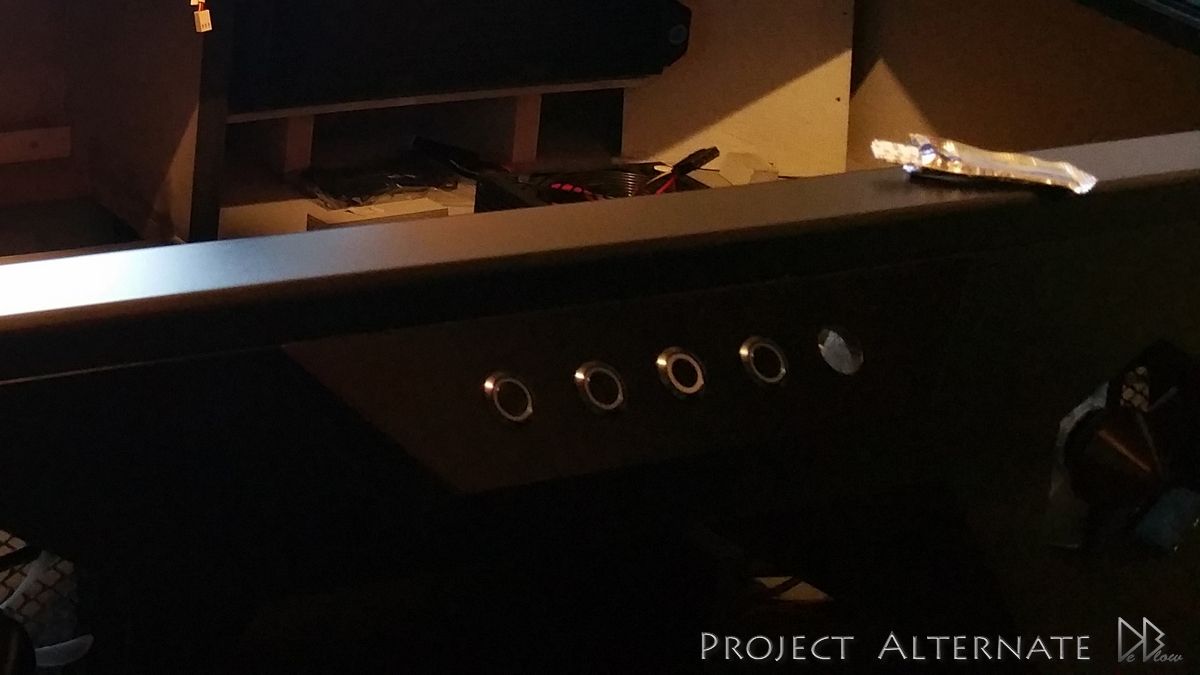
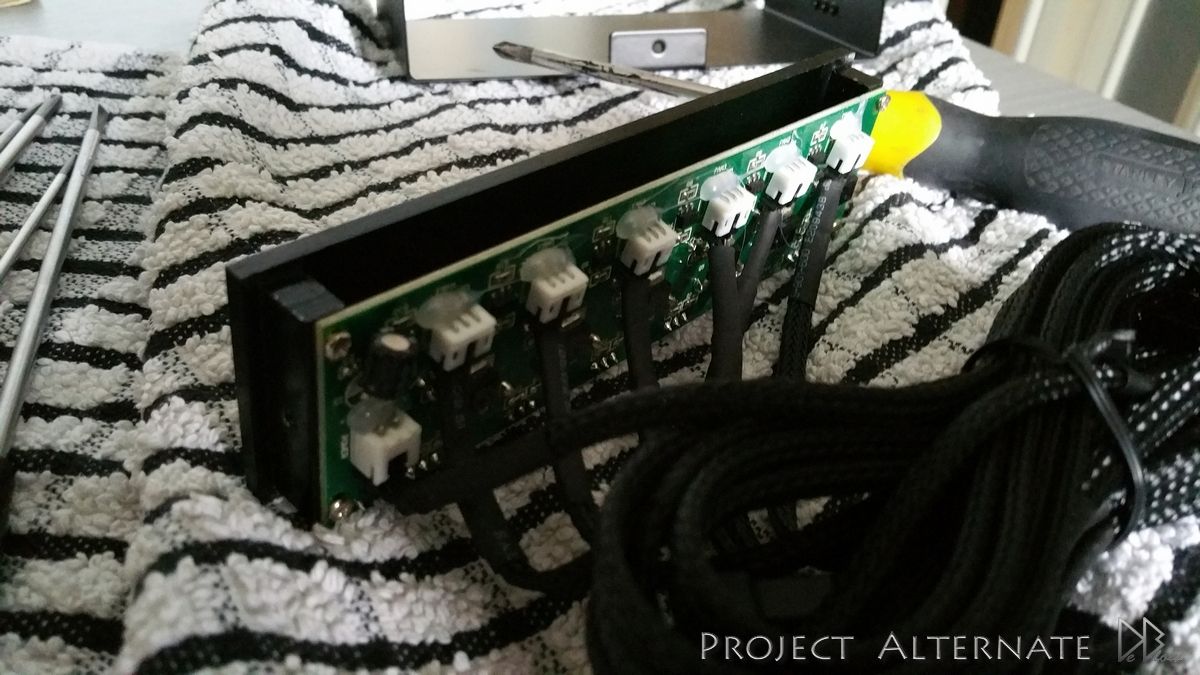
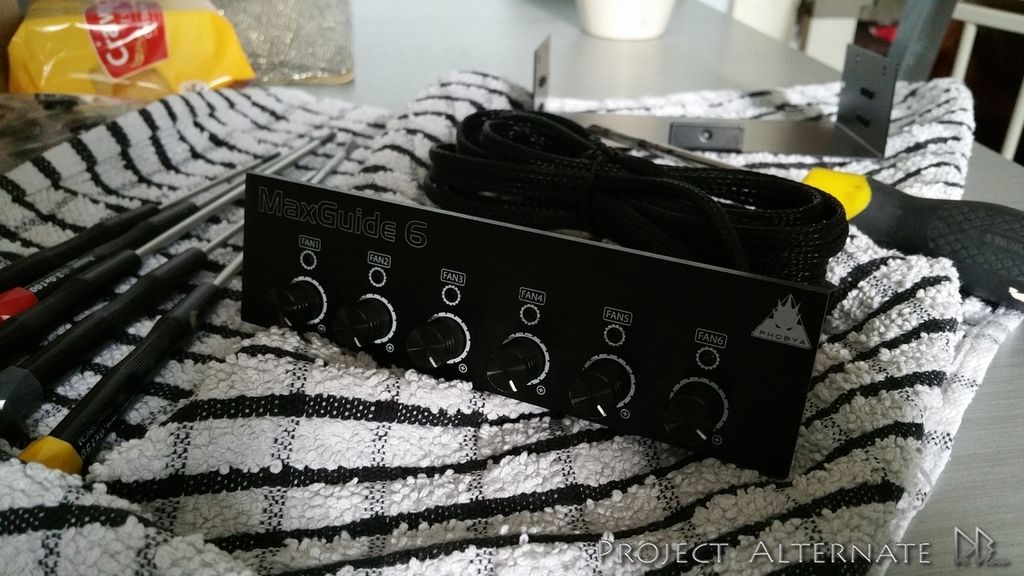
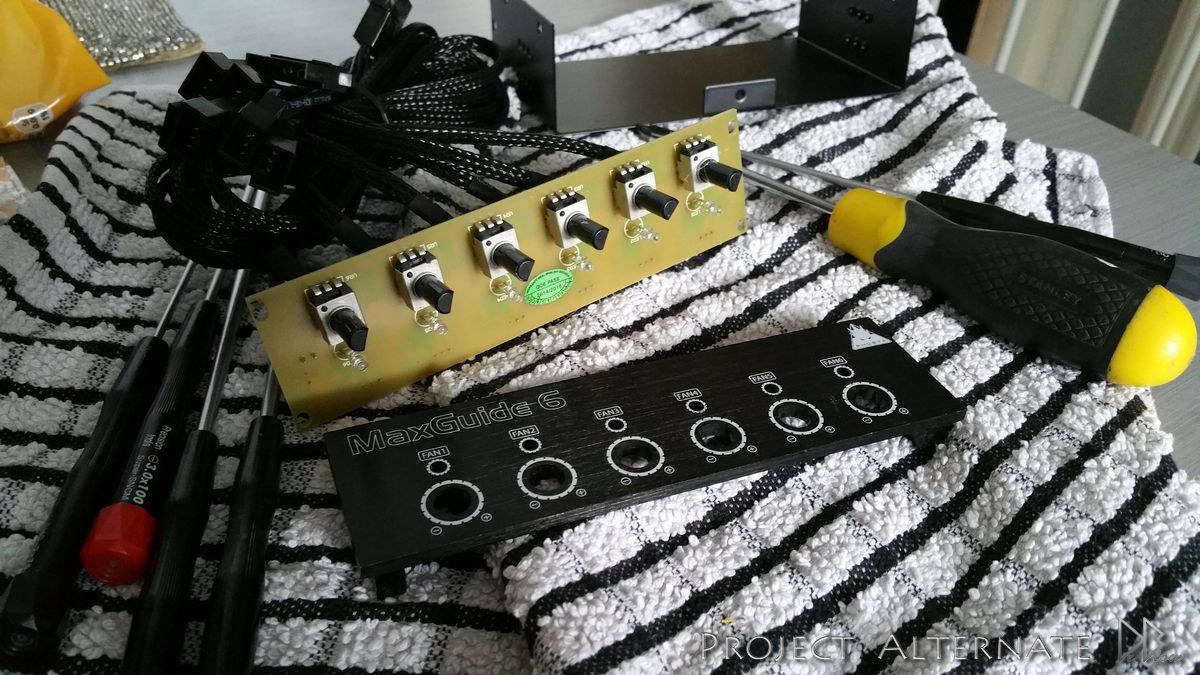
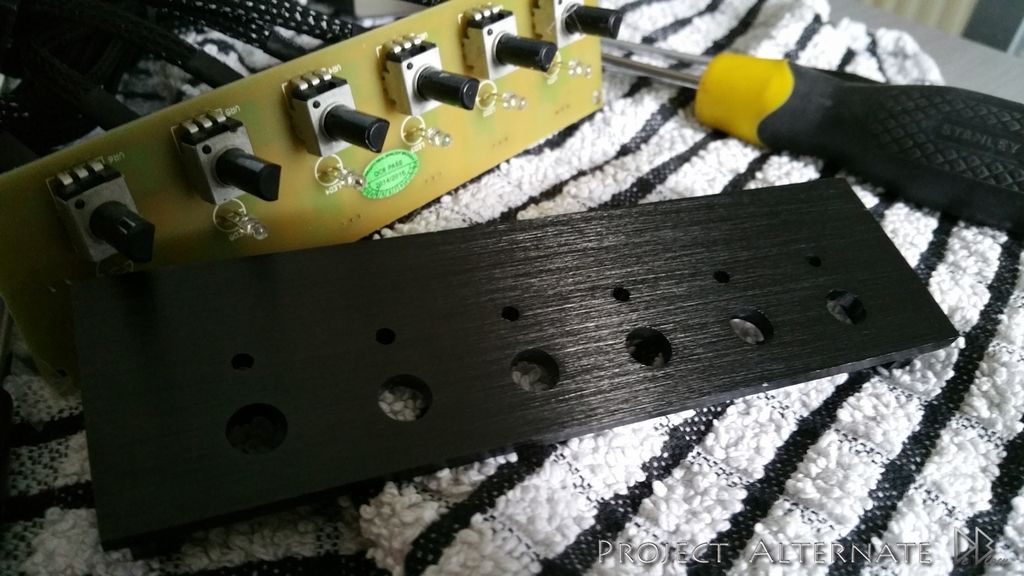
Started to mod the 2nd Phobya Fan Controller, removing the white print, changing from blue to red LED & adding a new logo.
Still loads more to do, but with some luck I hope to have this completed within the next 4 to 5 weeks or maybe sooner
Motor & other none main PSU dependant parts, so kindly offered me a nice new G750M
This will be more than enough for my setup & can even act as a power source for a 3nd/4th GPU
should I add them later down the road.
so the main PC parts are running on the V1200 & extras run from the G750M.
I also got my hands on some other CM parts that I plan to breakdown & use on the desk
Fitted the RAD covers & added some independent RGB lighting to them
Both the PSU's are going under the right side of the desk on the top shelf,
this is so they have some fresh air & dont add to the temps inside the main part
of the desk,
I can also get to them more easily should I need.
Installed the main power on the back wall under the desk in the center, this is also so I can get to it easily.
Breaking down some of the PSU housings so I can use the badges on the RAD covers
just a quick test fit to see how they looked so not stuck on 100% correct, decided to blackout the outer circles
Think they look better now
in this pic you can see some of the internal panels have been covered with black leather (flux)
have never seen anyone do this before so thought it would make a nice change
still lots more to be done to the panels though.
Started to mod the 2nd Phobya Fan Controller, removing the white print, changing from blue to red LED & adding a new logo.
Still loads more to do, but with some luck I hope to have this completed within the next 4 to 5 weeks or maybe sooner
You know when you start something and immediately you know, " this is gonna look really good"? You could tell from your very first post!
Amazing work man!
You could easily sell these setups.
Thanks mate, glad i'm living up to the hype then
I did try to not over do the 1st posts, left some bits out like the motor, side lights & some other little bits,
was sweating at bit at the start when looking at my artwork & uncut MDF lol
People can build this from scratch with no guides, and i can't even follow ikea's instructions when they have 2 screws that are exactly the same but are diffrent models and im just like a monkey , Looks cool though, would totally want a computer in a desk
, Looks cool though, would totally want a computer in a desk
Last edited:
amazing work also that a lot of cooler master psu
People can build this from scratch with no guides, and i can't even follow ikea's instructions when they have 2 screws that are exactly the same but are diffrent models and im just like a monkey
I had a baby boy last week so things going a bit more slow atm, also too hot, especially for the soldering that's the next thing I need to do...
Keetch! thanks again m8, I only have 2 PSUs, a V1200w (main) 750w (extras)
the other PSU bits are just the outer shells with fans..
Rehok, Thanks & I think we all have problems with IKEA's flat packs lol
never had one that wasn't a pain in the a** to put together.