Associate
Six months on quick update: http://forums.overclockers.co.uk/showpost.php?p=17169359&postcount=209
Finally managed to get started on my new build...
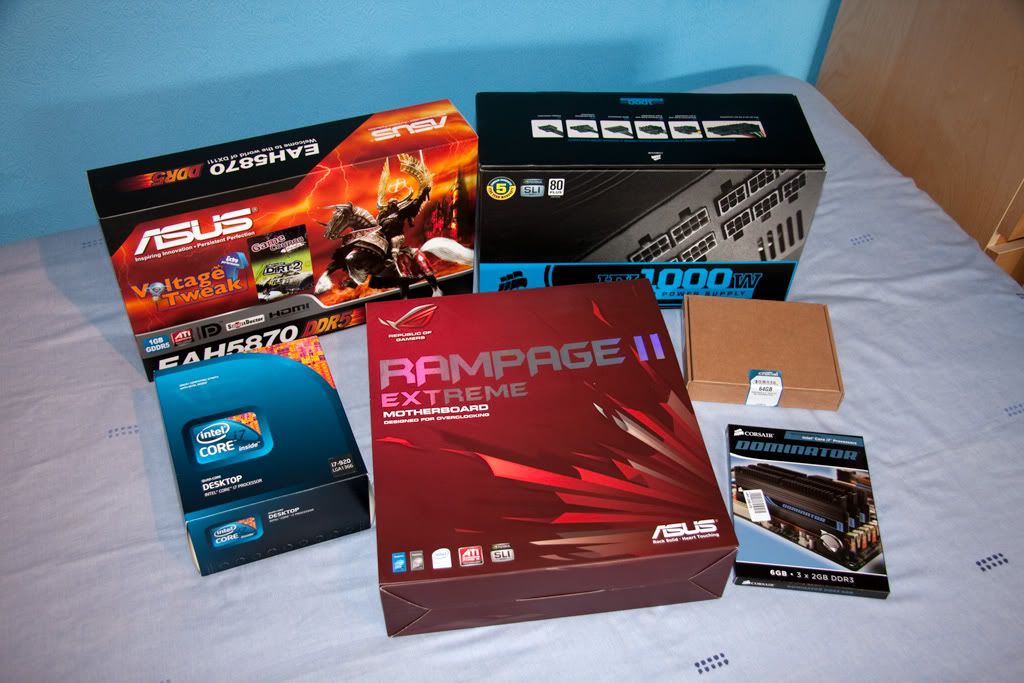
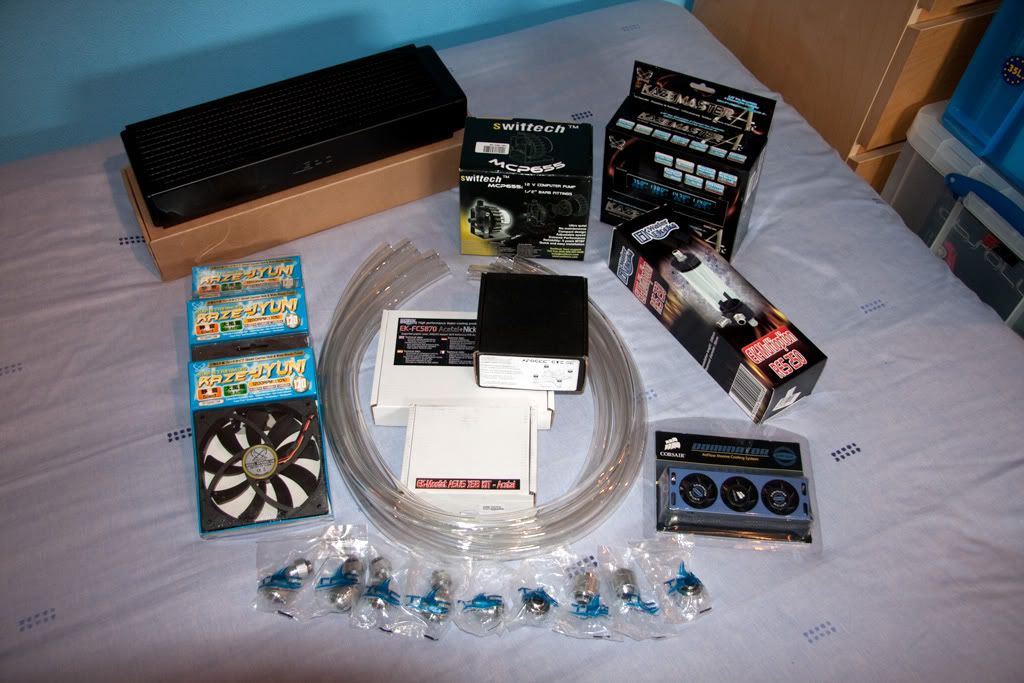
Run down of parts:
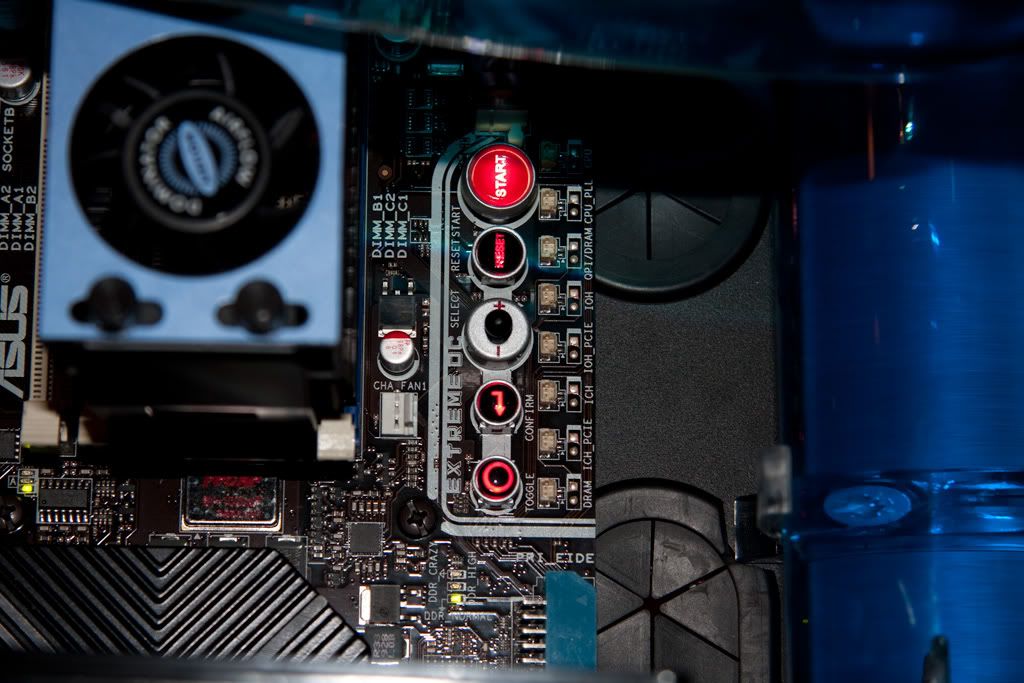
Asus Rampage II Extreme
Intel i7 920 D0
Asus Ati 5870
Corsair Dominator 6GB (3x2GB) DDR3 PC3-12800C8
Corsair Obsidian 800D
Crucial 64Gb SSD + Westen Digital 1Tb
Watercooling:
Swiftech GTZ SE
EK 5870 full cover
XSPC RX360
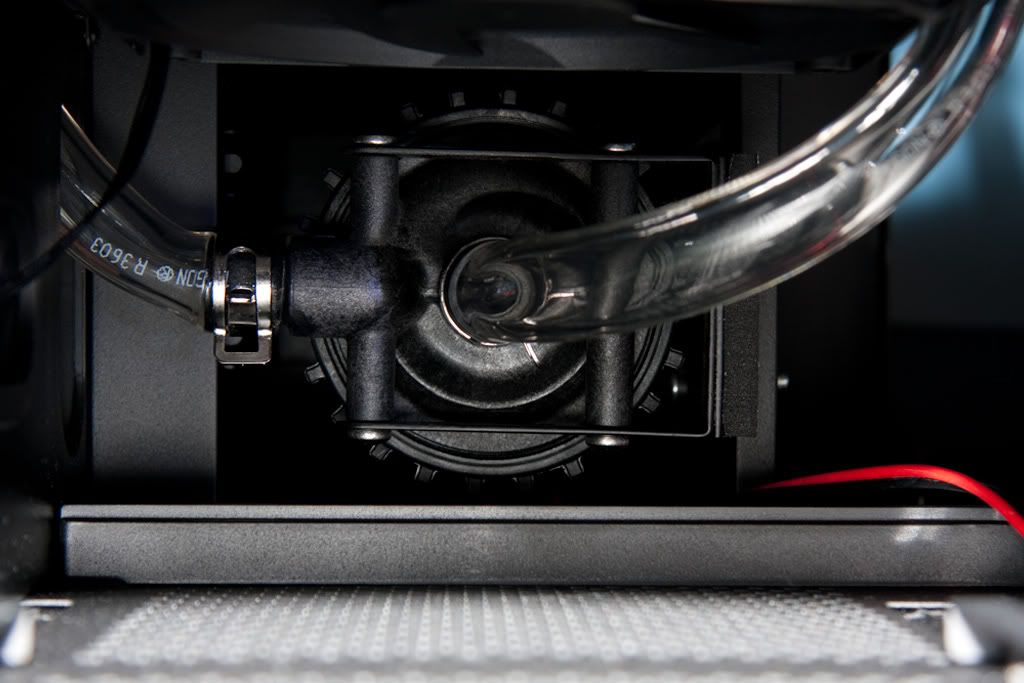
Swiftech MCP655
EK 250 R2 Reservoir
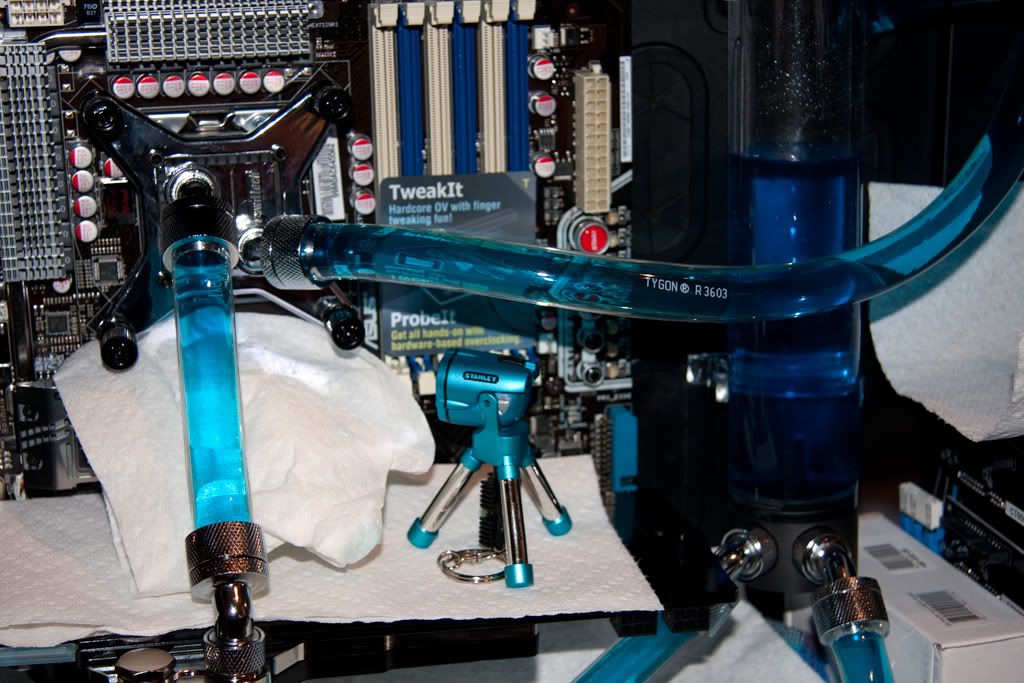
Tygon 1/2" with Fesser Compresion fittings
Thermochill EC6 Blue Coolant
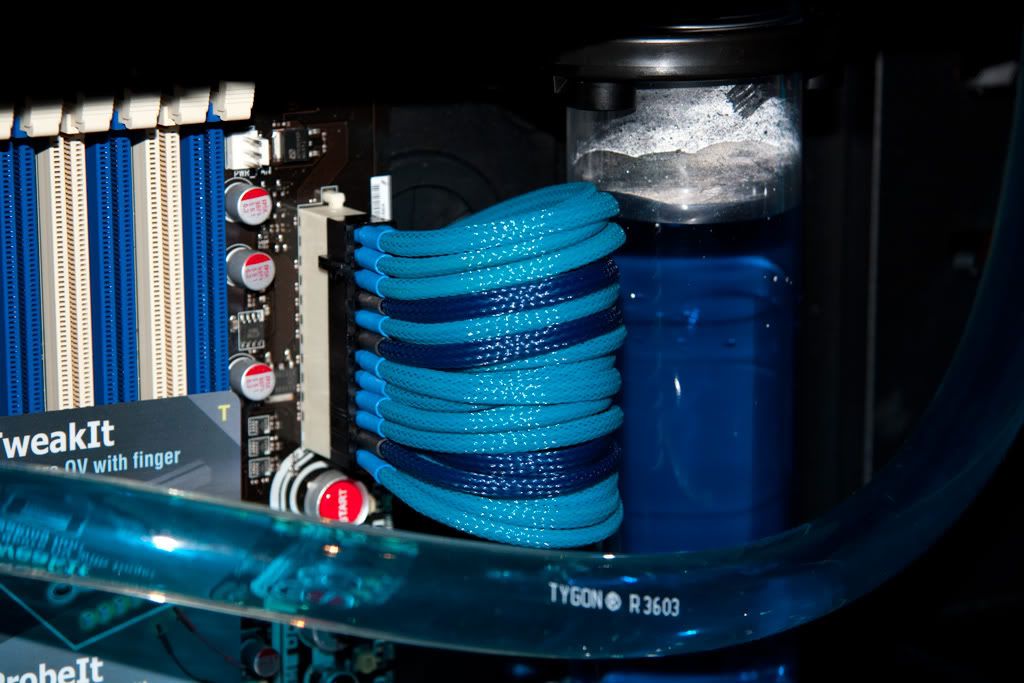
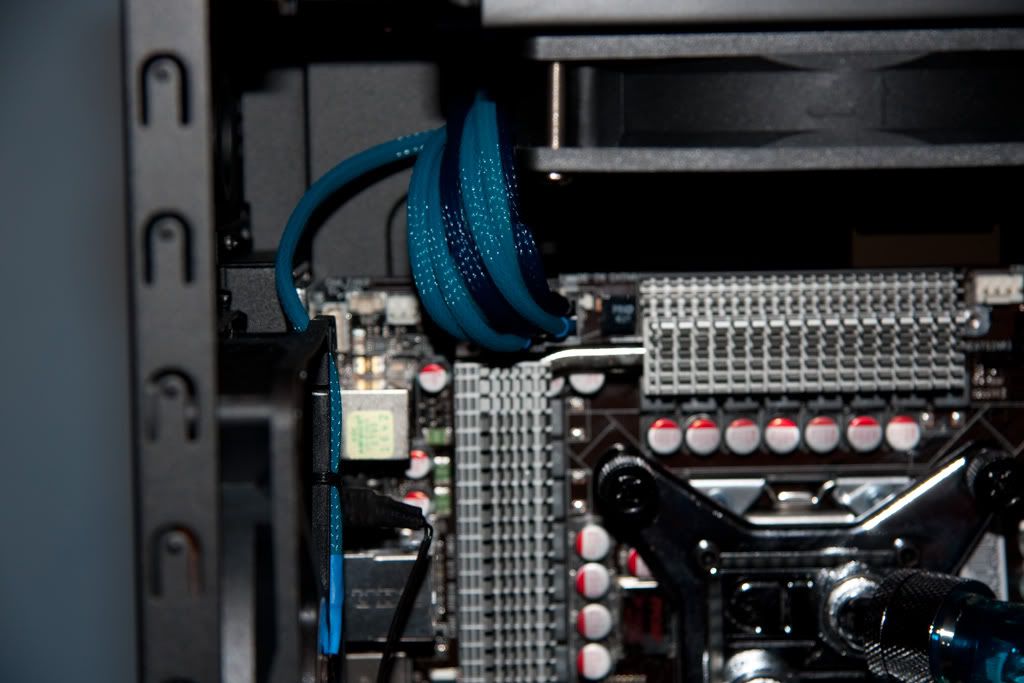
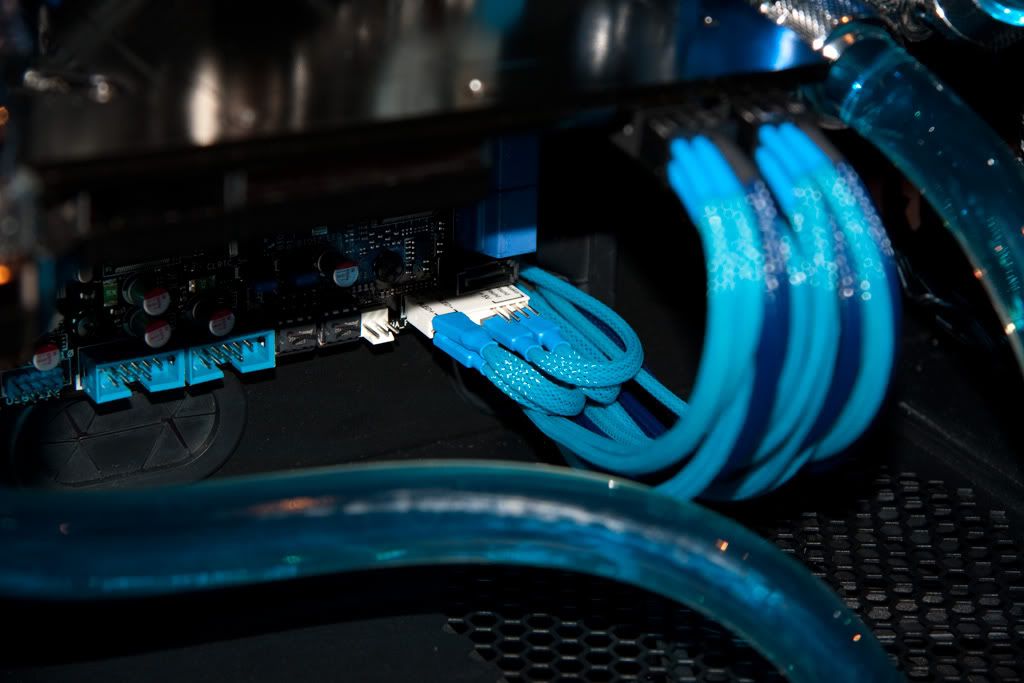
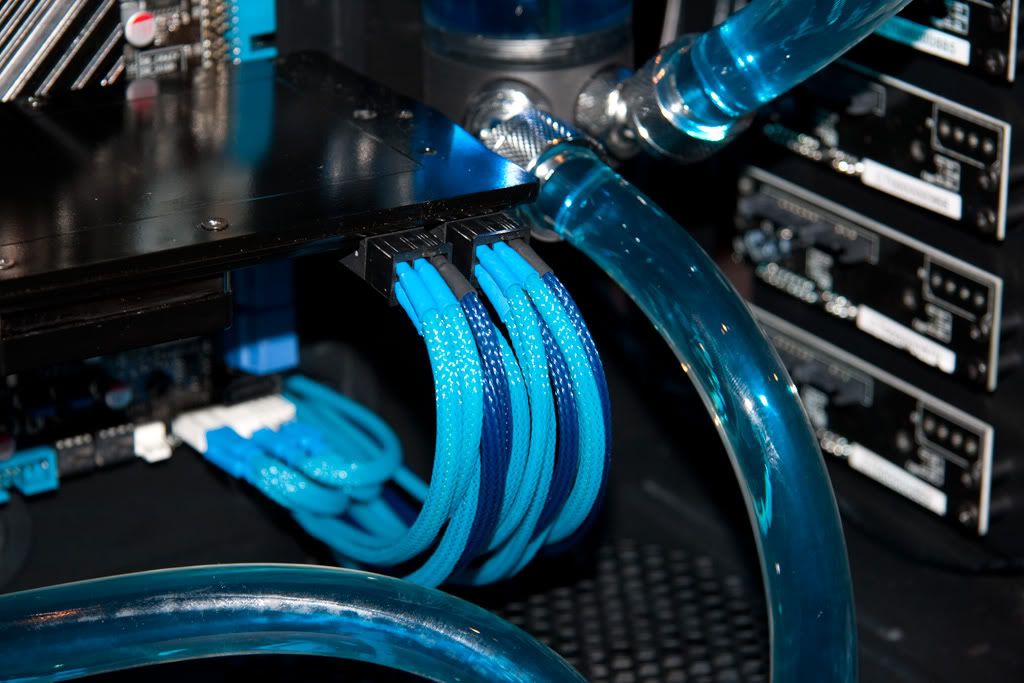
Then to finish it all there are some white cathodes, Scythe Kaze controler, Scythe Jyuni 1900 fans, Corsair Ram cooler. All cables will be sleeved with MDPC-X sleeve and heatshrink.
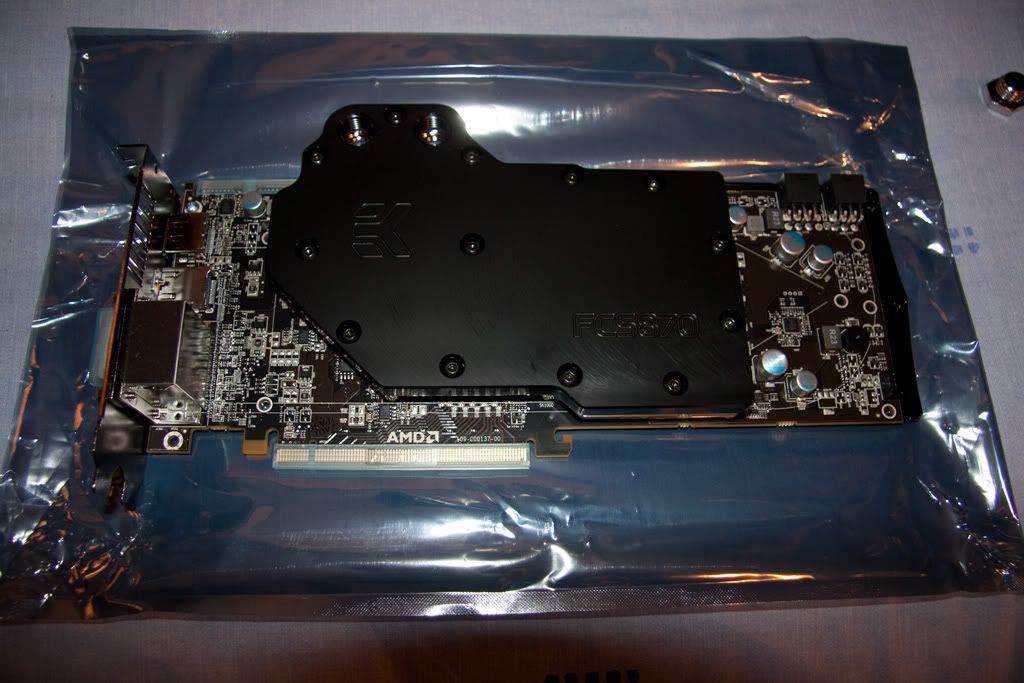
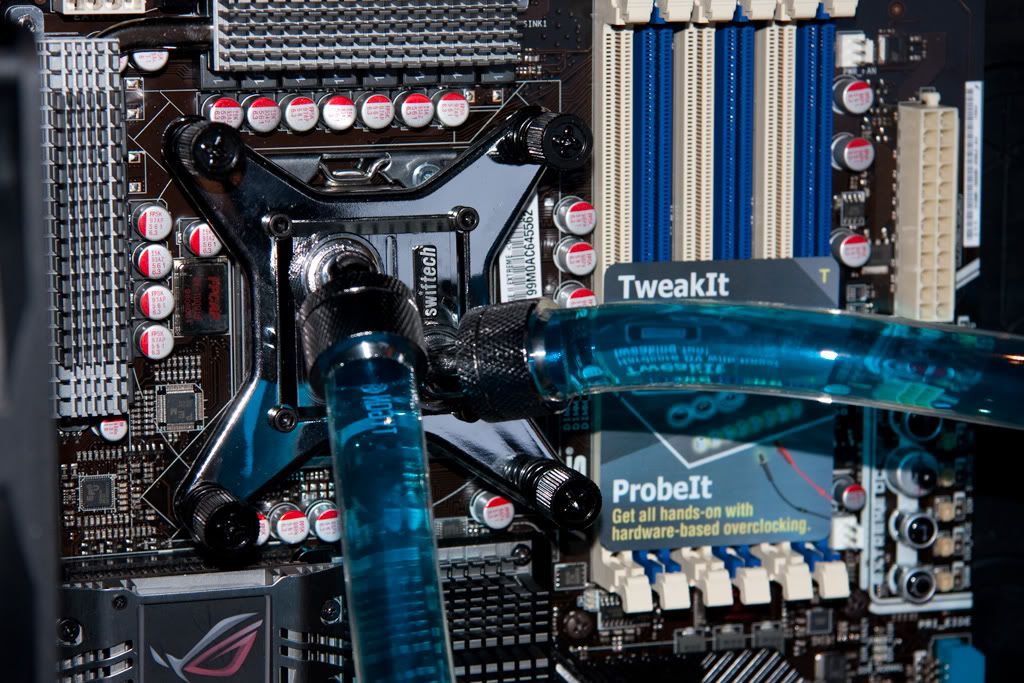
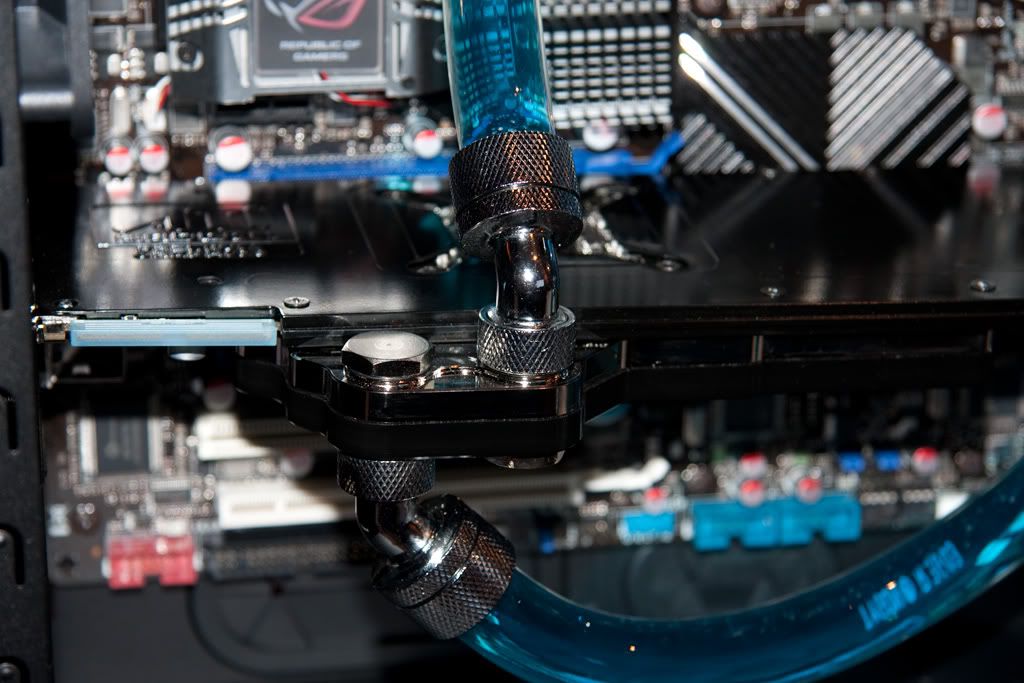
Mounting the 5870 block:
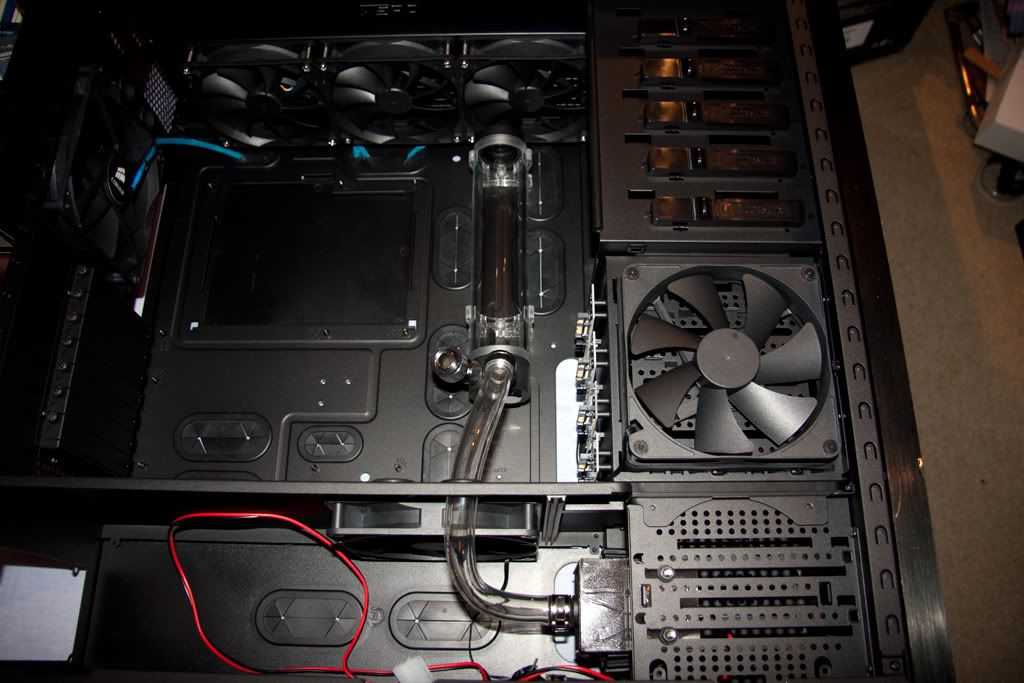
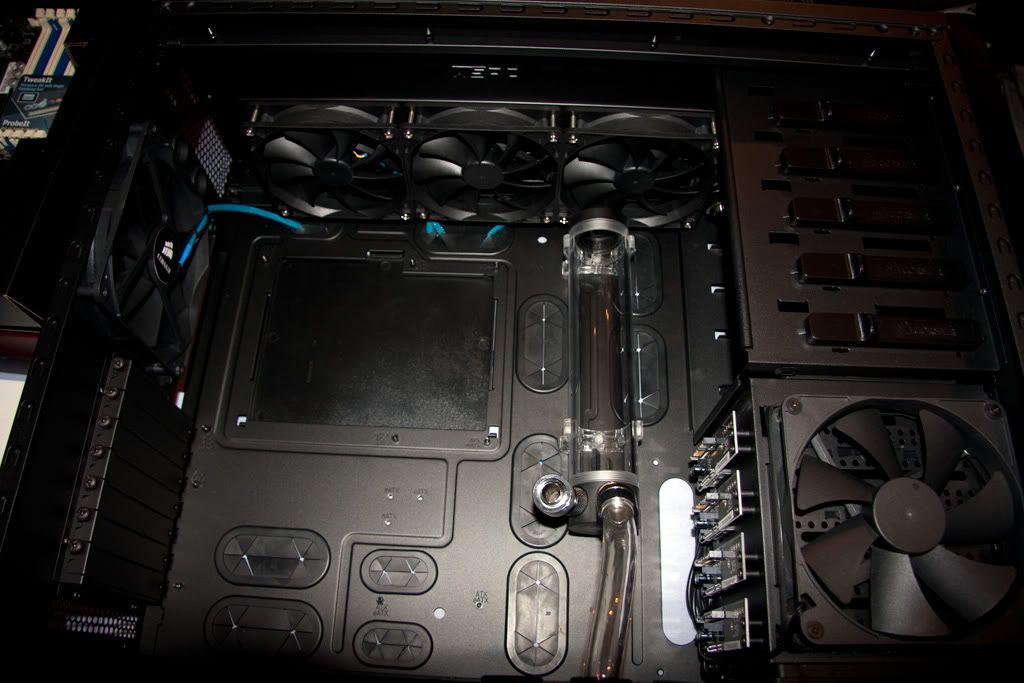
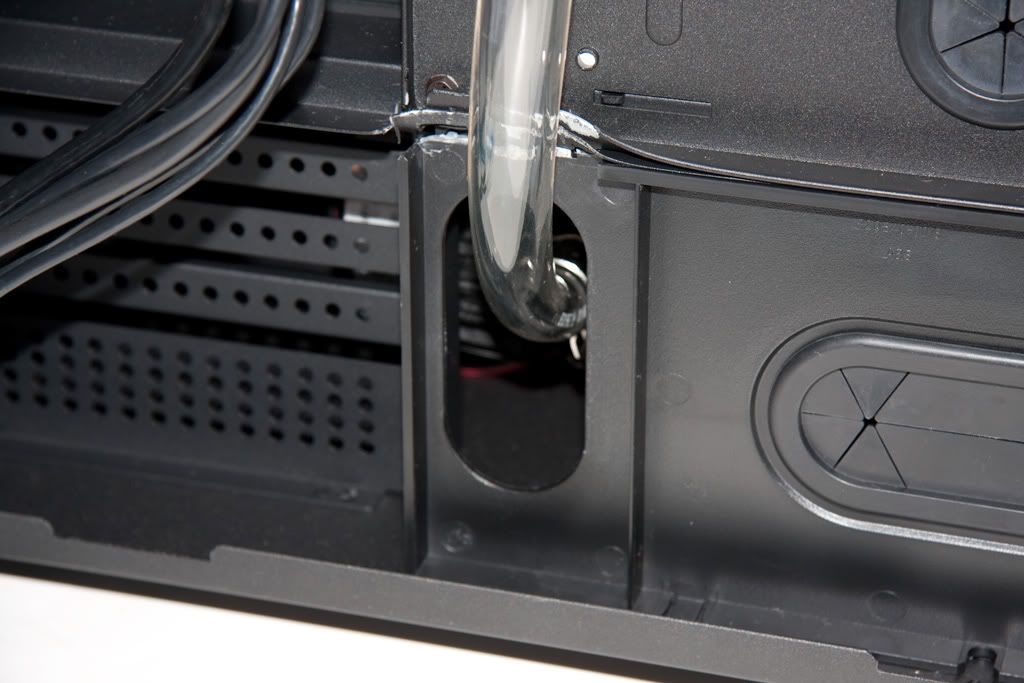
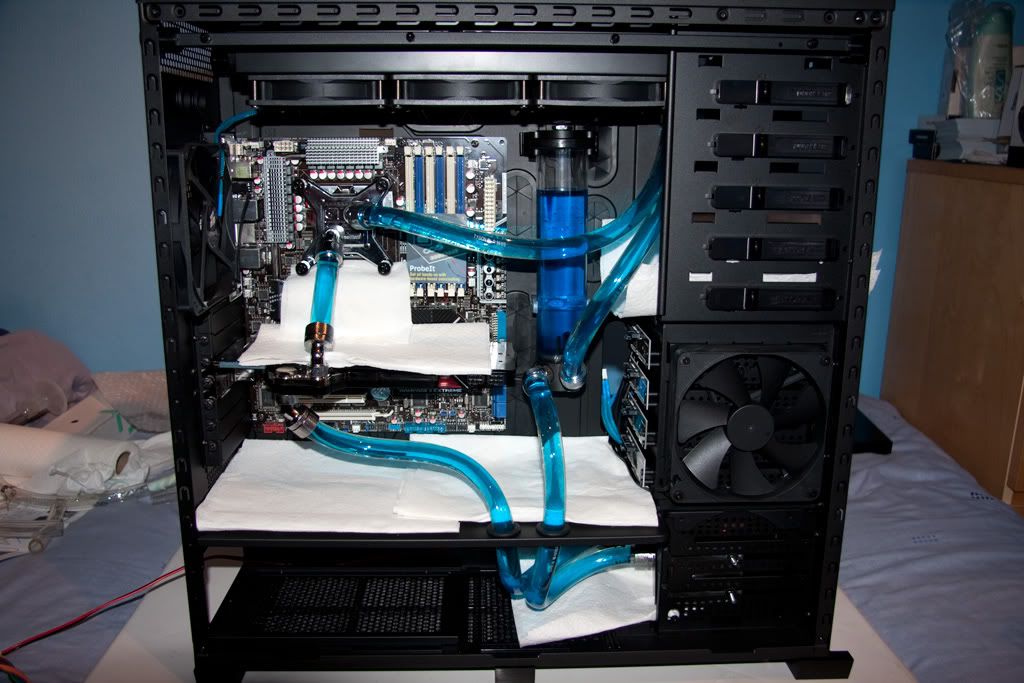
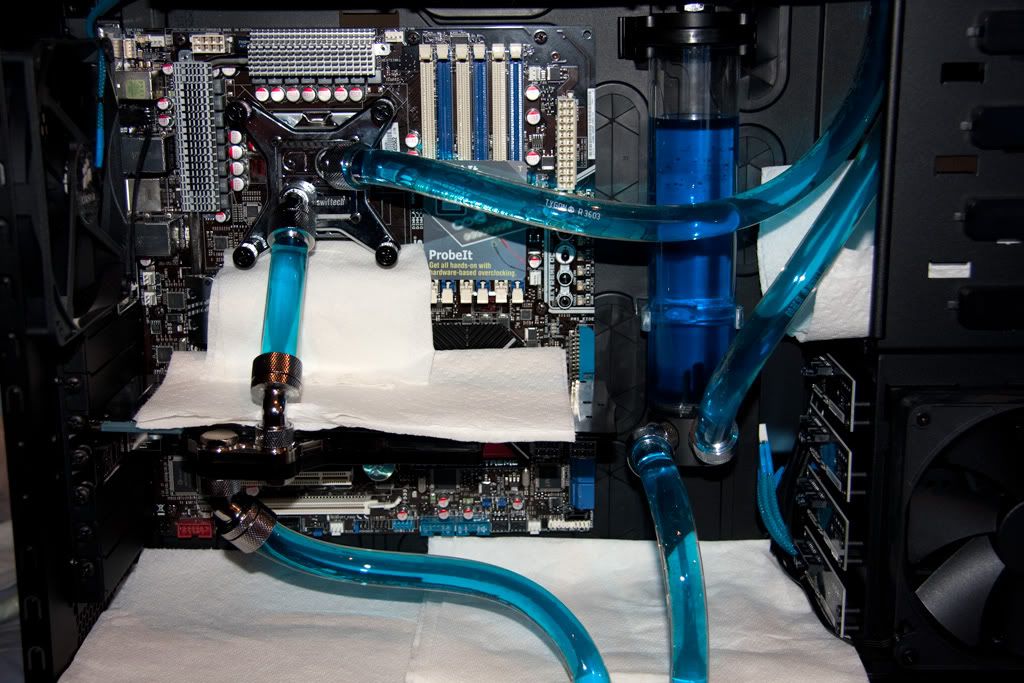
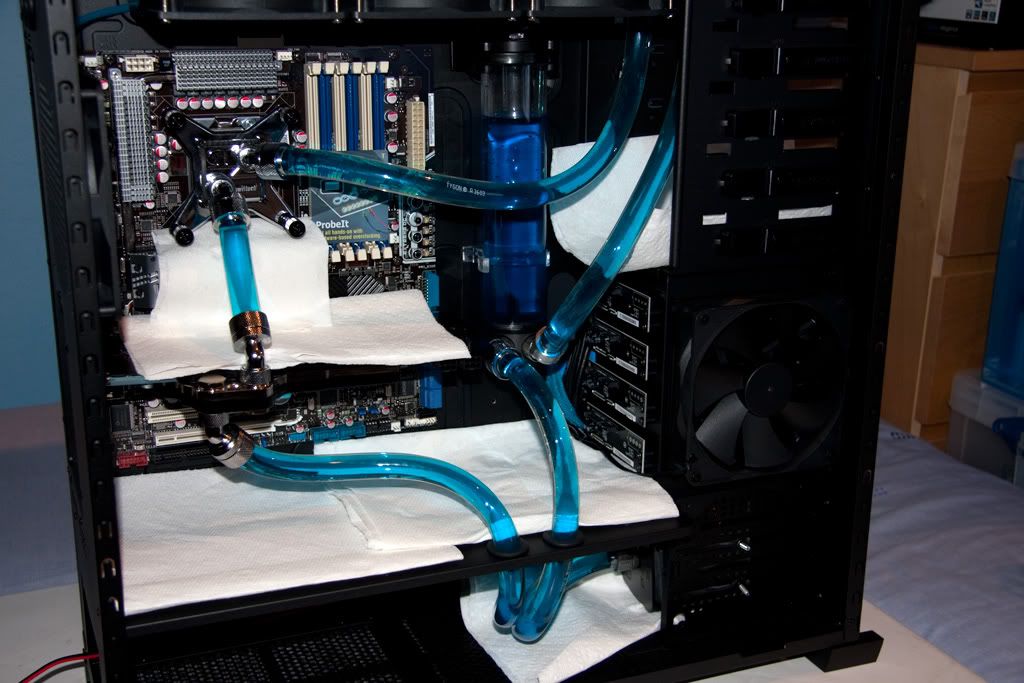
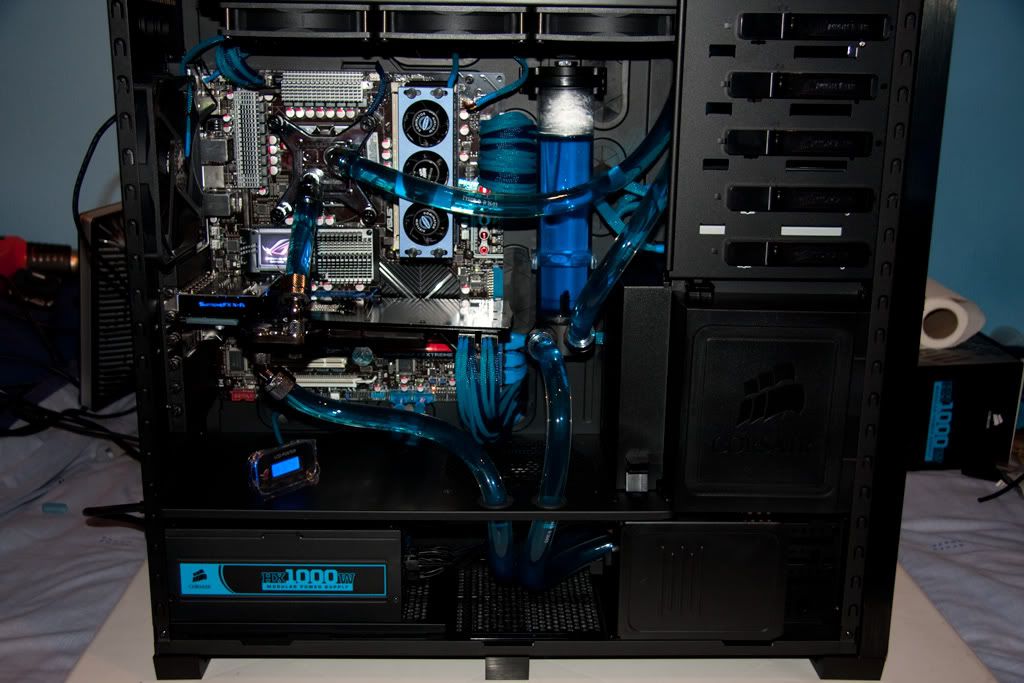
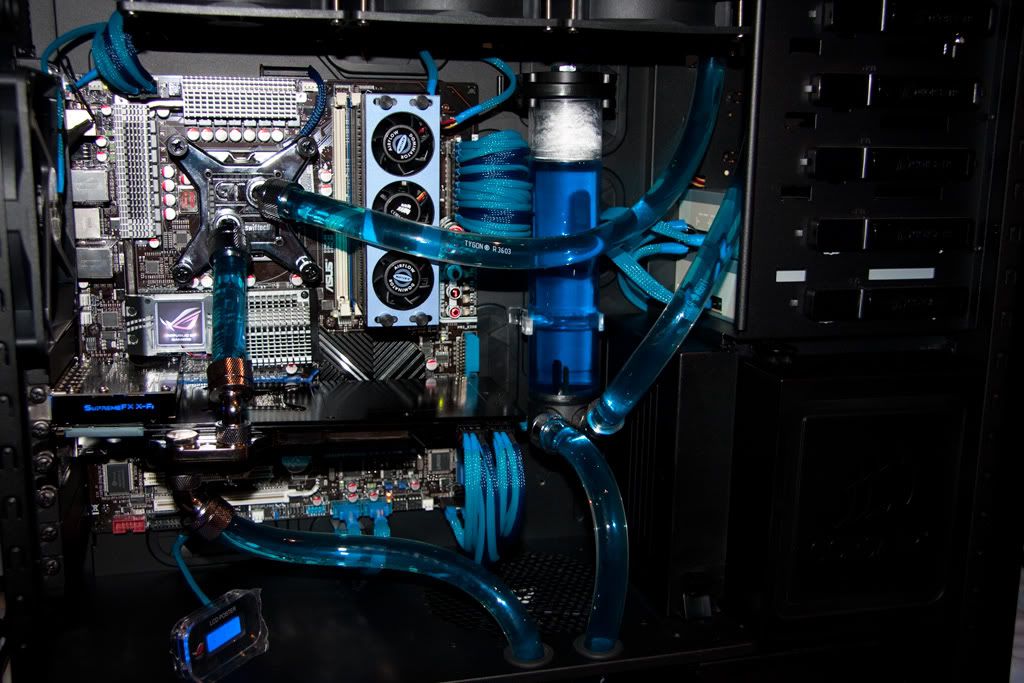
Pump, Res and Rad mounting:
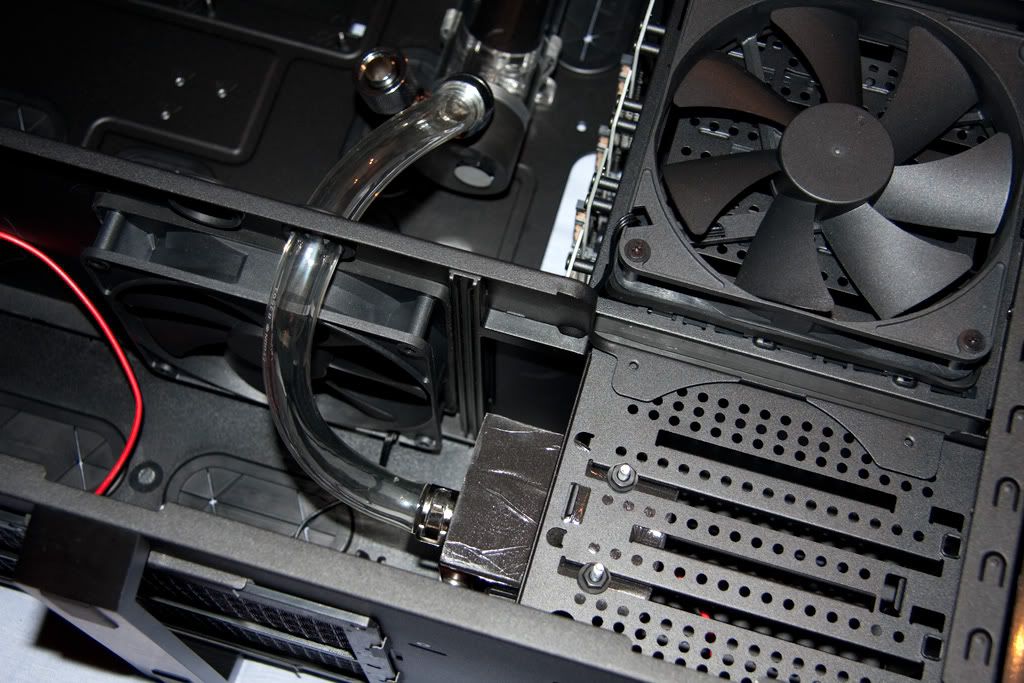
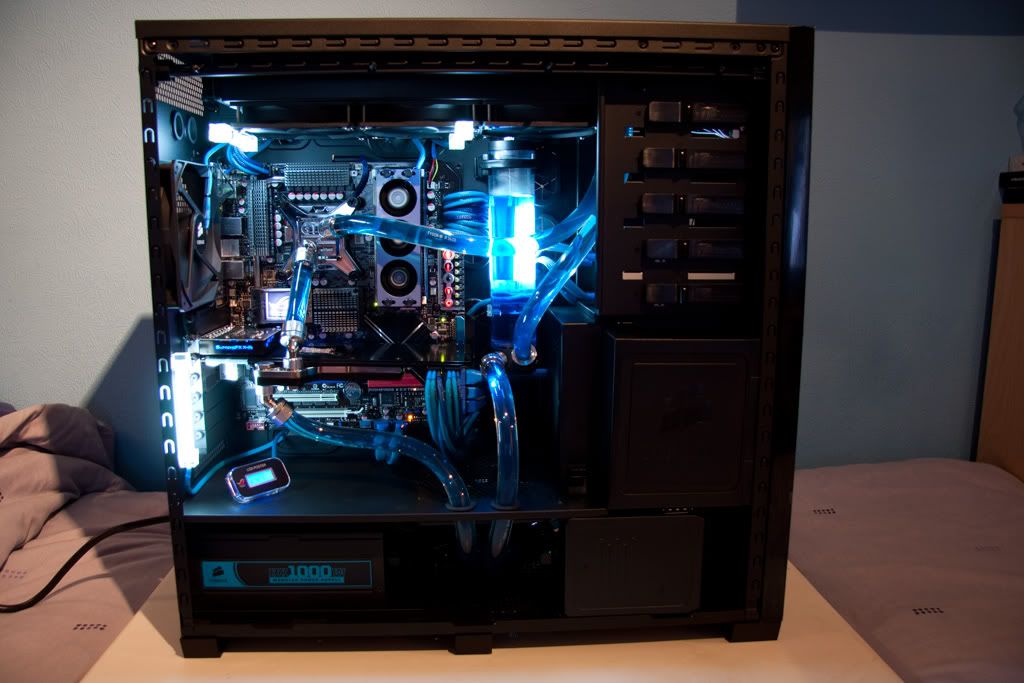
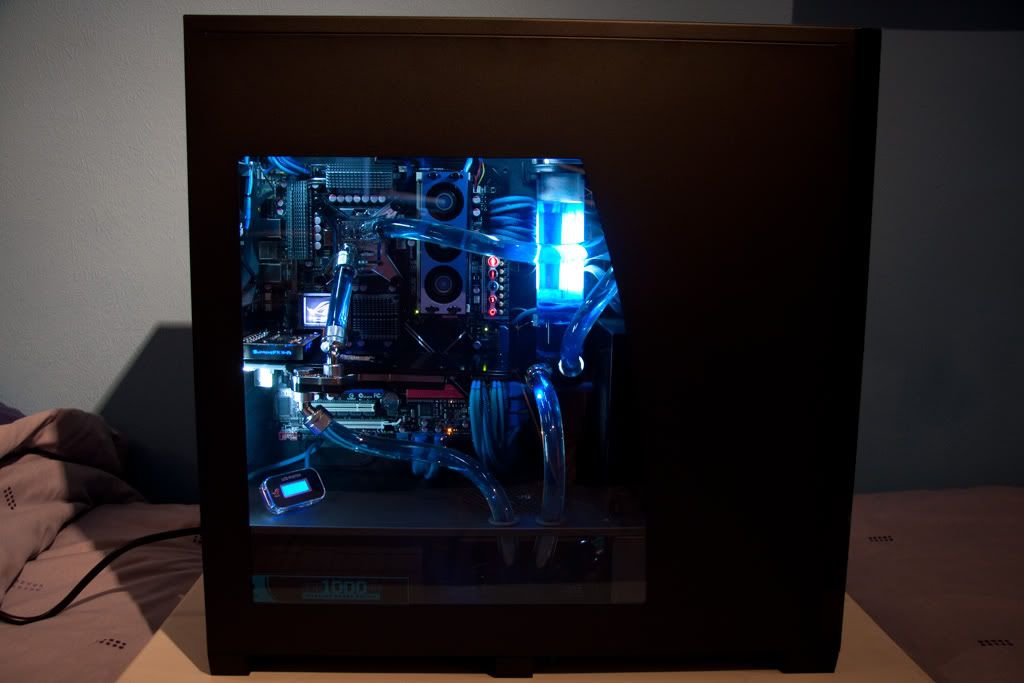
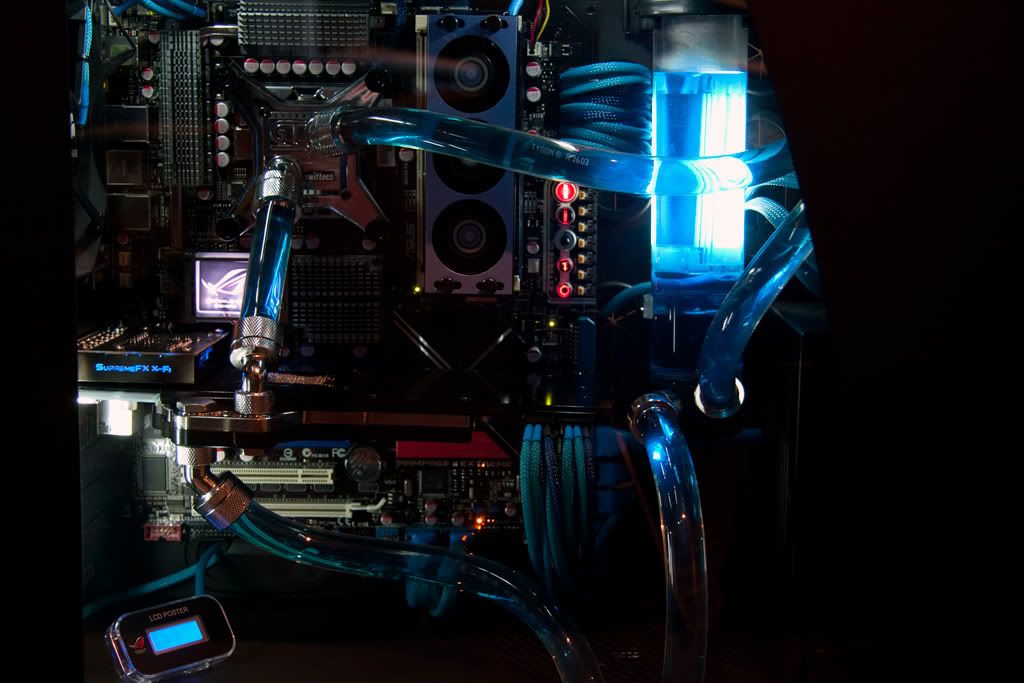
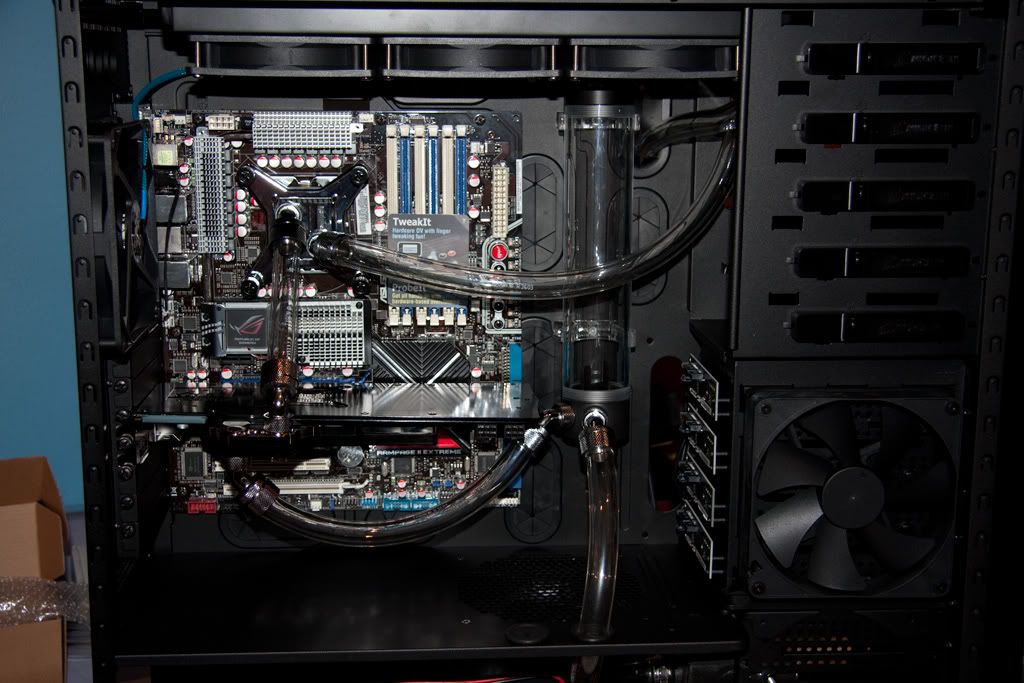
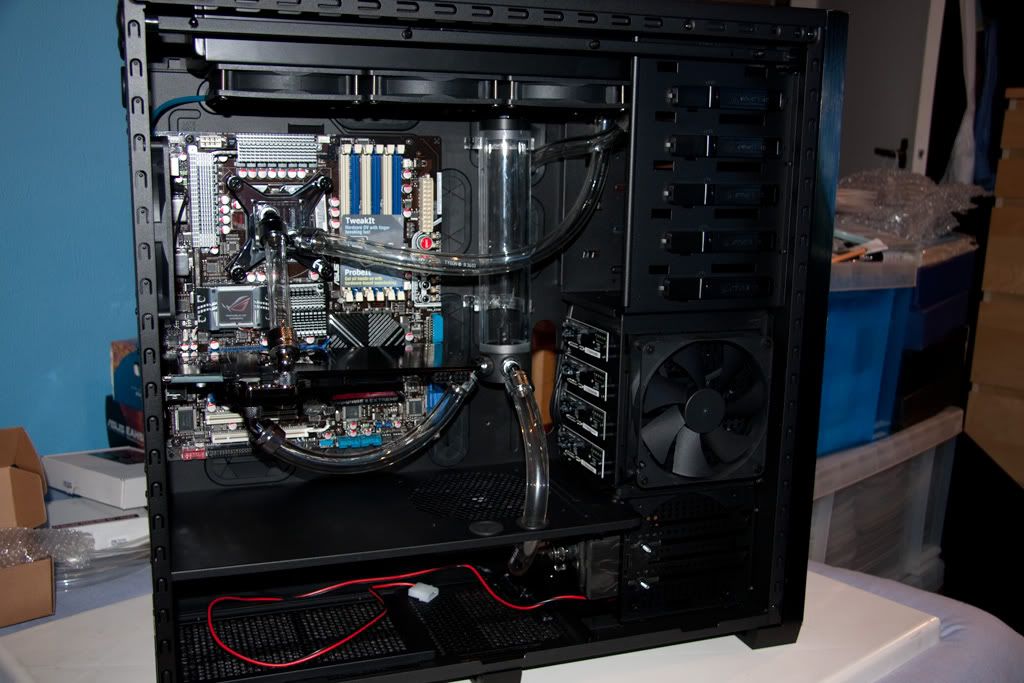
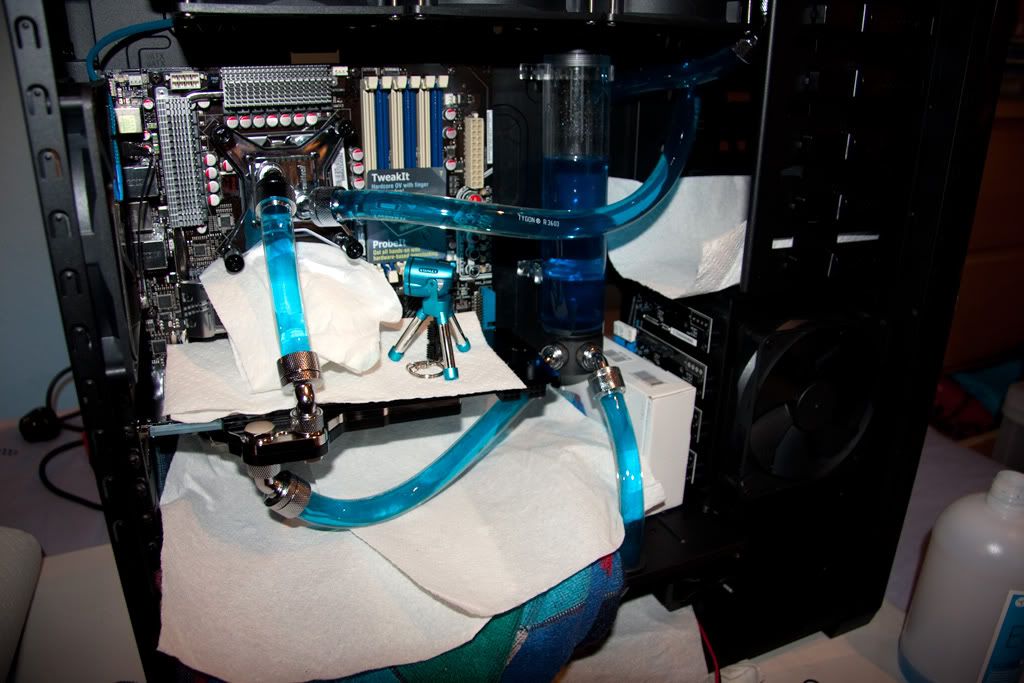
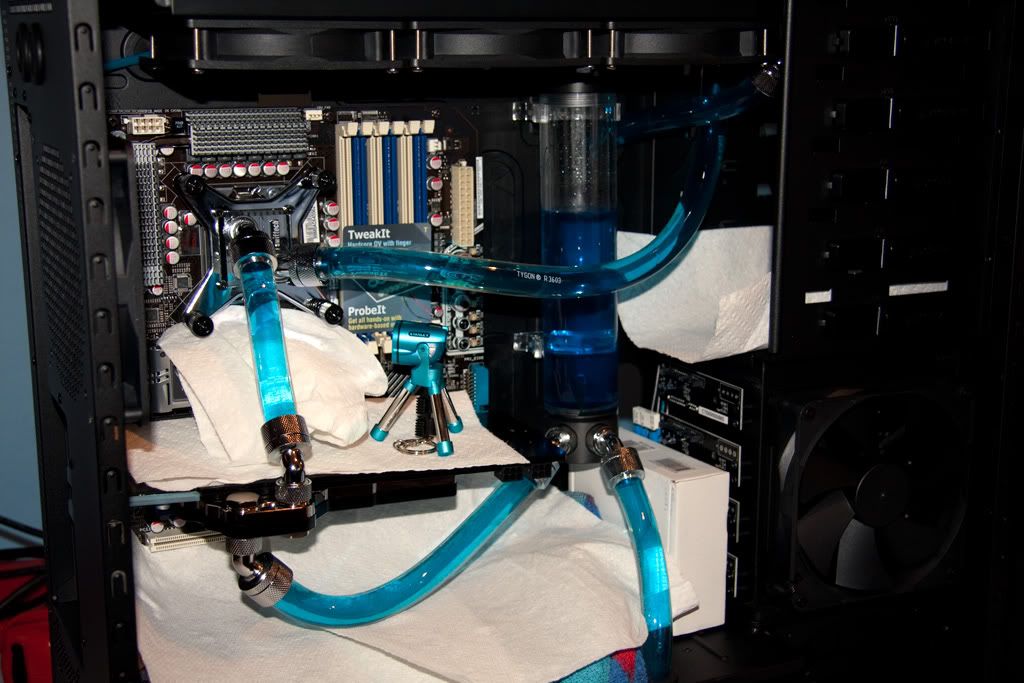
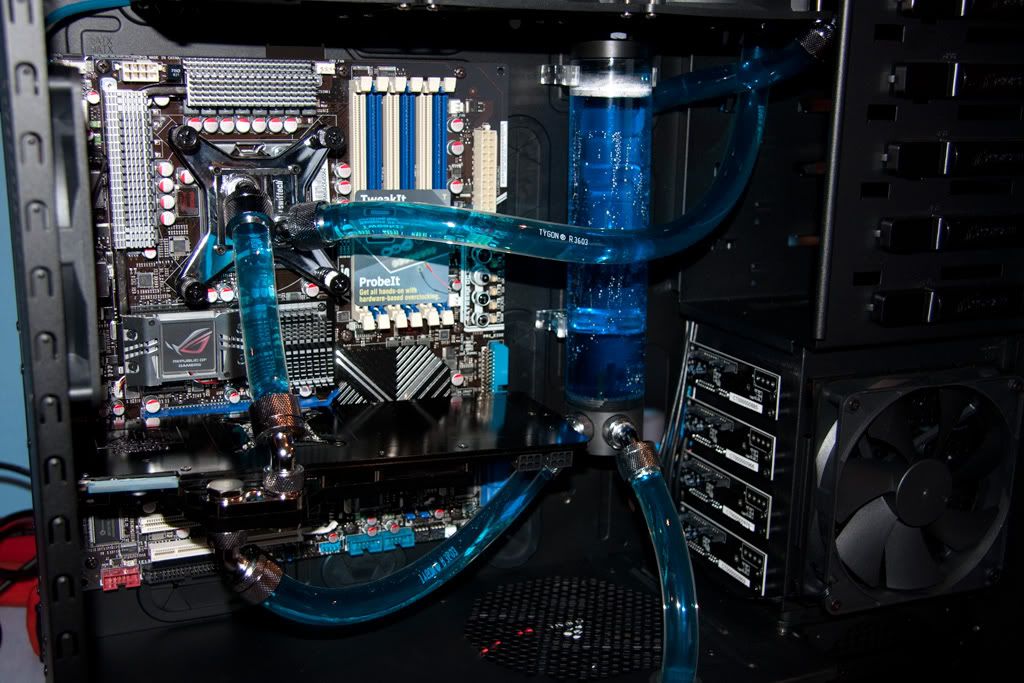
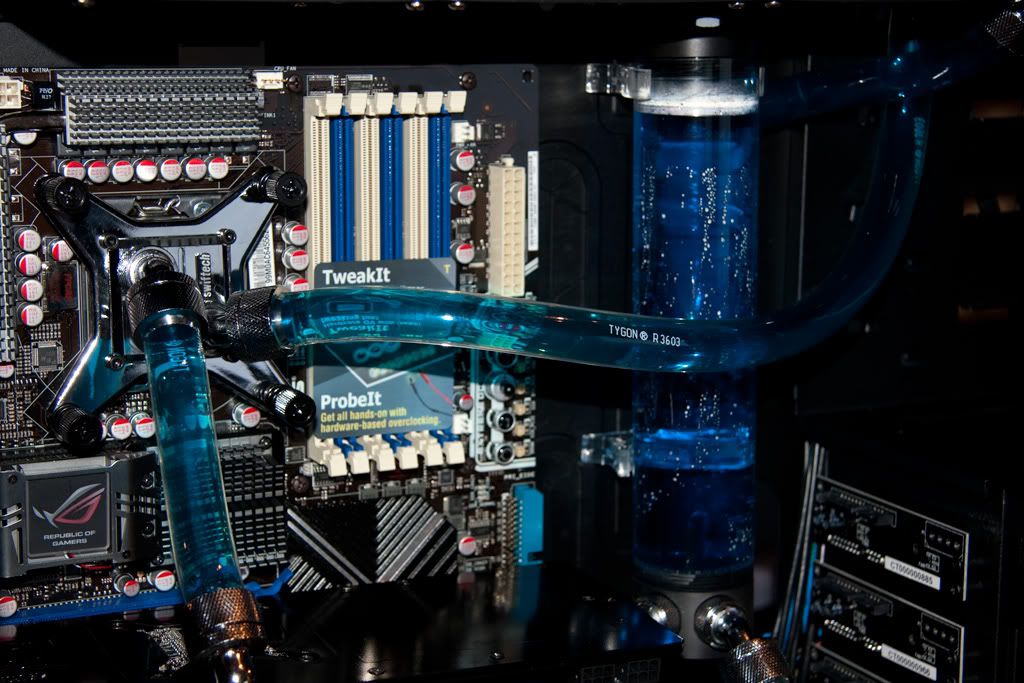
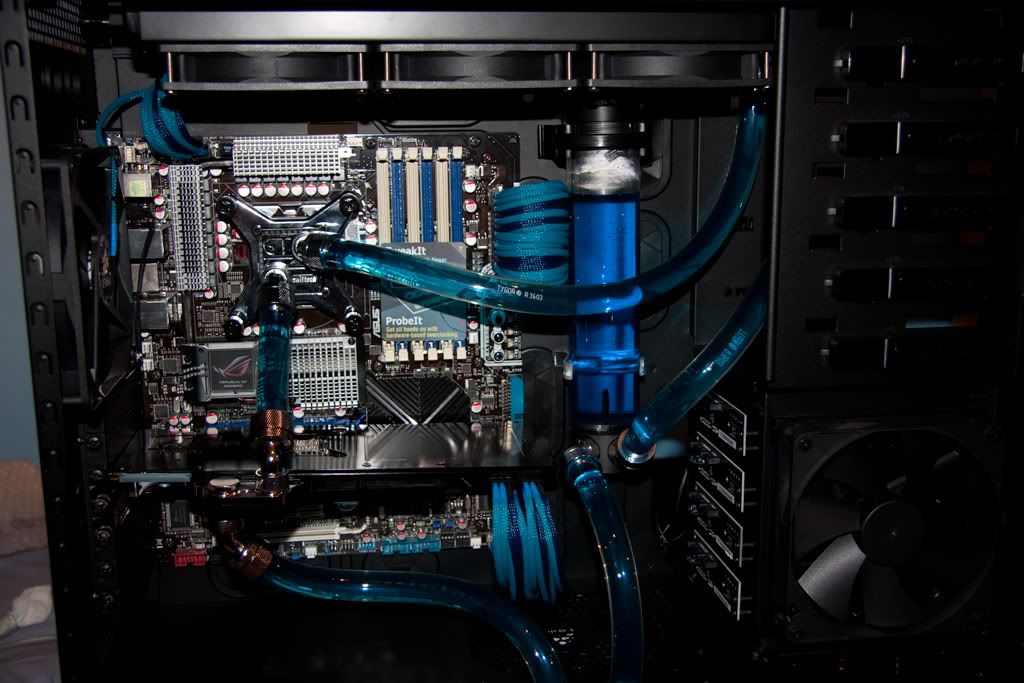
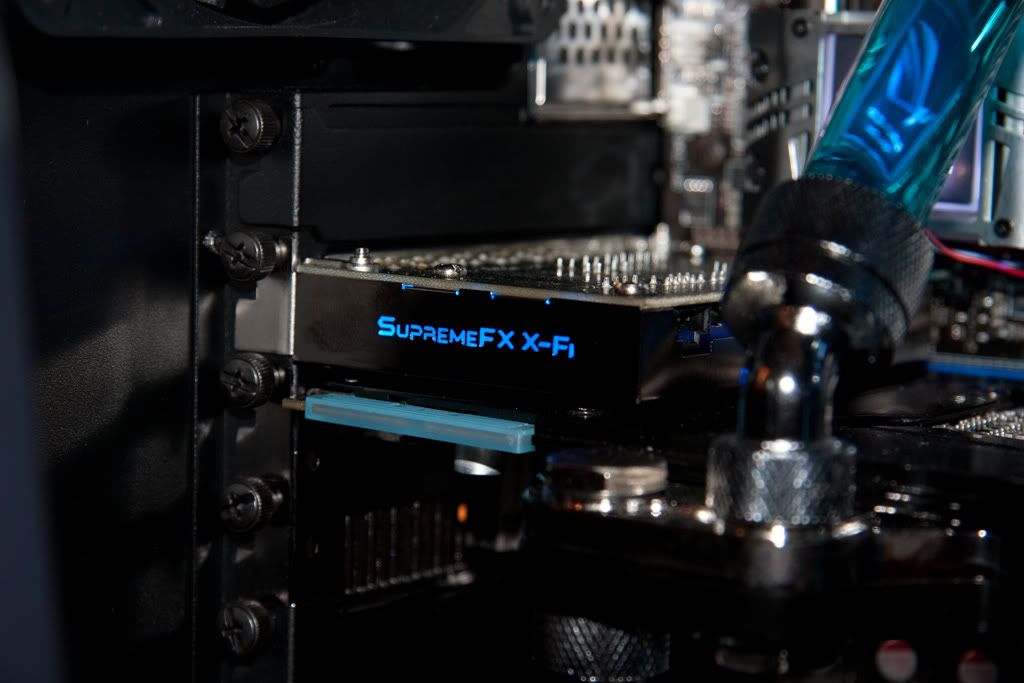
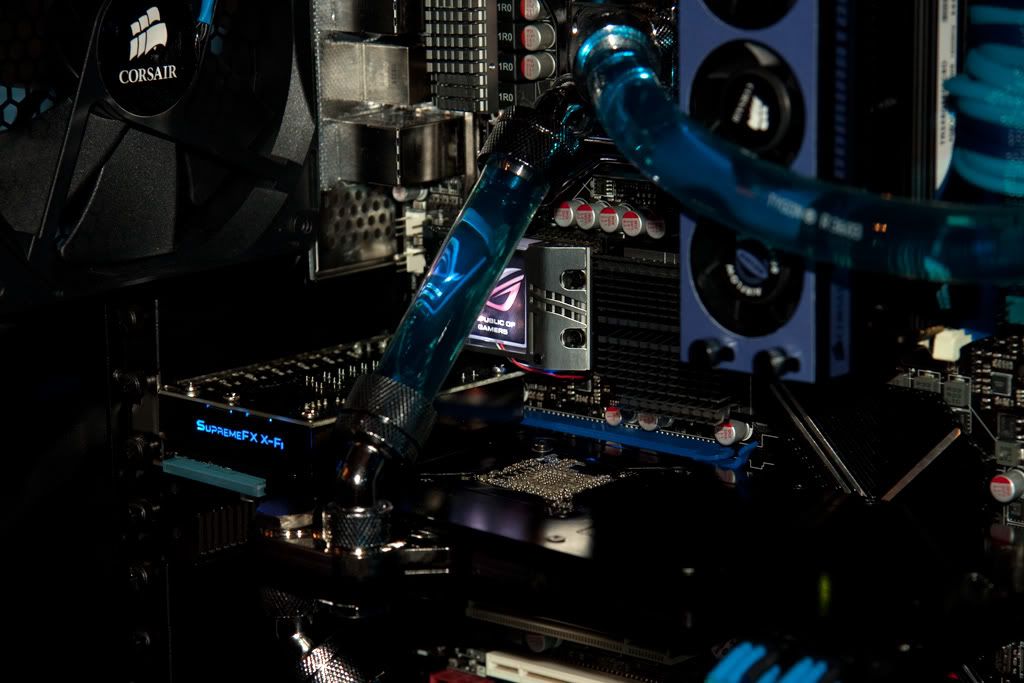
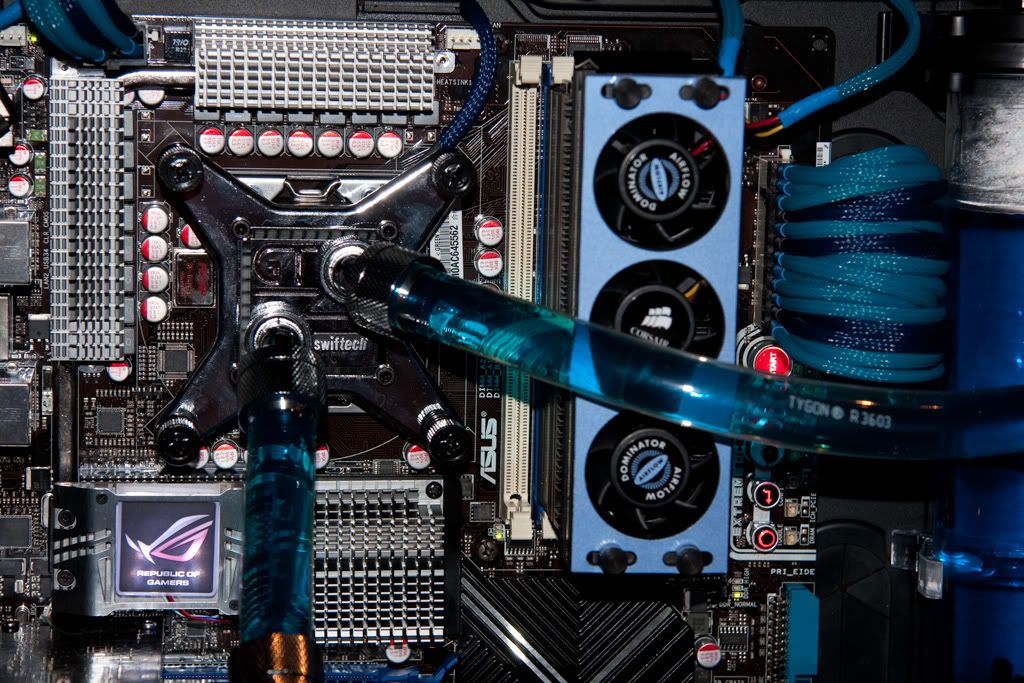
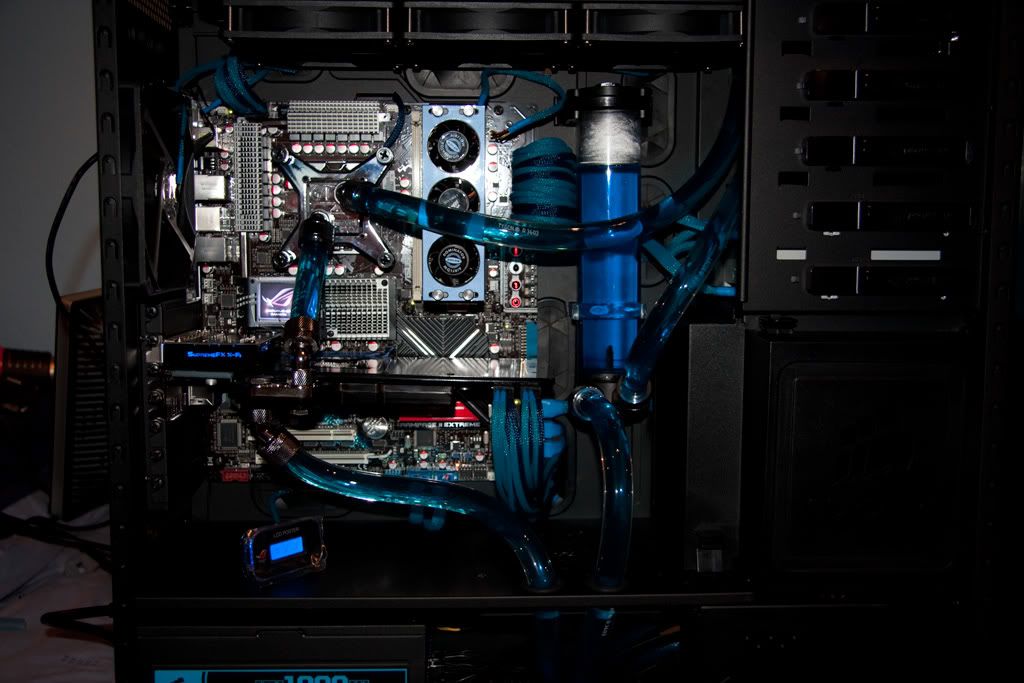
Motherboard and graphics fitted, all pipework in place:
Two days work so far, and it's gone rather well so far. I have managed to snap on of the res mounting brackets so need to replace that.
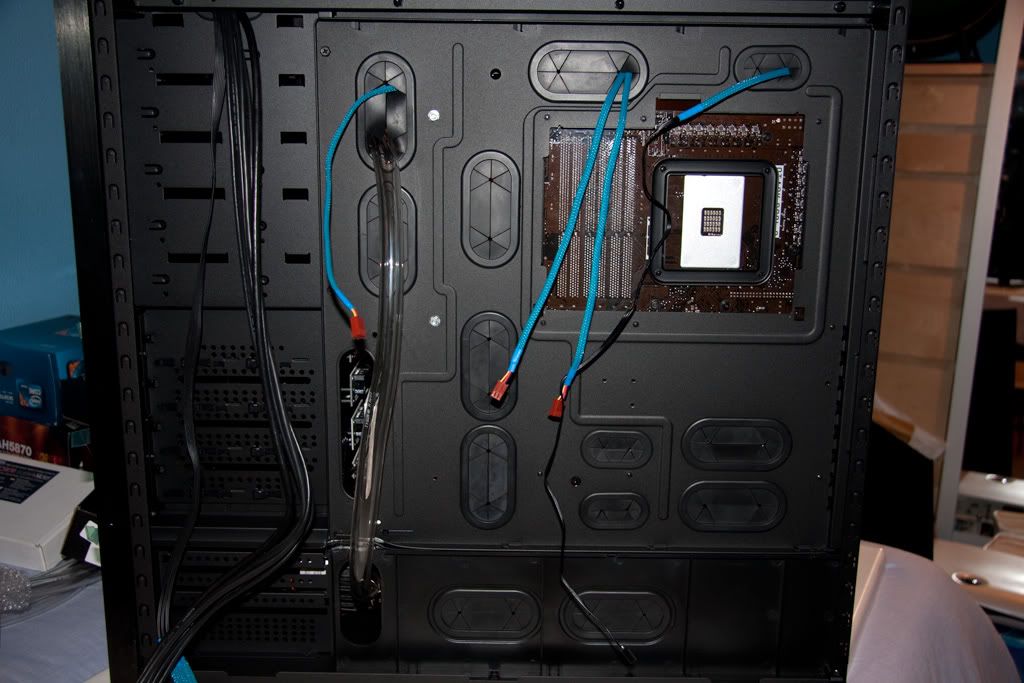
I've sleeved a few of the cables for the fans already, also turned the rear case fan around to draw air into the case. Just witing for a delivery from Germany for the rest of the sleeving to finish off the psu cables.
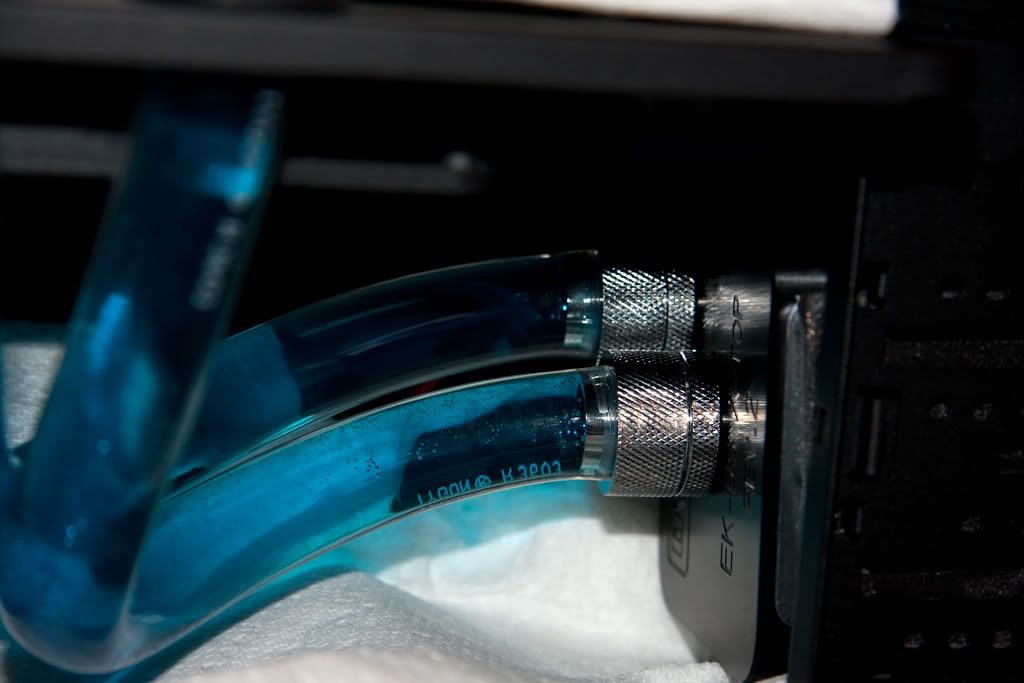
Next stage it to recheck all the pipe fittings and then fill and leak test the system before going any further. These compression fittings certainly look nice, but it's a bit of a task to get them 100% secure, so need to be careful of them I think.
I have also got the waterblocks for the mosfets on this board, but didn't realise you need to also replace the north / south bridge cooling as well. I've not got enough cooling to have all of it in the system so for now I've decided to keep the stock cooling on the mother board and add at a later date.
Will update later in the week with progress")
Finally managed to get started on my new build...
Run down of parts:
Asus Rampage II Extreme
Intel i7 920 D0
Asus Ati 5870
Corsair Dominator 6GB (3x2GB) DDR3 PC3-12800C8
Corsair Obsidian 800D
Crucial 64Gb SSD + Westen Digital 1Tb
Watercooling:
Swiftech GTZ SE
EK 5870 full cover
XSPC RX360
Swiftech MCP655
EK 250 R2 Reservoir
Tygon 1/2" with Fesser Compresion fittings
Thermochill EC6 Blue Coolant
Then to finish it all there are some white cathodes, Scythe Kaze controler, Scythe Jyuni 1900 fans, Corsair Ram cooler. All cables will be sleeved with MDPC-X sleeve and heatshrink.
Mounting the 5870 block:
Pump, Res and Rad mounting:
Motherboard and graphics fitted, all pipework in place:
Two days work so far, and it's gone rather well so far. I have managed to snap on of the res mounting brackets so need to replace that.
I've sleeved a few of the cables for the fans already, also turned the rear case fan around to draw air into the case. Just witing for a delivery from Germany for the rest of the sleeving to finish off the psu cables.
Next stage it to recheck all the pipe fittings and then fill and leak test the system before going any further. These compression fittings certainly look nice, but it's a bit of a task to get them 100% secure, so need to be careful of them I think.
I have also got the waterblocks for the mosfets on this board, but didn't realise you need to also replace the north / south bridge cooling as well. I've not got enough cooling to have all of it in the system so for now I've decided to keep the stock cooling on the mother board and add at a later date.
Will update later in the week with progress
Last edited:
 Fluid coming out of both the cpu block inlet and outlet! Not the pipe connection but the compression fitting to the block. But it was as tight as possible to screw it in.


 just need to decide if I can make it all tidy or to just connect it all and put the side on and not open it again, lol!
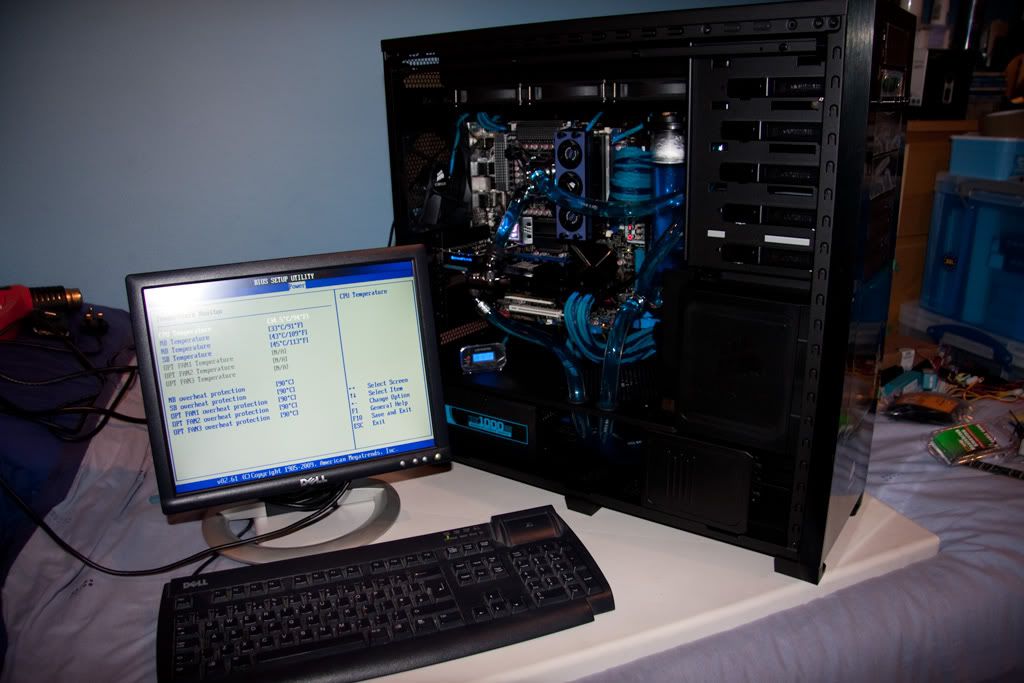


 Going to try a 10cm one up there instead to see how that looks later tonight, and a 10cm behind the res also.