Project - Bandit

Soldato
Joined
5 Mar 2006
Posts
3,975
Location
Nottingham
Well I finally got a new engine for my bike today :D

I've been attempting to find the time and money to fix it since it went pop in October. The generator fell apart and the uneven weight spinning at the end of the crankshaft caused 2 of the pistons to crack so it was a case of either replace the pistons and generator or get a new engine.

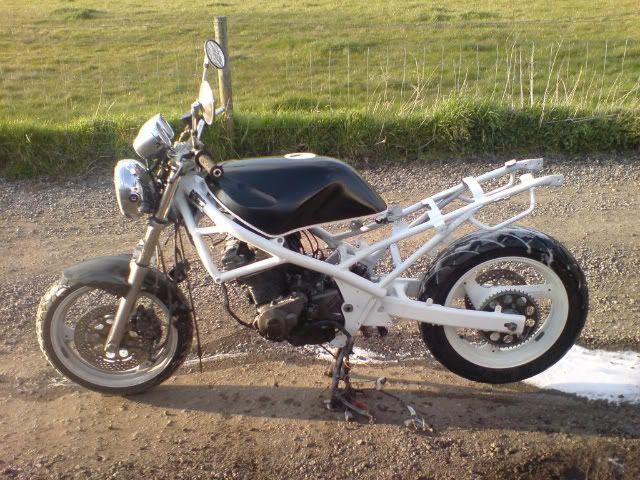
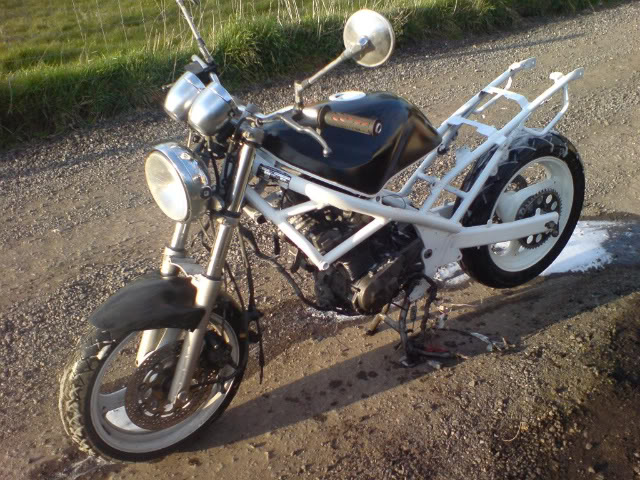
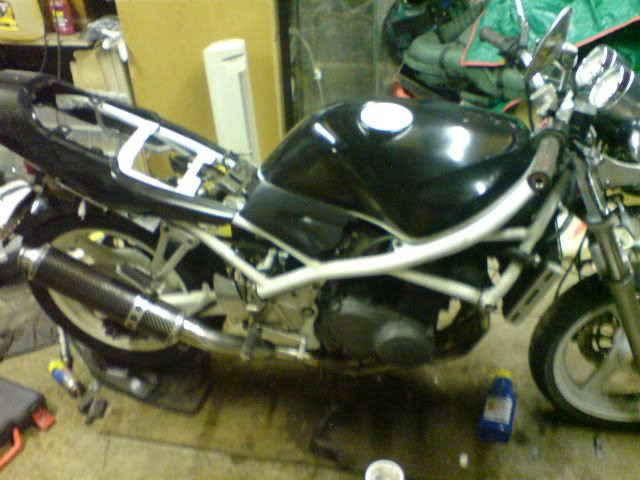
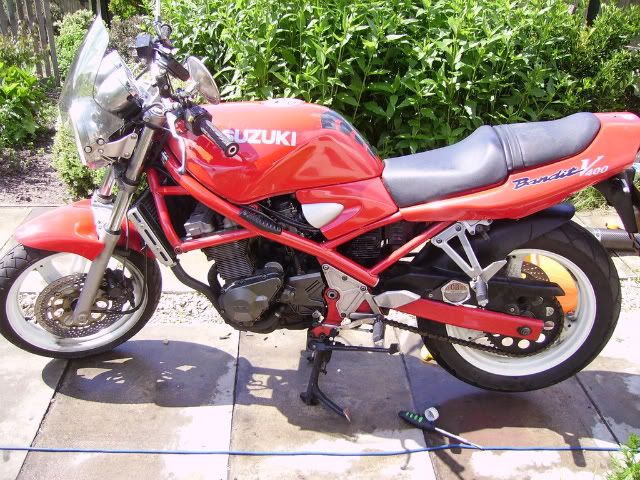
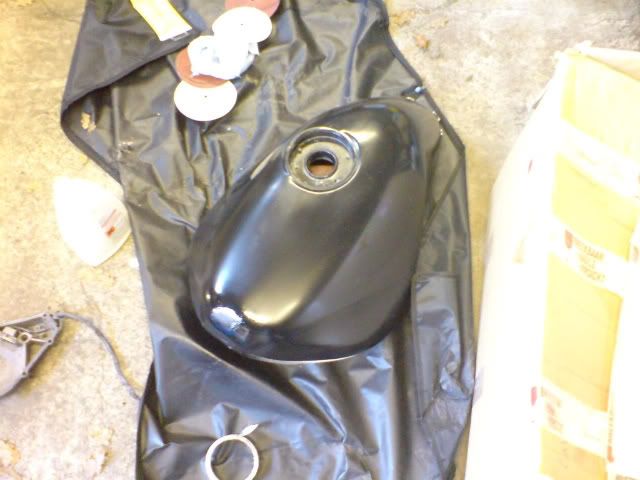
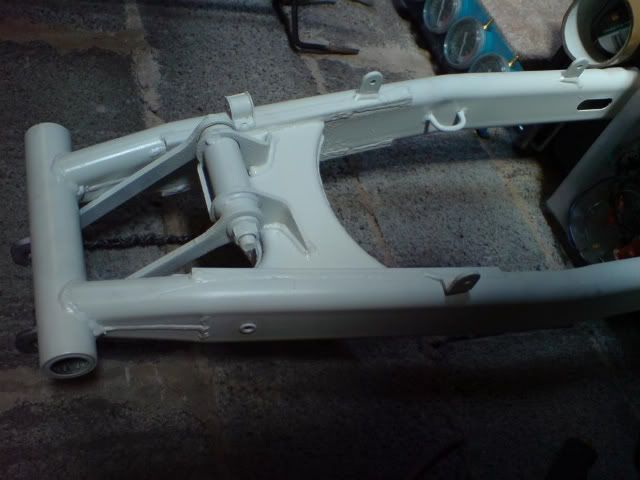
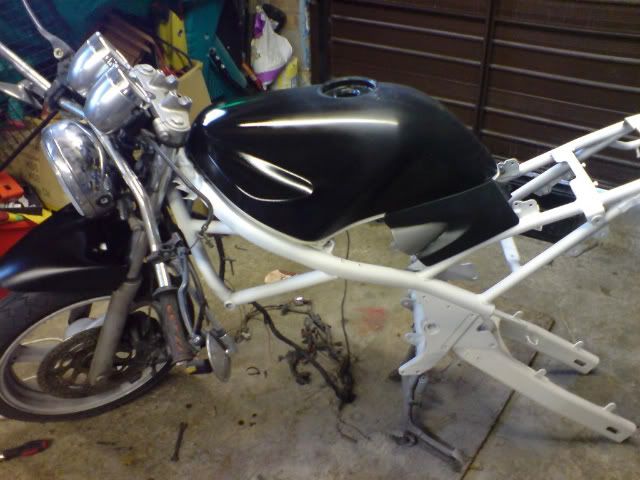
At the tail end of last year, just before we moved house, I'd completely stripped down the bike and decided to re-paint it while it was in so many pieces. The plan was to re-do the boring Suzuki red to have black bodywork and a white frame. It looked awesome in the paint modded picture I did :D I got as far as doing the tank and half the frame before we moved and it's sat in mum's garage ever since.

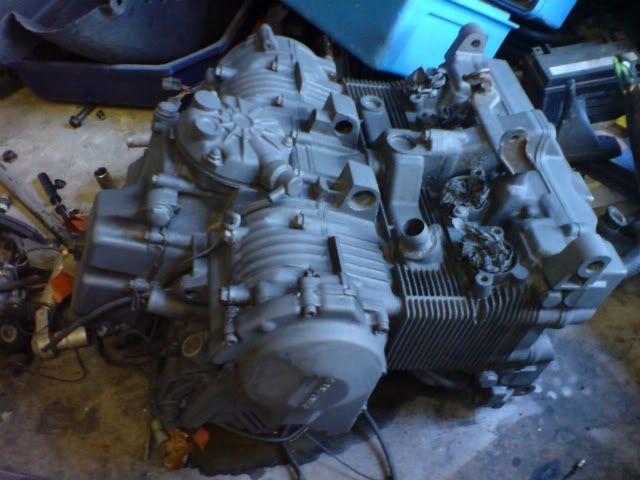
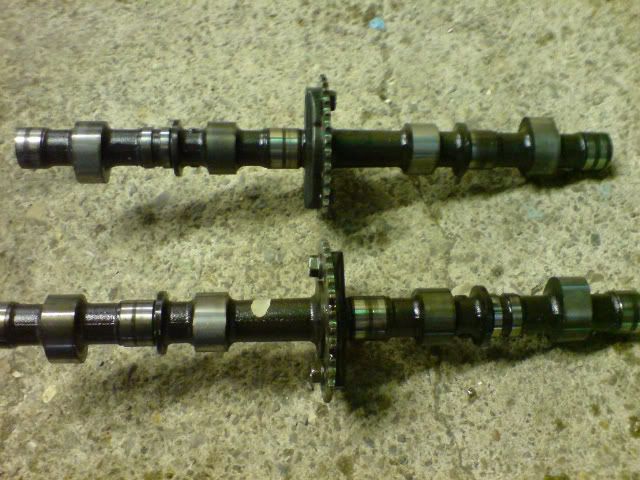
The new engine - Mine was a 1991 GSF400 engine with GSXR cams and gearbox and 32k on the clock. I've managed to get my hands on a 1990 engine with a whopping 10500 miles on it for the grand sum of £30 :p It needs a bit of a clean up but it's come out of a runner (front end was smashed) so it should be fine.

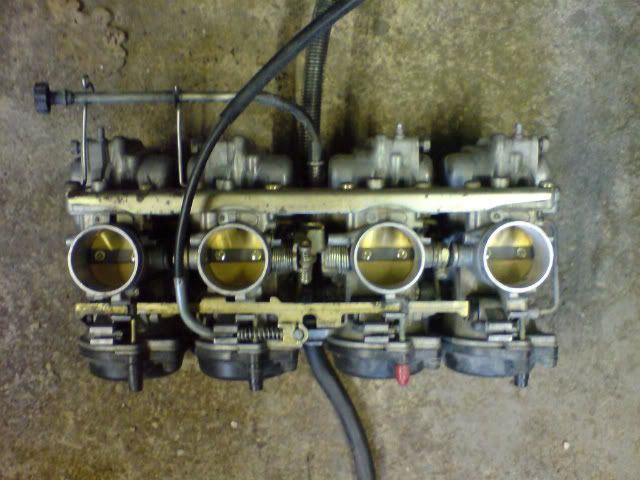
The plan is to spend my week off next week cleaning up all the old parts and re-painting those that I haven't yet done. I'll need to give the new engine a bit of a strip down to swap the cams and gearbox and it'll be given new oil, filter and plugs. The carbs will probably need a tune up and I think I'll leave the pod filters off for now until I know it's working properly then I'll re-jet it at a later date.

On to the project...

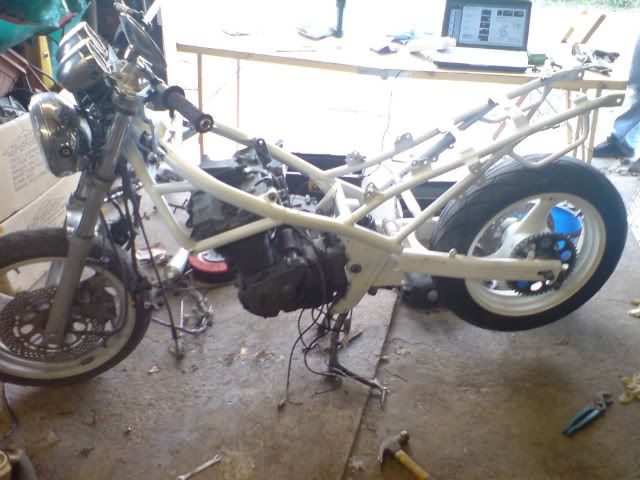
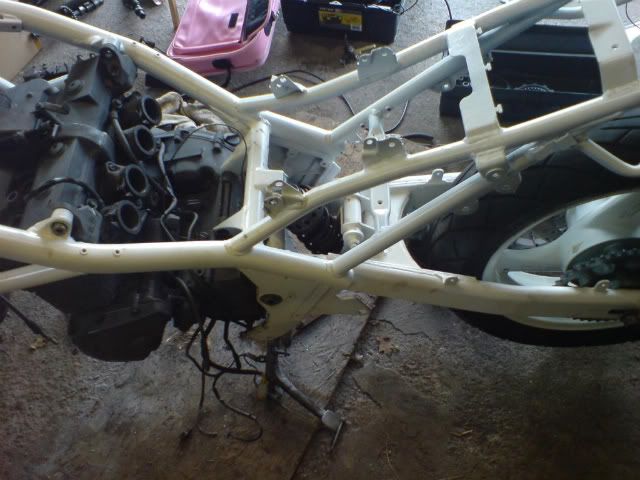
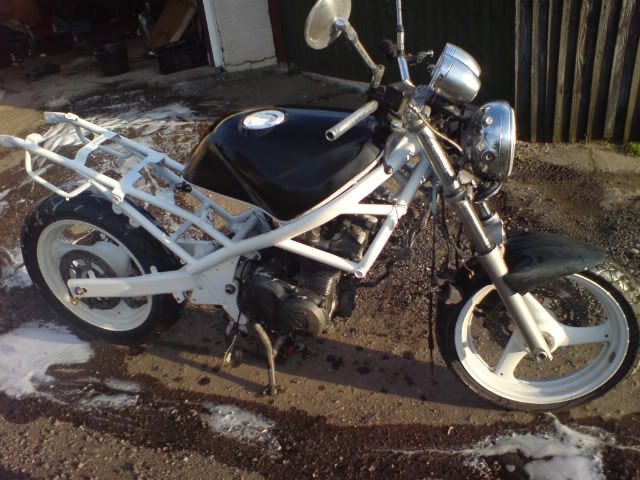
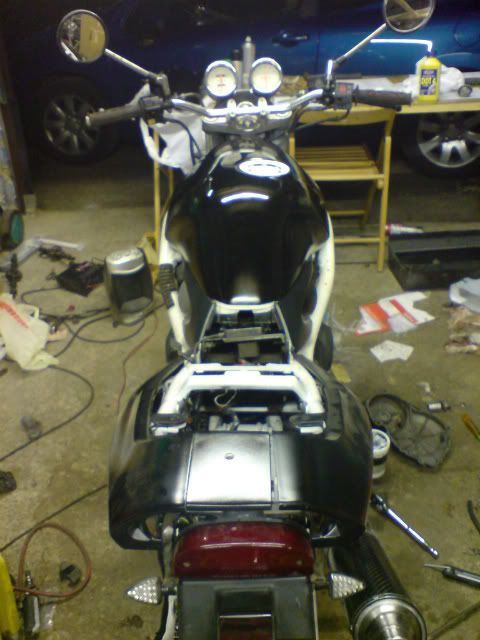
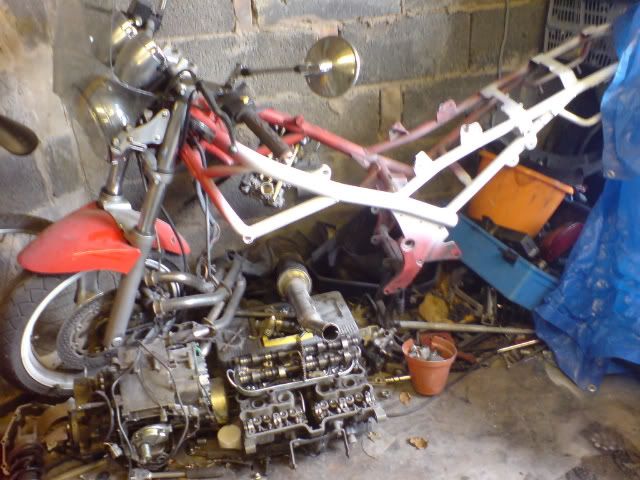
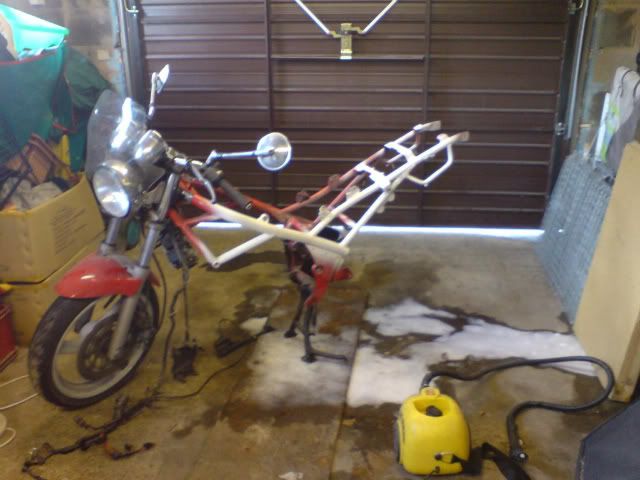
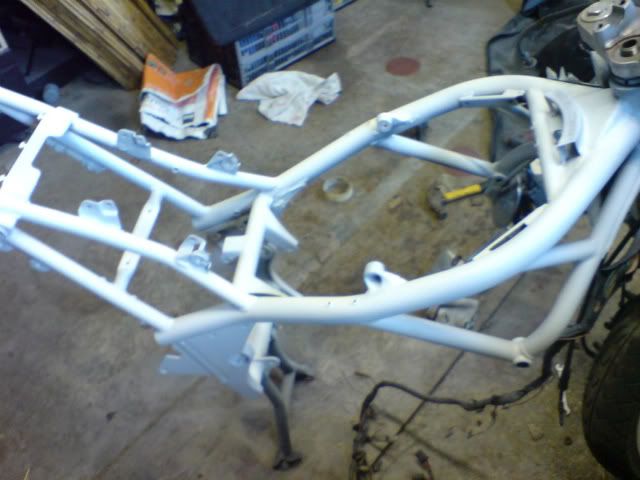
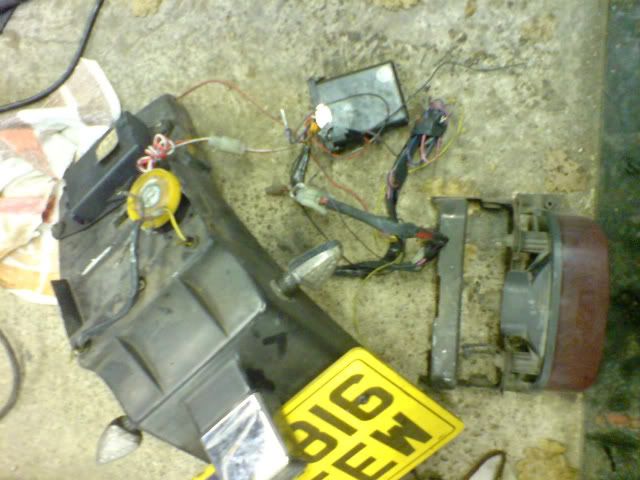
Here's what I have at the moment. A severely dismantled bike, partially re-sprayed, crammed at the back of my mum's garage.

DSC00122.jpg


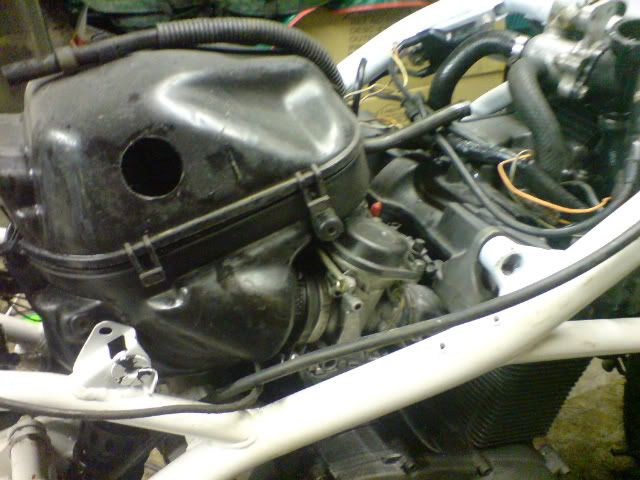
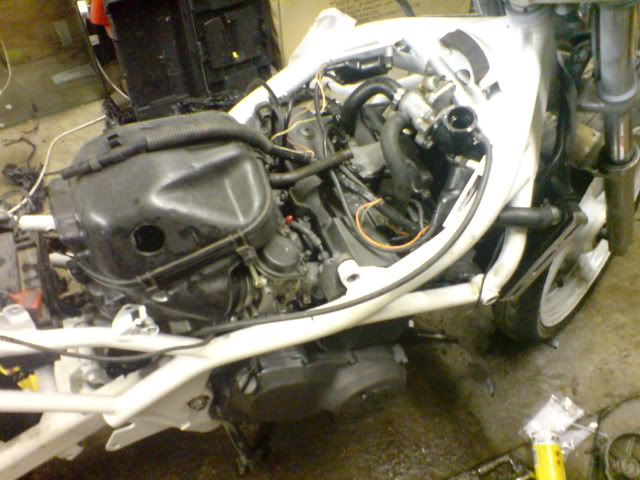
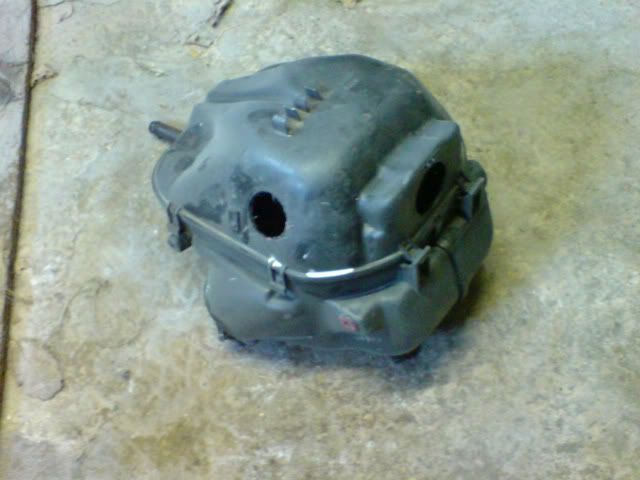
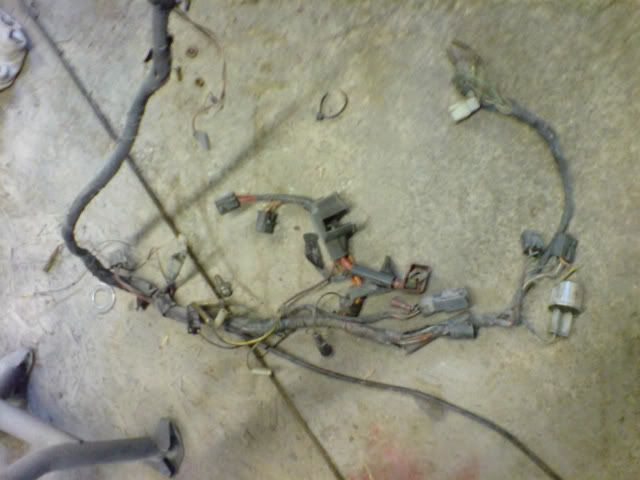
The new engine. Looks ok, just needs a clean up and all the electrics replacing with the stuff from my bike (some of the wires were cut to get it out)

DSC00001.jpg


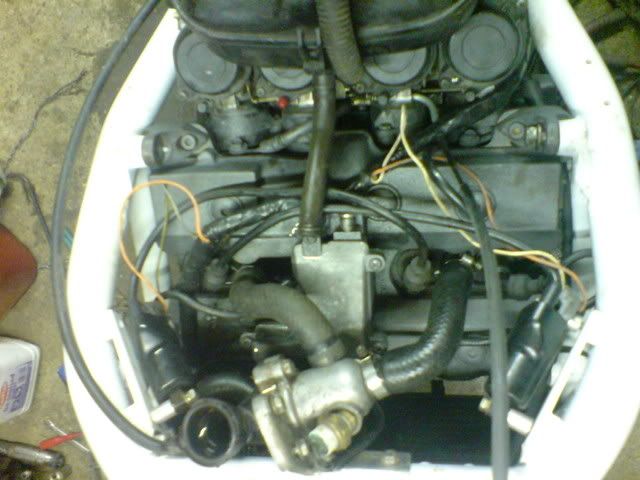
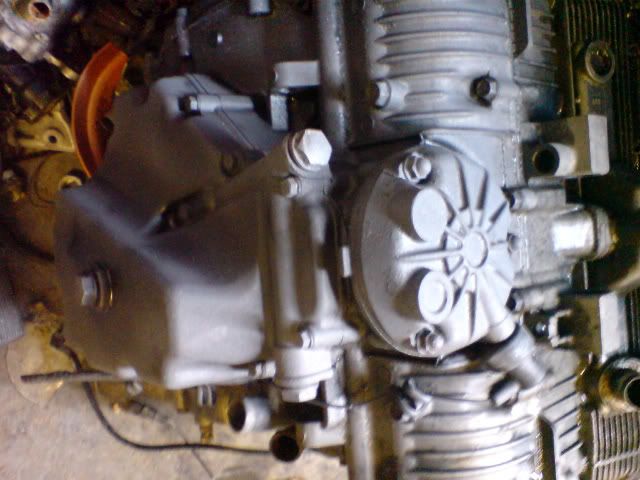
The new engine as it is now. I've steam cleaned it and given it a coat of metallic black high temperature spray as the old light grey wouldn't have looked quite right with the new colour scheme.

DSC00002.jpg


More updates to come later. I might do some more this evening but it'll be more likely tomorrow. Hoping to have the whole thing finished by this time next week.
 
All these bike related threads are very good timing! My friend has got me thinking about Bandits, also seem cheap to maintain. ANYWAY I must say the bike looks hilariously dead at the back of the garage, tidy that area up and get to work hehe. You must take many photos throughout. Are you a mechanically minded type chap, or are these bikes quite straightforward to work on(compared to (modern(ish))cars)?
I look forward to seeing the final colour scheme!

Everything's in buckets/boxes of roughly the same parts (electrical, engine, body etc) so it's sort of organised. I've just got to negotiate the use of the garage next week before I can make some room to work :rolleyes:

I am mechanically minded, but I do have a full Suzuki workshop manual for it and they are a hell of a lot easier to work on than a modern car. Everything's easy to get to and there's barely any parts to it anyways.

And the colour scheme... here's my paint-shopped pic :D

Before -

PICT0673.jpg


After -

blackwhite2.jpg


(Yes, I know I'm lacking in leet 'shopping skills :p)
 
Big update!

I've managed to procure the garage for the week and cleared some space which means I've got loads of the spraying finished tonight.

The engine has been fully painted now, it just needs heating up to cure the paint. I'm thinking it'd be better to warm it gently with one of my blow torches before mounting it to give the paint half a chance at not being scratched.

DSC00005.jpg


The frame was completely steam cleaned, washed and dried then given a lick of paint.

DSC00003.jpg


So far I've only done the back end. The whole bike's had 2 coats of primer, 3 of colour and 3 of clear coat. For the frame this equates to 5 coats of white primer then clear coat :p

DSC00007.jpg


Not a bad finish for spray cans ;)

DSC00008.jpg


The tank is almost done but I went a bit mad with the cutting compound trying to get a drip out of the front so it just needs a quick patching up. Should be done tomorrow.

DSC00004.jpg


Also finished the swing arm

DSC00006.jpg


And I've tarted up the radiator a bit too :D

DSC00015.jpg
 
Whipped the cams out of the old engine ready to fit on Monday

DSC00010.jpg


Given the exhaust a good clean. I've also done part of the headers but I ran out of metal polish :(

DSC00011.jpg


And I get the feeling I'm going to need a small amount of wonder wheels sometime in the very near future! :eek:

DSC00013.jpg


DSC00012.jpg


That's all for today. I'm hoping to get all of the paint work done tomorrow, but I still need to work out how to get the front fender off as the head of one of the bolts has worn. So far I'm on target for finishing it all off by Thursday, but I would put money on having several long days before then!
 
Update!

I've got 99% of the painting finished now, just need to give the frame another clear coat in the morning then I should be able to start assembling everything in the afternoon.

There's a couple of bits of advice I could do with at the moment though. First of all is choice of oil. I know it needs 10/40 but I haven't a clue which. I've been told that as it's got a wet clutch using synthetic oil isn't the best choice. I can also only use what's readily available in petrol stations (don't ask ;))
Secondly is the colour of my calipers. At the moment they're gunmetal with black lettering. It looked fine with the red but I want it to stand out a bit more with the new colours. My first thought was gold... Any 'shoppers out there? :p

Here's the frame - complete with 5 coats of white primer. I'm not a chav, I just couldn't find any matt white spray.

DSC00019.jpg


And here's it half-assembled. It's really just a test-fit to see how the colour combination looks. I think I need to re-do the silver on the side panel in white but I'm not sure yet. The tank looks naff but it's just the light, the paint's as flat as a pancake.

DSC00026.jpg


And for Griffo, here's what I need to fit into the frame, along with the engine and radiator pictured earlier -

Airbox
DSC00025.jpg


Carbs
DSC00024.jpg


Wiring Harness
DSC00018.jpg


And the rear light cluster and alarm system (this one's a really tight fit under the seat!)
DSC00022.jpg
 
looks like it's coming along quite nicely :)

As for the caliper, don't think gold would work, maybe white or leave it gunmetal for a subtle look...

on a bit of a tangent, I've got a black and gold FZR400, which works well, just don't think gold and white would go at all... :p

I might just leave them for now then and save the money to put towards the rejet or some other gubbinz I'm eyeing up :D
 
Sorry for the lack of updates recently, I've been out all day today and I really didn't get much done yesterday :(

The frame and bodywork is all done now, it's been polished and waxed and is ready to go together. Hopefully I'll have something resembling a bike tomorrow if all goes to plan.

Spent the best part of yesterday cleaning the wheels, chain and sprockets. As you can see from earlier pictures the wheels were in a real state and the chain and sprockets were quite literally black. A bit of wonder wheels, degreaser and elbow grease managed to produce this though -

DSC00027.jpg


DSC00030.jpg


DSC00029.jpg


I've also decided to keep the calipers gunmetal for now as the gold just didn't look right on a 'shopped picture.

Finally... I'm currently bidding on some GSXR suspension and some Suzuki decals. It won't be going on during the initial project as I need it finished asap but it's a straight forwards job to swap it over and stick the decals on so if I get it I'll give y'all a quick update next weekend.

That's all for now, should have some pictures of an actual bike tomorrow :D
 
Biiiiiiig update - the engine's in!

It took a long time, a lot of wrestling and a bfh but I finally managed to drag it into position long enough for my gf to bash a bolt in to hold it. With the one bottom bolt in it could be pivoted into place for the others. I think I've pulled my back doing it though, it certainly weighs a lot despite being a 400 and the only way to lift it was from inside the frame and up. I've also got a thumb wrapped in bandages after I managed to split the nail half way down, that one hurt like hell :(

Also got the rear suspension and the rear wheel in place and secure. Then I remembered I'd forgotten to bolt the chain guide on so it's had to come off again for me to get the chain on :rolleyes:

Tomorrow's plan is to do the wiring and get it started, then I can spend Saturday doing the brakes and tidying everything up.

Time for some pics! You'll have to excuse the front fender, it's on for effect at the moment and still needs polishing up.

Note the work desk and laptop with the full service guide ;)

DSC00063.jpg


White probably wasn't the best choice, despite how good it looks. My hands were fairly clean and this is the result of fitting the engine.

DSC00067.jpg


DSC00069.jpg


DSC00070.jpg


DSC00071.jpg


DSC00072.jpg
 
Well I've got a little bit more done today, though not enough to warrant any more pictures.

Half the day was spent hunting parts but so far I've managed to procure oil and filter, graphics set, more paint for the front fender and some foam and leather-effect pvc for a new seat covering (I'll make a new project thread for that one ;))

Took me several hours to change the oil as the sump plug was rounded so I had to drop the whole sump cover off and replace it with the one from the old engine. The oil looked like it hadn't been changed in a loooooong time, if ever, so I gave it a good flush through with clean oil before sticking the new filter in and topping it back up.

I've re-assembled the handlebars and adjusted them to suit my riding position, which'll go great with the new seat. I've also re-wrapped the wiring loom in fresh tape and made it a lot simpler - black for the ignition circuit and white for lighting. I would have got the wiring done but I left the laptop at home so I had no wiring diagram :(

The other plus - It's not re-insured. Cost me a whopping £188 TPF&T which is £270 less than my renewal quote was :D
 
I hate auto-electrics!

Everything's finally wired up, but I've still got bits to fix in place. The wiring loom has been fully re-wrapped in shiny new pvc tape and has been nicely tie-wrapped to the frame with white tie-wraps.

I still need to finish connecting the radiator but I thought I'd give it a quick test to see if it would fire so I whipped the battery in and gave it a go. It turned over but then the battery ran out of juice :(

I've had to come home for a while as I've got far too many bolts and haven't a clue what fixes what in place so I've dug out the part list while the battery charges. Should have it running later this evening so I'll report back asap! :D
 
Well it still won't start, I think the battery might be dead as it's been sat with no charge for several months. I'm leaving it on charge overnight and I'll try it again tomorrow morning. Hopefully a new battery won't be much if it's needed.

I've got all the ignition electrics, the centre console and the headlights wired up, just got rear lights and indicators to do. The cooling system's all done and filled up too. I've still got some components to secure but at least they're connected at the moment so I can test everything. The carbs and airbox have been fitted for testing but I'll need to take the carbs out to re-fit the throttle and choke cables tomorrow.

Here's some pictures of the finished engine section -

DSC00084.jpg


DSC00082.jpg


DSC00081.jpg


DSC00086.jpg
 
The battery will likely cost around £30-35 from my experience (for a bog standard lead-acid battery).

Looking good, lets hope you don't have too many screws/bolts/bits left over once you're 'finished' :p

That's a slight problem... I've still got all the bolts from the old engine so I don't know what's needed and what isn't :(
 
Well the battery is definitely dead, I've ordered a new one from Motor Factors but they won't have it in until Tuesday so I'm going to have to wait to fire her up. Only cost £26 though so I can't complain too much.

I must admit though I am completely gutted about not having it started this weekend, pretty much everything else is done. Today I've finished the following -

Handle bars, including switches and mirrors, fixed in place and wired up,
Carbs fitted and cables attached (I HATE fitting the throttle cable to carbs!),
Rear-sets fixed in place,
Exhaust and headers fitted,
Front and back brakes fitted and connected,
All electrical components fitted and secured,
Found the last couple of engine mounting bolts and secured the engine.

The rear caliper leaks at the seam between the 2 halves and I'm not quite sure how to sort it. Both surfaces were free of any grit and dirt, would some sort of sealant do the trick?

All that needs doing now is to connect up the rear lights and indicators and finish off the body work. The side panels that cover the air box need re-spraying as they don't look right in black and silver, I think the silver needs to be changed for white. I've also got some decals to apply when Image Works finish them some time next week. And finally the seats are currently in my living room, with the new foam applied, waiting for me to staple the new coverings on.

Here's some pictures as it currently stands, I'd say a good 80% finished now.

DSC00090.jpg


DSC00088.jpg


Mmmmm... Carbon fiber... ;)

DSC00087.jpg
 
The battery arrived early so I went to pick it up this afternoon and it's on charge at the moment, should be ready about now but I forgot one slightly important thing. The key *doh!*

I'll be going back to try and start it in an hour or 2, just trying to get the seats finished first so I can take it a quick spin if it fires up (private roads behind mum's house :p)
 
Well it wouldn't start. Turned over fine but wasn't even coming close to starting. I'm 90% sure it's just a silly wiring problem as the starter button isn't working and I've had to bridge the solenoid. Didn't have chance to check it over tonight as I didn't have the laptop with me but I'll double check everything tomorrow.
 
Righty then, there's no spark. It's definitely got fuel as I've got the hose hooked up to an old bottle so I can work on the carbs without wrestling with the fuel tank. I've checked the coil packs and they're fine and it turns over so the starter motor is fine. I've changed the plugs that were in the new engine for the ones from my old engine which are almost new. I'm 99% sure it's a problem with the starter circuit as the starter button still doesn't work, despite me swapping all the wires round in every combination I could think of. Any suggestions?

And it was the O-ring on the caliper. I hadn't forgotten it, it'd just split when I over tightened it :p
 
You've probably checked it, but can't think of much else (other than leads?, although that wouldn't affect the starter, just the spark), but the kill switch isn't off is it?

That would explain the starter and I believe the spark as well...

I've made that mistake before, never again! ;)
 
Defective side-stand relay! Got a spark, fires up but it's misfiring and detonating like nothing else I've ever known. Literally spitting fire out of the headers. Me thinks I may have got the leads in the wrong order and haven't got the headers quite tight enough :p

I'll report back tomorrow with a working engine and completed bodywork :D
 
Back
Top Bottom