You are using an out of date browser. It may not display this or other websites correctly.
You should upgrade or use an alternative browser.
You should upgrade or use an alternative browser.
Project: BitFenix's LanGirl
- Thread starter Solemn
- Start date
More options
Thread starter's postssolemn looking great!
your dremel skills are...interesting...
a tip for you re: the red cathodes (LED strip from 3M is fairly diffuse btw)
If you have a model shop nearby, they should have a supply of transparent heat-shrink film used to cover the balsa models, usually sold by the meter so probs looking at £5-6.
I used to have a thread on another forum, can't find it now, where I wrapped the length of the cathode tube in two or so layers and taped it together, it made the cathode actually emit red light!
Or maybe buy a white cathode and wrap it
Haha yes my skills with the Dremel are lacking! But with the Trim it isn't sooo bad, but still not spot on either

As for the cathodes.. you were right on. Looks very very Pink
 So I have ordered some Crimson vinyl that would go on car headlights hopefully it will help with it.
I have built the system and had a few leaks which I have fixed. It's looking pretty good. Still have a few bits I need to add, like the cathodes made RED! And also with the bottom stand it seems to wobble allot under the weight. so am thinking about some solutions for this.
Soldato
- Joined
- 31 Oct 2011
- Posts
- 2,548
- Location
- Leyland
Haha yes my skills with the Dremel are lacking! But with the Trim it isn't sooo bad, but still not spot on either
Practice makes perfect, so they say.
I think you have been very courageous with this build.
you case reminds me of certain scenes from Dexter!
It makes me think of Kill Bill.


Practice makes perfect, so they say.
I think you have been very courageous with this build.
I had gotten slow better with it as I went on but that didn't help much for the panels I already cut jagged!
Awww, I really like it, think it came out quite a bit better than I thought it would actaullyIt was all going so well until you decided on the blood spatter...

you case reminds me of certain scenes from Dexter!
I did initially have Dexter in mind when i thought about the blood splatter effect! Ta!
It makes me think of Kill Bill.

Awesome Movie, will take that as a big complement!
Looks very good i wana see it finished! Them dremel skills tho :/ Cant say im much better mind you
Haha, yes yes the Dremel skills are lacking!
 The trim helps with it esp if you are looking at it from a Great Distance
aww I feel bad, we're all being really mean about the dremel-ing
props to you for having the balls (ovaries!) to cut up your case and paint it, its looking good keep going
Thanks. It was my first time using a Dremel so I still have allot to learn but it was more of a practice project anyway so I dont mind that its not perfect. Ta for the encouragement

Another Big Update
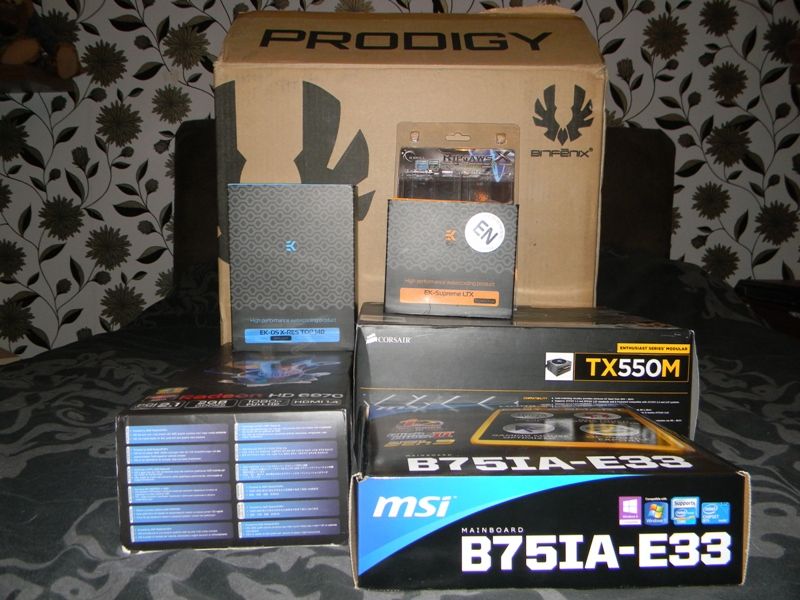
So I have built the system and completed allot of the things that needed doing.
First I will go through the few extra mods I have had to do.
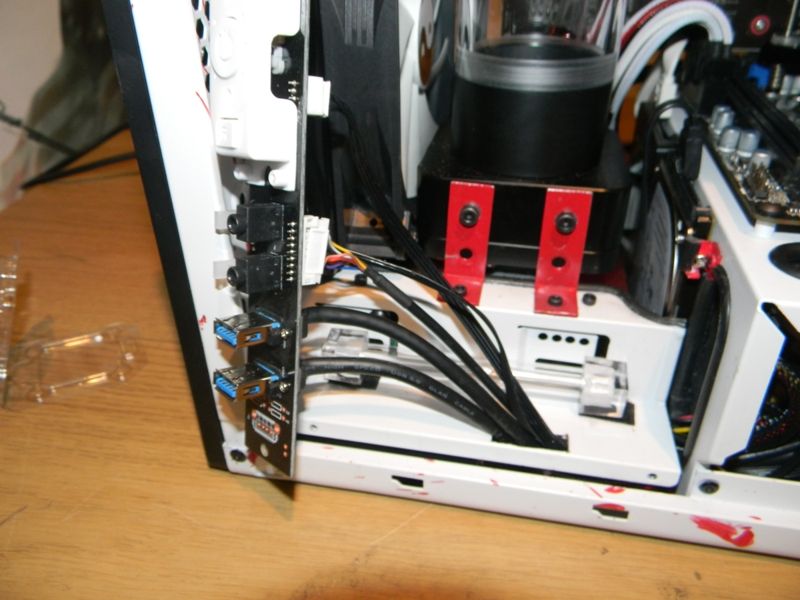
Side Panel I/O
To Allow the IO cables to remain mostly hidden I needed dremel(lol) a small hole in the Fan Cage.
Cathodes.
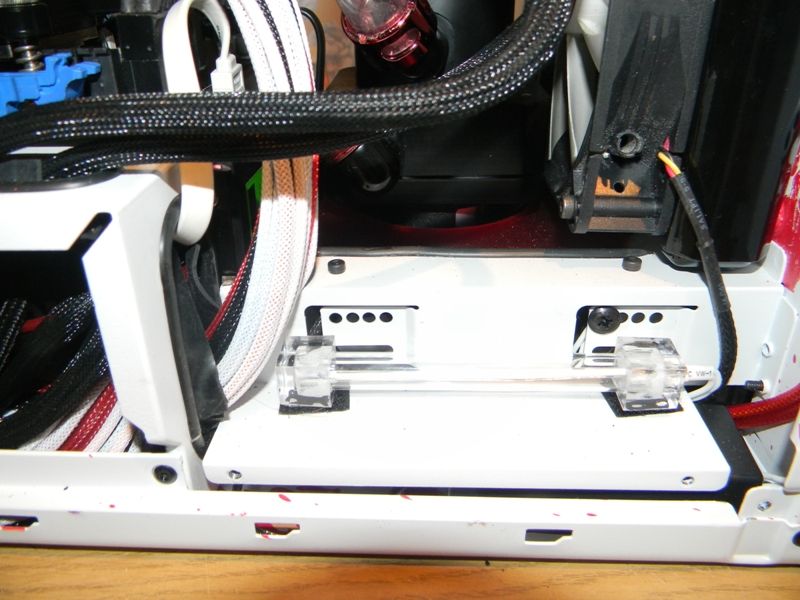
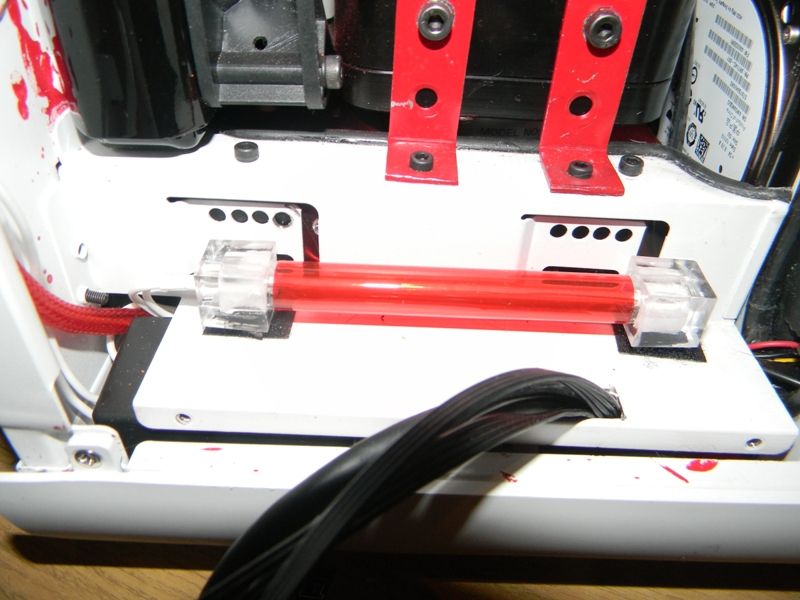
As previously mentioned there was a chance the cathodes might not be true red. After building the system I was mortified to discover not only were the cathodes not Red but they were an awful pink! I found some Vinyl used to give car headlights a colour look and decided to give this a try. It have massively helped but I will be putting another layer on before there will be pictures of the final colour!
HDD Power.
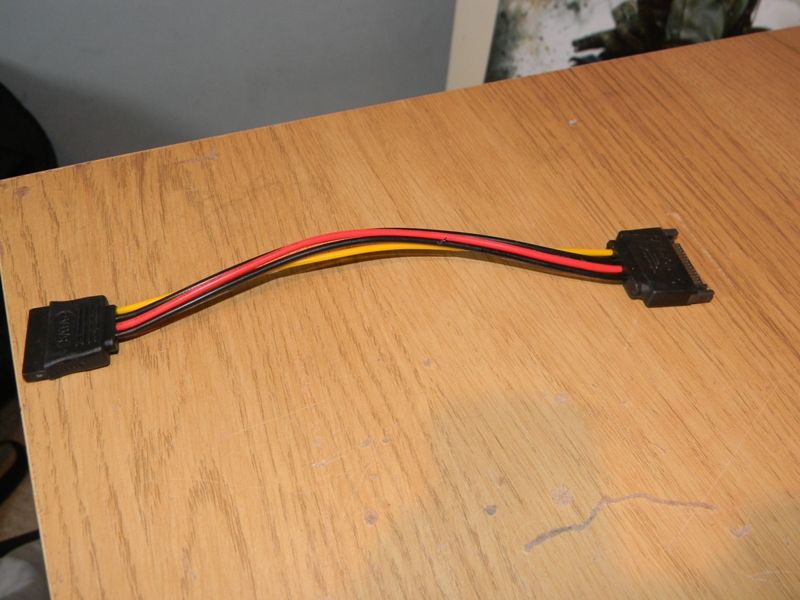
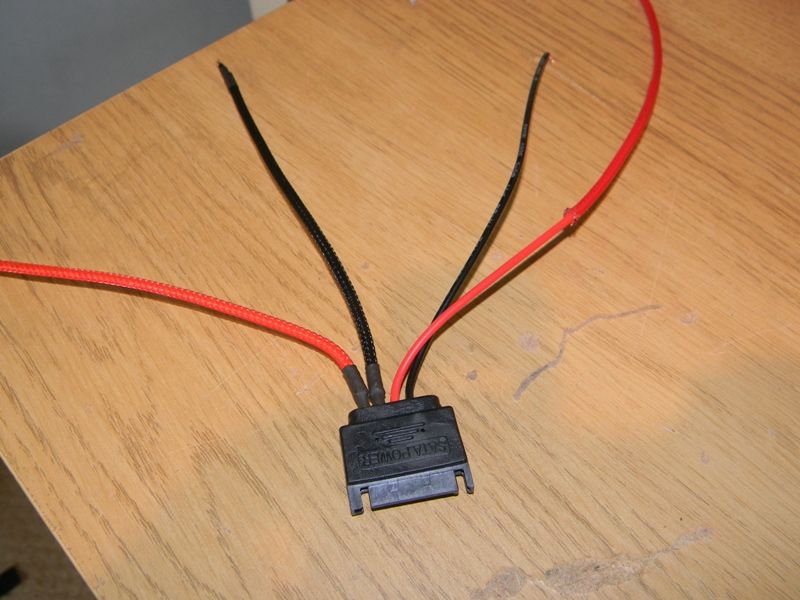
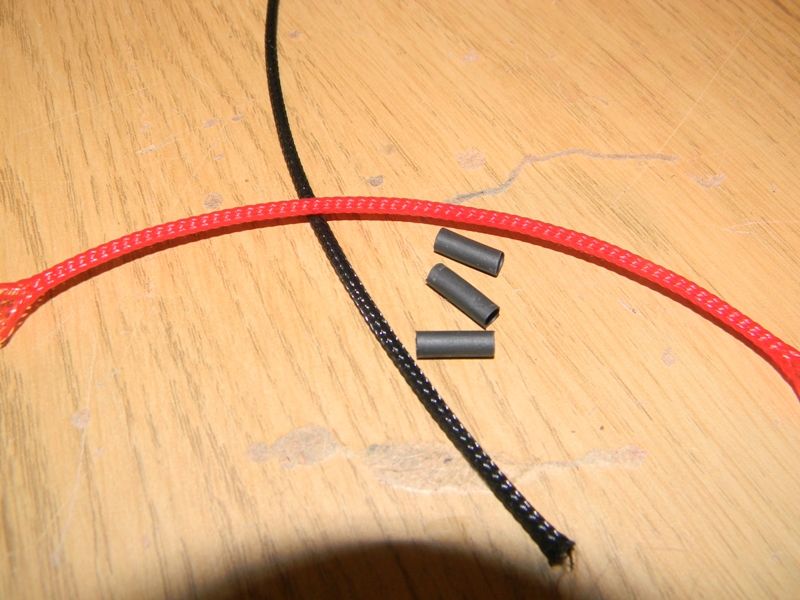
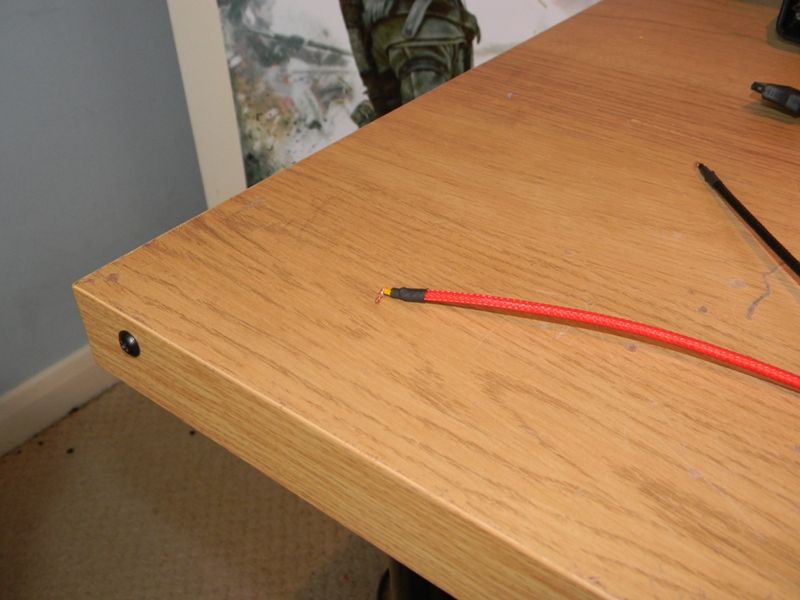
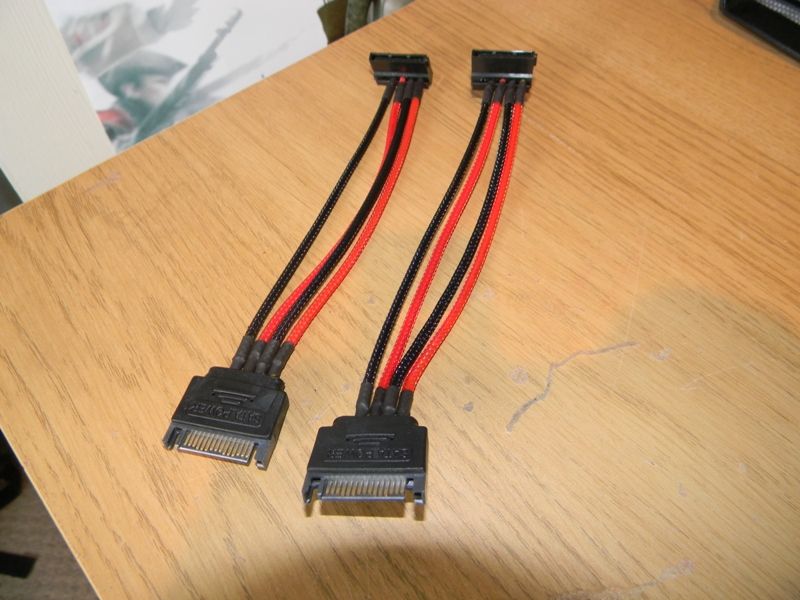
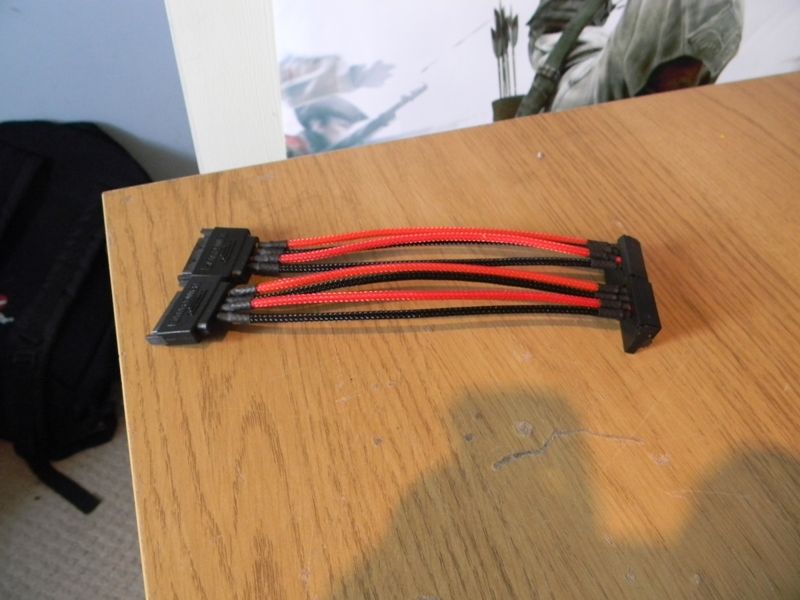
I needed to get some extensions for the Sata power for the two HDDs. Order some of the cabling from China (by mistake! again..) and so had been waiting a while before I got them. After the finally arrived I did a bit of braiding and so now they don't look so bad
Front Cover
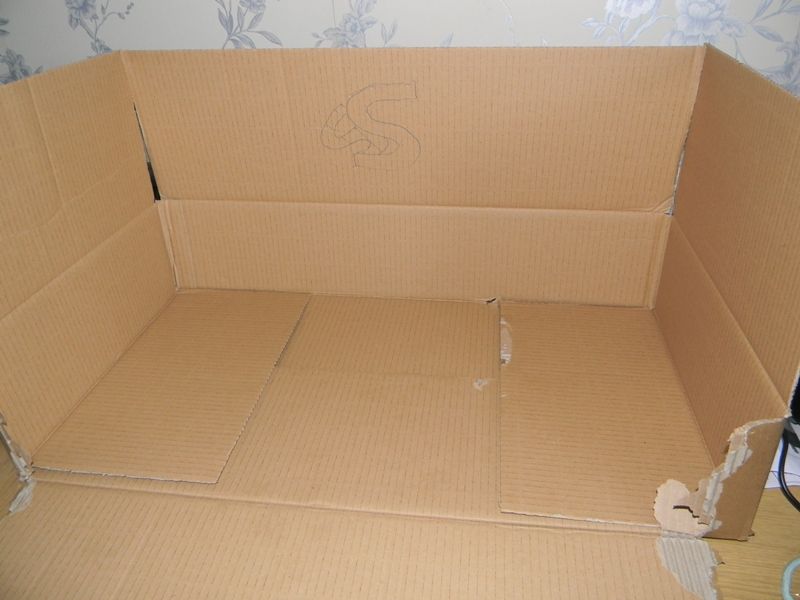
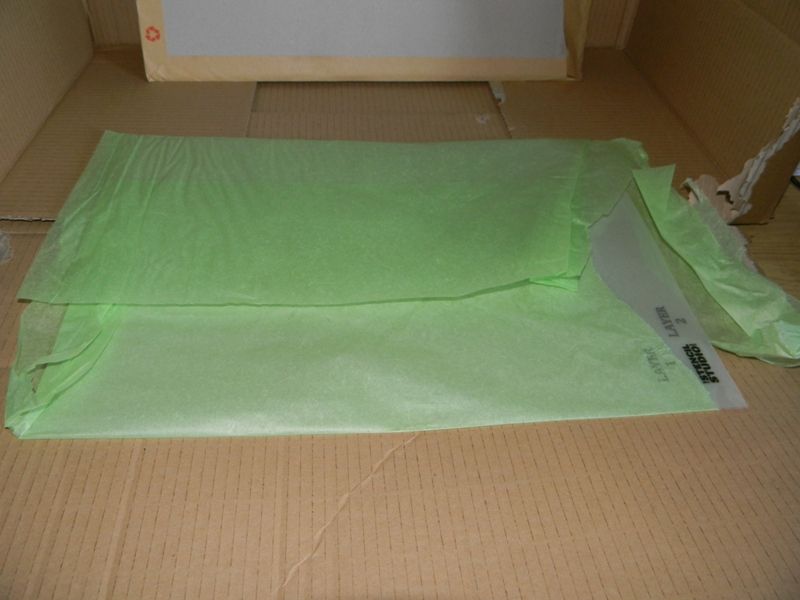
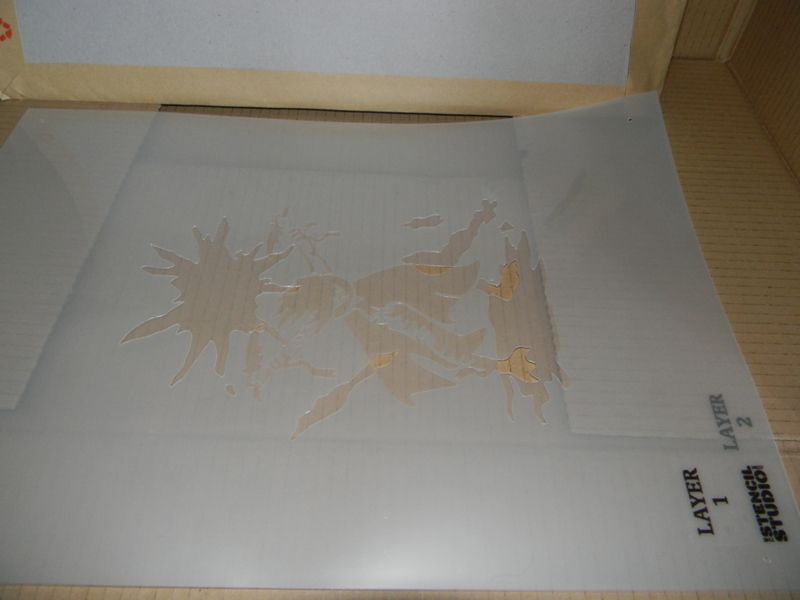
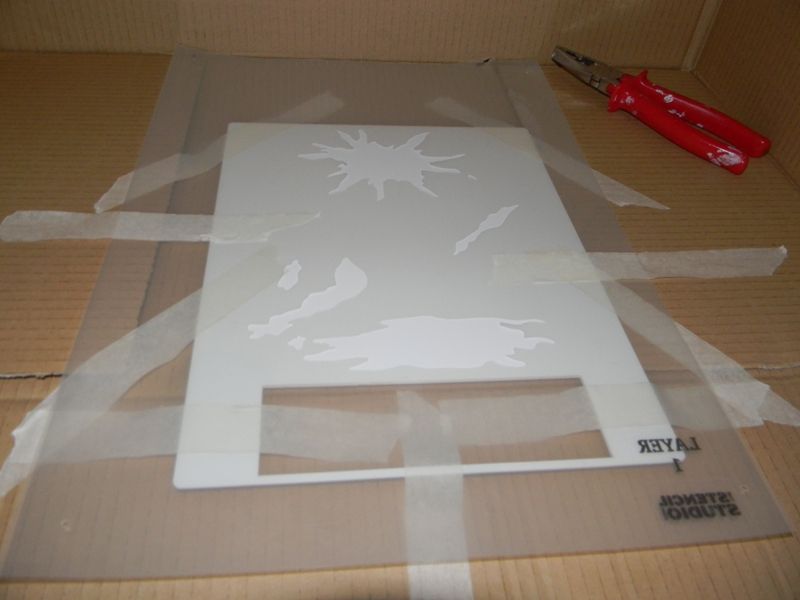
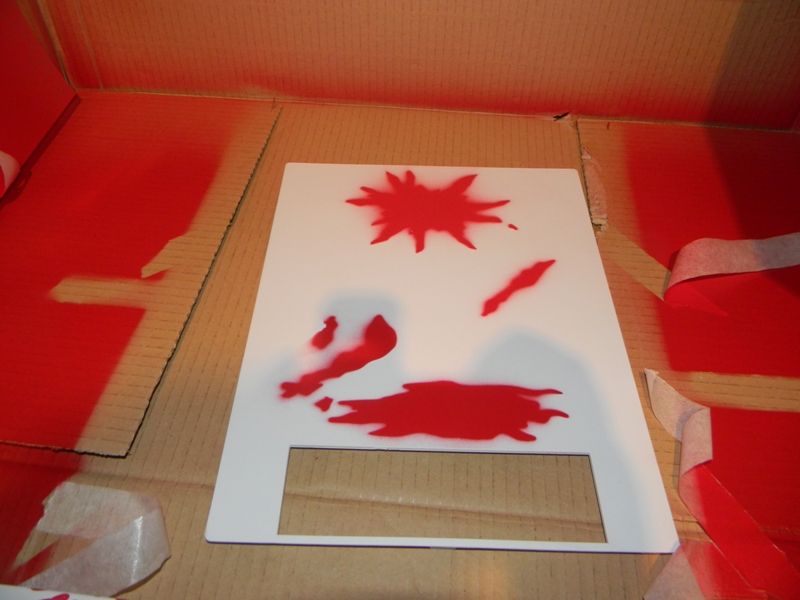
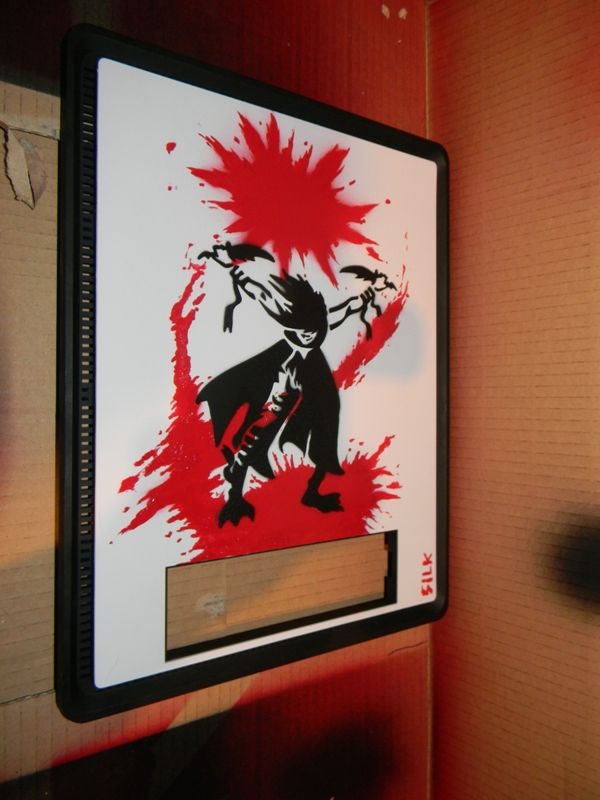
Got the other half to digitally draw me something to put on the front of the cage. Ended up being a kick a$$ warrior woman with two dagger! Got some Stencils designed with this to spray on the front of the case. Unfortunately The Spraying didn't turn out as well as I would have liked. Mostly because I didn't do enough research on how to spray this correctly. So I may order another front panel and have an attempt number two in the future but for now, the Other half touched it up a bit for me so looking not half bad!
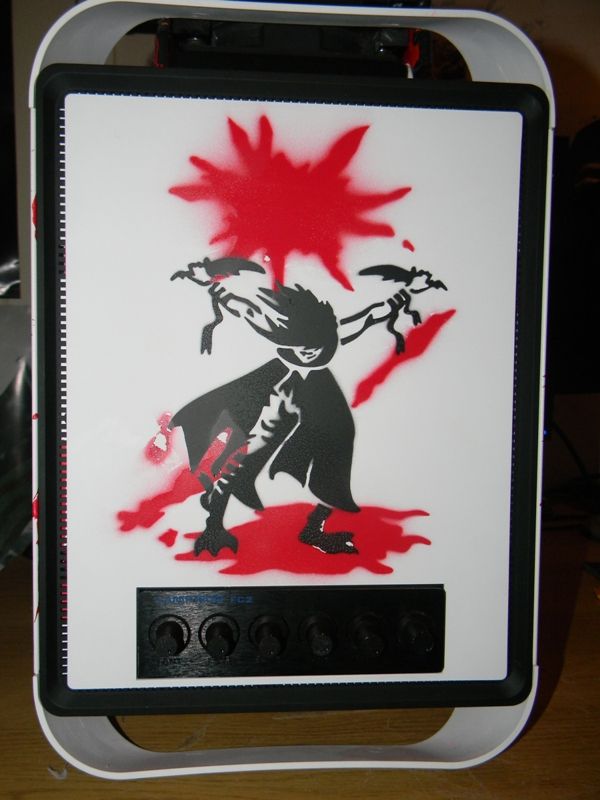
After some touch ups!
Window Left Side Panel
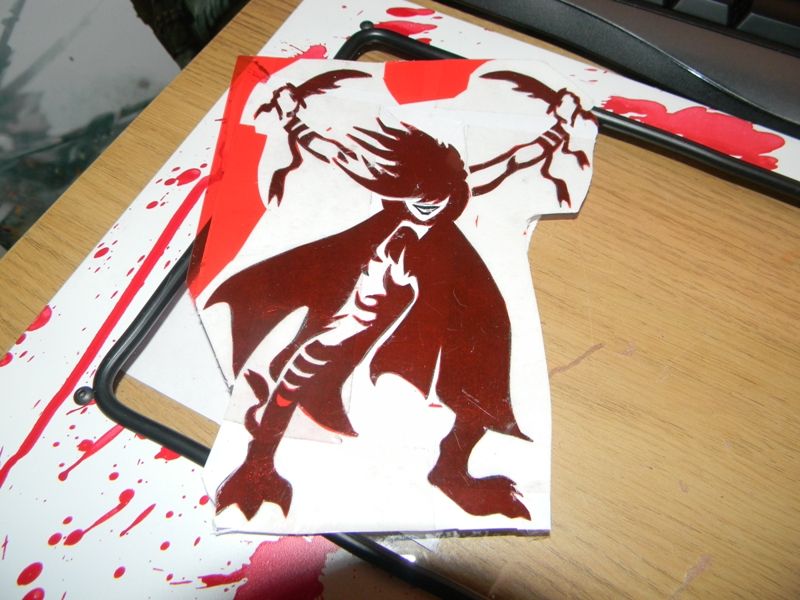
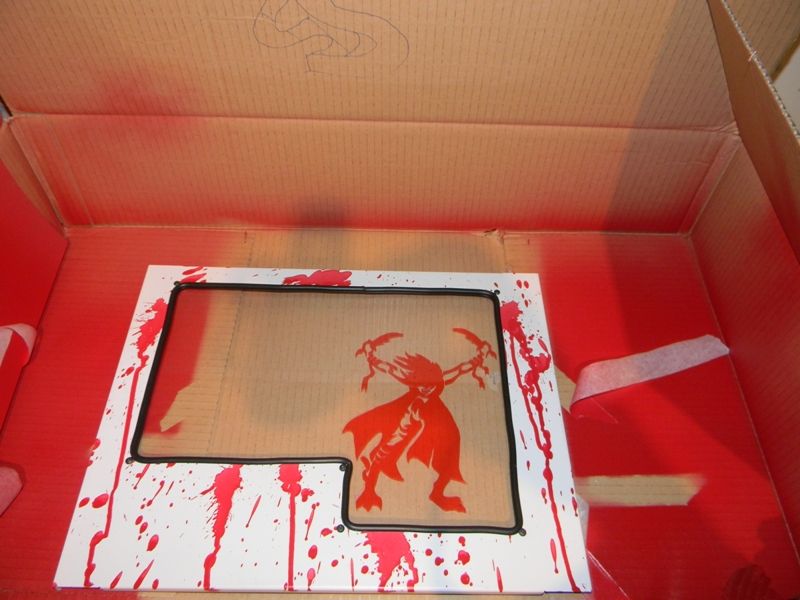
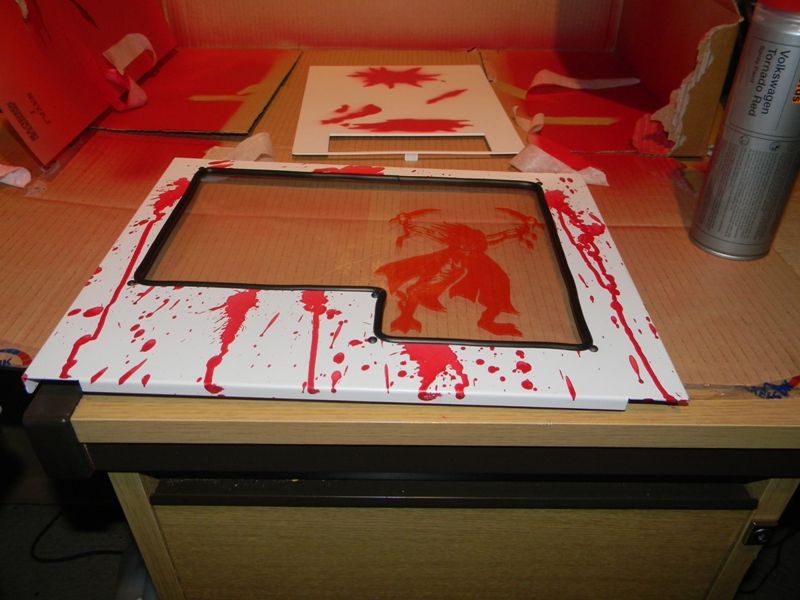
Using the same red vinyl I decided to cut out the same woman warrior and put it onto the side panel window. I was very happy with cutting out the shape, think it turned out very well considering how bad my dremel Skills are!!! hehe.
The Build.... In Progress
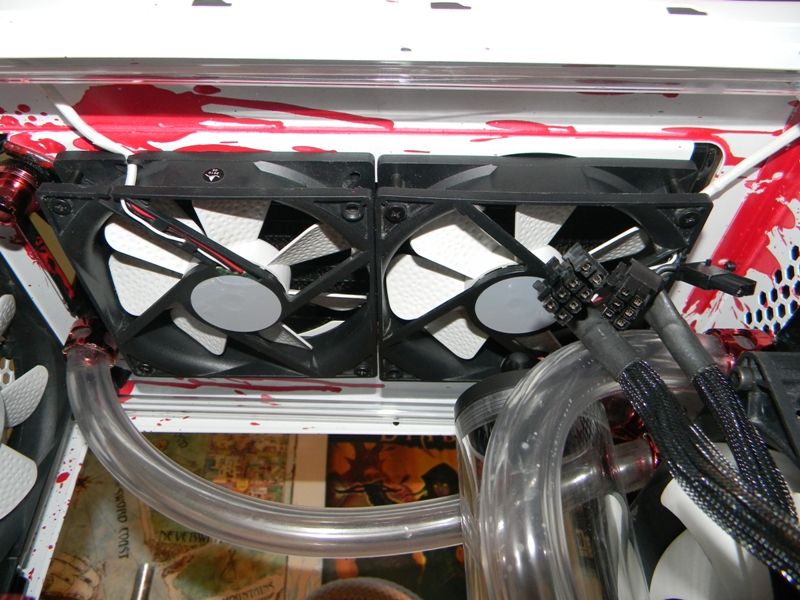
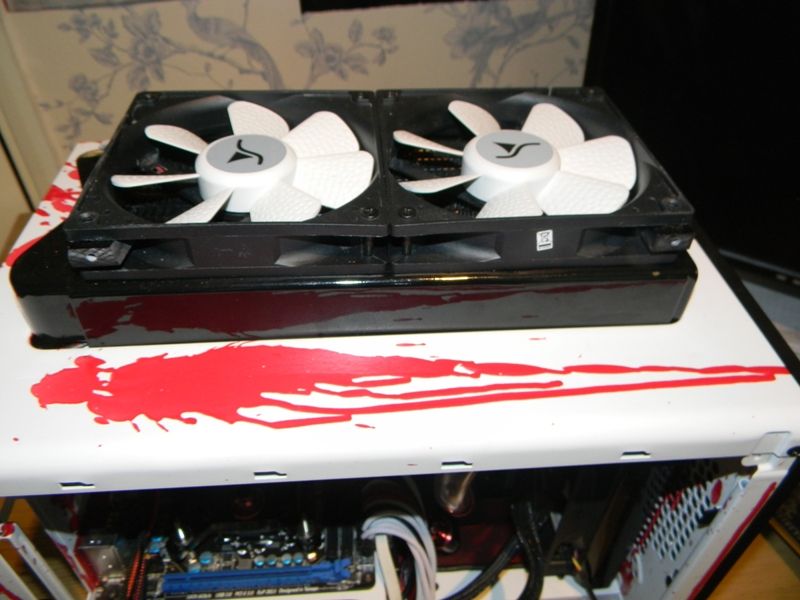
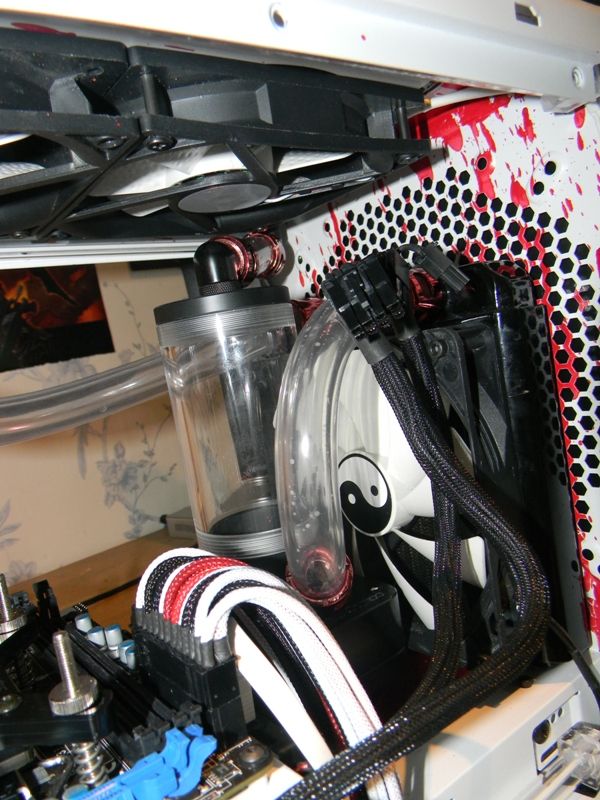
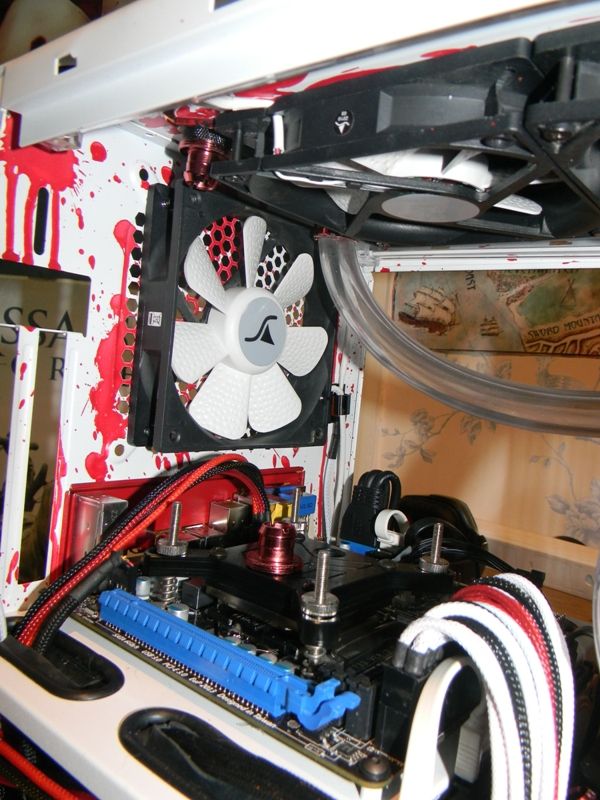
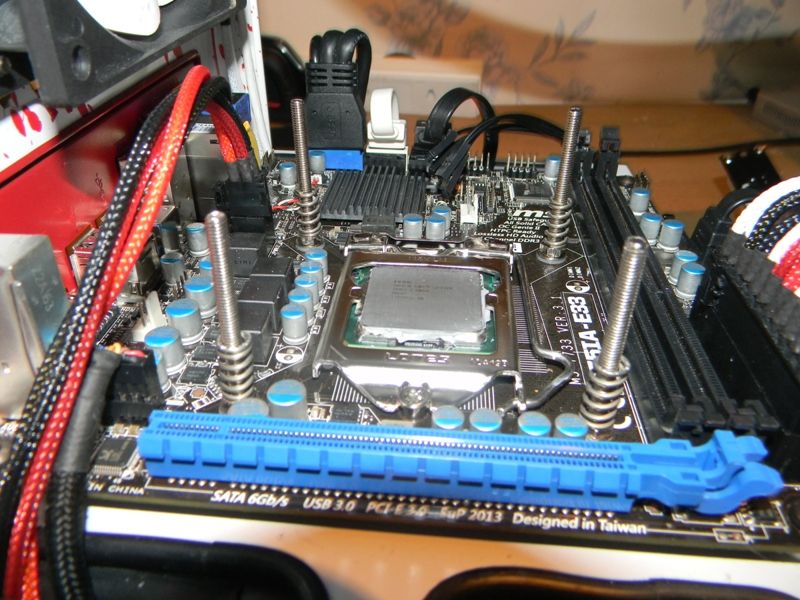
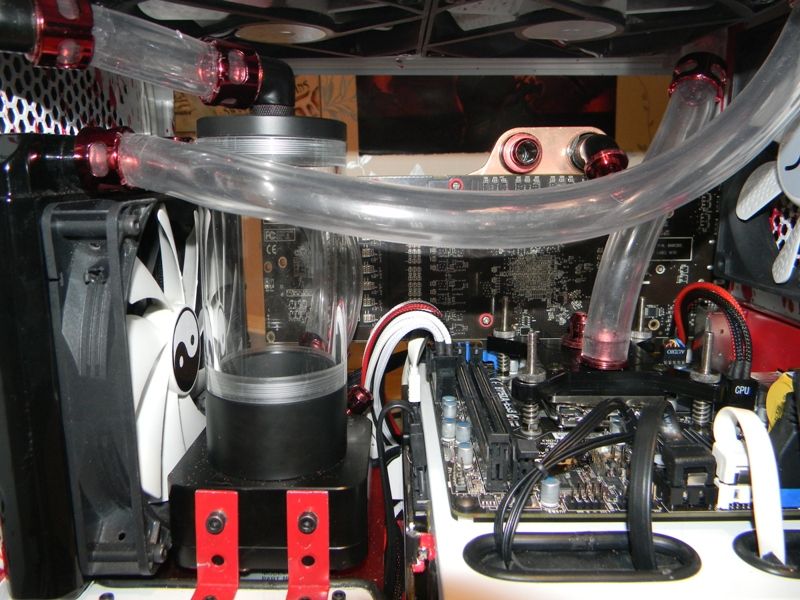
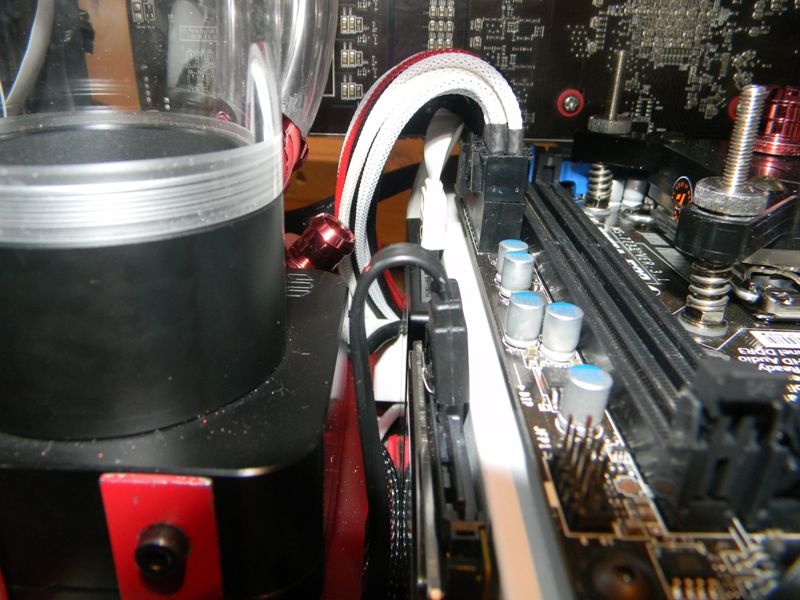
Putting the system together before adding any water. Afterwards I used just some Di-ionized water from Halfords. Found I had some leaks and in one case needed to use a double rubber seal to fix it!
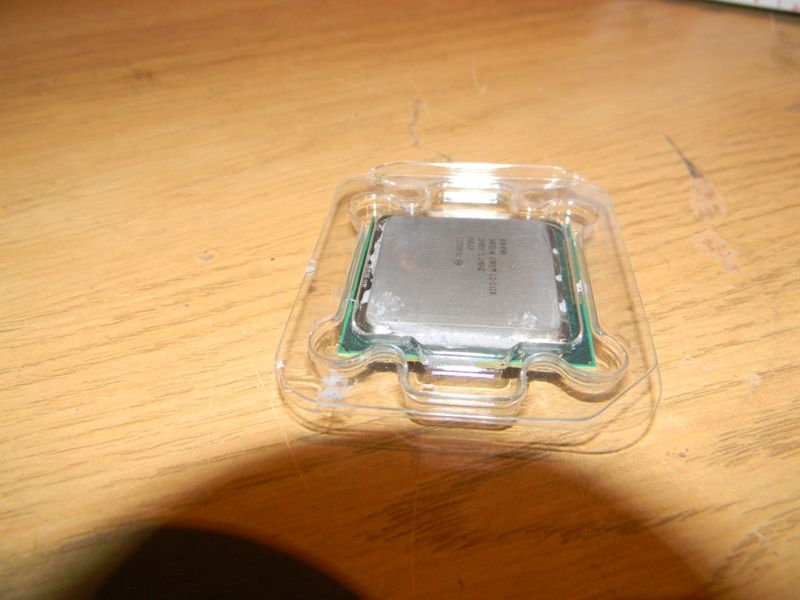
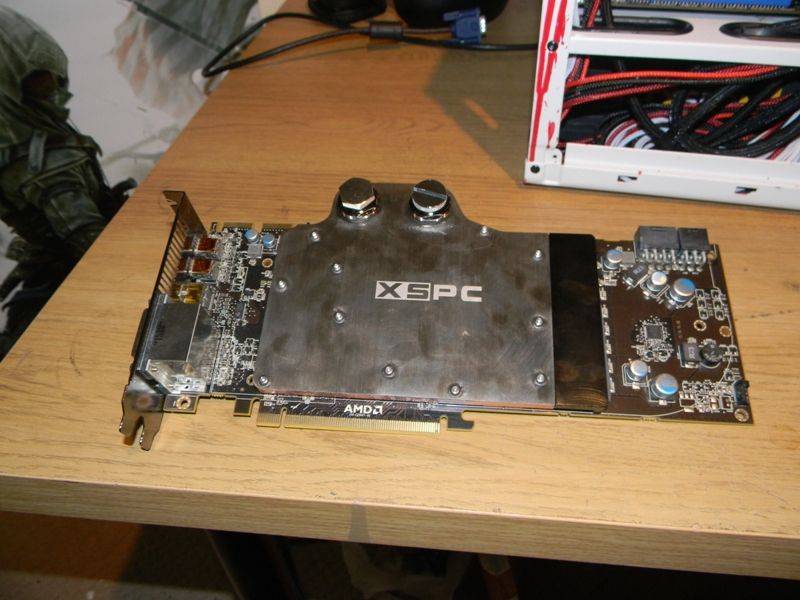
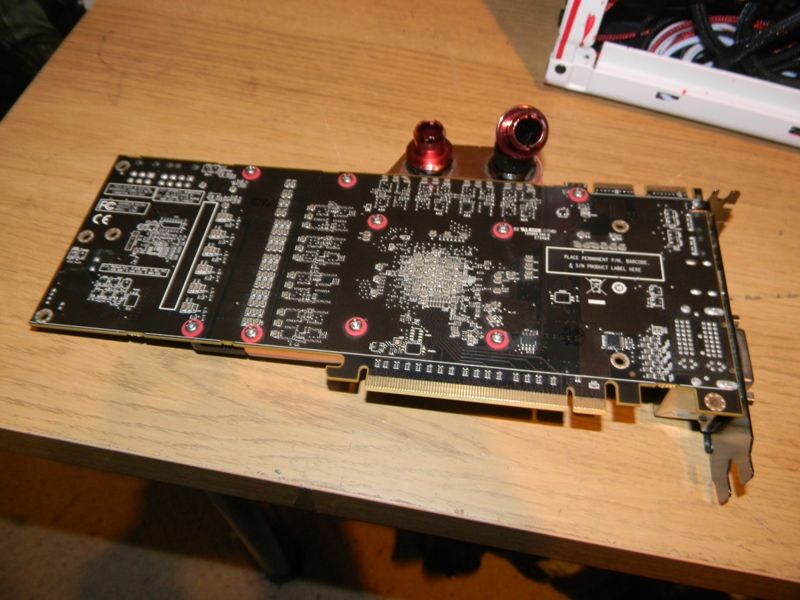
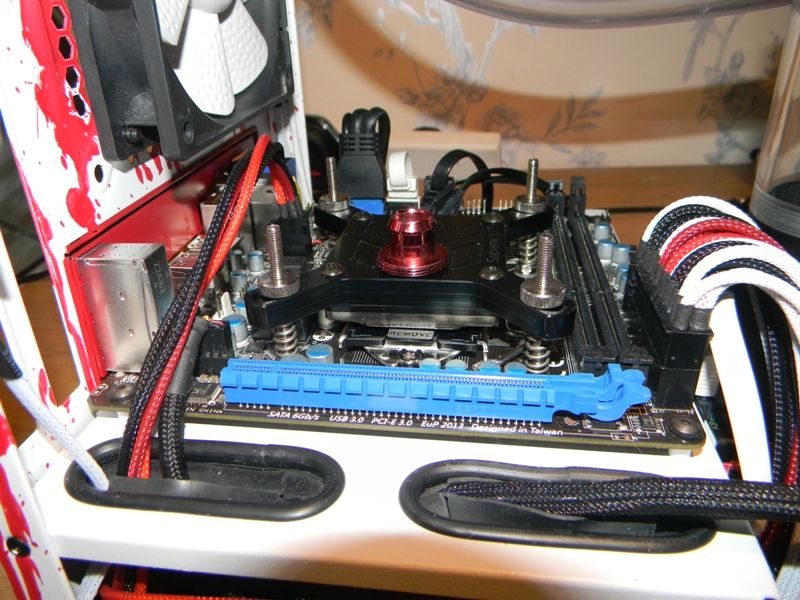
The Build.... Complete
Added some Blood Red Coolant! and looking quite good.
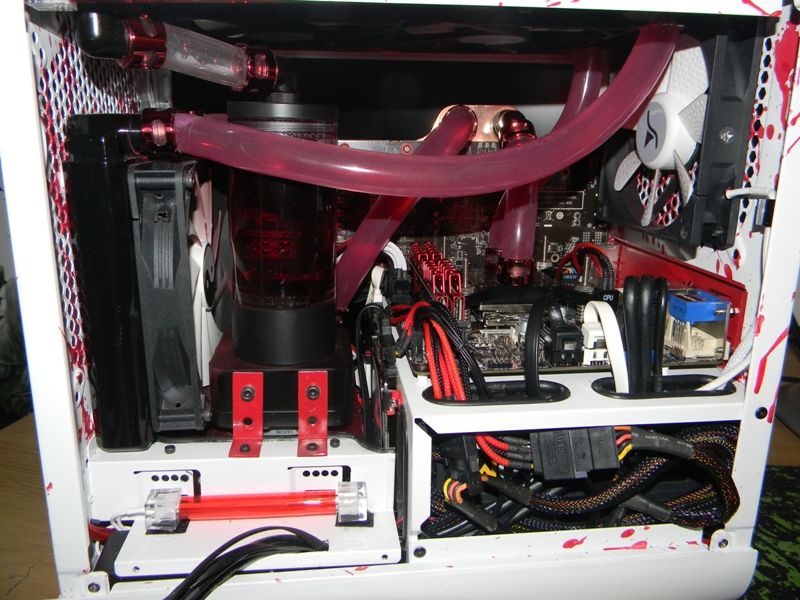
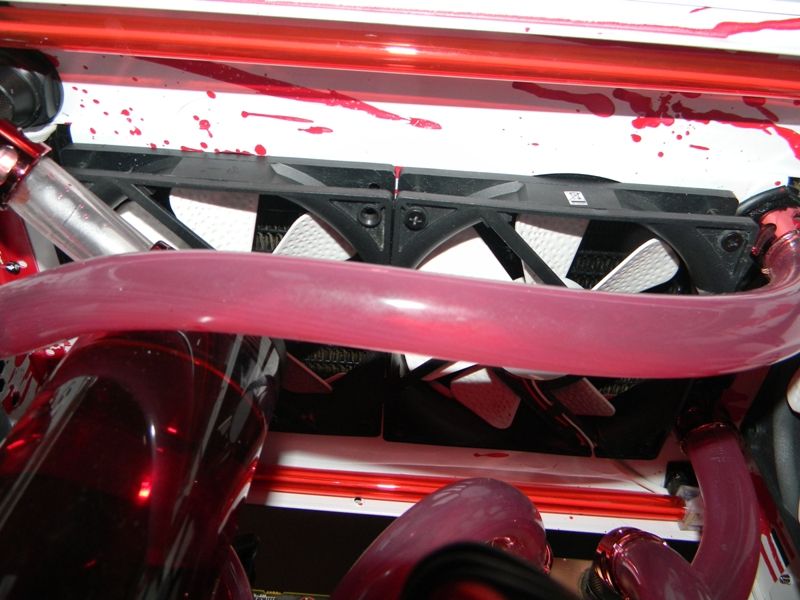
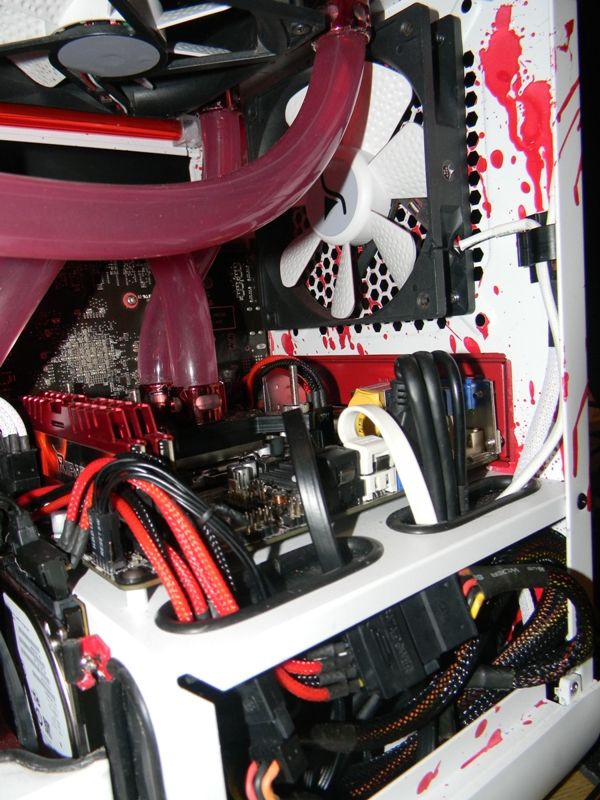
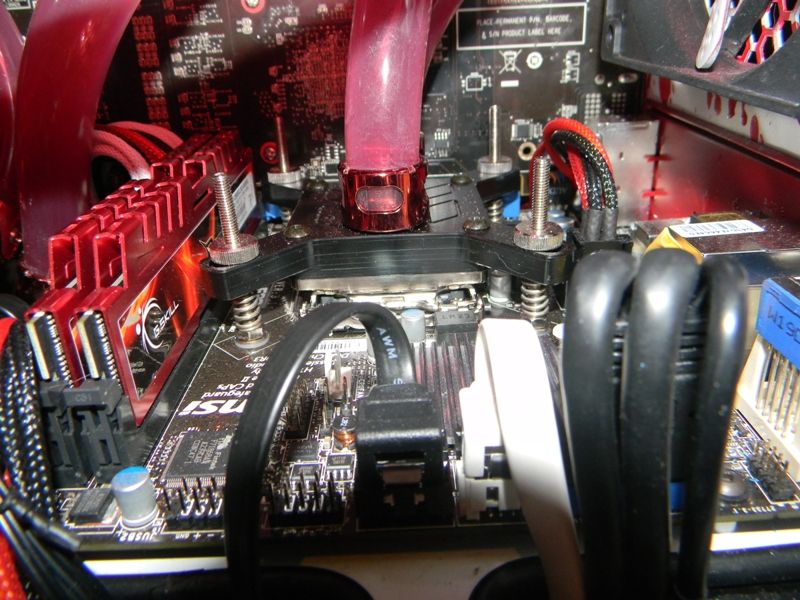
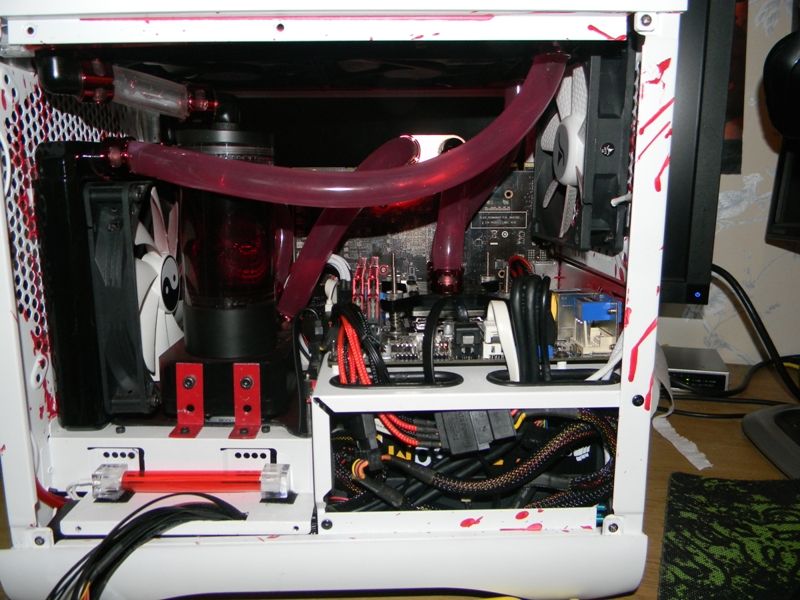
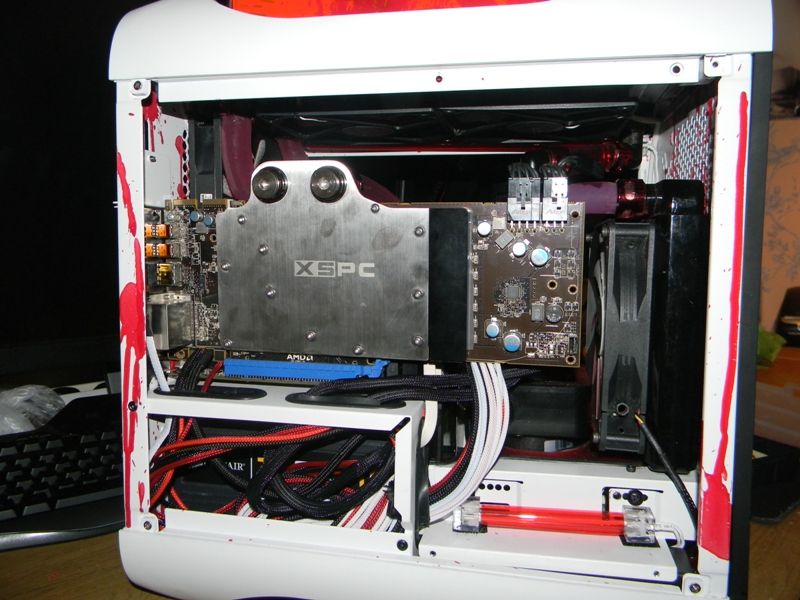
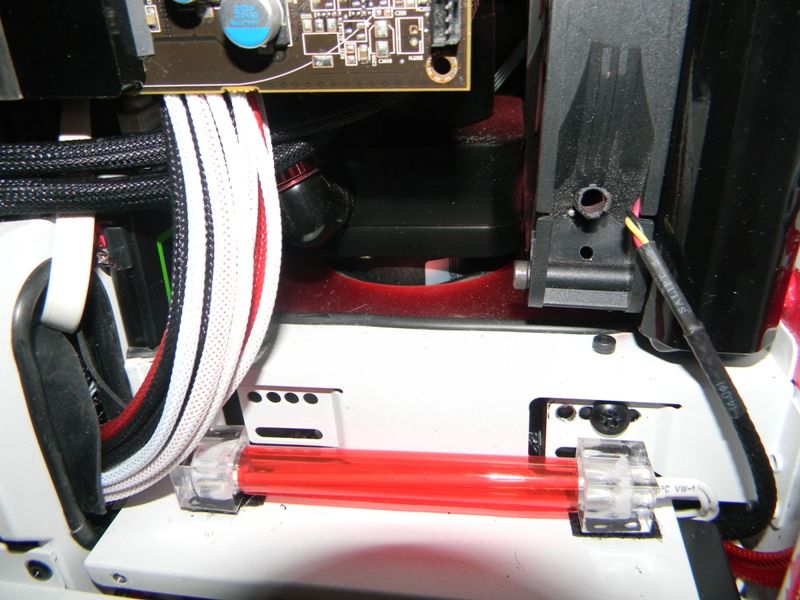
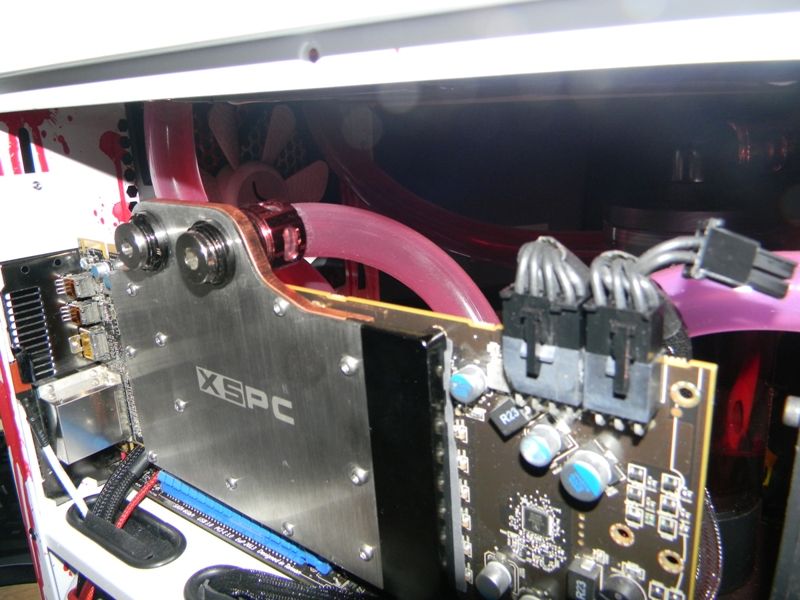
Things to come!
I will get some pictures up with the side panels on hopefully tonight or tomorrow. As well as with the new and improved front panel. I will also double up on the vinyl on the cathodes to get an even redder glow and get some pictures of the lights. Unfortunately the Fan controller has blue LEDs and I am not sure how to successfully change these. So for now I have covered the leds with my Red Vinyl and am hoping that it will at very least give a purple glow instead of blue, I haven't tested this yet but will get some pictures up tonight hopefully!
Thanks for looking.

So I have built the system and completed allot of the things that needed doing.
First I will go through the few extra mods I have had to do.
Side Panel I/O
To Allow the IO cables to remain mostly hidden I needed dremel(lol) a small hole in the Fan Cage.

Cathodes.
As previously mentioned there was a chance the cathodes might not be true red. After building the system I was mortified to discover not only were the cathodes not Red but they were an awful pink! I found some Vinyl used to give car headlights a colour look and decided to give this a try. It have massively helped but I will be putting another layer on before there will be pictures of the final colour!


HDD Power.
I needed to get some extensions for the Sata power for the two HDDs. Order some of the cabling from China (by mistake! again..) and so had been waiting a while before I got them. After the finally arrived I did a bit of braiding and so now they don't look so bad


Front Cover
Got the other half to digitally draw me something to put on the front of the cage. Ended up being a kick a$$ warrior woman with two dagger! Got some Stencils designed with this to spray on the front of the case. Unfortunately The Spraying didn't turn out as well as I would have liked. Mostly because I didn't do enough research on how to spray this correctly. So I may order another front panel and have an attempt number two in the future but for now, the Other half touched it up a bit for me so looking not half bad!


After some touch ups!

Window Left Side Panel
Using the same red vinyl I decided to cut out the same woman warrior and put it onto the side panel window. I was very happy with cutting out the shape, think it turned out very well considering how bad my dremel Skills are!!! hehe.


The Build.... In Progress
Putting the system together before adding any water. Afterwards I used just some Di-ionized water from Halfords. Found I had some leaks and in one case needed to use a double rubber seal to fix it!


The Build.... Complete
Added some Blood Red Coolant! and looking quite good.


Things to come!
I will get some pictures up with the side panels on hopefully tonight or tomorrow. As well as with the new and improved front panel. I will also double up on the vinyl on the cathodes to get an even redder glow and get some pictures of the lights. Unfortunately the Fan controller has blue LEDs and I am not sure how to successfully change these. So for now I have covered the leds with my Red Vinyl and am hoping that it will at very least give a purple glow instead of blue, I haven't tested this yet but will get some pictures up tonight hopefully!
Thanks for looking.
Last edited:
Associate
- Joined
- 2 Aug 2010
- Posts
- 1,890
- Location
- Egypt/ Surrey
Good to see you have put it to good use 
Love the splatter mod

Love the splatter mod
Good to see you have put it to good use
Love the splatter mod
Haha. Thanks!!

Associate
- Joined
- 30 Dec 2012
- Posts
- 1,153
- Location
- midlands
been following your build and loving it.
Yeah some say its not perfect but I haven't got the balls yet to build a new rig.
Now I've got my new build I'm gonna take my old pc apart and rebuild it a couple of times to see how difficult it is and have some fun.
Maybe I'll get brave enough tp DIY it when I upgrade some parts in the next year.
Want to move a couple of fans and maybe add a watercooling and go x2 or x3 sli.
Soldato
- Joined
- 17 Sep 2012
- Posts
- 4,277
- Location
- Derby
Just seen this in the 'flesh' looks really good! a lot of nice work in such a small case!
gratz!
gratz!
Associate
- Joined
- 22 May 2011
- Posts
- 1,173
- Location
- Manchester
Very nice, any chance of seeing some pictures of it at the LAN event? For those of us that aren't lucky enough to go? 

hate to be that guy
but

The springs should be ontop of the block to apply pressure downward and pushing the block into the CPU. They are actually doing the opposite at the moment.
I don't think it will make a huge difference but I figured it was worth mentioning
but

The springs should be ontop of the block to apply pressure downward and pushing the block into the CPU. They are actually doing the opposite at the moment.
I don't think it will make a huge difference but I figured it was worth mentioning
been following your build and loving it.
Yeah some say its not perfect but I haven't got the balls yet to build a new rig.
Now I've got my new build I'm gonna take my old pc apart and rebuild it a couple of times to see how difficult it is and have some fun.
Maybe I'll get brave enough tp DIY it when I upgrade some parts in the next year.
Want to move a couple of fans and maybe add a watercooling and go x2 or x3 sli.
Sounds great. Building systems is allot easier than it it was 8 years ago. Everything is colour coded and all the manuals that come with things make it allot simplier

Just seen this in the 'flesh' looks really good! a lot of nice work in such a small case!
gratz!
Thanks man! I have had a few people come over and say they like it
 and almost no one notices the bad dremel work


