Project: Bleedin' Li

Soldato
Joined
27 Nov 2009
Posts
3,869
Location
Maidstone, Kent
I know, the pun is rubbish, and the only real link between blood and the build is red dye, but that's all you're going to get this time of day :D...

Anyway, the plan is to essentially install watercooling into a Lian Li V1000Z. I'll be cooling the CPU and GPU, but as I change the GPU fairly regularly (maybe too regularly...) I've gone for a core-only block.

I'm no newbie to watercooling, but I've headed in a different direction with this build compared to previous attempts in that I've gone for a high-fpi radiator, coupled with some nice high speed fans. It's also a little experimental, in that I'm trying to run it on only a single GTS240, with good temperatures, so we'll see how it goes.

Anyway, current system (which will be carried over) as follows:

CPU: i7 920 D0
Motherboard: Rampage III Formula
RAM: Patriot Sector 7 1600MHz CAS8
GPU: Asus GTX480
Sound Card: Asus Xonar Xense
Power Supply: Seasonic X-Series 650
SSD: Kingston V-Series 128GB
HDD: Western Digital Caviar Black 500GB

Current system (bit of a clue on the colour scheme):
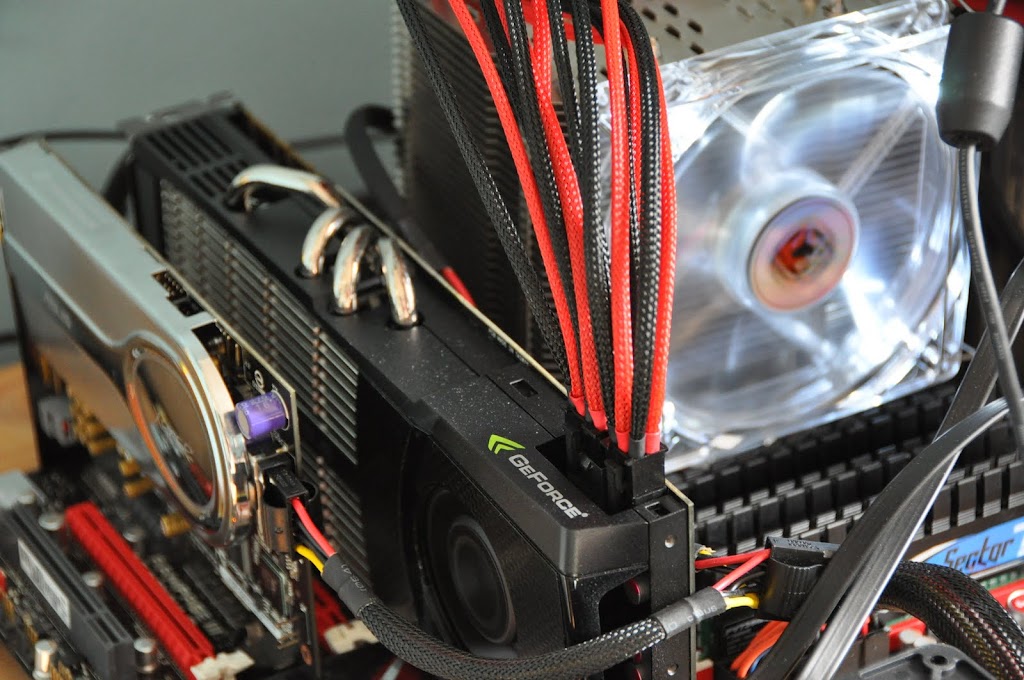
DSC_0151.JPG


New case (already mounted the Lian Li tool less PCI-slot holder - it's not fully compatible with the V1000Z though, as I can only screw it in at the top, so I'll have to sort that out at some stage):

DSC_0124.JPG


DSC_0126.JPG


DSC_0125.JPG


As you can see, I've already mounted the XSPC reservoir (very eager... :D), and my trusty Lamptron Touch fan controller - which I can wholly recommend - 30W per channel (used to have an 18W DDC running off this)

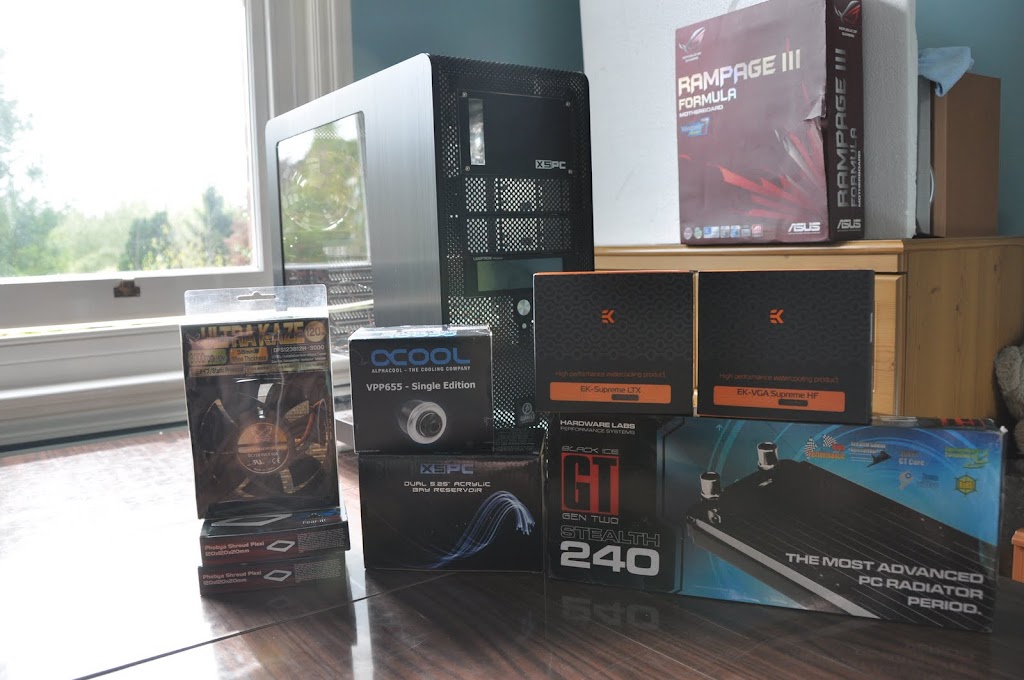
And the watercooling kit:
CPU: EK Supreme LTX Nickel/Plexi
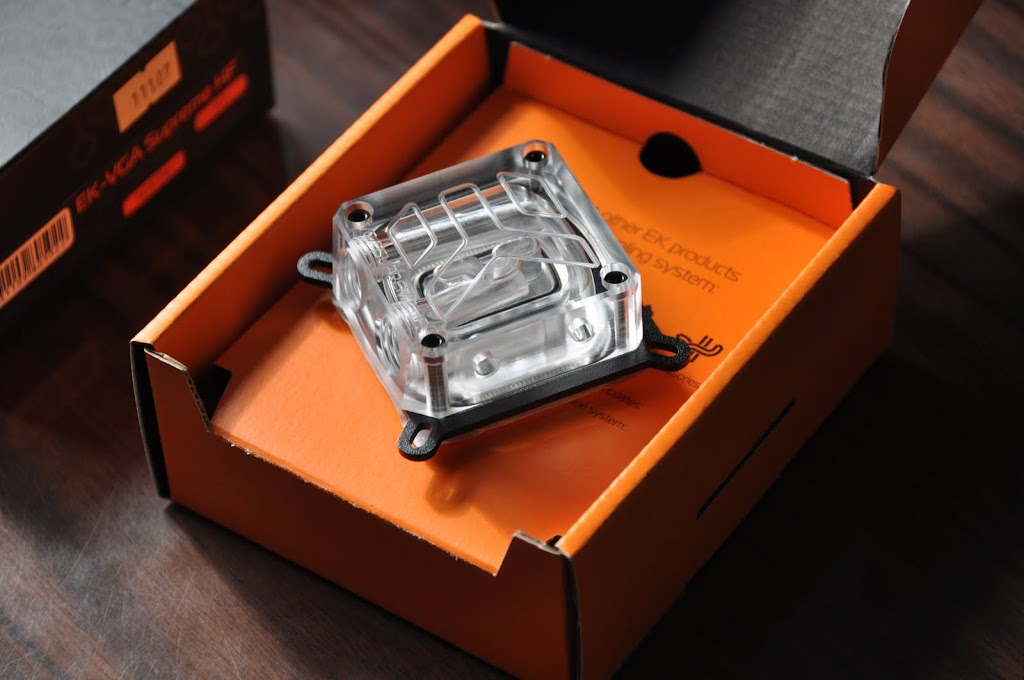
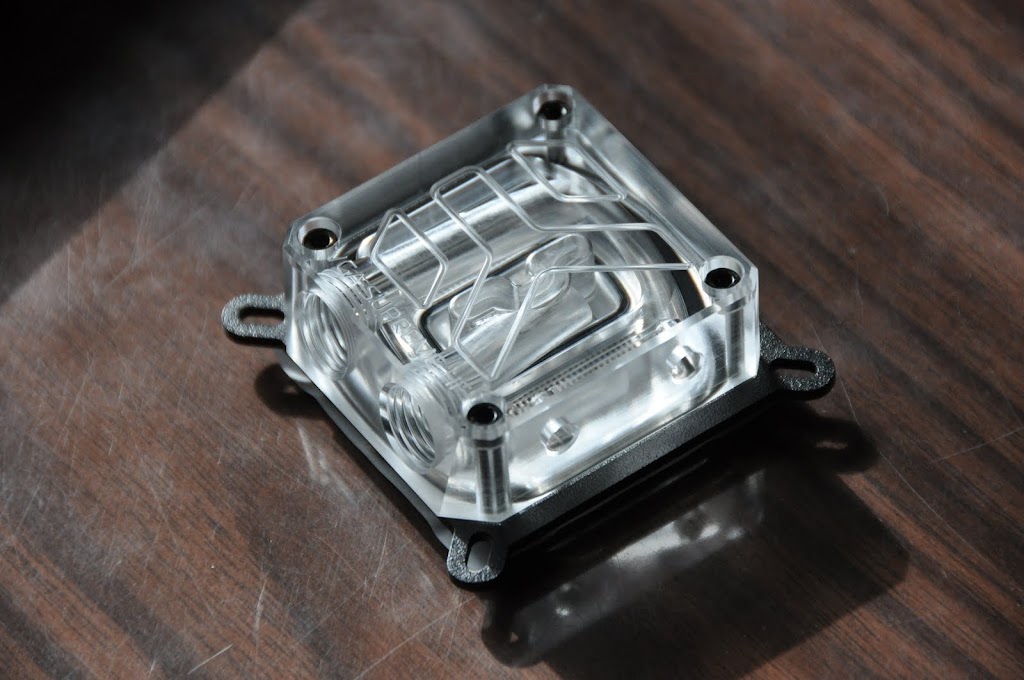
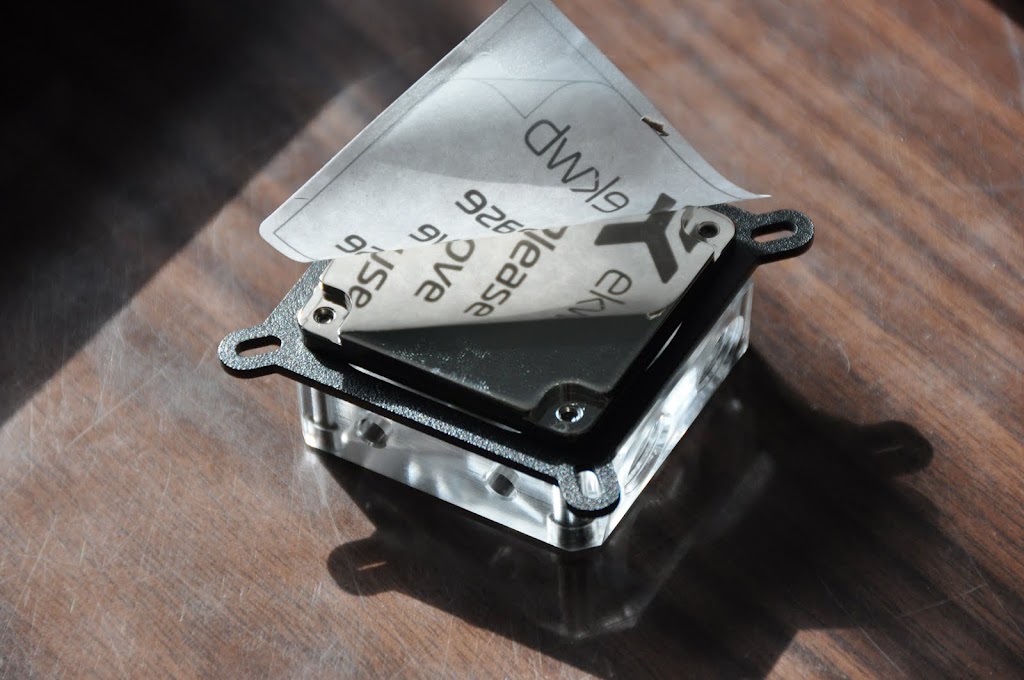
GPU: EK VGA Supreme HF
Pump: Alphacool VPP655 (D5 minus top)
Reservoir: XSPC Dual D5 bay
Radiator: Black Ice GTS240
Fans: Scythe Ultra Kaze 3000rpm
Shrouds: Phobya 120x120x20mm
Fluid: Deionised water + Mayhems deep red dye + Pulse Modding Kill Coil
Tube: XSPC 3/8" / 5/8"
Fittings: 3/8" Perfect Seal barbs

Here's a line-up:
DSC_0128.JPG


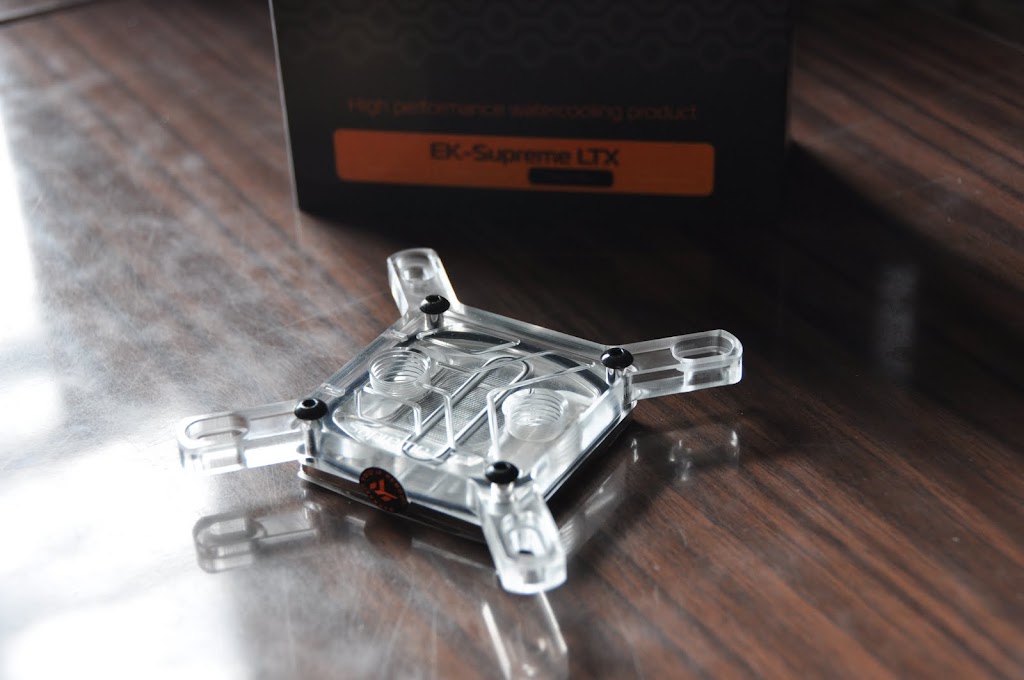
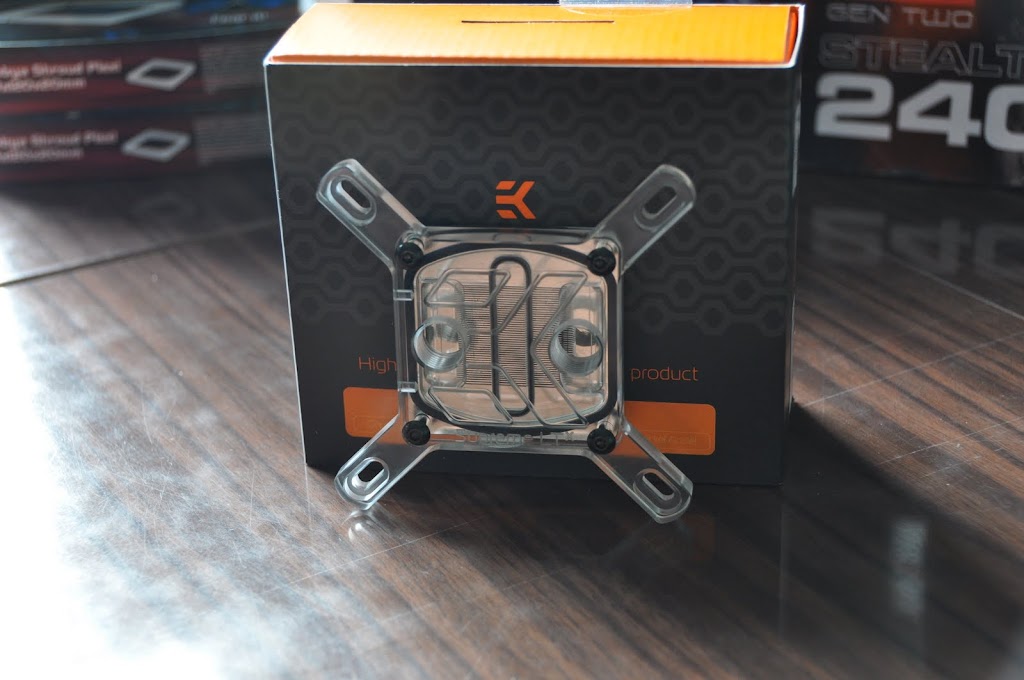
EK Supreme LTX:

EK's usual lovely packaging revealed an even lovelier block. I've gone for the nickel/plexi to show off the dye, and the finish is superb:
DSC_0130.JPG


DSC_0129.JPG


DSC_0132.JPG


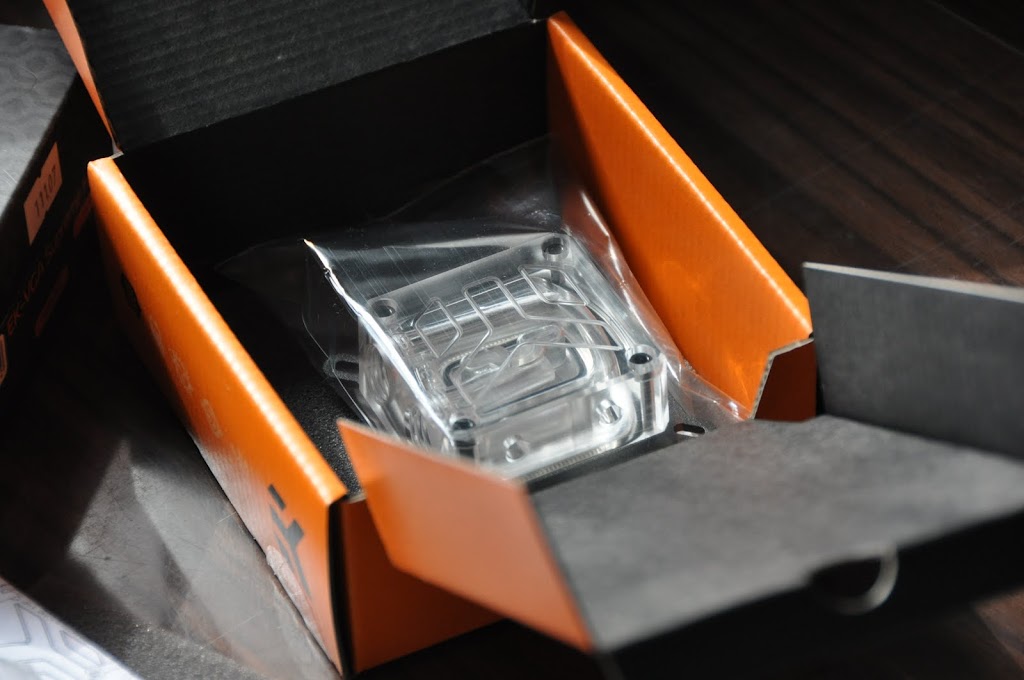
EK VGA Supreme HF:

Pretty much ditto the LTX sentiments:
DSC_0134.JPG


DSC_0136.JPG


DSC_0138.JPG


DSC_0139.JPG


DSC_0140.JPG


Alphacool VPP655:

Just a D5 minus the top which many will replace anyway. Absolute bargain at £58.

DSC_0146.JPG


Radiator/fan/shroud combo:

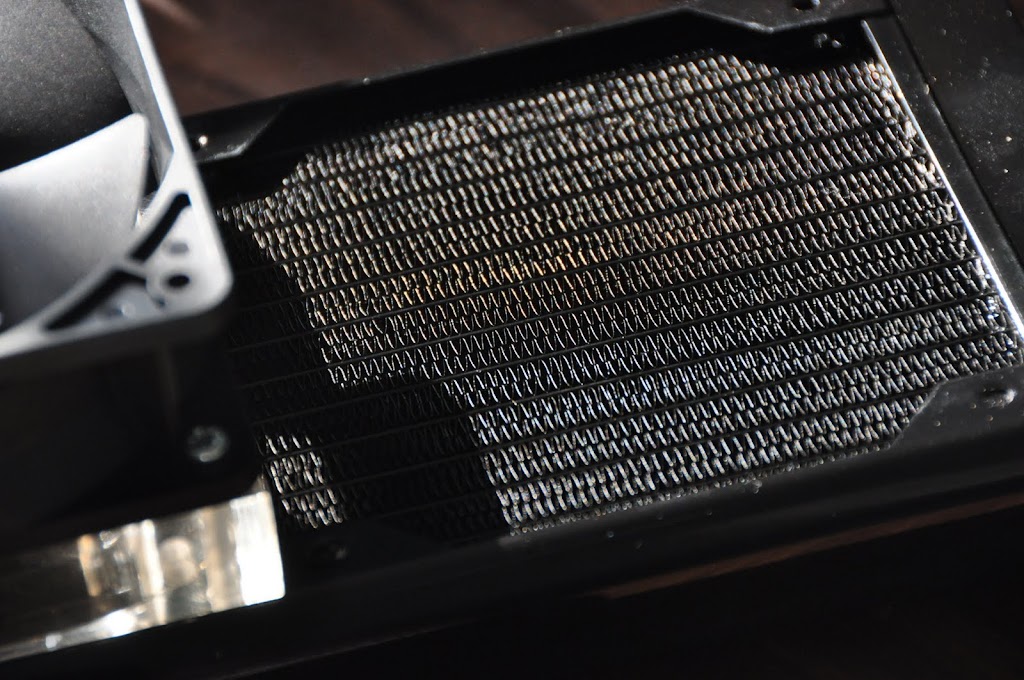
I have to say that I agree whole-heartedly with those who say that Black Ice radiators' finish is impeccable, they really are superb. Mix that 240 with a decent fan and a shroud, and I hope to have a winning combination. I'll be experimenting with and without the shroud to see what kind of differences (if any) are observed:

DSC_0141.JPG


DSC_0142.JPG

30 fpi goodness

DSC_0143.JPG


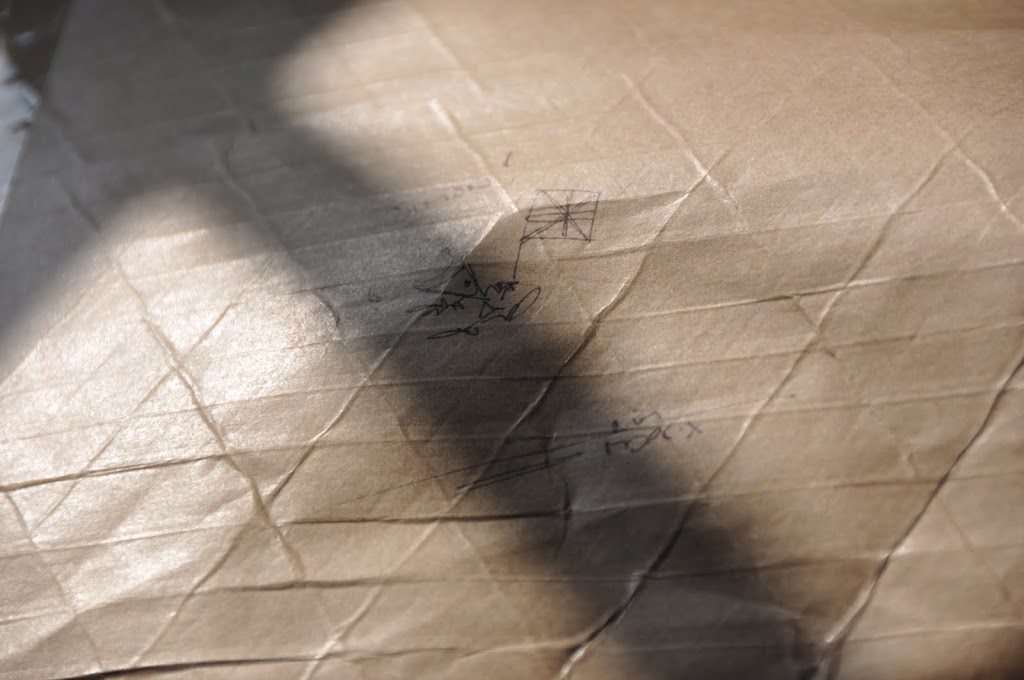
I hope this introductory post has been ok, and I'll leave it here with one last pic, a clue perhaps, as to where I'll be focusing first...
DSC_0148.JPG
 
Last edited:
Awesome, this should look well when finished. I'm struggling to see the pictures though, they're too big.
How much did all the WC components cost?

Love logs and builds like this me. Planning on getting an 850D and doing a watercooling setup, but knowing me, I'll end up building a new PC.

I thought the pictures might be a tad too big, but wasn't sure. That's the bane of a 2560x1600 monitor...

I'll have them sorted in a sec.
 
Awesome, this should look well when finished.

Thanks, let's hope so!

How much did all the WC components cost?

Too much :D. Though I'd guess around the £300 mark once I've included all the fittings, fan grills, rad grills and case mod bits (like the black PCI covers and holder).

Love logs and builds like this me. Planning on getting an 850D and doing a watercooling setup, but knowing me, I'll end up building a new PC.

Would that be a 650D? :p

We all love building new PCs, though tinkering is more my thing. I guess after a while my PC has become a bit like Trigger's broom - they only bits that are retained are the HDD and SSD...

P.S I can't make out the little drawing, looks like some kind of fish looking into a dead teapot which had been killed by a Ninja throwing a spear-like Union Jack into it.

It's one of Nils' (of MDPC-X fame) famous scrawls - one of the reasons he and his stuff are universally liked... I need to take another photo though, as it hasn't come out that well in the sun

Looks very promising. I'm using a similar case myself but with the inverted ATX design, which does kinda make cabling a little more complex.

I sold it to you didn't I? :D

I just liked the V series too much to stay away...

How are you mounting the HDD and SSD, in the 5.25" bays?

Yep. Though I'm not sure whether I'll be reusing one of the stock HDD mounts for that or not. They're lovely as they're hotswap, but they take up a fair bit of room, and it's a little unnecessary for me.

Looking foward to this project since i love watercooled LianLi builds.

Thanks - hope it turns out well.
 
Haha I think you did sell it to me! Nice case, I like it a lot, though it is a temporary solution (as it's nice and light) until I can get something a bit bigger and more permanent (once I'm settled after uni).

V series are very great looking cases. Were you not tempted by a different Lian Li case this time? Anyway, looking very smart, good luck with the build and I look forward to seeing how it turns out.

I wanted a smaller case than the FT02 I had, and also a much lighter case, which limited it to Lian Li or Cubitek really. I was going to get a Cubitek Magic cube, then get a HDD rack from something like an XSPC H2, but then I saw this V1000Z pop up on Ebay brand new, and won it for £76, so I was quite pleased with that overall.
 
No way would you get two 360 radiators in the bottom!

One of the ideas/experiments with this project is whether I can run a decent system on only a 240 radiator with success.
 
I remember seeing a mod where the divider plate and HD cages were taken out and two triple rads were put either side in the bottom. Might be barking up the wrong case though, I'll try look it up :).

EDIT: Nvm, it was a V1200 and there was one on the floor and one in the roof :(.

Ah that would explain it - the V1200 is a fair bit longer than the V1000. I was wondering how you'd get a triple radiator and a PSU at the bottom...
 
I would show you but my build log has disappeared :(
But yeh the 240 is flat at the bottom, with the drives moved (originally with the harddrive hotswap bay but later just held :)
I dont think i would have liked to go for anything over a Matx board, i found the cable hiding a big problem due to the depth behind the motherboard.
Air flow isn't great either i added another 120 in the front which helped a bit.

Have you checked the archives? Or set the thread search to 'the beginning' rather than the last month?

looking forward to it!

Sub''d

Thanks!

Small progress update, I've stripped the case internals down and shall be spraying them this afternoon after I've got some Plastikote spray from B&Q...
 
Marv, if you post some pics and a small log of how you spray-coated the case internals that would be awesome :). I've never painted anything before (usually outsource) but quite fancy doing some spray-painting of some old cases.

I think I can manage that - it looks like we're about to get a thunderstorm here, so I'll paint tomorrow (just finished doing all the cable holes and whatnot with the case apart).

B&Q are doing 3 for 2 on all paint this weekend, so I got 3 cans of Plastikote for £13.96 this afternoon, which should easily be enough for most Lian Li cases' internals.
 
Right, so here's the start of the next update. My apologies for the picture quality, I haven't got access to the D90.

It was getting quite overcast outside, and I can hear thunder in the distance, so I decided to bring the washing in, and wait until tomorrow to spray the case. However, it did allow me to prepare the case parts, now that they're all covered in finger prints and metal shavings.

I've basically used the same technique I used to use when I sprayed RC car bodyshells, as it works well.

So, here are the parts after removal, and the various cutting/dremelling etc. The dust and finger prints are easy to see.

P4230643.JPG

Always listen to something decent in the background ;)

P4230641.JPG

Note Lian Li's helpful QC sticker remnants

First, wash the parts in hot soapy water. I don't find that using a cloth works any better than hands at this stage, so I just use my hands to wipe the surfaces.

P4230644.JPG

I know my watch is black, but I'm not a goth...

P4230646.JPG


Secondly, rinse the parts with cold water to remove any soap suds, as they will dry with a nice film that prevents the paint from sticking.

P4230647.JPG


P4230649.JPG


Then dry the parts with a rough tea towel, this 'roughens' the aluminium very slightly, and helps the paint to stick. After that, you are left with some lovely clean, finger-print and grease free parts ready for spraying. Obviously avoid handling the bits except on the edges right now - basically like handling a motherboard.

P4230651.JPG

Lovely Lian Li aluminium goodness

Hopefully the body-shell spraying technique will work quite well overall, if not, call this 'guide' a log of how not to do it... :D
 
damn you in going to have to spray mine if yours comes out as well as im expecting :)

Hehe, well, let's hope so. Just going down to the basement to spray it now...

There won't be any 'in progress pics' as the basement is quite dark and photos will look crap. So I'll take some finished pics and post the method.
 
Looking forward to the results of the painting session.

Looking forward to the outcome too. :)
Hope it goes well.

Well, all the bits are done, so pictures tomorrow hopefully! Quite a few paint runs though, flat surfaces are harder than I thought...

looks great :D although you might want to clean your sink, it looks kinda grubby :l
:unless it is meant to be that colour, in which case ignore me :D

Thanks! The sink is quite old now, but the black marks and such are simply wear, and the middle sink thing has always been off colour. They have a speckled colour really... :D
 
Ok, so after spraying over the BH weekend, I've reassembled the case, using screws and nuts rather than rivets. There are a fair number of paint runs, so the next time I spray a case, I have the following tips:

  • Practice a little with whatever spray paint you've bought to find out what the 'dust' and 'heavy' pressures are like. Basically, how much do you have to press the nozzle to get a dust of paint, and how much to get a river... I (stupidly) didn't do this, as I'd had much experience of Tamiya spray paints before, but hadn't appreciated the fine line between the dust setting and the heavy setting
  • For the first few layers, use the dust setting. Coverage won't look perfect, but you won't get runs!
  • Only when you've got a fairly even coverage can you start with heavier layers, but even then make sure you methodically work and don't cover the same area twice per coat. Sweep past quickly, and start and finish off the ends of the work - this prevents heavy patches.

So, the results (forgive the picture quality, I have no idea where the tripod is, so my hands were a little shaky):


If you're wondering what the grille in the middle is for, it's there to provide airflow from the radiator to the rest of the components, rather than just relying on the exhaust fan to draw air out.


The wire going across the motherboard tray is an NZXT red LED kit. At first I was going to hide the PCI controller, but then I thought that it actually fitted fairly well, and I don't need that slot, so it's staying.


Amazingly, this is the only picture where the paint runs are really visible

So, next up is the braiding!
 
Last edited:
Okay, the build is now complete, I'm writing this on the PC. Sorry I had no actual build pics, but it didn't go quite as smoothly as planned.

All I can say is that the results of a thin 240 radiator vs an i7 and GTX480 are surprising...

Update soon...

EDIT: Teaser:

 
Last edited:
Here we go, the final photo shoot:


Kinda nicked joxang's mesh behind the window idea to hide the lower compartment, without just putting some flat black aluminium in there


Also hides the HDDs, which I hadn't worked out what to do with them


So, there were some build issues, primarily revolving around the pump/res. Basically, the ring that clamps the pump to the reservoir has an O-ring in it. Not having the prior knowledge of dismantling a stock pump, I followed the instructions (which were a little ambiguous as to the position of said O-ring, especially in anticipation of a poor translation), and basically put the O-ring behind the pump, not in front. This resulted in a huge leak every time I tried to fill the res. Unfortunately, my fan controller was right underneath, but luckily the water that did get on it was:

a) de-ionised
b) not dyed at this stage

so a quick dry with a towel and a stay in the airing cupboard sorted that out.

When I figured that out, I filled the loop, and then proceeded to get my old PSU out for the bleeding/leak testing stage. Plugged the pump in, had my shorting bridge attached to the 24-pin ATX connector and switched the PSU on. The fan kicked in, but no pump. I thought I might have killed it somehow, or that it was DOA. Turned out that despite the colours with PSUs being set as:

Orange - 3.3V
Red - 5V
Yellow - 12V
Black - Ground
(et al)

Alphacool had helpfully colour coded the pump with a red wire, so following the molex spec (rather than remembering where the wires went) I ended up putting it back for 5V, which naturally wouldn't start...

So, after sorting that out (and it wasn't really worth braiding that cable either - oh well), it bled fairly successfully, and the pump works nicely on setting 5, though is a little loud at idle. I did hook it up to my fan controller (which worked when bleeding and was lovely and quiet on 7-8V, as I wanted to test it out) using a 3-pin to molex adaptor that I'd used before on a DDC, but for some reason it didn't start when I first fired the PC up, resulting in a boot temperature of 100°C on the CPU...

So now to the performance, updates will be coming when I overclock, and I'll do some in-game temperatures and so on.

As for noise however, I thought that this subject is the main potential sticking point of this type of set-up. There's no denying, at 100% fan, it's loud. Probably in terms of dB, louder, or as loud as, a GTX480 stock cooler at load. However, the noise is subjectively quieter, as the fans are quite deep, pitch wise, as you are simply hearing the air move through the radiator, not the fan itself as with the GTX480 fan, which whines annoyingly.

As I play games with headphones on, load volume isn't a massive issue, so I can turn up to 100% without issue, but in the interests of not ****ing everyone else off, 75% still performs well, but isn't as loud. At idle however, this thing is great. With the fans down to ~900-1000 rpm (4V), the pump and HDD are the loudest things in the case by far. I'm super impressed with the Ultra Kazes at low voltage, and with the Sharkoon 2000rpm fan at the back for noise, neither making annoying screamy noises, but more a 'woosh'.

Anyway, while playing Dawn Of War 2: Retribution last night, I had the fans on ~40% (4V) and the GPU temperature crept up to 53°C (as it sits almost permanently at 100% load), the water temperature was at ~40°C. I turned the fans to 100%, and within 30s to 1 minutes the water temperature dropped by a full 10-12°C to 27-29°C, and the GPU temperature dropped to 45°C. This temperature remained stable through the rest of the game, which was about another 30 minutes.

If you've bothered to read all that, well done, have an Internet cookie for your efforts. Overclocking results aside, I think this shows that a dual radiator with the right set-up can result in very nice temperatures, and a very capable loop.

Final Specifications

Hardware:
CPU: i7 920 D0
Motherboard: Asus Rampage III Formula
RAM: Patriot Viper II Sector 7 6GB
GPU: Asus GTX480
SSD/HDD: Kingston SNV425 128GB, Western Digital Caviar Black 500GB
PSU: Seasonic X-650 Gold
Sound Card: Asus Xonar Xense
TV/Capture card (the top green card): AverMedia HD Capture/H727

Cooling:
CPU block: EK Supreme LTX Nickel/Plexi
GPU block: EK VGA Supreme HF Nickel/Plexi
GPU VRM/VRAM cooling: Asus GTX480 standard cooling plate with fan removed
Pump: Alphacool VPP655
Reservoir: XSPC Dual-bay D5
Tubing: XSPC Clearflex 3/8" ID 1/2" OD
Fittings: OCUK clearance PerfectSeal 3/8" barbs/Bitspower 3/8" 90° barbs/Bitspower G1/4 temperature probe/Bitspower X piece/Feser G1/4 through-fittings/XSPC M20.5-G1/4 adaptor
Fluid: B&Q De-ionised water (49p per litre), Mayhems Red dye
 
Last edited:
Beautiful! And great temps too. I understand the performance of those slim rads + high cfm fans is better than the performance of 'quiet' low fpi rads? Otherwise I'd consider adding my gpu to the loop.

It's not necessarily the 'slim-ness', but the FPI, being 30 FPI in this case, which is why it performs pretty much the same as the GTX240. At high-rpm (>2000rpm) the high FPI radiators do out-perform the low-FPI/quiet radiators.

Have you/are you going to put any lighting in this build?

I had to remove the NZXT lighting behind the mobo as the standoffs are quite short so it didn't fit. I'm having a think about how to incorporate it though.

Also, do you play any DOWII multiplayer :p?

Define 'play'. :p

I fail at it really, and so only play friendly 'house-rules' type matches against my brother (neither of us are 'rush players' so we both turtle and have a proper battle)...

Nice, worth the wait ^^

Thanks!
 
A beautifull build, liking the red and black colour scheme on the back of the case. Is your flow going down? ie CPU to GPU? Ive heard from people that if you have it going the other way round you oftens see better temps because the water is travelling the same way as the heat wants to, although may not be useful for you because you go the GPU there, if it was a CPU loop only then it may be more applicable.

Thanks, not heard that one before if I'm honest. I suspect the difference is negligible, as the water in the loop tends to equalise temperature-wise.
 
Back
Top Bottom