Project car boot

Associate
Joined
2 Jan 2009
Posts
1,737
Location
Lincolnshire coast
Wandering around a carboot sale the other week I happened accross a case that happened to have the PSU mobo and CPU in it, but otherwise stripped bare

I bought it and was originally going to use the case as a bit of a modding project, but it gave me a bit of an idea

To see how little I could bring a Modded PC together for

I plan to use as many parts as I can that like many I have knocking around from other builds and where I come up short then the cheapest part possible.

This build will be real bargain basement but will hopefully turn out as a reasonable job.

Got it home and a quick appraisal of what I would need had me back at the car boot the following week. managed to pick up a DVD ROM for £2 and some RAM for £5. Couldn't find a GPU on the bay so a quick trip to the local worldly PC place and £25 later I had a working GPU (with the added advantage that if the whole lot was borked I could plead ignorance and get my money back.

Took the whole thing apart and set up on my old desk to see if it would work and to my surprise it did.

Cost do far
Case £5 Carboot
DVD £2 Carboot
RAM £5 Carboot
GPU £25 PC W****
HDD £0 from dead Lappy
cables £0 who hasn't got hundreds knocking around!!!
PSU £0 came in case and worked fine.

total so far £37

No pictures of the case in its original form i'm afraid as I wasn't going to bother with a thread.
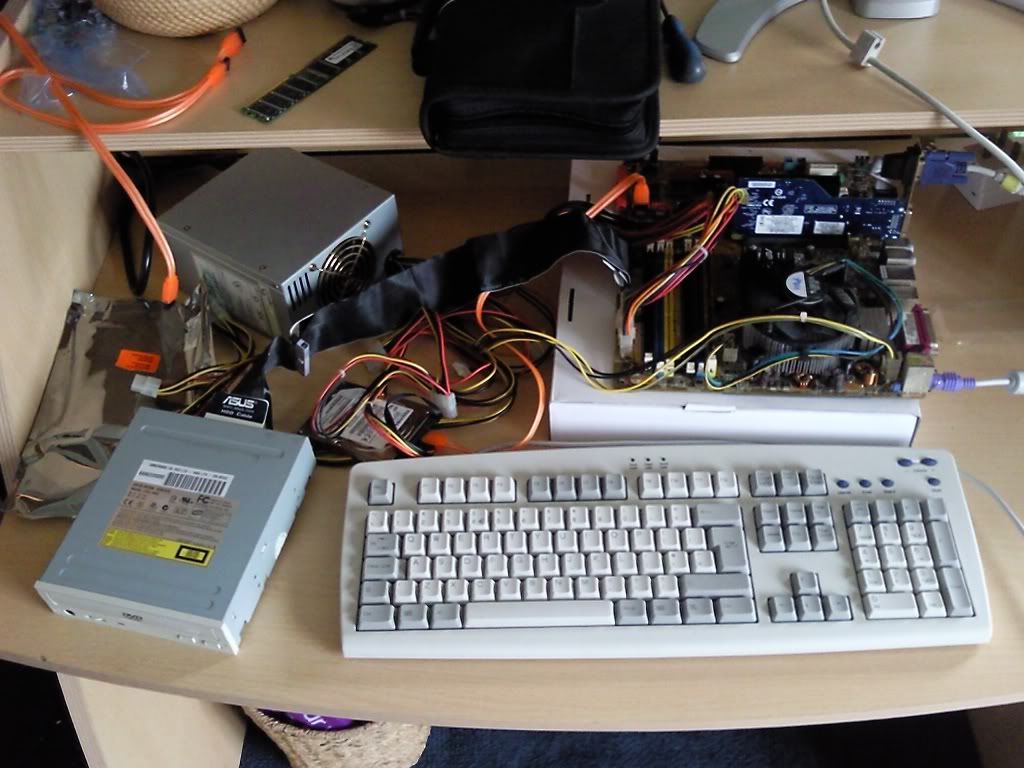
Photo0947.jpg
 
Turns out the mobo is an ASUS P5 GDC Deluxe, and the cpu is a Pentium4 670

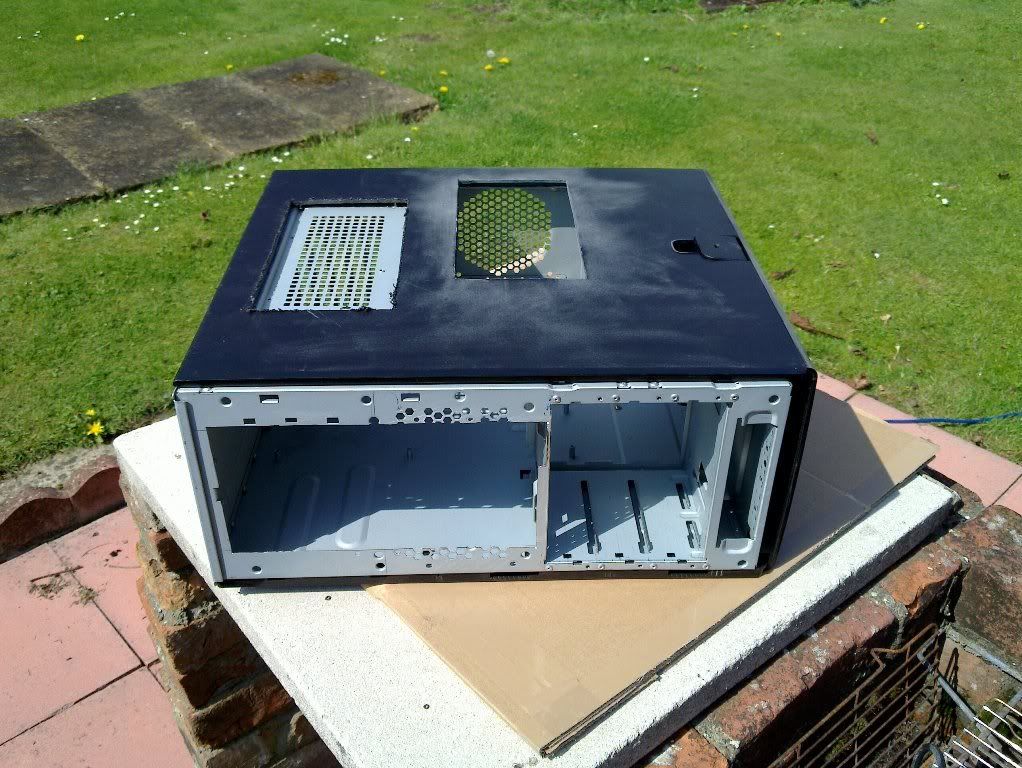
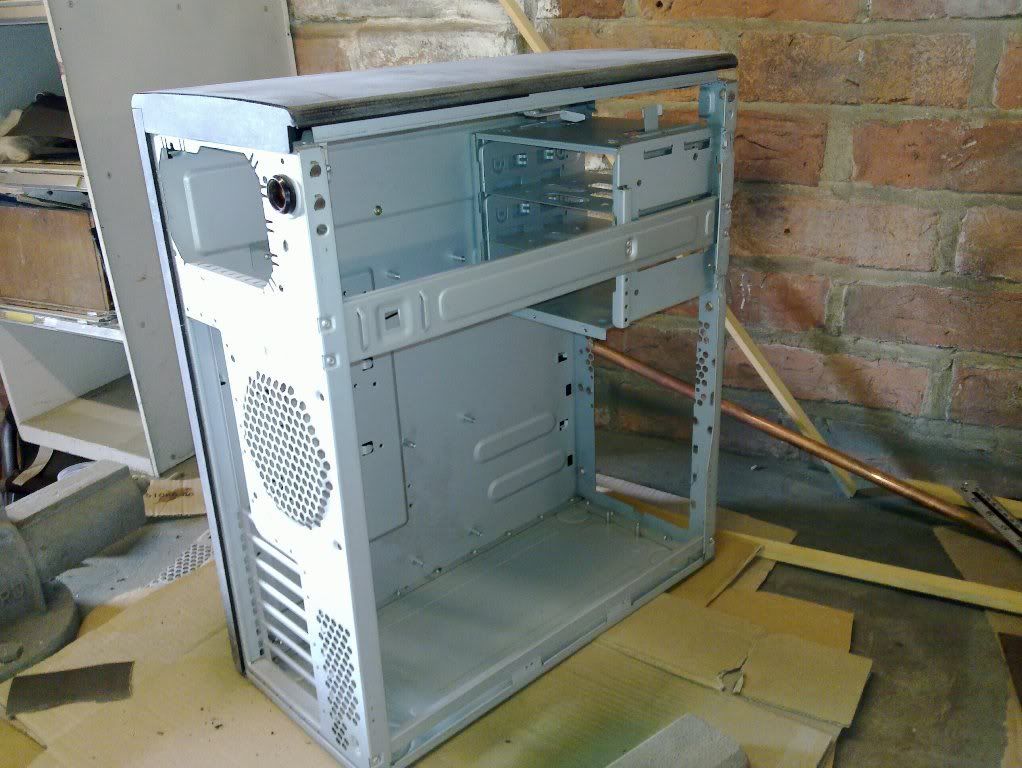
The case was an old mesh elite missing the top bit of plastic trim that surrounded the optical drives. Not a problem as it was all coming of.

Another trip to the car boot and £2 later and I have another case that I can use as a source of materials

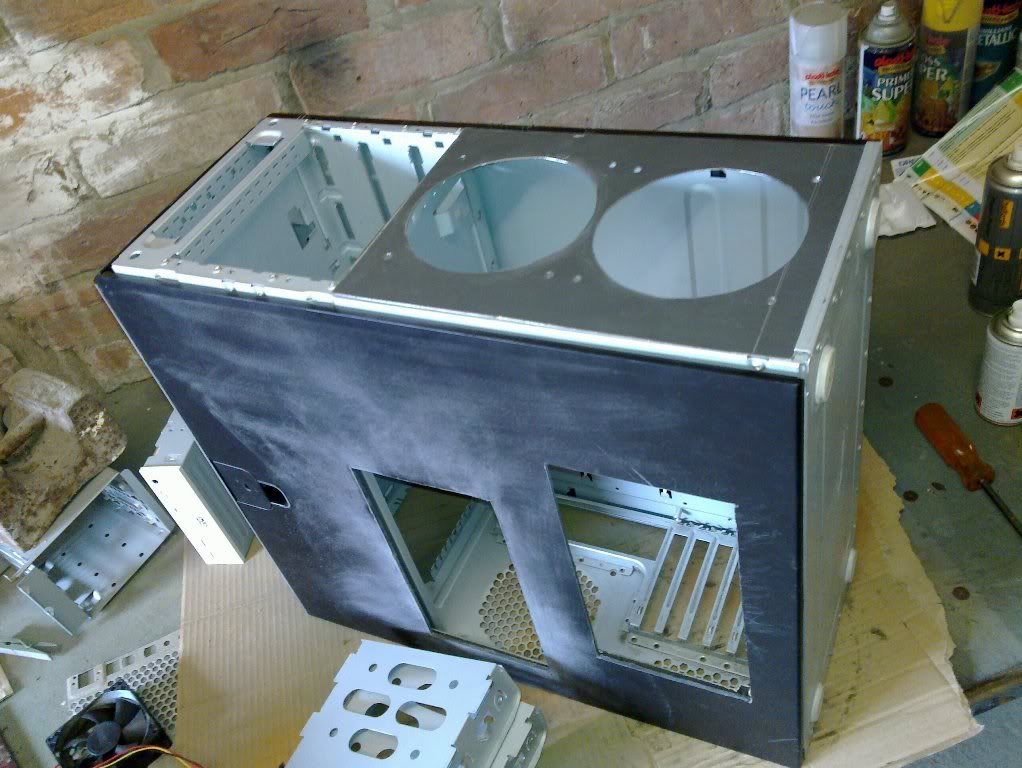
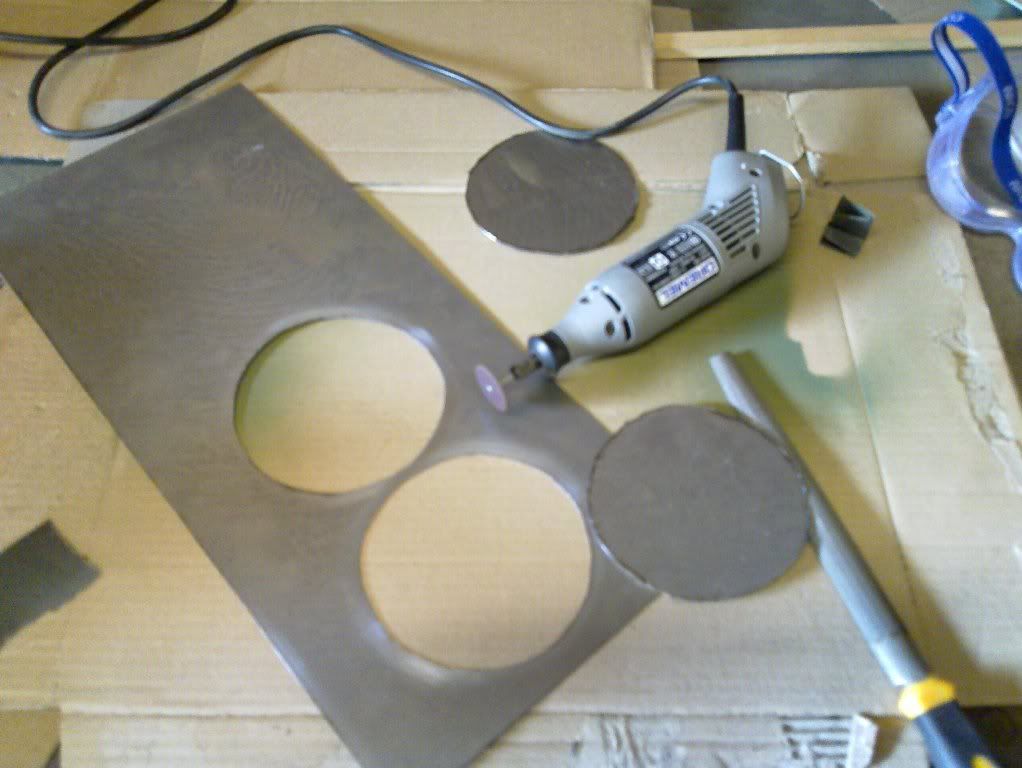
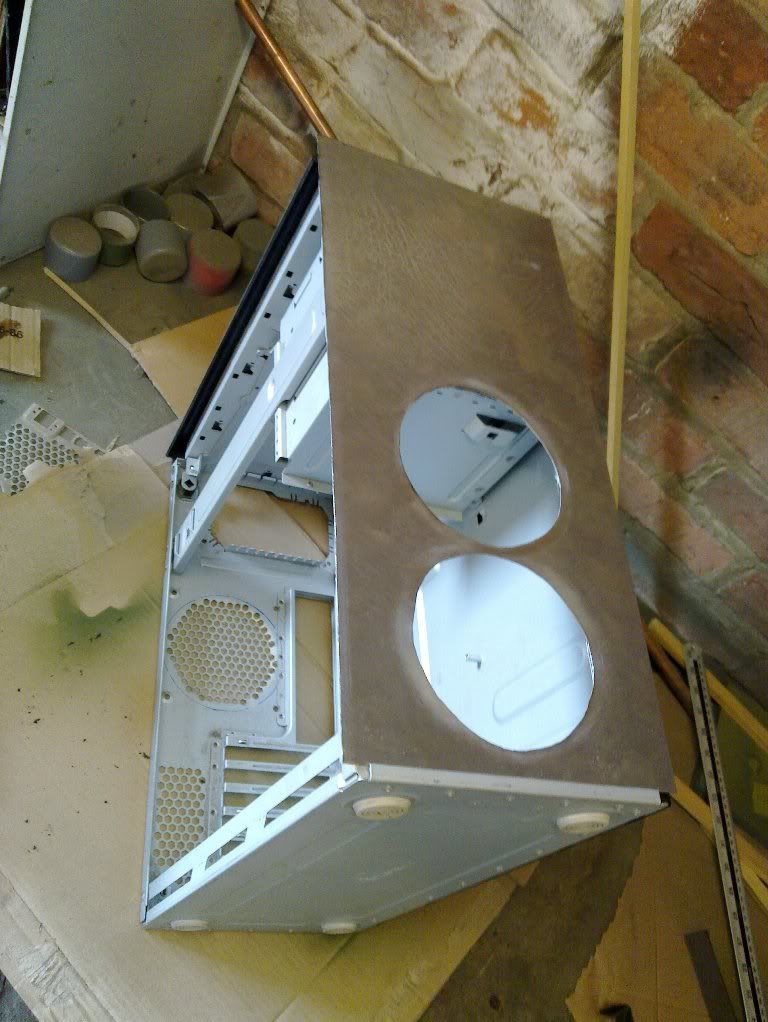
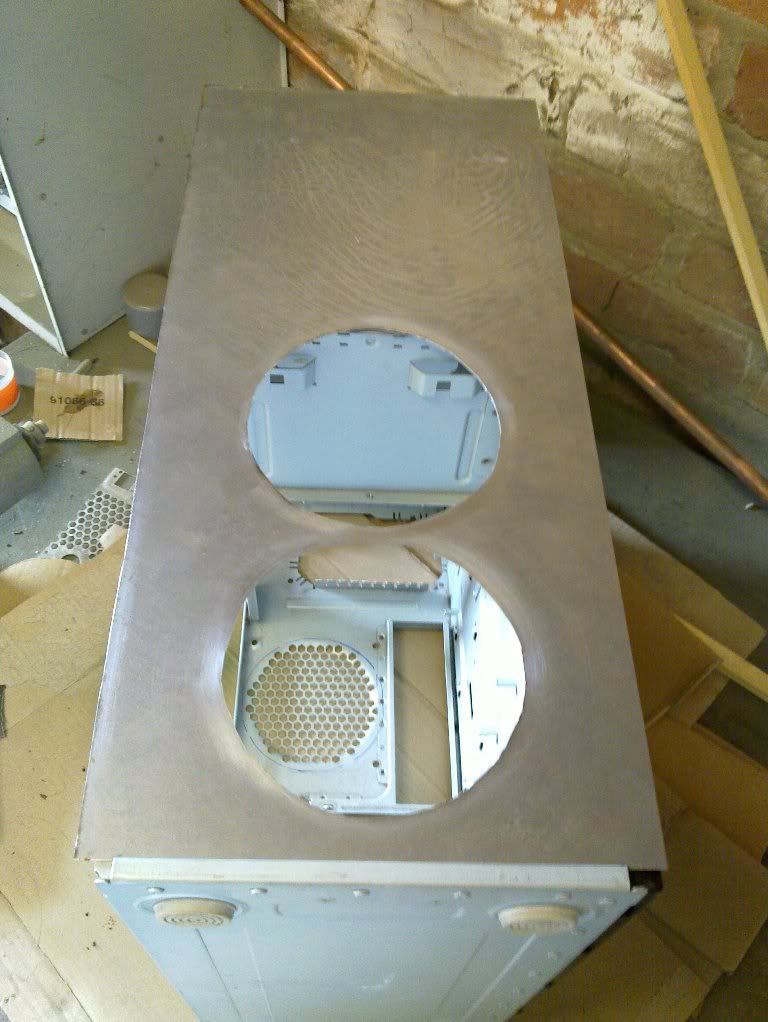
So far I have cut some side windows and started fabricating a front panel.

20100501_004.jpg


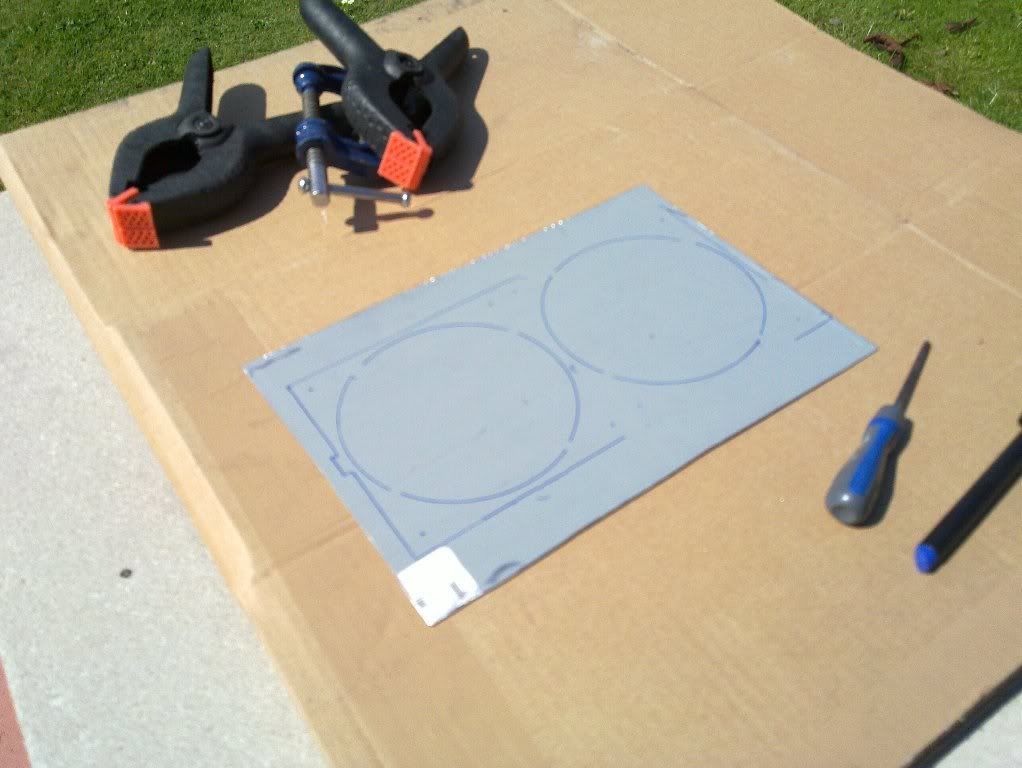
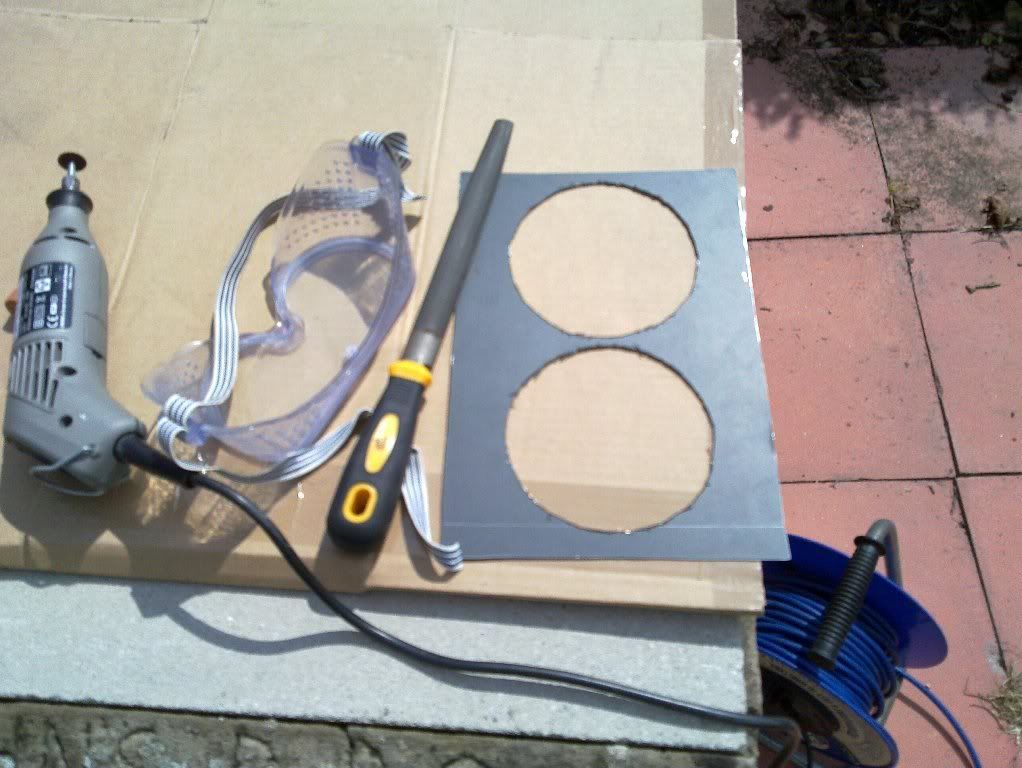
The panels are made up of an outer plastic and inner steel layer which means twice the cutting.


20100501_002.jpg


20100501_012.jpg


20100501_013.jpg


20100502_004.jpg


Also cut the old front out of the case.

20100509_007.jpg


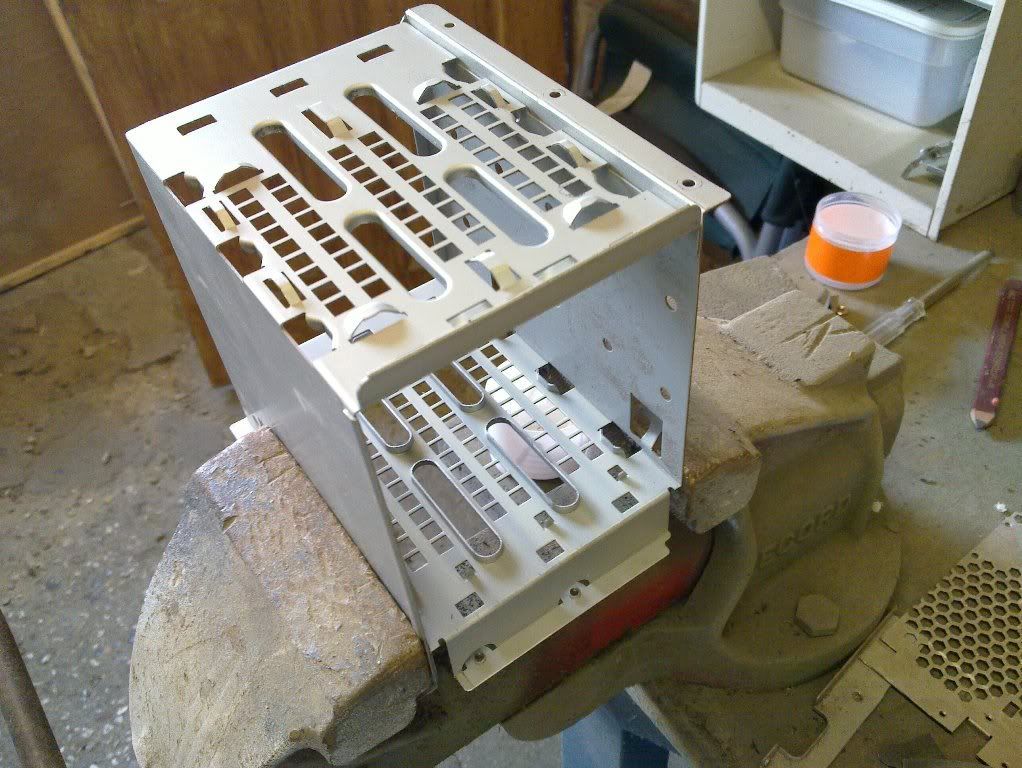
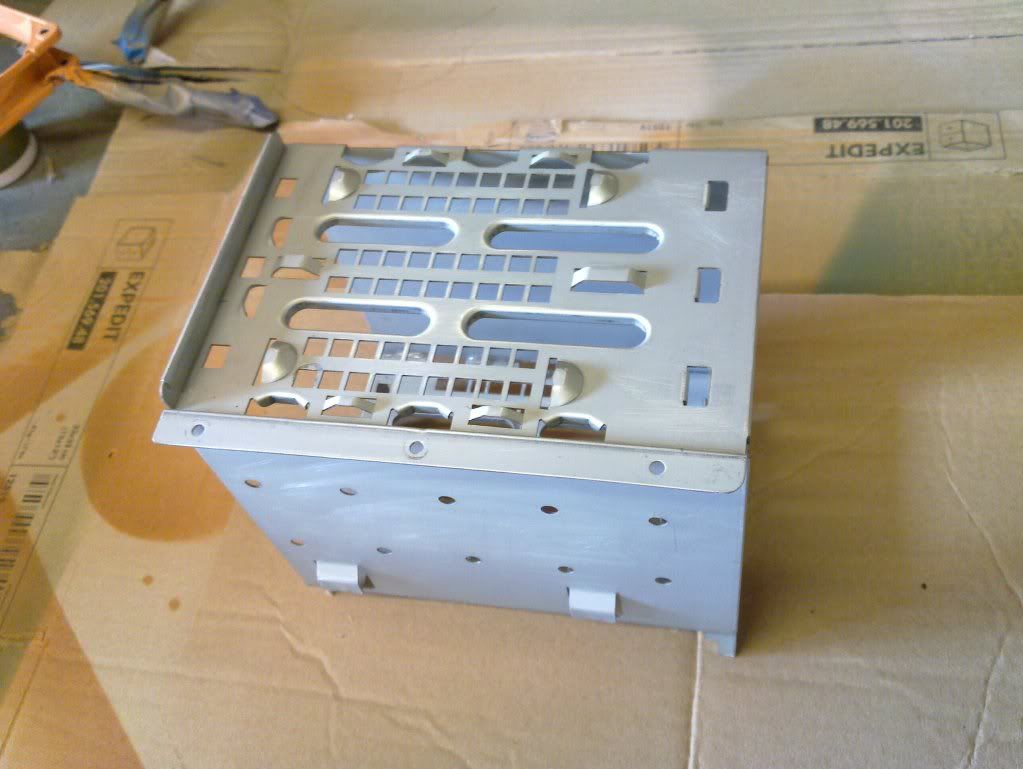
And had to cut and re size the HDD bay as it would foul the fans I plan to put in the front of the case.

20100501_005.jpg
 
Last edited:
What i should have pointed out at the start is that I have zero metal working skills so this is a learning curve for me (good job its all cheap)

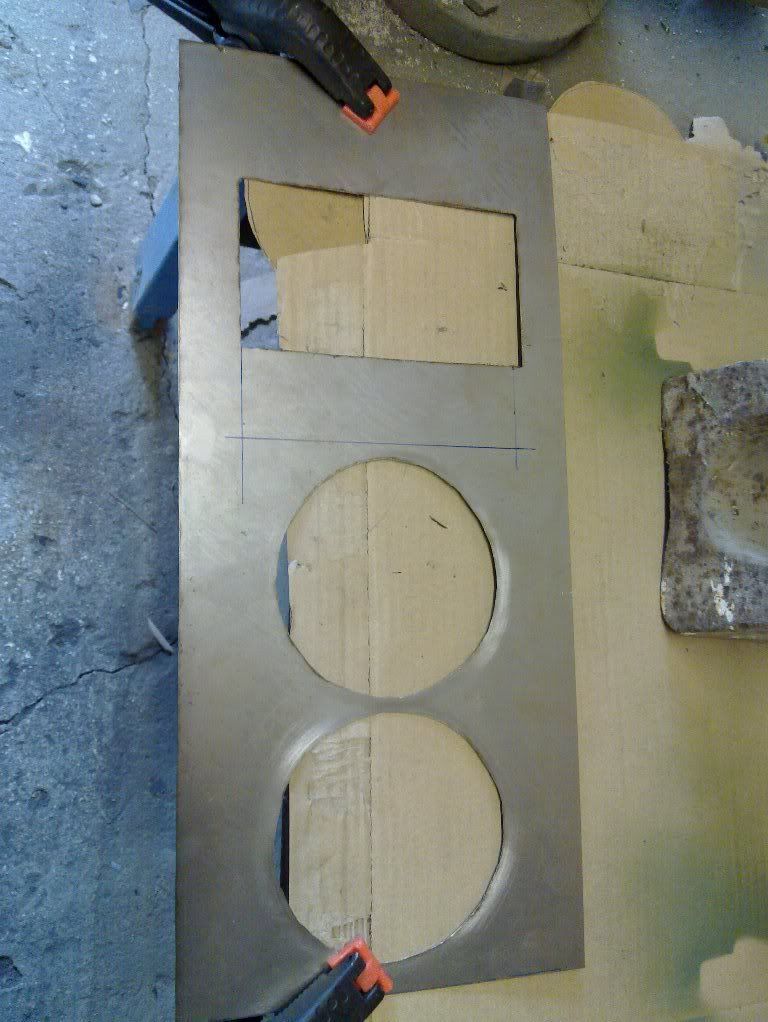
The eagle eyed will notice that the mounting holes for the front fans aren't exactly in line and that the bit of steel from the doner case is actually a tad too small

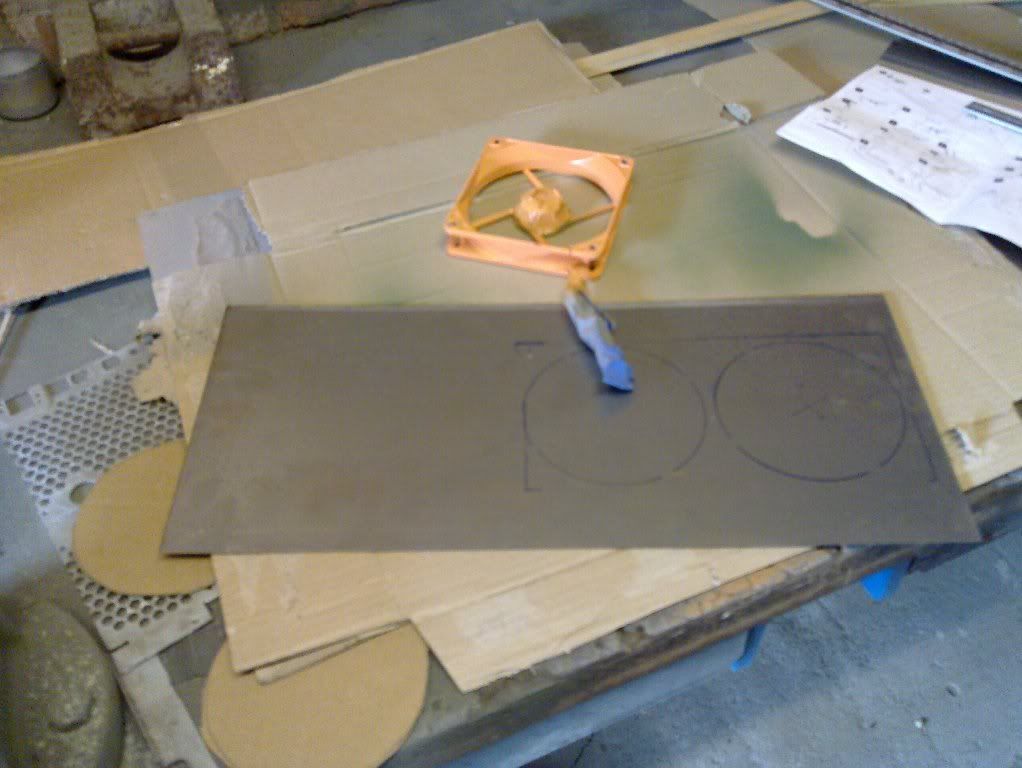
so another go and decided to cut a peice for the whole front.

20100509_001.jpg


20100509_002.jpg


20100509_004.jpg


20100509_008.jpg


20100509_009.jpg


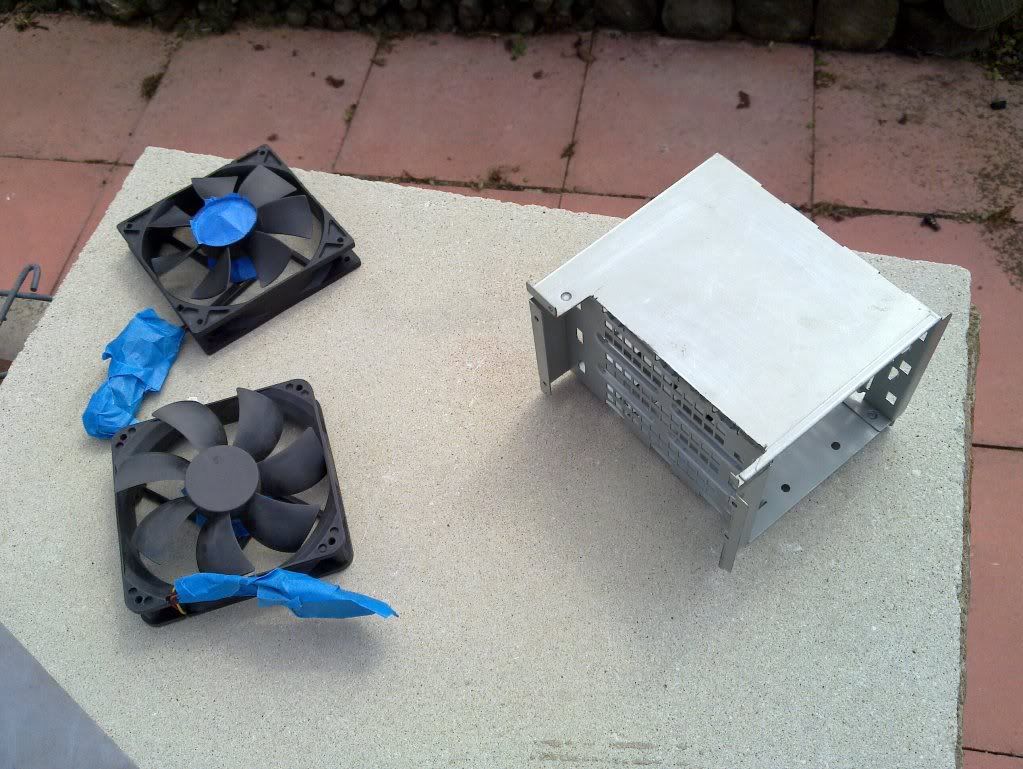
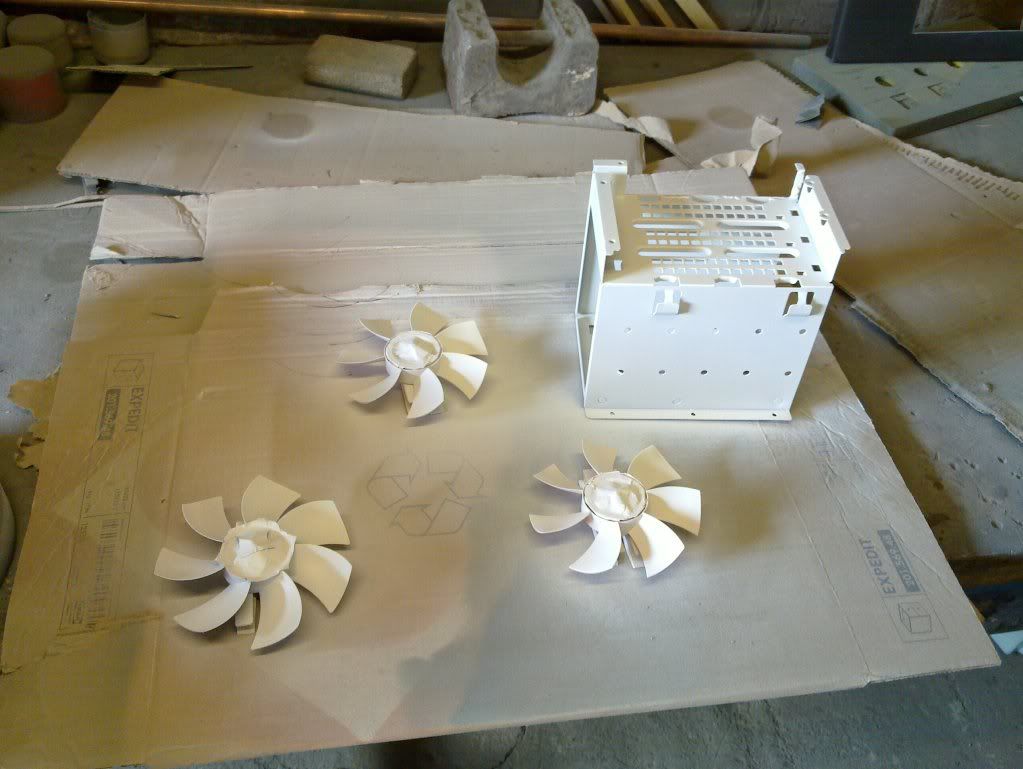
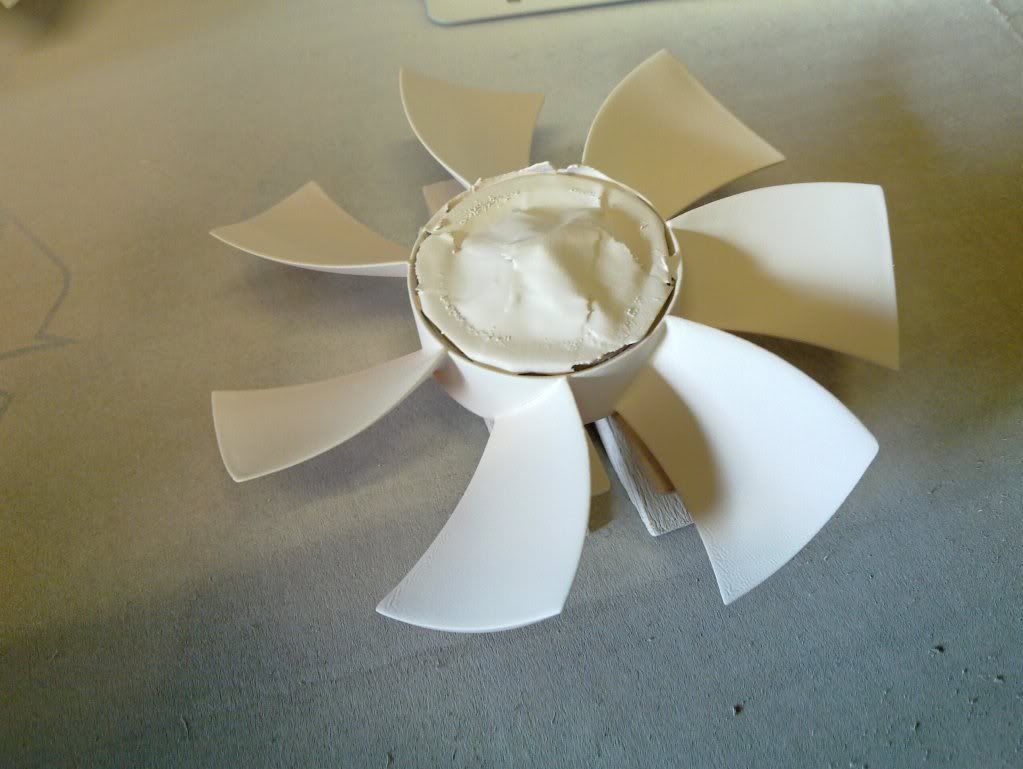
Some old fans i've sprayed up for the build, giving a bit of a hint to the colour scheme.

20100501_008.jpg


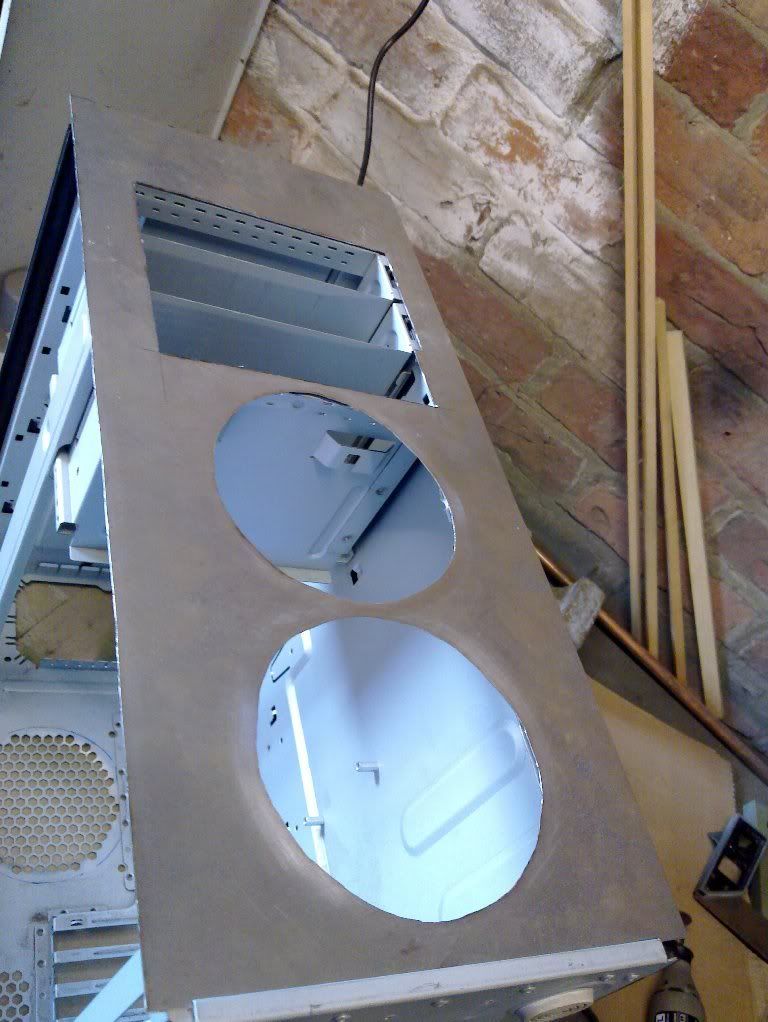
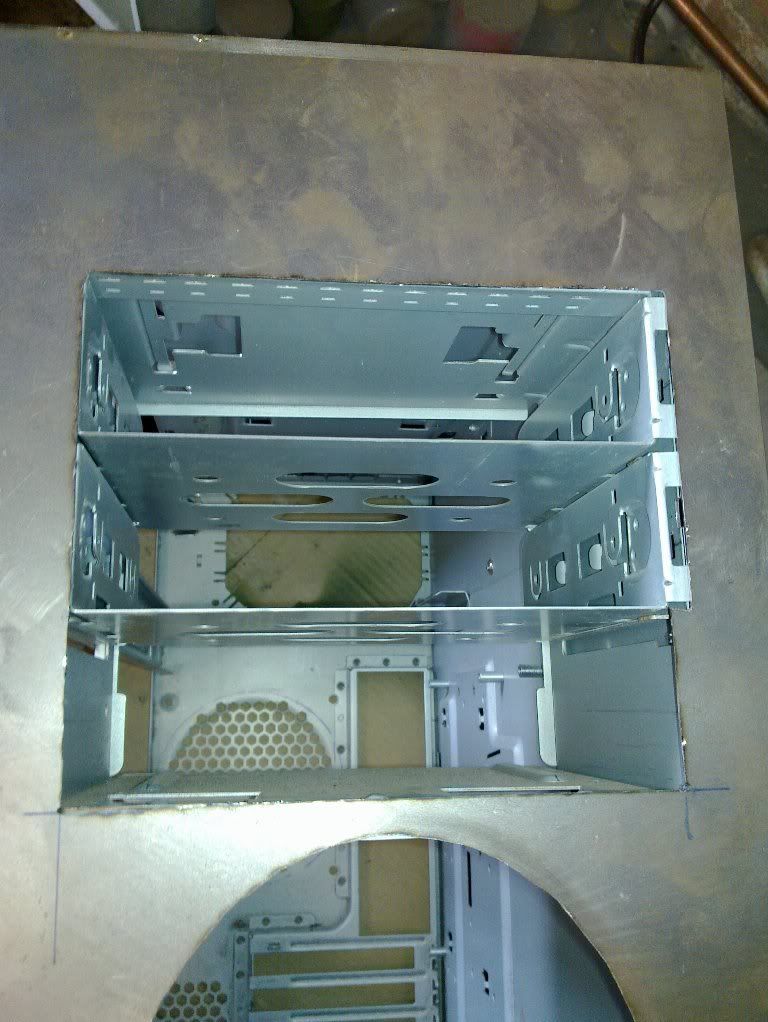
Next job is to cut a rectangular hole for the drive bays.
 
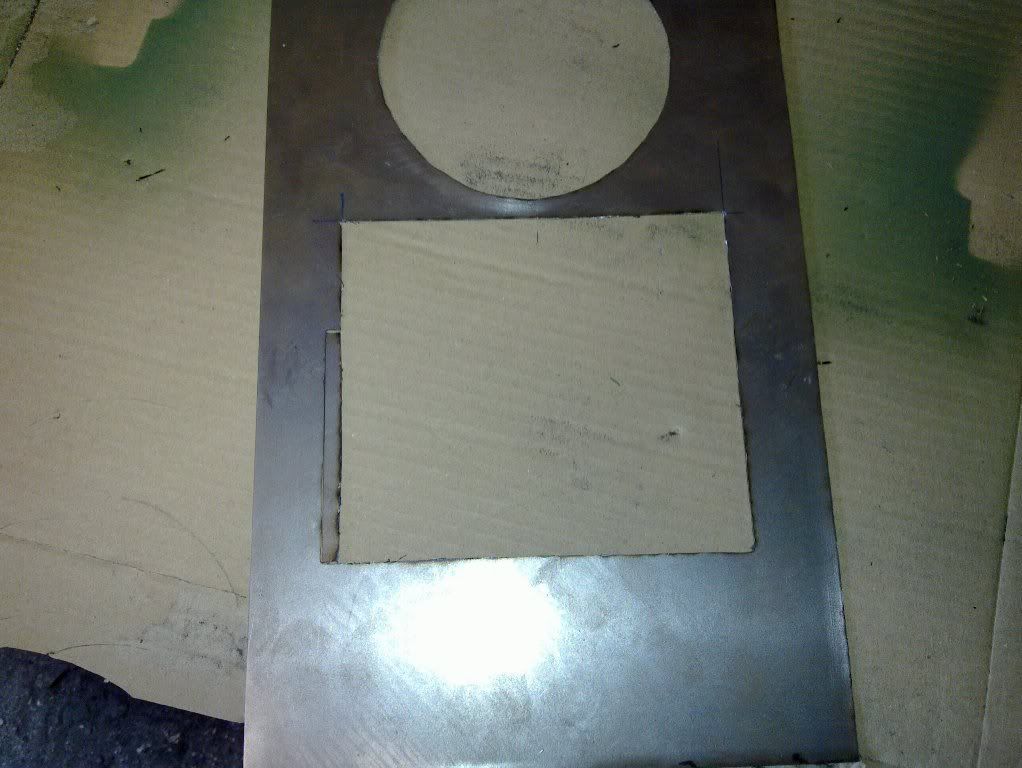
drive bays cut, made a bit of a balls up of it as you can see. as one side is a smidge too large. originally the hole was only to accomodate 2 of the 3 drive bays but I decided to extend it

measure once cut twice then give the ruler a poor performance review.

20100513_001.jpg


really annoyed with myself for mucking up the original cut

20100513_002.jpg


20100513_003.jpg


Managed to cut a peice that will fill the gap. Once it's fixed in and filled/sanded sprayed etc it won't be visable at all. Still annoying though.

20100513_004.jpg
 
pretty steep learning curve for me, as although i've done a bit of modding befor, I'never really worked with metal and have zero skills (as is plain to see)


Sent from N900 mobile device
 
spent most of today masking sanding and spraying fans. the original orange was a halfords "warehouse floor" warning paint and didn't flow on very well at all. As a result they're all being re undercoated while I search out another paint.

20100514_001.jpg


20100514_003.jpg


20100514_004.jpg


20100514_005.jpg
 
cheers guys

I did mix the araldite in equal parts. I think its the edge to edge bond im trying to make thats causing the bother. I've got a tube of the liquid metal already having seen it used by mathwat (cheers) I didnt think it would work too well with the type of bond im looking to make but i'll give it a go
 
I managed to get the piece to hold in the end by making a plate to fit behind it and then supergluing it t the plate (more surface area so it worked).

I've also done a spot of spraying and have realsied that I don't actually have the brackets that fit inside the HDD bays to hold the HDDs so think I might have to rig something up. I seem to remember seeing somewhere a way of doing it using elastic bands which serve to reduce vibration but can't remember how it's done.

Can anyone point me in the right direction?

20100517_011.jpg


20100517_012.jpg


20100518_002.jpg
 
bit more work today

sorted the muck up with my earlier cutting. Doesn't look prety but once painted it wil be fine.

20100521_013.jpg


20100521_014.jpg


cut some mesh for the side windows


20100521_002.jpg


Also some painting, the under coat is on. grey for nside and white for outside

firt lots of wet and dry snding then a good wash down and dry in the sun


20100521_003.jpg


20100521_004.jpg


20100521_005.jpg


20100521_015.jpg


20100521_018.jpg
 
Last edited:
Got a bit bored today so decided I'd have a go at the PSU.

I figured it probably had a fair few years of fluff and crap in it so out came the screw driver.

One thing led to another and I ended up deciding to paint it up also (not something I would do if it was still under warranty.

Yup lots of dust and crap
20100521_008.jpg


20100521_012.jpg


All nice and clean
20100524_004.jpg


keyed and masked up ready for spraying.
20100524_006.jpg
 
Many thanks for the support and feedback.

Been doing quite a bit, and learning as I go. This is actually the first ever traditional case i've modded and one of the reasons for doing it was to learn, or at least my flip ups would be cheap.

So a few photo updates for you guys coming soon. I've just switched to image shack and appear to have some issues re sizing of the images
 
Think I have my image size issues sorted now (guess we'll find out)

Some more of the fabrication work, hopefully starting to give an idea of how it will all come together. hex mesh is a left over, but I have splashed out on a fan controller (£24). The drives that are shown are just for effect, I will be making a custom switch box for power and lighting etc.

Have a lot of images to post as i've been quite busy on this project. I won't bore too much with text but if you have any questions do please ask.

 
Hopefully these images are ok size wise, apologies to the mods for large images, I'm having a spot of bother re sizing from new camera phone

Anyway, work so far....

filing the top of the front plate to match curve of case


test fit prior to painting


Hex mesh prior to bending and cutting


And after bending and cuting (drives are just for fit)


Rigged up my Dremmel so as to have it suspended from roof of workshop, makes it a lot easier to use this way.

 
Bit of an update for you, Painting has been going quite well although My workshop roof has developed something of a leak with all the rain we've been having.

Interior grey base coat and exterior white base coat.

(quite like the grey colour, what do you think for it as an exterior coat for another project?


Exterior white undercoat on, and interior matt black top coat on.


Some more bits of painting....


Alll masked up and ready for top coat.


Bit of an update, the painting has gone pretty well so far, bit of a run on one of the panels but easy enough to sort out.

Colour is a bit washed out in some of the photos, but it's all the same deep bright orange (think focus ST)

Side panel with window cut outs.


The other side with the run....


And without the run...


Managed to acheive a nice even high gloss finish.


Back
Top Bottom