Project Cobra/Sharks mouth

Associate
Joined
2 Jan 2009
Posts
1,737
Location
Lincolnshire coast
The Project takes it's inspiration from the Cobra helecopter Gunships first used in the Vietnam war and pretty much all wars since in one form or another

The Bell UH1 Huey Gunships of the US Army, 174 Sharks Assault Helicopter Company were one of the many to utilise the "Sharks Mouth" motif on the nose of their Aircraft. I am aiming to incorerate this motif into the build.

As you guys know the Cobra Gunships also feature in CODMWF2 so I may build in a referrence to the game also. (open to suggestions)

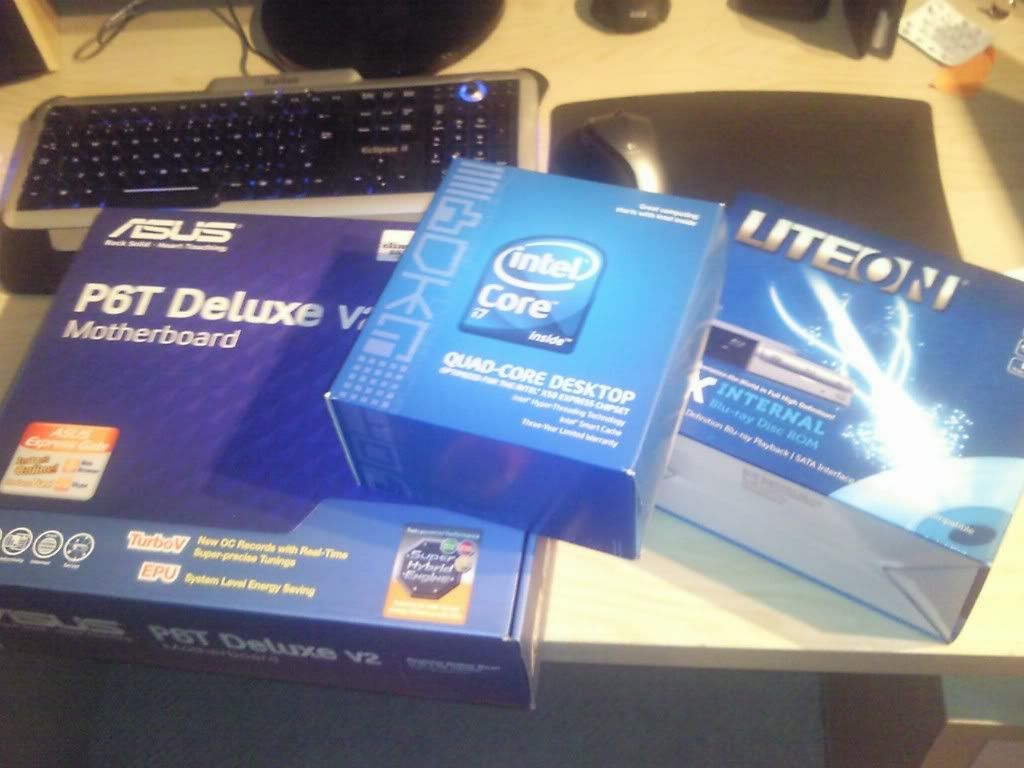
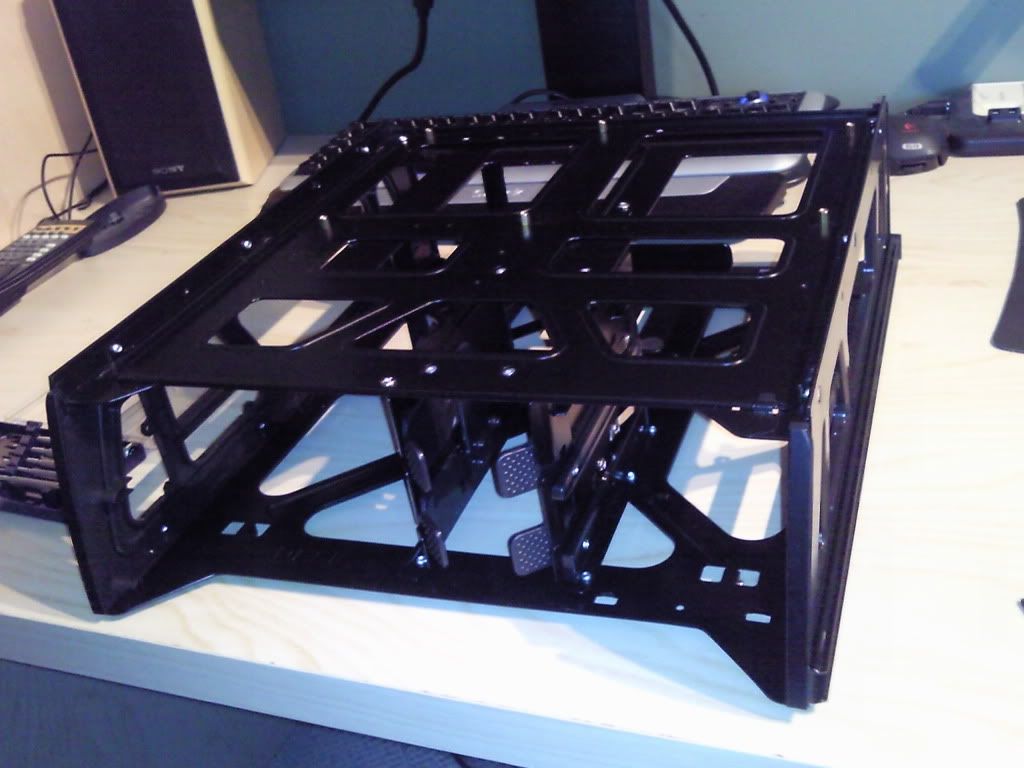
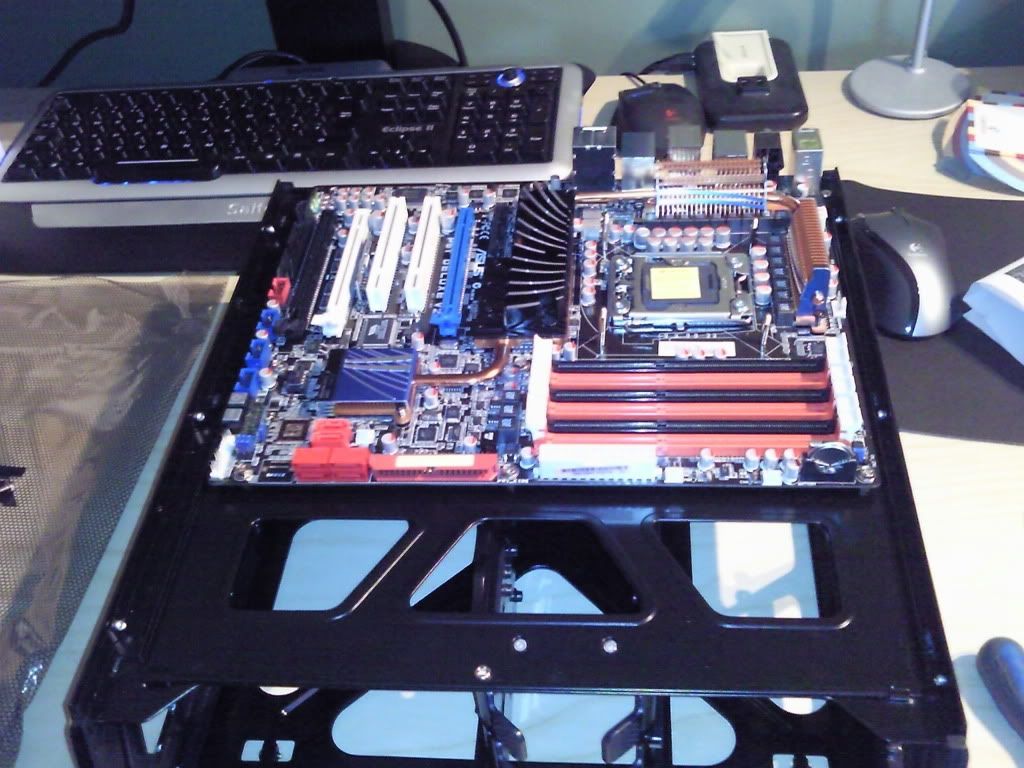
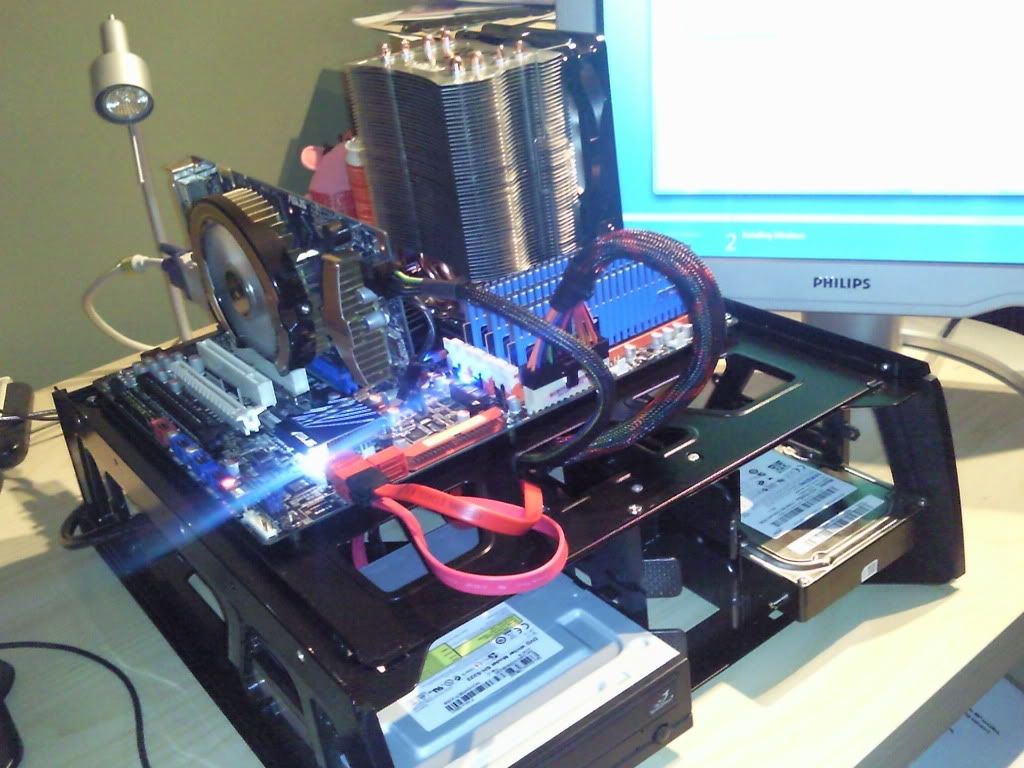
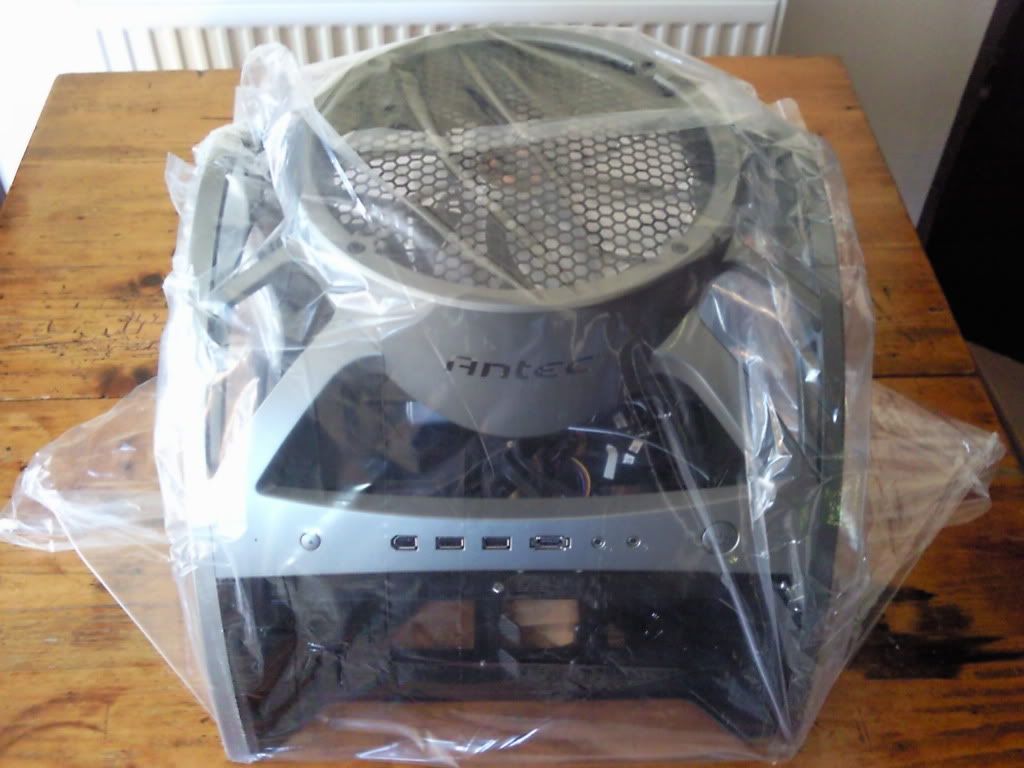
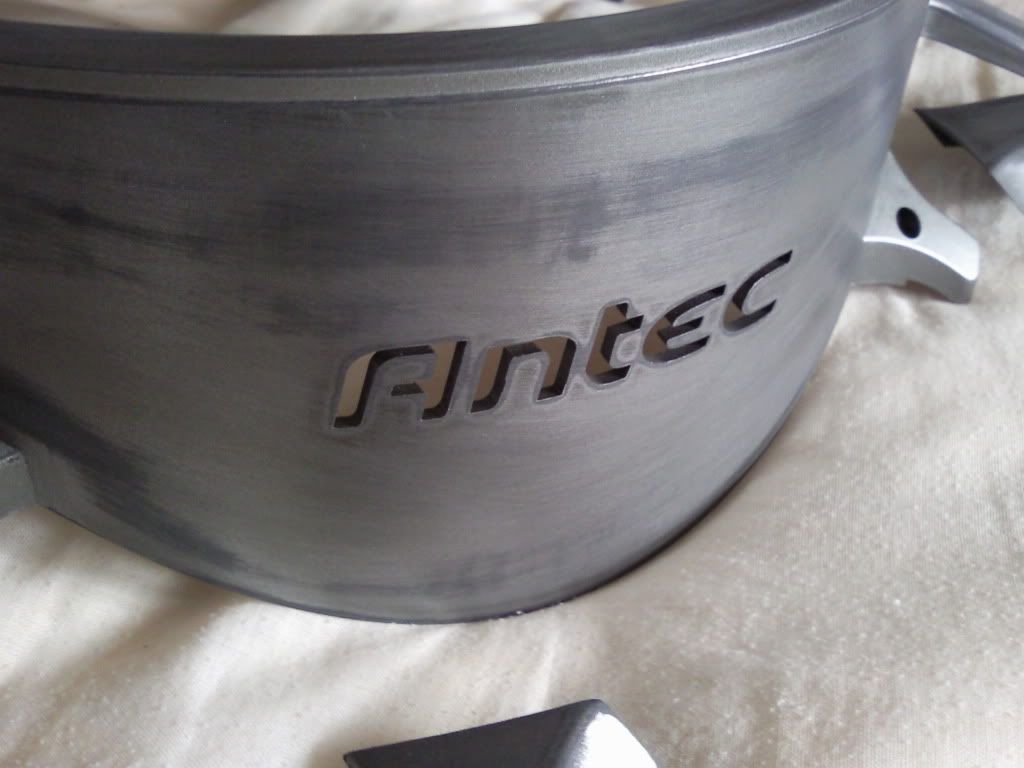
The chasis for the build wuill be the Antec Skeleton case. Bit of a marmite case I know, I've built and modded one before and love working with it. I also love the high overclocks you can acheive with it on air alone thanks to it's unique cooling solution.

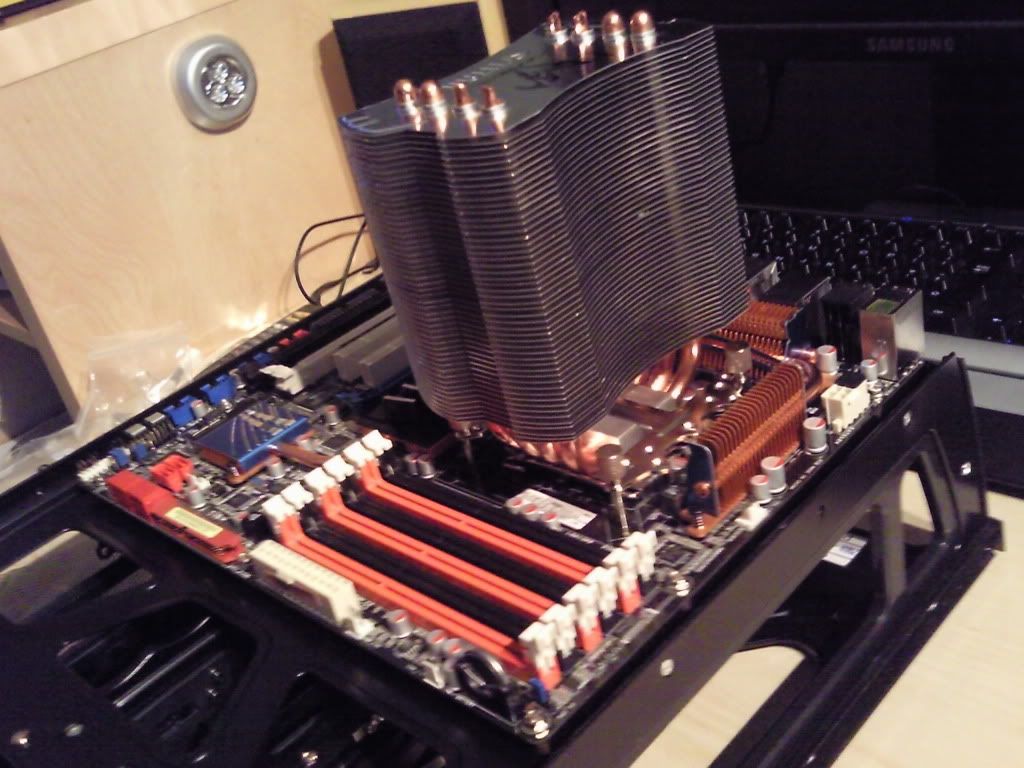
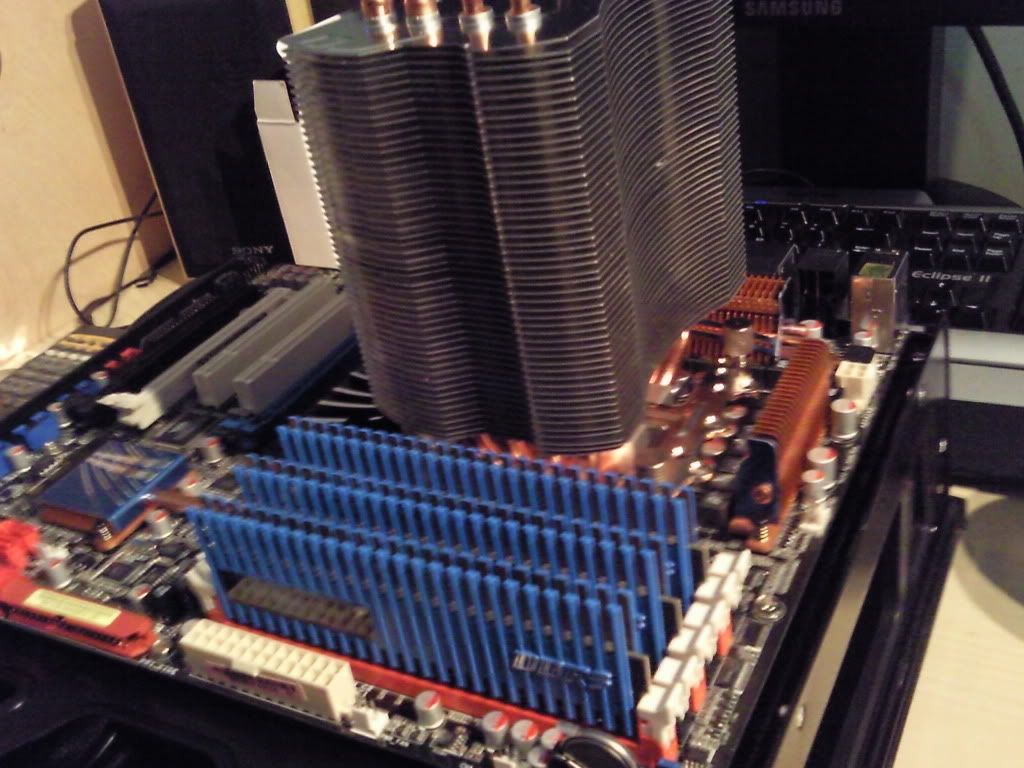
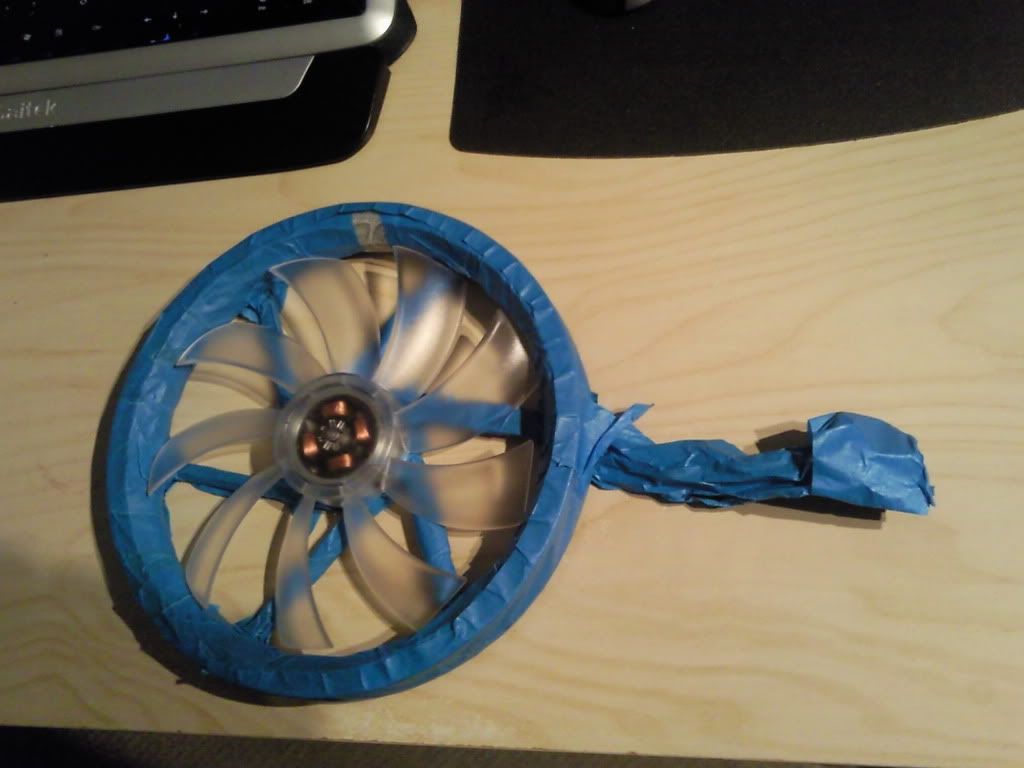
Those who remember my last build will know that in order to fit a large heatsink it's necessary to cut the cowling at the back. I'm not planning on doing that this time, instead i'm going to use the Zalman CNSP9500LED. I used this cooler on my Q6600 a while back and was realy pleased with the temps. It seems to work really well with the "top down" airflow of the Skelly.

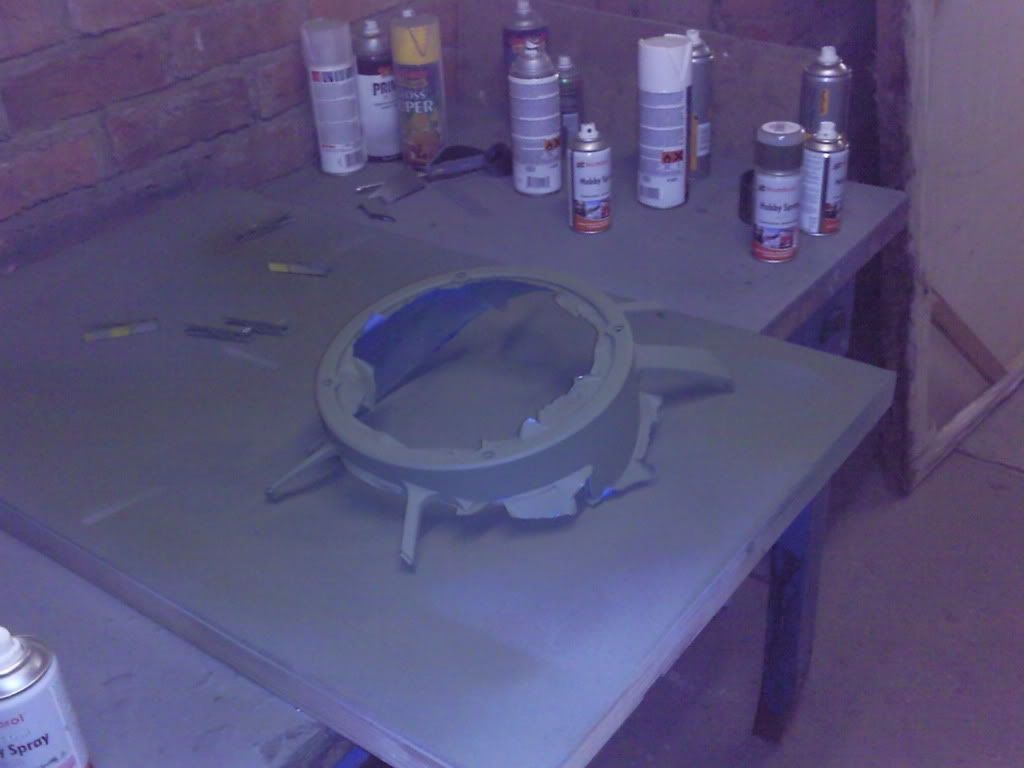
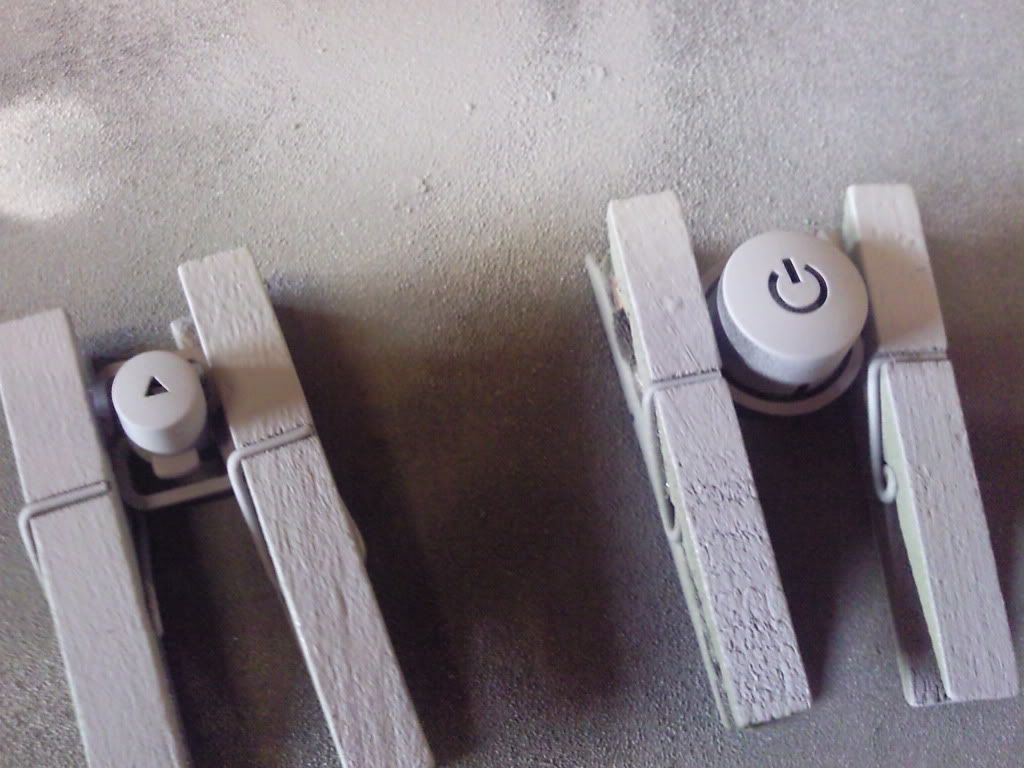
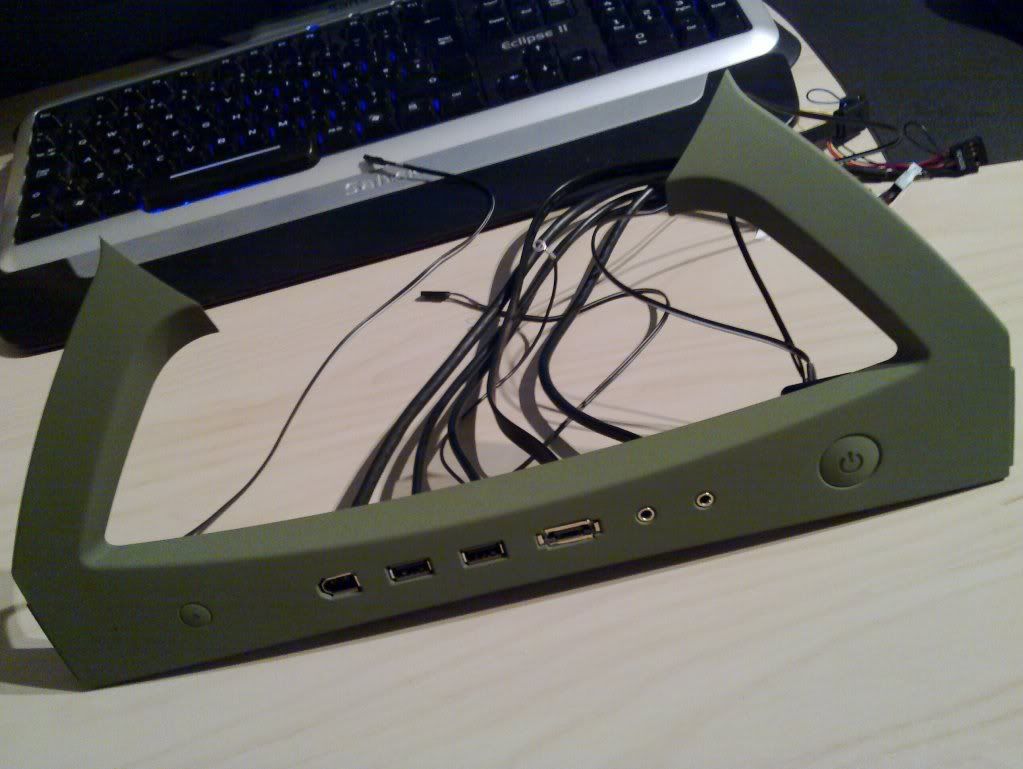
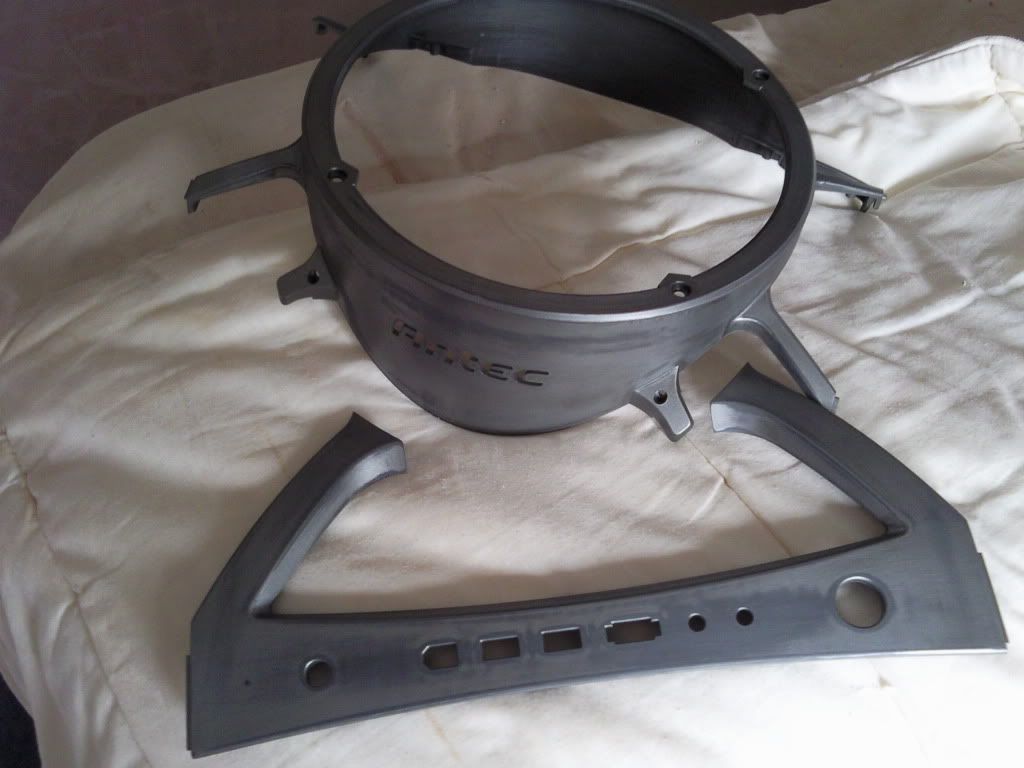
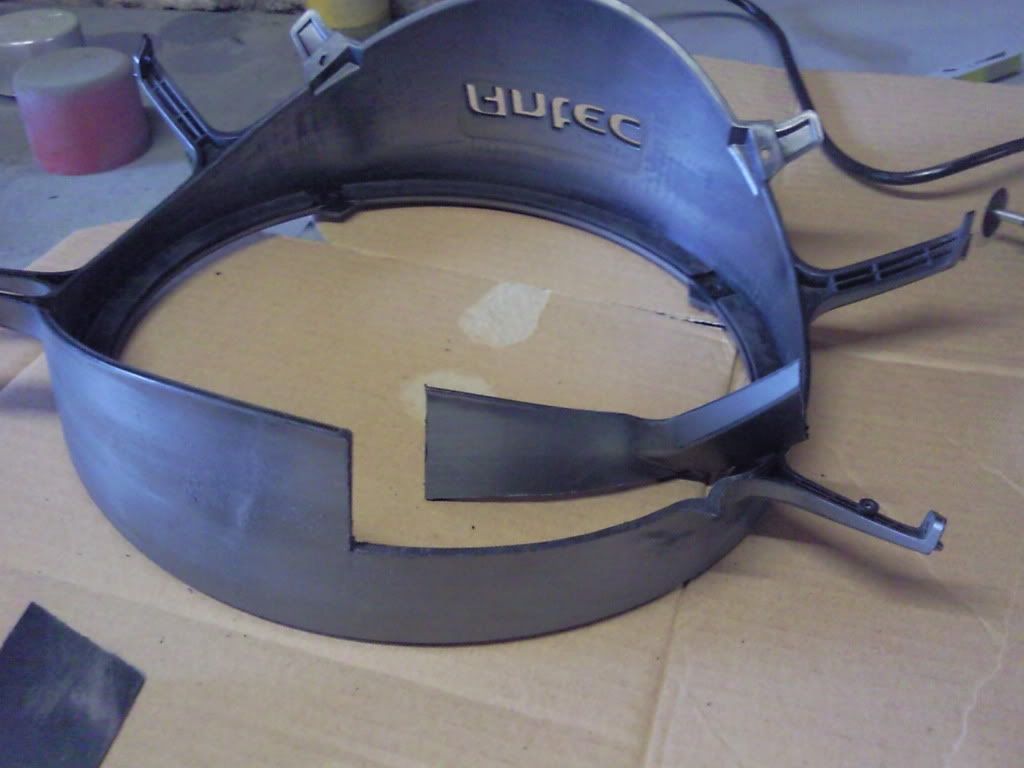
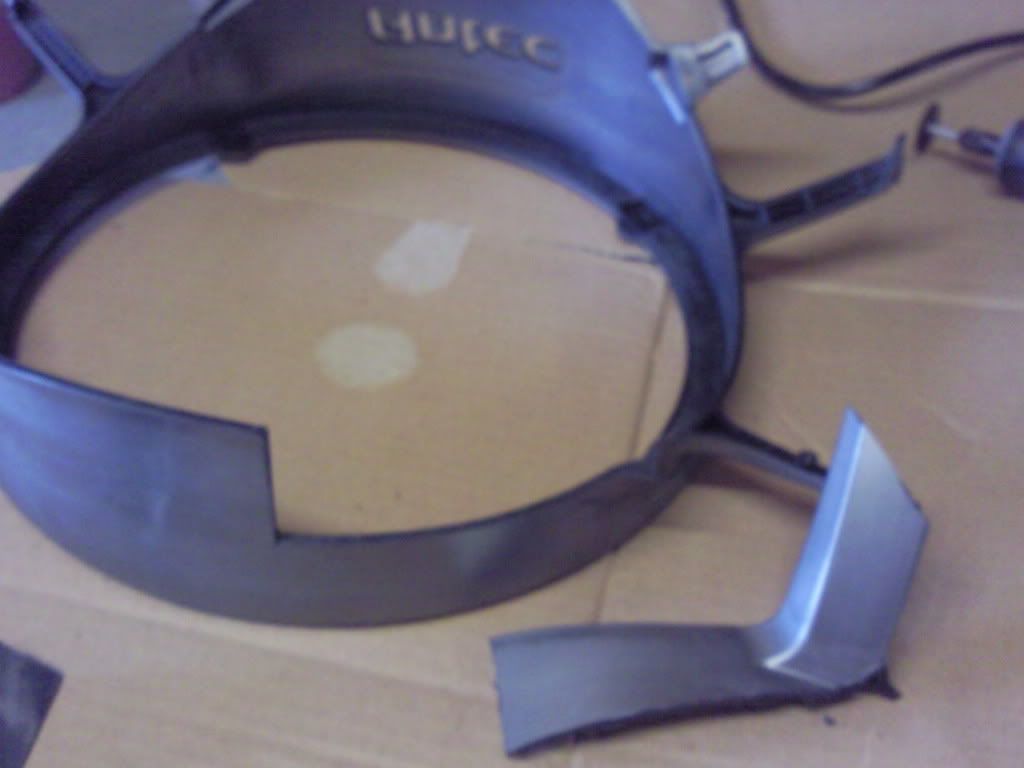
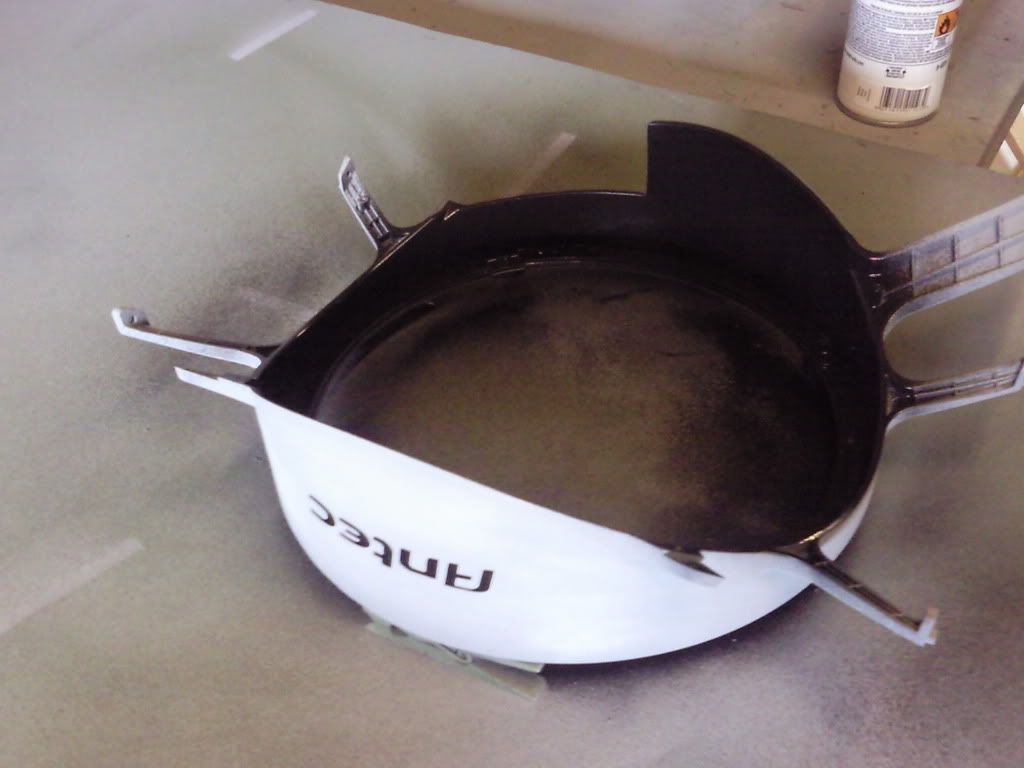
First steps are to open it up and take it apart.

Photo0612.jpg


Photo0831.jpg


Photo0832.jpg


Photo0836.jpg


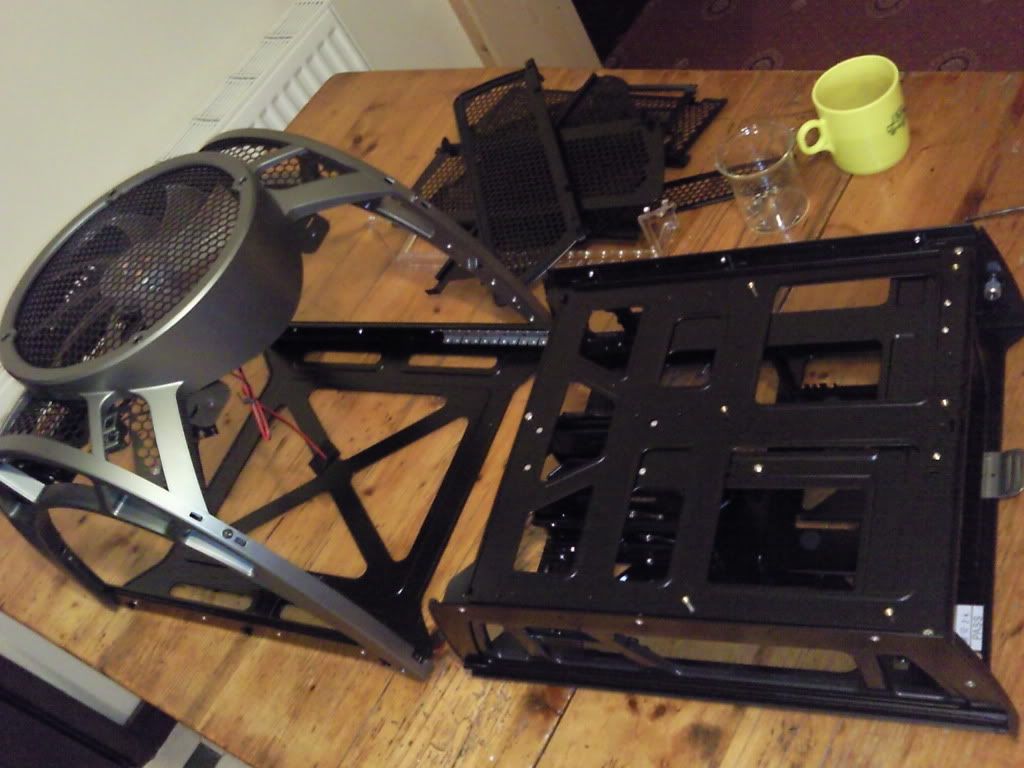
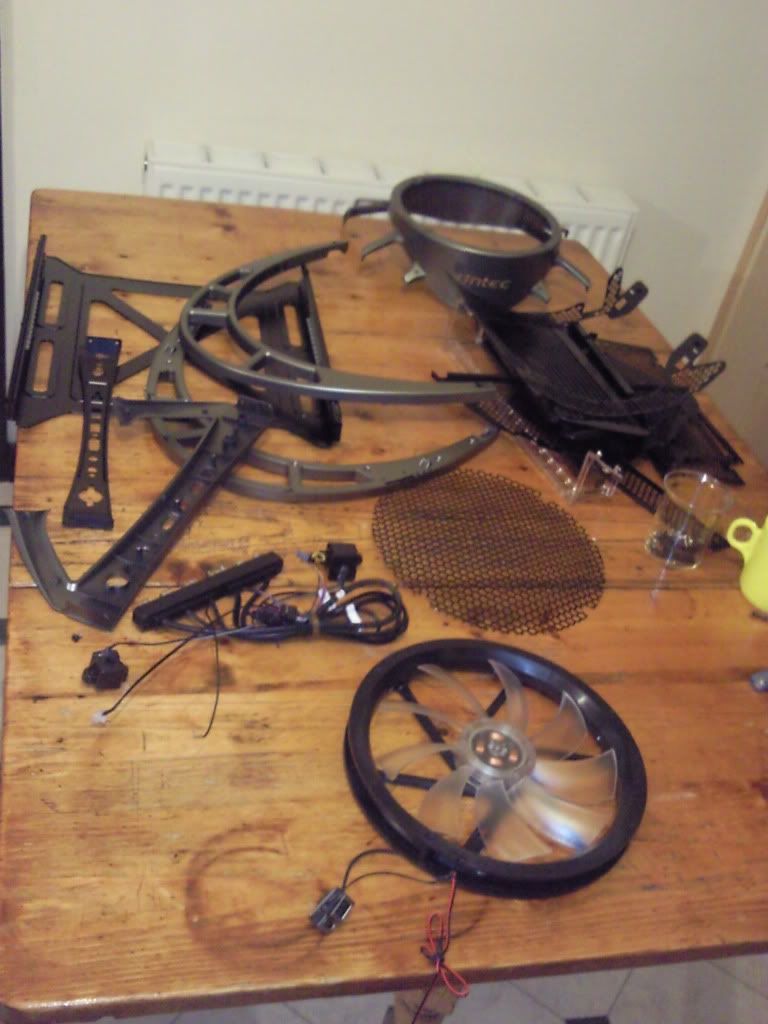
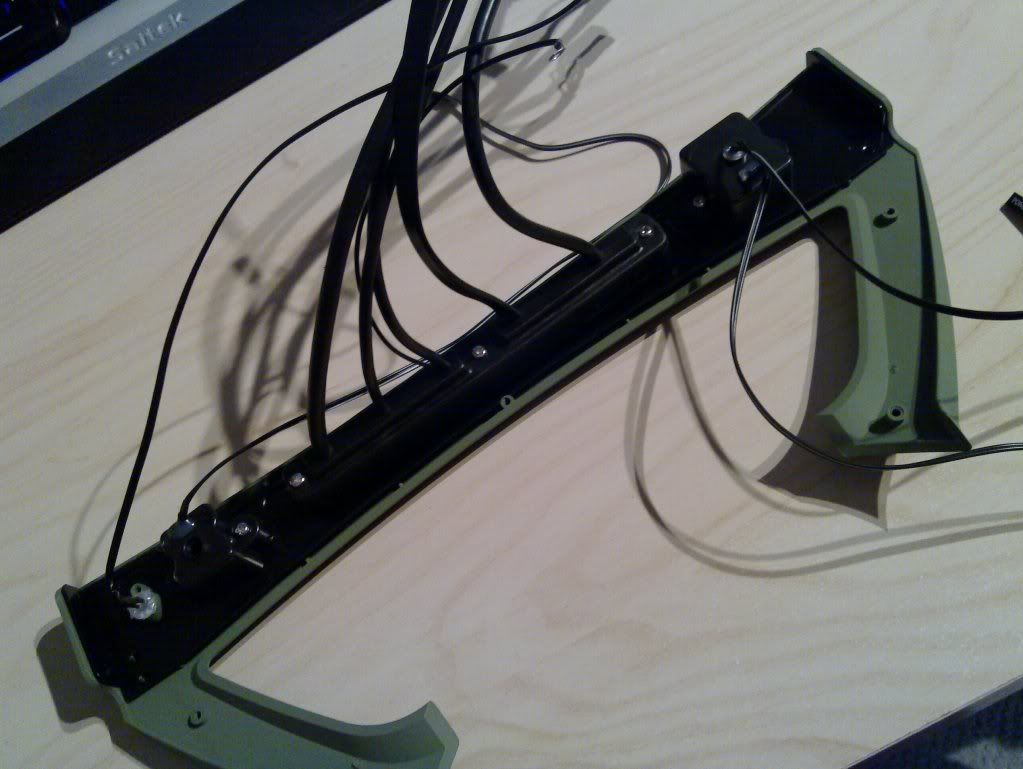
It takes about an hour to totally disassemble this case (about 20 screws)
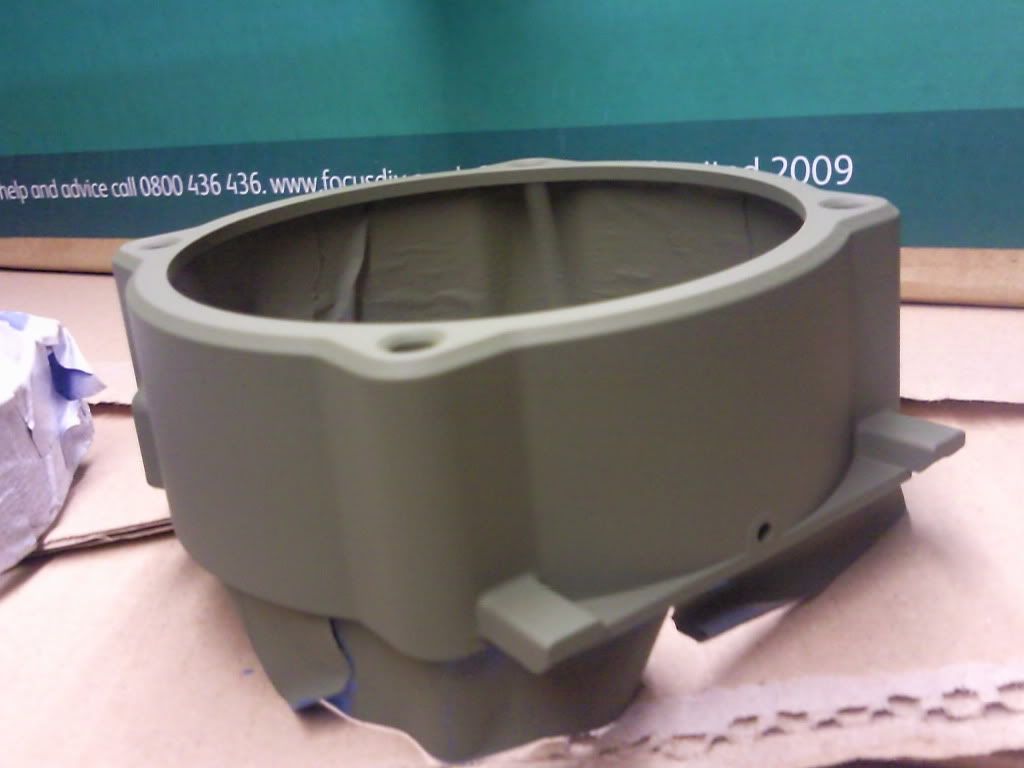
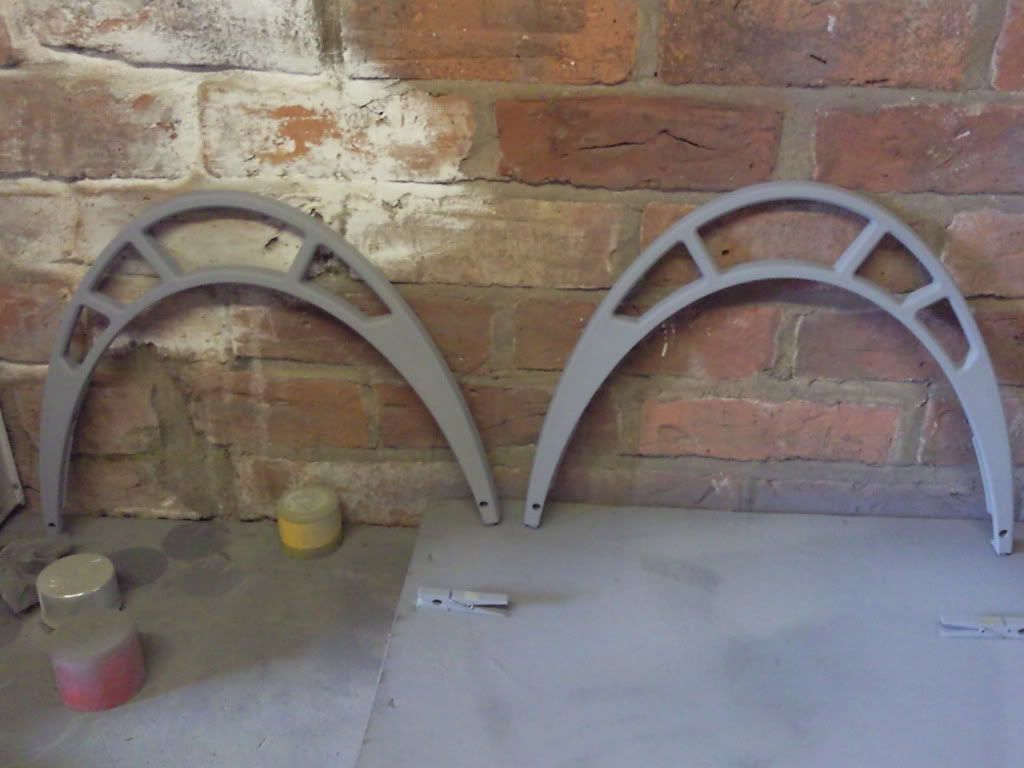
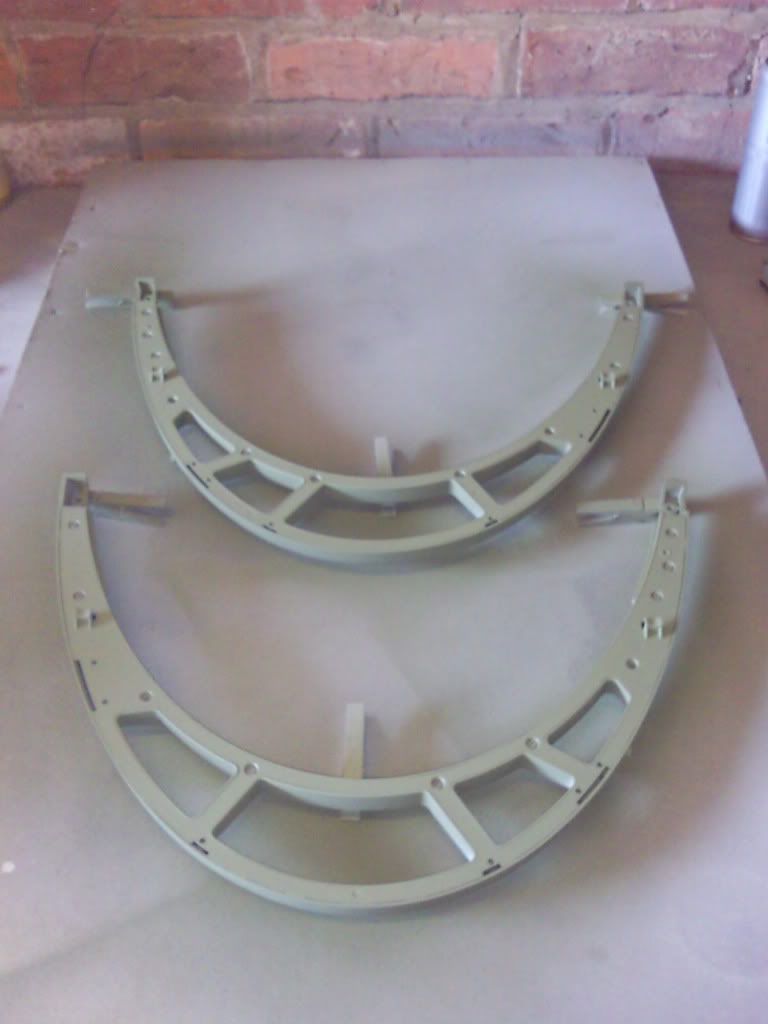
It's made from High density plastic, with steel reinforcements of the struts to the fan area.

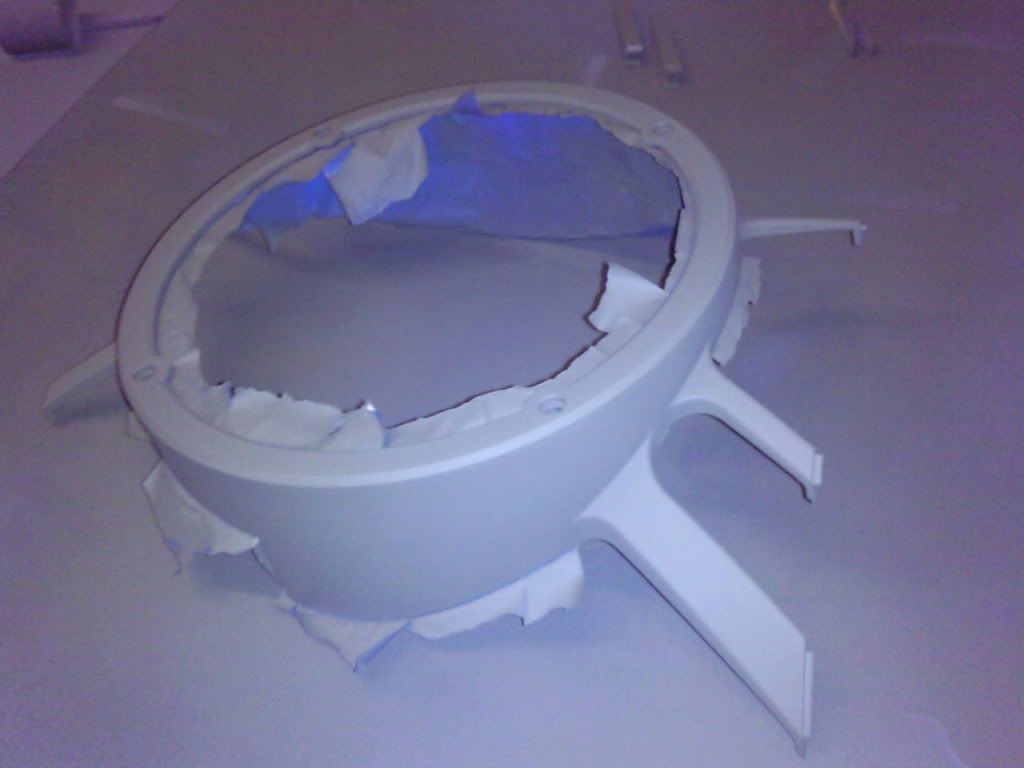
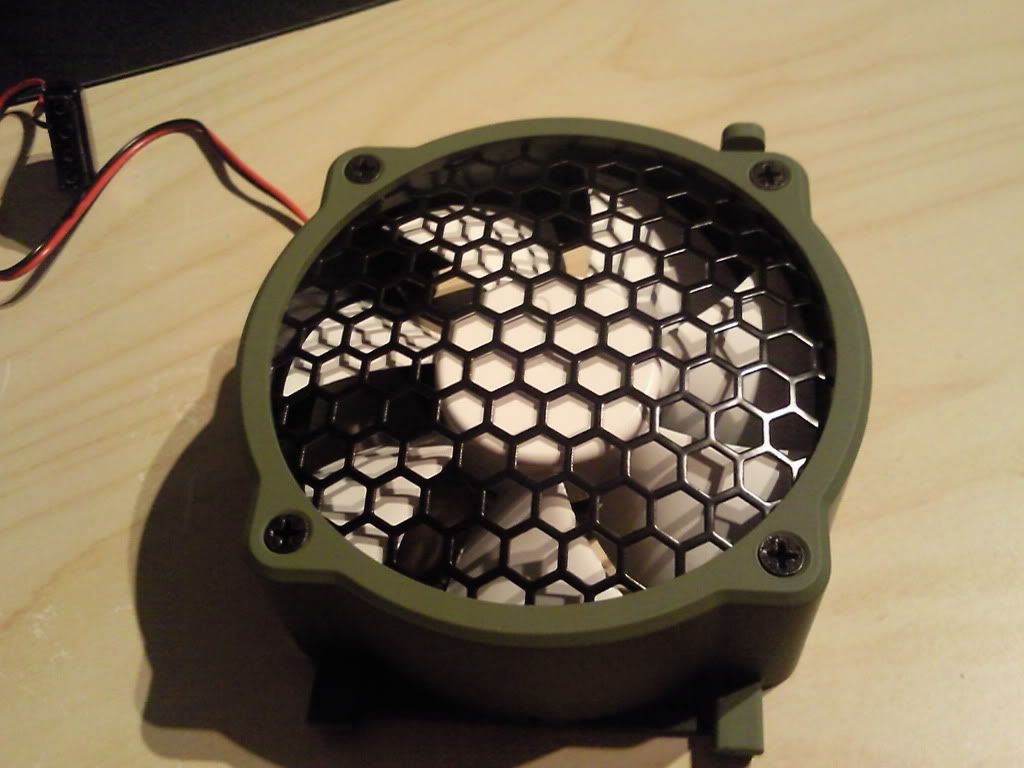
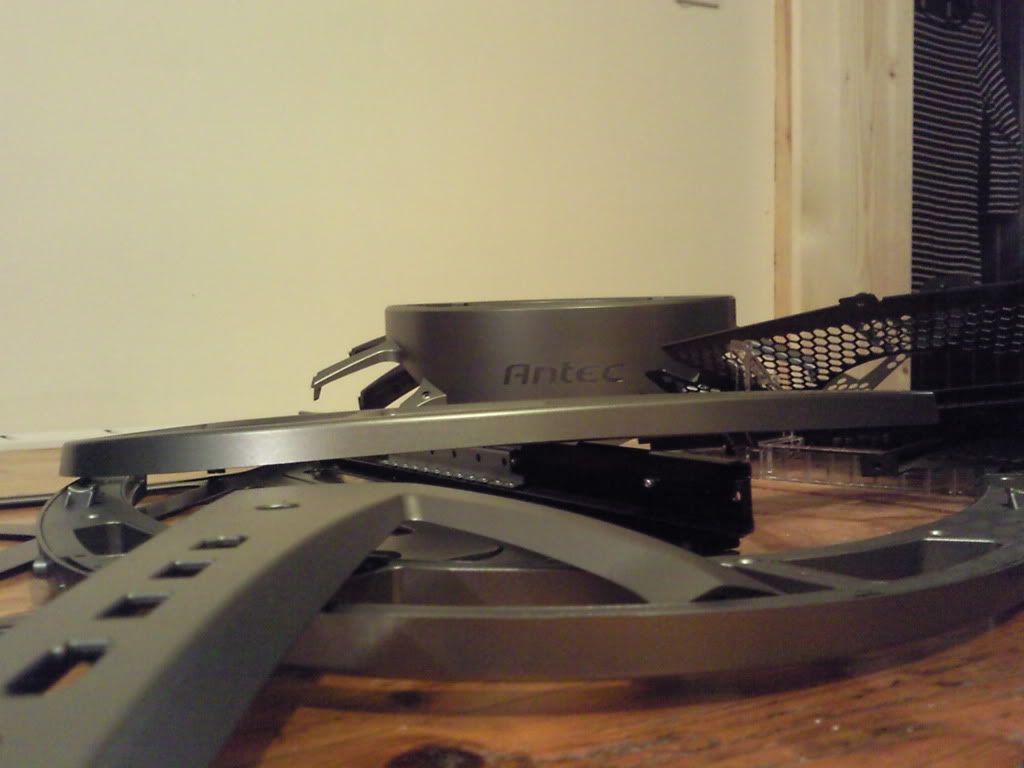
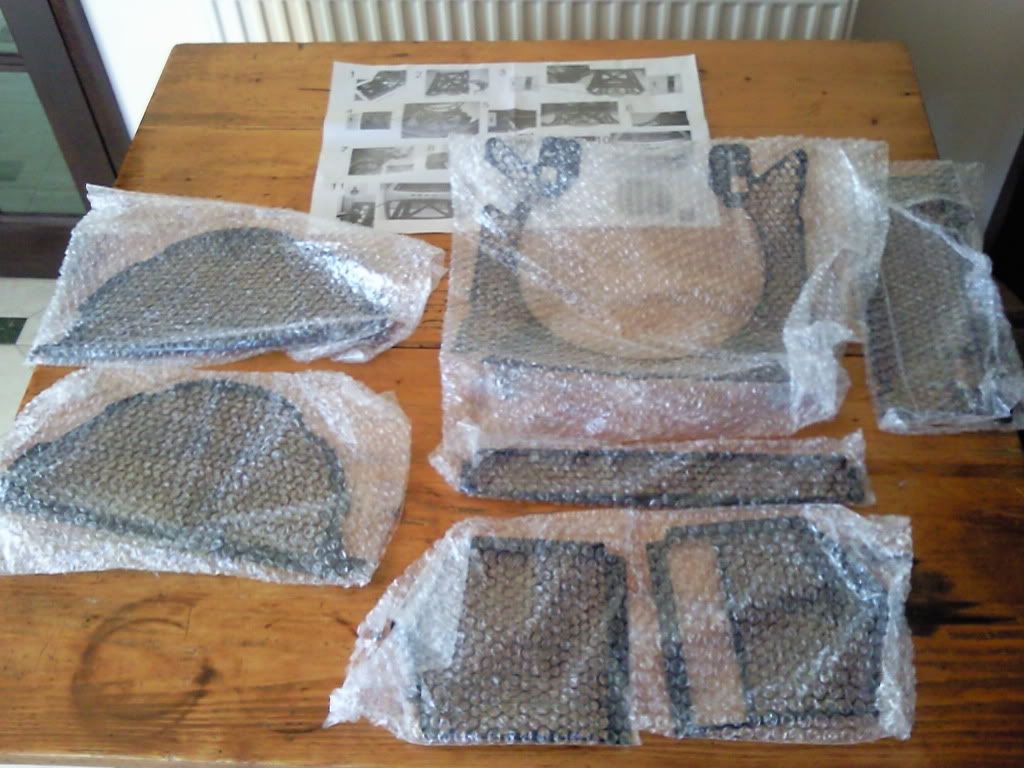
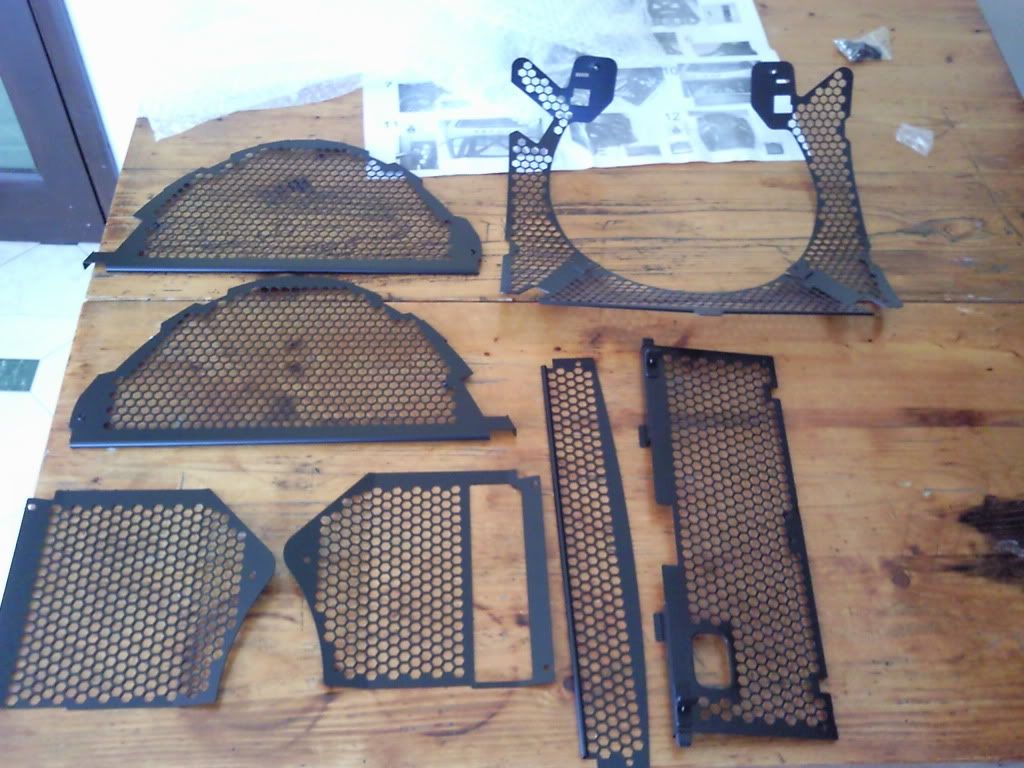
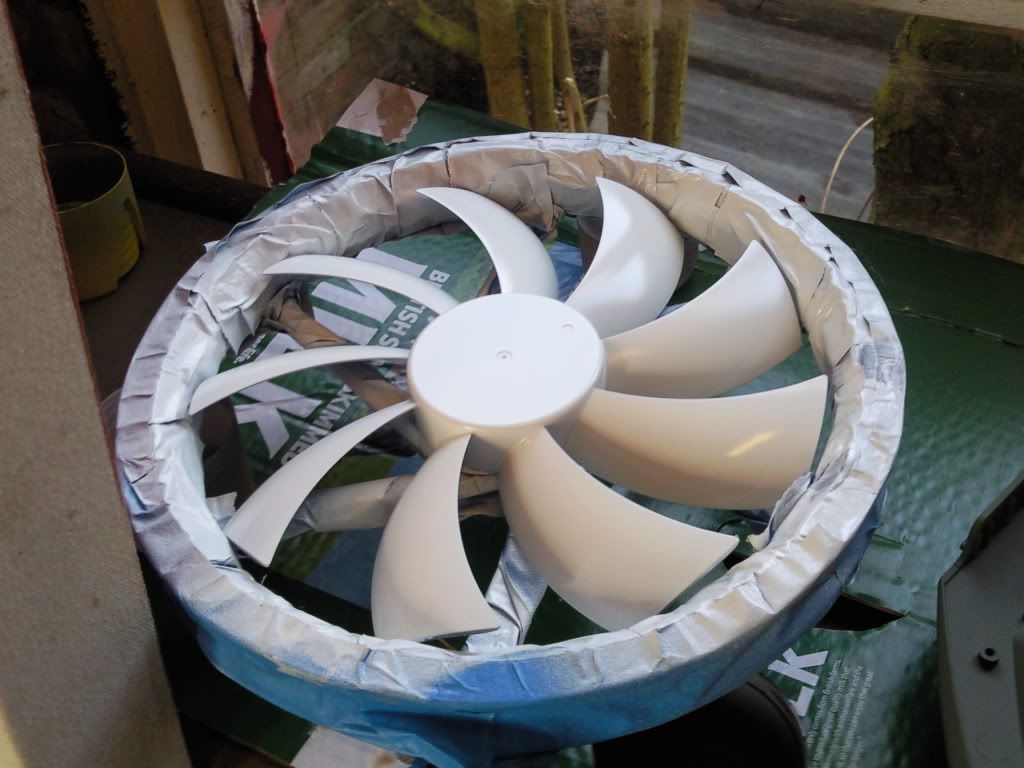
I'm also planning to incorperate the MESH KIT made by Antec. The mesh kit serves very well at keeping out the prying fingers of children, however i'm using it for no other reason than I like the look of it.

Photo0607.jpg


Photo0608.jpg


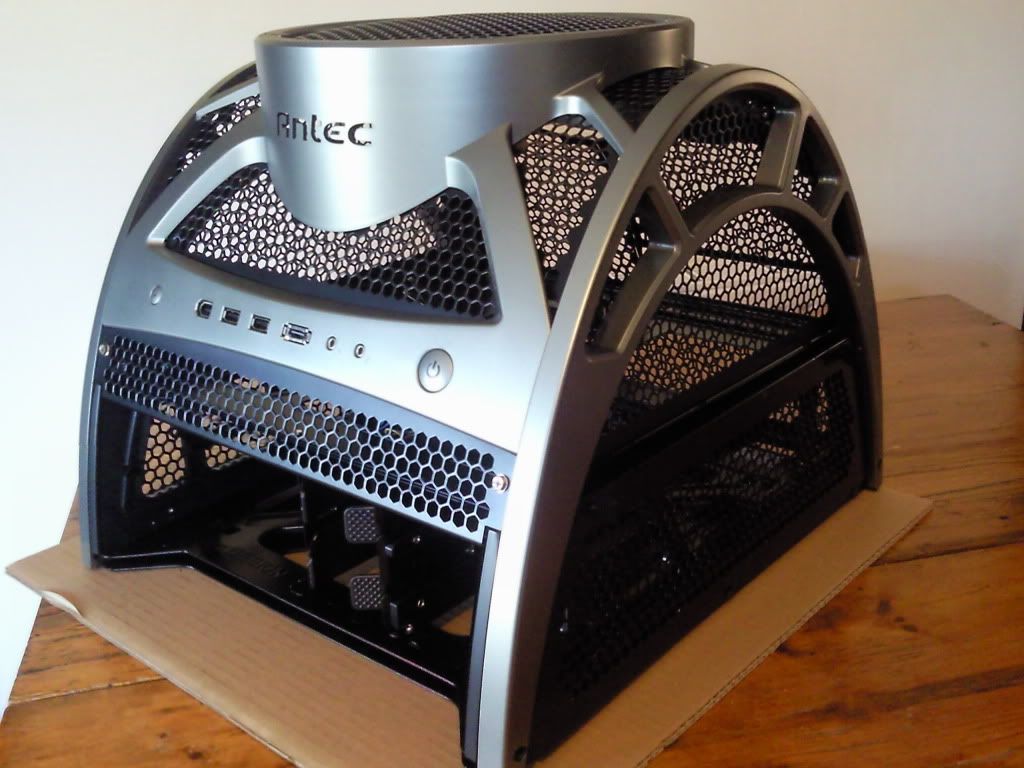
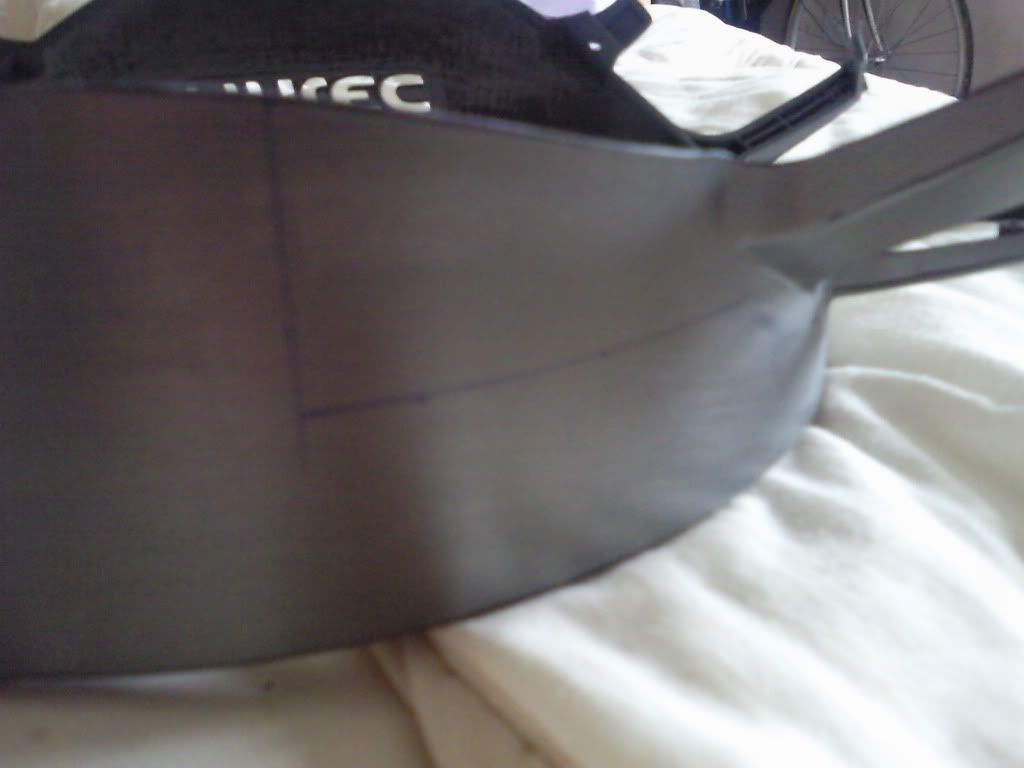
Assembled with mesh kit just to make sure I know where it all goes!!!

Photo0665.jpg


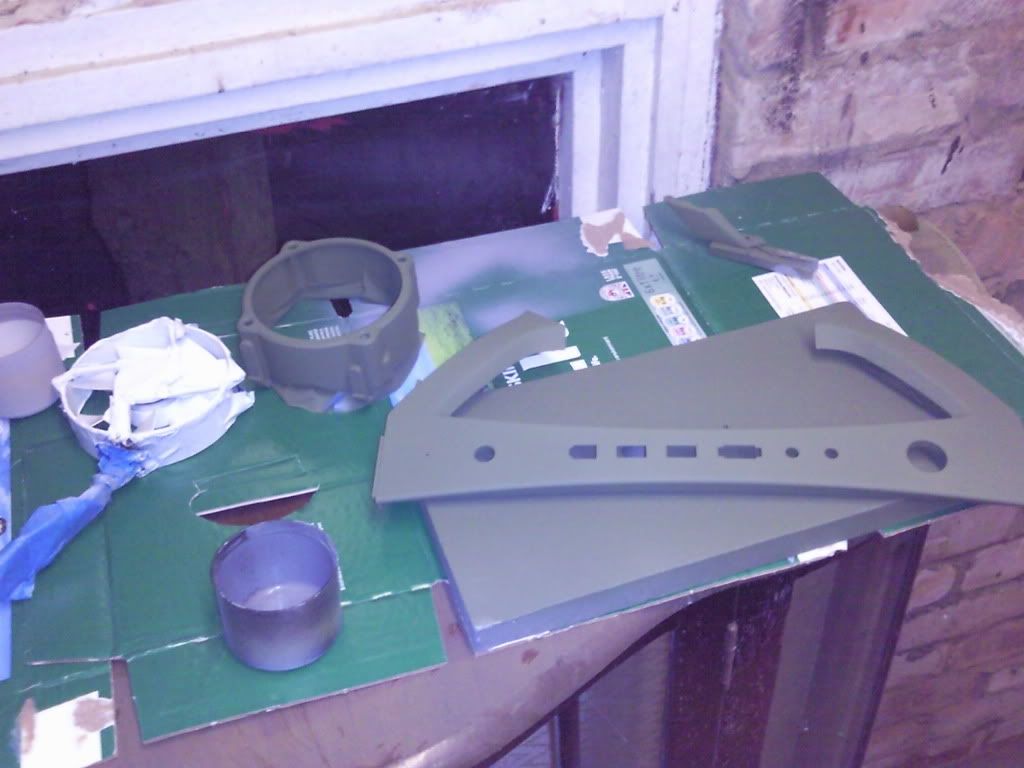
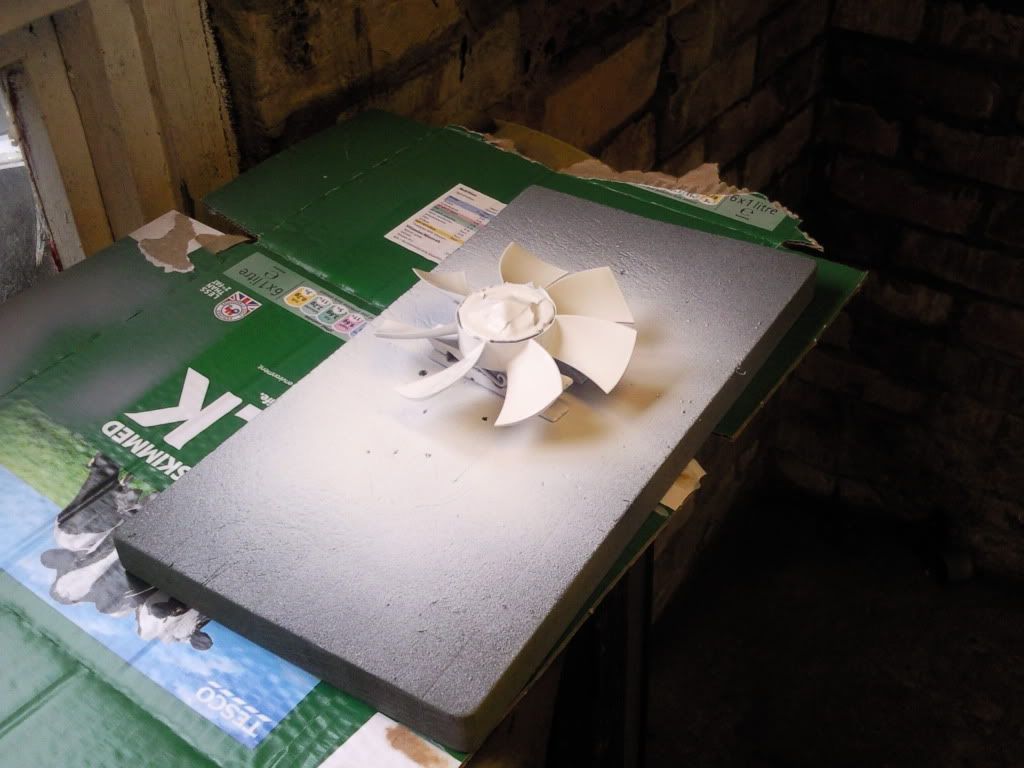
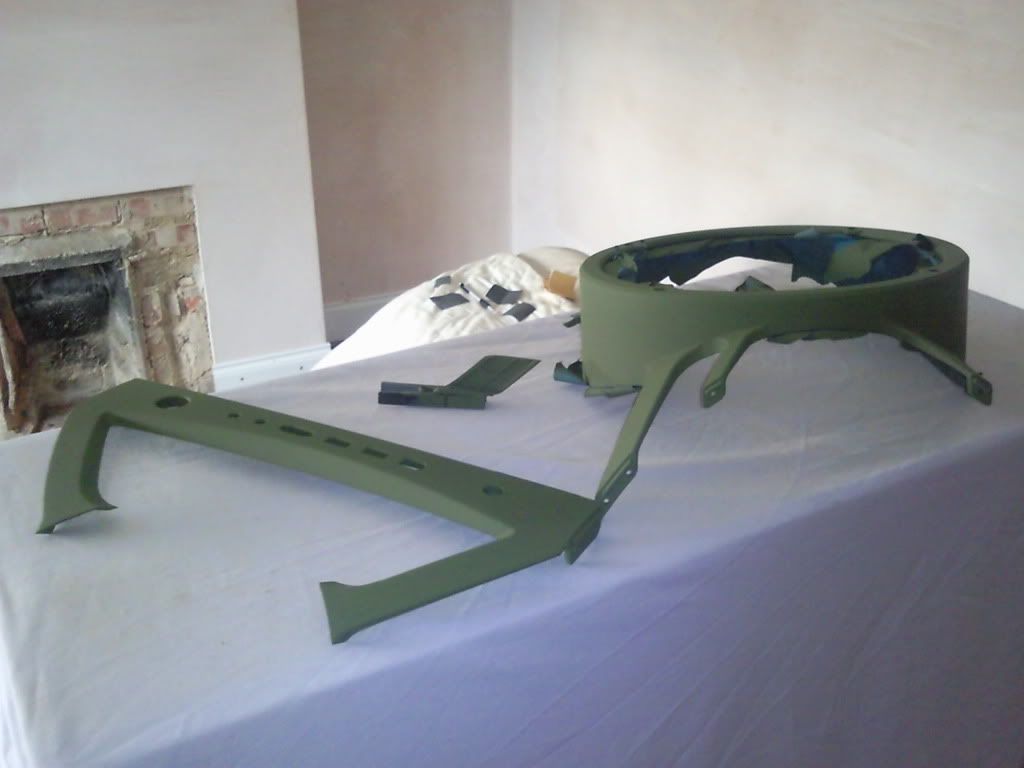
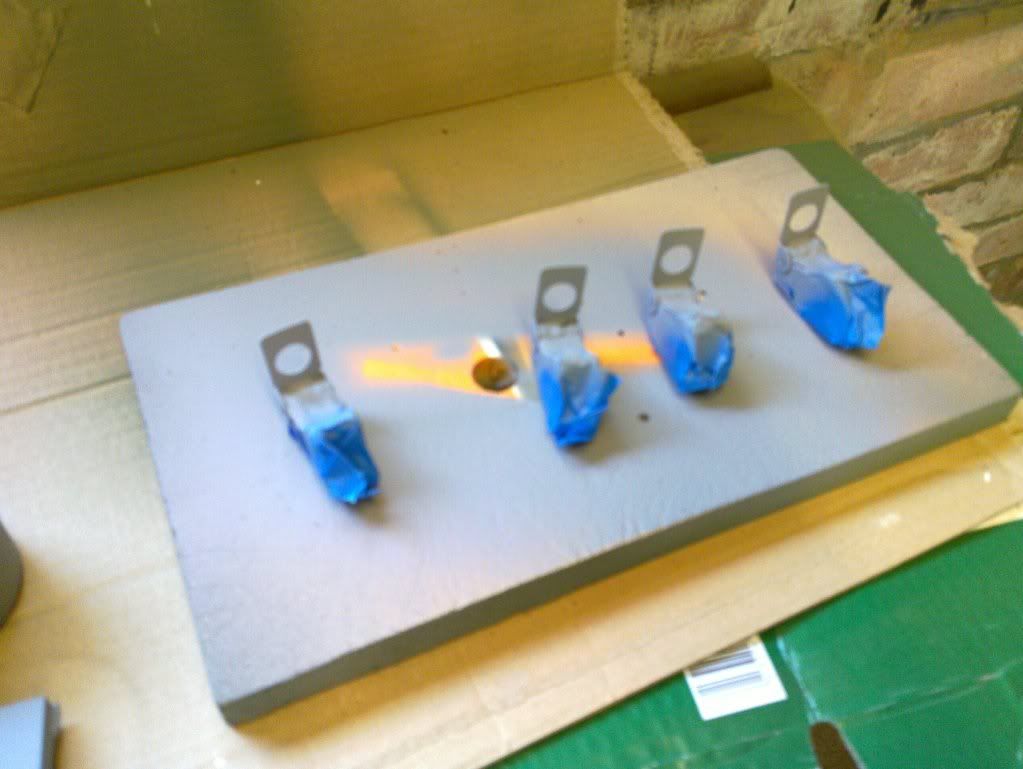
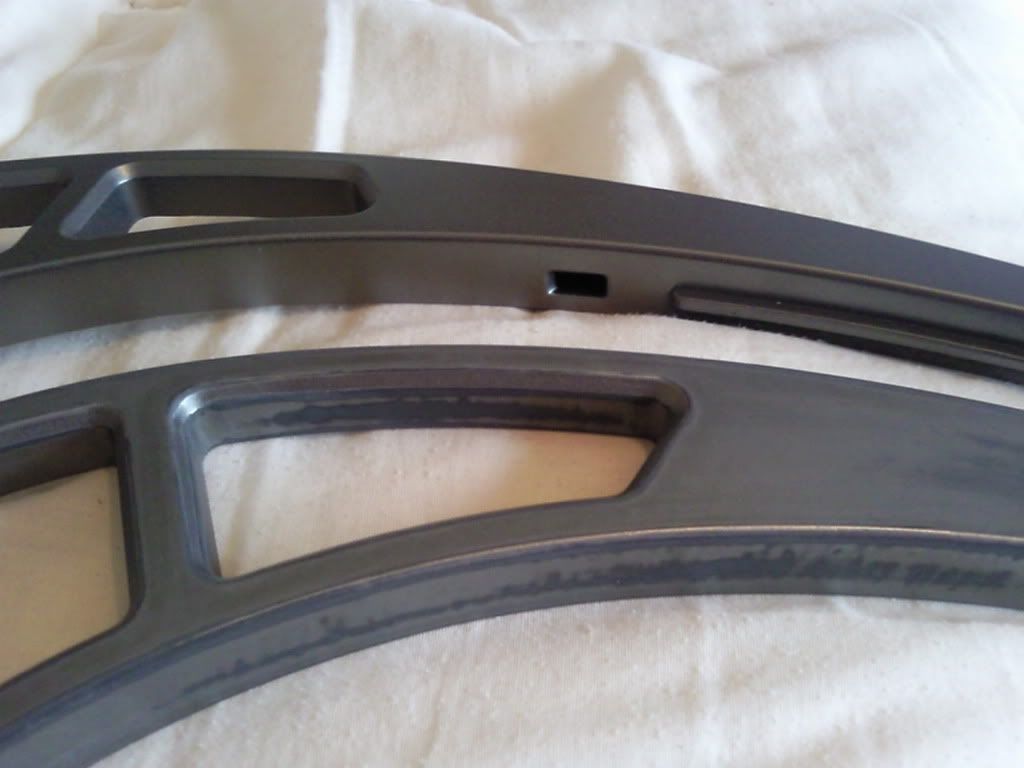
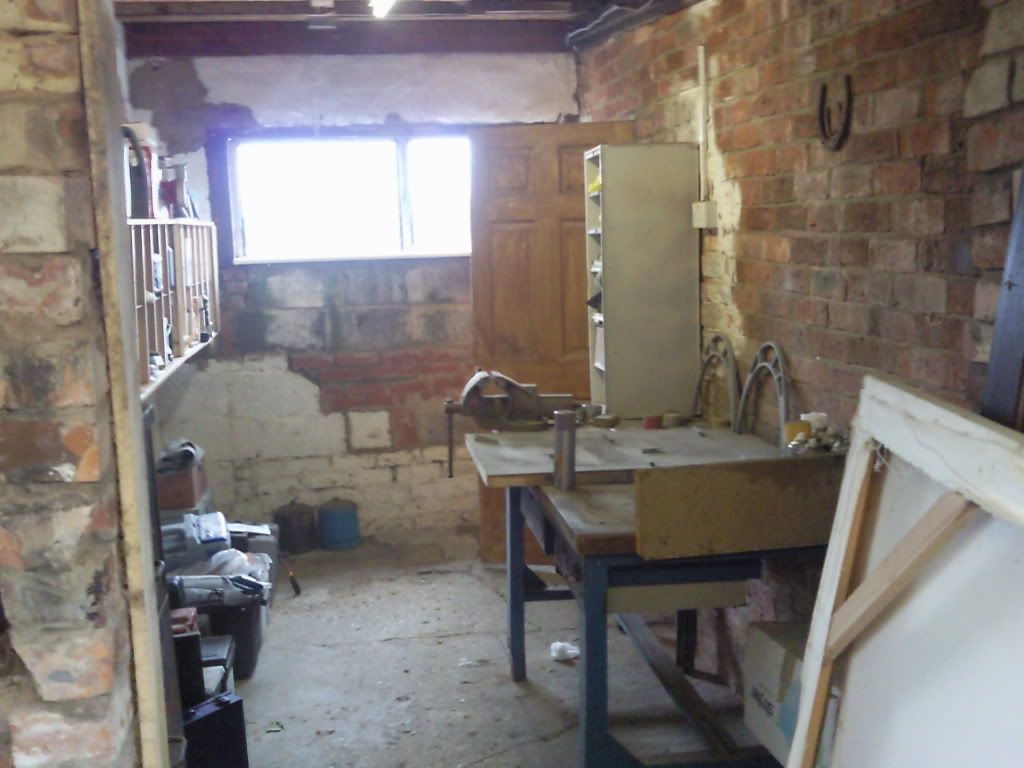
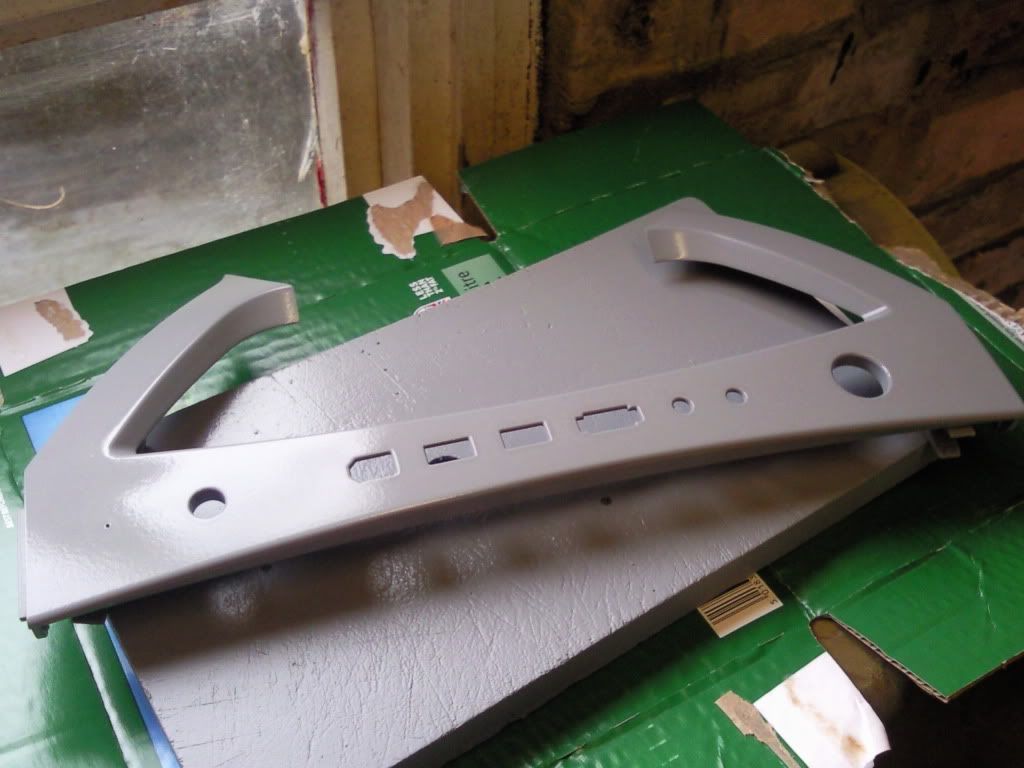
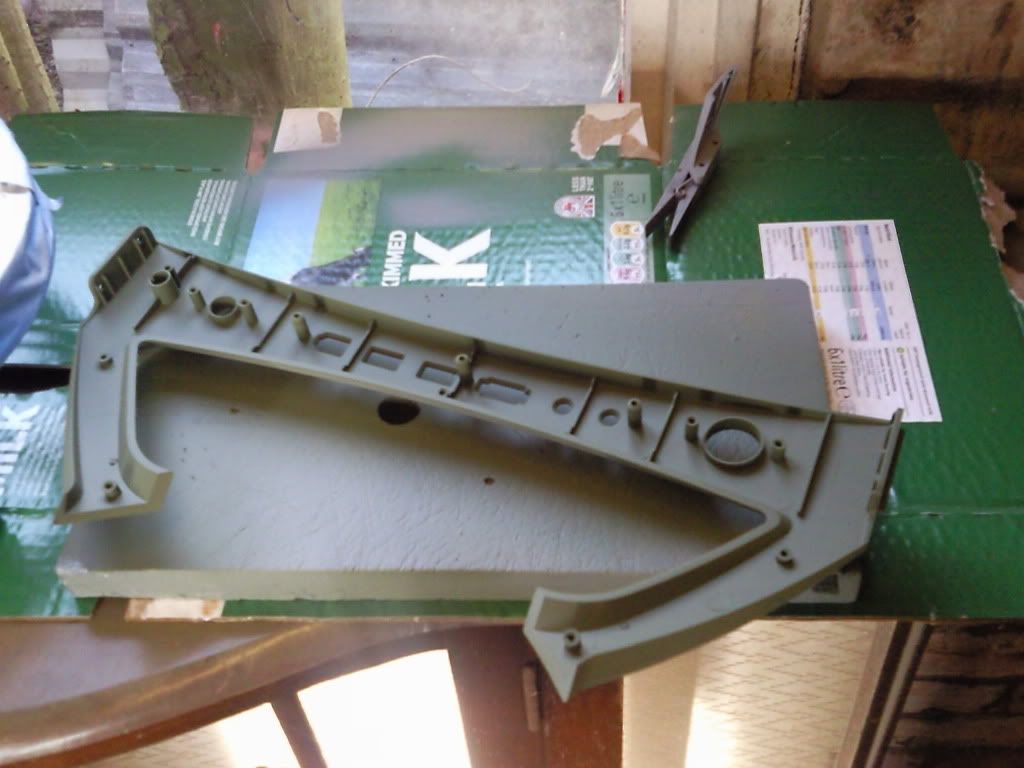
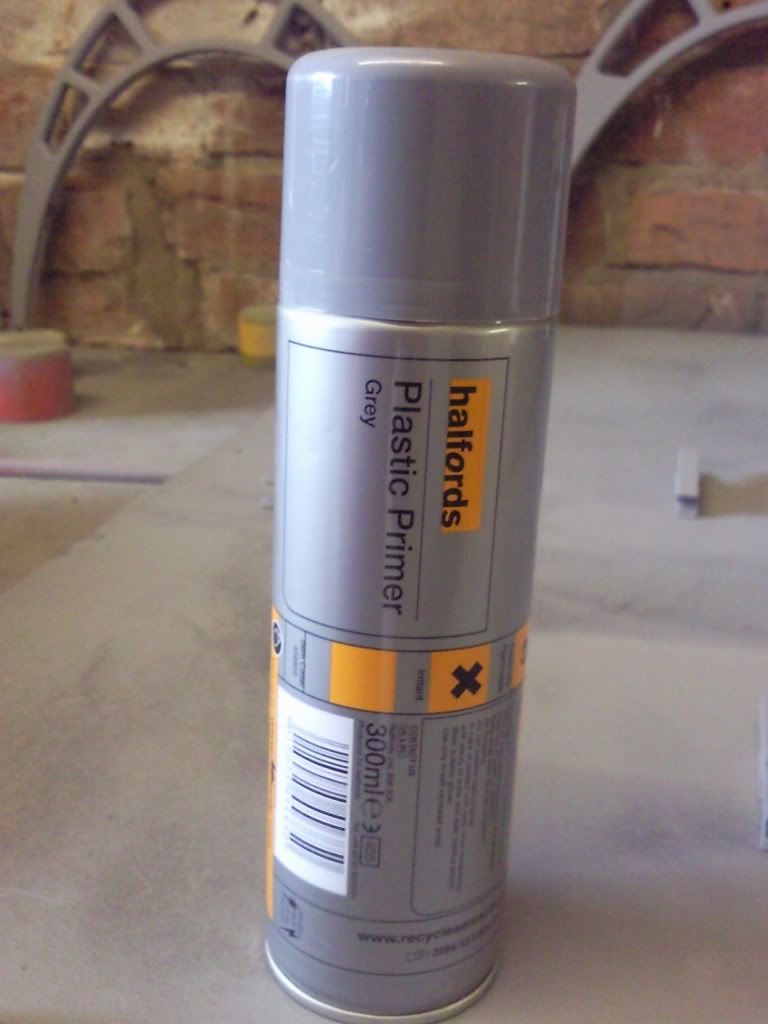
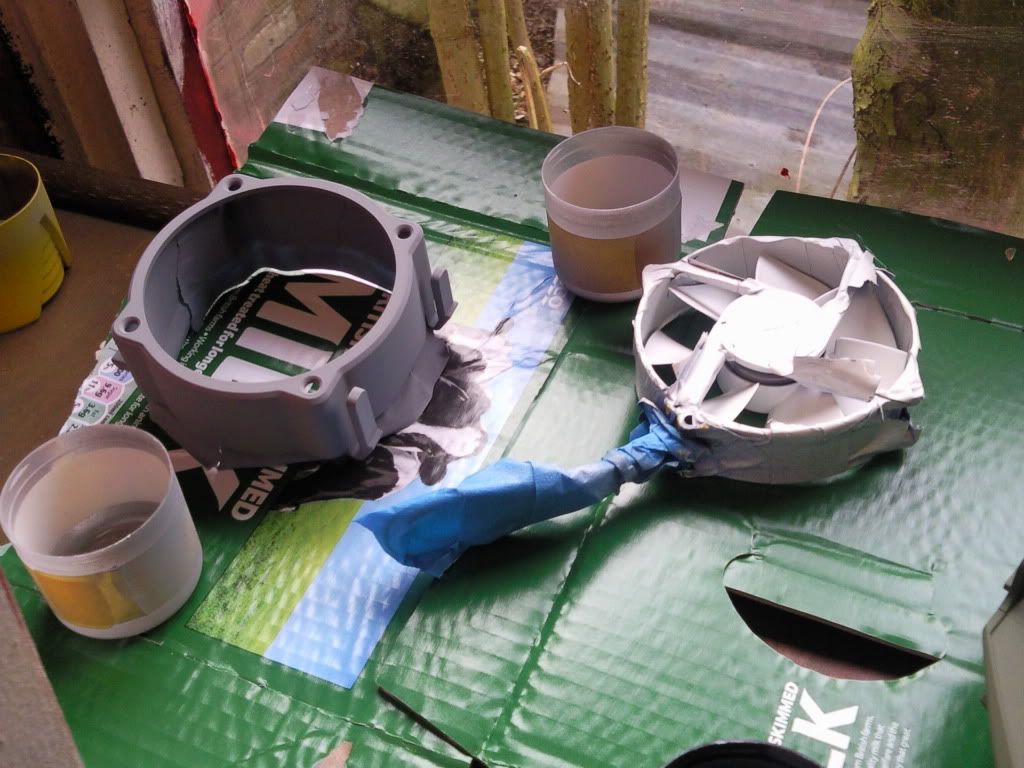
Next job will be sanding and prepping all the panels for painting. (now that it's warmed up a bit in the shed!!!
 
Not a problem at all, the big fan stops anything settleing and blows away anything that's settled the night before. In fact as there are no dead spots in the case (as there is no case) I can honestly say this is one of the least dusty cases I have ever had.
 
Having a bit of change of plan. I can't seem to find any low profile coolers with i7 compatability so may need to cut the cowling to accomodate something like a fenrir.

Not a problem cutting it as it's only a 5 min job.
 
Toyed with the idea of water but this case does real well on air. I've actually just finished cutting the case this afternoon and have ordered the Fenrir so the decission is made.

Still fancy the idea of water though so might just do it for fun at a later date.
 
Sorry for the wait, have decided to upgrade my current set up to windows7 and it now refuses to talk to my samsung toco phone so still working on how to get the photos off. It won't even see the mem card as a mass storage device!!!!

I'm about half way through the spraying and have to restock on paint on Monday.
 
OK so a bit of an update on things.

I've been quite busy over the lasty few days.

Piccy of the workshop at the back of the garage.

Photo0852.jpg


Cutting the cowling for the Fenrir. I didn't originally want to do this, but really like the cooling offered by the Fenrir.

Photo0853.jpg


Photo0854.jpg


Photo0855.jpg


Front panel sanded and then undercoated. Then the back of it top coated


Photo0849.jpg


Photo0851.jpg


Photo0877.jpg


I'm using this as undercoat. I've tried quite a few but have found this to be the best for my needs.
I've been pleasantly surprised by its tolerance of the low temps (no heating in workshop)

Photo0850.jpg


Side arches undercoated ant then top coated


Photo0848.jpg


Photo0873.jpg


Bigboy top fan masked (you can't take the blades out as you can on other fans)

Photo0856.jpg


Photo0857.jpg


And then painted with High gloss white.

Photo0878.jpg
 
Last edited:
are you sure them blades dont come out?
i got one of them asaka white led fans, and resession where the removable washer usually is was covered by a push fit plug that wouldnt come out ... so i took the dremel to it :D.

5 minutes later, one half was powderised and the other half fell out, and it was business as usual with removing the washer and taking the blades off.

Sure as I can be, I took the rubber bung out the back and carefully scooped out shed loads of grease. What I then found was a sort of sealed circlip. When I tried to remove it it became very obvious that the thing was crying out "go on, just try it and i'll break, and then what'r'ya gonna do". So i thought cowardice is the better part of valour and chickened out.

Largely accedemic now as it's all masked and sprayed, and I don't like being defeated by a fan !!!!!
 
Bit more spraying today, this time the inside of the cowling and the HDD cooler fan cowling and fan, again in gloss white.

Not worried about the overspray on the cowling as the overspray area will be covered in another colour soon.

Photo0879.jpg


Photo0880.jpg
.


Also started to get the PC itself build. One of the advantages to this case is that you can mod the frame while actually building and then using the PC itself. So you get to mod and game at the same time

BONUS!!!
 
wow, this is seeming very tedious but fun for you:)

Hope it turns out just as planned

You hit the nail on the head mate. the prepping and spraying is a kinda love hate thing. I love to get a good end result so it's a necessary evil. In a strange way it's very rewarding actually applying the spray paint and seeing it change (hope I haven't gone a bit too weird there).

Well managed to nip into town at lunch and got some more of the matt Light olive. So should be some piccys to follow, along with the build itself.
 
Bit more painting done.

Really nice to see this case stimulating a bit of interrest. And thanks for all the feedback and encouragment.

Work has been a bit busy of late so I must apologise for the lackof activity on the build, and thank you for your patience.

Photo0910.jpg


Photo0909.jpg


Photo0908.jpg


And a few of the goodies that are going into the build

Photo0789.jpg


Photo0889.jpg


And the lower section of the case ready to accept the build

Photo0885.jpg
 
I've started the hardware aspect of the build.

Went for an Antec power supply, this model comes highly recommended, having used it other builds I can say that it's really quiet even at full load and never misses a beat.

It's a semi modular design, having the absolute essentials hard wired in with additional PCI-E, sata and molex power connections available to be added. Having the main cables hard wired in with the ability to add the extras if needed strikes a nice balance between flexibility and cost.

Photo0881.jpg


Photo0882.jpg


A few pictures of the build in a sort of step by step. If I hadn't stopped to take piccys this lot would take about 30 mins to put together. from start to finish. I'm not taking the credit for this, most of it is down to the open nature of the case making it very easy to build into.

Imagine no sharp edges or little crevices to cut and trap your hands and fingers!!!

Build quality of the base unit is very high, made from rolled edge steel. It feels sturdy, with a nice weight to it. It does actually have a removable motherboard tray but it's not essential as the access to the rear of the mobo is easily gained through the underside of the base unit.

Photo0886.jpg


Photo0891.jpg


Photo0892.jpg


Photo0896.jpg


I went for Patriot RAM with this build. Never used it before but have to say i'm very impressed. And of course the Patriot brand is kinda in keping with the theme of the build. It not only does the job but it looks the part aswell!!

Photo0895.jpg


Photo0901-1.jpg


Photo0897.jpg


Well just to prove it all works.

Still a lot of work to do, lots of cable braiding etc.
But as I've said already, the advantage of this case is that you can use it as your PC while your moding it.

best of both worlds then.

Photo0906.jpg
 
Not sure what you mea by low profile?

I've always thought this case was more "in your face" than "low profile"

As I've mentioned in the thread, I was originally going to use a smaller htpc style cooler as i've used one before with this case on a Q6600 build. problem was I couldn't find one that came with i7 compatability.

You really don't need the big cooler in this case as the top down air flow of the bigboy fan keeps everything really cool.
 
Apologies for the lack of activity on this project. Work has a habit of getting in the way of life.

Anyway a couple of bank holidays and a week of work have enabled me to really crack on.

Warmer waether has enabled me to finnish all the painting.

The blades and cowling for the hard drive cooling fan.

Photo0923.jpg


Photo0937.jpg


Photo0927.jpg


Main cowling/fan and front panel

Photo0932.jpg


Photo0925.jpg


Photo0936.jpg


Front panel all wired up.

20100502_006.jpg


20100502_008.jpg


And attached to cowling

20100502_011.jpg
 
Bit more work done and a few more pics

Many thanks for the comments guys.

I decided to do another switch box mod of an old CD ROM drive as I did on my last mod as I thought it suited the Military theme even more.

The covers look a bit pink on the images but they're actually guards red. Let me know what you think.

20100501_007.jpg


20100501_010.jpg


20100503_012.jpg


20100503_017.jpg


20100503_025.jpg
 
Have encountered a major problem.

As per the title the original idea was to put a sharks mouth on the cowling. However having done a few dry runs using layers of masking tape it turned out to be a bit of a dead end as it was just too tricky. I then bought some vinly stickers from a site aimed at RC aircraft but they also were a no go as could not be altered to fit the cowling. To be honest i'm quite happy with how it's turned out and a little bit of me thinks that the sharks mouth would probably look a little naf any way.

Win some...
Lose some...
 
Back
Top Bottom