Project: Custom Desk

Associate
Joined
20 Apr 2006
Posts
2,022
Location
Leeds, UK
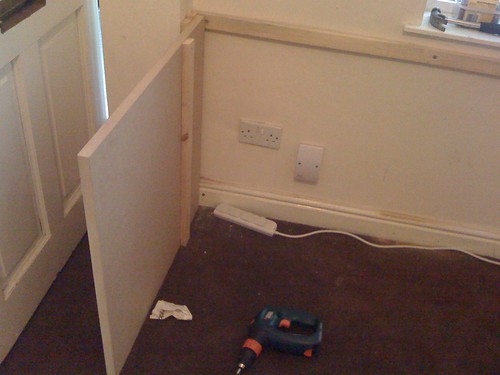
Imagine: The smallest house in world, a computer cruelly shoved into a corner, the PC wedged down on the carpet between the desk and a the room alcove. And my beloved PC, in its glorious Lian Li A70B case is choking in dust and hidden from displaying it in all its glory.

*Sniffle*

Anyways, my house is tiny, and worst of all I have the smallest front room that I cram two computer desks into, a 3 seater sofa, a TV Unit with gargantuan 28" CRT style Widescreen TV, another single seat chair oh and child toys galore - I have a 1yr old daughter that just loves to play the drums on Mommy's Computer case!


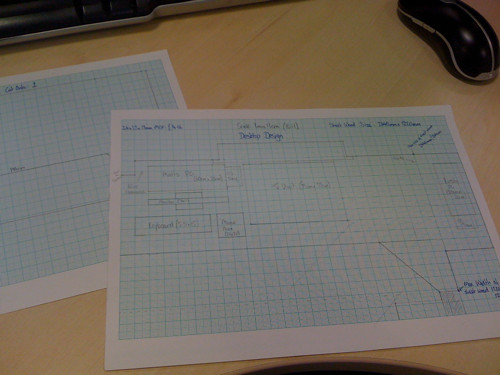
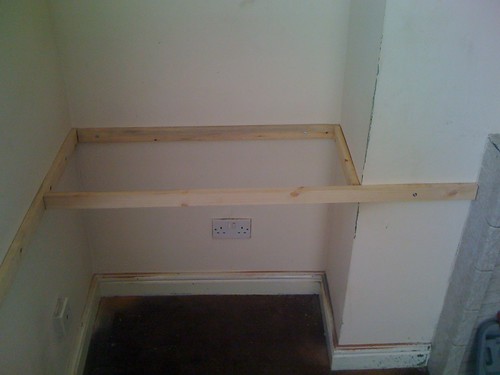
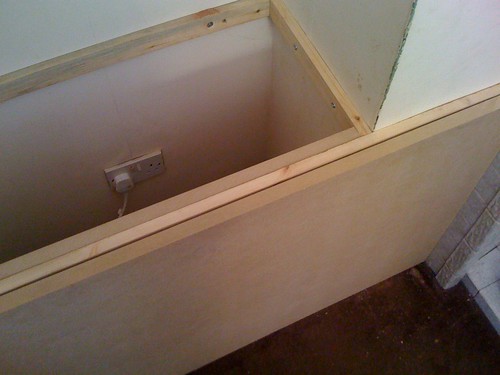
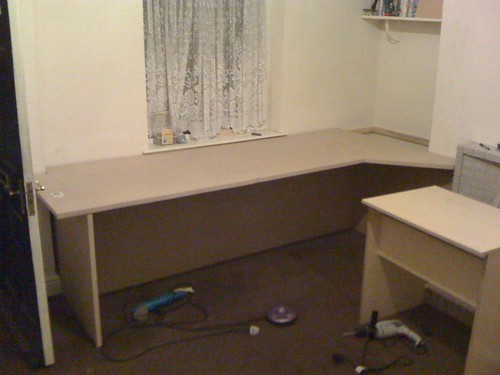
Net result?? I'm building a specialist, custom designed desk to accomodate two computers (and the horrid big TV, for now), that will allow me to put my PC Case on the desk off the carpet and out of all the dust choked areas of my front room.

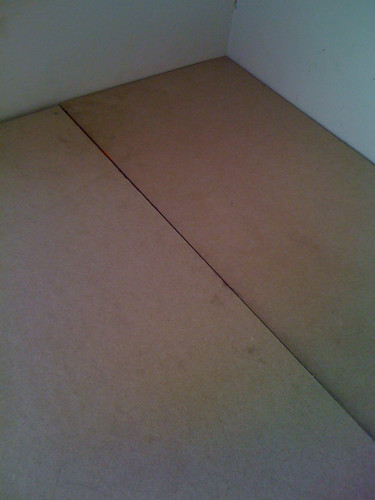
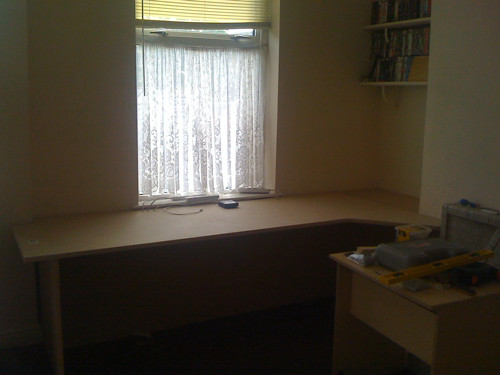
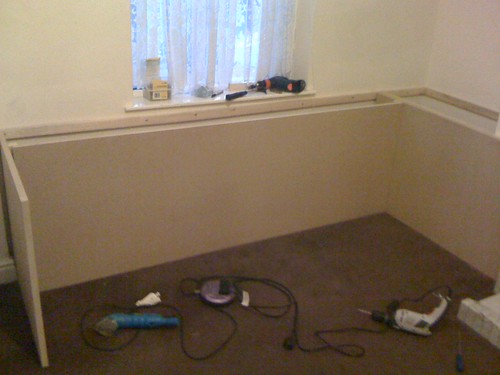
So I set about tearing one side of the front room aprt, and measuring up the sizes and what I could possibly get in:

3949626505_383b200f50.jpg

(PS That desk you can see behind where I stuck the Sofa is my old desk. Its horrible).

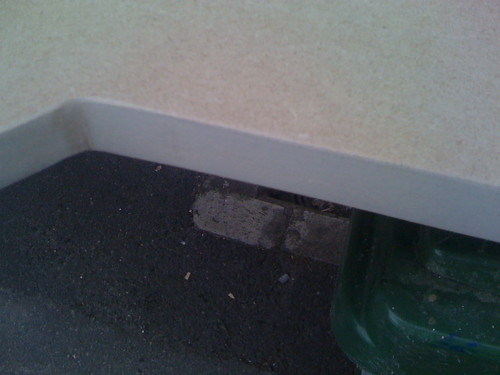
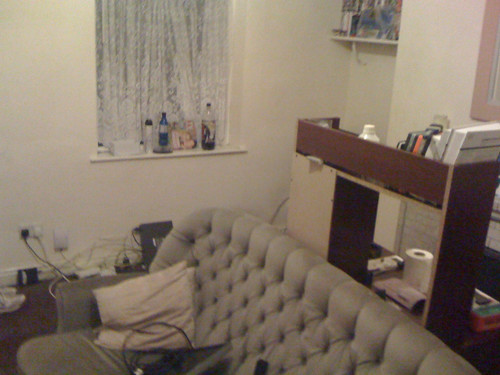
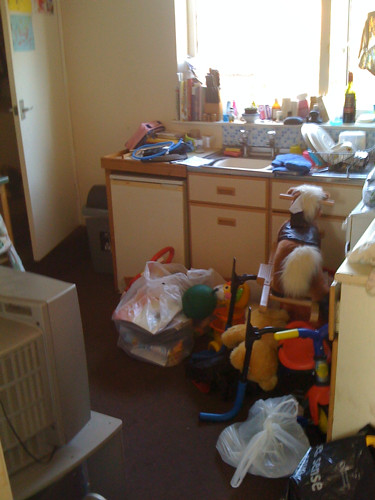
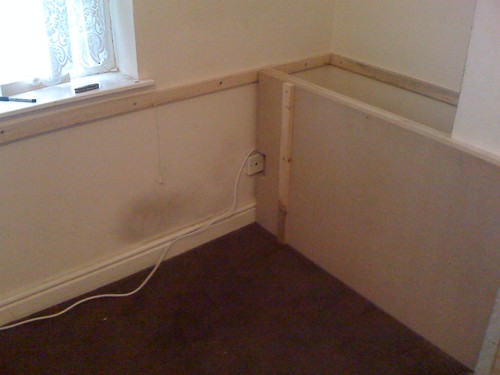
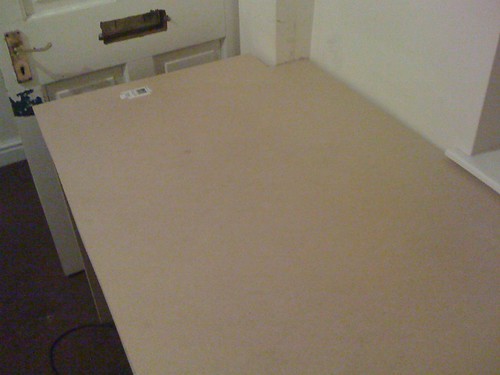
Here's where my poor PC was located before this all happened:

3950311570_90dd8c00d2.jpg


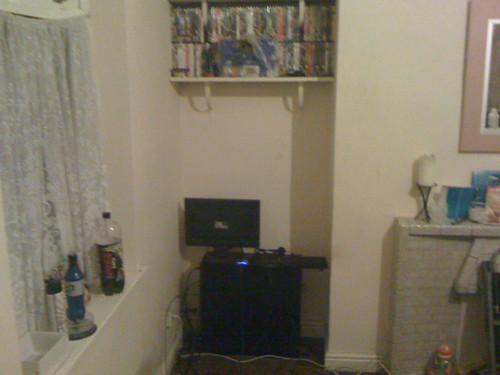
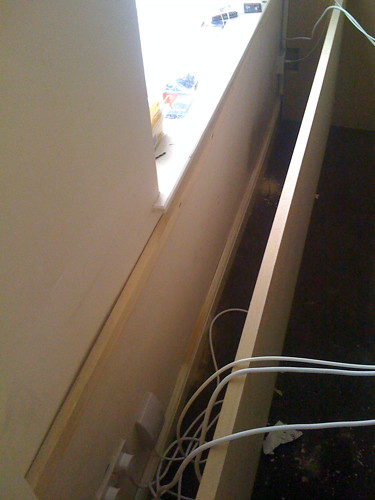
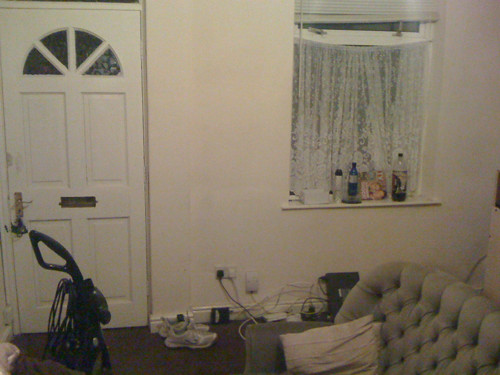
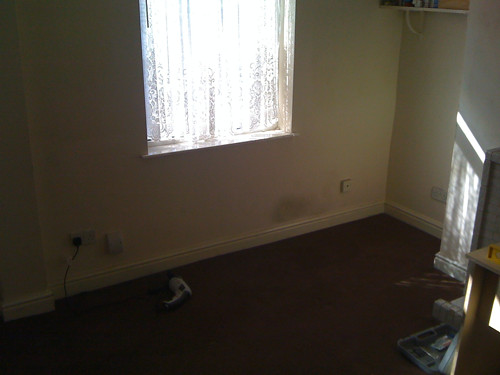
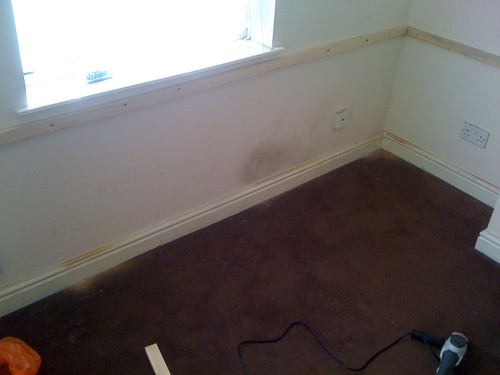
And another shot of the space I have to play with:

3949519007_edd9720d6a.jpg


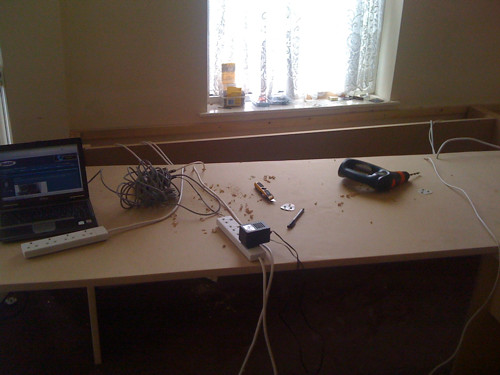
Well, that space has now been cleared, the networking equipment has been removed, the PC is in bits to be customised down in the cellar (more on that in another thread) and this weekend will see me creating a desk!

PS I'll be doing a live updqate during the weekend as I go along, as I'll be uploading Piccies to my Flickr account from my iPhone. Stay tuned :)

Flickr Album:
http://www.flickr.com/photos/arthalen/sets/72157622444697032/
 
Last edited:
Associate
OP
Joined
20 Apr 2006
Posts
2,022
Location
Leeds, UK
3952599073_72cd8608ae.jpg


The designs are pretty much 75% done, I just need to finish Sizing up all the wood I need. I'm not aiming for anything too flash, I just want something solid and can handle the weight its going to have on it.

Missus has agreed to a Flatscreen TV at some point (we've not bothered with a fancy HDTV so far, we barely watch any telly usuall its just Films) so the TV won't be on the Desk for too long I hope.

Some links I've been inspired by:

http://www.bookshelfboyfriend.com/diy_home+garden/articles.php?article_id=177
http://www.computer-desk-assembly.com/
http://www.ehow.com/how_4904813_build-own-desk.html
 
Associate
OP
Joined
20 Apr 2006
Posts
2,022
Location
Leeds, UK
Day 1

Well, started bright and early clearing out the frontroom before even the girlfirend and baby were awake. She had to come down to a totally trashed kitchen, not good. But hey, needed somewhere to put all the stuff!

3955570494_1e9e5248f5.jpg


Front is empty though: :D

3954783013_5b6dcbd572.jpg


So popped off to B&Q and picked up the wood needed for the project.

Materials

3x 2440mm x 1220mm x 25mm MDF
This is what the sheet panels and the desktop are being made out of. MDF is fairly easy to cut (Jigsaw ***!) and fairly cheap - 25mm thick sheets are are £21 for the abive size (8ft x 4ft, for those imperials out there).
Top Tip: Save yourself some jigsawing effort and get B&Q to cut the panels out for you. They cant do fancy cuts or angles, just straight cuts, but can save you a lot of effort.

1x 20.5mm x 47mm x 3.6m Redwood Planed Square Edged (PSE) Timber
This stuff is what the framing was made out of - again its cheep, and easy to cut into sections. I needed one peice this long as the back wall is 270cm long.

2x 20.5mm x 47mm x 2.4m Redwood Planed Square Edged (PSE) Timber
Some more of the PSE for making the framing peices, just shorter lengths.

40mm x 4mm Screws
- For Panels to frame
50mm x 6mm Screws - For frame to wall plugs
6mm Wall Plug

Tools

Jigsaw - 3mm Wood cutting blade
Drill with hammer action
Sander - I used an electric Angle Sander
Cordless Drill
7mm Masonry Drill Bit
Screwdriver bits
HammerSpirit Level
Pen!

Top Tip:
The spirit level is the one peice of equipment I wish I hadn't bought on the cheap. It was next to useless, and ended up judging by eye and also using the square cut panels to place the framing up against. Not good.

Framing


Construction started with the framing against the wall.This is just so that the panels are securely held in place, and have some thing to screw into.

Once we had the height of the frame marked out, it was simply a case of pre-drilling the screw holes with a 3mm wood bit, then use the drill to mark in the wall through the hole where the wall plug needed to go. The wall was then drilled with the masonry bit and the hammer action on the mains powered drill. Wall plugs in, and the frame was simply screwed to the wall tightly.

3957459165_9dbb8aa47b.jpg
 
Associate
OP
Joined
20 Apr 2006
Posts
2,022
Location
Leeds, UK
Day 1 Continued

Thye framing was extended all the way around the wall, right into the alcove on the right side and also upto the fireplace.

3957459167_0c40544a5d.jpg


Once the framing was screwed into place against the walls, the side panels were put in. These were in to give the frame strength, so that weight placed on the desk is trnsferred through these panels that are set against the ground. We had it pretty much perfect for placing panels here, so that they lined up with the top edging of the frame.

3957459179_9e83770af2.jpg


We also had to negotiate around the aerial socket, so a small peice was cut out to allow me to still get to the socket:

3957483587_1e7427f4da.jpg


And then to finish off the side panelling, a peice was screwed on the left hand side:

3957483597_7469c15011.jpg
 
Last edited:
Associate
OP
Joined
20 Apr 2006
Posts
2,022
Location
Leeds, UK
Day1 Contined

The final panelling peice to go in was the back support, that extends between the left and right hand side panels. This isnt screwed straight against the frame on the wall, instead as you can see in the last photo of the last post and in the below photo, a peice of framing was screwed into the side panels 25cm away from the wall, and then the back panel was screwed in:

3957483601_605ecc4f47.jpg


Yep, theres the back panel all screwed into place against the frame peices:

3957587805_6d4f818247.jpg


Right, well thats the main frame and panelling done, so it was onto the cutting out the desktop from the final 8x4 sheet of MDF:

Amazing what you can do with 4 wheelie bins, including make a make**** cutting table out of them:

3957587835_5a4f11dcfd.jpg


And to top it all off, its gone dark, and thats the landlord giving me a hand with getting the final cuts done, lol!

3957587845_99e21df468.jpg


Hehe :D
 
Last edited:
Associate
OP
Joined
20 Apr 2006
Posts
2,022
Location
Leeds, UK
Day 1 continued even more!

Day 1 Continued

Well, it was getting late, the beers and chinese were calling and but we had to see how desk top would turn out. So we got the basic cuts done and test fitted it:

3957587851_3190f24fb9.jpg


And yes, we have desk top !

3957587855_ef20a8983b.jpg


And thats the end of day 1!

Still need to cut, fit, and screw into place a panel of wood for the alcove, need to cut some cable tidy hole and then also sand down the edge of the desk so that there nice and rounded.

So, gonna go grab myself a bacon sarnie and crack on!
 
Last edited:
Soldato
Joined
17 Sep 2007
Posts
11,095
Location
West Yorkshire / Market Bosworth
Looks great so far. ;)

I honestly can't remember who it was but they had recently decorated their room (which was fairly large) but his custom desk etc seem to fit exactly right. He wasted no space yet it seemed very much open and nice. I try and remember, it is probably in this thread somewhere. :D
 
Associate
OP
Joined
20 Apr 2006
Posts
2,022
Location
Leeds, UK
Day 2

Day 2 - Onwards!

Well the cider flowed a bit too easily so day 2 got started a bit late. But after full cooked breakfast and a mug of tea, things were feeling better and it was time to get a move one.

After prepping the desktop on Day 1 and getting the sizing right, it was time to sand down the edges and give it a nice bevel so that there were no sharp edges:

3962522274_182ca29774.jpg


We also cabled in all the plugs, the Cable modem lead and also the aerial fly lead so that they would all nice pop through the top of desk:

3961755423_60a2496923.jpg


The alcove side panel was also cut to size and test fitted to ensure we could get it in with a close fit

3962537334_ba665e51e4.jpg


I then tested all the sockets / leads before screwing the desk, didn't want to get it all together and then find I had a blown fuse or dead lead!

3962543266_b6bdbb4b8b.jpg


And then finally, the desk was screwed together properly to finish the basic construction!:

3961773747_33e2040e04.jpg


Tada!
 
Associate
OP
Joined
20 Apr 2006
Posts
2,022
Location
Leeds, UK
Although the basic desk is done, theres still a few bits and peices of detail I need to finish off, such as:

1) Wood filler around the edge of the desk between the main desk top and the alcove desk top.

2) Beading - The wall is convex, so we had to cut a concave shape out of the back of the desk top to get it to fit in, which means theres some nasty gaps to cover up.

3) Lead Box! Using the spare wood I want to create a nice cover for the window sill that will contain all the wires and networking gear.

So much still to do..
 
Soldato
Joined
31 May 2006
Posts
7,564
Location
West London
Laminate floor skirting is worth a look for the beading instead of standard soft wood quadrent, just as cheap but more intresting profiles.

Also are you going to give the desk a surface?
Vinyl flooring off cuts (end of roll) can work, and give a softer writing surface - also cheaper than the 3 ply stuff I use on my drawing board.
Or even (and don't flame me) contempoary decoupage for next to nothing works well (nikolaevsky.com but base it on the mrs/little one if your artistic)
or a map (OS landranger series) mountain area can look very striking or your home area maybe...
I do not mean for one second the naff cut up christmas card/wraping paper kind of decoupage - that's an instant fail

___45.jpg

That a woman btw ;)

Edit: 'matisse cut outs' is also worth a google if art is one of your things
I know it's a odds with the net curtains and magnolia walls but so is a Lian Li A70B
So please take it as just one of many less visual alturnatives.
 
Last edited:
Back
Top Bottom