project deskcomp

Associate
Joined
30 Dec 2007
Posts
2,054
Location
Oxonfordshire
Hi all, well its time I started my thread as in a matter of days I will building my new project, project deskcomp.

building the pc into the desk, so using the desk and case for pc.

all the parts and materials are ordered and on way.

I said I but in actual fact its my brother and I, he's a cnc wood machinist so has knowledge on how to put together the parts I cant !!

this will be a 2 desk build as he's cutting for the two of us so should be matching pair.
they will be slighty different as we have different components inside but look and design is excatly same.

materials used:
18mm oak faced mdf, lacquered.
special cut and toughened (just in case).
hdd cage's from antec 900.
will cut out motherboard tray from each of our pc's to seat and protect motherboard.

fans:
each deskcomp will have:
1 x 180mm silverstone air penetrator.
3 x fractal design 140mm.

lighting:
AC Ryan TWIN10 CCFL Light , red for mine/blue for brothers

front bays:
each deskcomp will have:
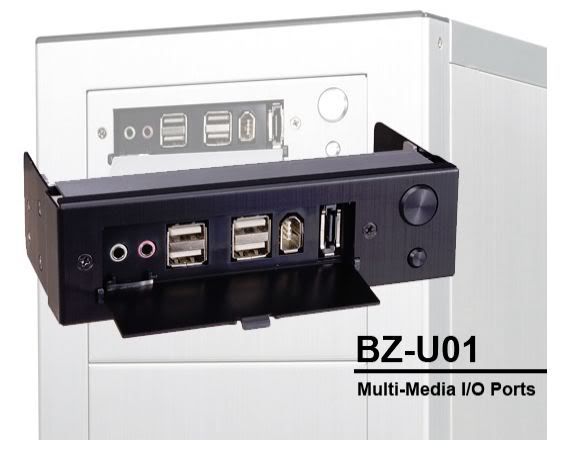
1 x Lian Li 5.25" Multi Media I/O Port Panel Black : BZ-U01B.
1 x Zalman ZM-MFC1 Plus Fan Controller
1 x dual layer dvd drive (will upgrade to blueray when money grows again!).
1 x Scythe Kama Bay Amp Kro : SDA-1100 .

components inside will vary due to having different specs.
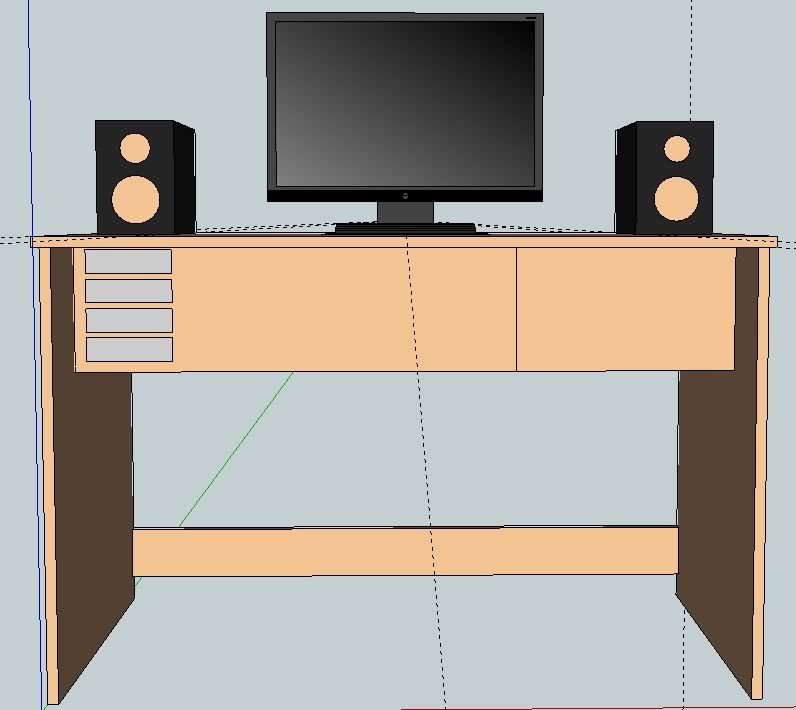
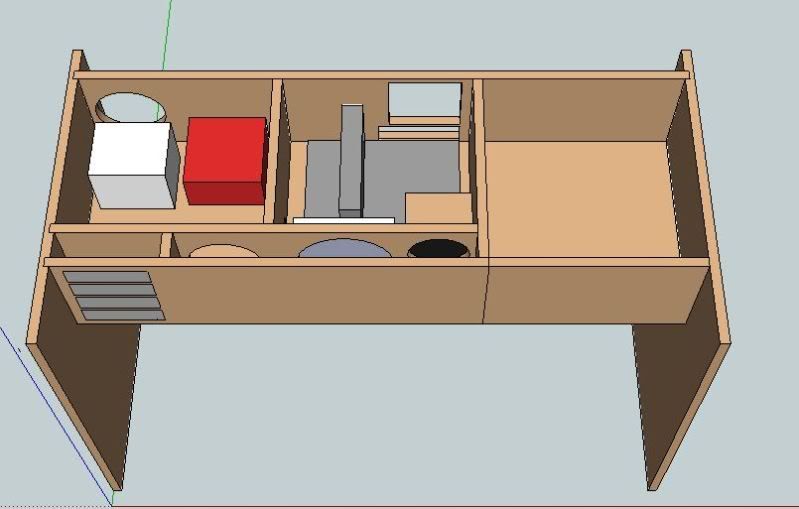
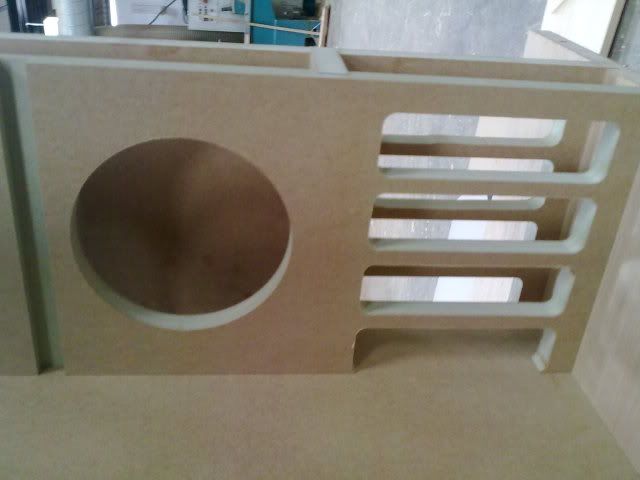
deskfront.jpg

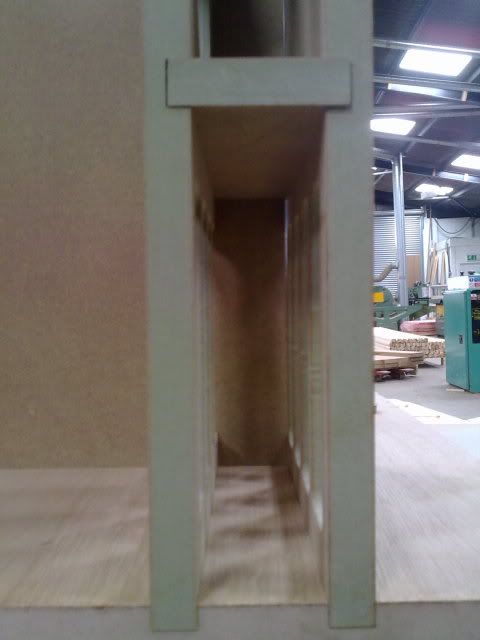
deskinside.jpg


designed on google sketchup and checked over by brother for measurements and dimensions.

so this is it for now untill the components arrive and wood is cut and ready to be assembled.
 
Last edited:
They are abit but not to much, its designed on my current desk which is only slighty smaller, but im 6.2 and got long legs! so gonna have to move out the way anyway.

Just received my h50 :D the parts coming in slowly but surely !
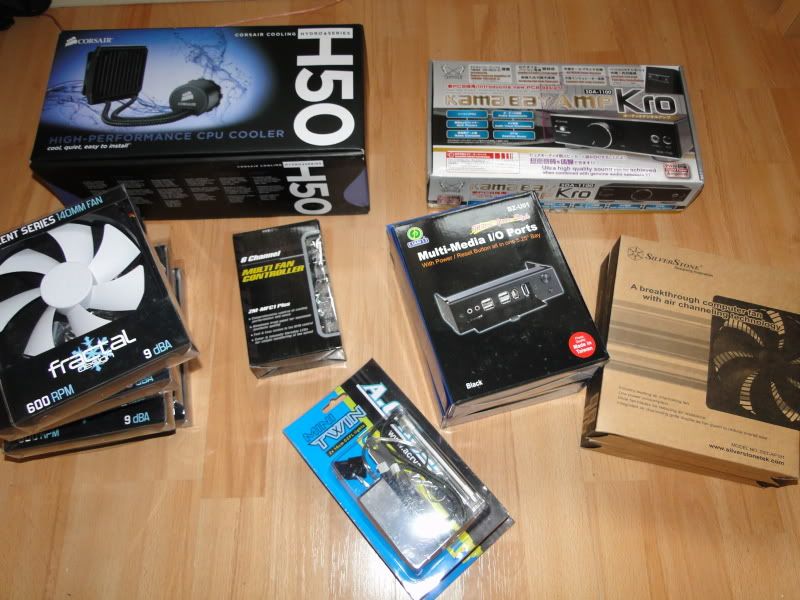
 
using stuff in sig except the true 120 as thats being swapped for h50 with 2x apache fans (bought from mm :D)

brothers spec will be:
Gigabyte GA-880GM-UD2H AMD 880G (Socket AM3)
AMD Athlon II X2 Dual Core 250 3.00GHz (Socket AM3)
Patriot G Series Sector 5 4GB
power supply 550w ocuk modular
win xp (soon to be win7)
 
Last edited:
at current rate about 2/3 weeks (hopefully) while squeezing in cutting of materials, painting/lacquering, then brother has to drive it down to me from leeds!
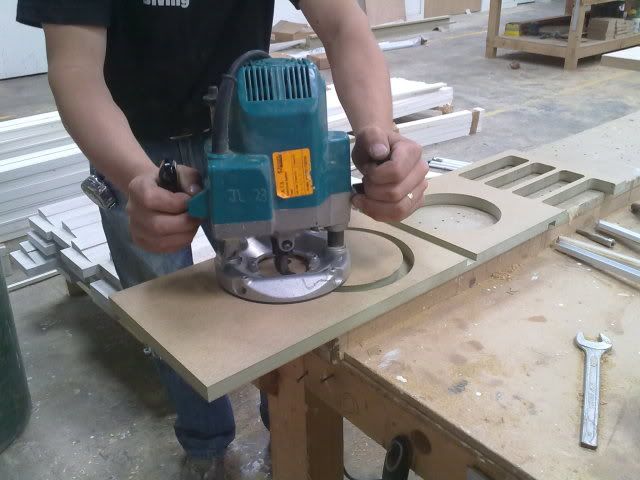
put together components while cutting out holes for io ports,fans etc etc

trouble is we are about 200 miles apart and need to get parts to each other
 
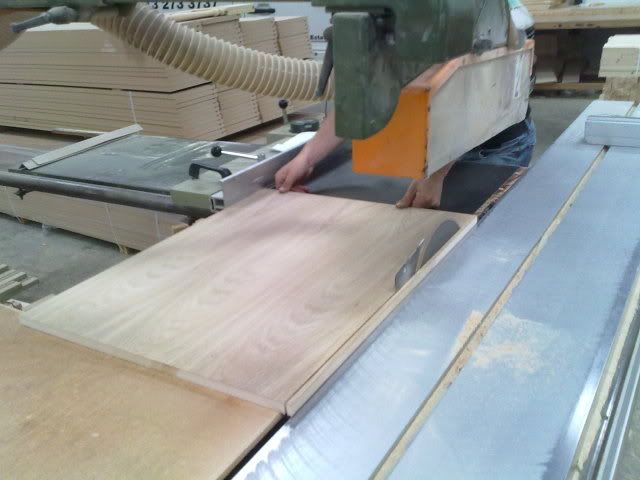
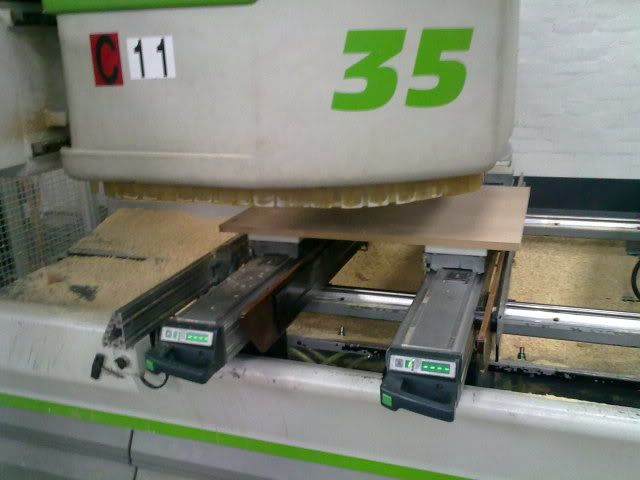
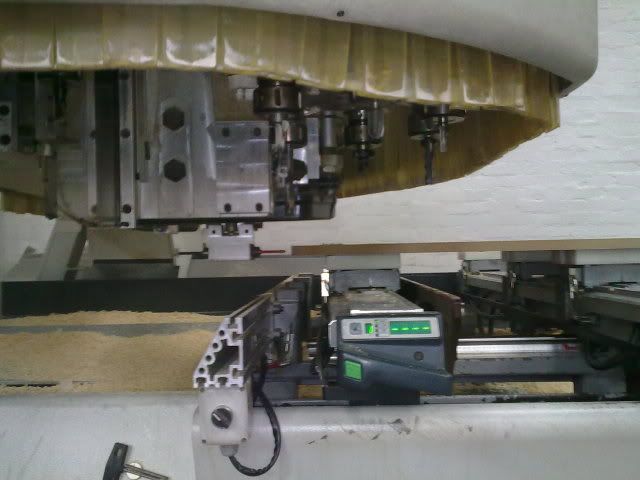
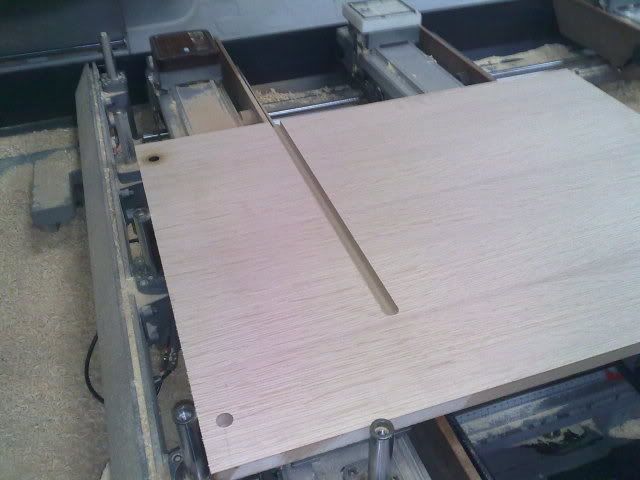
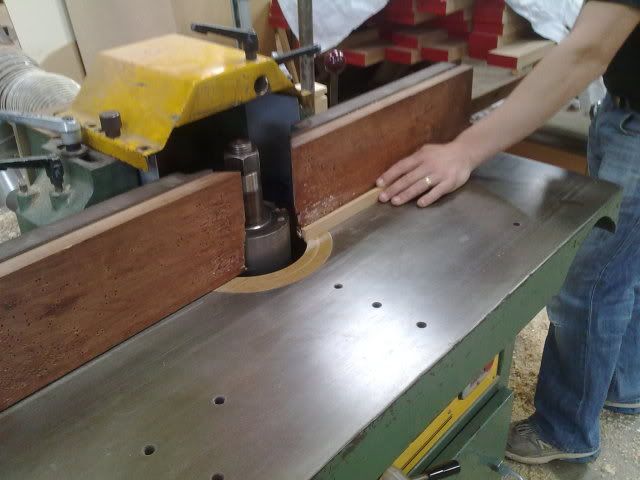
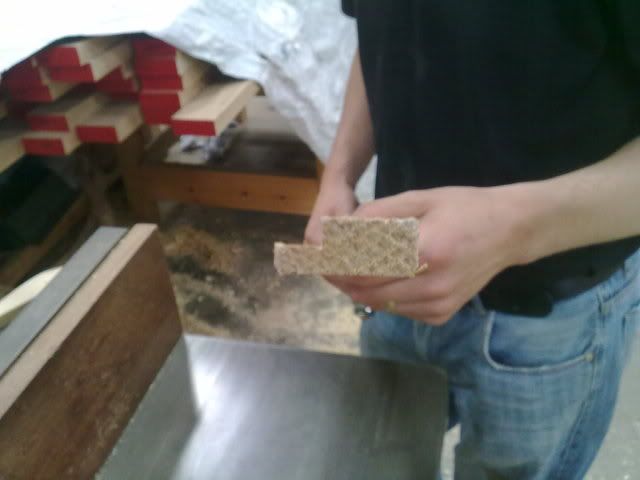
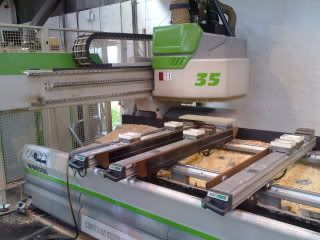
my brother started on the wood today, programing the machine to do the cams/dowels for holding the top down thus making it easier to take on/off when needing to get inside pc.
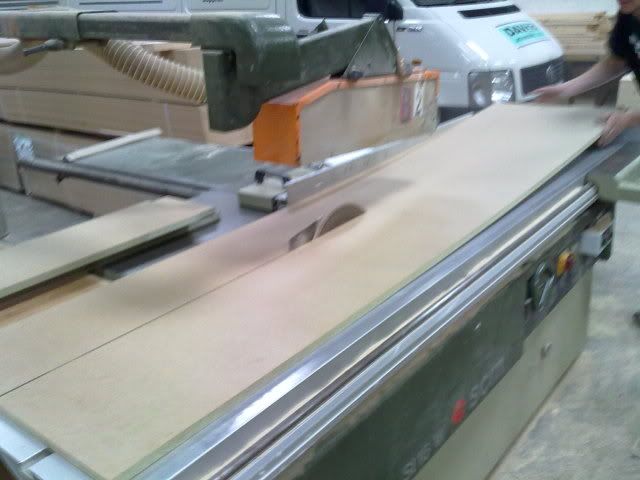
heres a pic of the machine with a test peice of wood which is actually about 1m x 500mm
02072010275.jpg

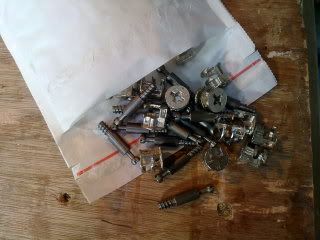
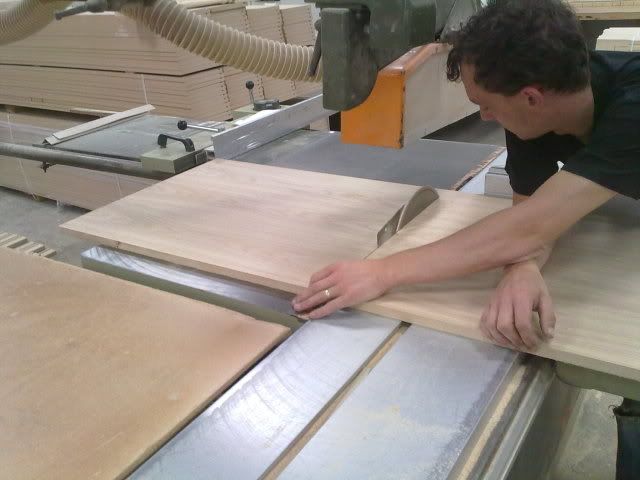
heres the cams/dowels
02072010266.jpg

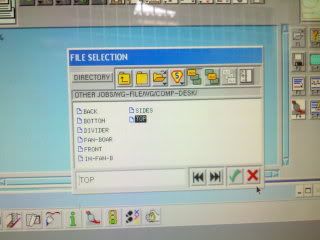
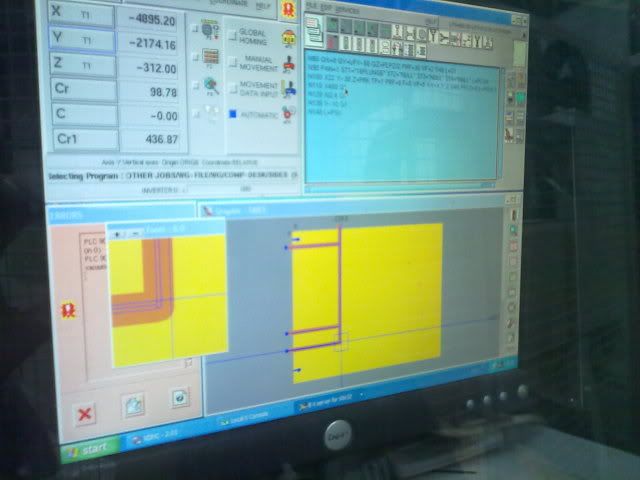
quick screenshot of the files for the desk.
02072010267.jpg


all this is getting down between jobs/lunch breaks, most of the time is writing the program to do the cuts.

thats it for now! more soon as we get there!
 
was playing around with lighting for inside and found using cold cathodes was annoying as cant dim the light easy without doing damage to the cathode, so played around with led strips 12v.
discovered that using the zalman fan controller we can dim the led's from full brightness to no light at all.
 
started cutting the wood today, few sheets later ! and we are at 50% finished, few more holes/spaces to cut out for pci slots etc, need to lacquere/paint.
but as you can see from pics below its coming along nicely.

cutting down to length
10072010292.jpg

10072010290.jpg

10072010289.jpg


dry fit just to make sure!!
10072010293.jpg


more programming !
10072010297.jpg


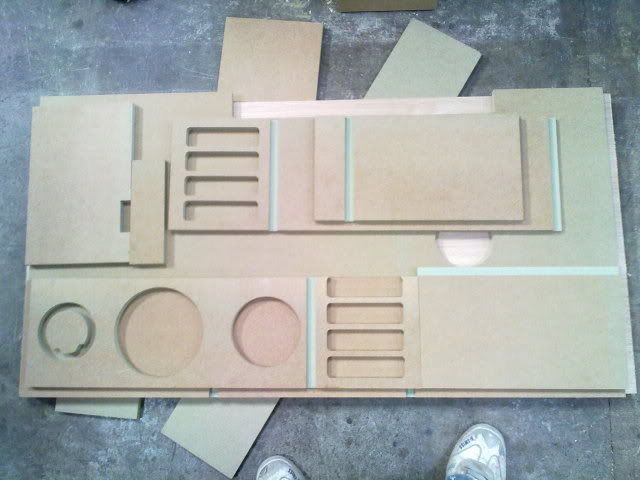
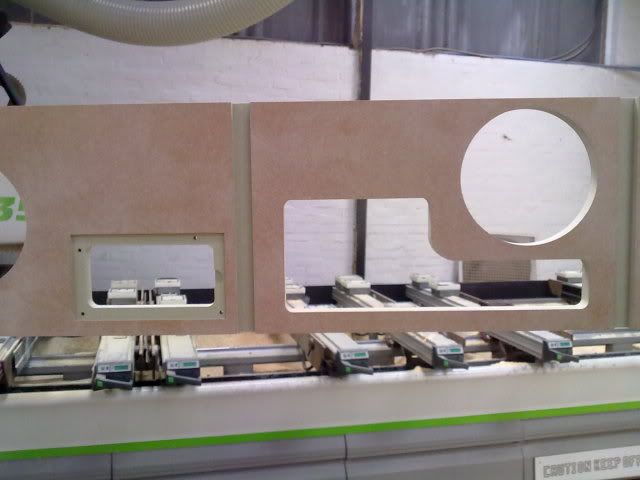
after running programs and cutting the holes etc etc
10072010301.jpg


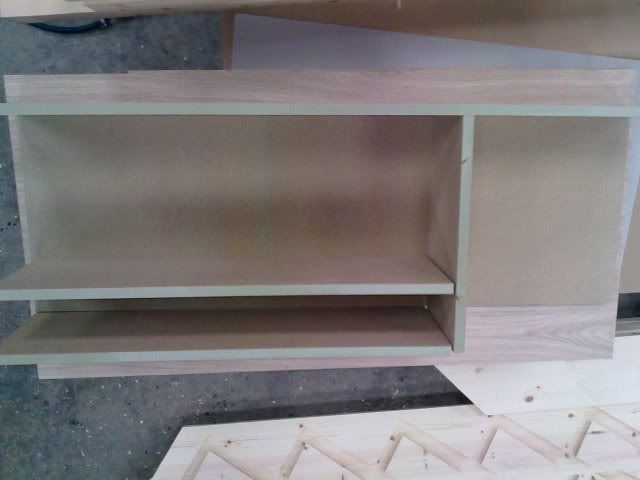
heres the peices "flat packed"
10072010314.jpg


now for putting peices together and sorting a few things like cams/dowels

10072010294.jpg

10072010295.jpg

10072010296.jpg


a few coffee's and fags later !!.........

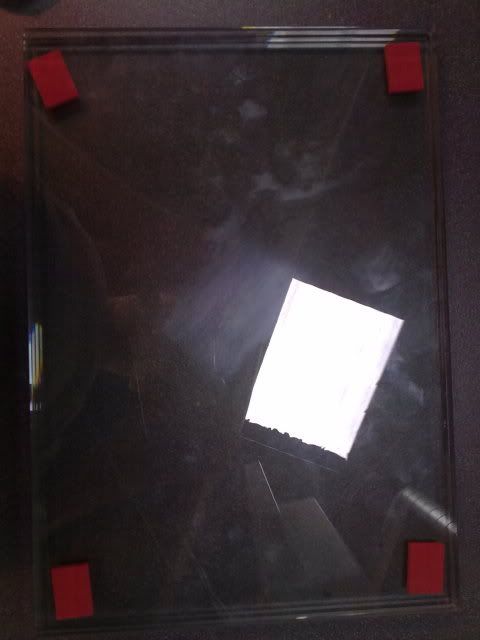
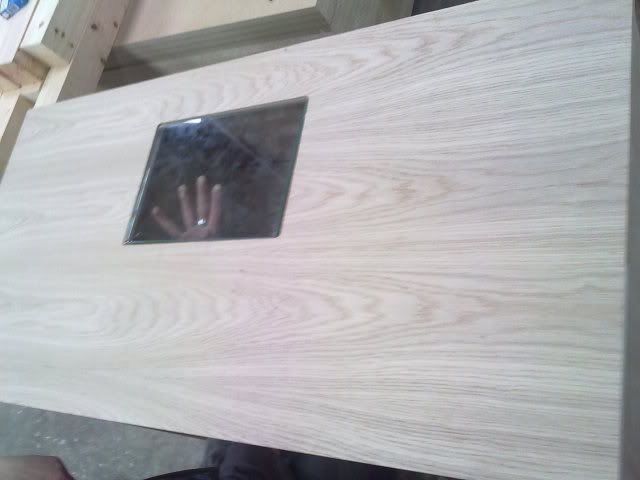
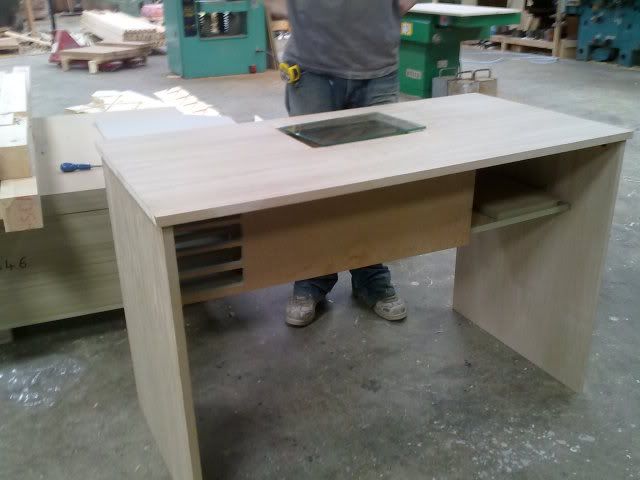
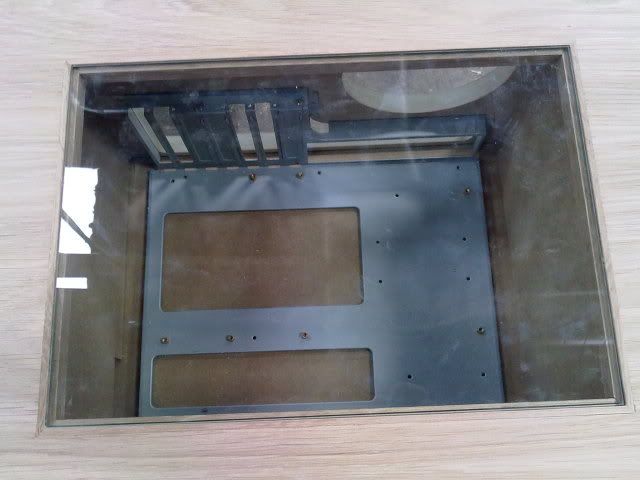
the top with the glass where you will be able to see the motherboard area.

the glass
08072010282.jpg

10072010312.jpg


cracking on with it so didnt get many pics of the actual work!
most of the afternoon was putting it all together
10072010302.jpg

10072010303.jpg

10072010305.jpg

10072010319.jpg

10072010309.jpg


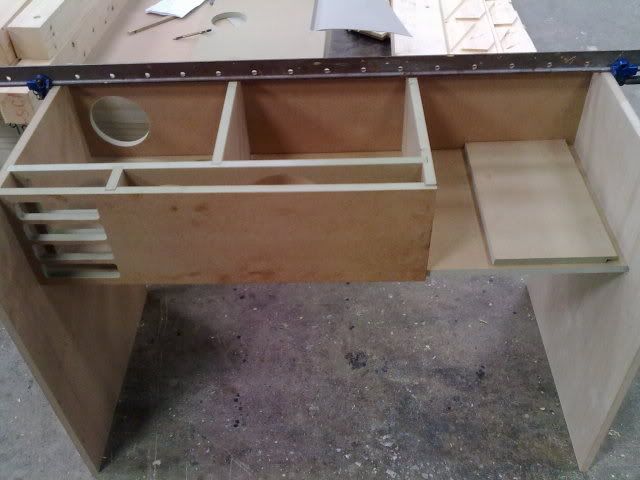
desk put together dry held with clamps
10072010313.jpg


so thats it for now, as you can see its coming together.

also told brother about how ive seen people on the forums using a banana stand/rack for holding headphones.
so he thought he would make his own!!!

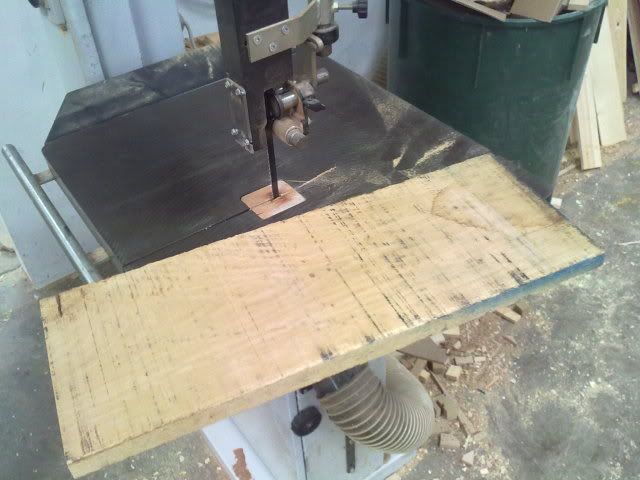
started of like this, one big peice of pure oak
10072010287.jpg


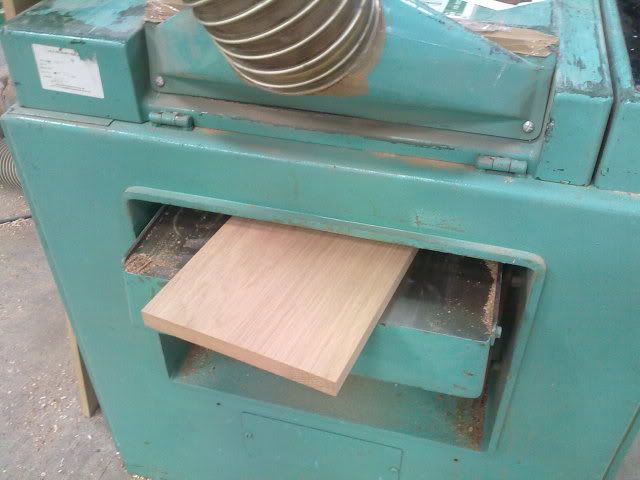
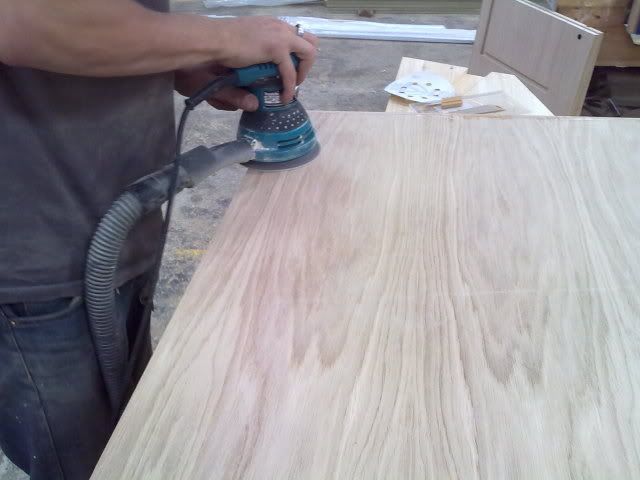
plain it down abit
10072010284.jpg


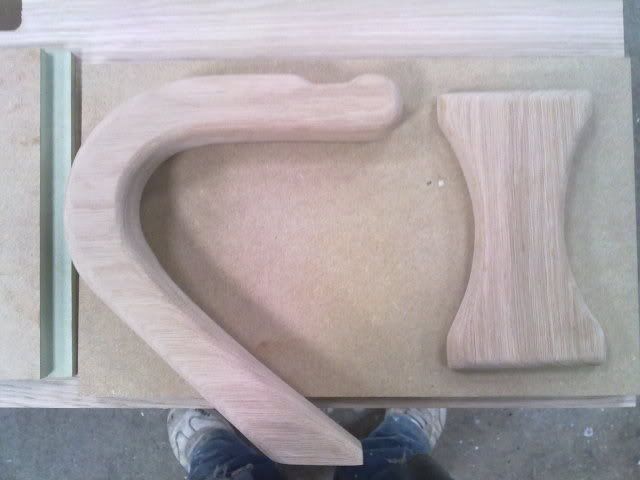
abit of shaping,sanding etc
10072010320.jpg


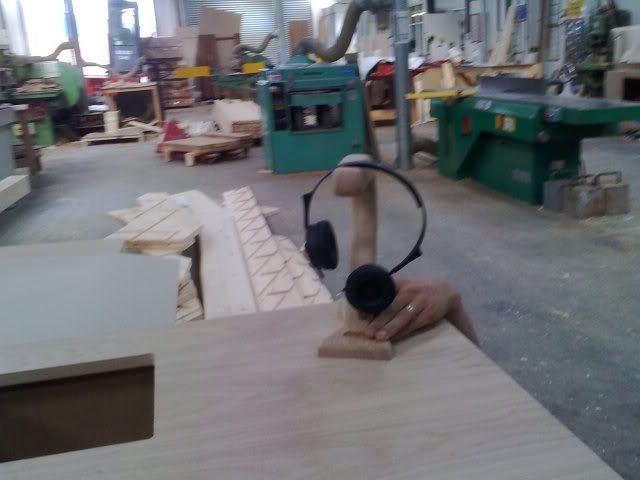
almost done!
10072010316.jpg


the plan is he said "cut down middle fit led's inside and turn it into a desk lamp".
thus being 2in1 lamp and headphone holder!!
 
That is absolutely awesome. I cant wait to see it finished. Im not sure what you had planned for the power switches position, but that build just screams at me to see the switches and USB ports/esata/mic/headphone jacks (pulled out of the I/Obay) and placed on the top of the desk like at the near left side as you sit at it. Switching on my PC by pressing a nice button built into the top of the desk and inserting USB/headphones devices directly into the desk would be so cool.

Hawker

we are using these
lianli.jpg


why have it ontop of desk using more space when we have cut out 4 holes for them along with dvd drive/scythe kro amp/zalman fan controller and lian li power button/io ports.
 
Not a critisism in any way, it all looks amazing. I saw the bay in your picture and figured that was your plan for it, I just thought it would be cool to be able to boot the PC without reaching under the desk.

Hawker

hey dont worry wasnt digging at you!
more to show others how and what we using.
brothers done more on the desk today at work yet to send me photos.

hes also been playing around with the headphone holder/light. as we speak hes soldering all the wires etc .
 
ok heres some more work been done.

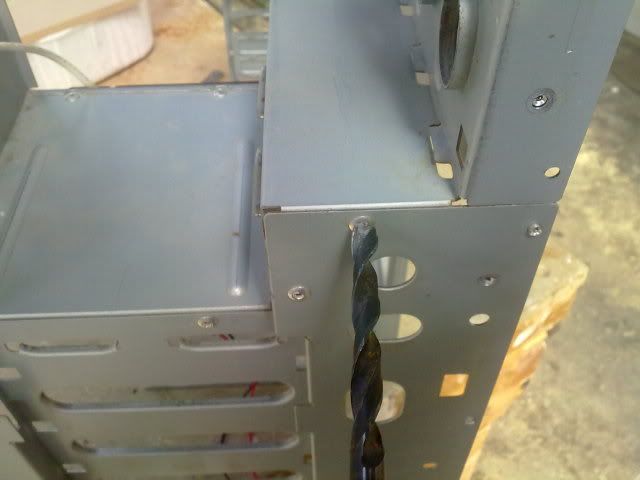
started of this morning dismantling the whole pc and taking it apart
11072010327.jpg


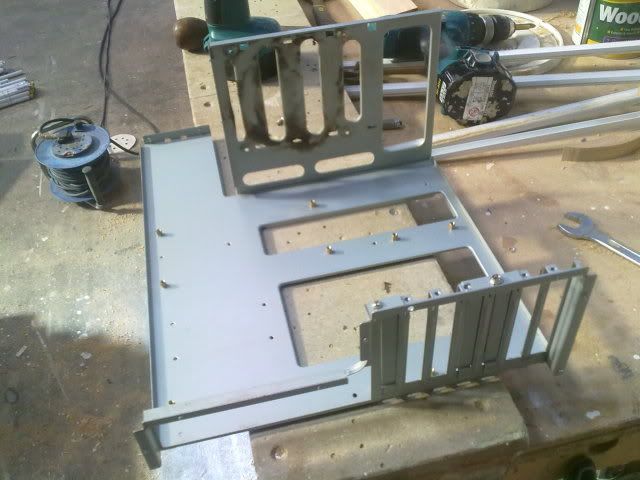
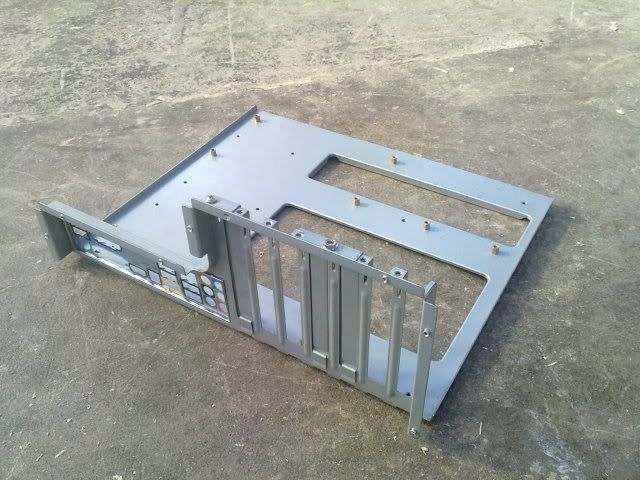
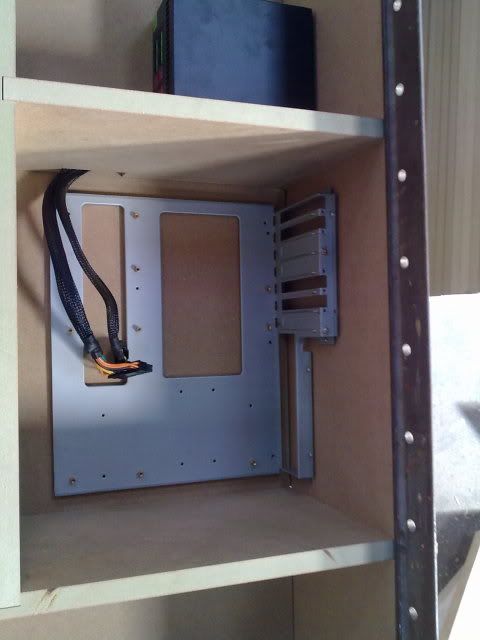
cutting the motherboard tray out so we can mount motherboard and use io back plate/pci slots
11072010328.jpg

a few cuts and clean up and were sorted!
11072010329.jpg


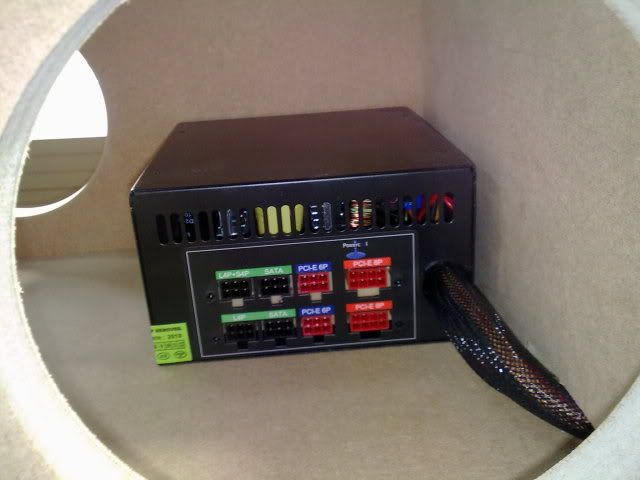
a quick check and see it all lines up and psu leads actually fit !!!
11072010330.jpg

11072010331.jpg
 
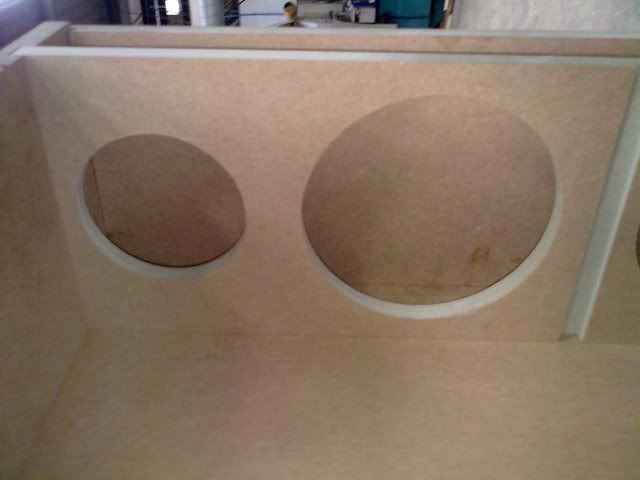
now for cutting holes out for the io plate/pci slots, psu and rear fan
11072010347.jpg

11072010348.jpg


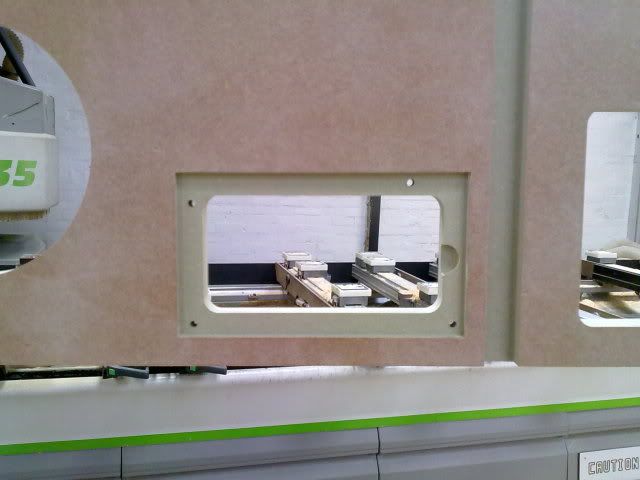
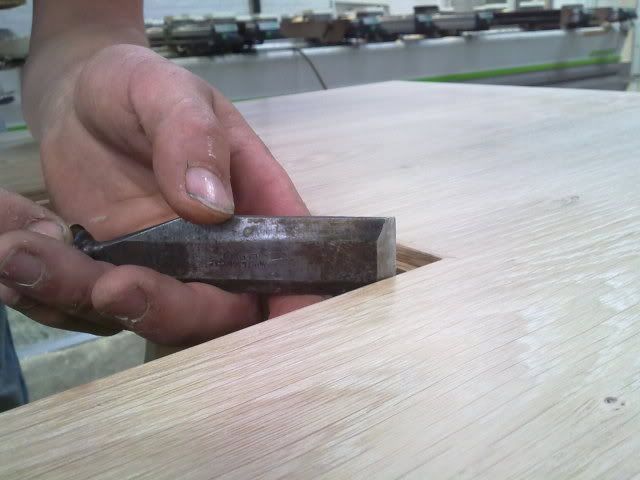
ok with the back board done and were happy everything lines up and fits, we move onto the whole for the glass to sit in.

making the beading for the glass to sit on
10072010321.jpg

10072010322.jpg


11072010334.jpg


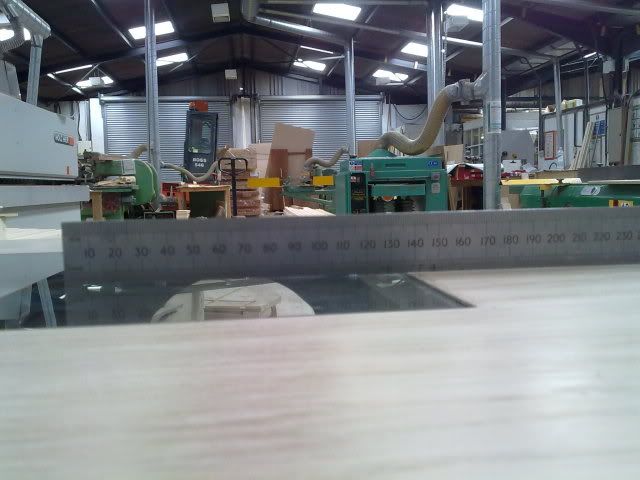
just a quick check to make sure its sitting flush with the top
11072010335.jpg


here is the glass sitting in place with motherboard tray sitting in place
11072010332.jpg
 
Last edited:
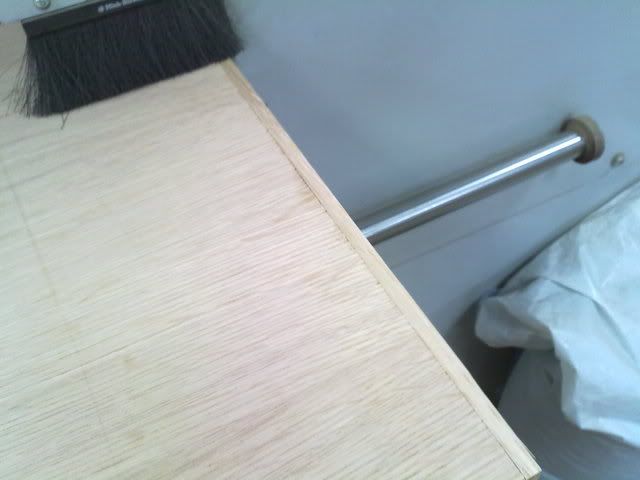
now for the edge of the desk to complete the sides so its not rough edges and looks good!!
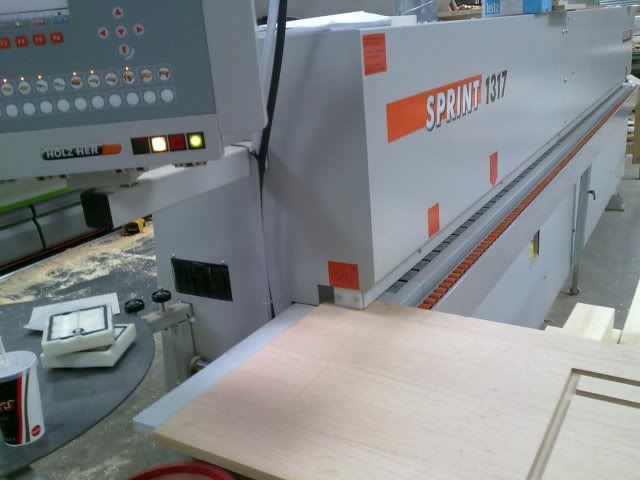
started with the edge banding machine, feeding in
11072010337.jpg


and coming out the other end, as you can see the edging is about 8mm thick.
11072010338.jpg


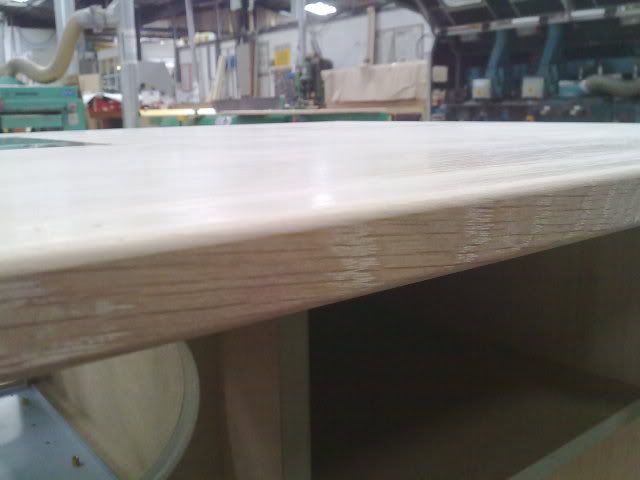
with the edging on, abit of rounding on the corners to make it neat and to make it comfy for your wrist if it leans on edge!!
11072010339.jpg


a quick side view to see the edge rounded of
11072010336.jpg
 
well it was my idea !! started of with an idea to build a pc case out of wood but with a few ideas thrown around we both came up with the idea of putting inside the desk.

by the end of this project we will have a desk each....yes thats right we are making 2 of these not just 1!!!

btw welcome to the forums finally!!!!
 
i would love one of those headphone stands.

im sure if you made a dozen or so people on here would buy them of you.

there is always a thread about a headphone stand going on on ocuk.

wouldnt even know how much to sell them for !!
take in account that its a solid peice of oak and hand crafted!
parts alone have cost around £18 and that doesnt inc the oak
 
Back
Top Bottom