You are using an out of date browser. It may not display this or other websites correctly.
You should upgrade or use an alternative browser.
You should upgrade or use an alternative browser.
Project Dianoga
- Thread starter ALXAndy
- Start date
More options
Thread starter's postsThere's a killer on the loose..
OK brief background. I bought this card second hand just after my lady and I moved in together, oo around 2012? I really liked the way it looked and liked the red LEDs even more. Sure, it was no better than a standard network card but the software was good. Any way, about three years ago I removed it from the rig I had and packed it away.
Before I started Elvis (name change coming soon, for good reason) I dug through every dark cupboard and corner looking for junk I could use for the build. I found the Killer 2100 but sadly after doing some research I realised it would not work in Linux, which I will be using for this rig after temp testing under water (specifically Elementary OS).
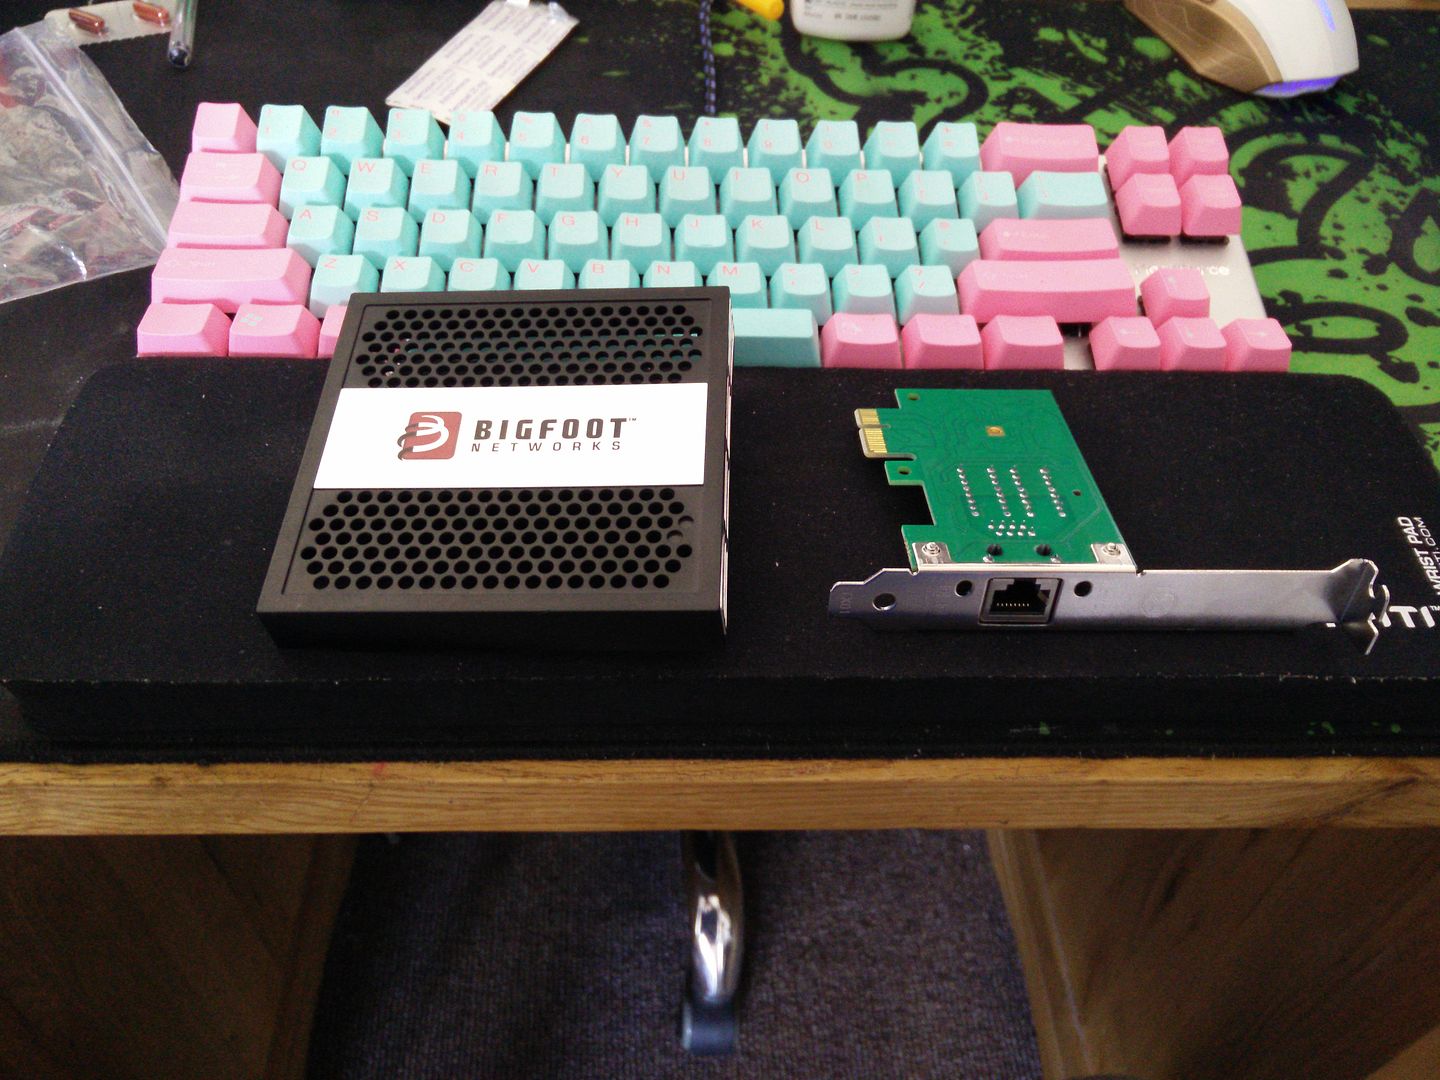
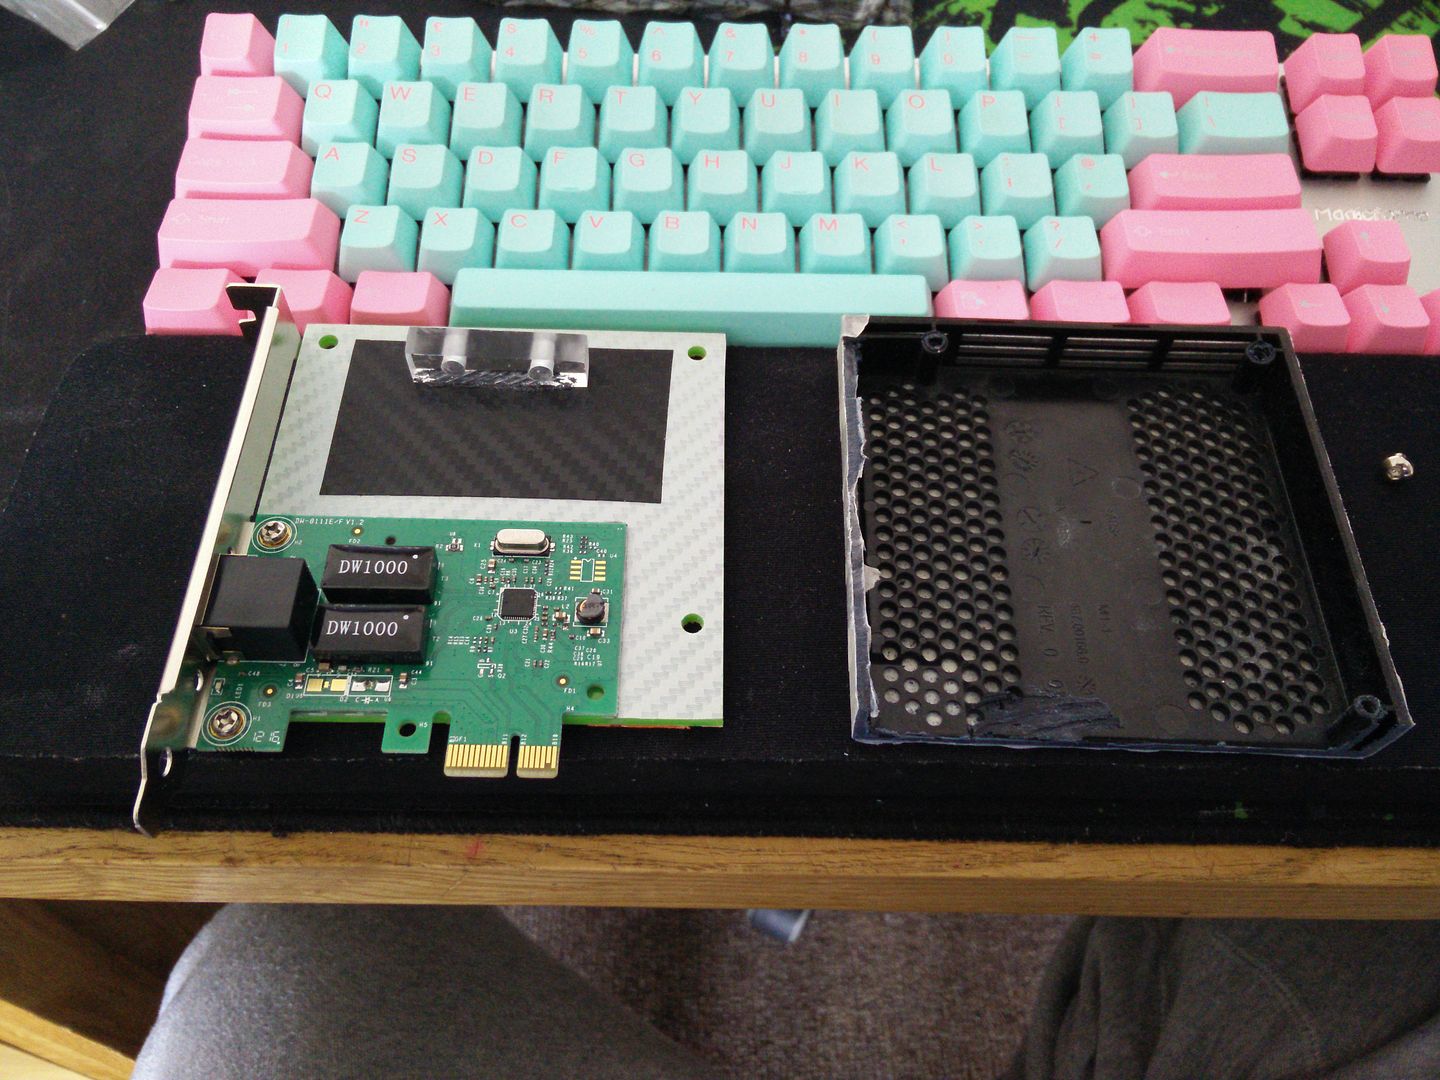
So I did research into which network cards work under EOS and found out that Realteks were good. I went onto fleabay and bought a network card for £3.50 and then removed the shroud on the 2100 before giving it away. Here is what I had.
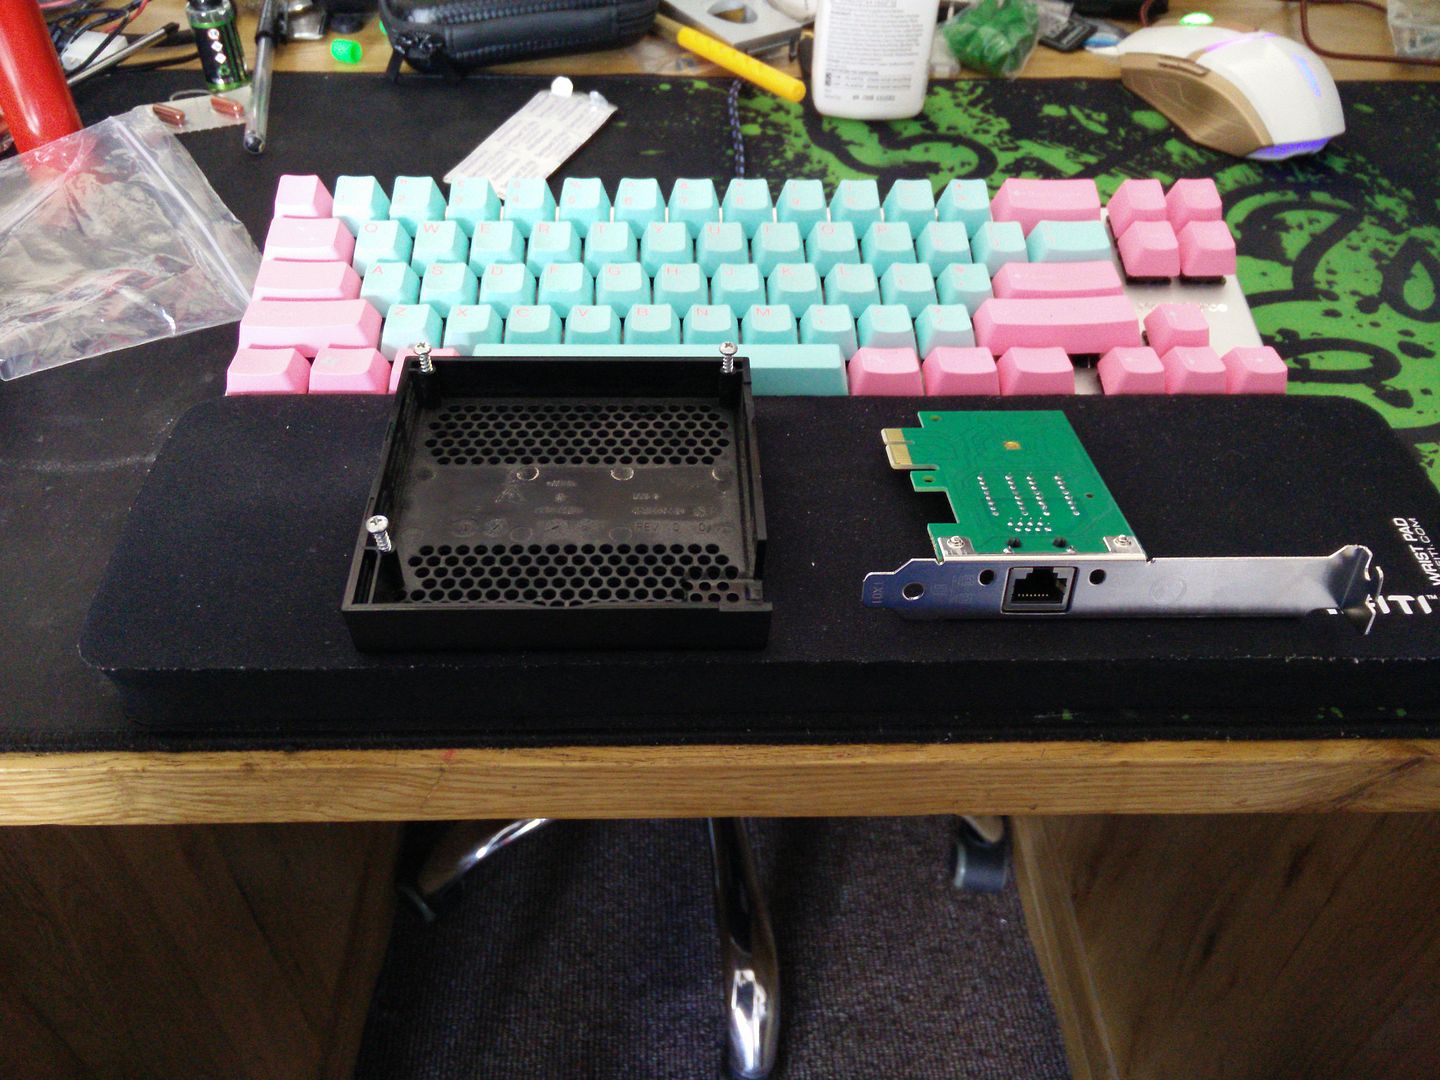
And.
Here are the bolts I wanted to use. Bigfoot used nasty non coated self tapping posi screws but they looked jank. NB - these bolts turned out too short so were replaced later.. You will see that.
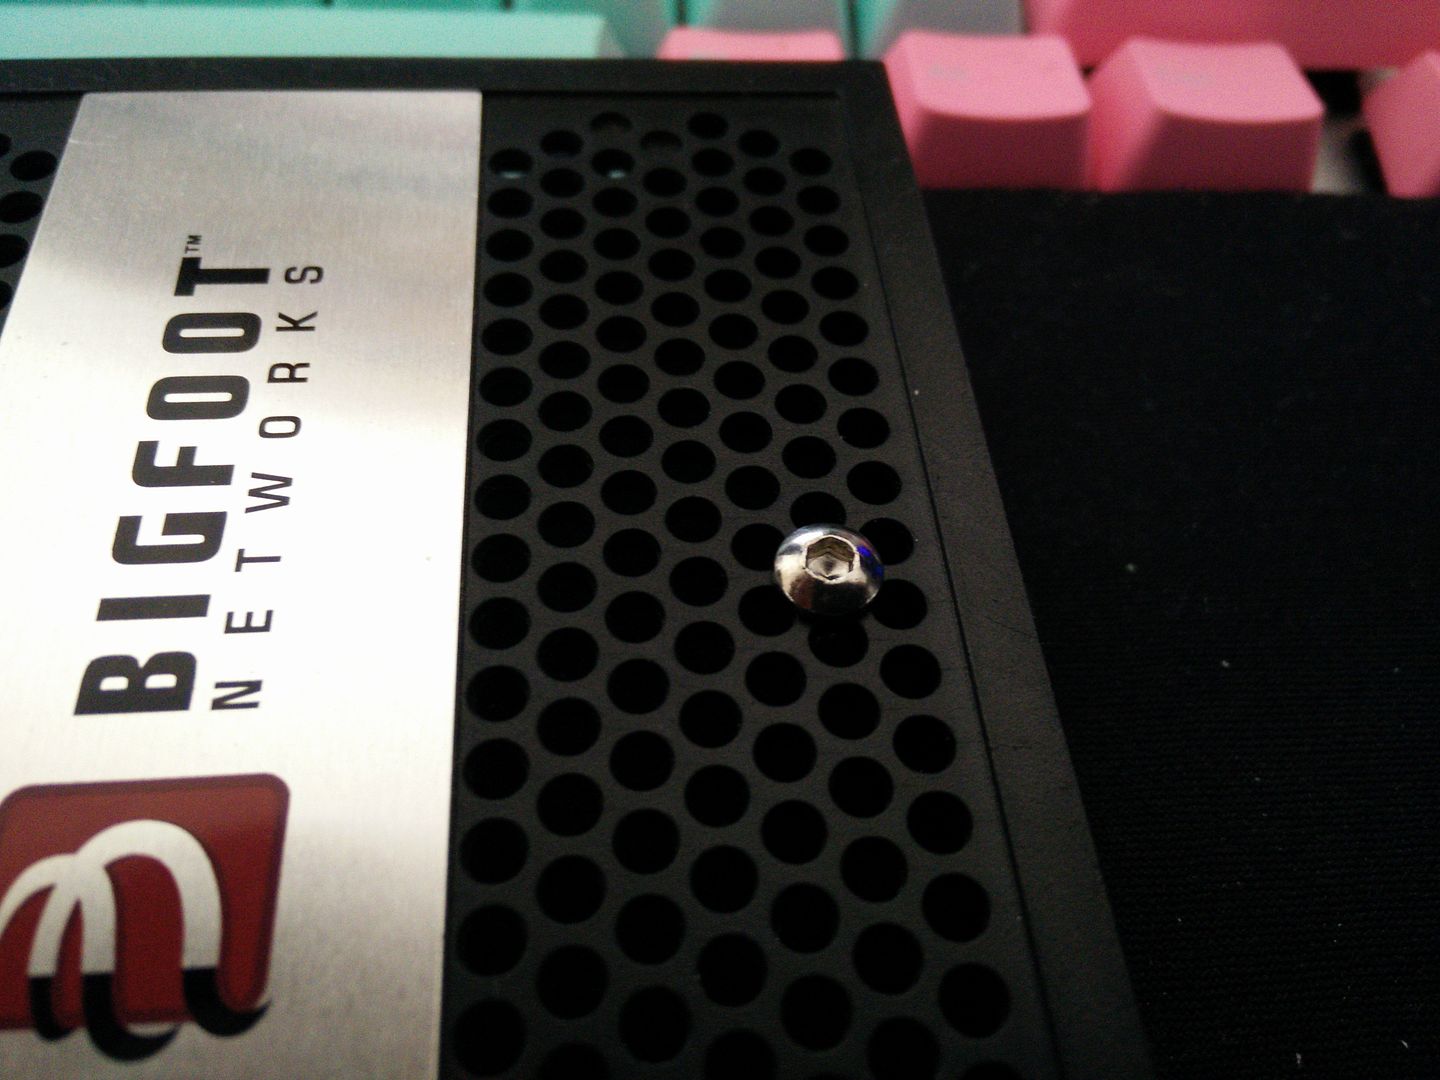
Melt them in. NB - the plastic is not acrylic and I melted the holes very slightly too big for M3.
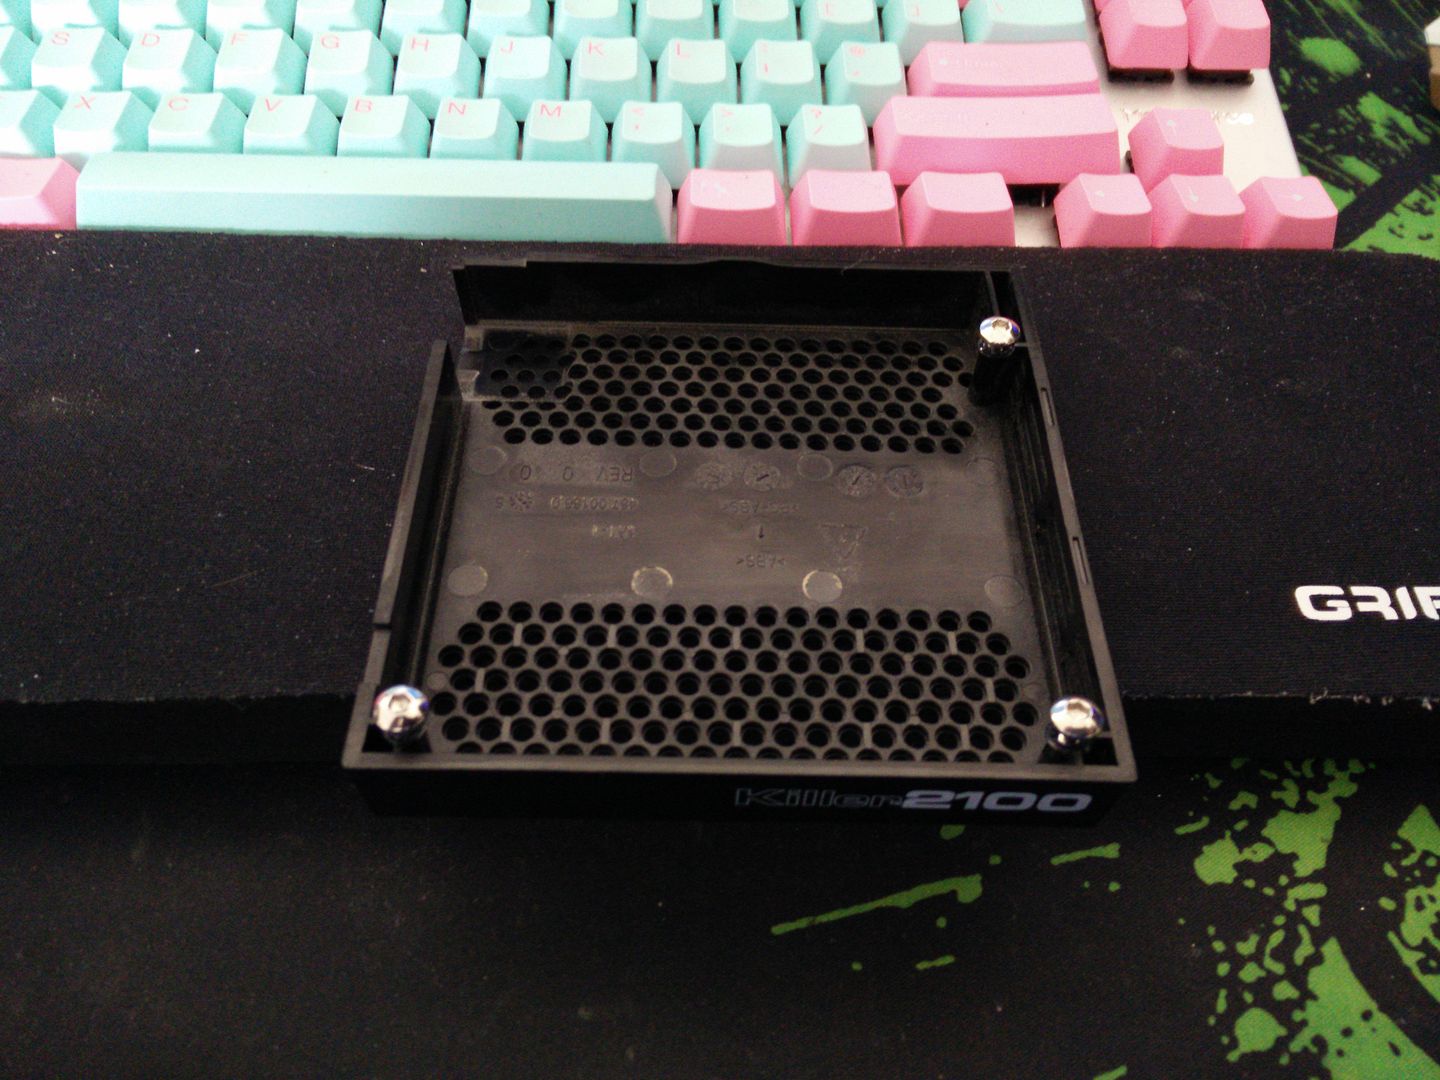
Time to tape up the shroud.
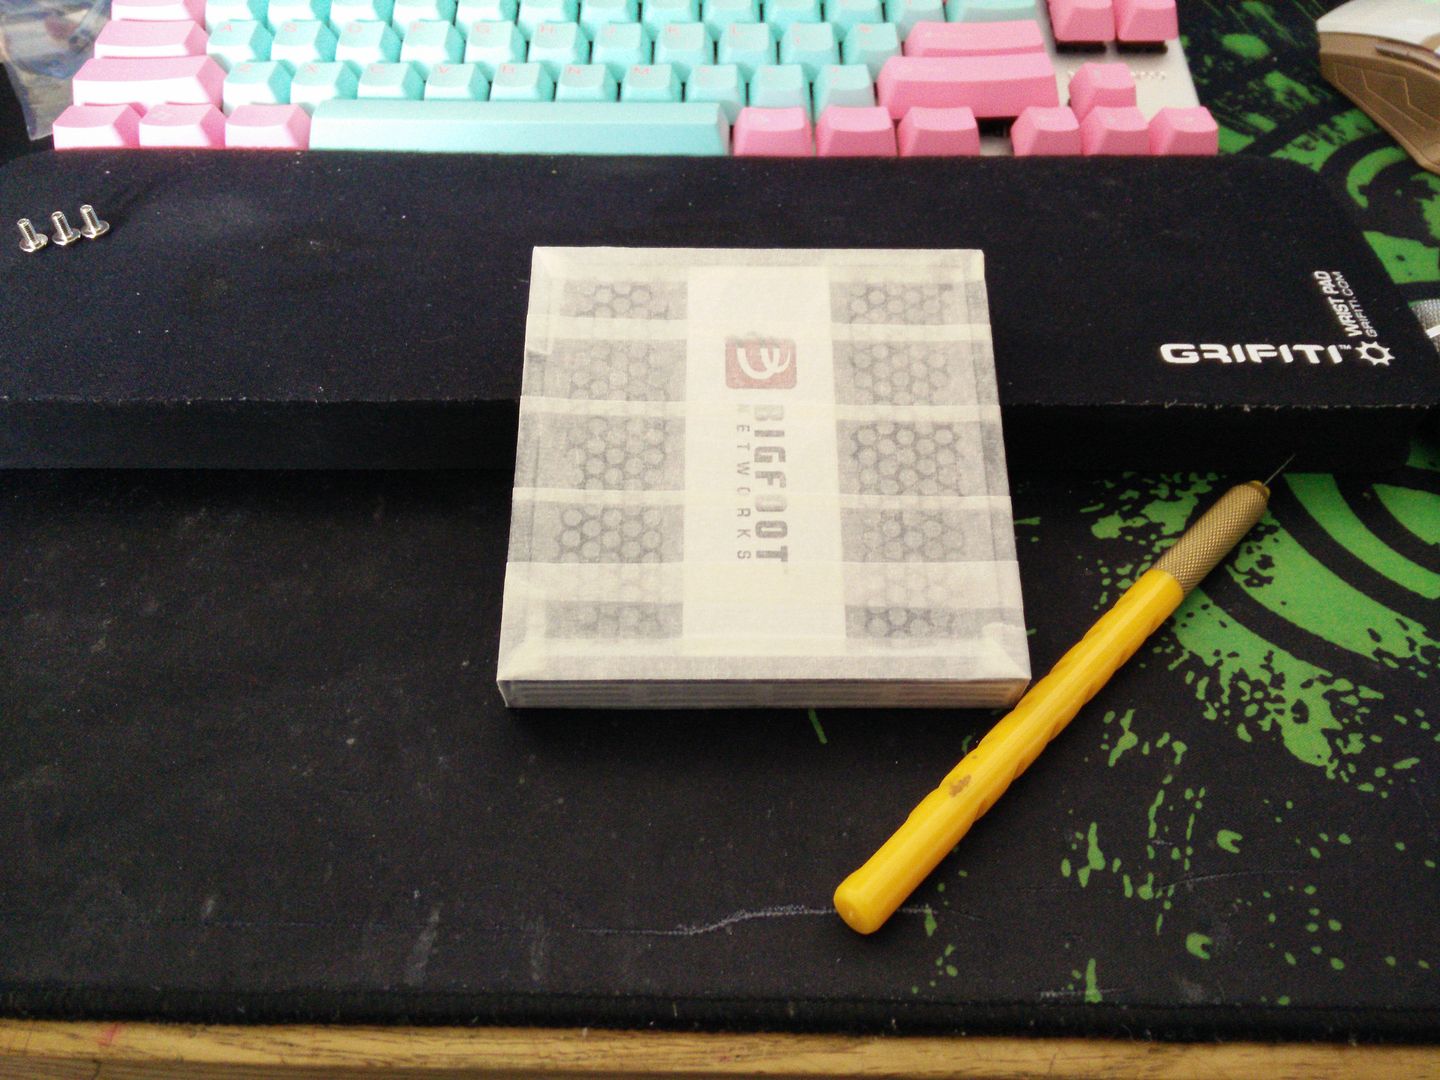
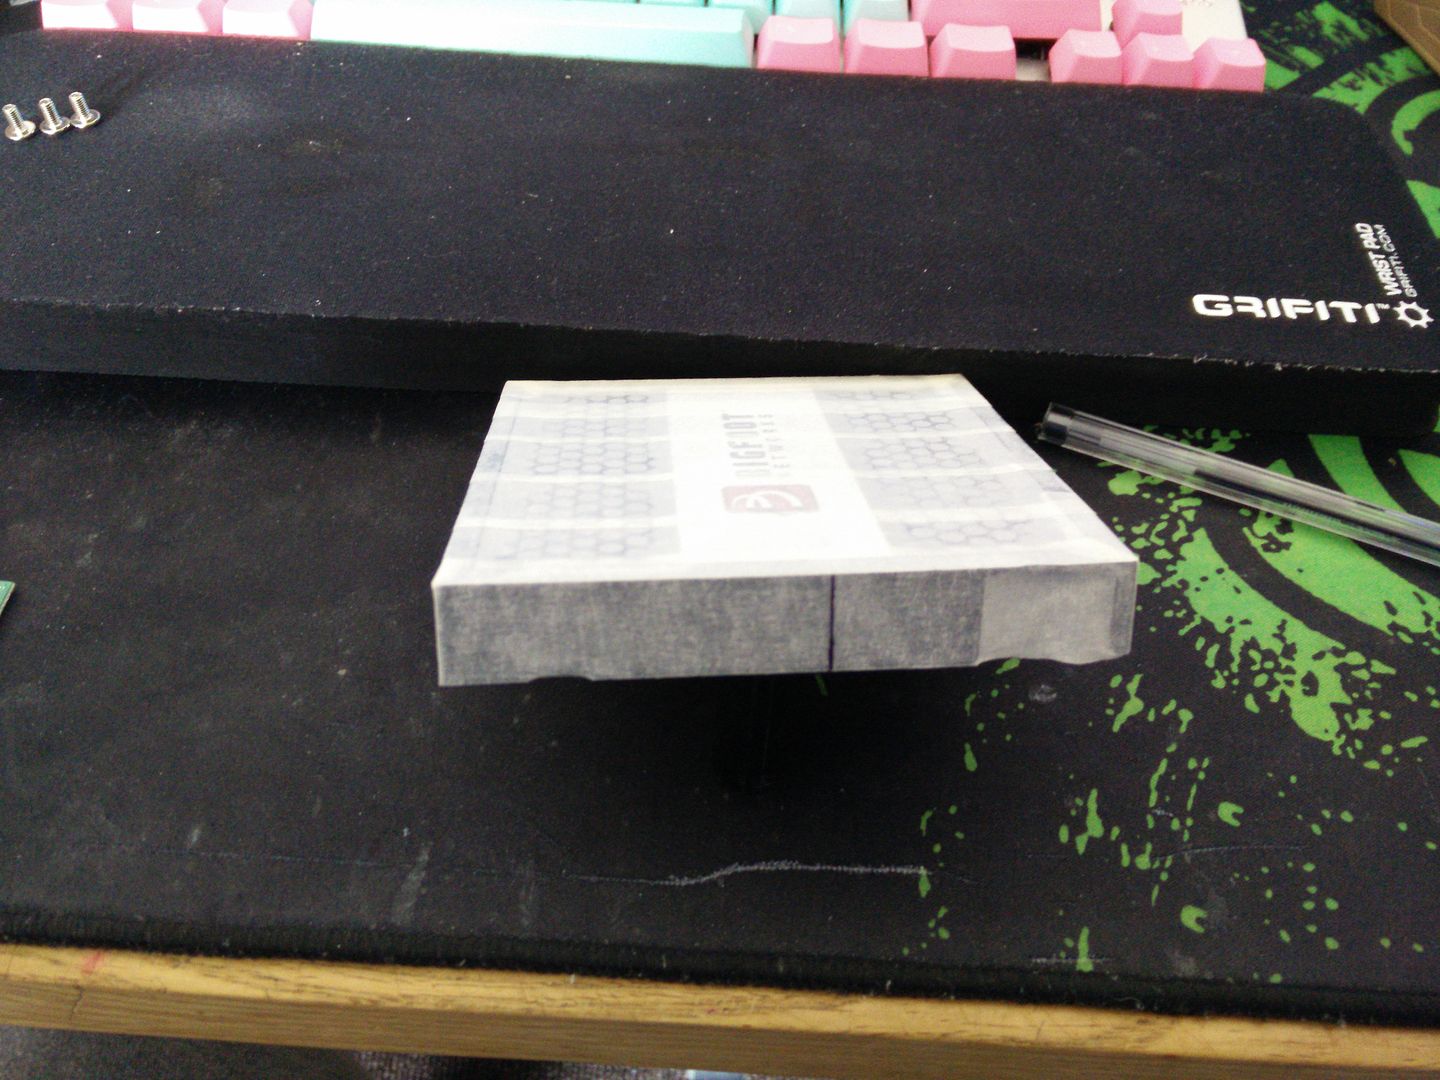
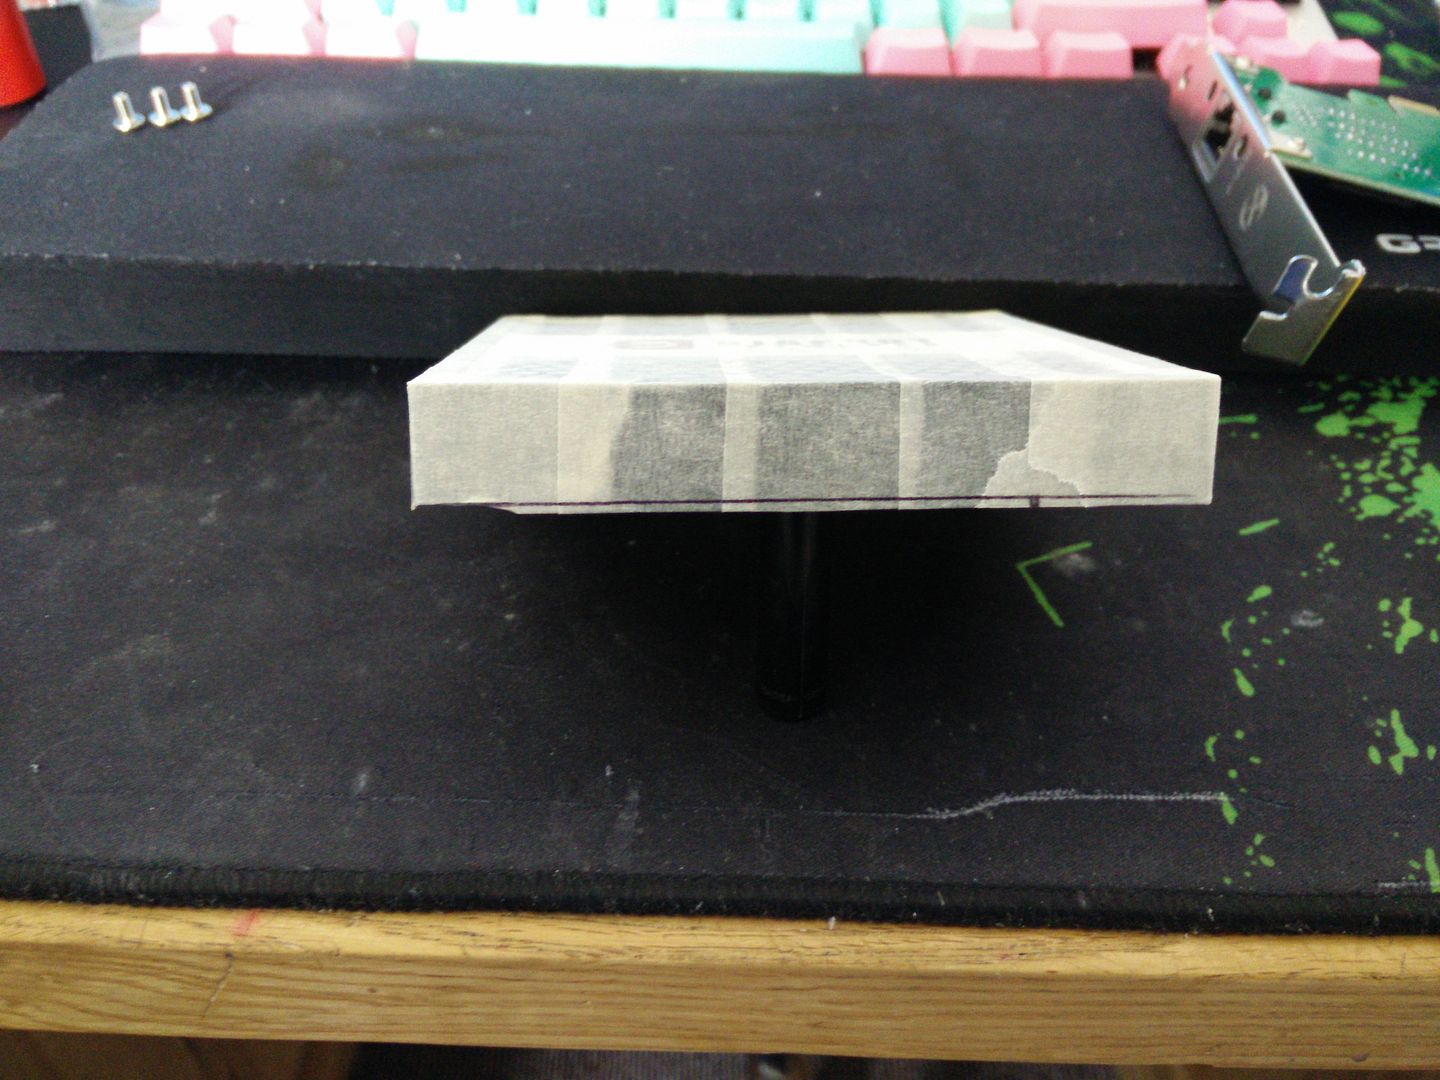
And mark it up for cutting.
OK so remember those nasty orange dinoc shapes? one is for the NIC. I designed and cut these with scrap vinyl. It saves loads of marking out.
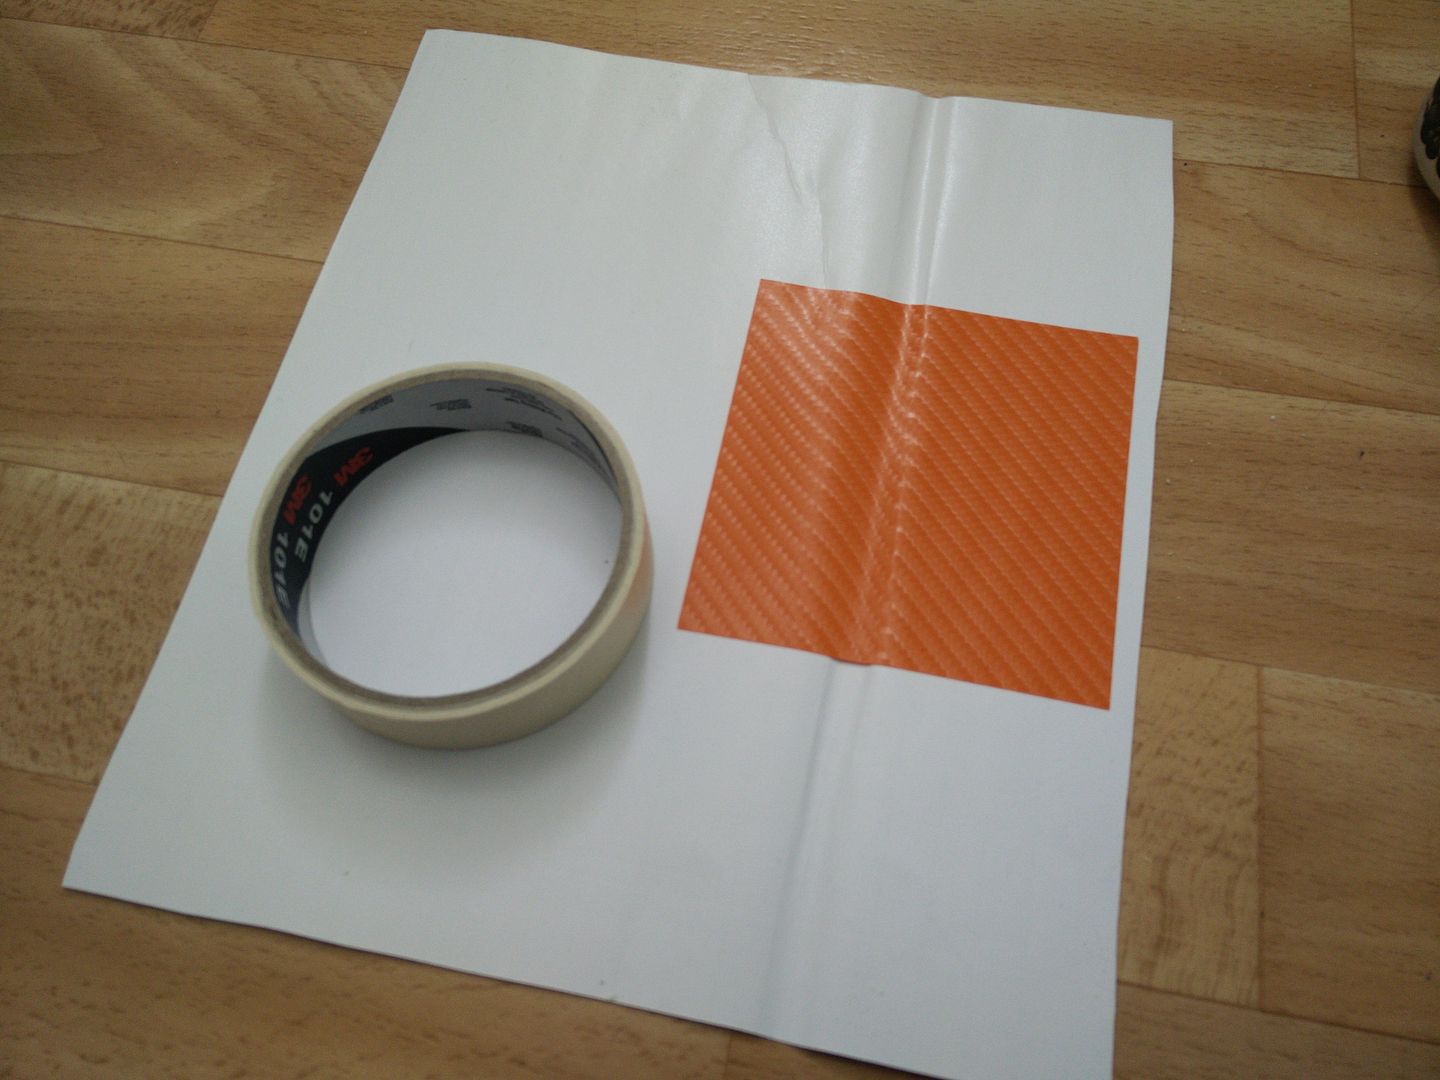
OK so I cut it out. I then traced it down onto some junk clear plastic (not acrylic) and sanded off the spots before placing it over the shroud's back. This way I can get the holes right, as I forgot to trace the card before giving it away.
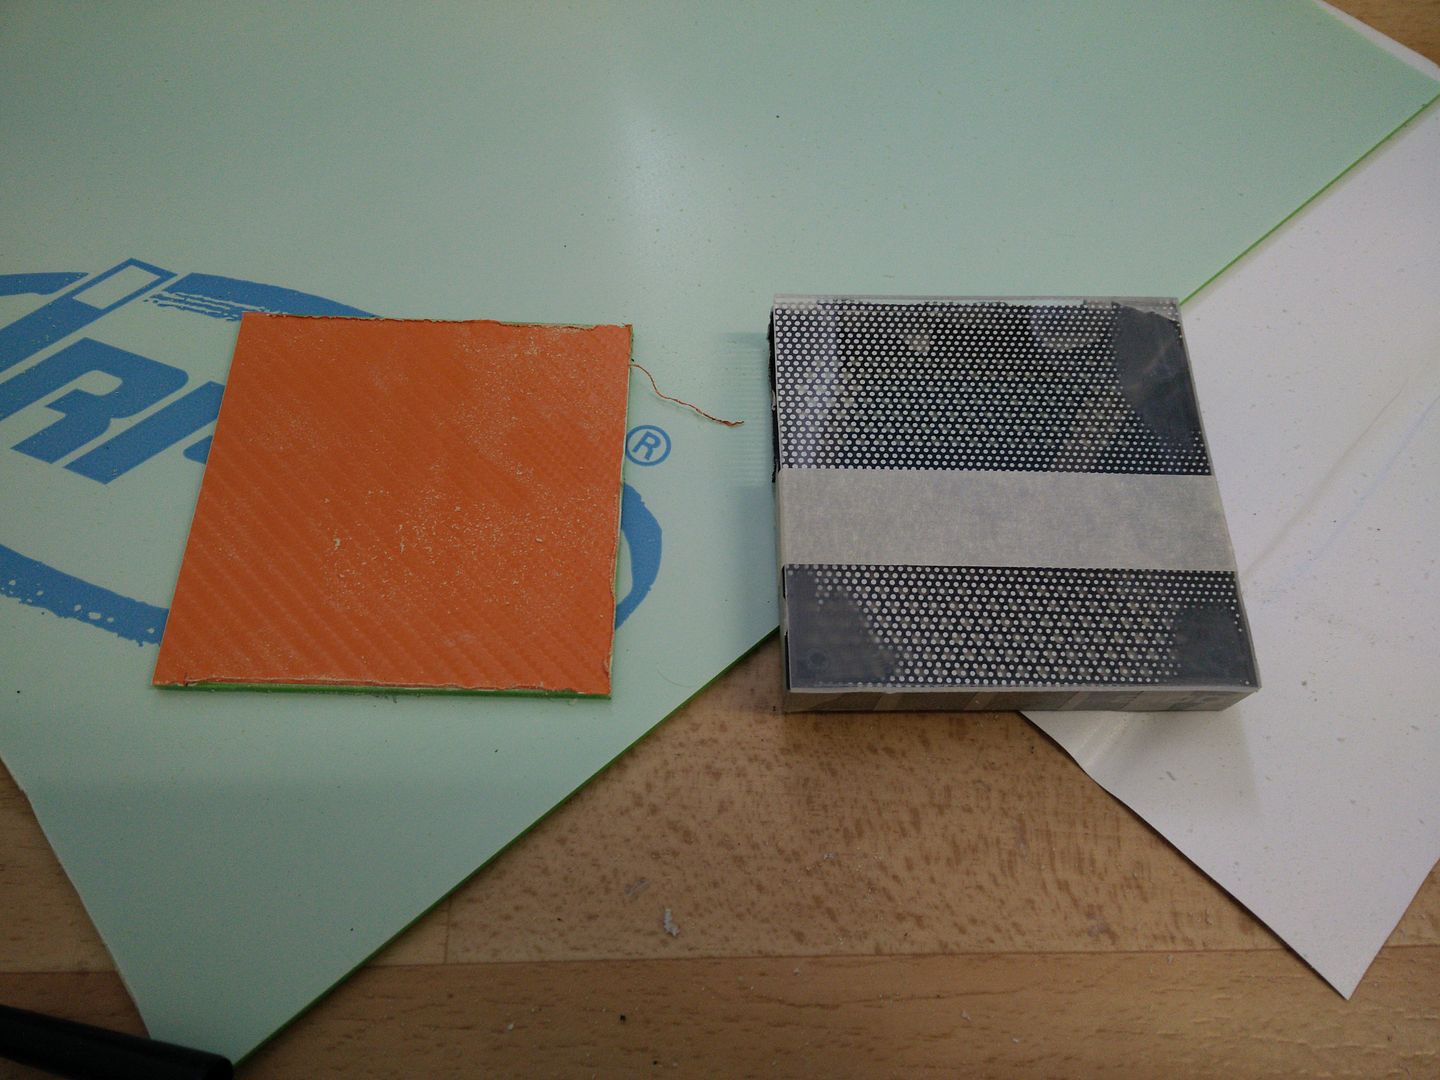
OK after drilling etc I test fitted the back plate to the shroud.
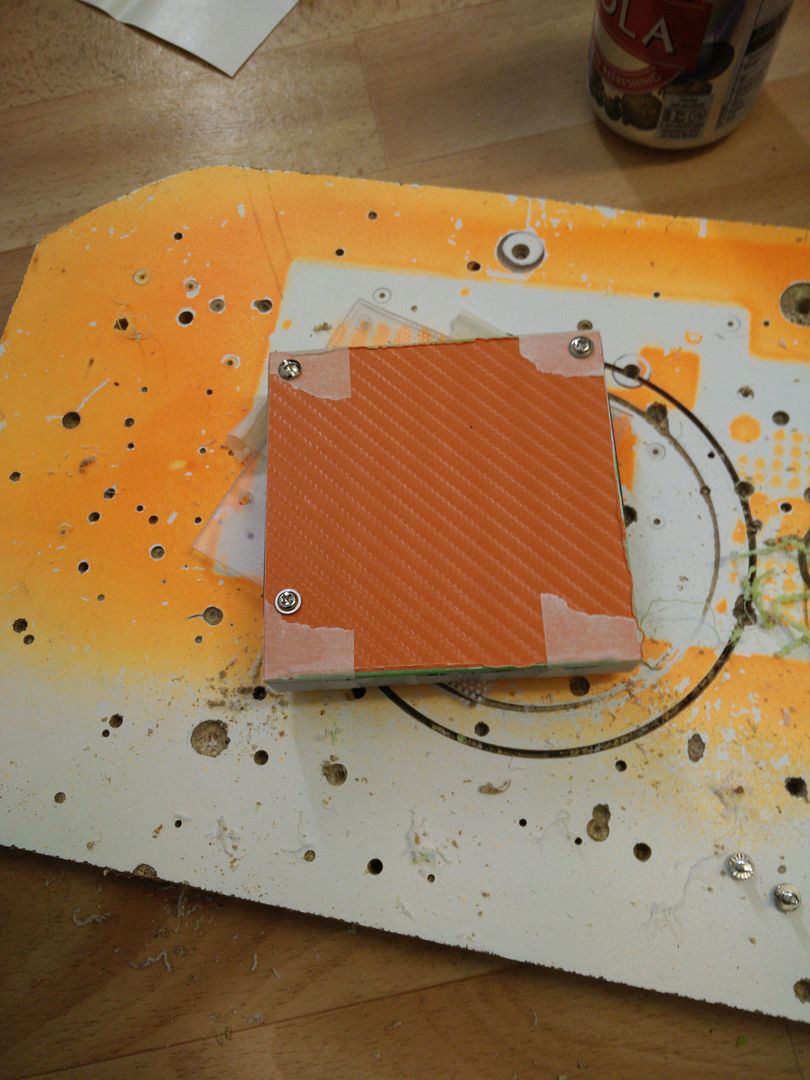
Cool, so it all lines up OK. I then put the card onto the shroud like this.
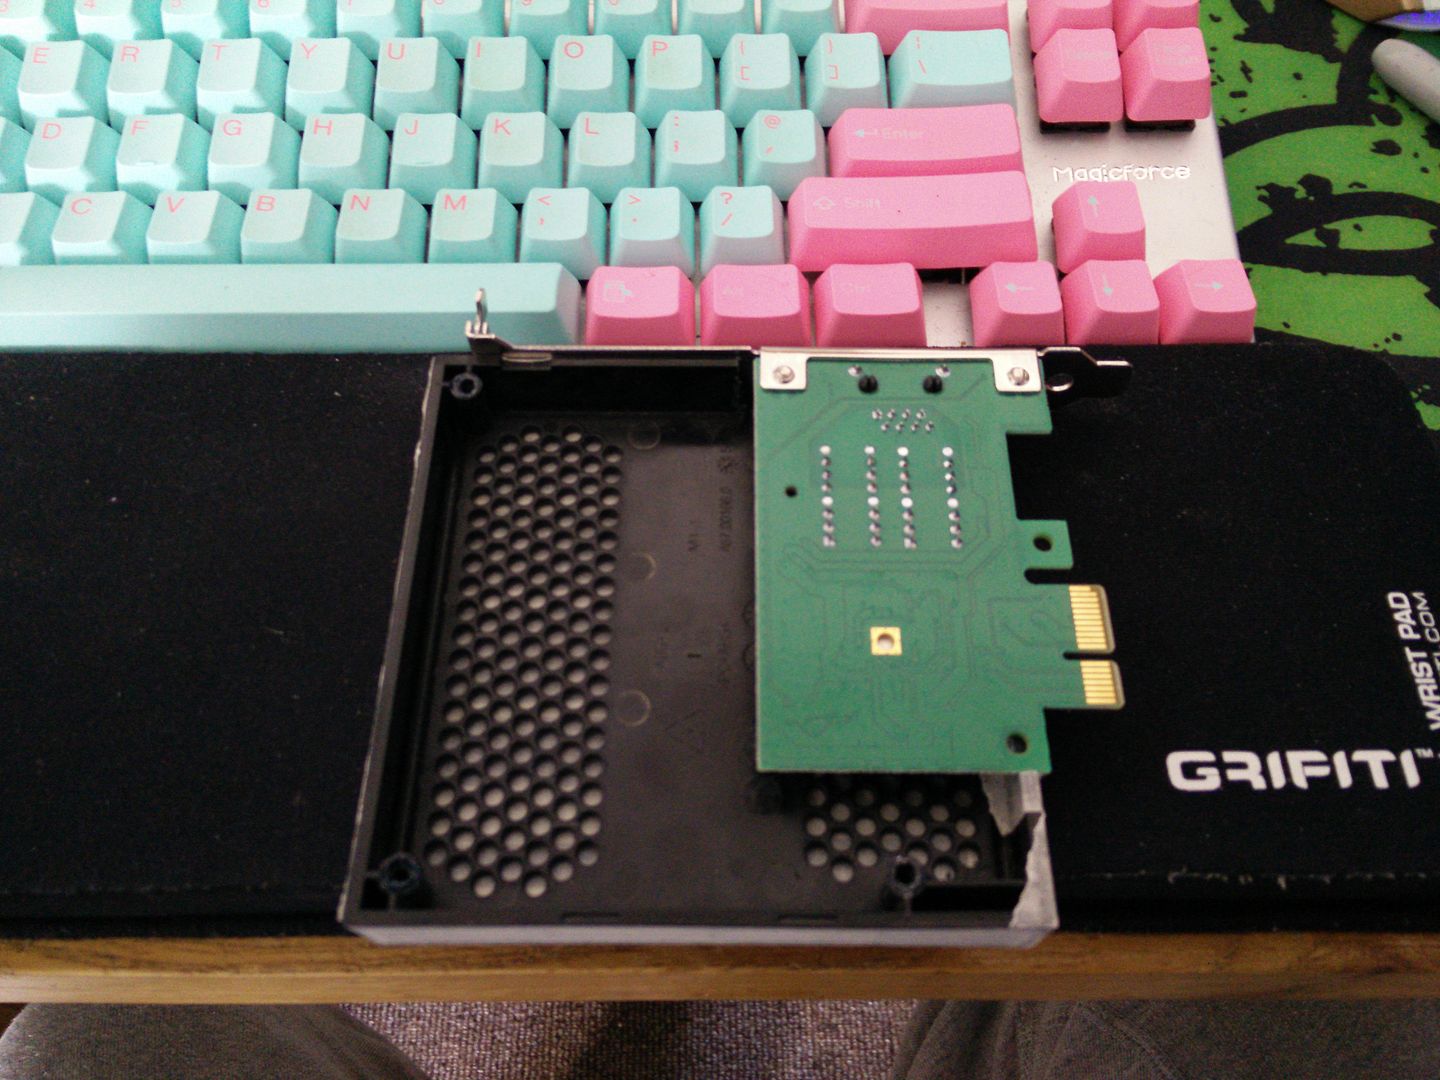
OK so no clearance issues that side. I then marked out the inside of the back.
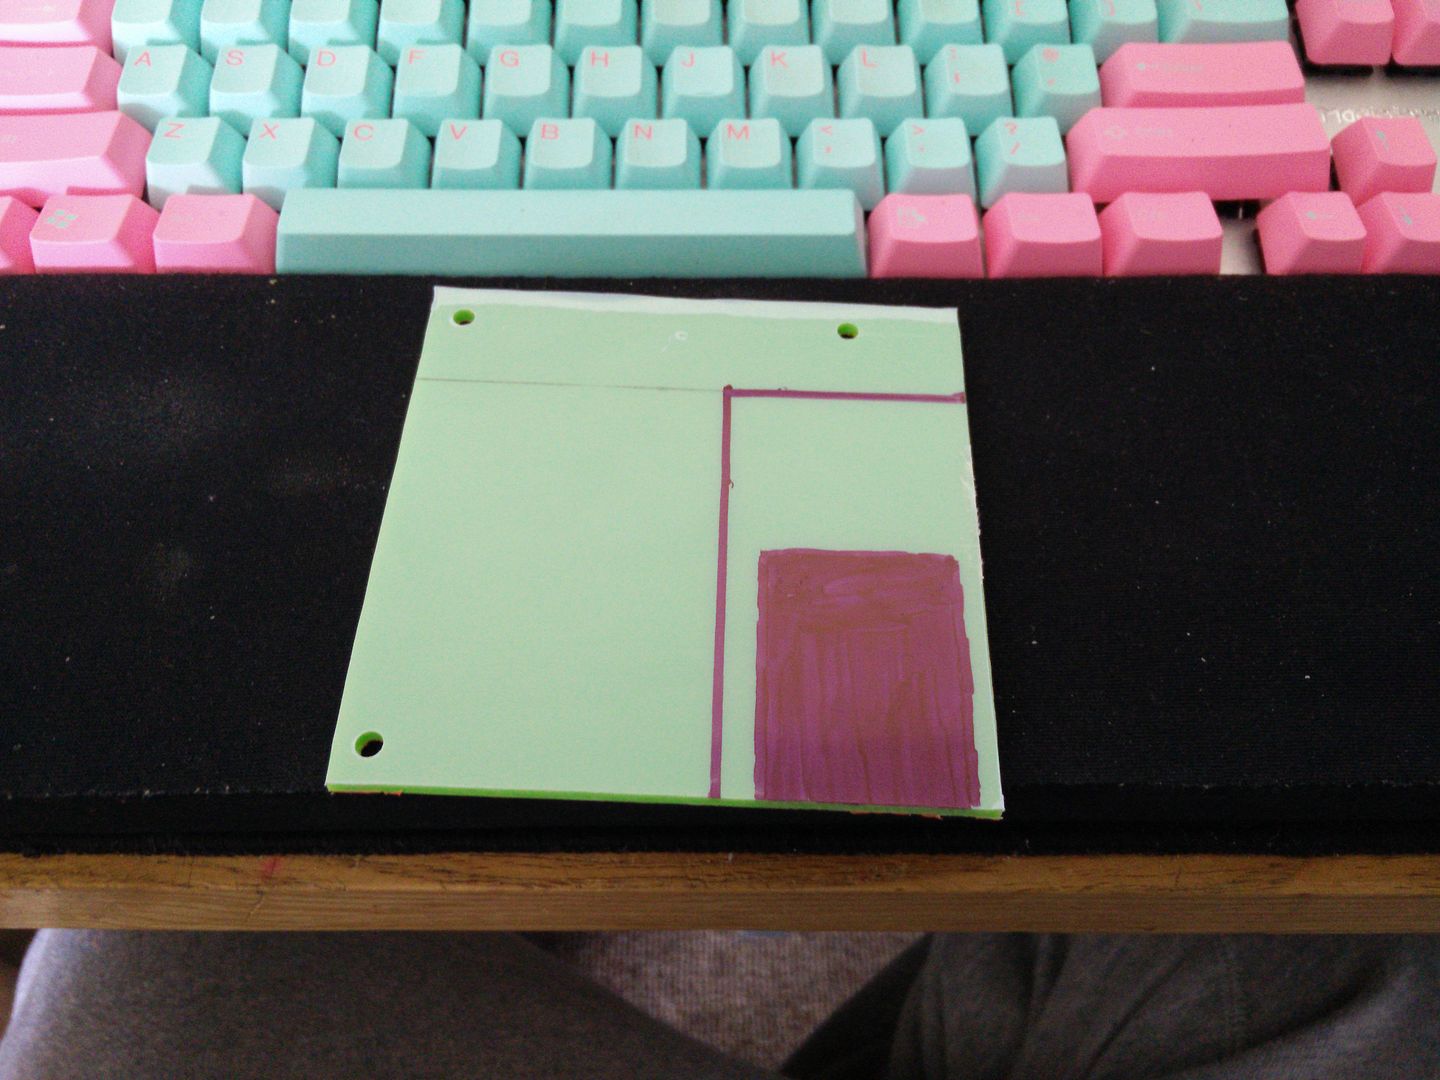
OK so this is where all of the stuff on the back of the card is that would make the plate go wonky. I ground it out (this takes a good set of hands)
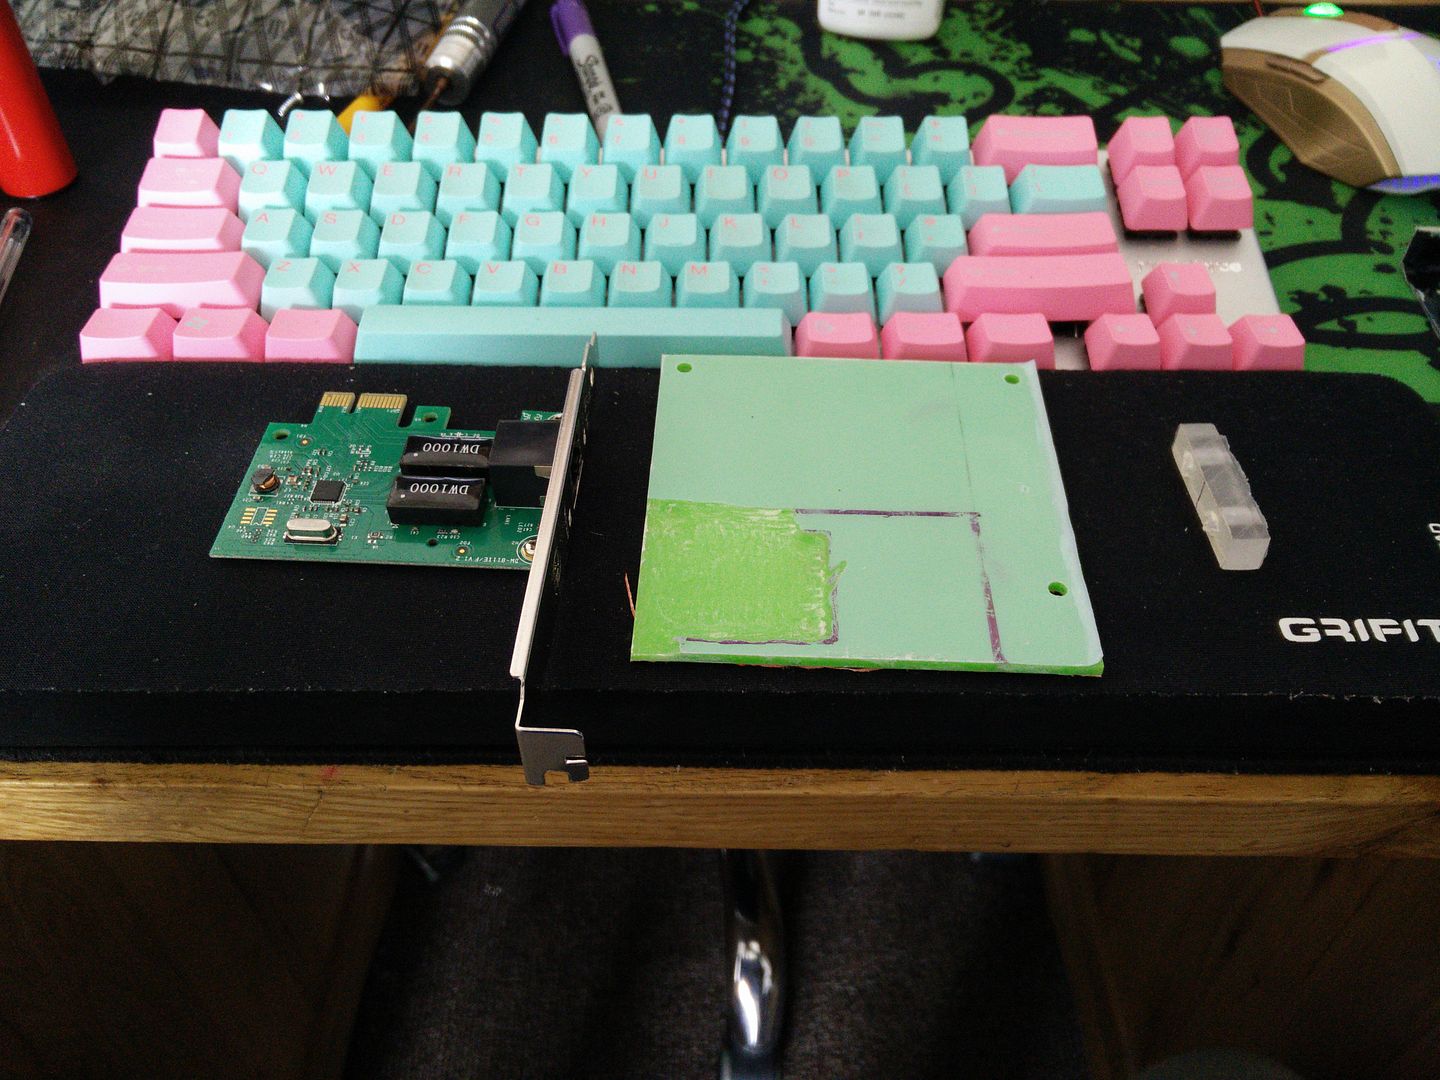
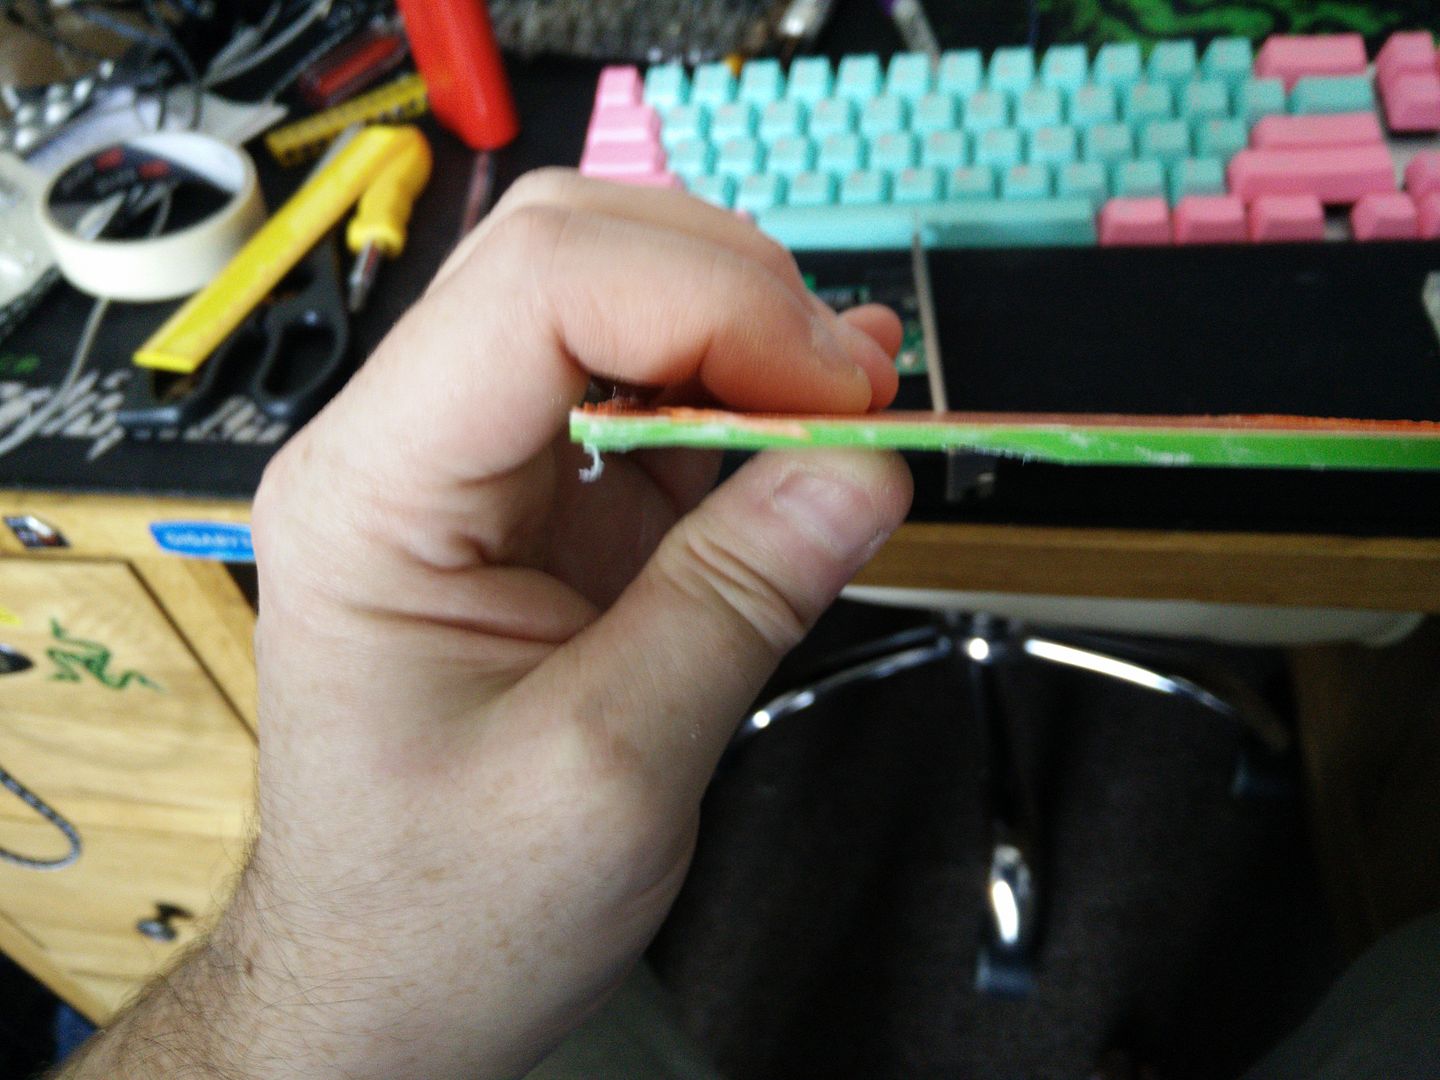
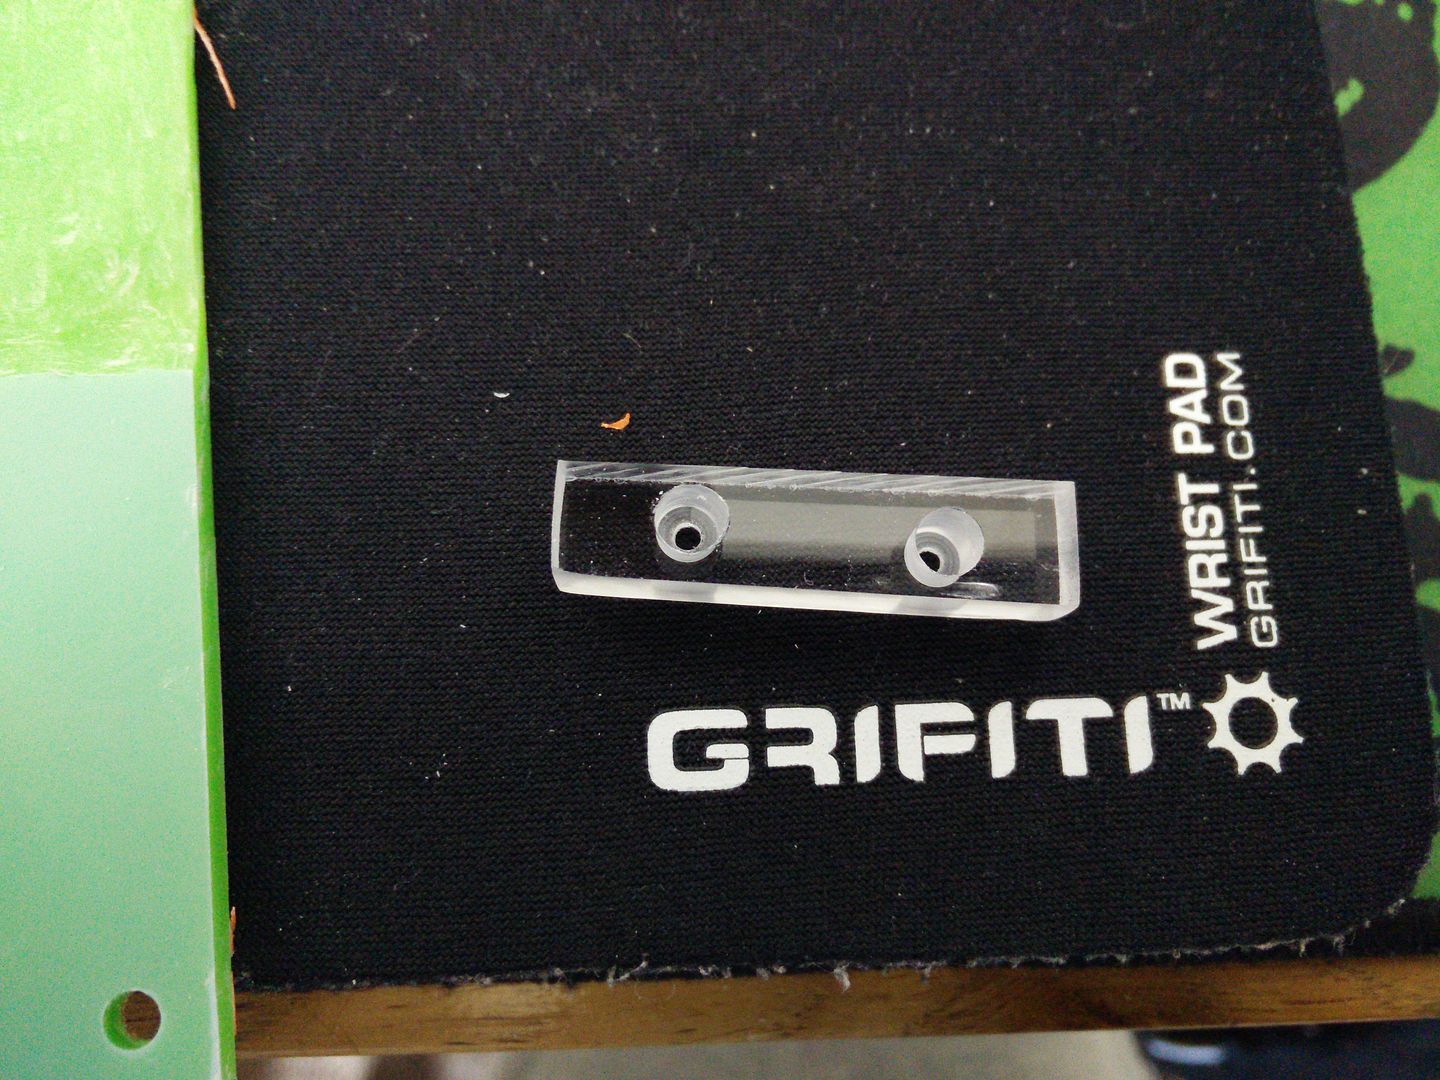
And whilst I was there I made a 5mm LED holder out of 8mm left over acrylic.
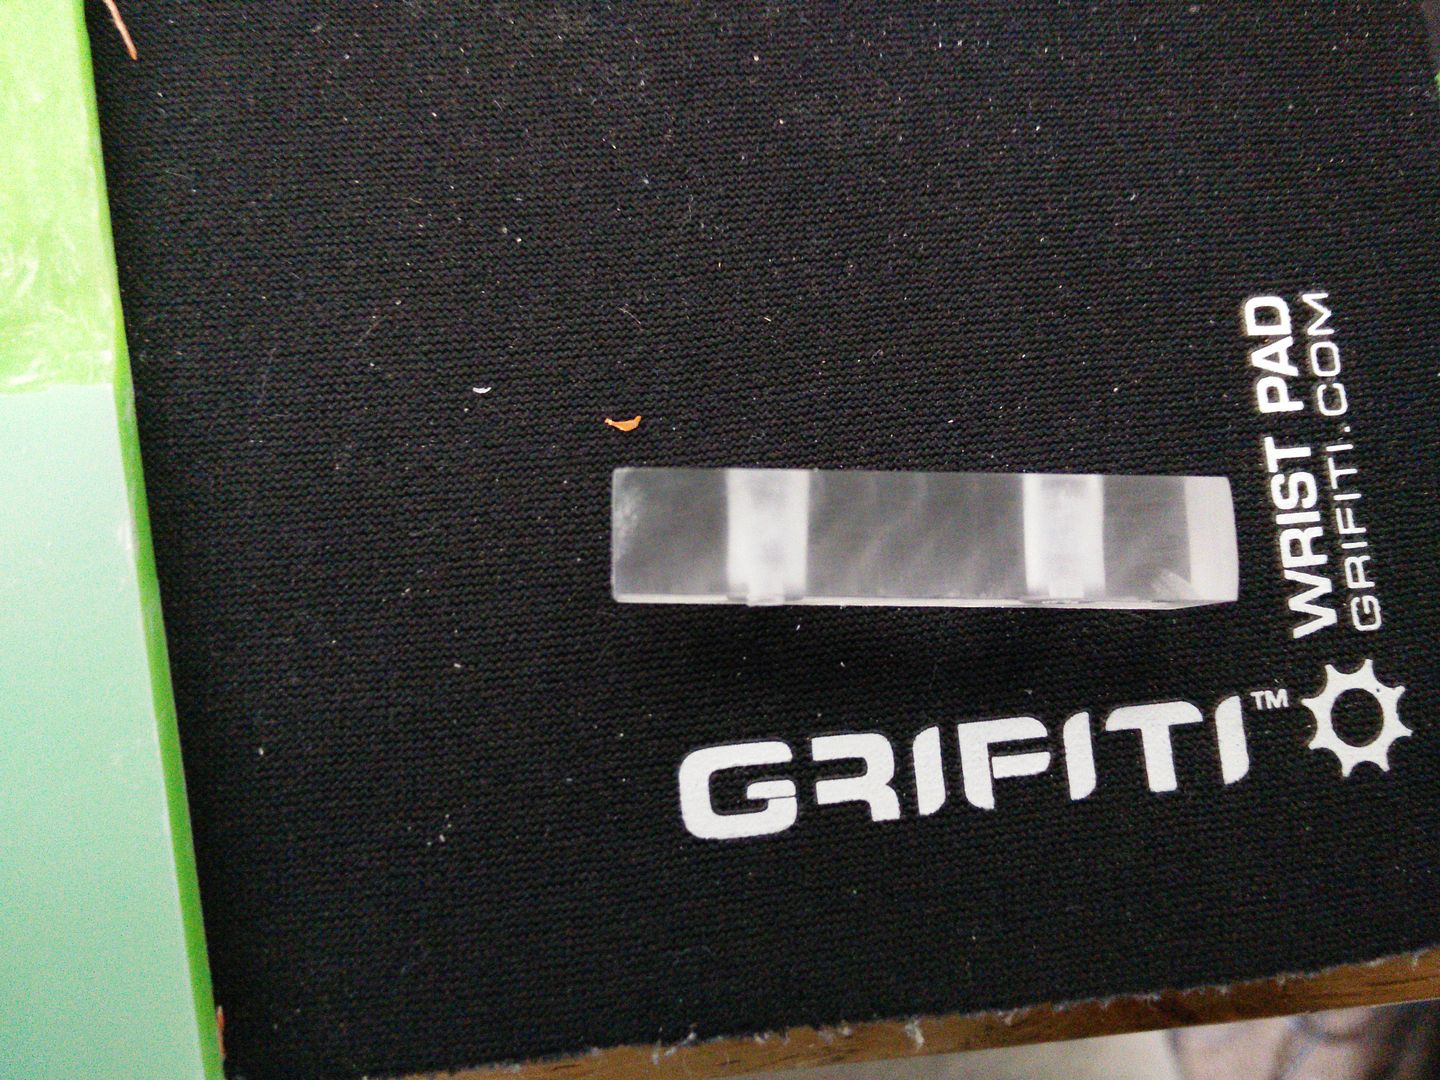
I then coated the inside with scrap silver vinyl. I did this because I do not want the light to bleed through the back plate as it will show the shape of the tiny card in there lol. I need to do this again in black, but it would need two coats any way (of vinyl) unless you used really thick 3M.
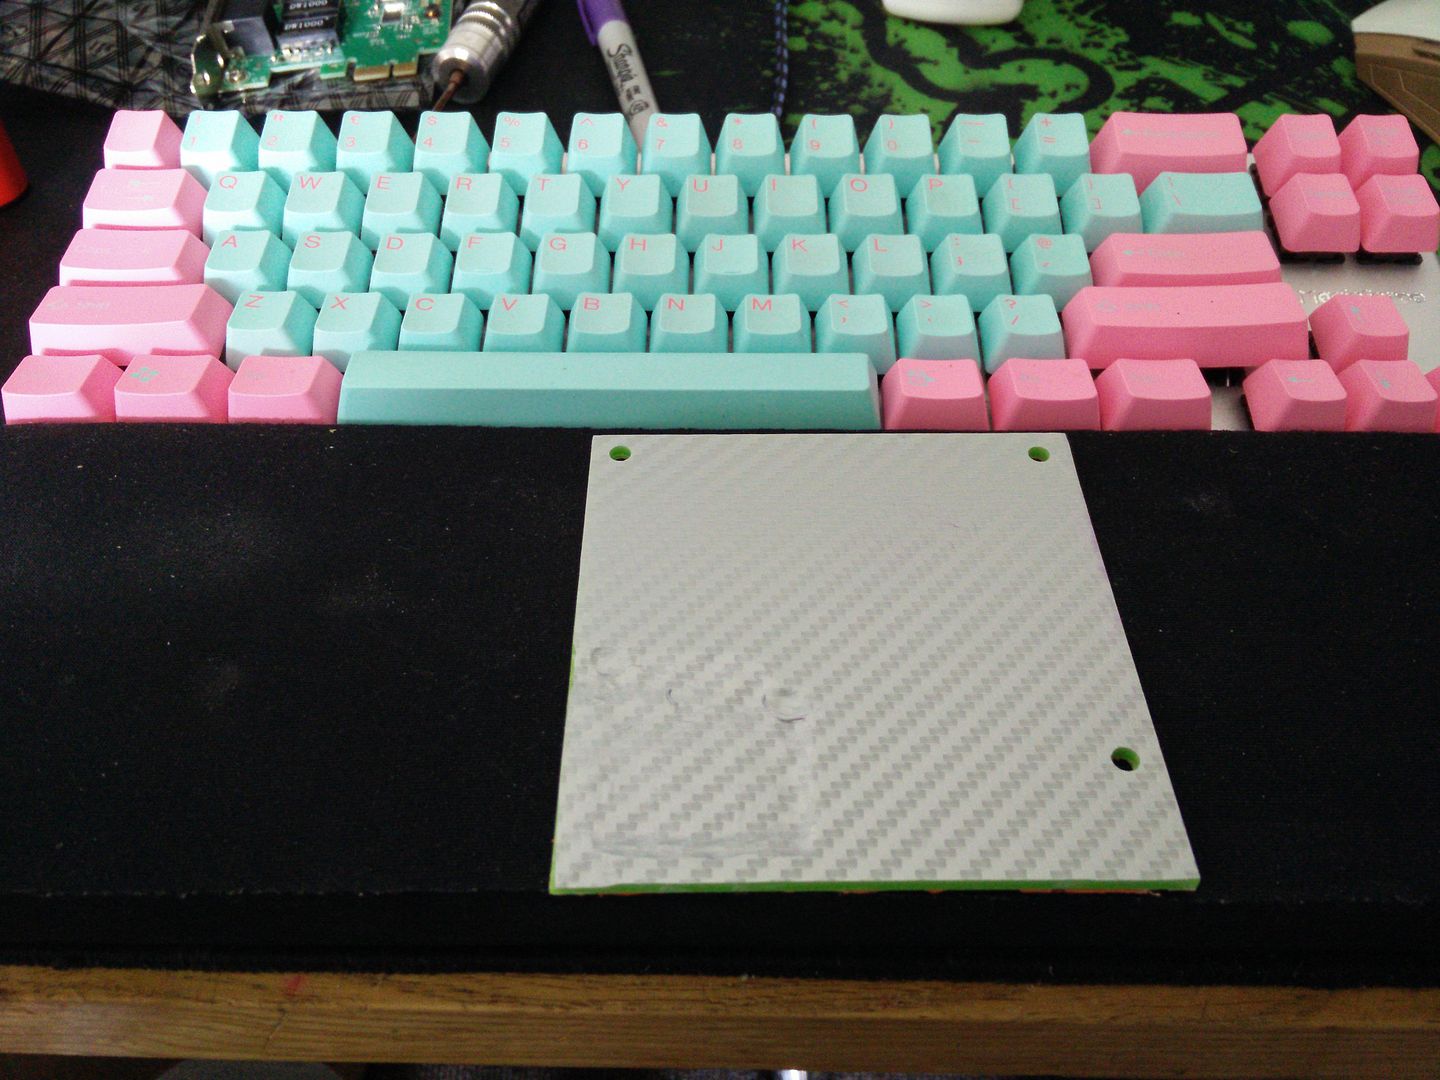
No messing about now, glue it in with power glue lol.
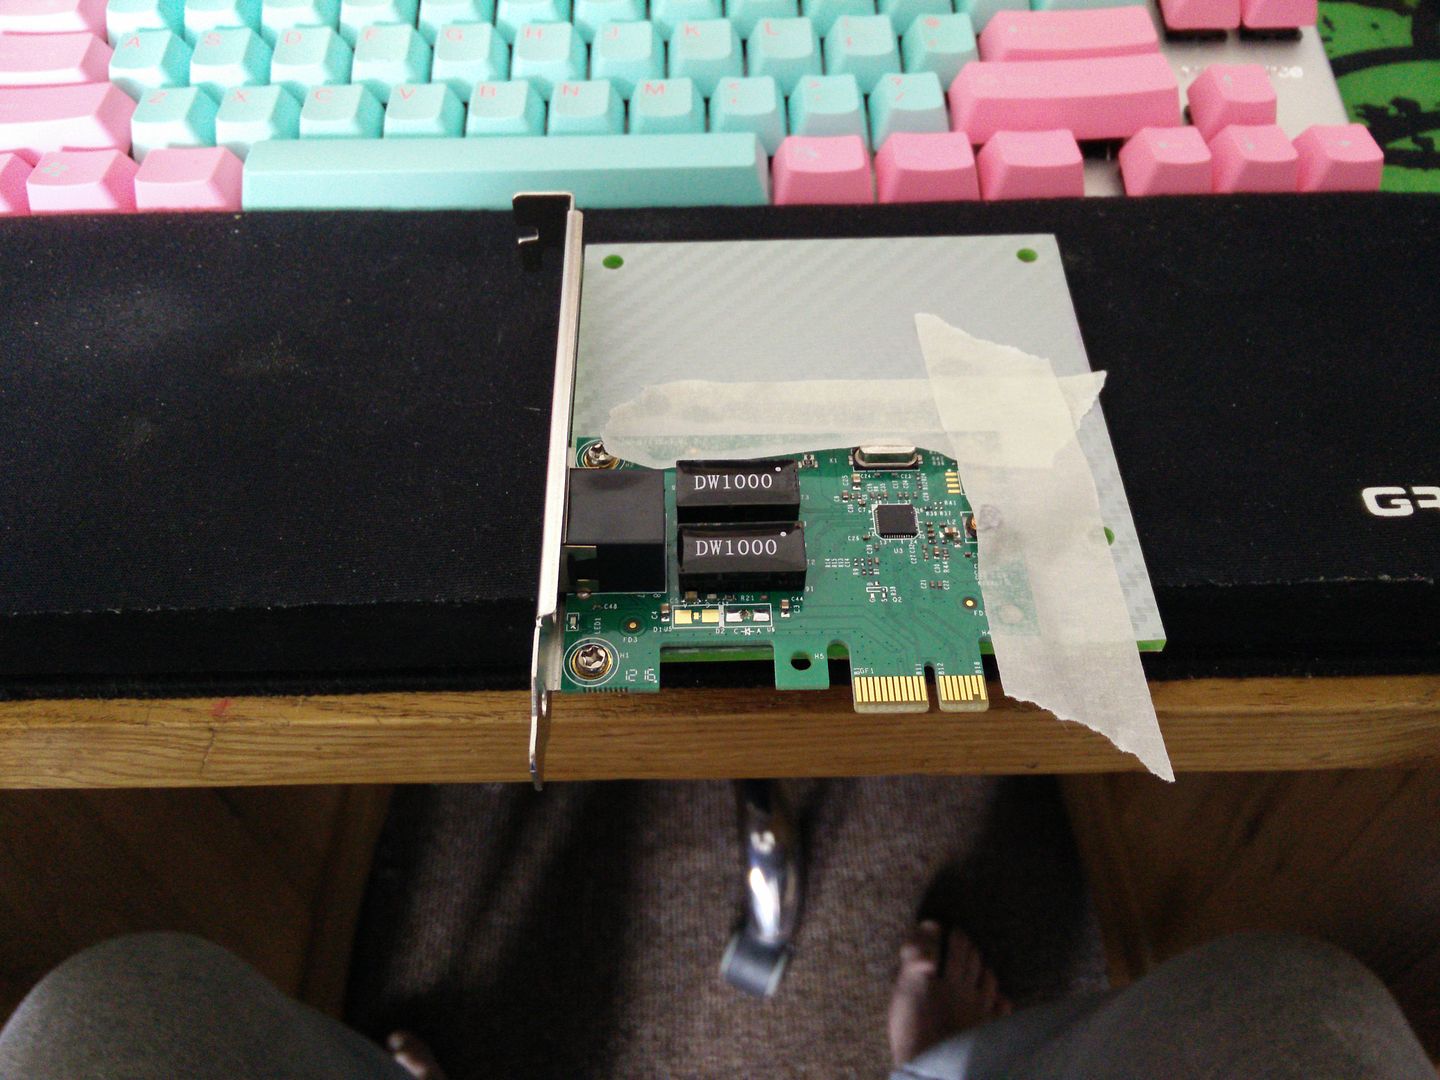
I used what I had left over of 3M to make a light block for the LED holder. Glued that in too. Later I will go over all of the silver again.
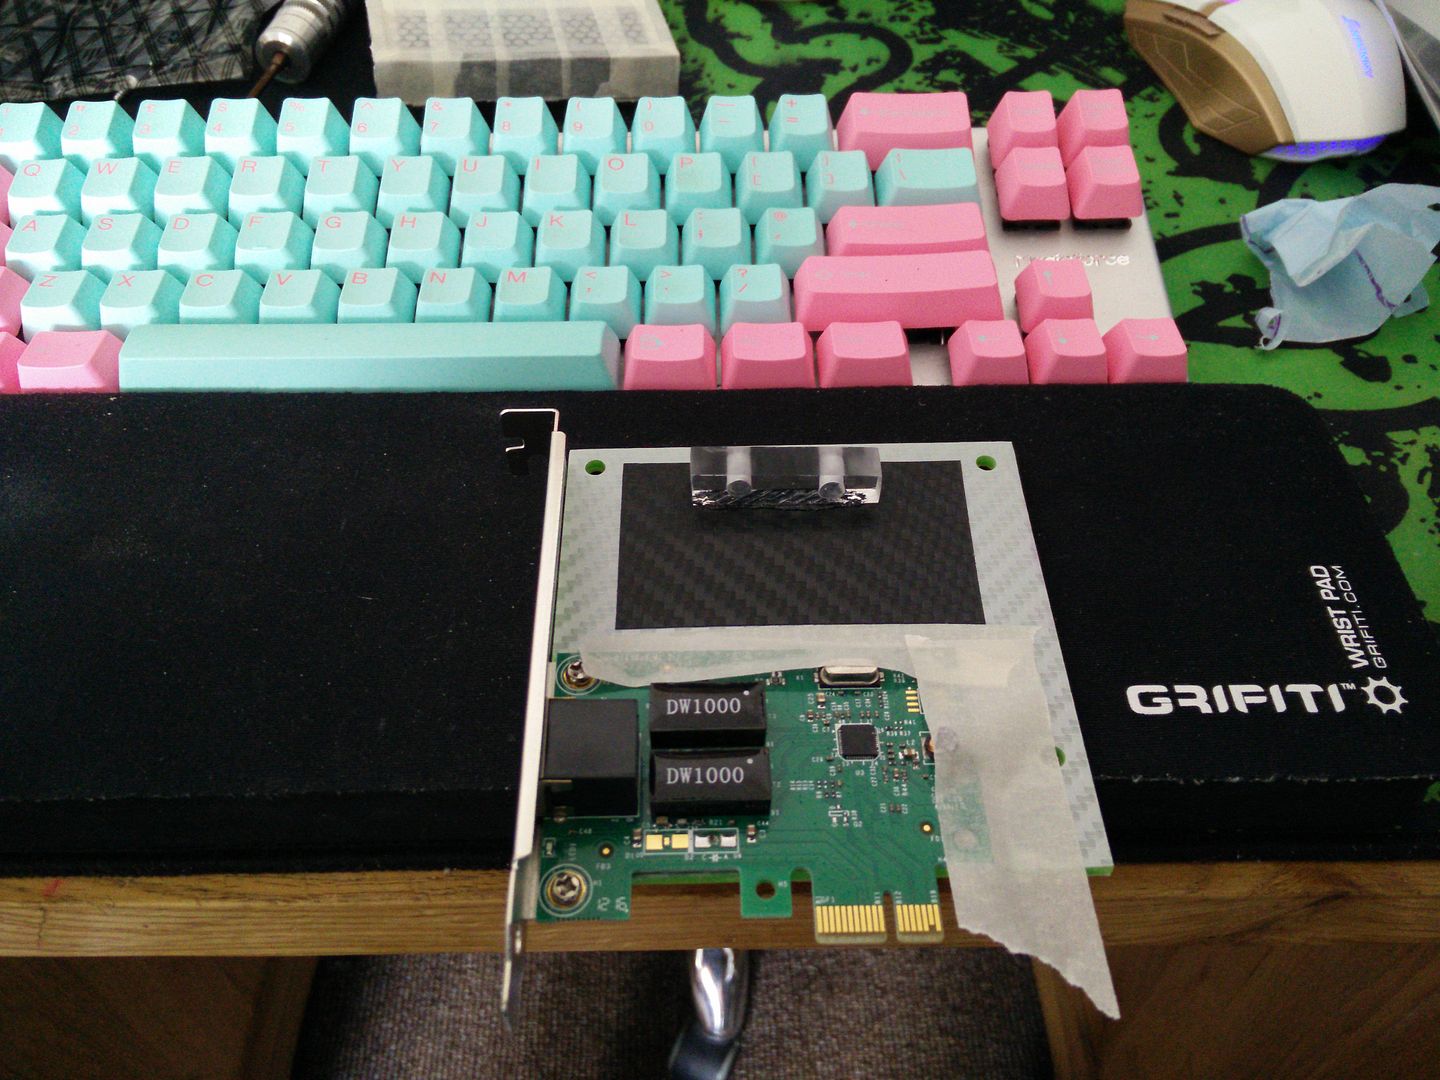
OK so now it is time to finally give away the colour scheme. You will note I have been hiding the colour of the acrylic so far.
Basically it is similar in ways to Rise Of The Triad, because it is a play on shades and textures of the same colour. In ROTT I used black chrome on matt black. For Elvis (soon to be renamed) I am using gloss lime green on candy apple metallic green.
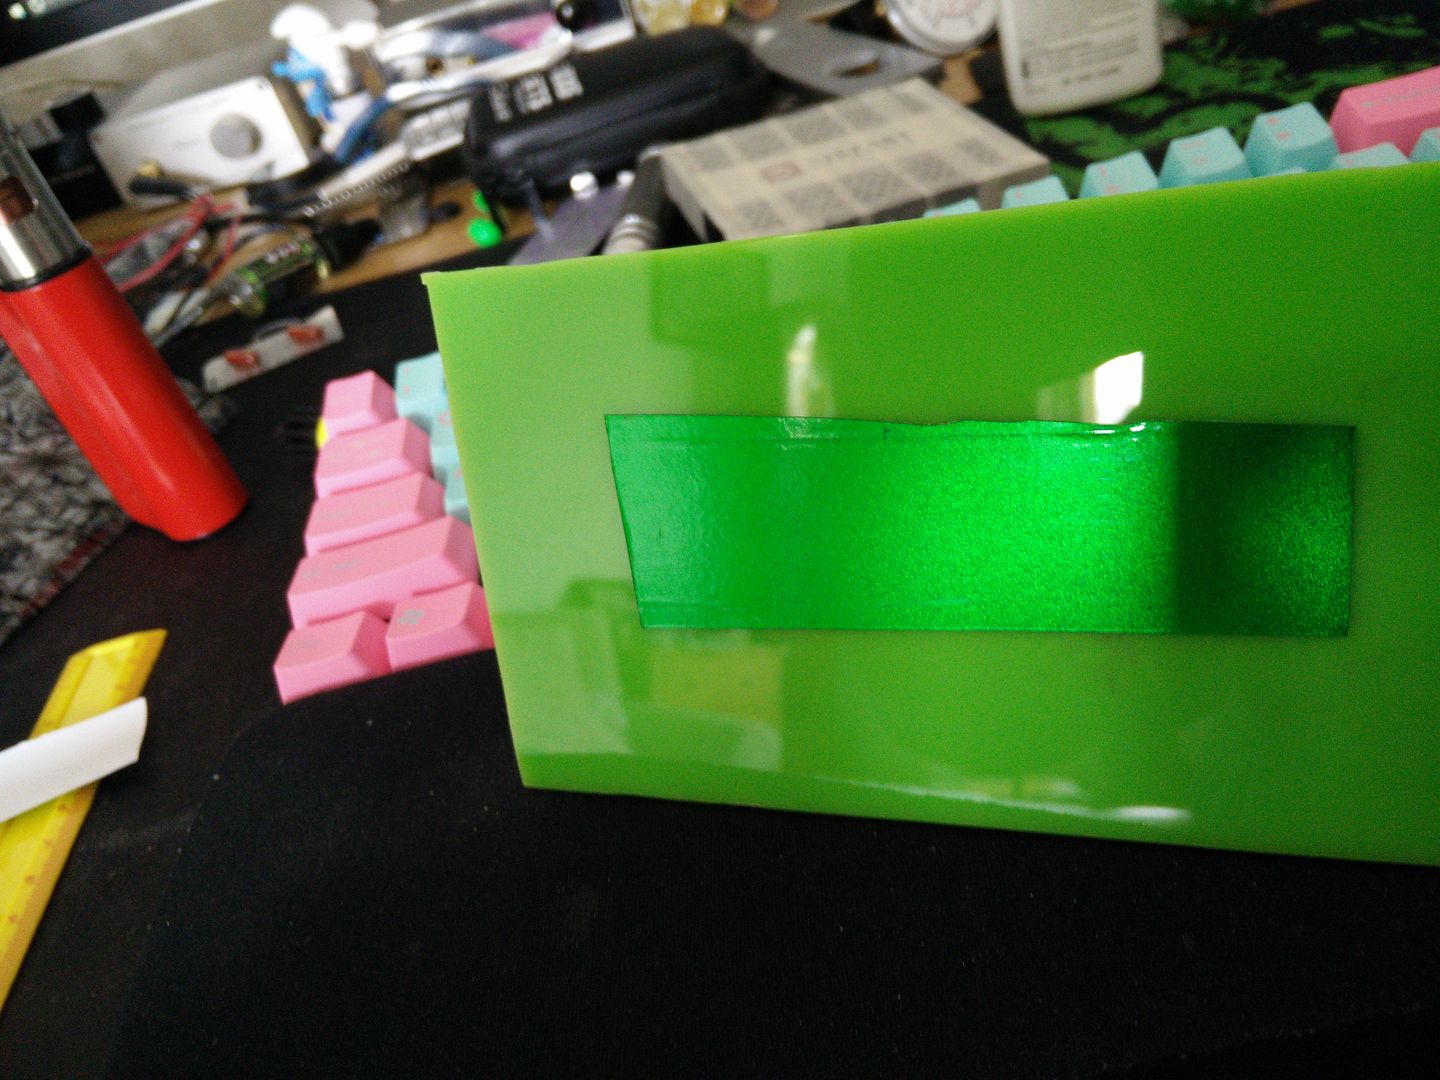
NB - those are just scraps I made a swatch with.
Bring out the plotter !
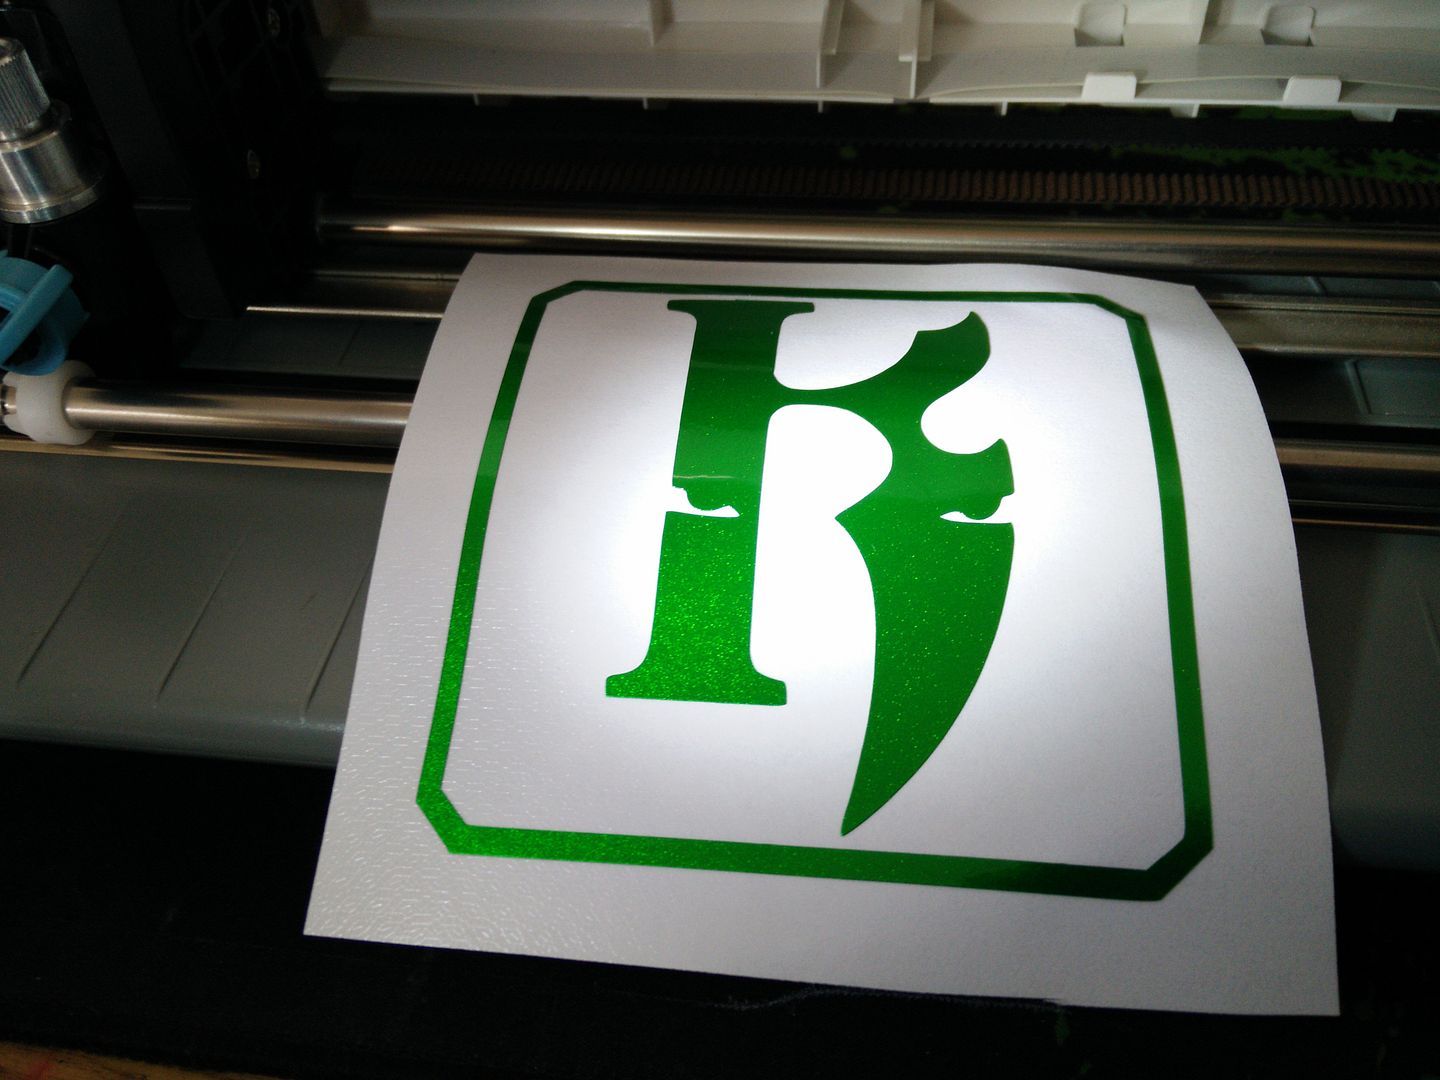
Glue has now dried.
Clean all of the parts ready for decals.
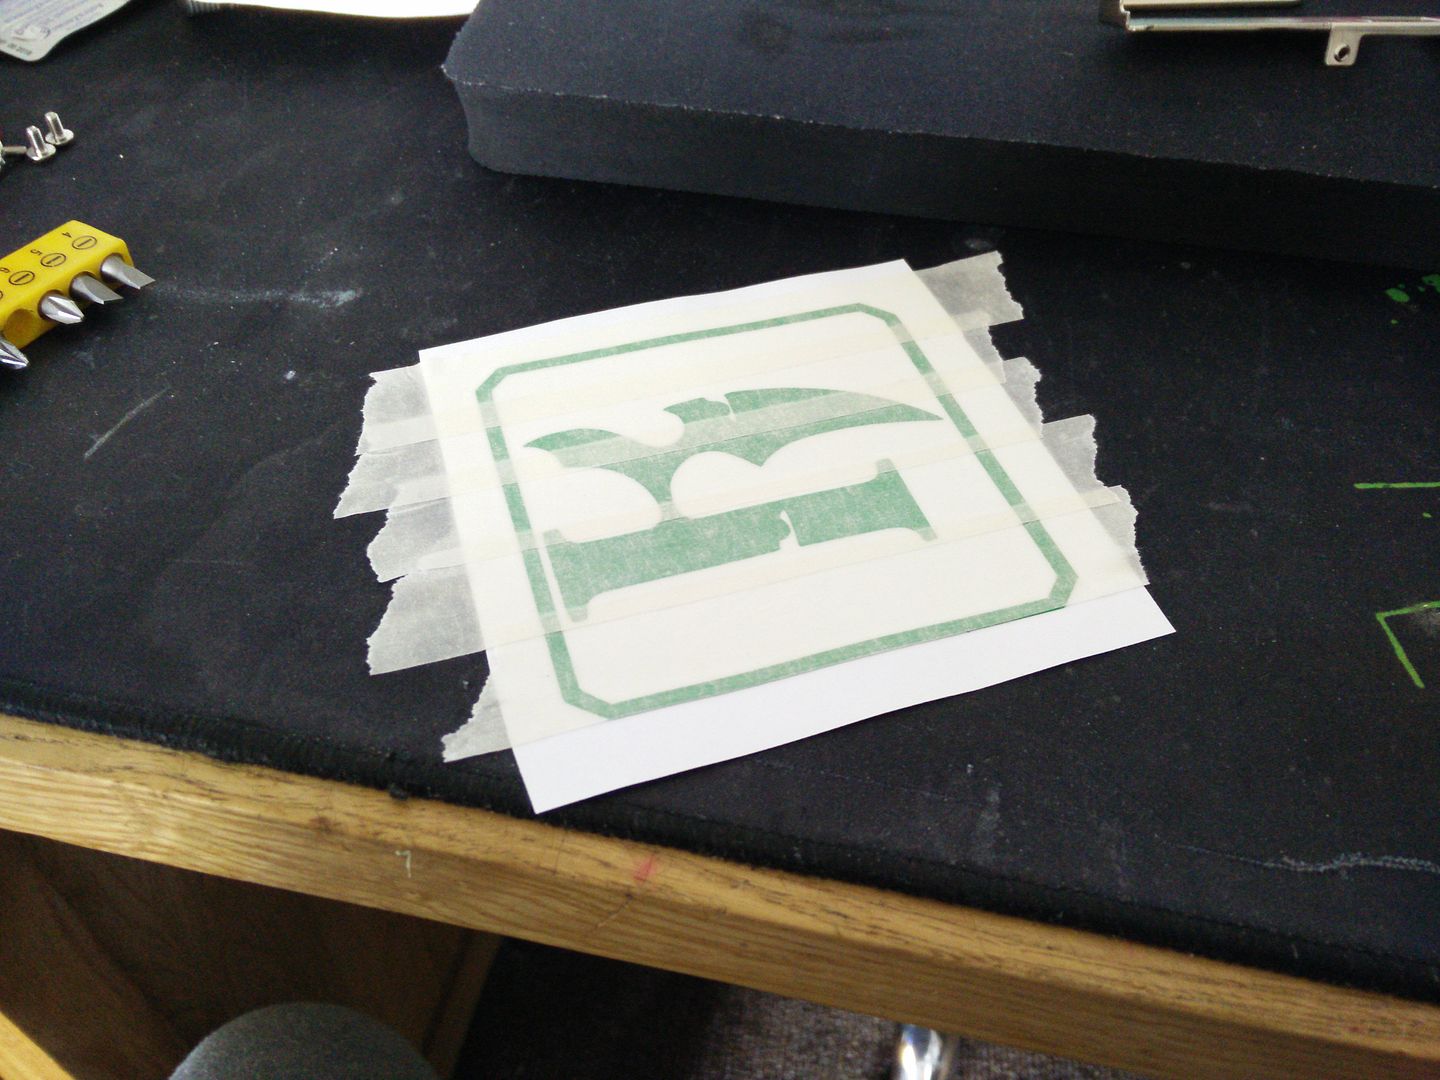
Mask decal.
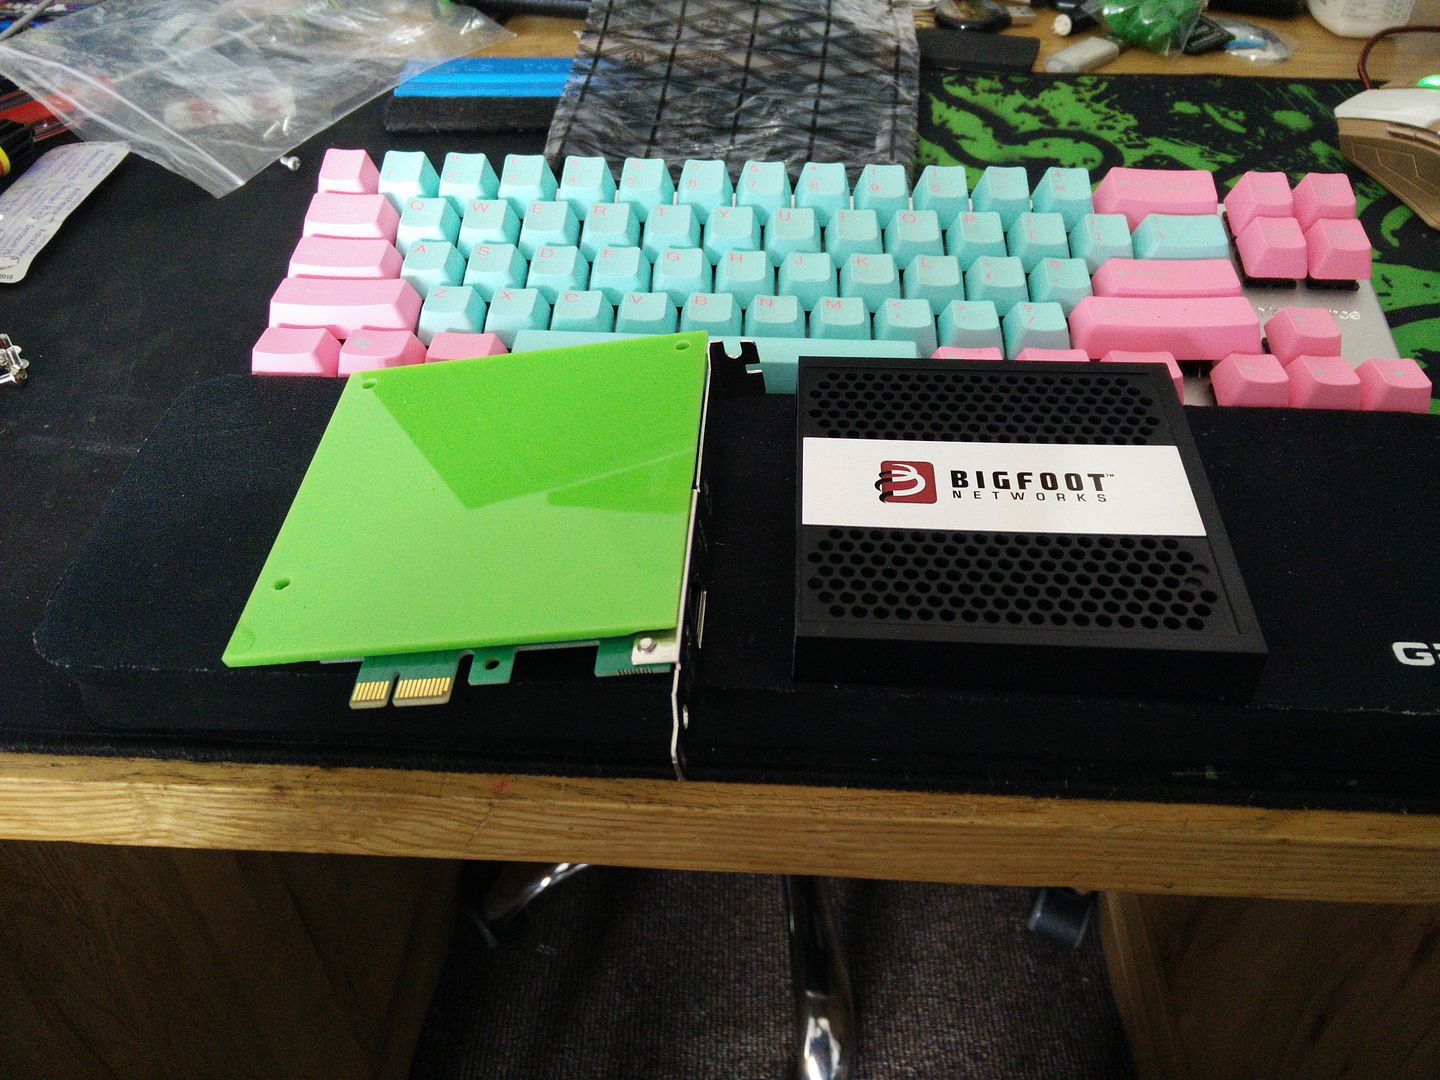
Enter the Killer....
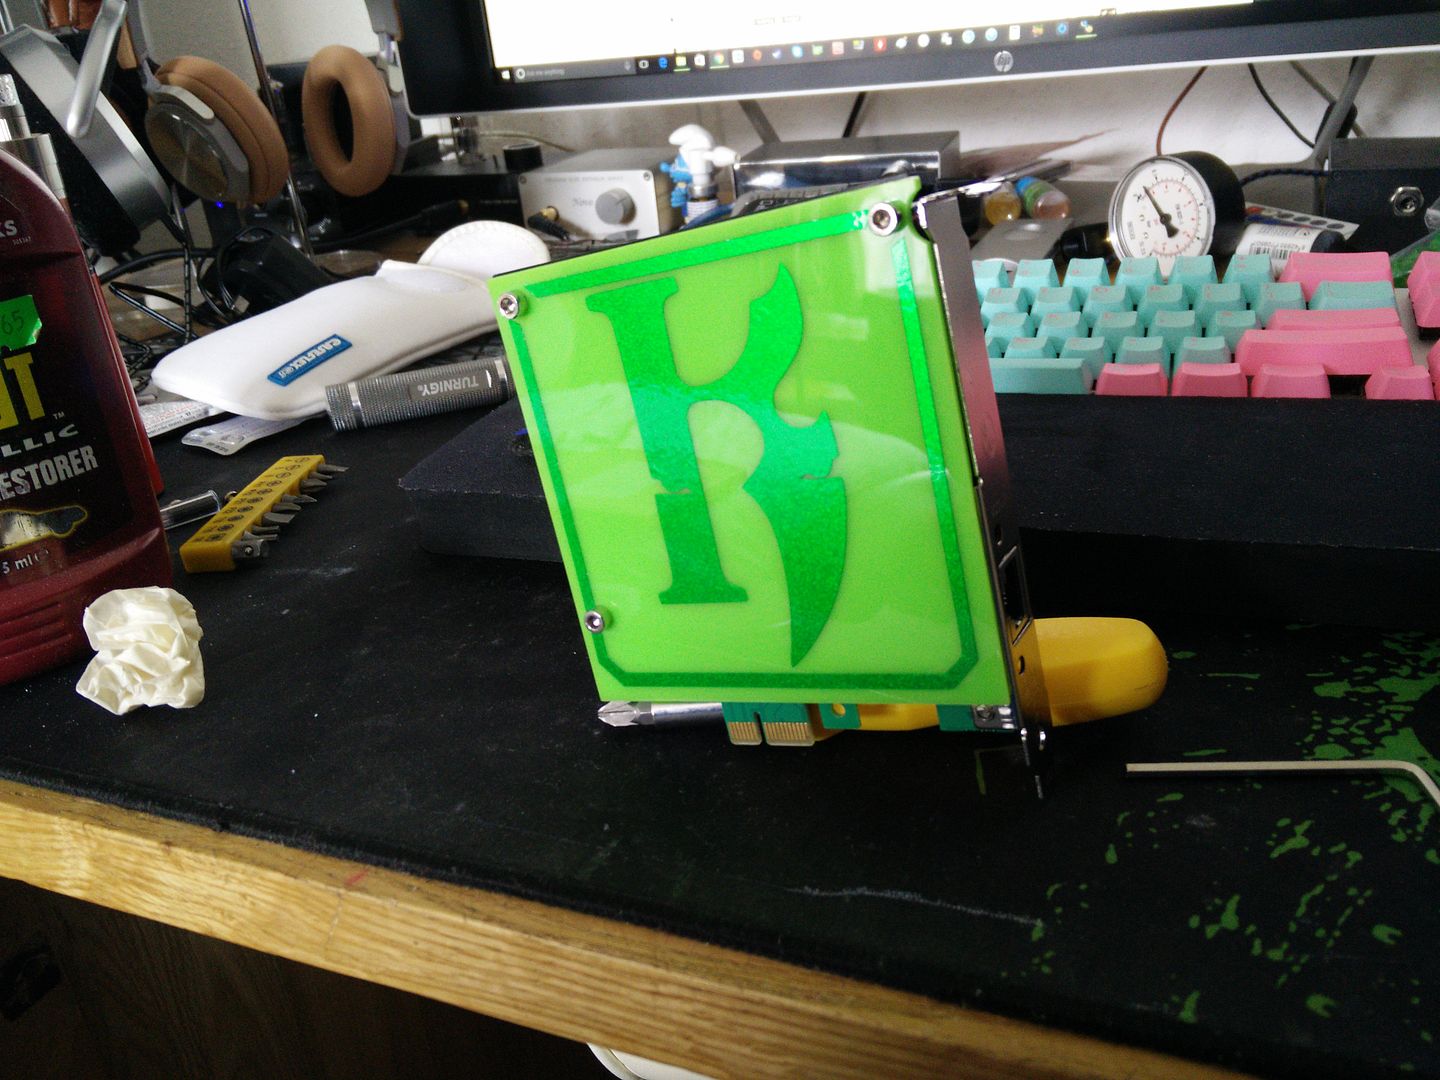
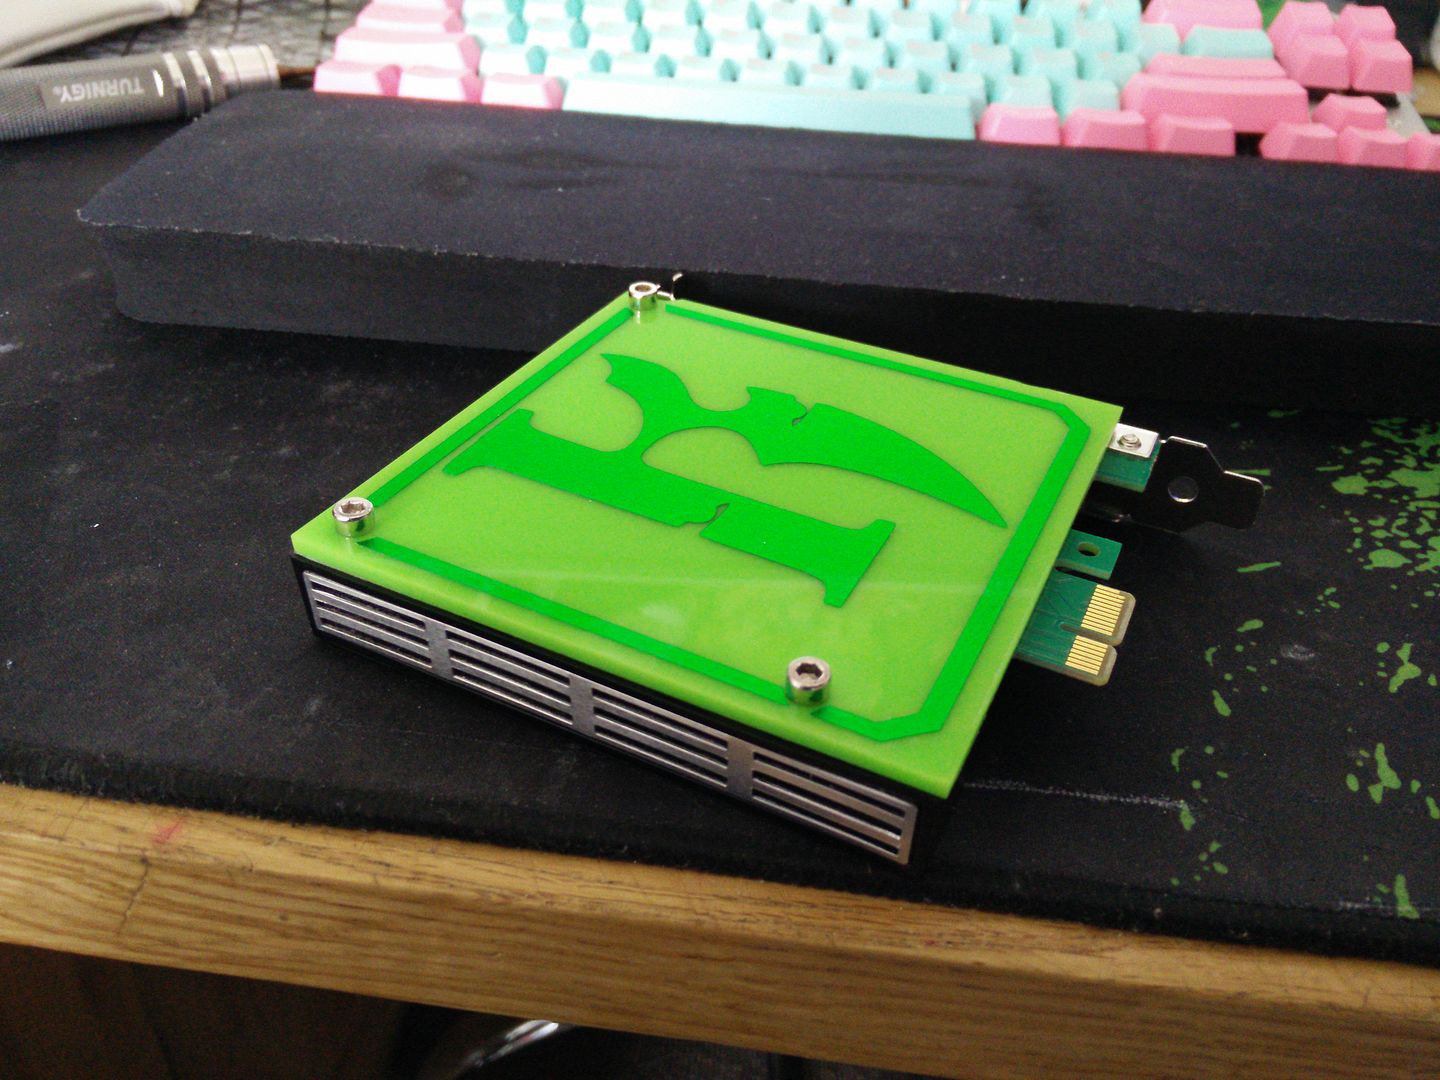
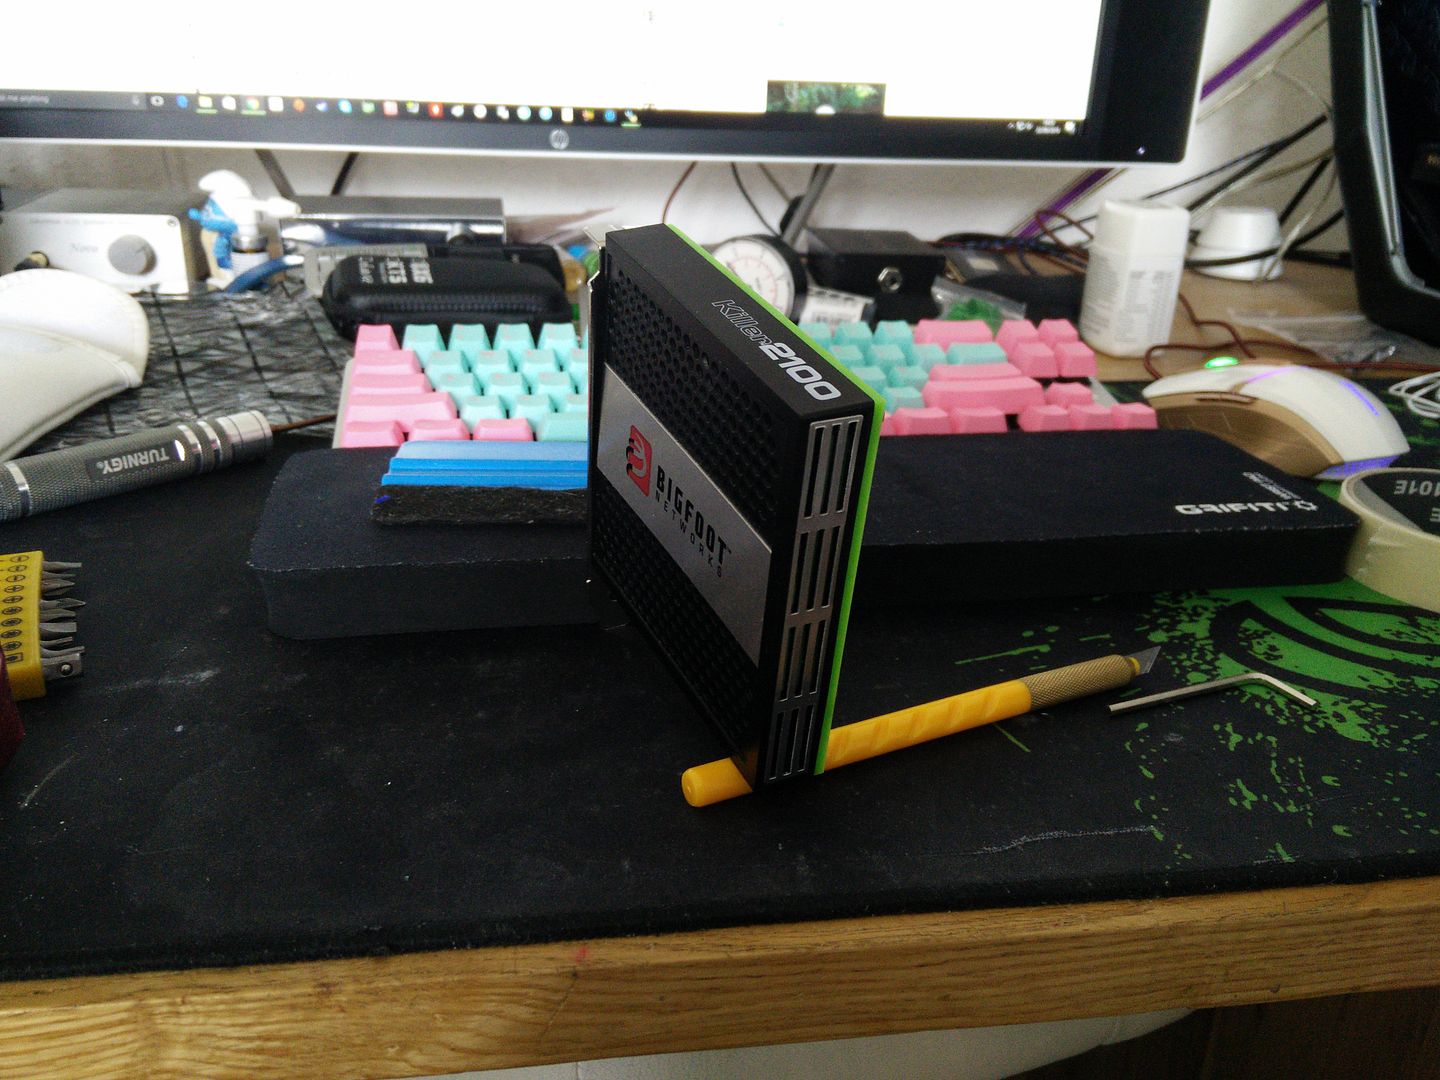
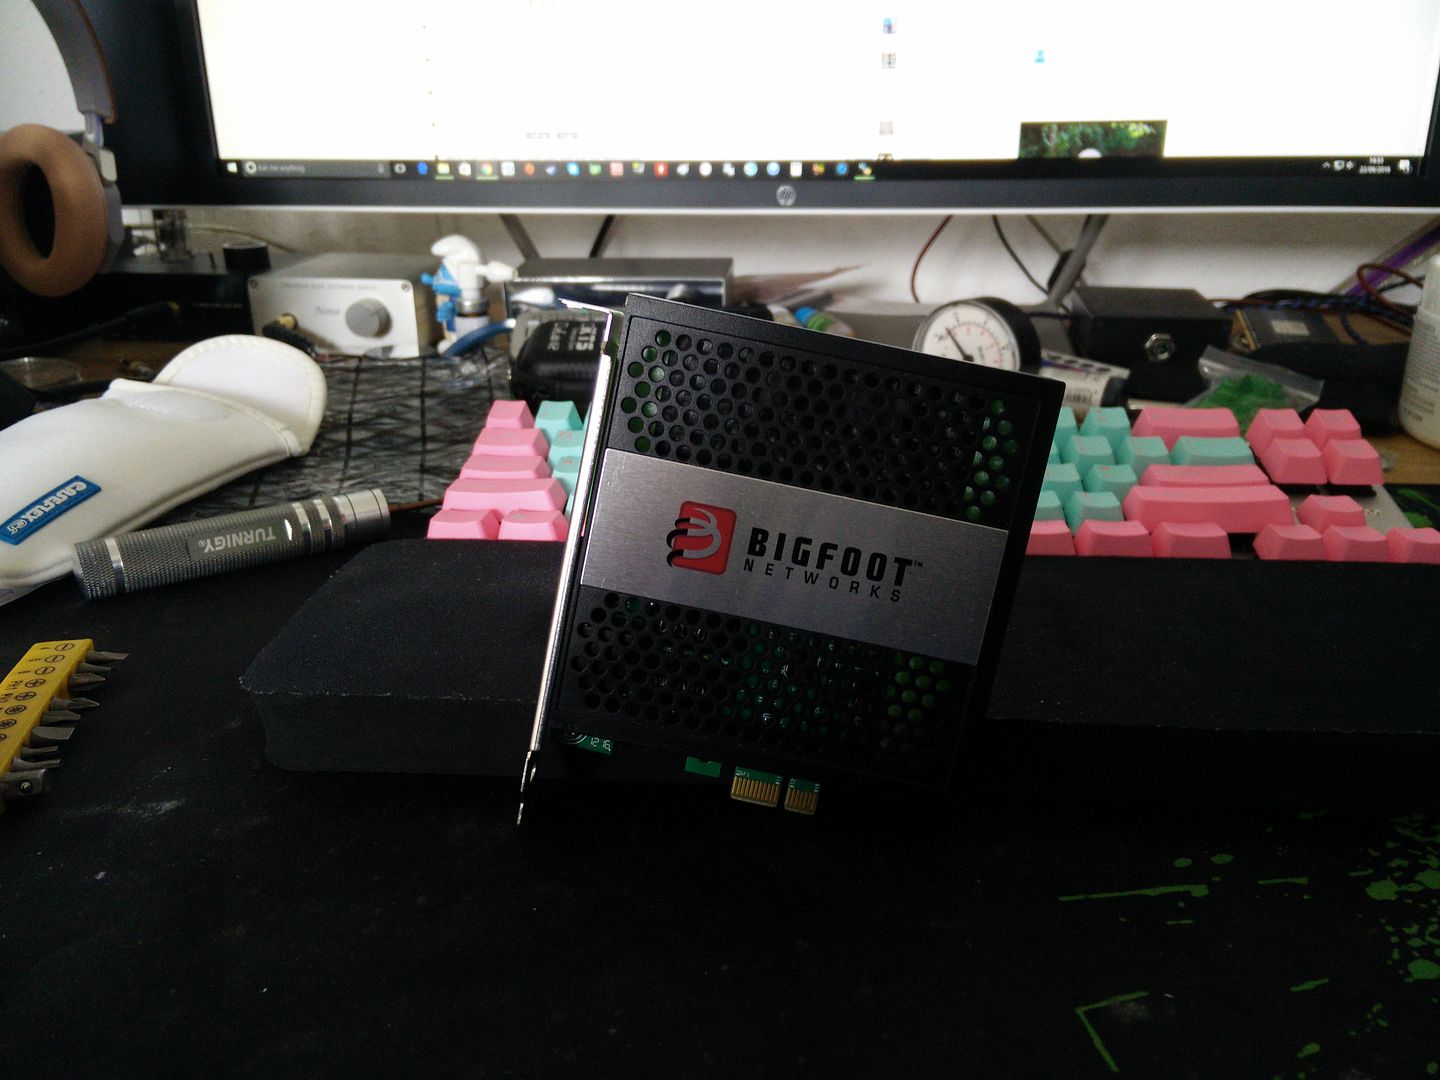
All that is left to do now is more light masking (30 second job) and ten minutes of soldering and braiding for the LEDs.
OK brief background. I bought this card second hand just after my lady and I moved in together, oo around 2012? I really liked the way it looked and liked the red LEDs even more. Sure, it was no better than a standard network card but the software was good. Any way, about three years ago I removed it from the rig I had and packed it away.
Before I started Elvis (name change coming soon, for good reason) I dug through every dark cupboard and corner looking for junk I could use for the build. I found the Killer 2100 but sadly after doing some research I realised it would not work in Linux, which I will be using for this rig after temp testing under water (specifically Elementary OS).
So I did research into which network cards work under EOS and found out that Realteks were good. I went onto fleabay and bought a network card for £3.50 and then removed the shroud on the 2100 before giving it away. Here is what I had.

And.

Here are the bolts I wanted to use. Bigfoot used nasty non coated self tapping posi screws but they looked jank. NB - these bolts turned out too short so were replaced later.. You will see that.

Melt them in. NB - the plastic is not acrylic and I melted the holes very slightly too big for M3.

Time to tape up the shroud.

And mark it up for cutting.


OK so remember those nasty orange dinoc shapes? one is for the NIC. I designed and cut these with scrap vinyl. It saves loads of marking out.

OK so I cut it out. I then traced it down onto some junk clear plastic (not acrylic) and sanded off the spots before placing it over the shroud's back. This way I can get the holes right, as I forgot to trace the card before giving it away.

OK after drilling etc I test fitted the back plate to the shroud.

Cool, so it all lines up OK. I then put the card onto the shroud like this.

OK so no clearance issues that side. I then marked out the inside of the back.

OK so this is where all of the stuff on the back of the card is that would make the plate go wonky. I ground it out (this takes a good set of hands)


And whilst I was there I made a 5mm LED holder out of 8mm left over acrylic.


I then coated the inside with scrap silver vinyl. I did this because I do not want the light to bleed through the back plate as it will show the shape of the tiny card in there lol. I need to do this again in black, but it would need two coats any way (of vinyl) unless you used really thick 3M.

No messing about now, glue it in with power glue lol.

I used what I had left over of 3M to make a light block for the LED holder. Glued that in too. Later I will go over all of the silver again.

OK so now it is time to finally give away the colour scheme. You will note I have been hiding the colour of the acrylic so far.
Basically it is similar in ways to Rise Of The Triad, because it is a play on shades and textures of the same colour. In ROTT I used black chrome on matt black. For Elvis (soon to be renamed) I am using gloss lime green on candy apple metallic green.

NB - those are just scraps I made a swatch with.
Bring out the plotter !

Glue has now dried.

Clean all of the parts ready for decals.

Mask decal.

Enter the Killer....


All that is left to do now is more light masking (30 second job) and ten minutes of soldering and braiding for the LEDs.
First Marvin Gaye and now Thin Lizzy!There's a killer on the loose..
Before I started Elvis (name change coming soon, for good reason)
Because you can't stick to the Elvis lyrics?!


Shroud's looking good too

First Marvin Gaye and now Thin Lizzy!
Because you can't stick to the Elvis lyrics?!

Shroud's looking good too
Not a fan of Thin Lizzy. Was going to do Adam and the ants (Killer in the home) but CBA lol.
/serious hat.
A while back a modder I know posted that his body was acting weird and his glands had swollen up. He posted and said "I think my modding days are over..".
He died about two weeks later

It turned out Wayne had an inoperable cancer that had spread so fast he had no idea.
I've never met some one so calm and so determined in all of my life. His mods were incredible.
So yeah, I've been thinking about doing a tribute for ages now but when I started out with this project it was just a joke and was going to be pretty crap. Not worthy, if you know what I mean.
Now though that I am sinking in the hours I think it's a bit more fitting.
It's funny because I had never met Wayne in real life. However, when you watch some one mod you are seeing a different side of them. What's in their heads. And to that ends these people become like a family to you.
Without them things are a lot more empty and sad.
So the doorbell just went. It was Hermes.
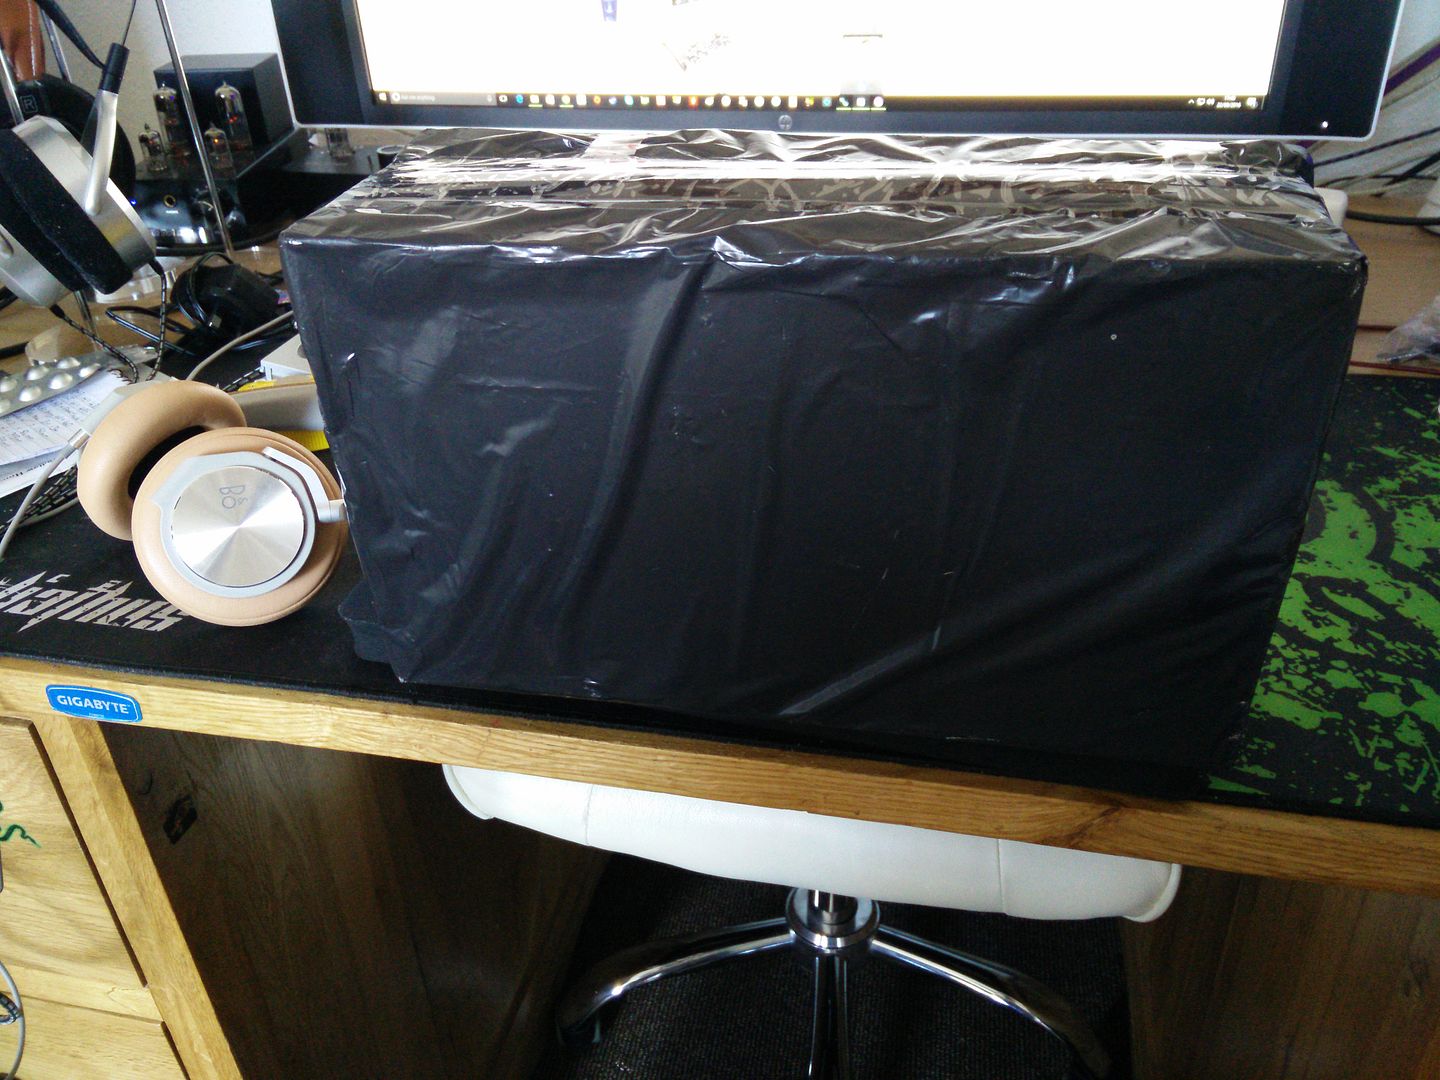
A power supply perhaps? felt a bit light.
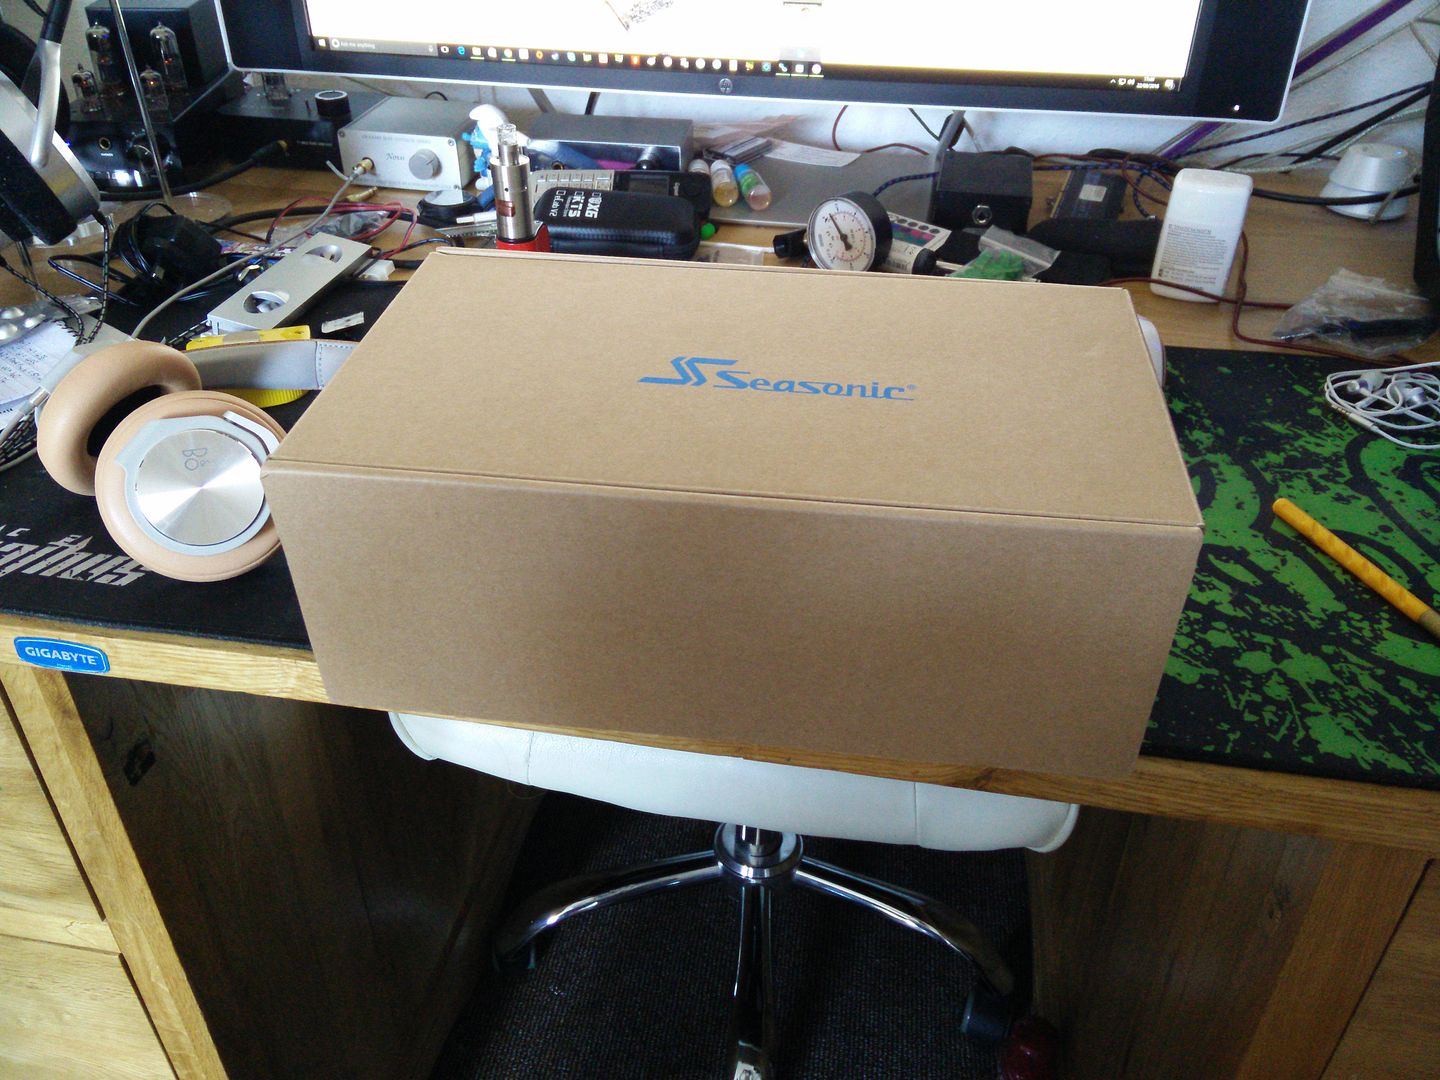
Oh wait no, it's the ram cooler lol.
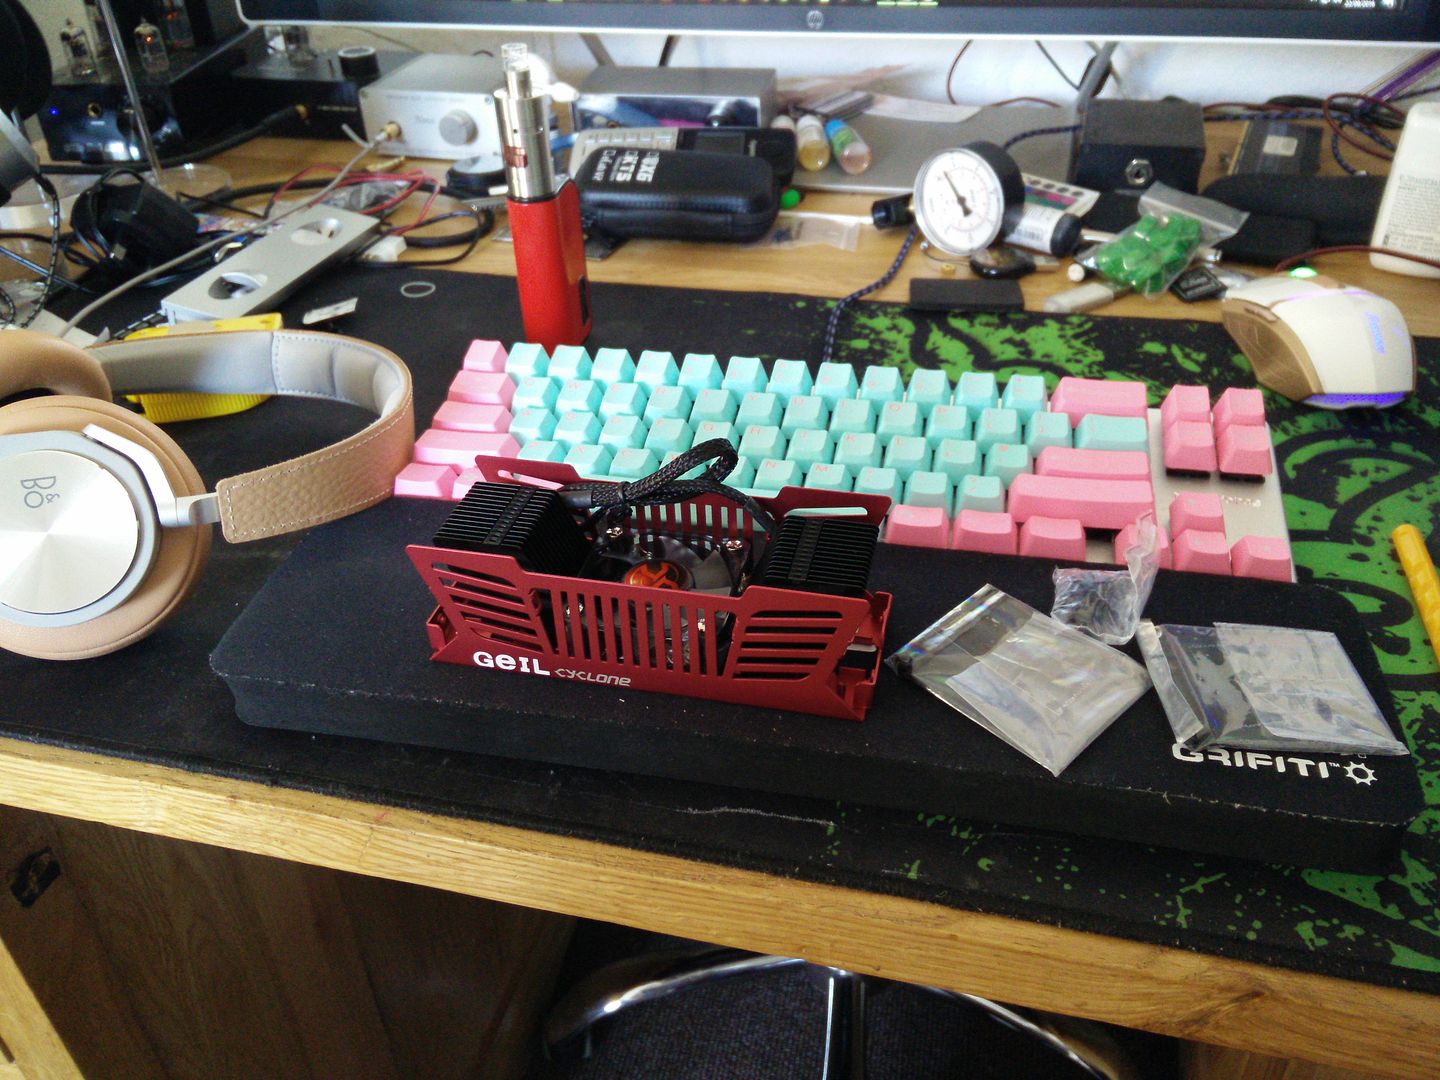
The only thing I did not know about this thing was how to get it apart. I studied photos of it for ages but could not see how the inner fins were held in. I was worried they were like pressed in or something, but....
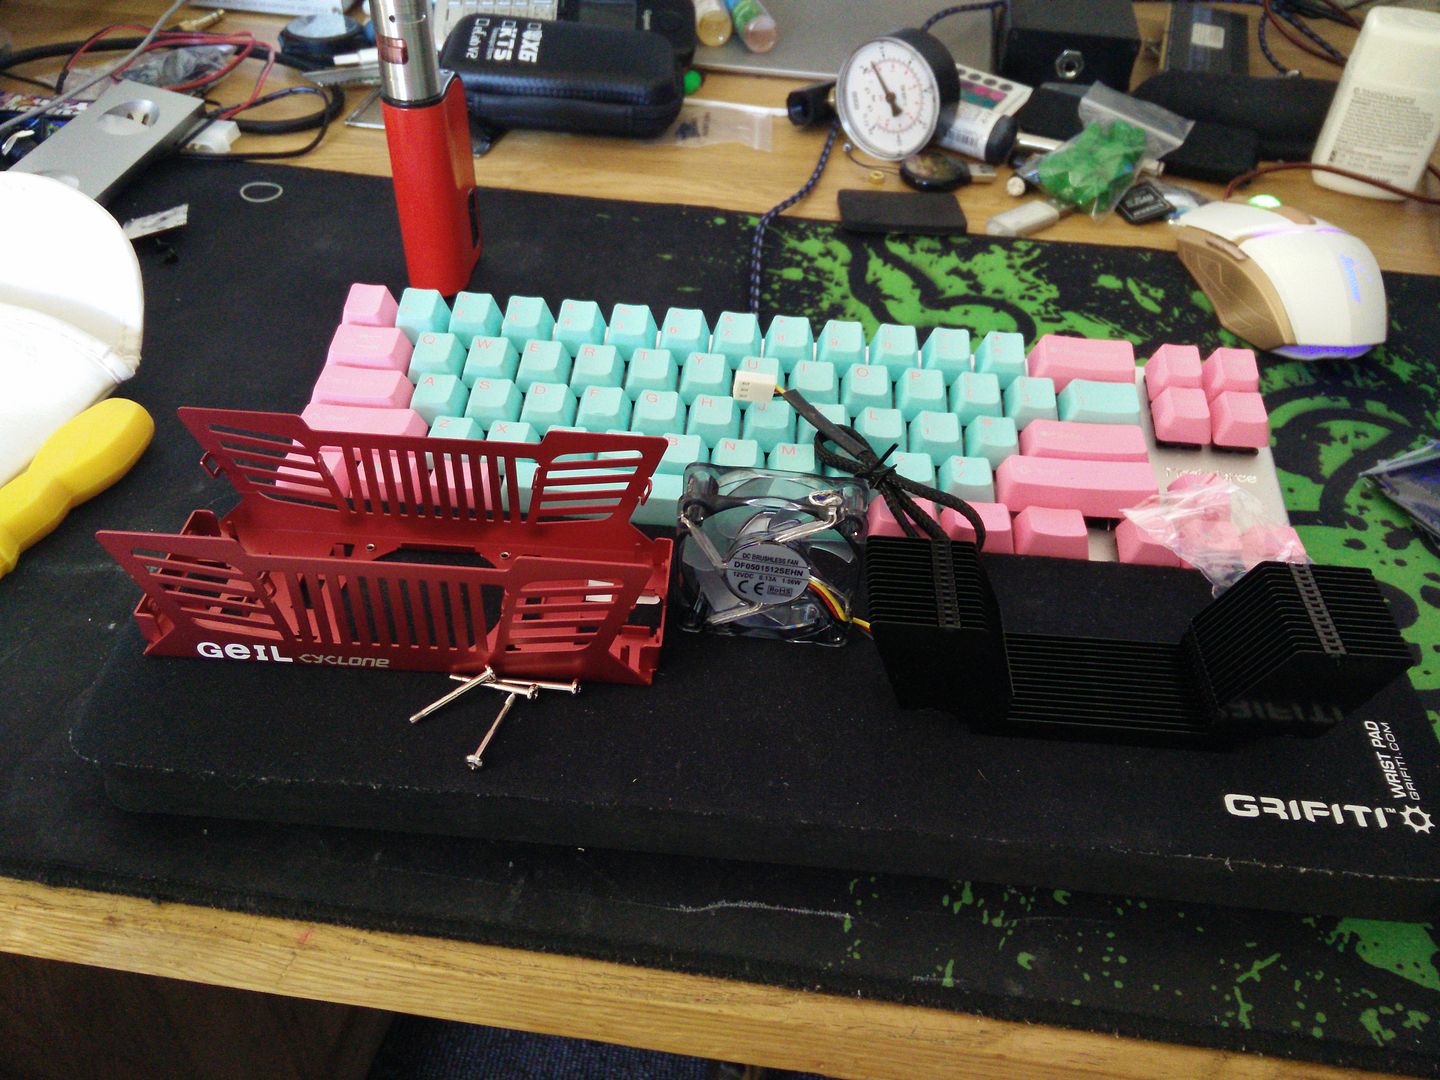
Seems the fan holds them down. I've had a good look at it appears to use 3mm LEDs. I will connect it up later and buzz the LEDs to see how much voltage they are getting.
Not sure if I will change the LEDs yet (it will be really fiddly) or cut them out or just leave them red.

A power supply perhaps? felt a bit light.

Oh wait no, it's the ram cooler lol.

The only thing I did not know about this thing was how to get it apart. I studied photos of it for ages but could not see how the inner fins were held in. I was worried they were like pressed in or something, but....

Seems the fan holds them down. I've had a good look at it appears to use 3mm LEDs. I will connect it up later and buzz the LEDs to see how much voltage they are getting.
Not sure if I will change the LEDs yet (it will be really fiddly) or cut them out or just leave them red.
Not a bad day from the postman. One of them was from Hong Kong, these are the exciting ones. Sadly my GPU block did not arrive 
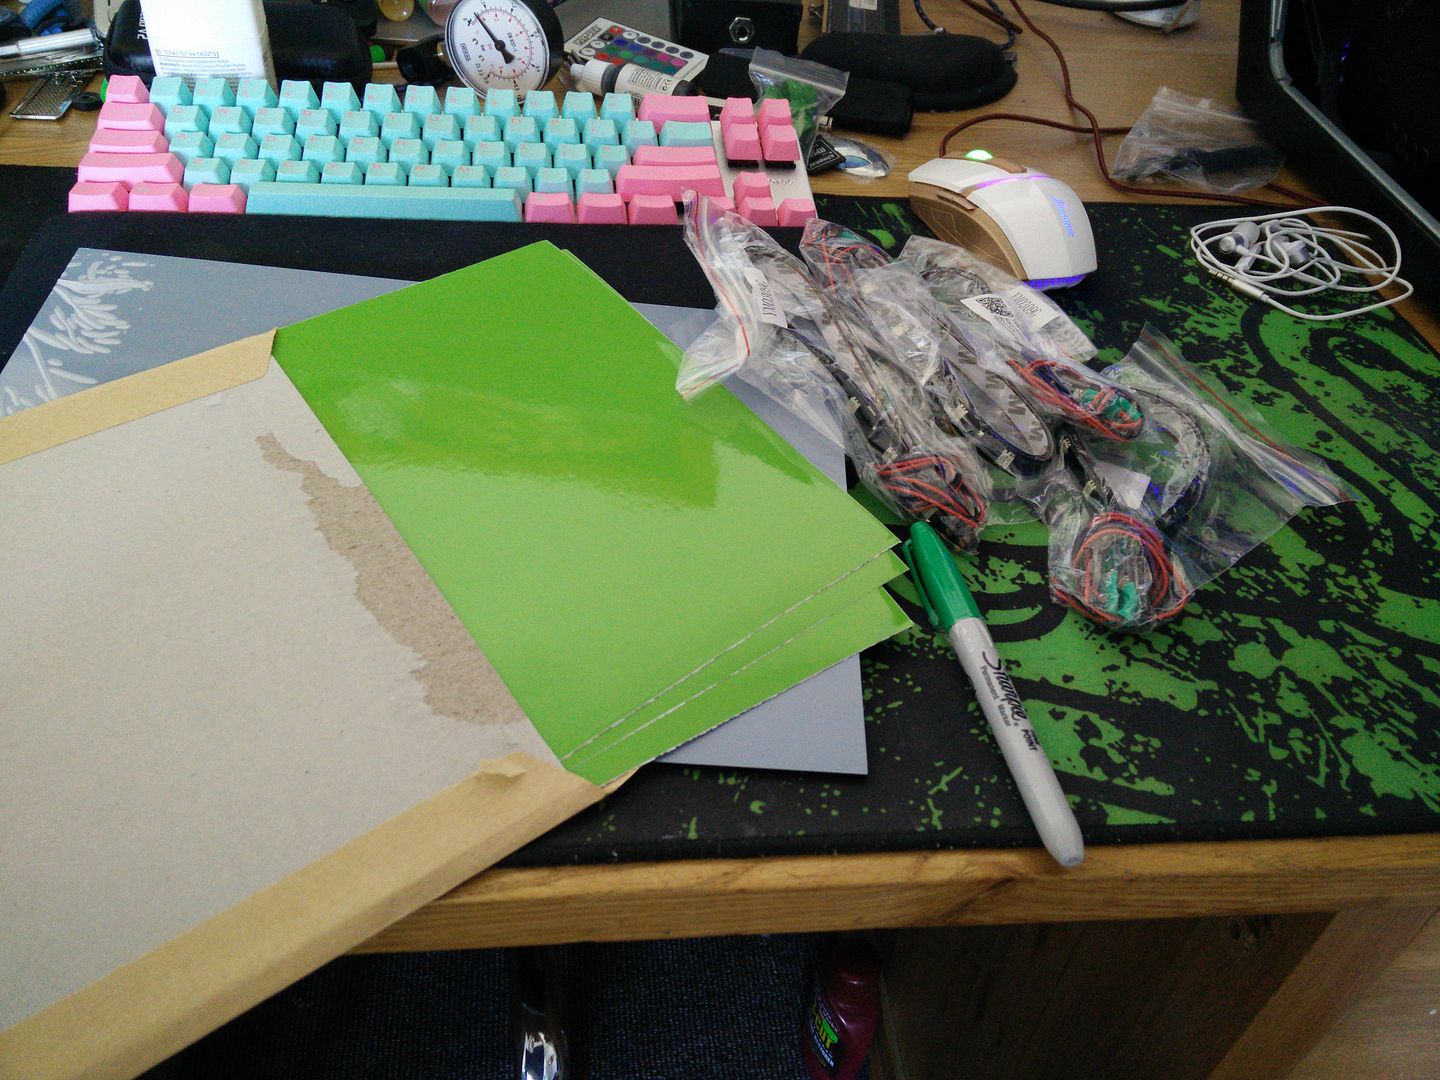
A4 black 3mm acrylic (for the feet) Sharpie (for touch ups possibly, only on the CPU bolts) some lime green vinyl and 8 LED strips. If it all goes to plan these will be inbuilt and you won't see a single one of them.
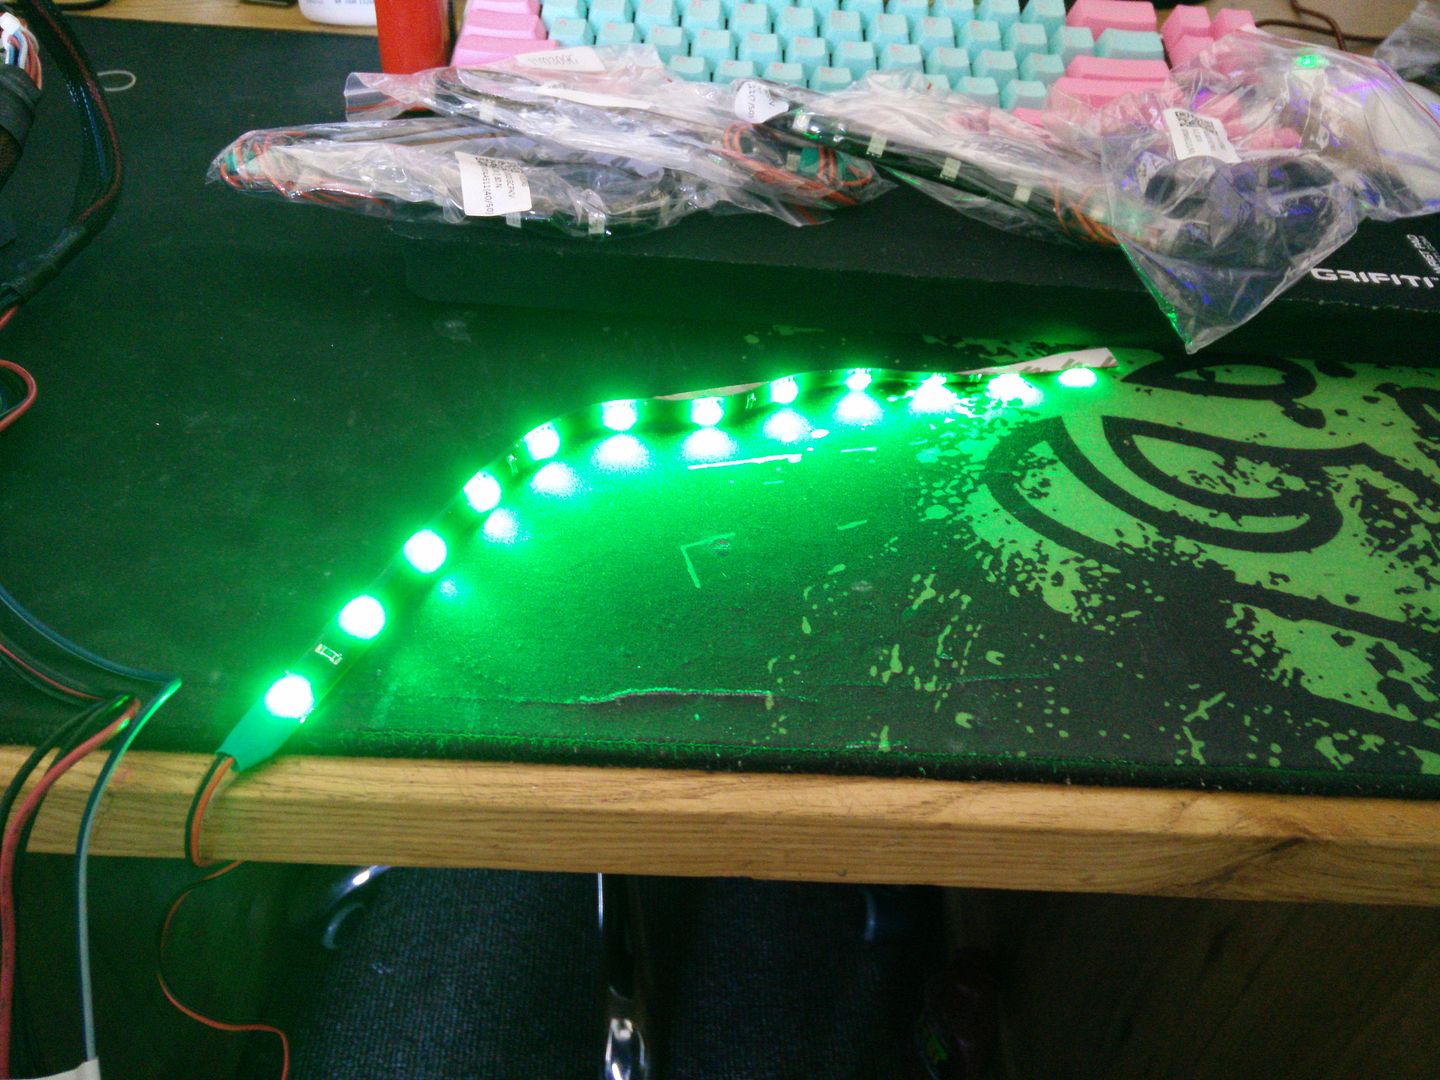
Duly tested of course. Hate the uneven nasty green shrink on there but that will come on any way and be replaced with black shrink and green paracord.
Had a bit of a result too. I got an email from the guy in China who I bought those two pumps from basically telling me they were going to be delayed because of customs for up to 30 days. In other words, he doesn't have them in stock and has wasted a week of my time.
It's not all bad though, because I actually don't even need them any more and it's £5.88 back into the pot for smalls


A4 black 3mm acrylic (for the feet) Sharpie (for touch ups possibly, only on the CPU bolts) some lime green vinyl and 8 LED strips. If it all goes to plan these will be inbuilt and you won't see a single one of them.

Duly tested of course. Hate the uneven nasty green shrink on there but that will come on any way and be replaced with black shrink and green paracord.
Had a bit of a result too. I got an email from the guy in China who I bought those two pumps from basically telling me they were going to be delayed because of customs for up to 30 days. In other words, he doesn't have them in stock and has wasted a week of my time.
It's not all bad though, because I actually don't even need them any more and it's £5.88 back into the pot for smalls

I had a similar issue with a DDC pump top from China. Perfect fit for my limited space and flowed in a single direction from side to side. Grabbed it and it showed up in 4 days...at an address the other side of the country. Took him 3 weeks to acknowledge anything and then just opted for a refund because he had no stock any more. Not that the refund ever showed up.
Almost crippled the project actually.
Almost crippled the project actually.
I had a similar issue with a DDC pump top from China. Perfect fit for my limited space and flowed in a single direction from side to side. Grabbed it and it showed up in 4 days...at an address the other side of the country. Took him 3 weeks to acknowledge anything and then just opted for a refund because he had no stock any more. Not that the refund ever showed up.
Almost crippled the project actually.
That sucks dude. I've never really had any issues with ordering from the far east. I mean yeah it's annoying but he's refunded me and I'm no worse off.
The only thing I need to come from HK really is the GPU block. The rest I can easily get in the UK (at a price of course, but it's only piddly things now like the 5mm LEDs etc).
I've literally got the entire loop sitting here in boxes, minus the GPU block. That's the only thing that could scupper me, but he has posted up a tracking no even if it's completely useless

It won't be finished this month any way. There is far too much to do to get the detail in (an entire day making a network card as an example to this) so I don't want to rush anything through.
I guess that's the nice thing about paying for it yourself and getting help from fellow enthusiasts, you've paid for the parts yourself and there's no sponsors so you can double finger salute any deadlines etc.
So probably the last log of the day is this.
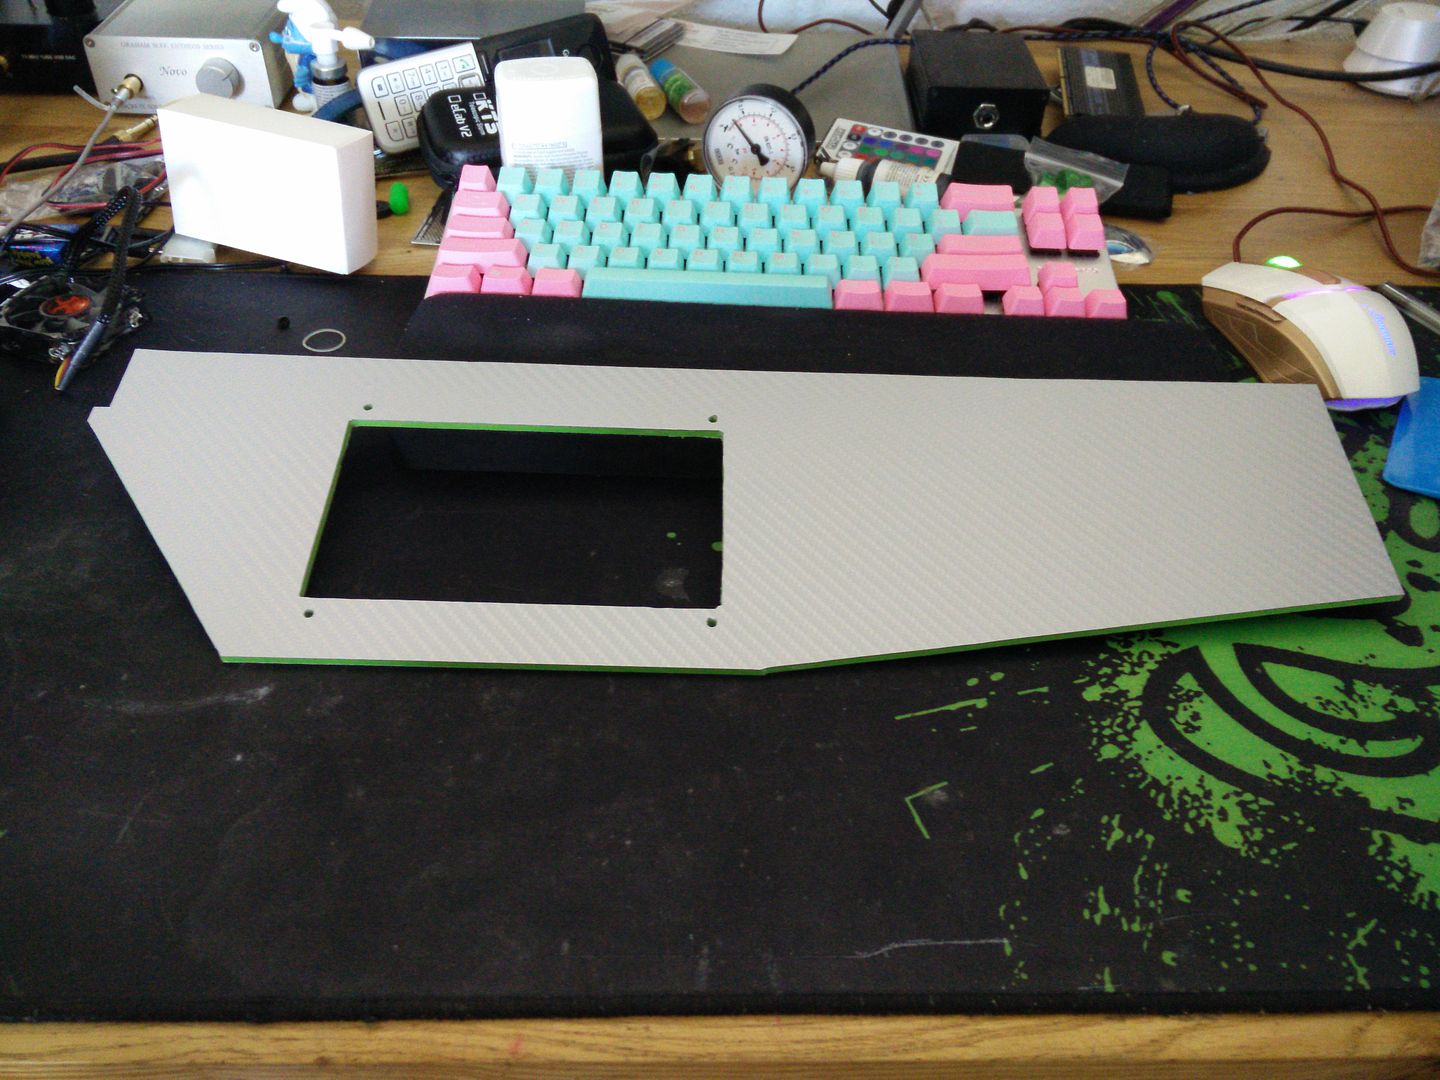
It doesn't look like much I know but it's had three coatings of silver dinoc. You won't see this unless you literally stick your head in the rig (and I doubt a head will fit at the end) but it's there to hopefully eliminate any light bleed.
If it still acts up I will order some cheap black stuff, then coat it with black and then silver again. I will not be using Dinoc on this project. It was fun back in the day but there are vinyls now which literally look like custom paint jobs (the candy apple metallic for example) so there's no need to stick carbon fibre everywhere.
I have now mapped the panel into Photoshop with the exact dimensions etc.
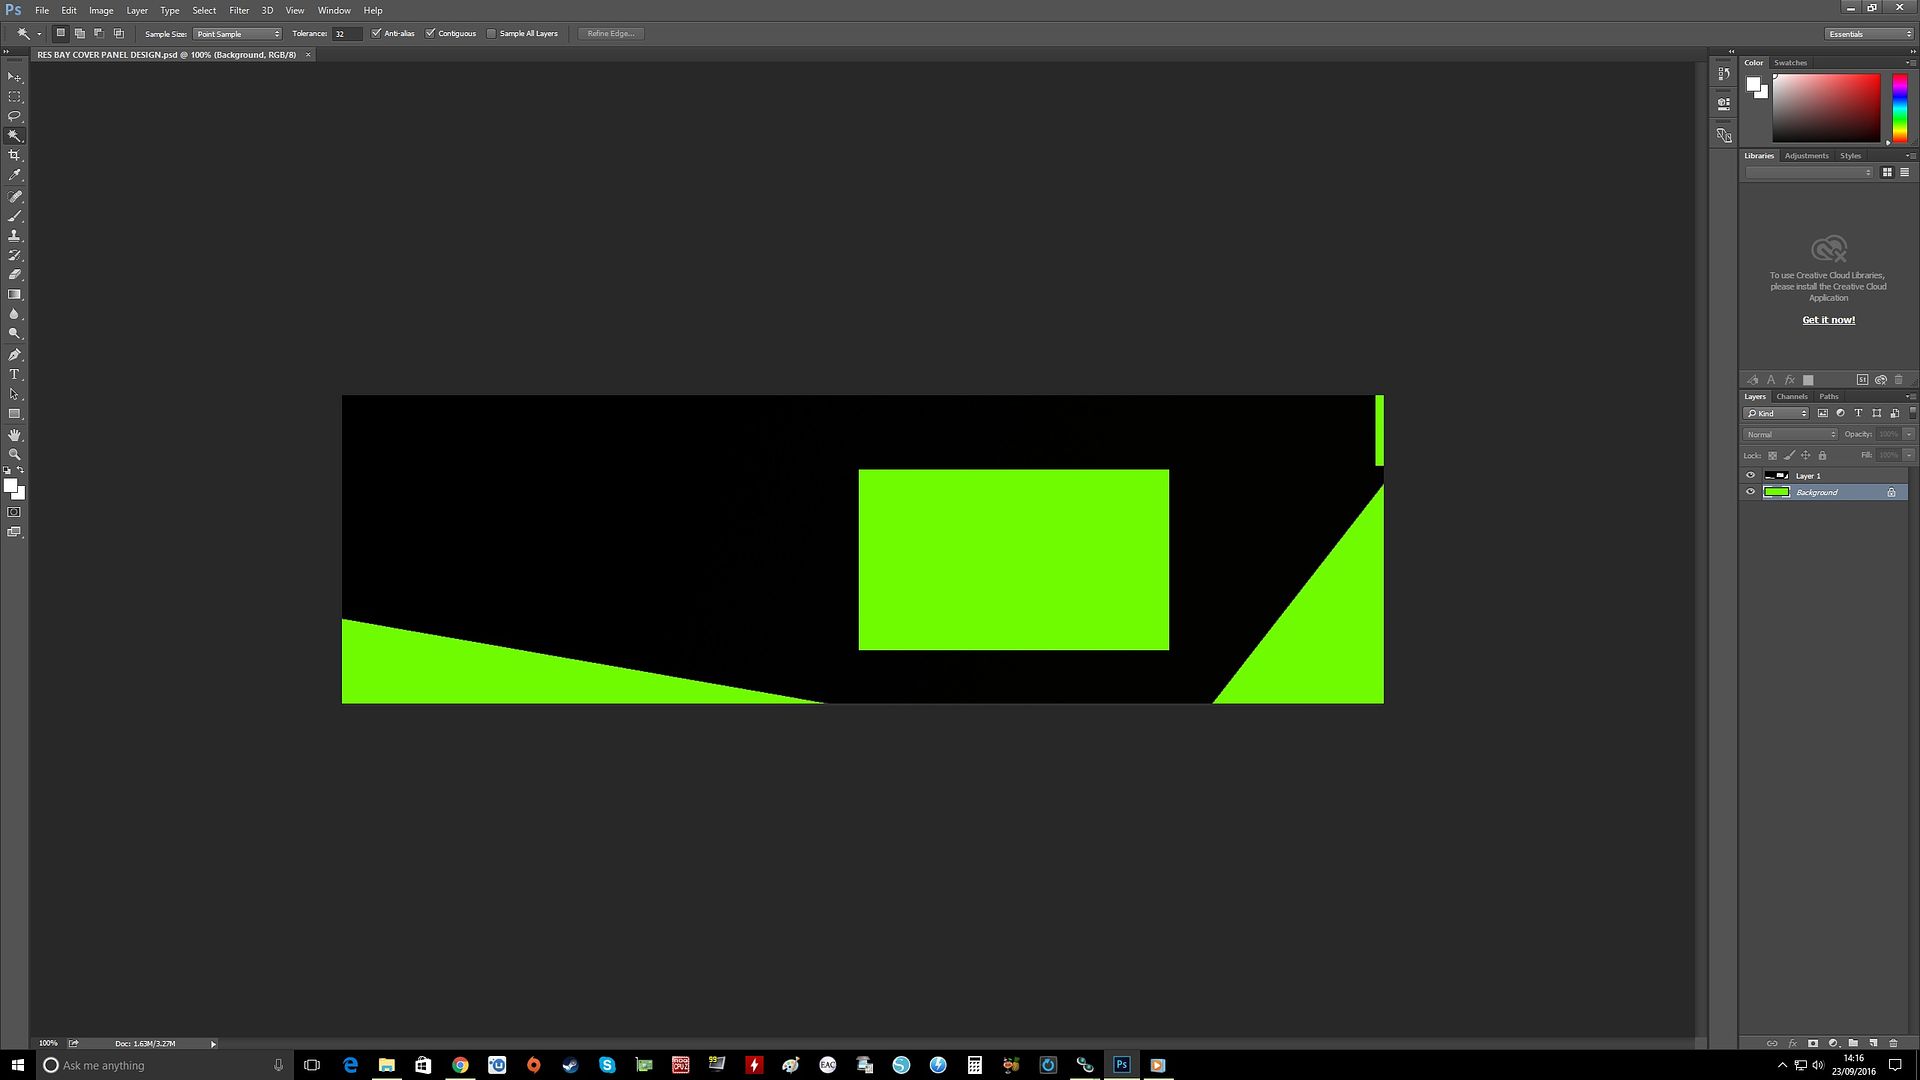
That took me about an hour. Hence why something as small as a network card can take an entire day. It's not just cutting and sticking things on it has to be mapped out and put through Photoshop first.
I will probably begin the design on that tomorrow and hopefully have it all cut and masked so it can be done

Photoshop to the rescue. Part of the reason Asteria II was in planning for a year was the drawing of the new structurals in Photoshop then moved to Illustrator for laser cutting. Including reworks, tweaks and new components, that was easily 6 months' work.
But it's worth it, especially when you can print out paper and construction card mockups for test fitting.
Keep up the good work!
But it's worth it, especially when you can print out paper and construction card mockups for test fitting.
Keep up the good work!
OK so today's job was making the back plate for the GPU. However, again I wanted to up the difficulty a little. In the past I would simply draw around the GPU and cut out a piece of plastic before sticking it on with double sided foam. However, it's gappy and uneven. I mean don't get me wrong it looks 100% better than no back plate but yeah, not exactly what I had in mind for Elvis. This will be made worse by the completely standard and ugly M3 bolts the GPU block comes with. I don't want to see them at all.
I wanted a two phase design that would go from black to green. So the first thing I did was put the back of the GTX 950 under the scanner, as this card is unique to MSI.
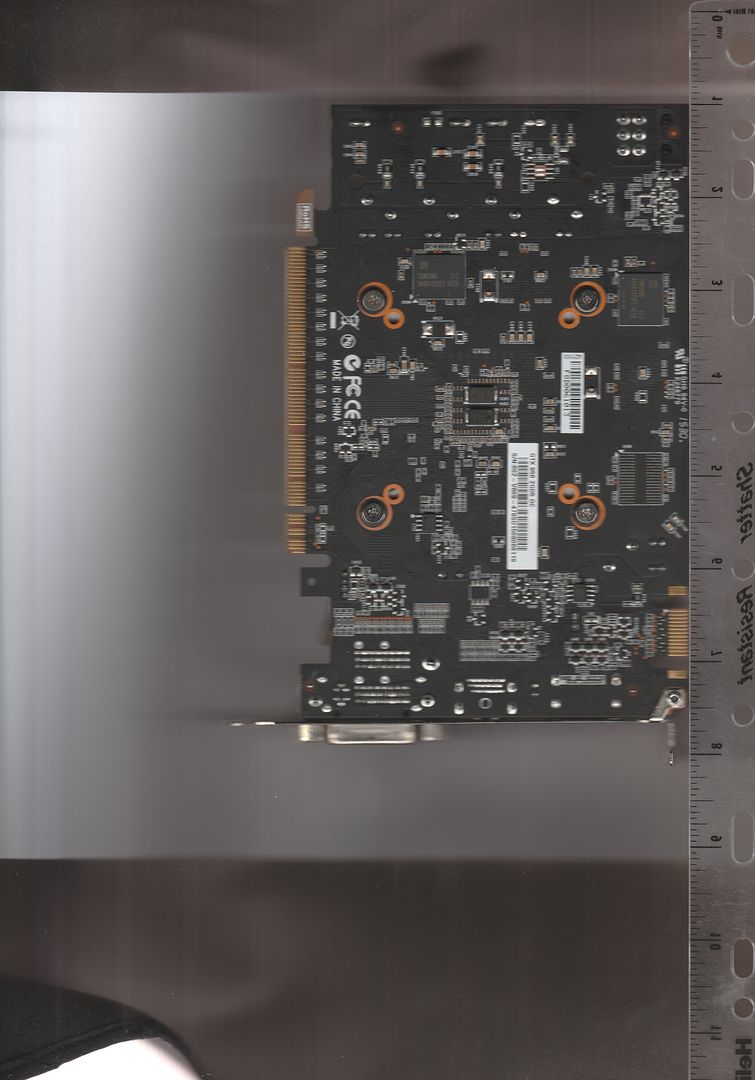
I decided that today I was going to take you guys through about 90% of the process so you can see what goes into this. So here is the GPU with the unimportant parts and scrap area cut off.
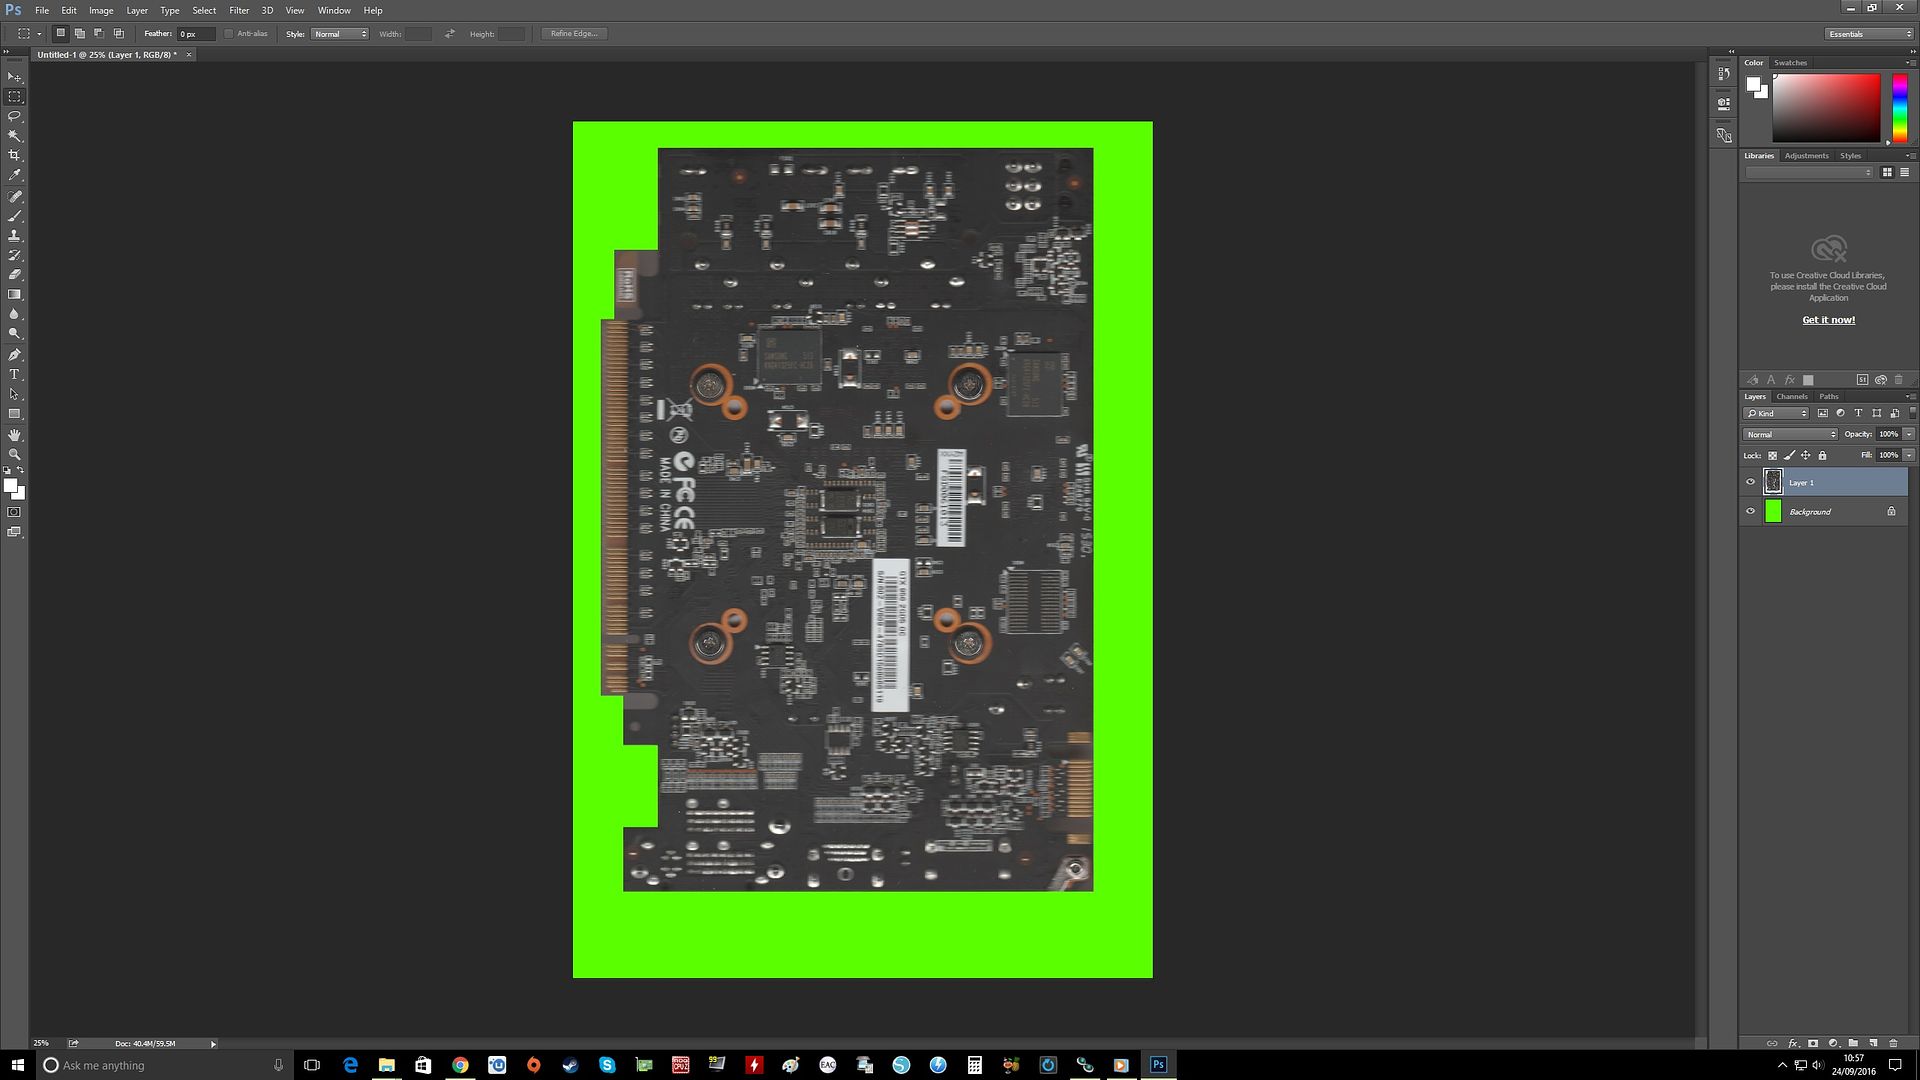
I then created a 5mm frame.
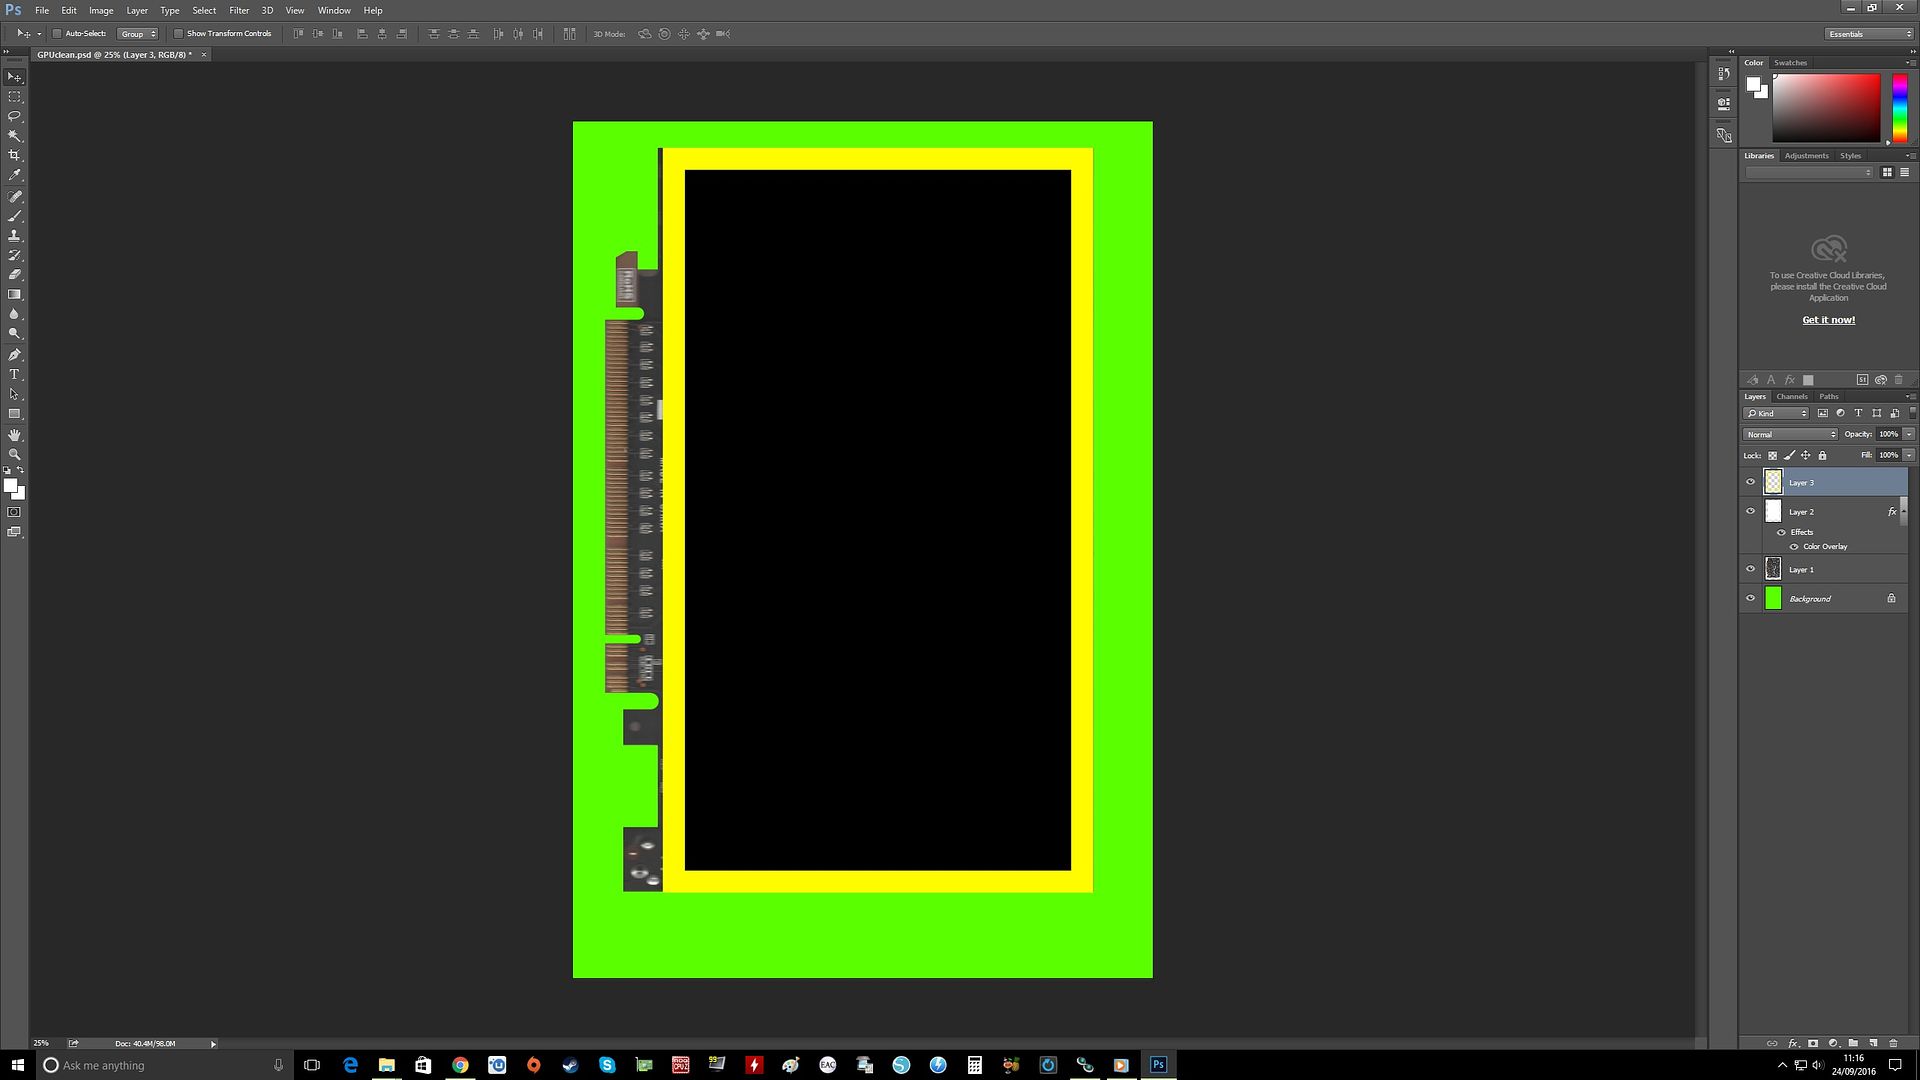
Then with Photoshop I reduced the opacity so I could see what it would hit.
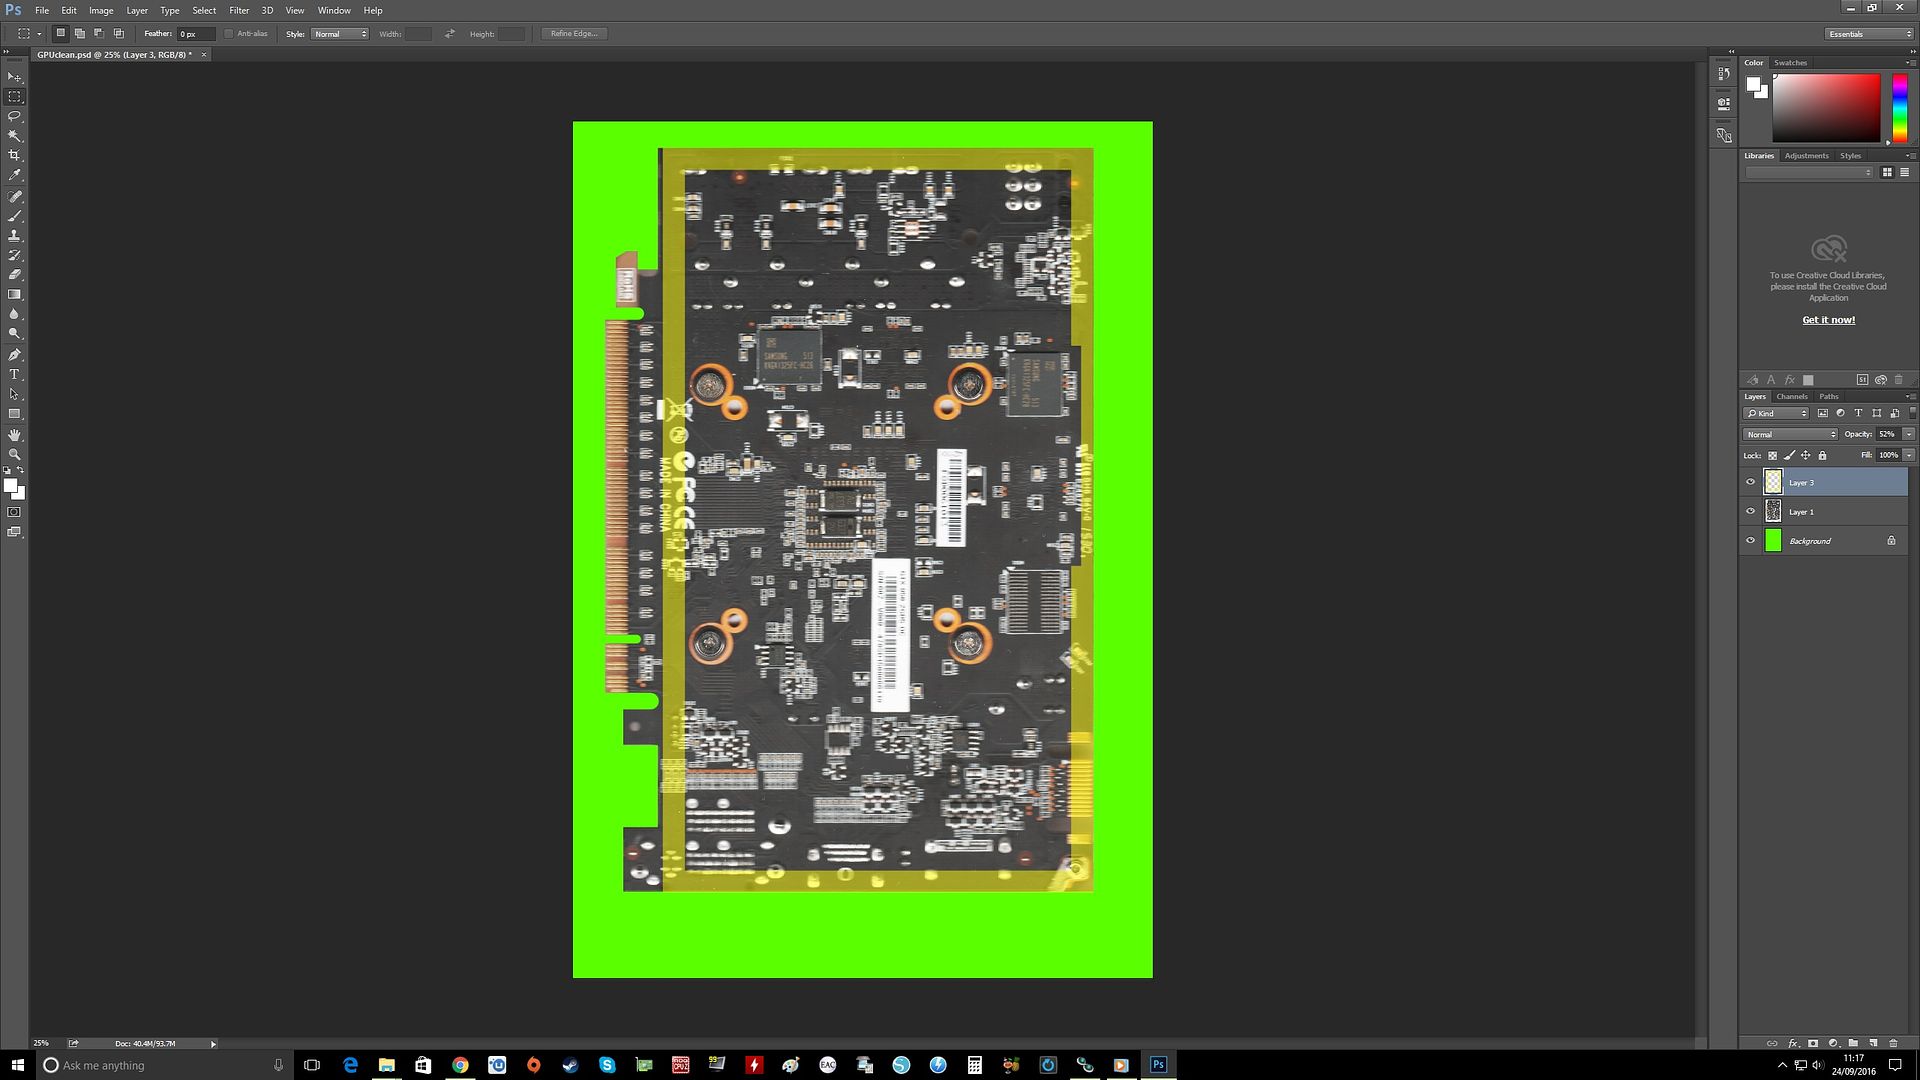
OK, so now everywhere it fouls a resistor or solder pin ETC I had to cut. Here it is with all of the problematic areas removed.
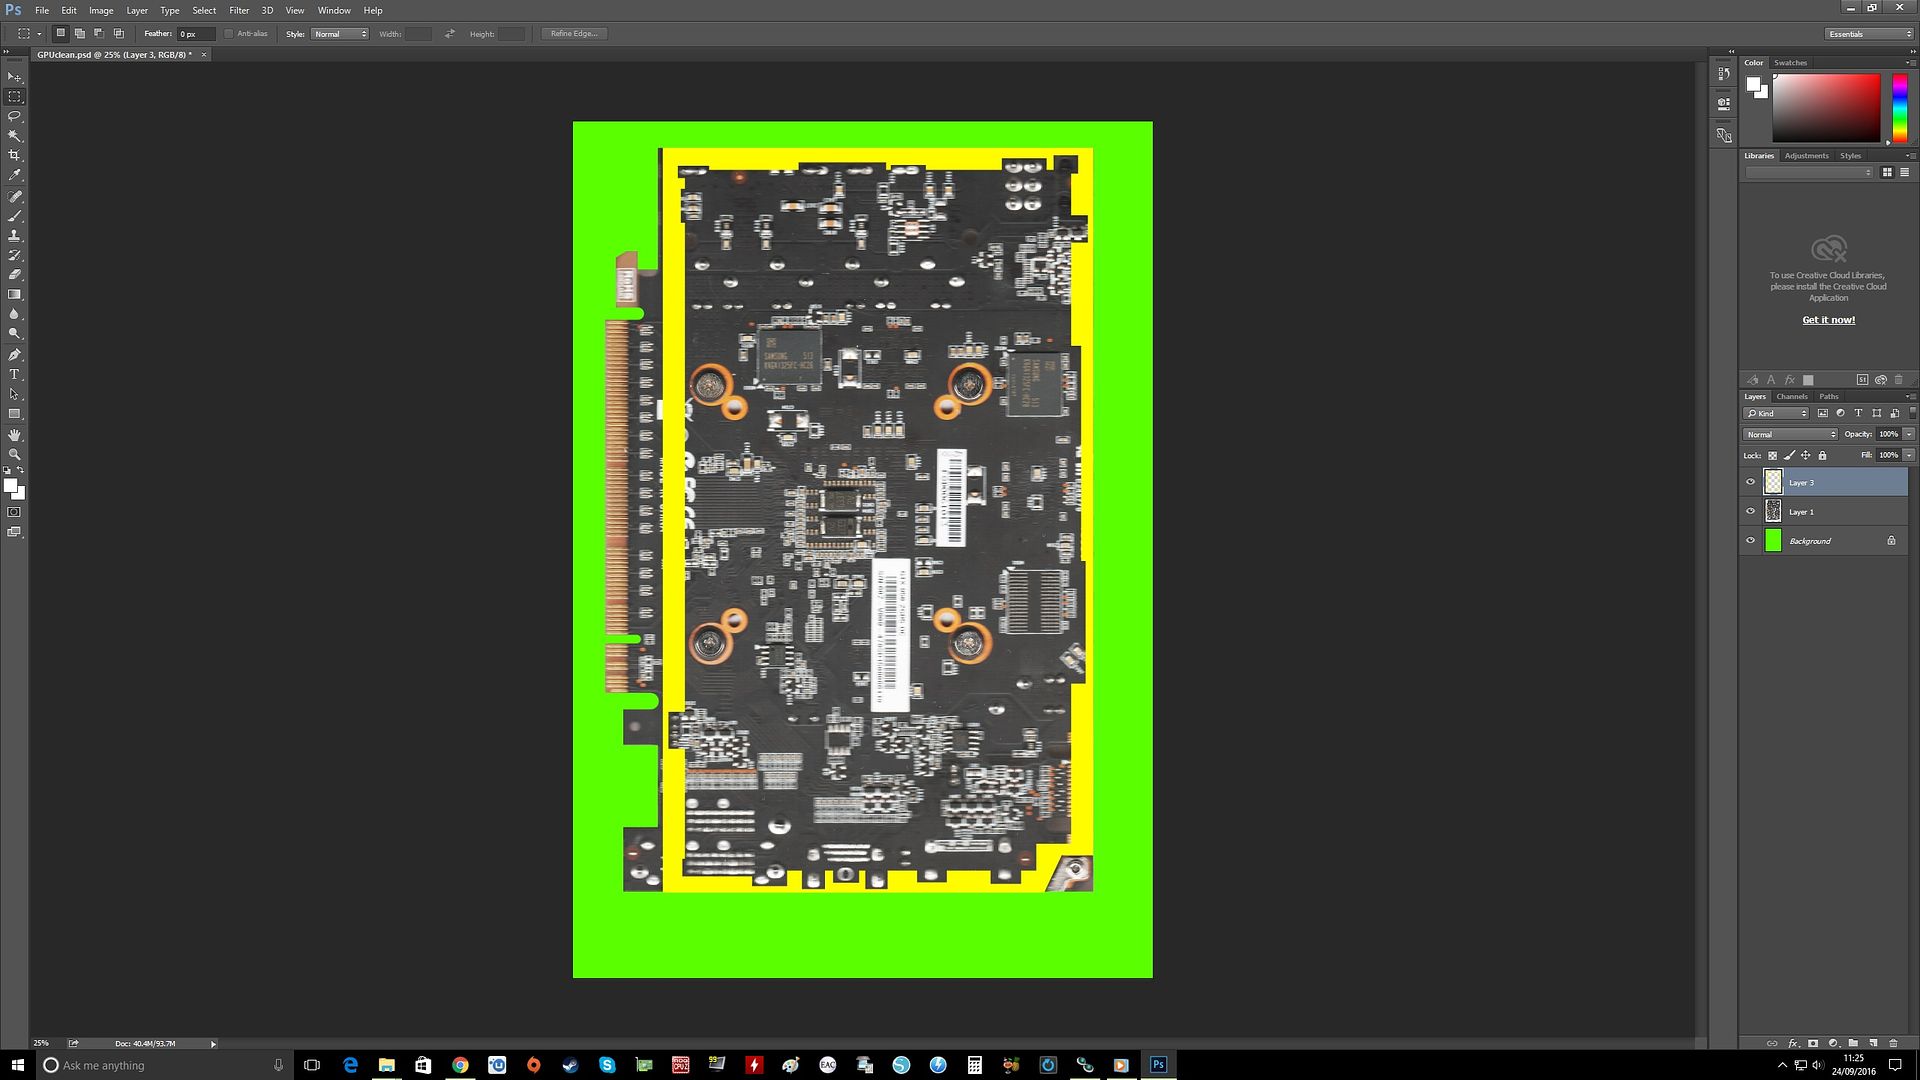
Some of that ends up around 1mm thick lol. Still, nothing ventured nothing gained and failure is always an option
So I changed the colour to black for the plotter.
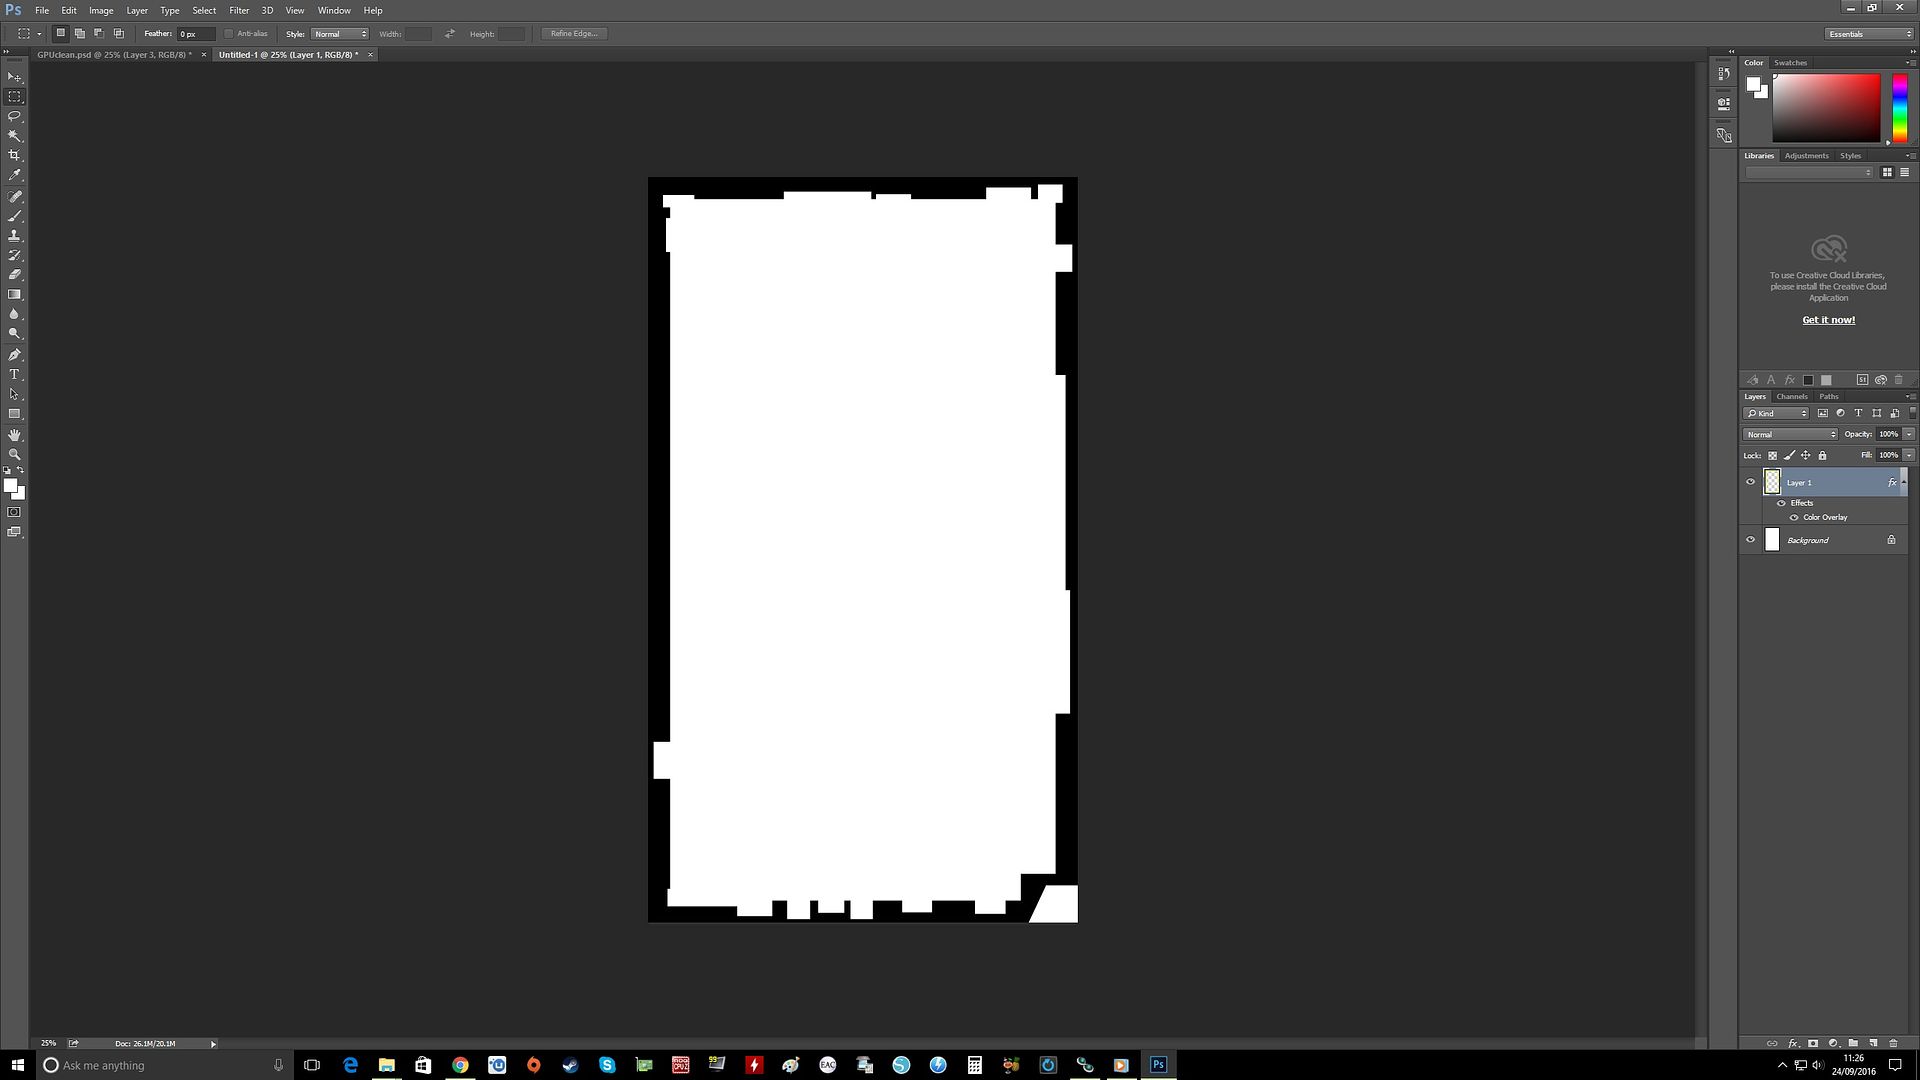
Now I needed some vinyl. I am using leftover scrap that I nearly threw out to cut templates.
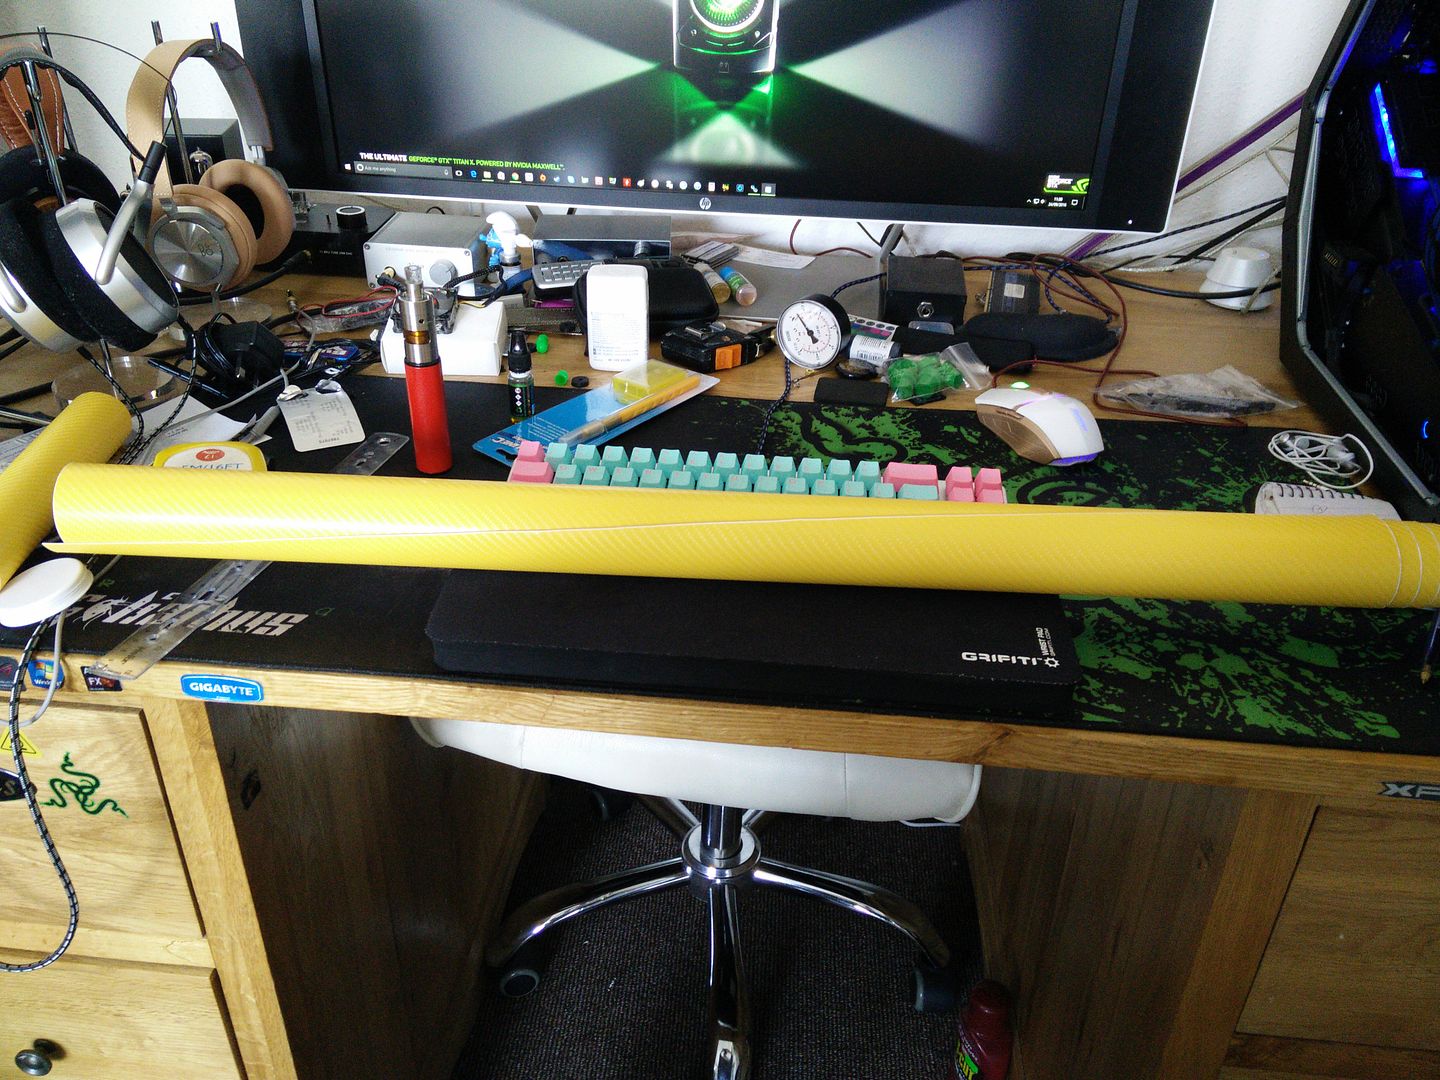
Cut a 10" strip so I can fit it in the plotter width wise.
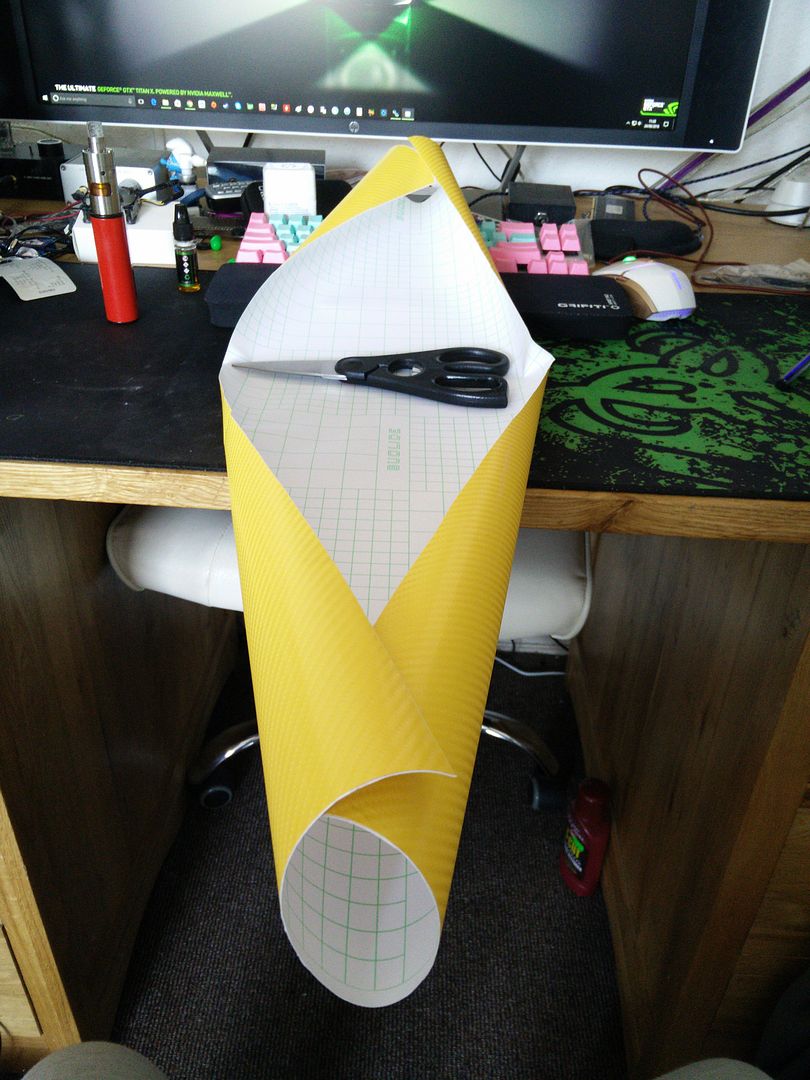
Cut down to A4 height (around 300mm)
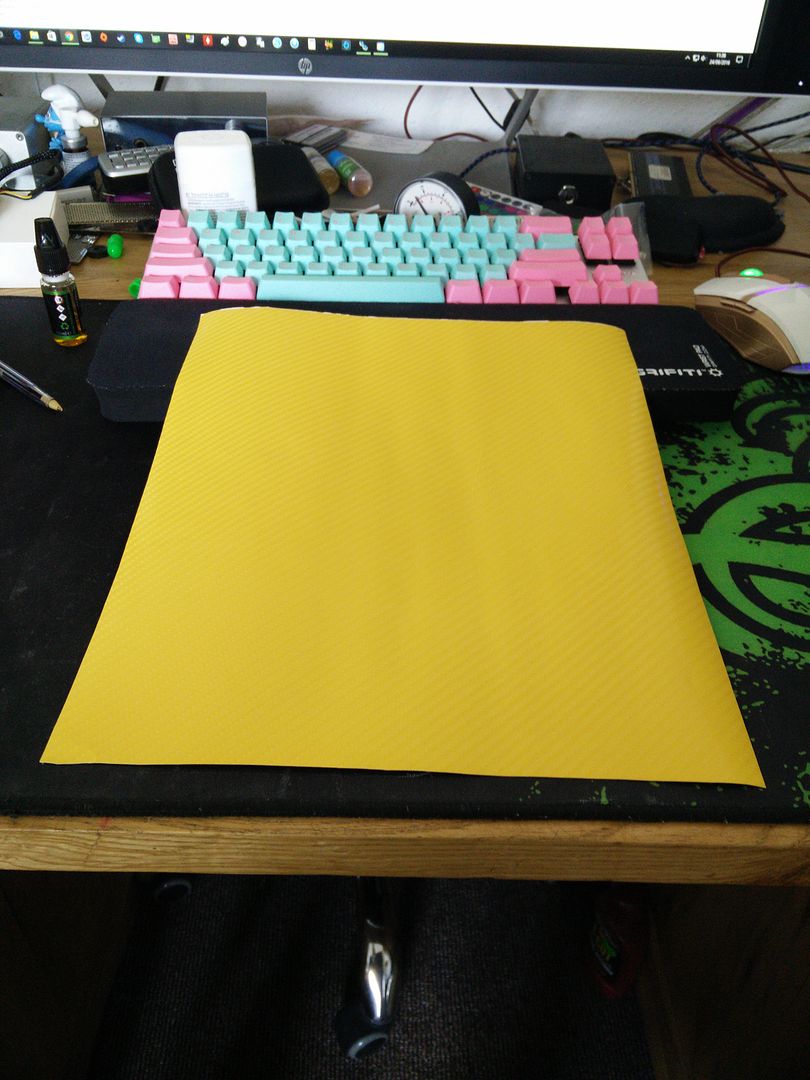
Note, when you take it off of a roll like that you need to squeegee it to get the creases etc out. I have already done that in the pic. OK into the plotter.
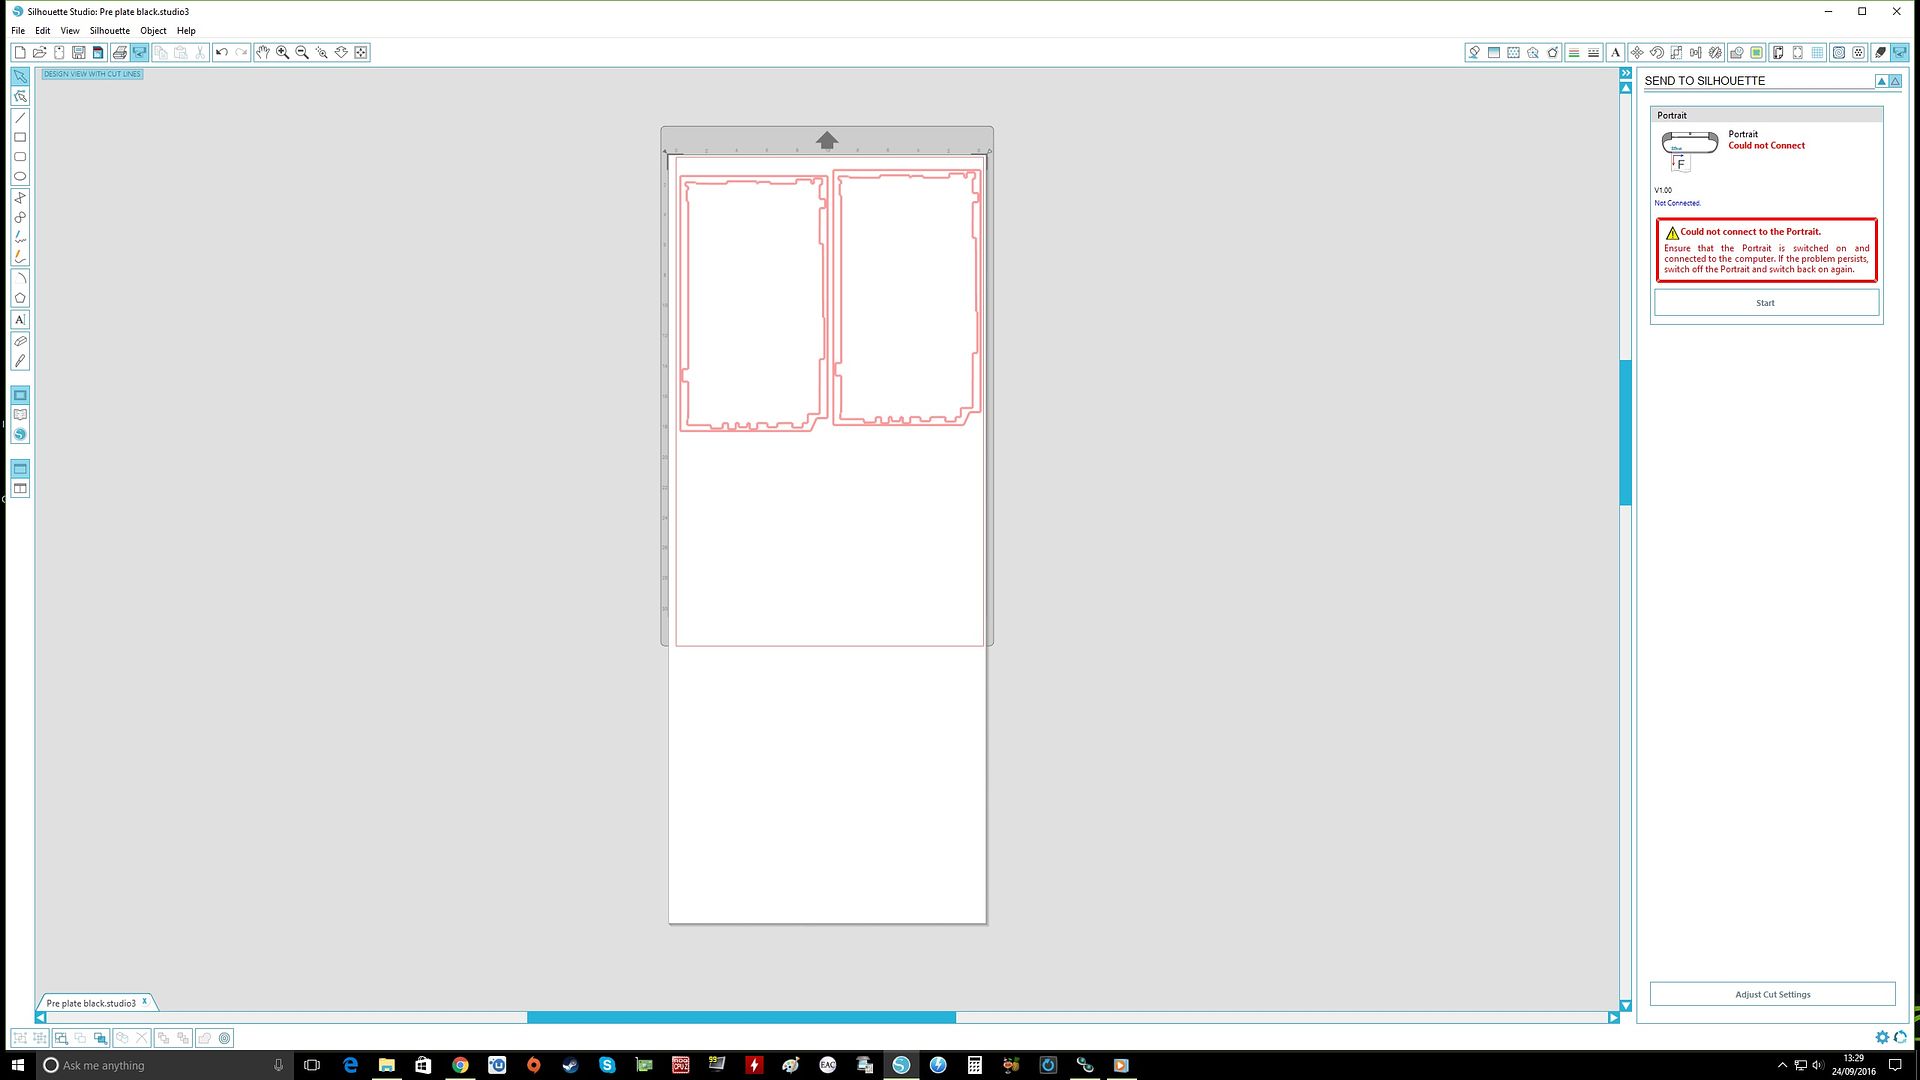
I have marked two for cutting however I will not be using them both. I always cut two of everything in case something gets screwed up or I mess up peeling. The issue is this part may change shape slightly due to heat and stress. Remember, I am really pushing it here with 1mm tolerances with a Dremel. No machines, no CNC, just my hands and a 25mm spinning blade.
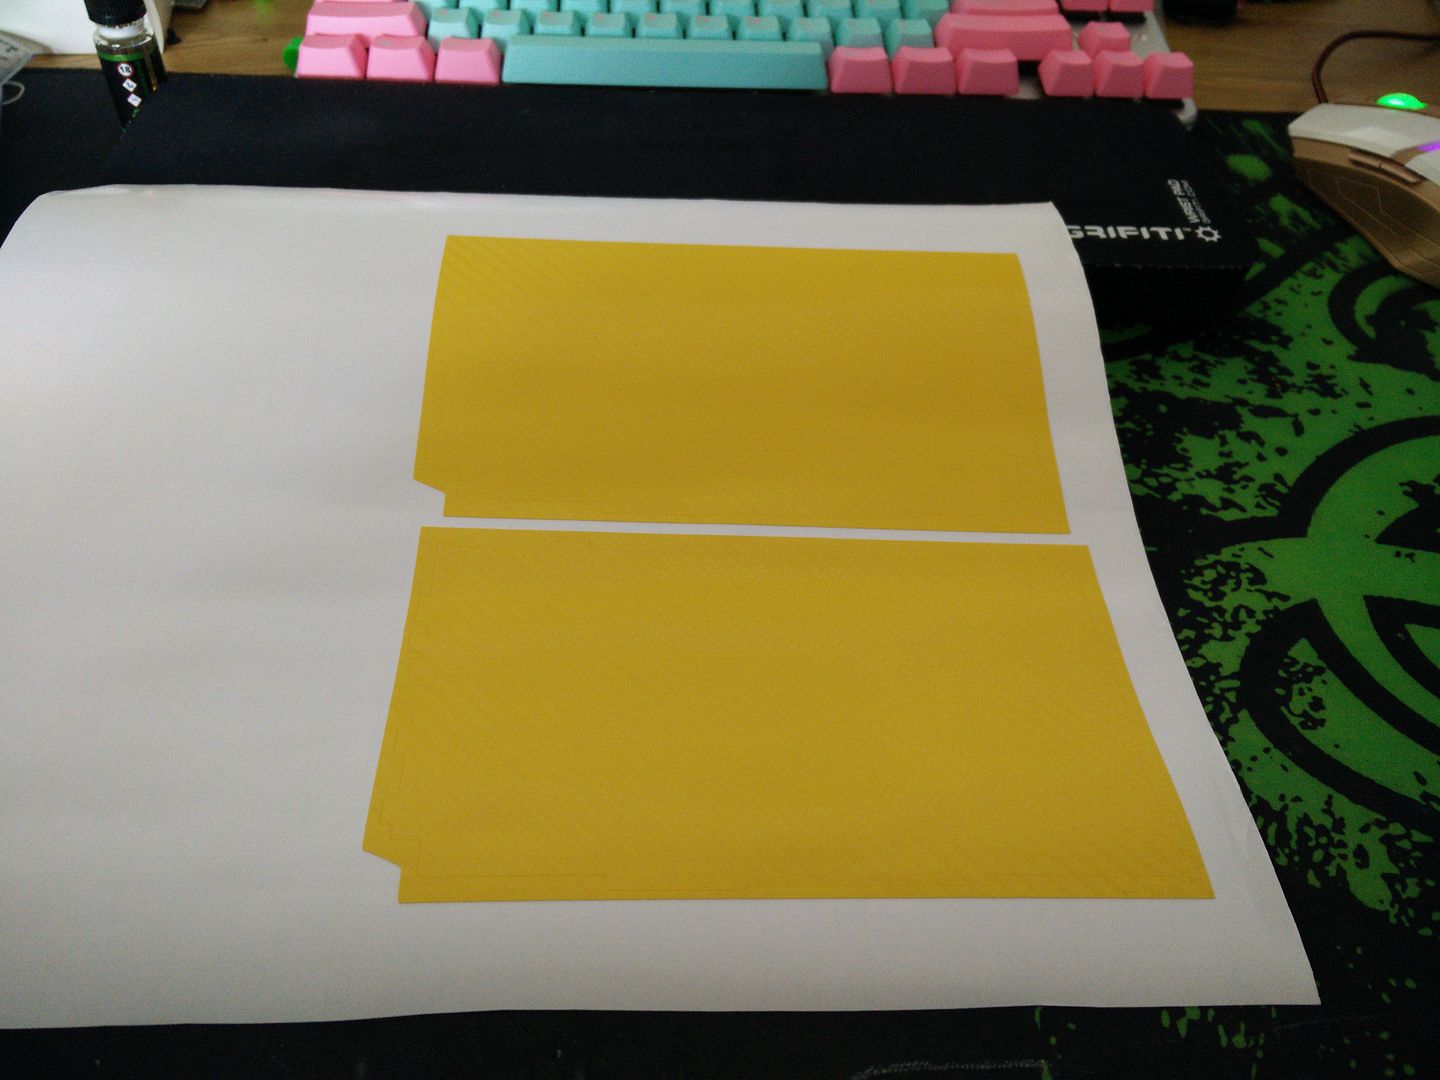
Here they are cut but you can't see it too well due to the yellow.
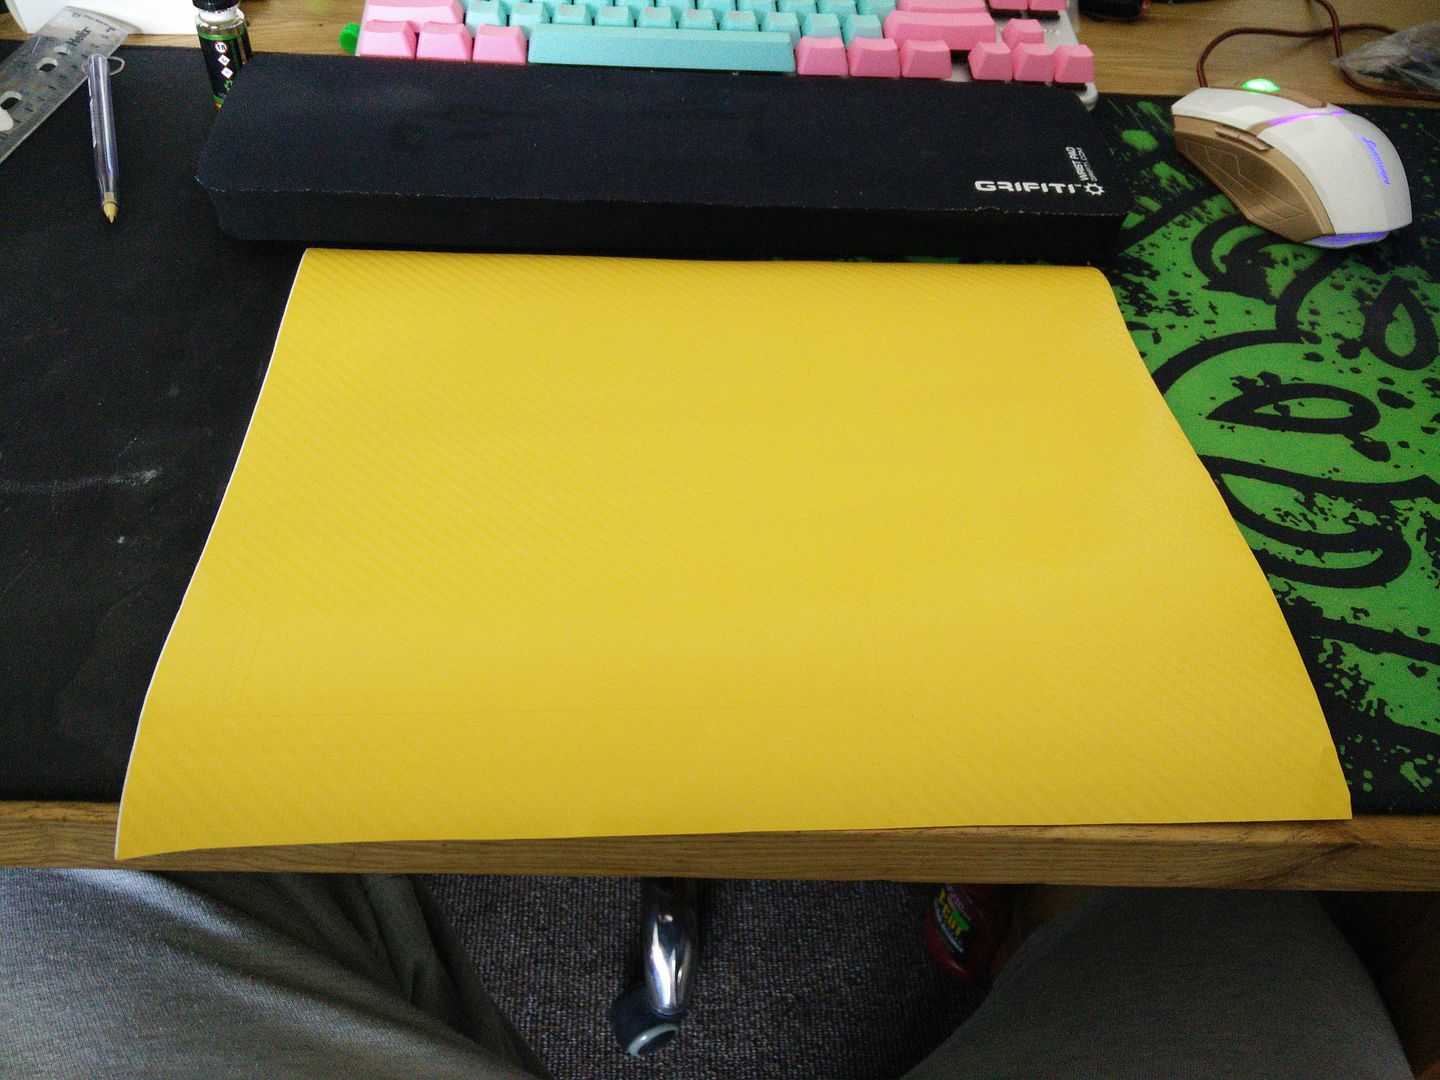
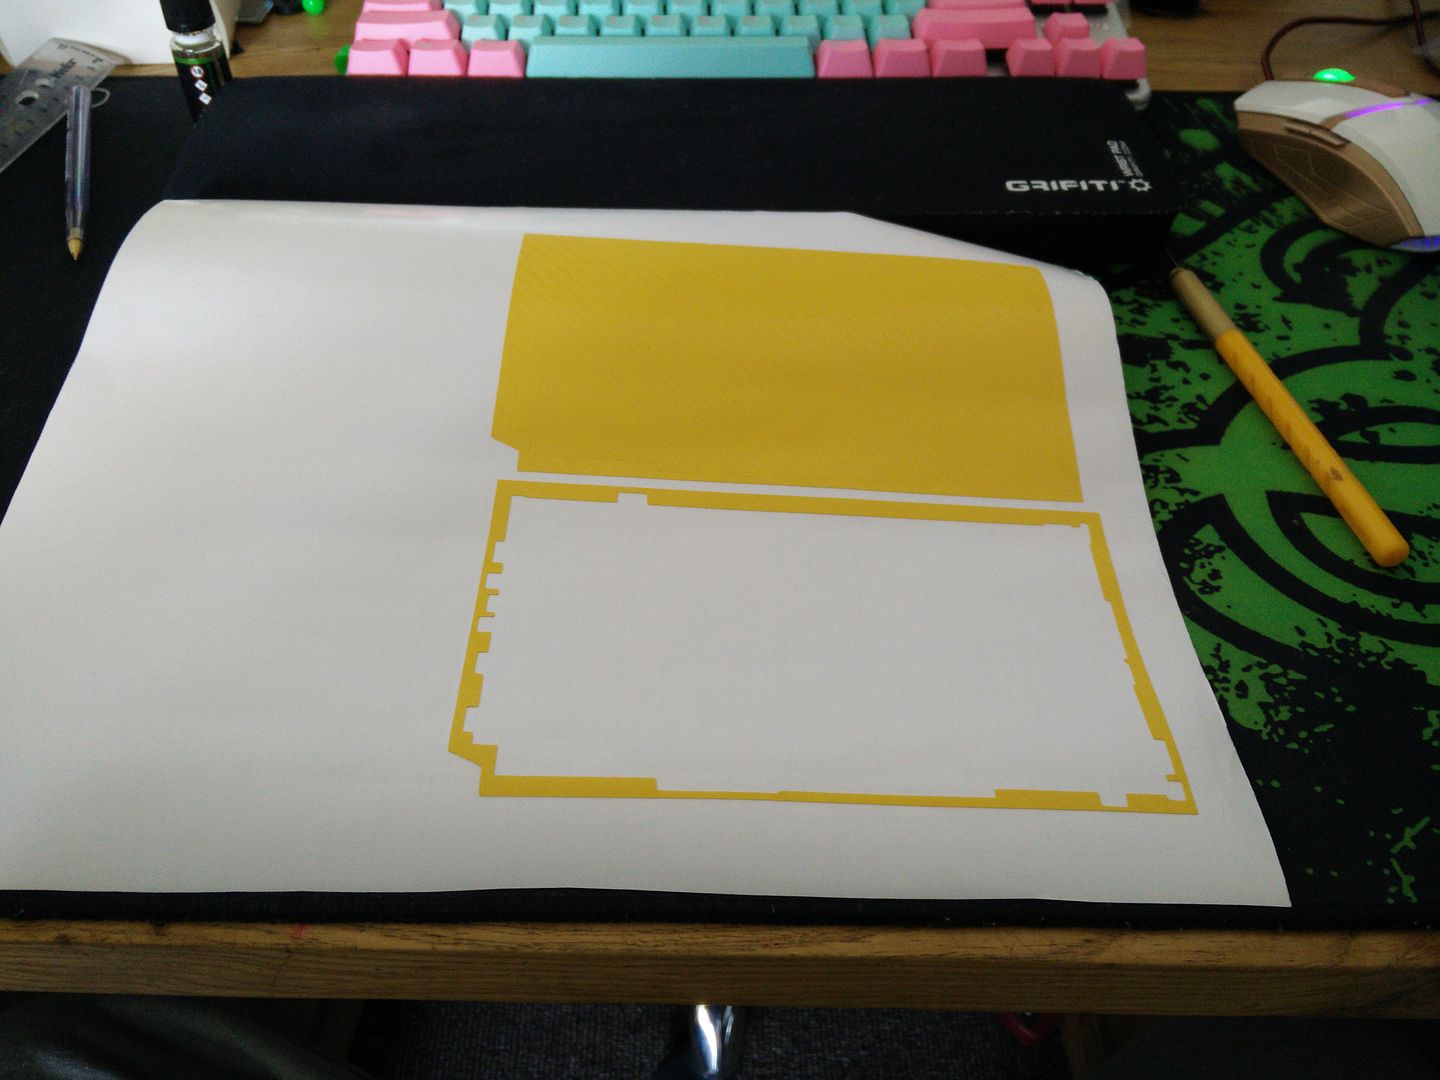
First peel. This is the easy one.
Second peel is considerably more difficult as that very thin frame gets snagged and wants to lift and go out of shape.
Talking of out of shape. Make sure you measure it to make sure it is the correct dimensions. It's easier to pull it around a bit on a slippery piece of backing than it is once you have stuck it down.
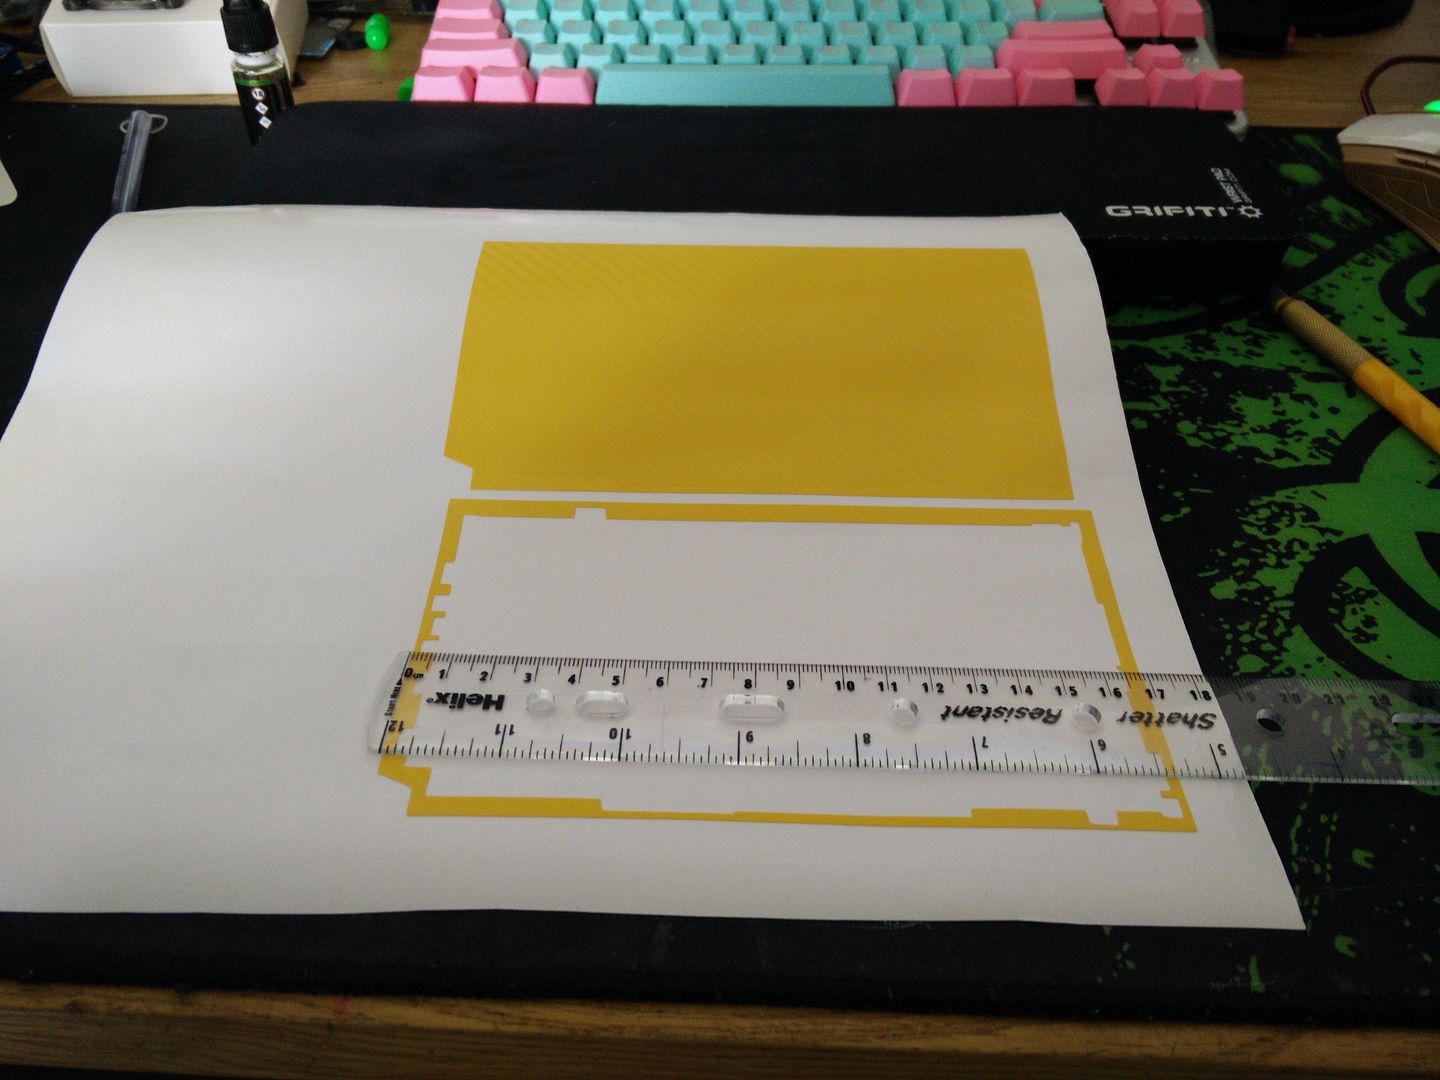
OK so we are within .5mm which is good enough.
Note, I do not photograph the actual work stage. The reason is that my best camera is a part of my phone and I don't want to wreck it. There's not much to see any way, just me wearing a gas mask with a Tshirt over my head pulled down to below my eyes and concentrating.
I will leave Morgan Freeman to explain how the next bit works. This is from The Shawshank Redemption..
Geology is the study of pressure and time. Thats all it takes really... pressure... and time...
It fits.
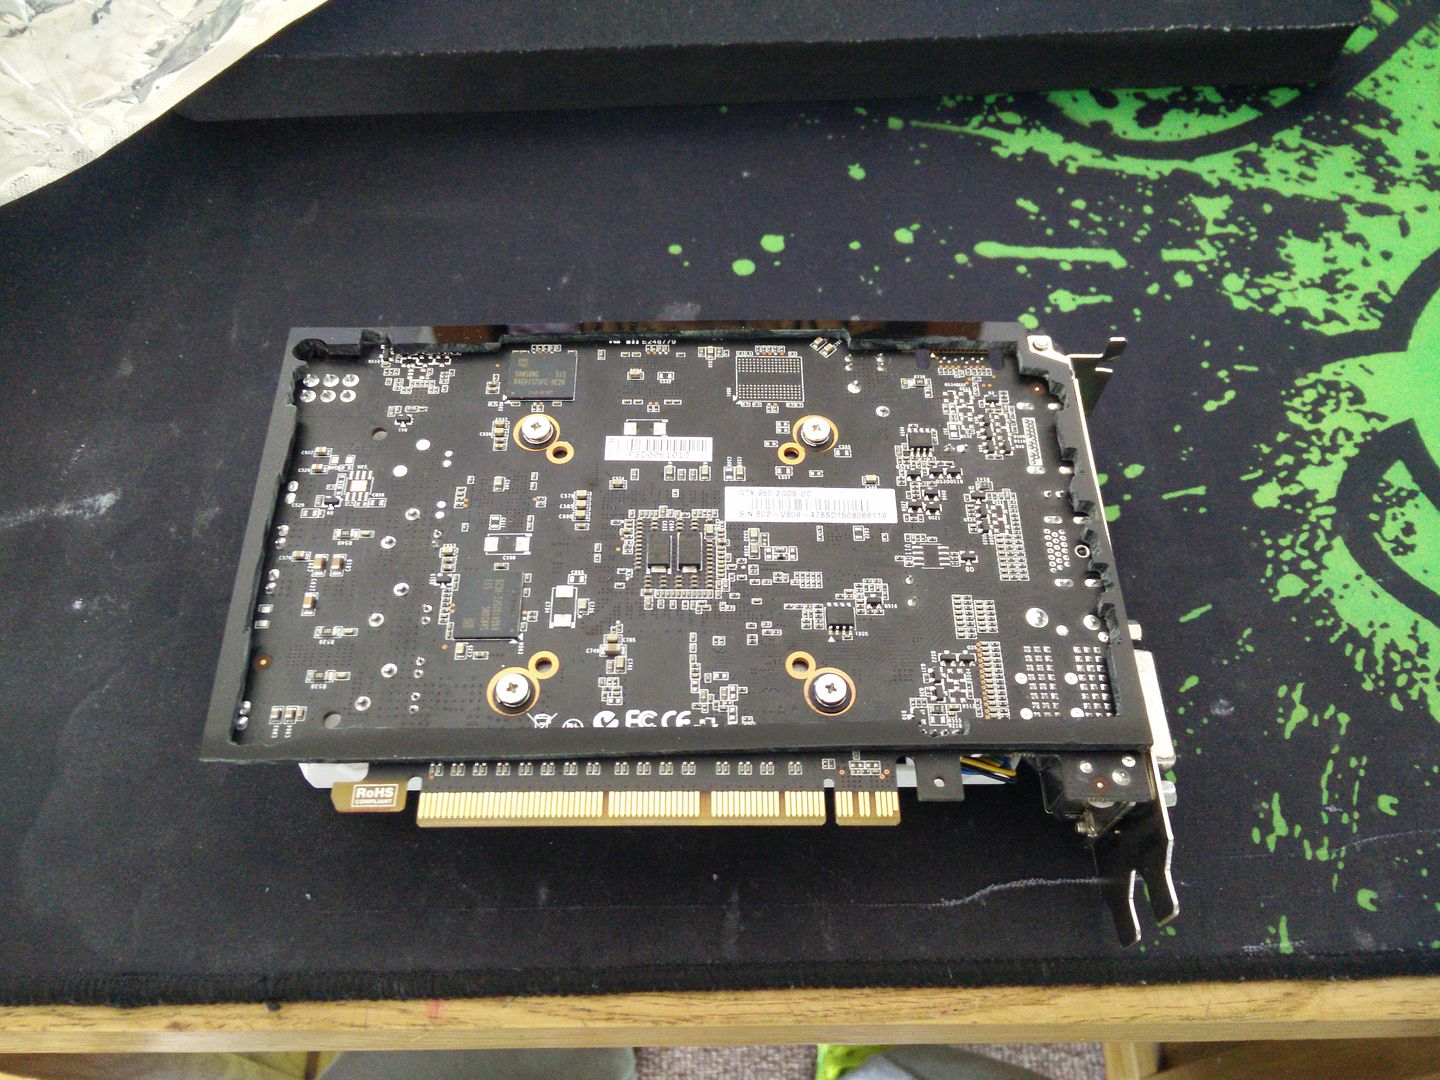
Bogey time.
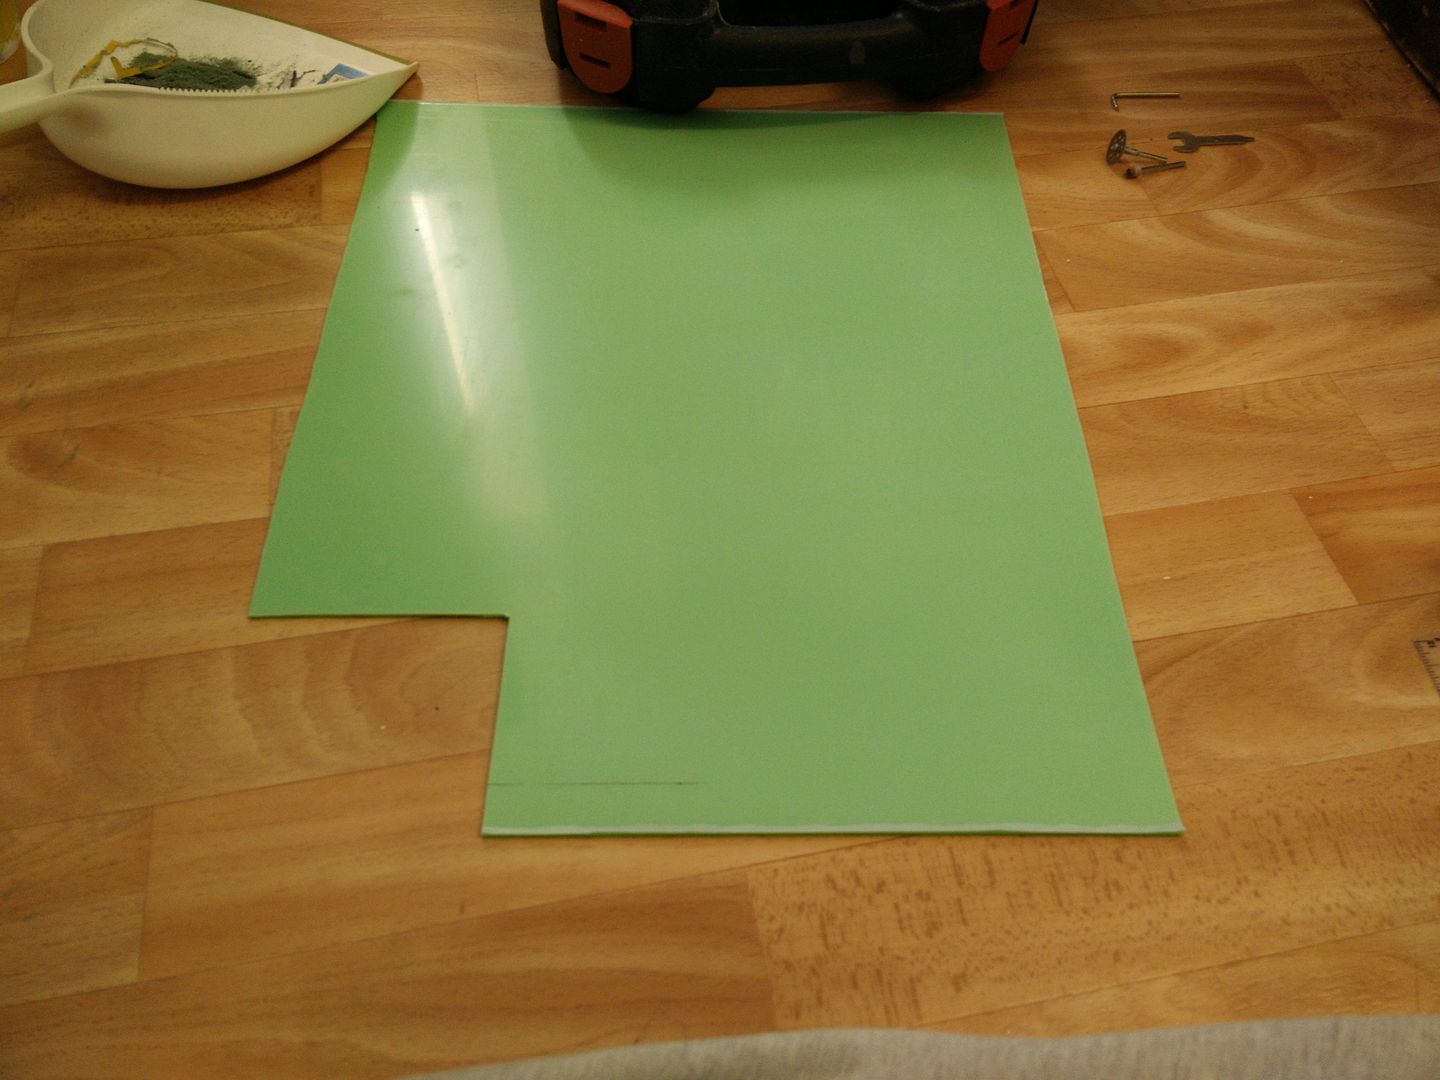
I deliberately over cut this by .5mm so I could sand back. Obviously if I hit the black too hard I will blow through the thin edges, so I made the green slightly larger so that I can sand it into the black rather than the other way around.
OK so what I have done here is completely tape off the edges and seal them. This is so that the Plastic Weld will not pee out of the edges and wreck the piece.
Talking of which.
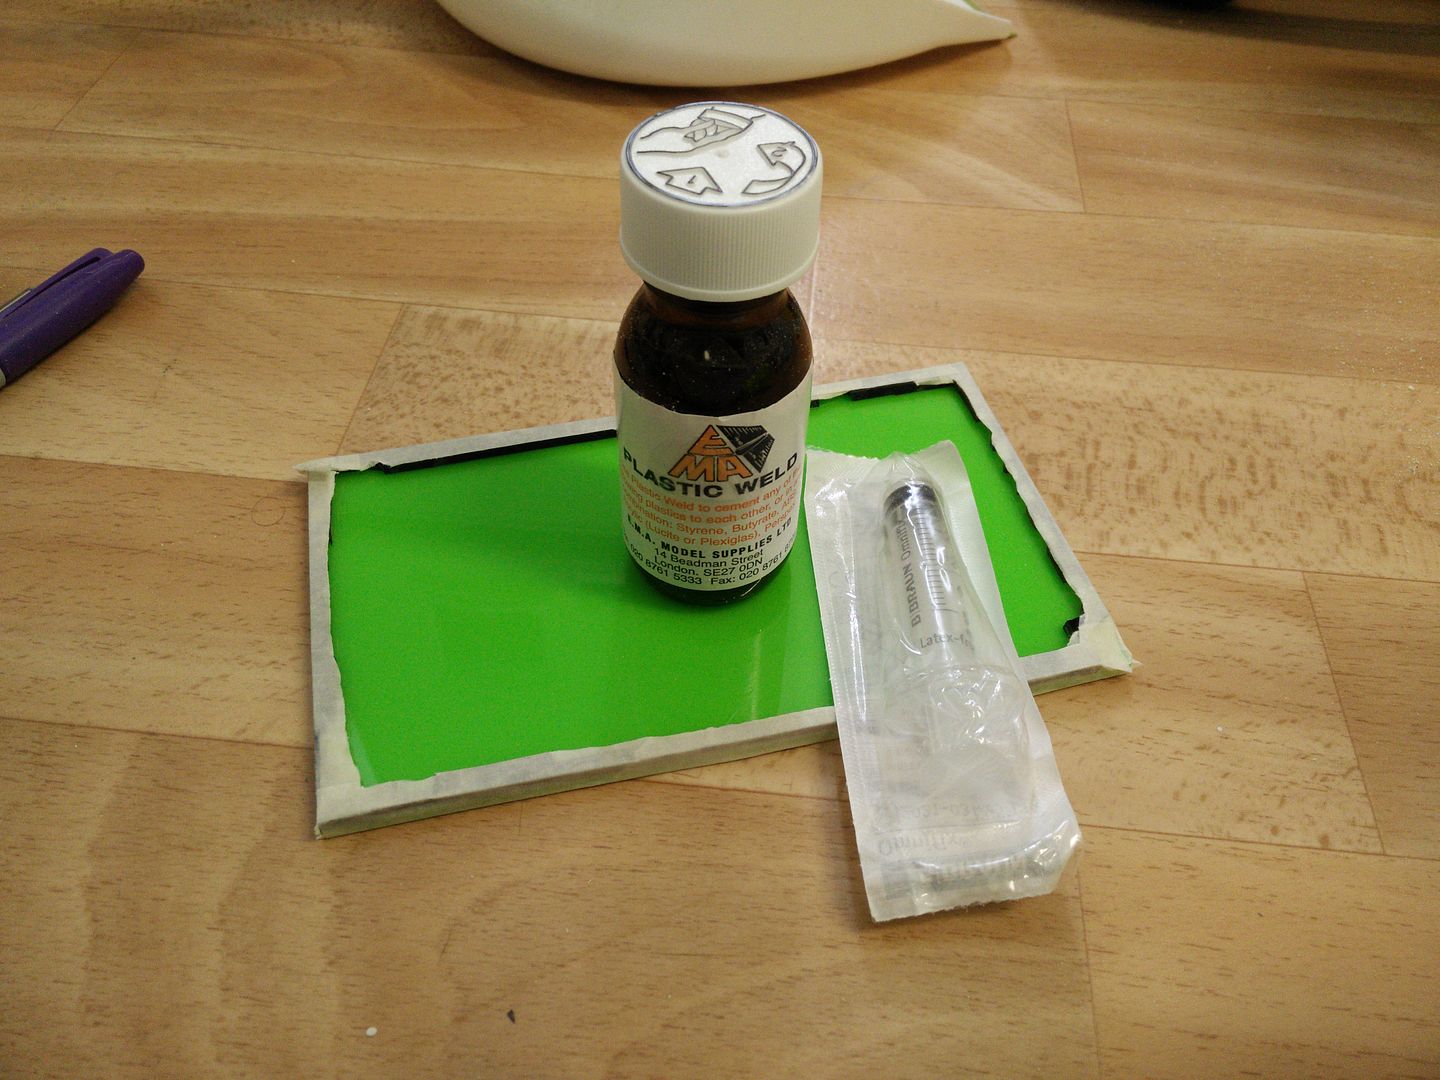
About fifteen minutes later after I was sure the reaction had completed and.
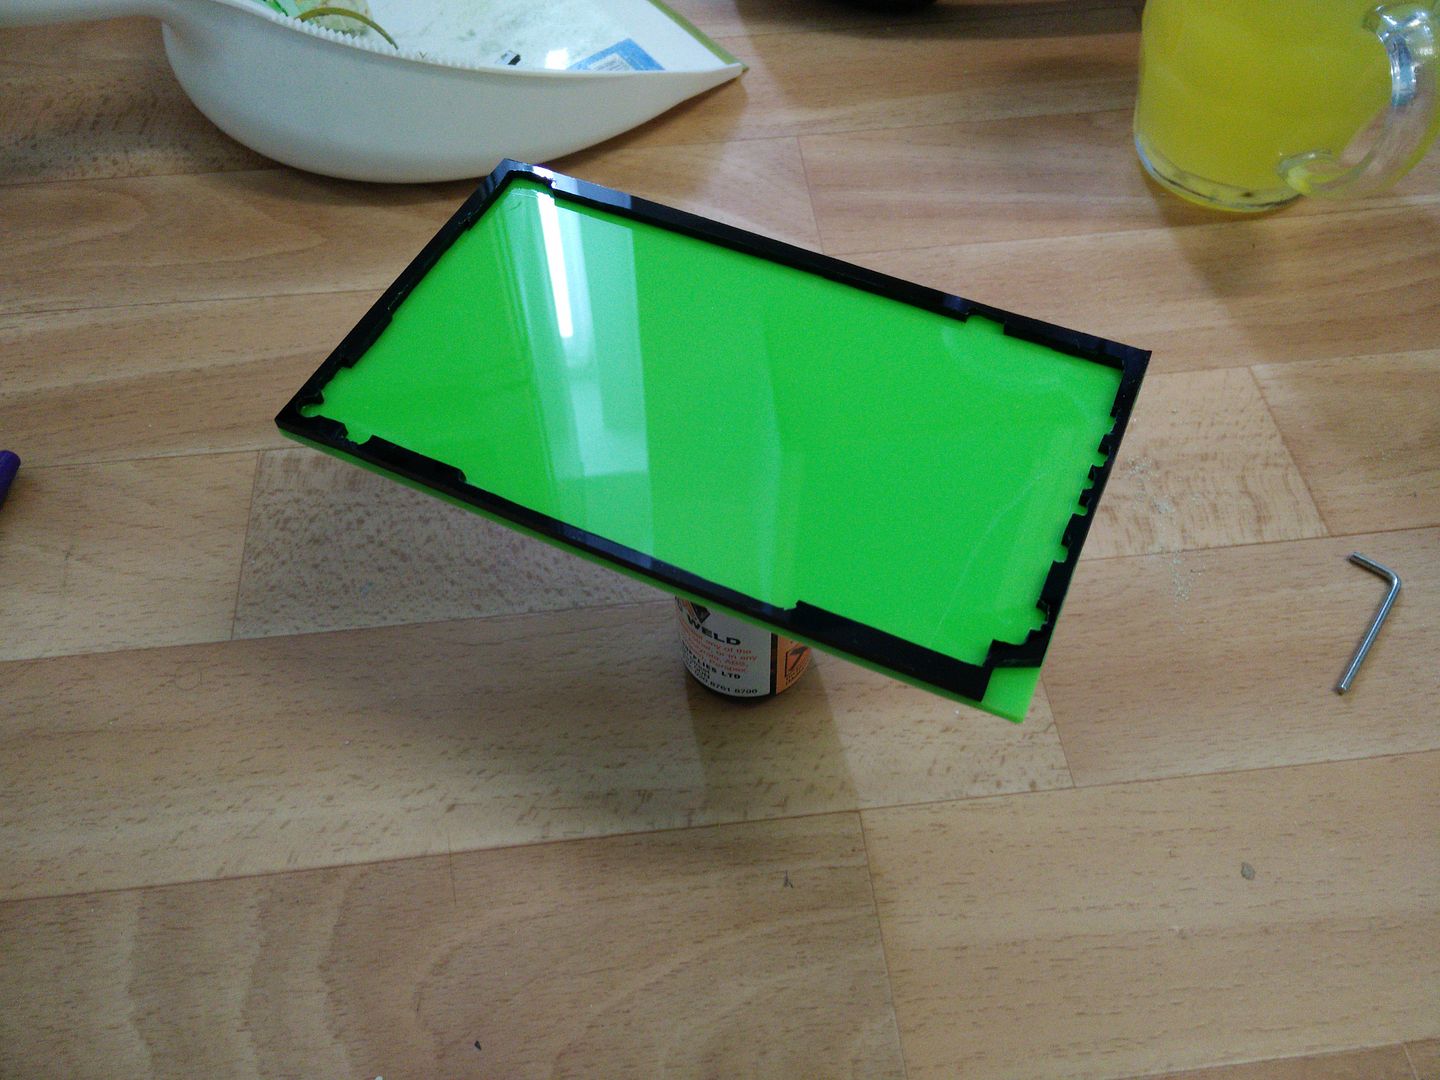
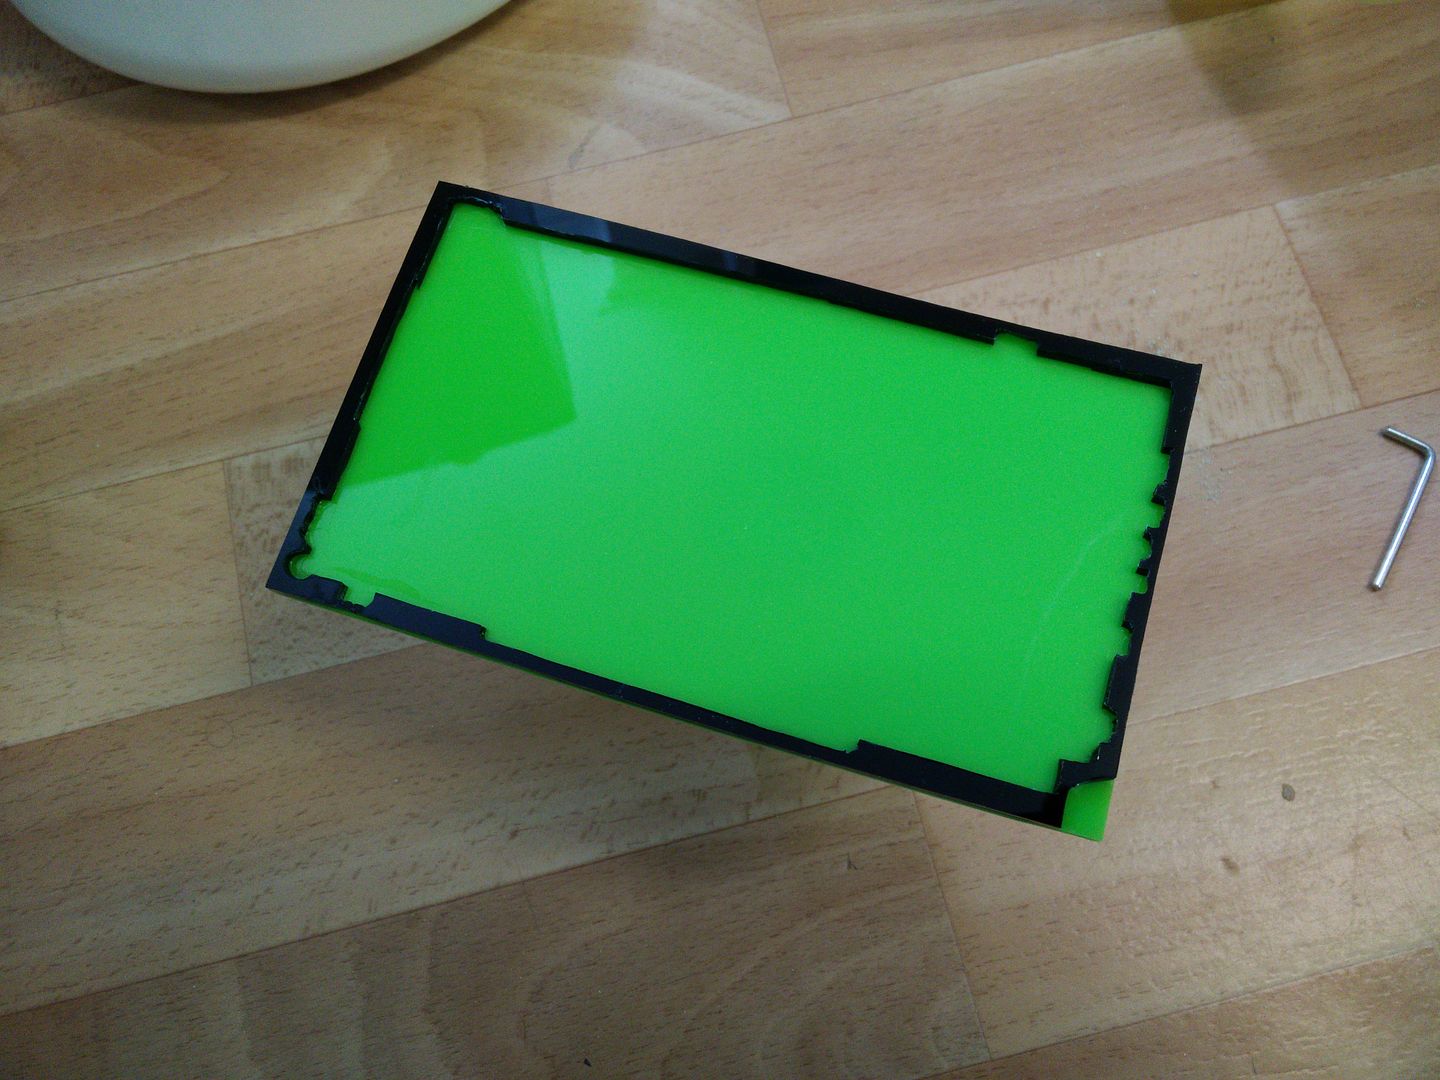
Not bad. I will sand it later, once I am absolutely certain that the process has completely finished. Once it does? you wouldn't get that off with a hammer and chisel.
I bet you are now thinking "hey, he has missed that cut off bit at the end"
I didn't
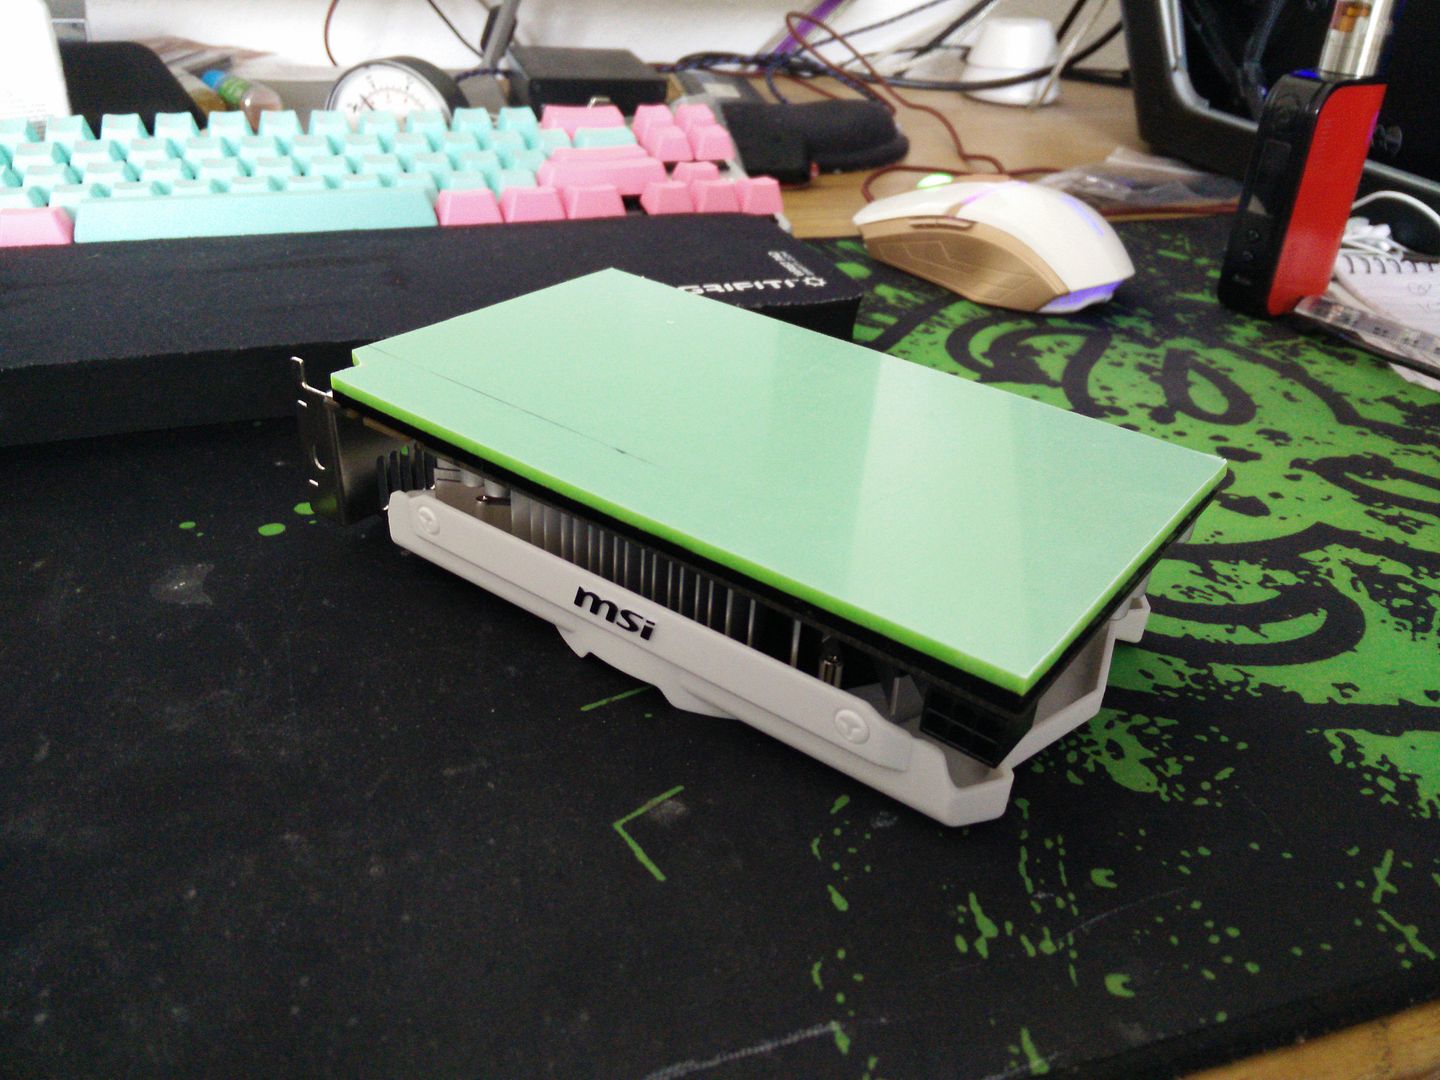
Like a glove.
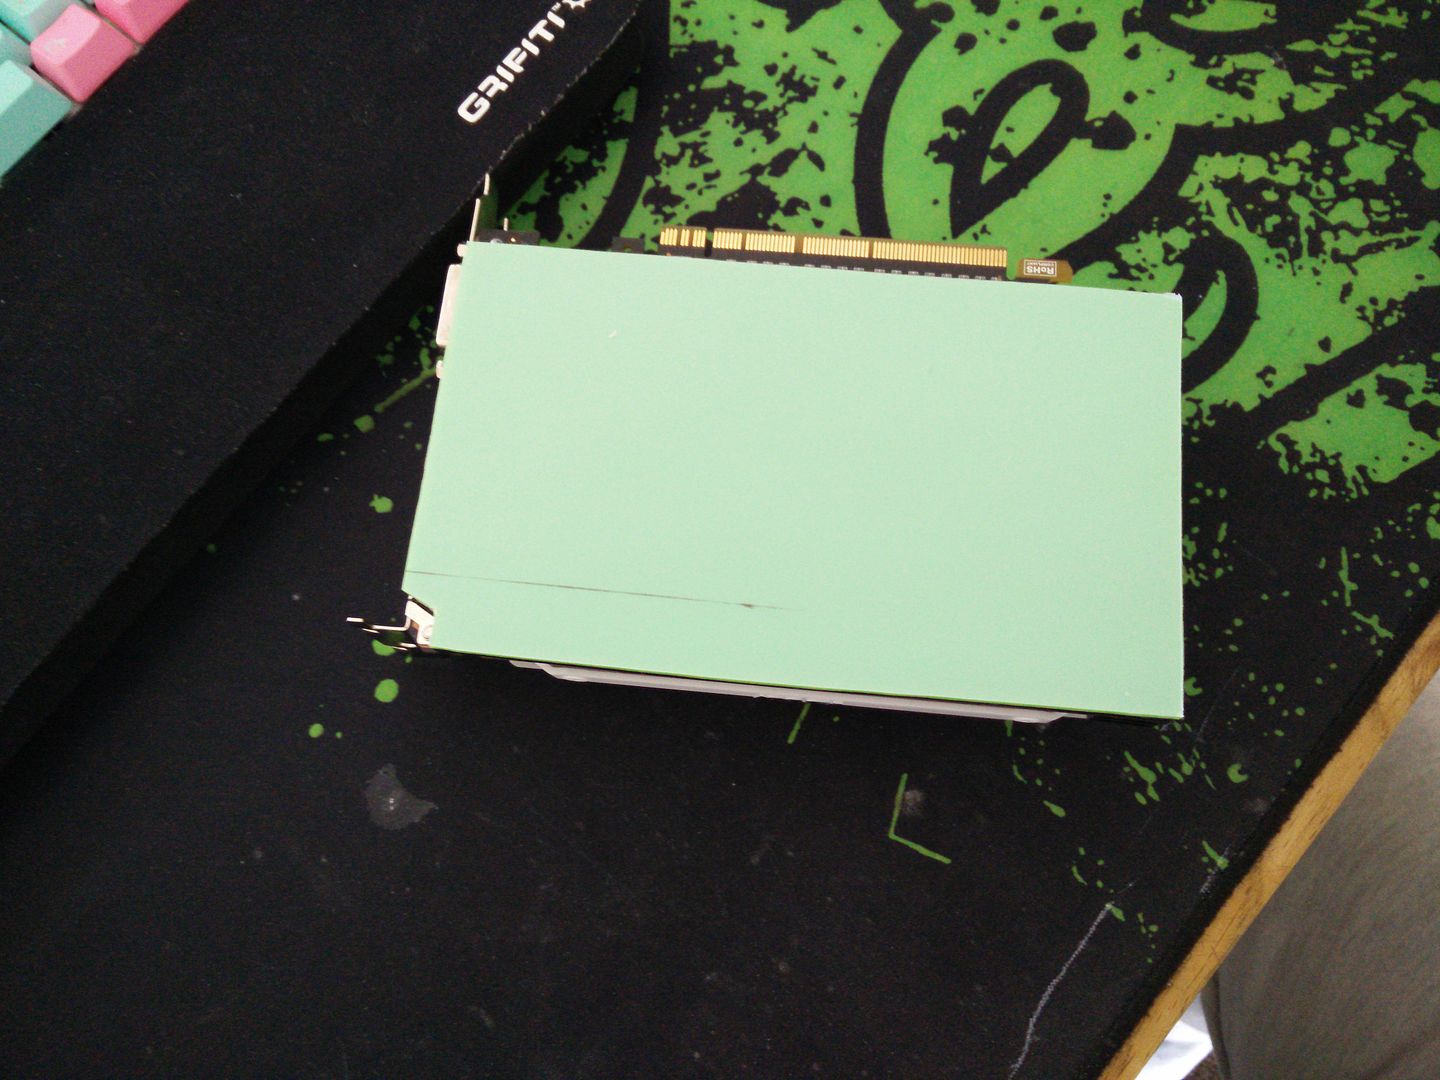
Once I have done sanding and edge polishing I will design some graphics for it.
I wanted a two phase design that would go from black to green. So the first thing I did was put the back of the GTX 950 under the scanner, as this card is unique to MSI.

I decided that today I was going to take you guys through about 90% of the process so you can see what goes into this. So here is the GPU with the unimportant parts and scrap area cut off.

I then created a 5mm frame.

Then with Photoshop I reduced the opacity so I could see what it would hit.

OK, so now everywhere it fouls a resistor or solder pin ETC I had to cut. Here it is with all of the problematic areas removed.

Some of that ends up around 1mm thick lol. Still, nothing ventured nothing gained and failure is always an option

So I changed the colour to black for the plotter.

Now I needed some vinyl. I am using leftover scrap that I nearly threw out to cut templates.

Cut a 10" strip so I can fit it in the plotter width wise.

Cut down to A4 height (around 300mm)

Note, when you take it off of a roll like that you need to squeegee it to get the creases etc out. I have already done that in the pic. OK into the plotter.

I have marked two for cutting however I will not be using them both. I always cut two of everything in case something gets screwed up or I mess up peeling. The issue is this part may change shape slightly due to heat and stress. Remember, I am really pushing it here with 1mm tolerances with a Dremel. No machines, no CNC, just my hands and a 25mm spinning blade.
Here they are cut but you can't see it too well due to the yellow.

First peel. This is the easy one.

Second peel is considerably more difficult as that very thin frame gets snagged and wants to lift and go out of shape.

Talking of out of shape. Make sure you measure it to make sure it is the correct dimensions. It's easier to pull it around a bit on a slippery piece of backing than it is once you have stuck it down.

OK so we are within .5mm which is good enough.
Note, I do not photograph the actual work stage. The reason is that my best camera is a part of my phone and I don't want to wreck it. There's not much to see any way, just me wearing a gas mask with a Tshirt over my head pulled down to below my eyes and concentrating.
I will leave Morgan Freeman to explain how the next bit works. This is from The Shawshank Redemption..
Geology is the study of pressure and time. Thats all it takes really... pressure... and time...
It fits.

Bogey time.

I deliberately over cut this by .5mm so I could sand back. Obviously if I hit the black too hard I will blow through the thin edges, so I made the green slightly larger so that I can sand it into the black rather than the other way around.
OK so what I have done here is completely tape off the edges and seal them. This is so that the Plastic Weld will not pee out of the edges and wreck the piece.
Talking of which.

About fifteen minutes later after I was sure the reaction had completed and.


Not bad. I will sand it later, once I am absolutely certain that the process has completely finished. Once it does? you wouldn't get that off with a hammer and chisel.
I bet you are now thinking "hey, he has missed that cut off bit at the end"
I didn't


Like a glove.

Once I have done sanding and edge polishing I will design some graphics for it.
Happy day, love the process. Already in the ideas stage of a second project involving watercooling an old Radeon 5770, and I'll definitely be using your scanner technique to draw out the backplate and *cough* custom water block *cough*.
Yeah, I can't even cut MDF straight for 1 project and I'm already thinking of CNC copper blocks for a 2nd!
What can I say, your craftsmanship on this and the audio system has inspired me
Yeah, I can't even cut MDF straight for 1 project and I'm already thinking of CNC copper blocks for a 2nd!
What can I say, your craftsmanship on this and the audio system has inspired me

Happy day, love the process. Already in the ideas stage of a second project involving watercooling an old Radeon 5770, and I'll definitely be using your scanner technique to draw out the backplate and *cough* custom water block *cough*.
Yeah, I can't even cut MDF straight for 1 project and I'm already thinking of CNC copper blocks for a 2nd!
What can I say, your craftsmanship on this and the audio system has inspired me
The first power tool I ever used was a jigsaw. IIRC I was about 13 and made a speaker box. That's when the love affair with making speaker boxes began, back in the late 80s. Now it's computers

Nice when stuff fits perfectly. Obviously nothing to do with the impeccable preparation you did first
TBH that was the easy part. I've been using/designing with Photoshop for about fifteen years now. The hard part was making that frame with a Dremel. It was so delicate that I could not even hold it with any pressure. It would have just snapped. That's the part that surprised me. I'm usually pretty ham fisted and easily annoyed, at which point the air turns blue and I throw a strop and snap it into a thousand pieces haha.
Edge polish and decal and it's ready

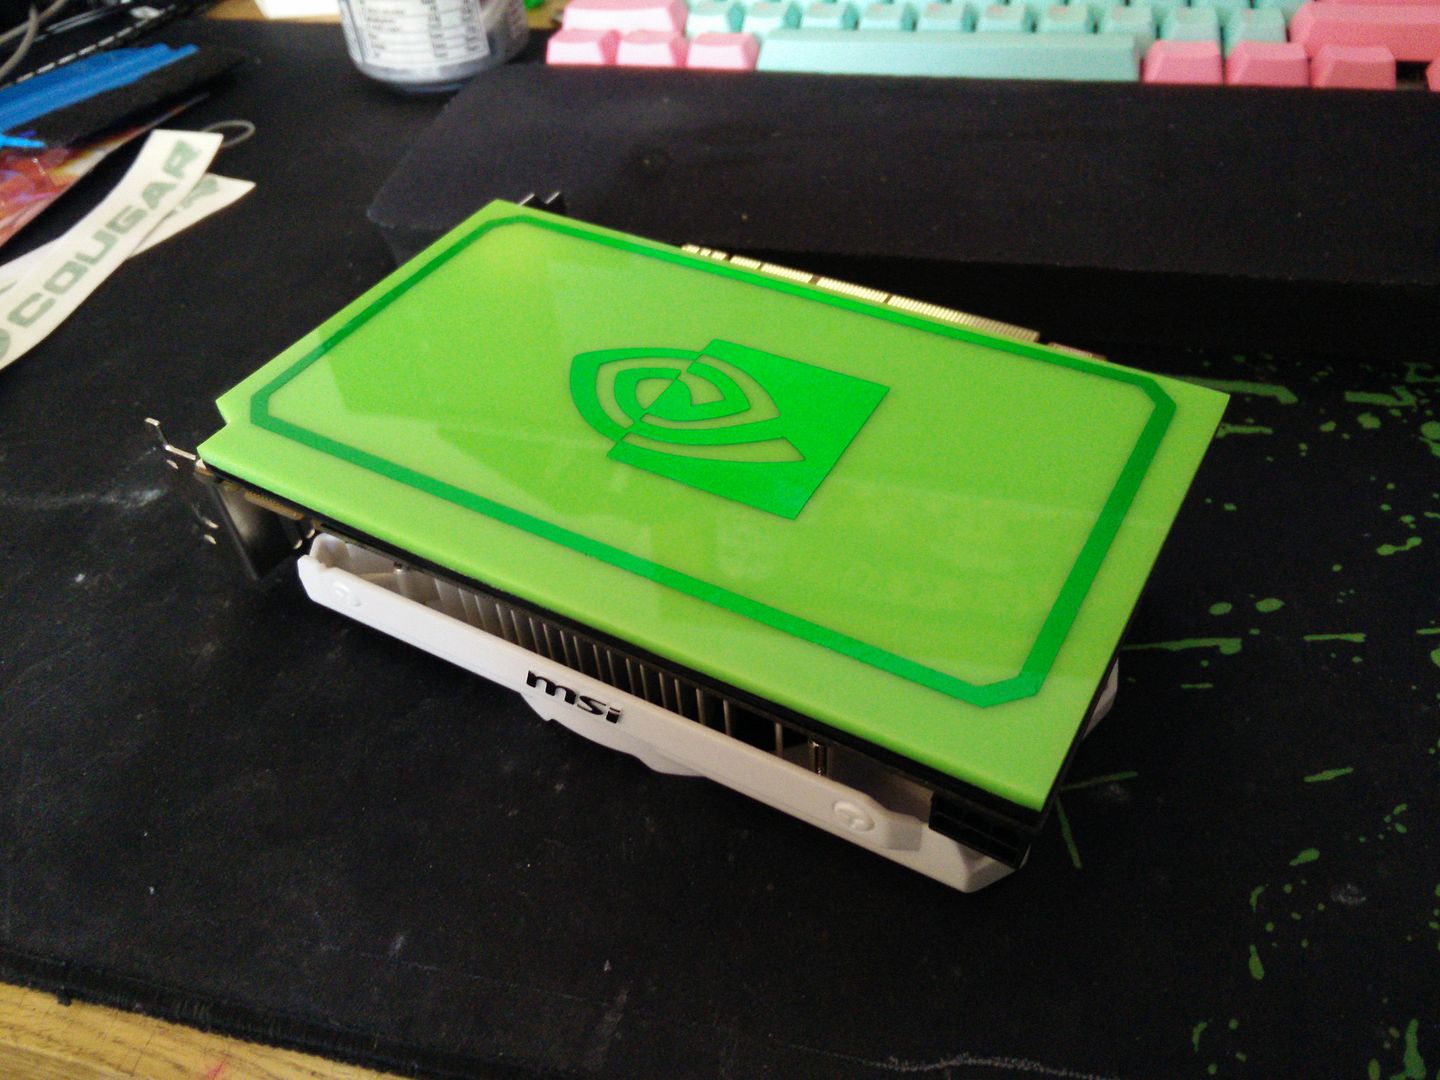
Really can't wait to get the white cooler off and fit the block !
Utterly superb.
Love the colours.
Thank you

It's absolutely amazing how far things have come when it comes to coverings and finishes. I mean if I said a couple of years ago that I was going to do a project in piano glass finish lime green and candy apple metallic green you would be talking a grand from a professional painter. Now? £15 worth of acrylic and the vinyl was less than £4 for 750mm x 300mm. Just checked, it was £3.29. I have used two sheets as part of the first one was creased and damaged (and was replaced) and I have made a good few mistakes and thrown more away than I have used but yeah, incredible that the parts would have cost me under £20.
I'm taking next week off as I am busy but will pick it back up again the following week. The only big thing left to do now is the motherboard and like the network card and GPU etc I have some pretty decent ideas.
Talking of the motherboard. This is one of, if not *the* best AM2+ boards Asus made. It has 8+2 VRMs IIRC (enough to overclock the original Phenoms, hot and power hungry) and is built like a tank. It has gorgeous copper heatsinks and what did they do? well some one at Asus decided that it was a good idea to make the board in black and blue. And yellow and red and white and a different blue for the audio header.
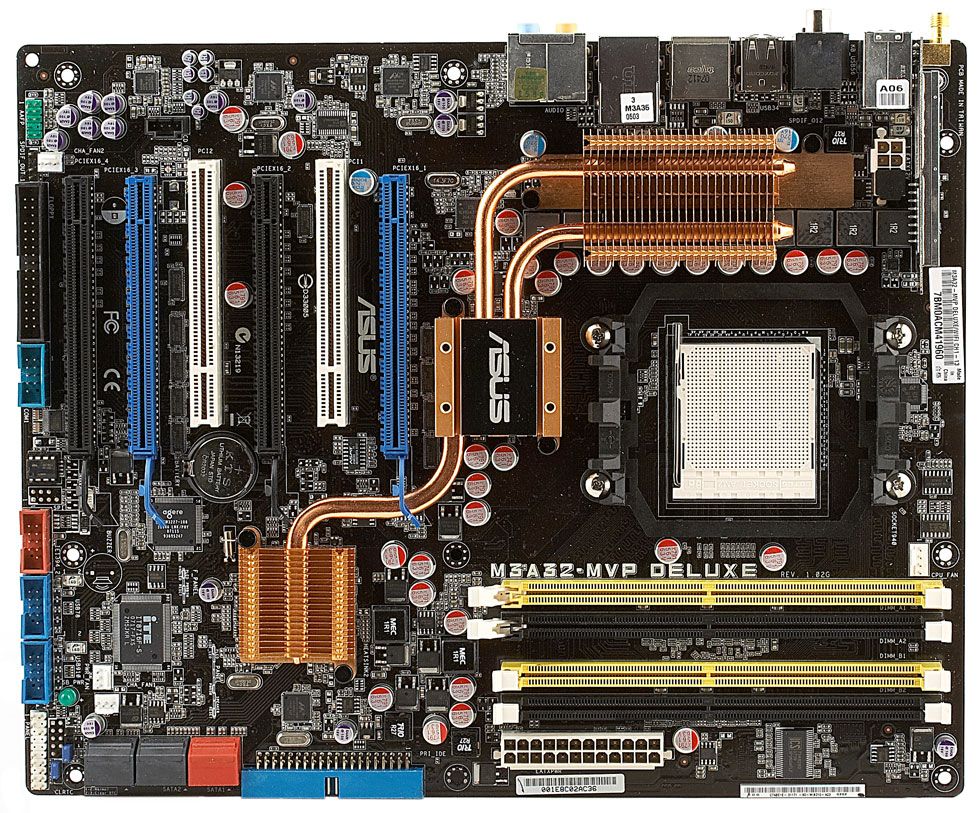
Seriously, what were they thinking? I guess that was right around the time where board manus were adding a splash of colour to boards and breaking them away from the old green and white, but sheesh man that designer clearly needed firing.
So the next part (and it's complicated because I do not want to use any of the blue slots) is to basically use the middle black slot for the GPU and then the bottom black slot for the network card. Once they are fitted the idea is to cover up pretty much everything else (hence why I bought that huge ram cooler).
Colours worked out really well for an Nvidia card!
I was going to say the board colours are from the era when they started colour coding so they could say PCI cards in the white slots and PCI-E in the blue...but some are black so they wrecked that theory. I'm gonna go with the designer was just colour-blind!
I was going to say the board colours are from the era when they started colour coding so they could say PCI cards in the white slots and PCI-E in the blue...but some are black so they wrecked that theory. I'm gonna go with the designer was just colour-blind!

Colours worked out really well for an Nvidia card!
I was going to say the board colours are from the era when they started colour coding so they could say PCI cards in the white slots and PCI-E in the blue...but some are black so they wrecked that theory. I'm gonna go with the designer was just colour-blind!
The ram slots obviously come from that really popular 775 board. P5K? something like that. They obviously had them lying around lmao. The rest? god knows.
I fully expected the black slots to be X8 but you're right, they've ruined that theory because clearly stamped on the ends are PCIE 16 2 etc. IIRC with this board you can actually go into bios and distribute the lanes as you see fit.
Gigabyte used to do it too. Lovely blue boards with baby blue and white. And orange and yellow ETC.


