Project Dianoga

Soldato
Joined
23 Apr 2010
Posts
12,083
Location
West Sussex
Project Dianoga


The idea.

I am forty two years old and have never water cooled a rig of my own. I built one for a friend back in 2003 but that was the closest I ever came. However, recently a guy on another forum built an entire water cooling loop for 30 euro and it gave me an idea.

What exactly would happen if you went onto Ebay and changed it to "Buy it now" and then set it "Price low to high" and bought the absolute cheapest water cooling components you could buy? well, we are all about to find out.

I almost called this project the forty year old virgin but I figured being 42 it would not be as punchy as Elvis, plus the song "In the ghetto" was simply too funny to pass on.

The components. I will list them here and what they cost. I will indicate what is ordered and what is not.

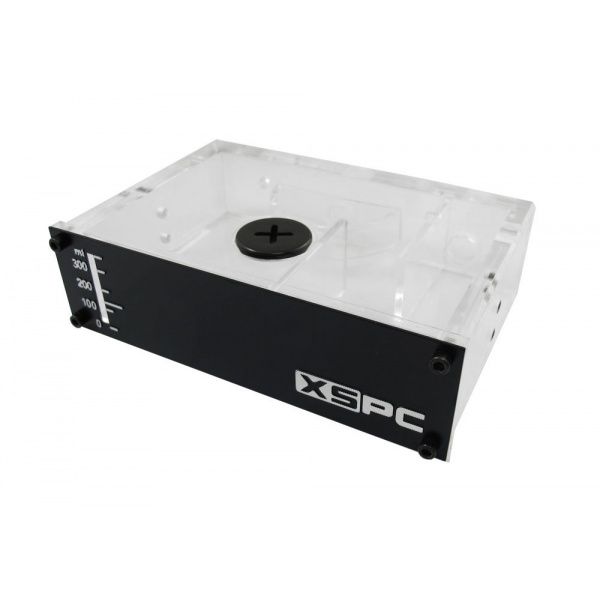
The res.

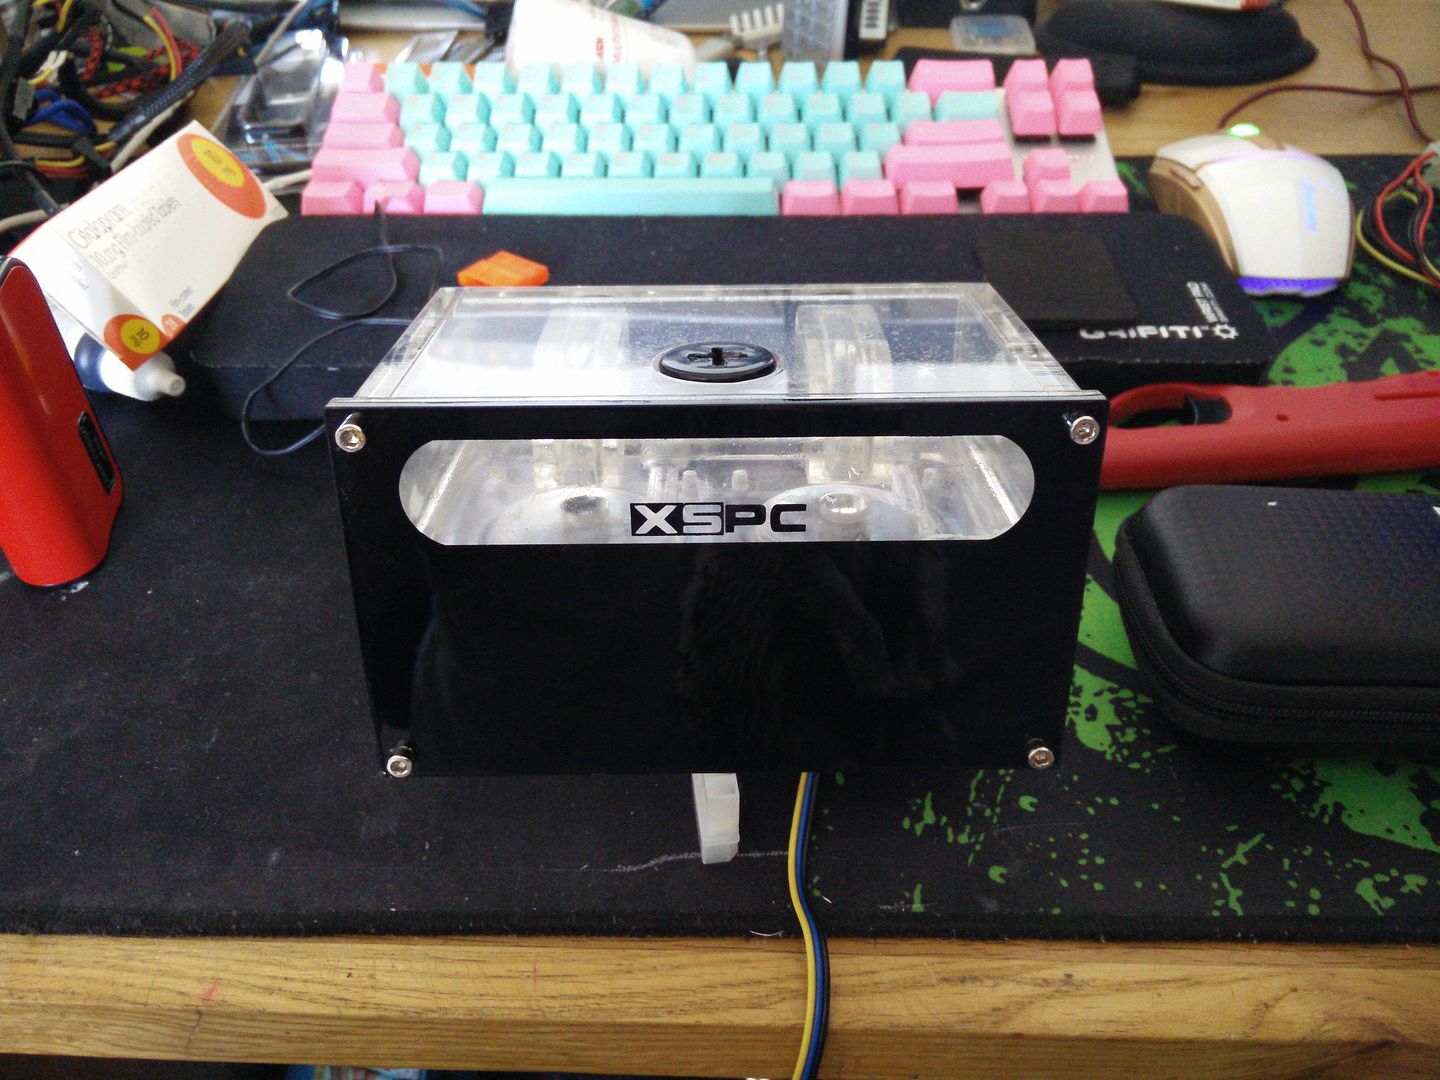
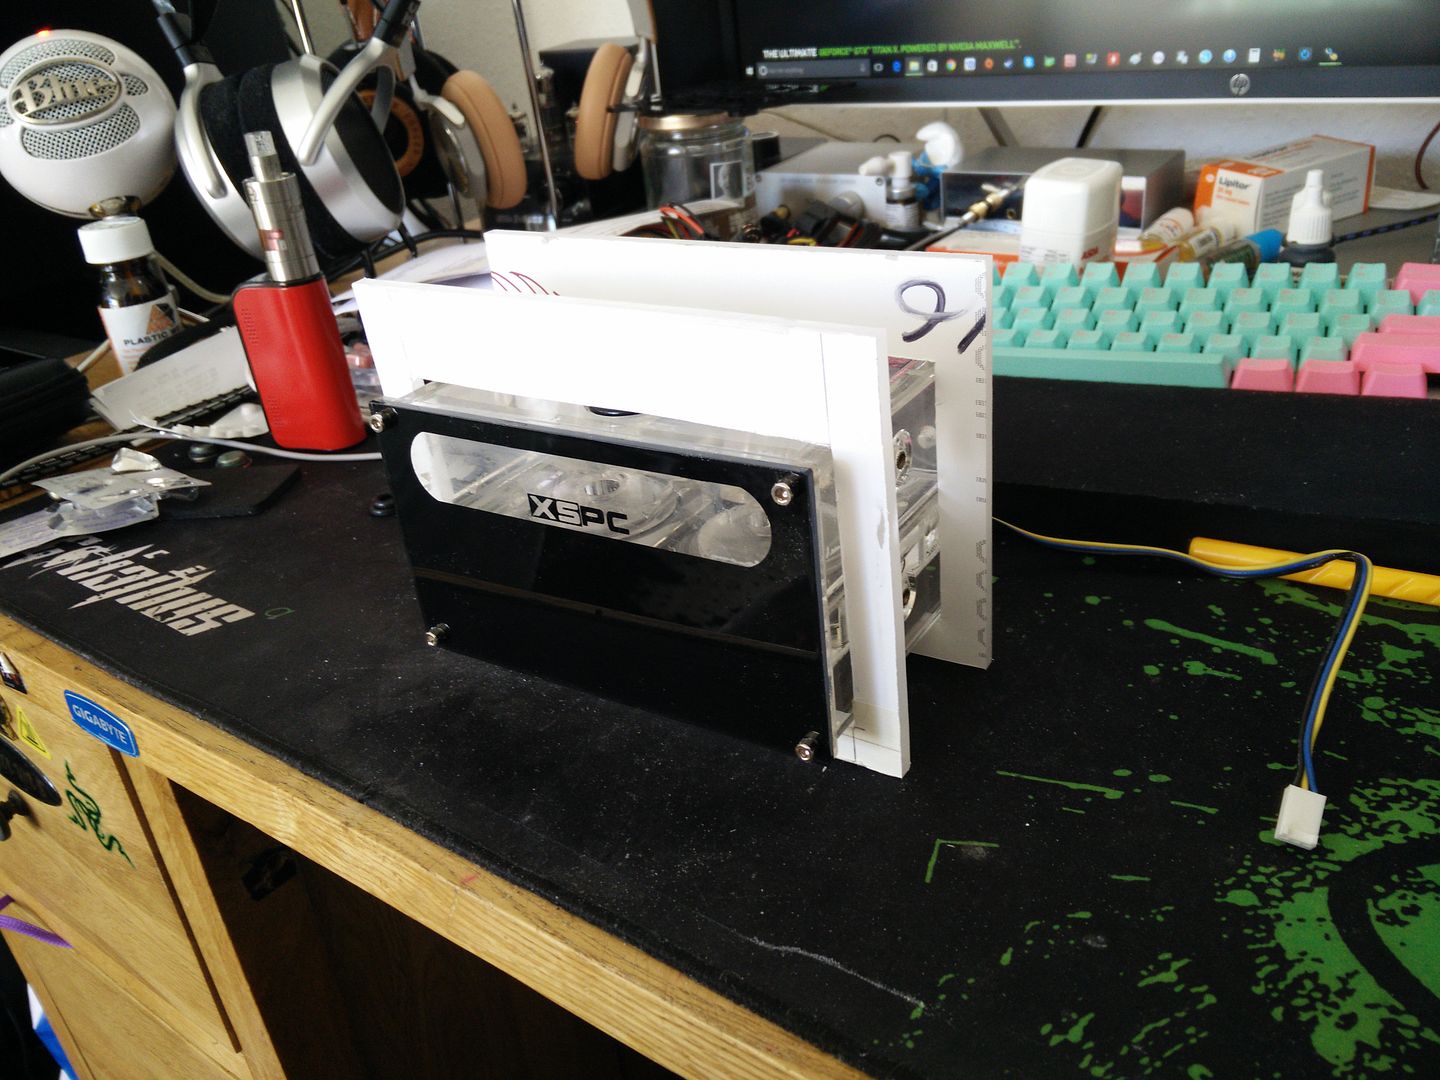
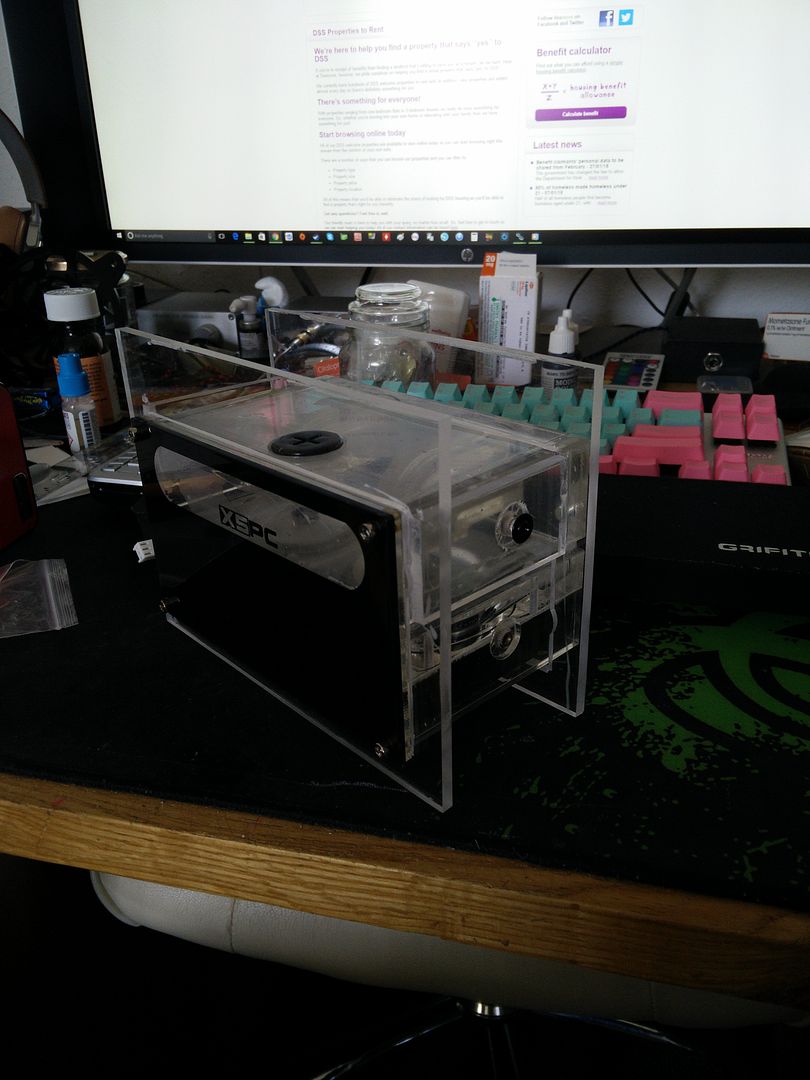
XSPC single bay brand new in the box. I got this free.


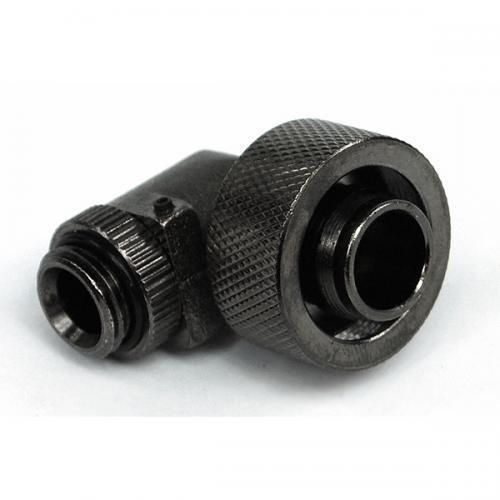
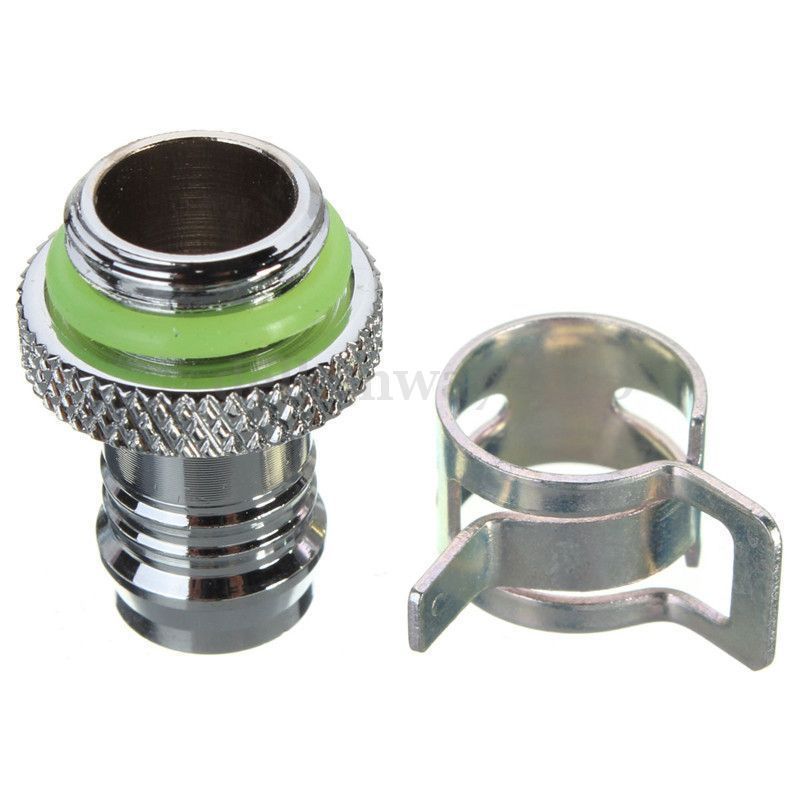
Barbs, £1 each.


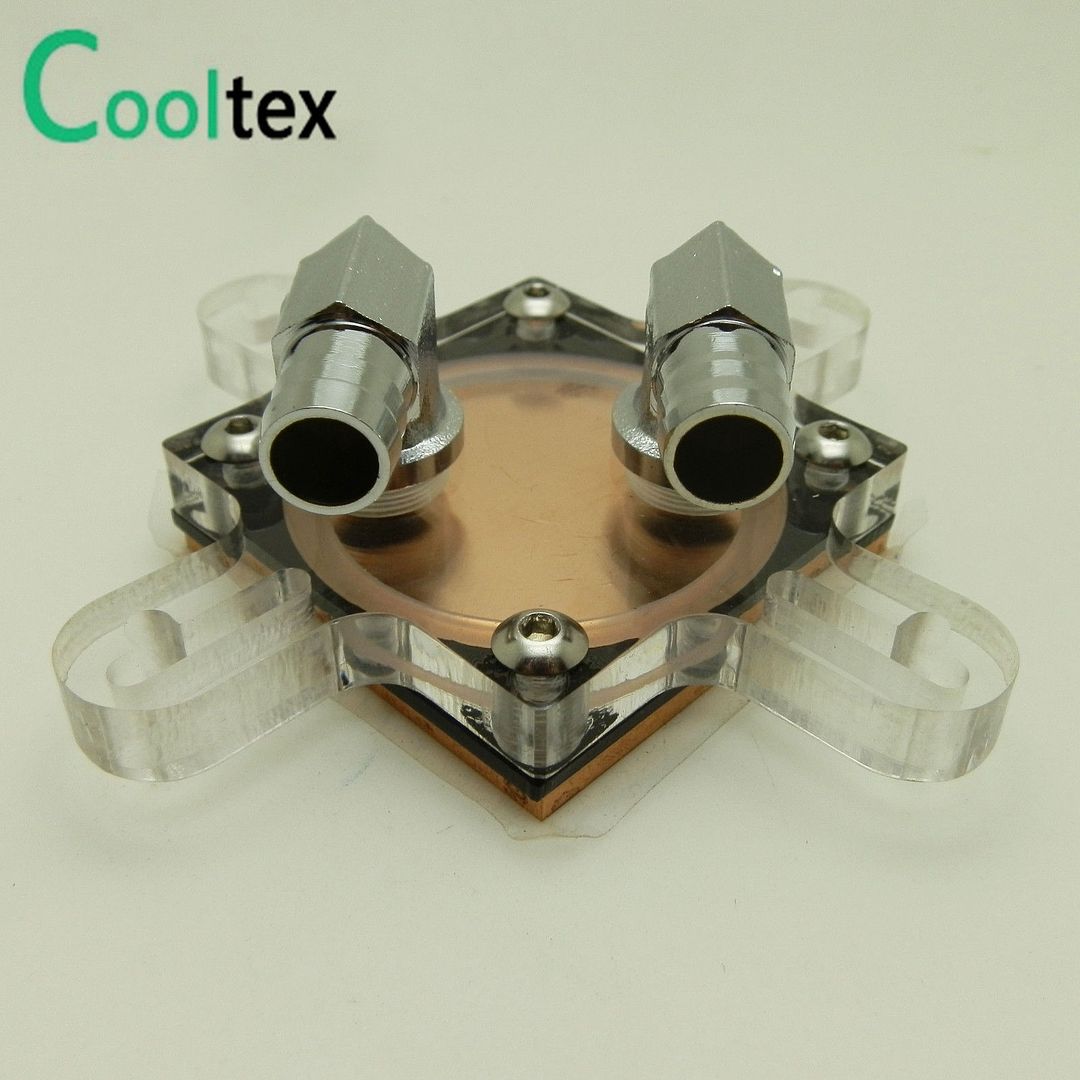
CPU block £9.50 (ordered)
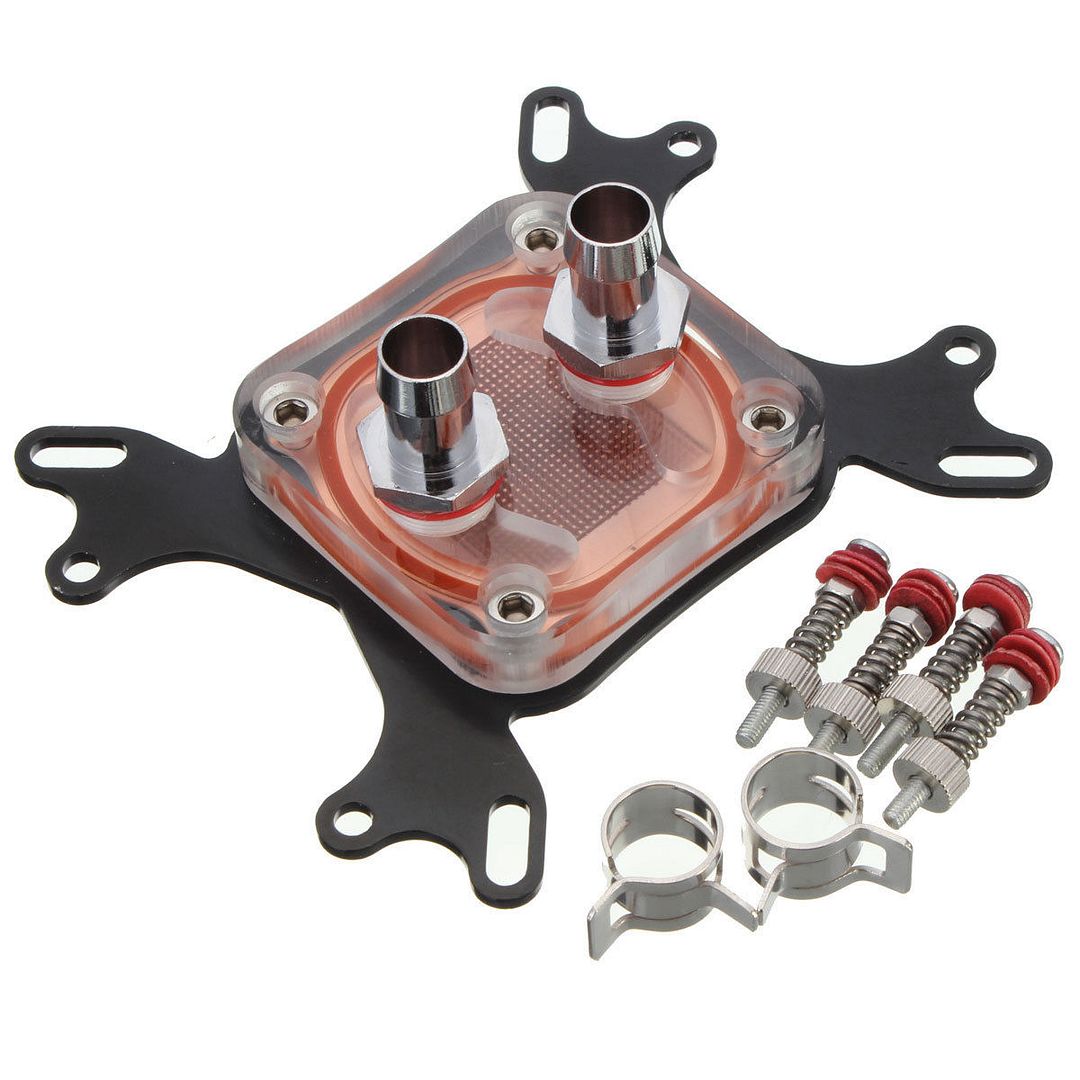


If I am correct and the four holes are for AMD then the rest will be coming off.

GPU block £16 (not ordered yet)
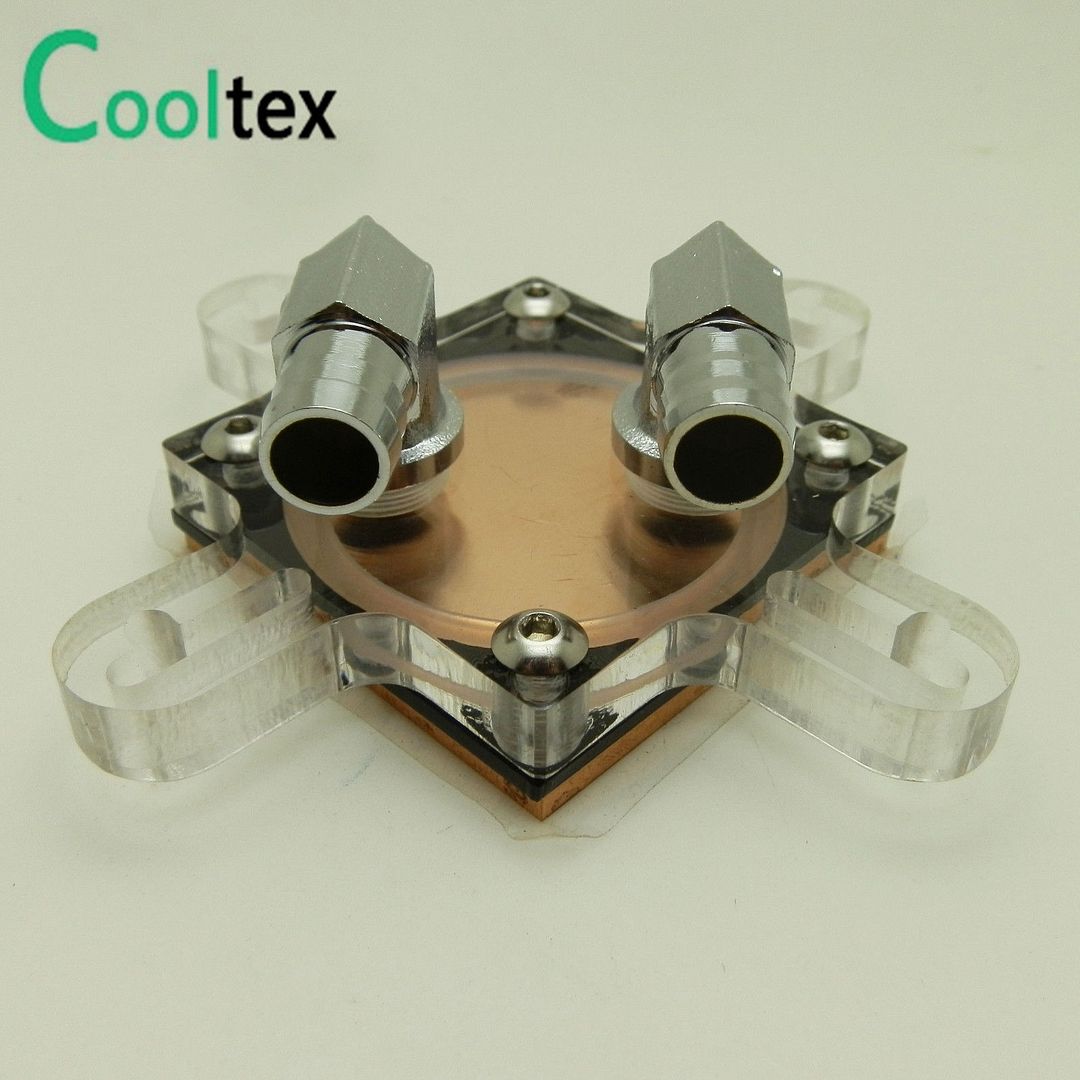


As it says on the tin. I have measured the holes and they are 61mm, however I need to break the card down and make sure it won't hit anything before ordering.

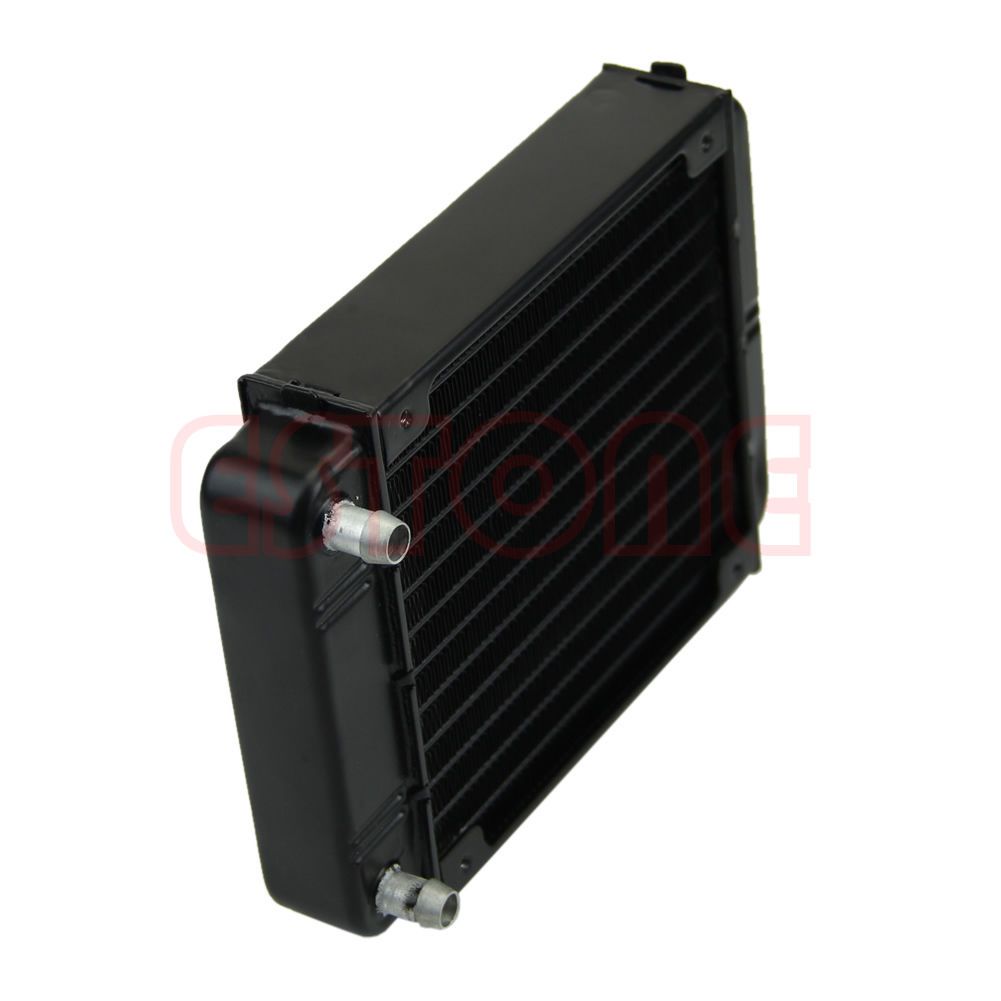
Radiators. Two 120mm with barbs £9 each (not ordered yet)


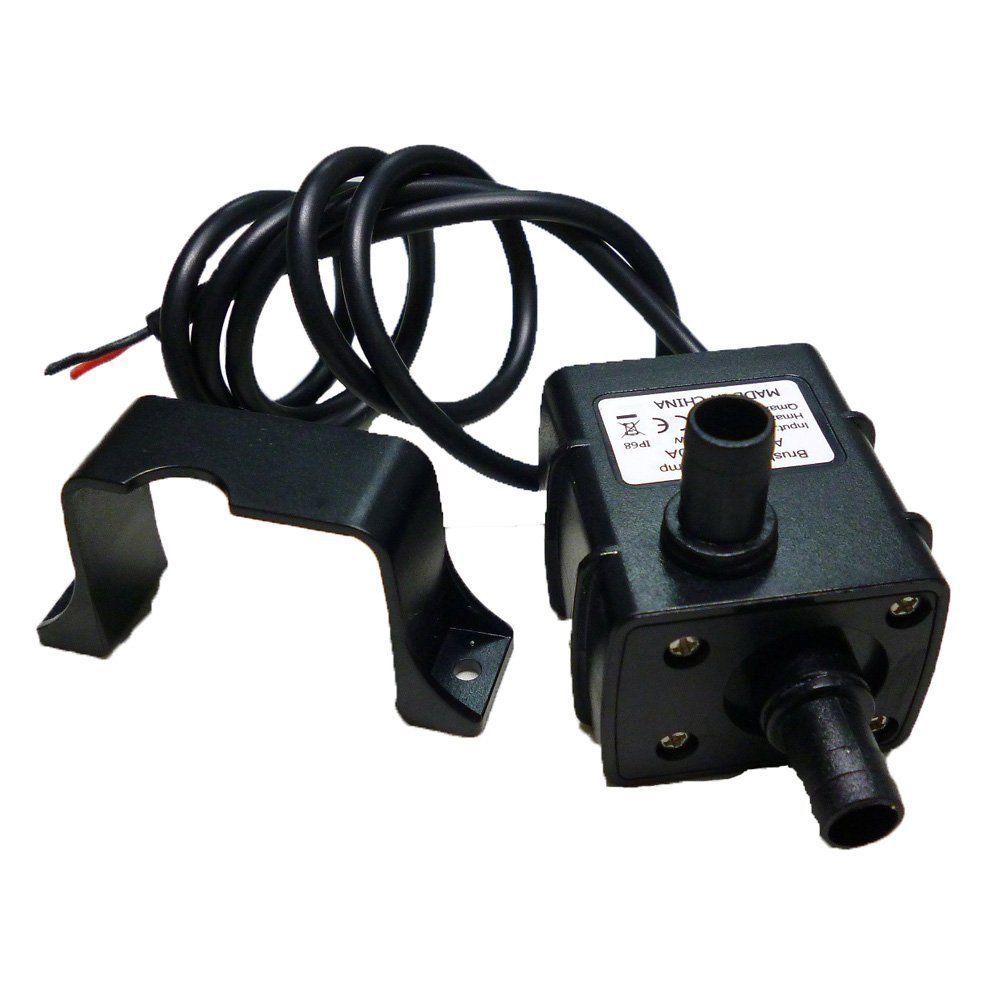
Pumps £2.90 each ordered.


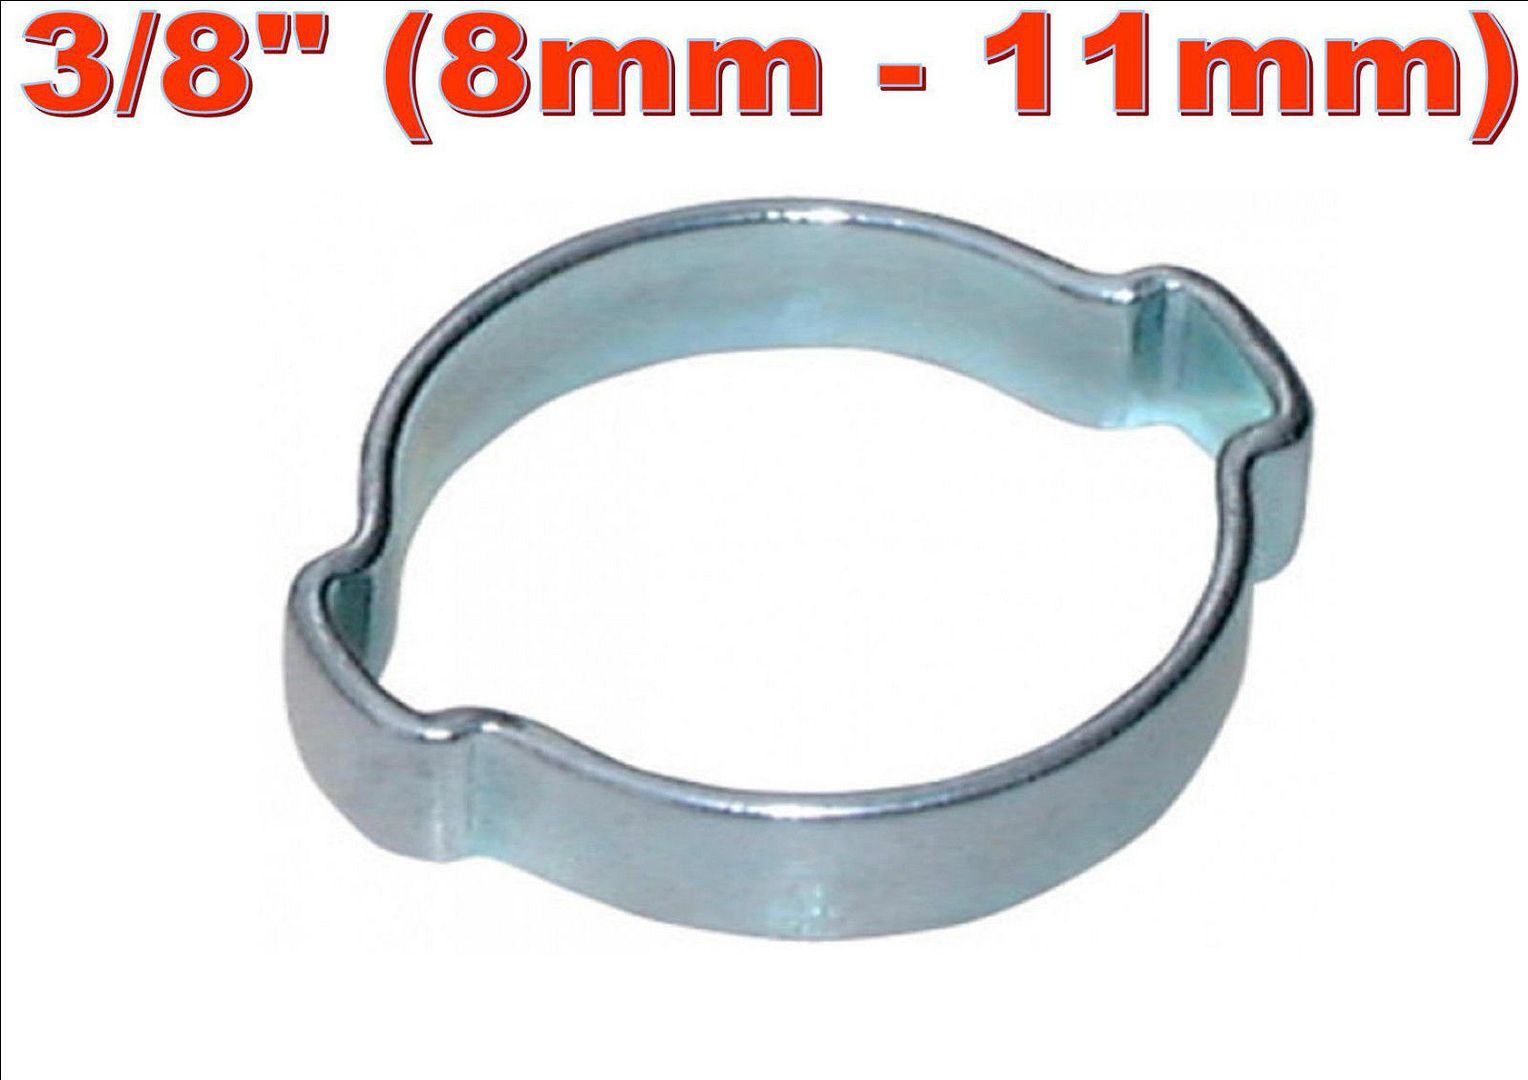
Crushable hose clamps of various sizes, 10 for £2. I have not ordered these yet as I will need to use my vernier to measure the exact sizes needed once the loop has been built.


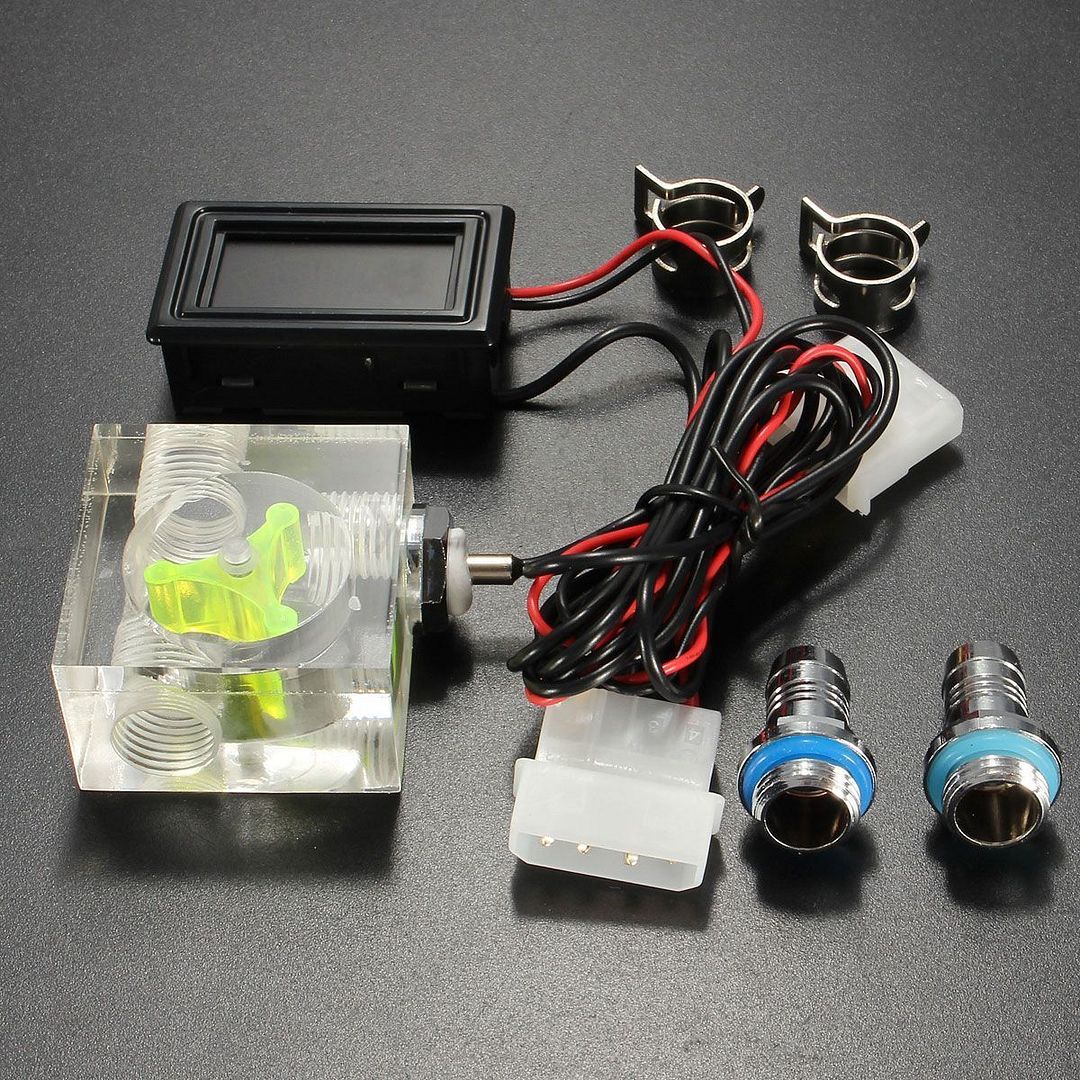
Flow meter with temp gauge and barbs £7.50 not ordered yet


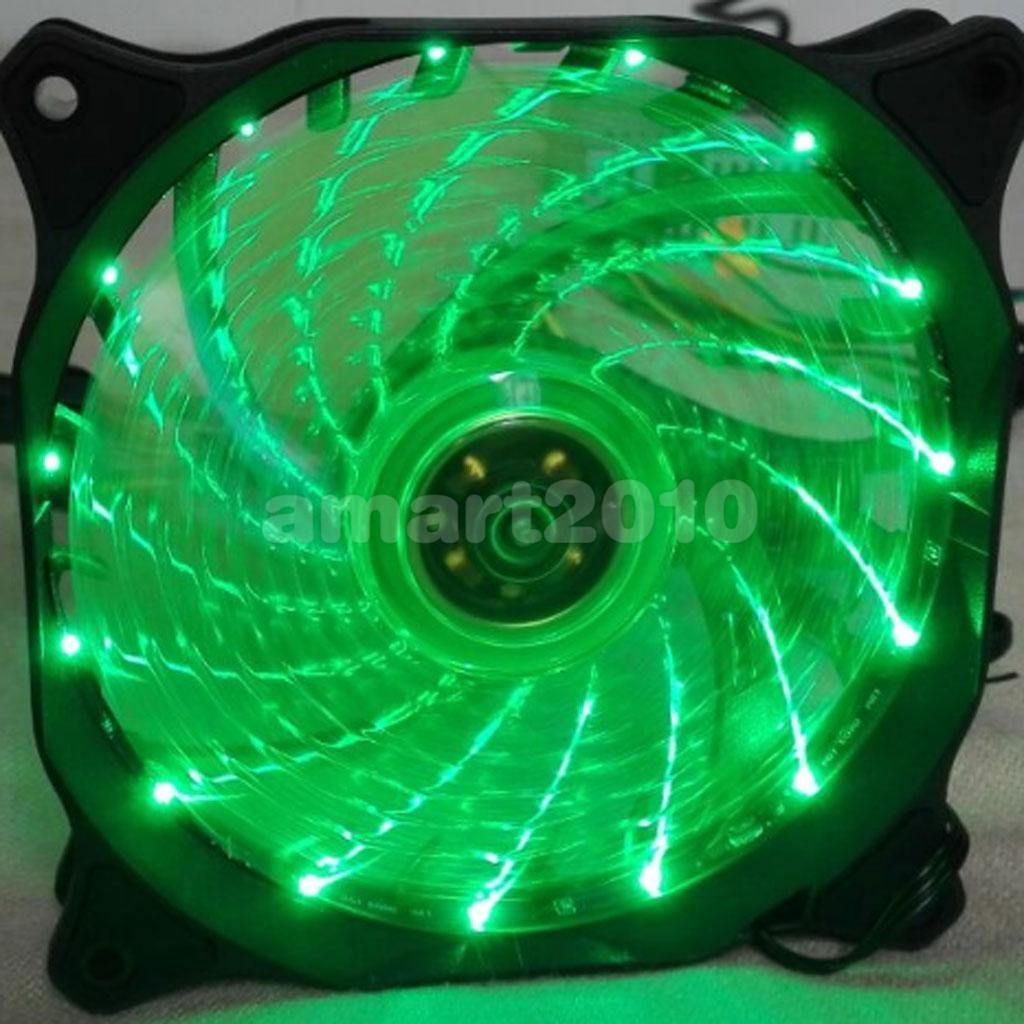
Fans £3.79. I will use four


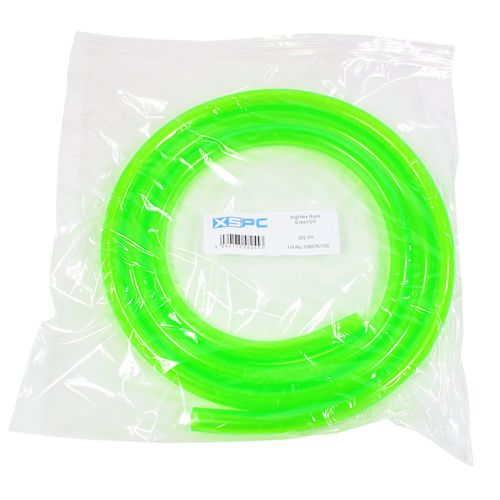
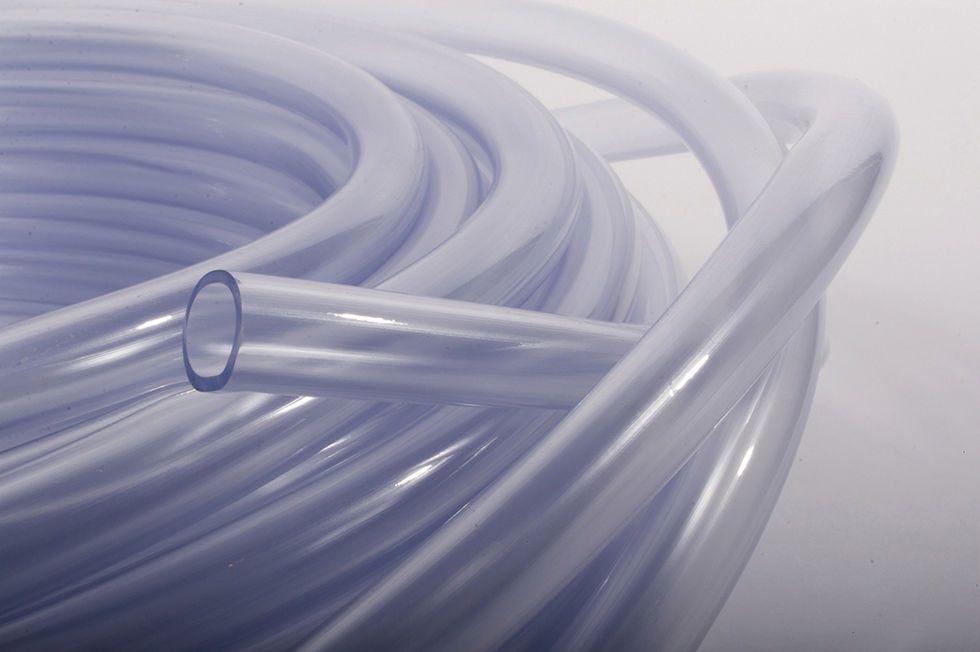
Hose - £3.50 for 5m 8m ID 11mm OD


I have decided that all of the pre existing mods will be changed and redone to suit a green colour scheme. This means I can convert the existing cables over to green to make it more of a challenge.

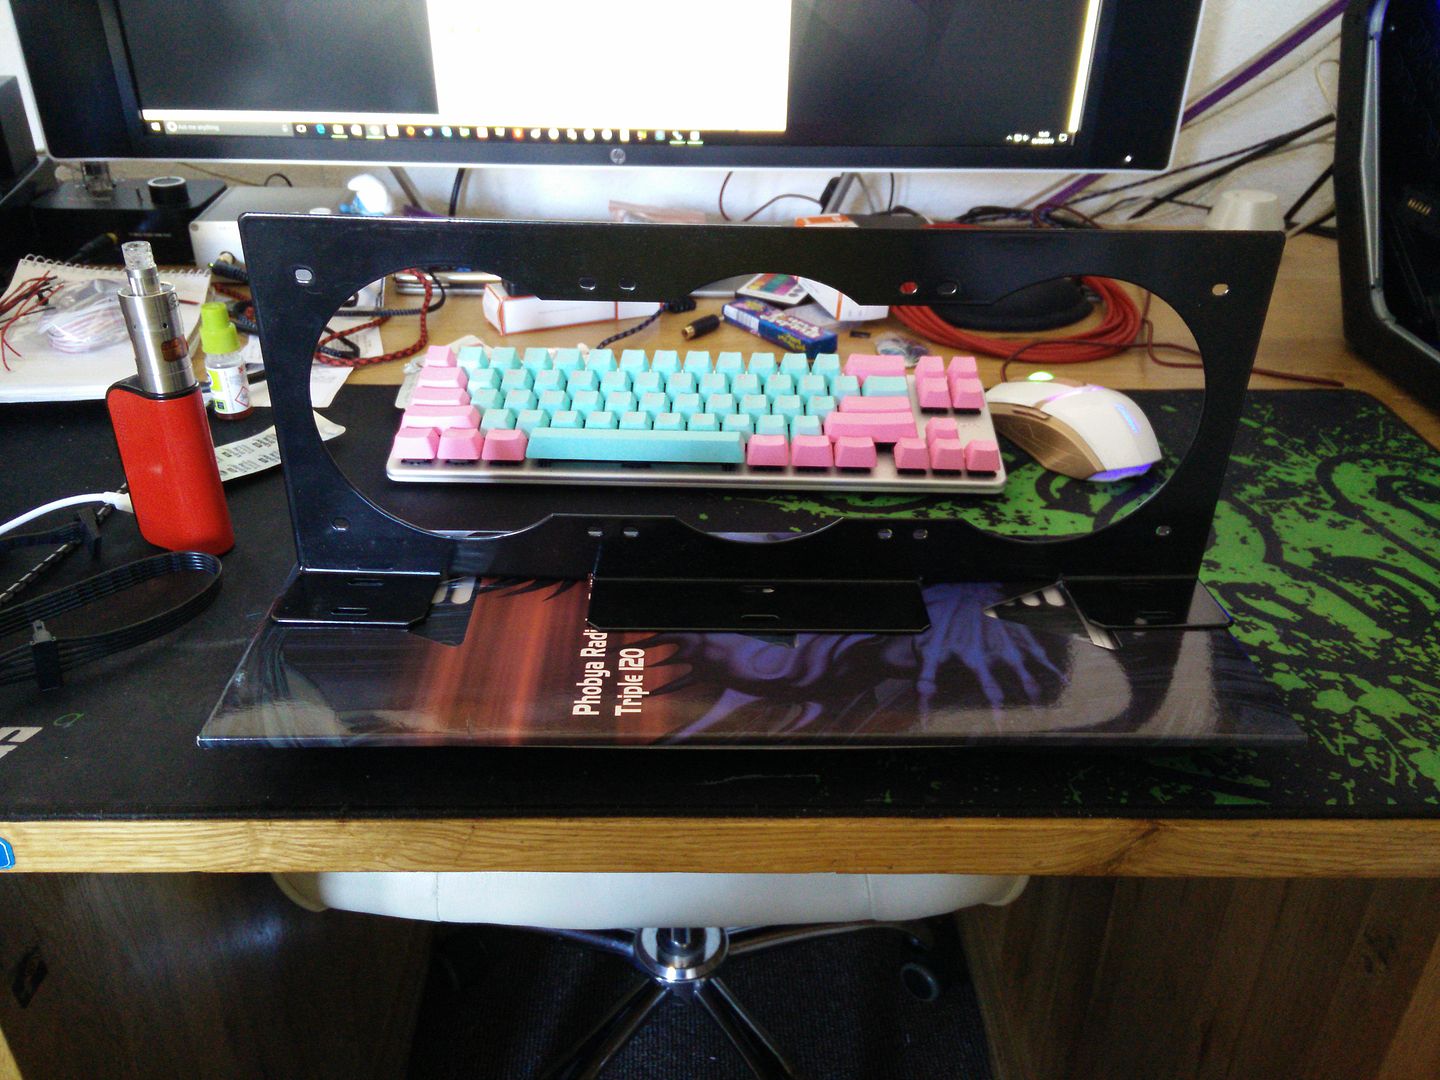
I will also highly likely be using a Phobya triple radiator stand but will mod it heavily to hold the first rad (will explain why later).

Please note (for certain forums) that the case has already been heavily modded but of course I will be modding it even more heavily to take this WC gear.

The first thing I will be doing is rebuilding the rig on air cooling and then installing an OS before running the air tests. I will then use these at the end to compare to the water tests.

I've obviously done a lot of research on the pumps and blocks etc and they perform very well. If you have any questions please ask :)

The initial plan is res - pump - rad - GPU - pump - rad - CPU - return but I will likely test it in all sorts of configurations.

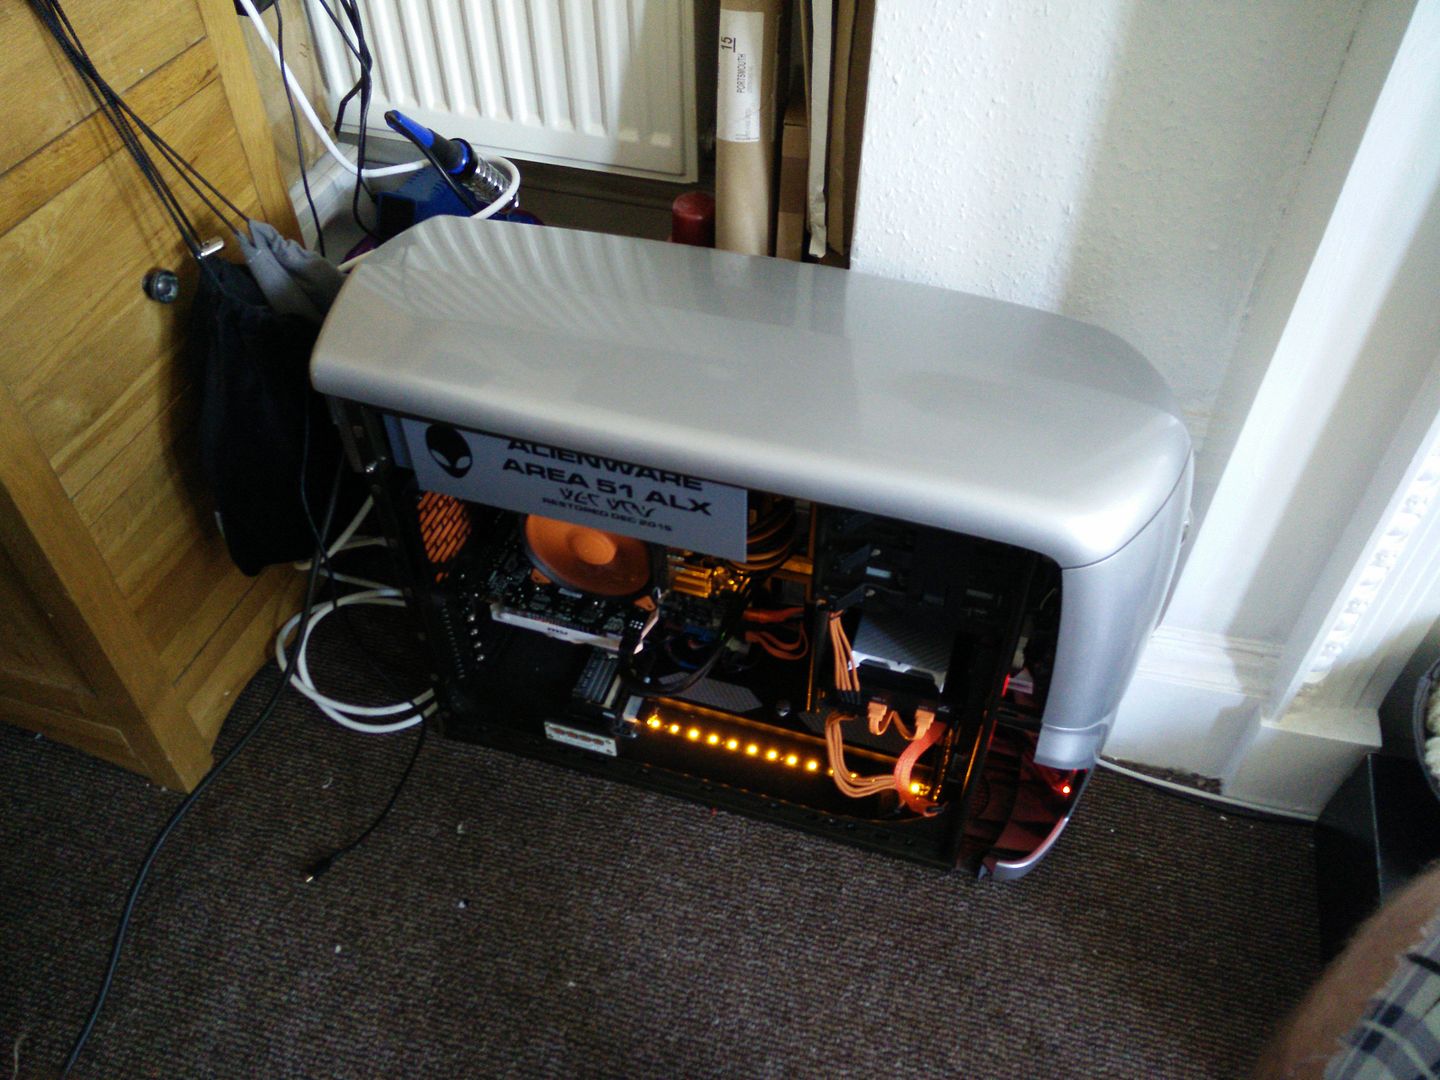
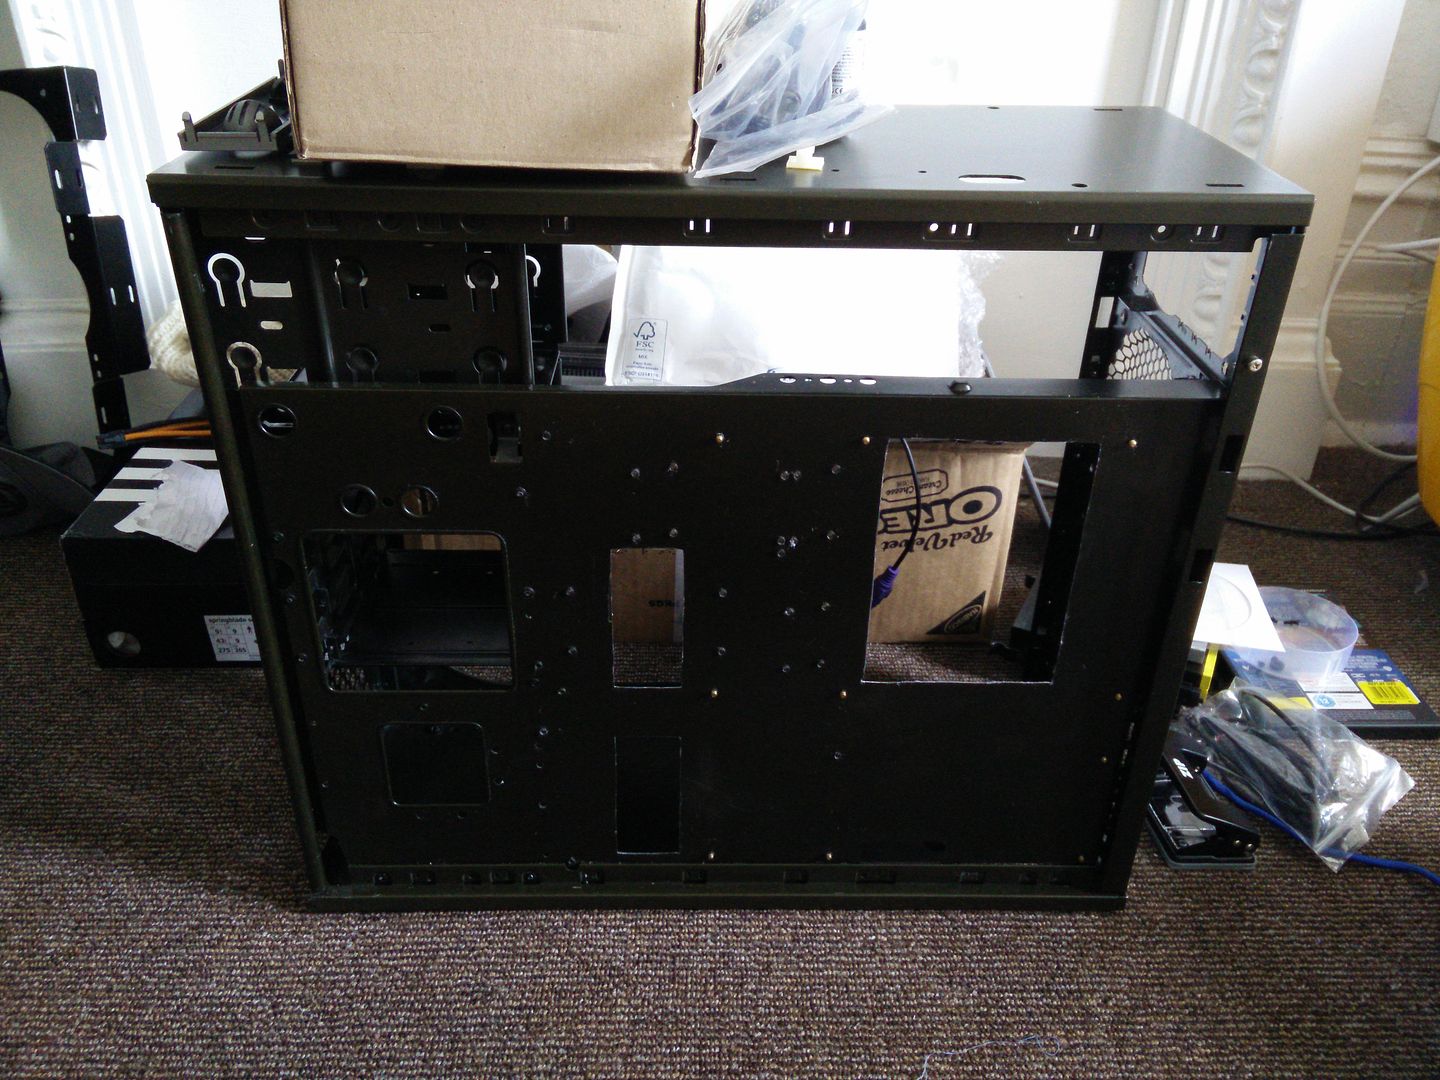
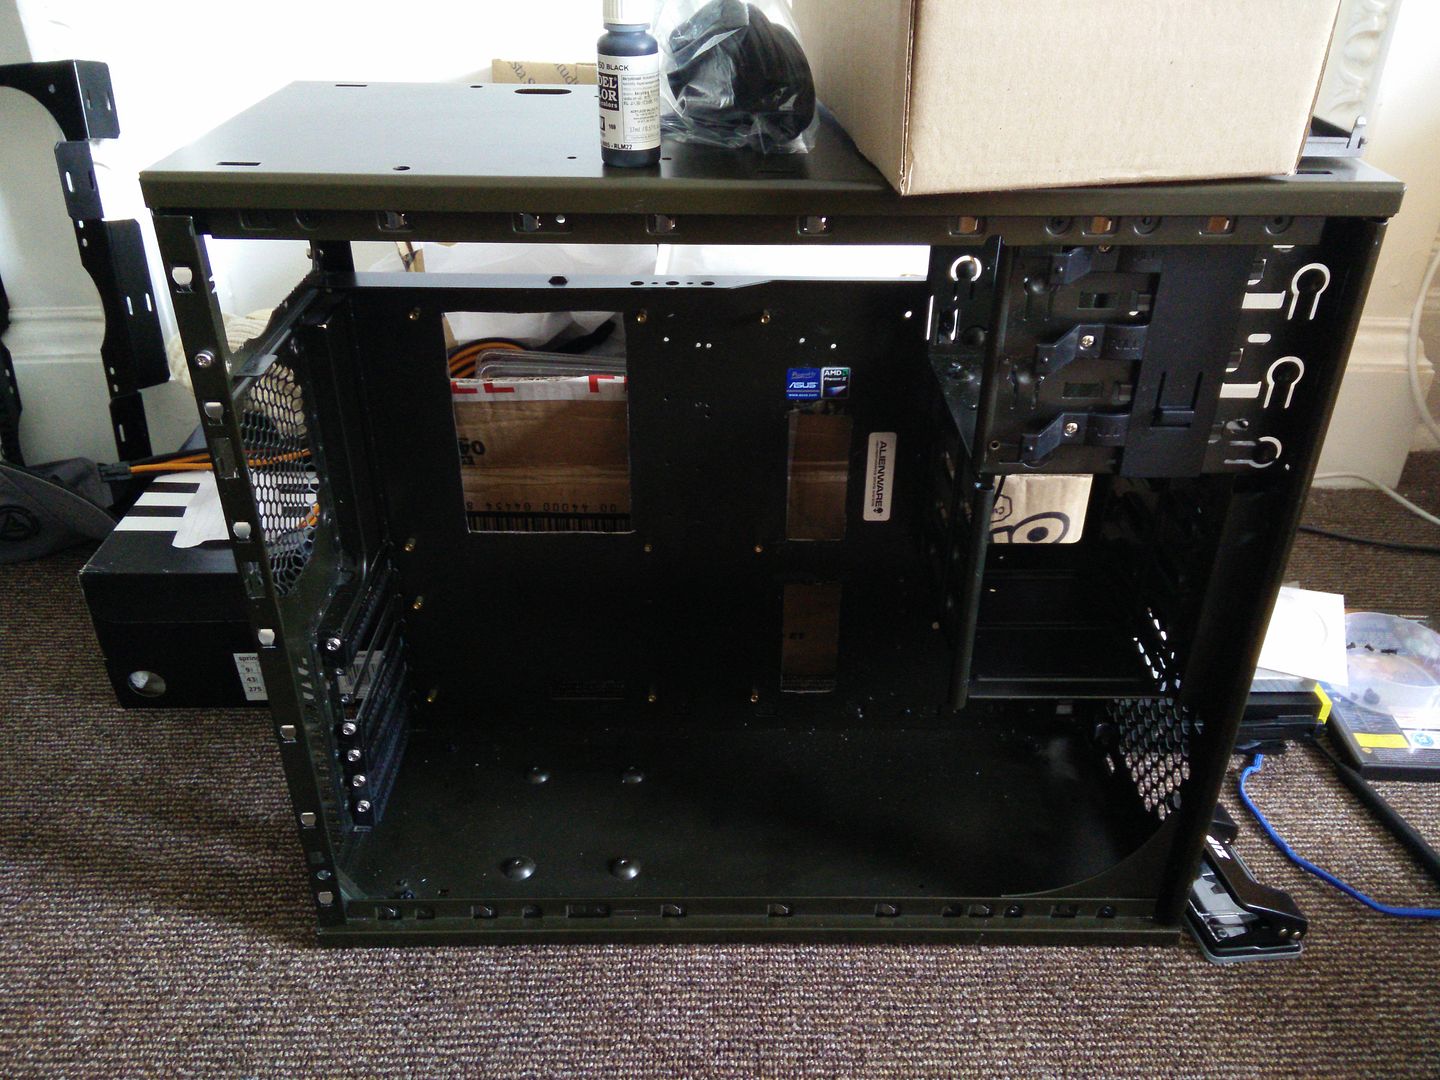
Rig pic
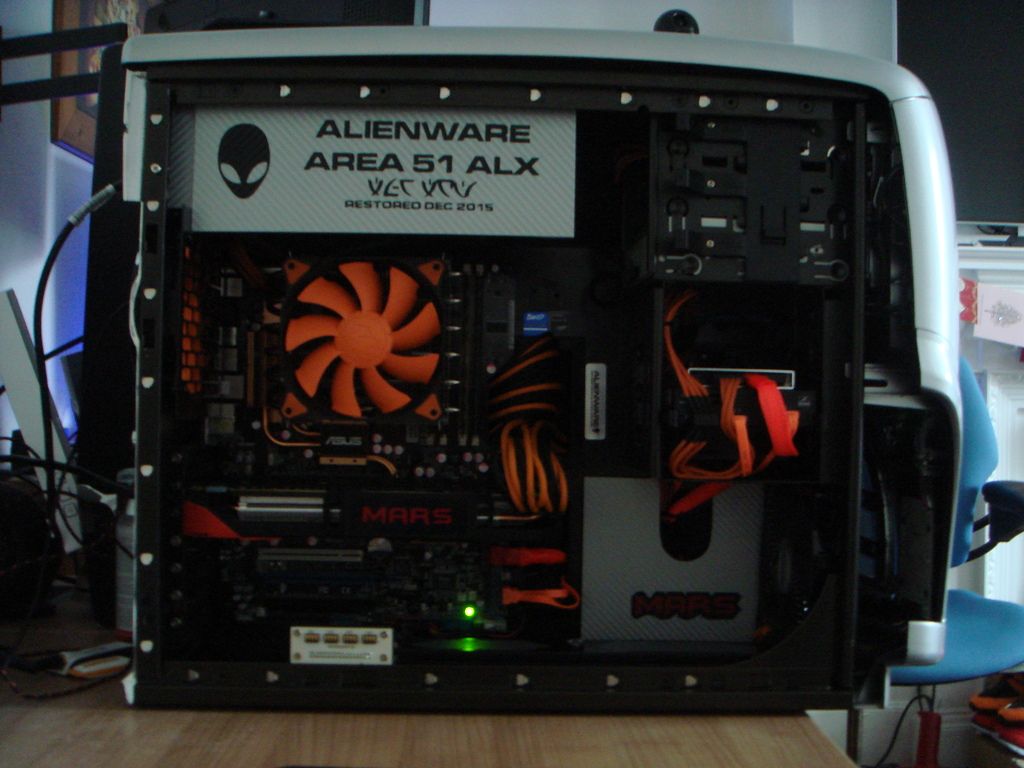


Other specs.

AMD Phenom 2 X6 1055T
8gb DDR2 800
GTX 950
Asus M3A32 MVP Wifi
Cougar Commander 620w
Alienware Predator 2.1 chassis (modded)
2x500gb laptop drives in Raid 0
SSD (need to replace)
 
Last edited:
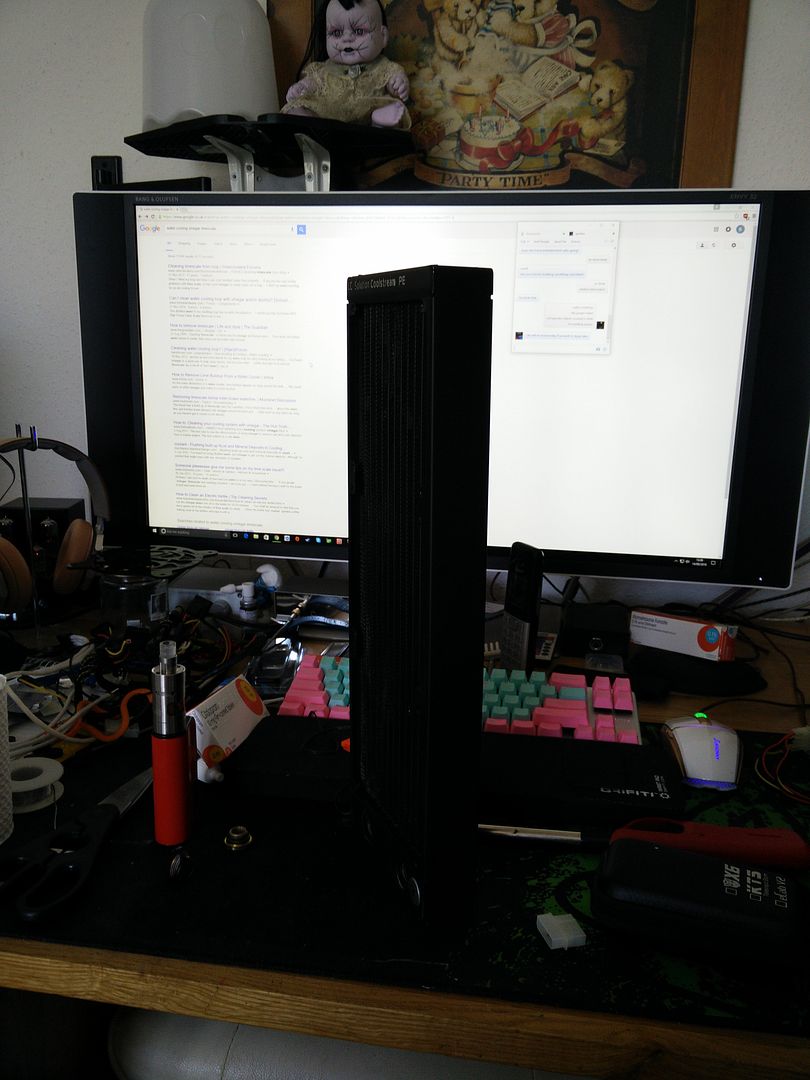
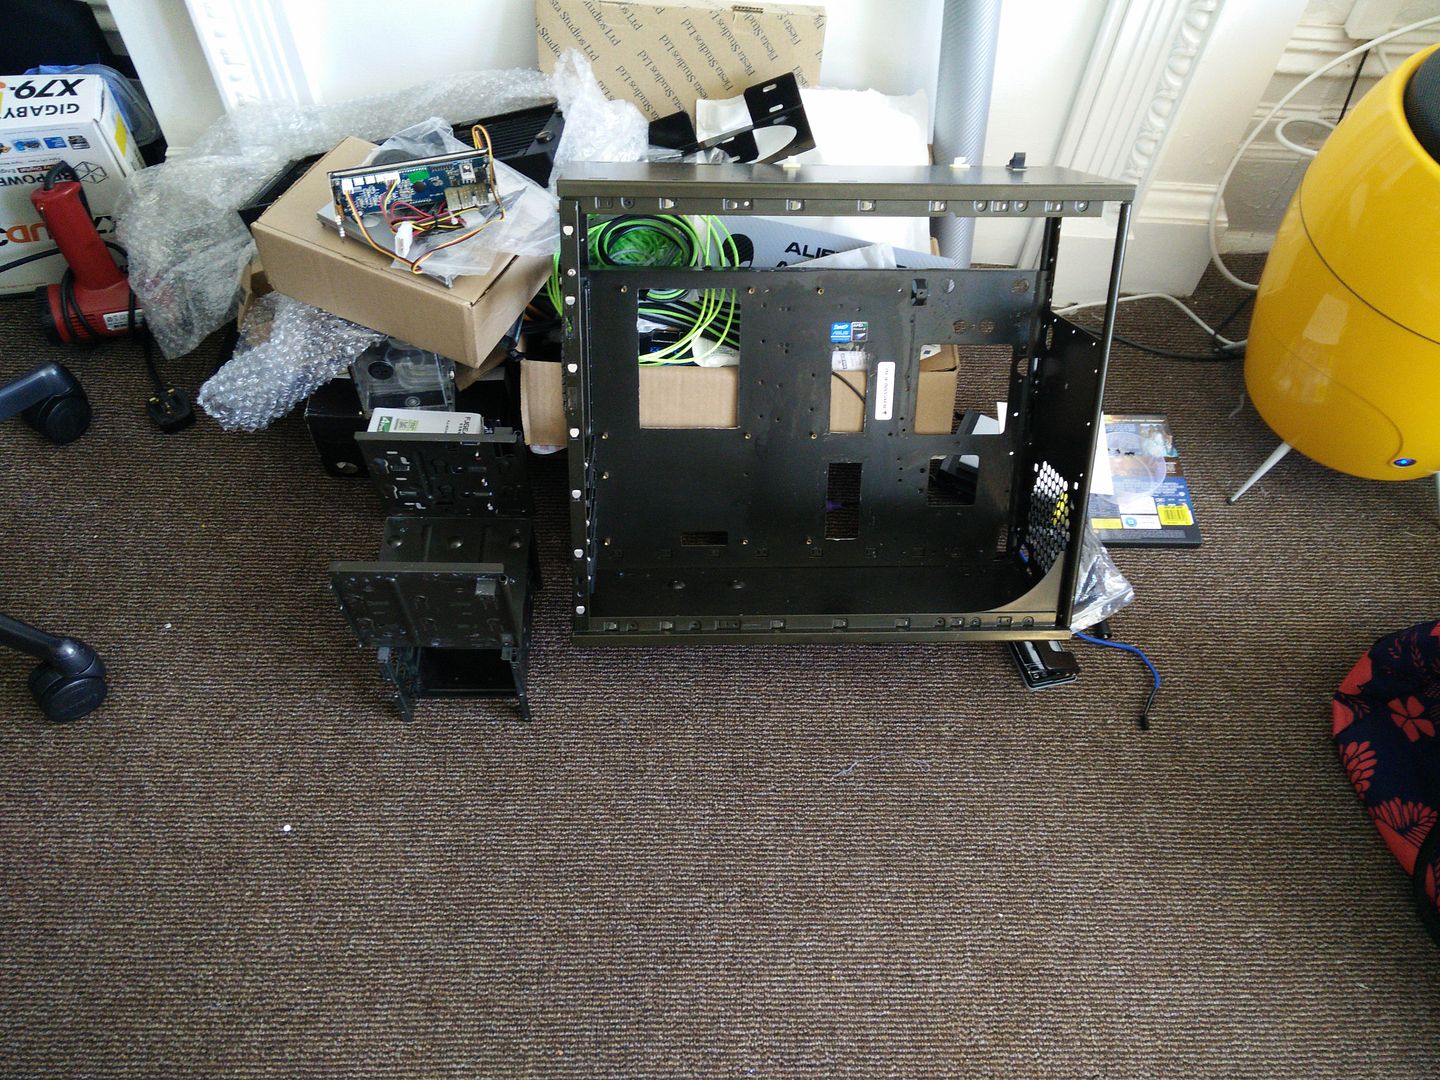
OK so some inventory. If you look back at the pic of the Alienware you can see where the front intake is. It's under the cages right at the front. I intend to leave that Cougar fan where it is (140mm) and then build a stand so that the front rad is at the edge of the 5.25 cages, bringing it more in line with where a standard front intake fan would sit. So the 140mm will blow air into the rads... One issue, how do I stand up the rad and hold it there? Well I had a dig through my cupboards and found a 360 rad stand which I am going to mod so that it takes a single 120mm rad.


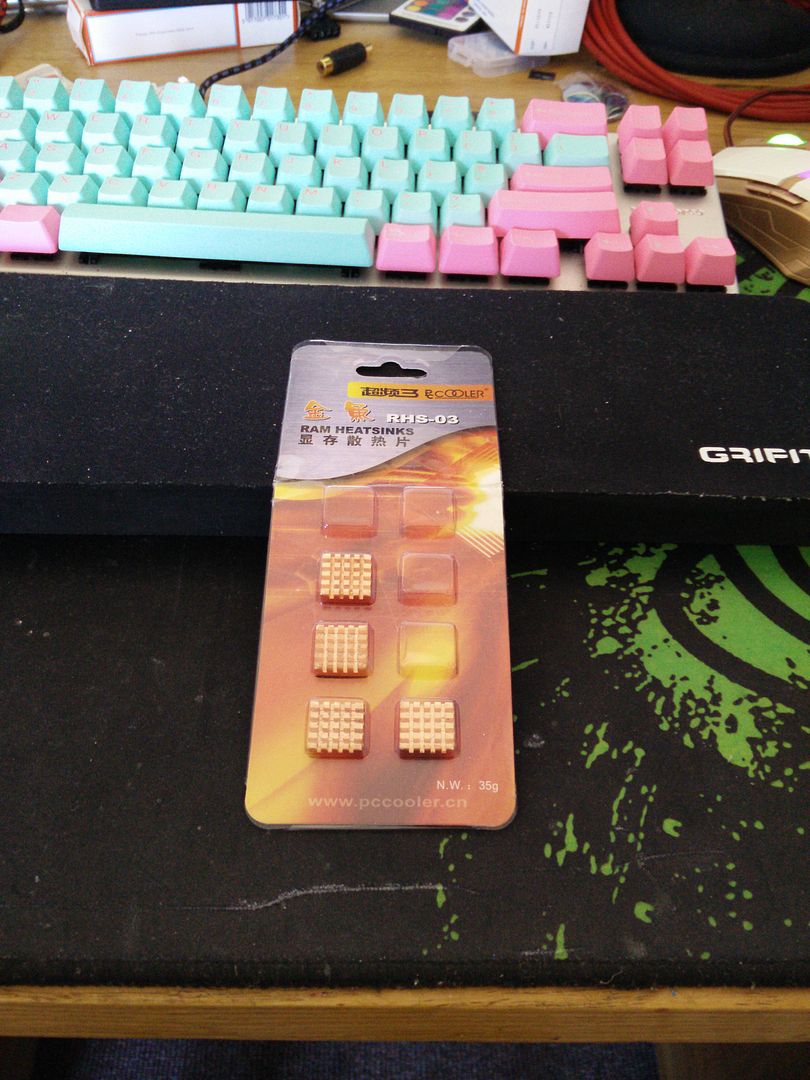
There's also a 360mm bricky grill there I will cut for use on the intake rad. Mostly so I don't stick my fingers into any fans. I also found these.


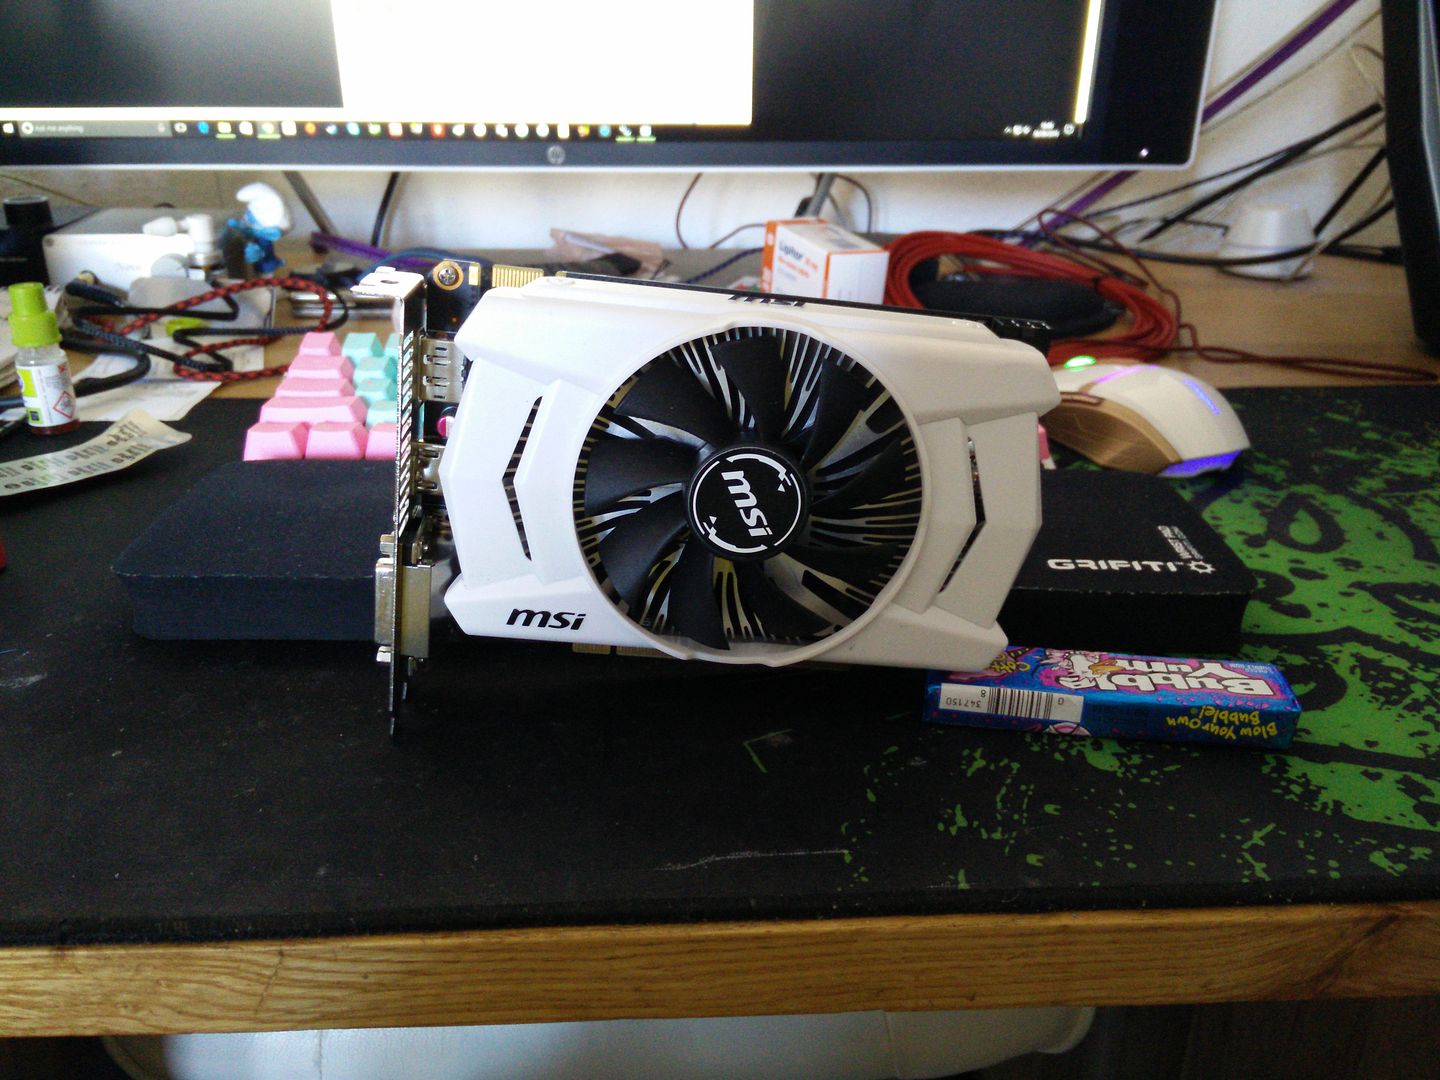
So far I have seen two Samsung modules on the back of the card, so there may be two more on the other side? I won't know until I strip the 950 and take a look. Talking of which, here he is :)


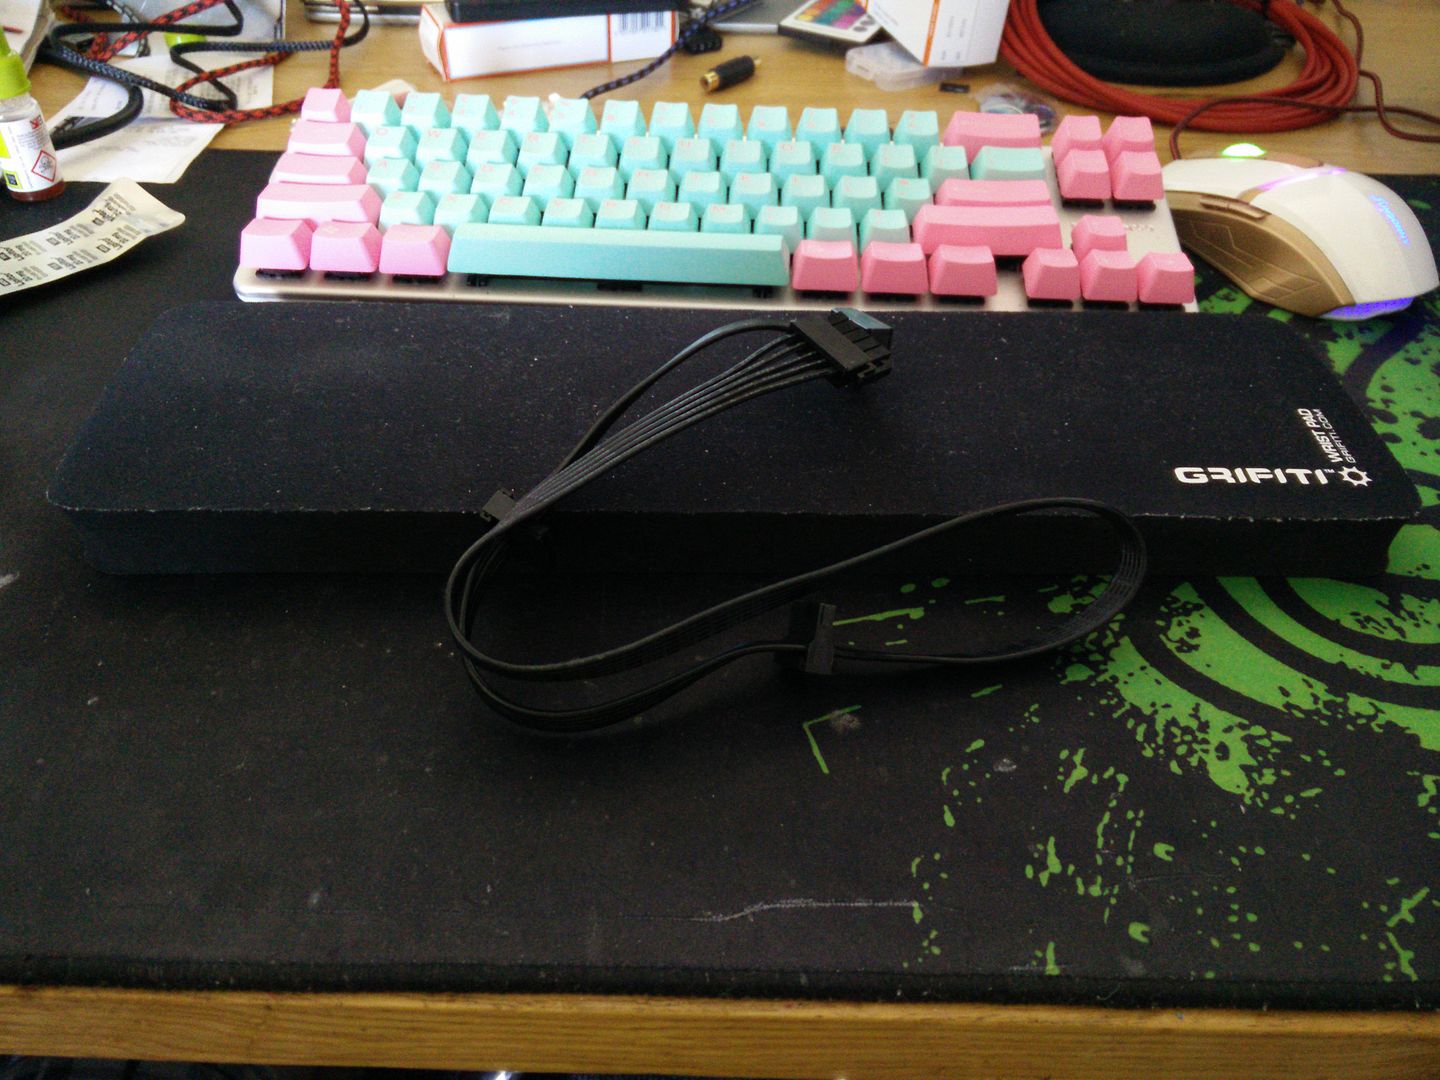
I also remembered that the SATA cables that came with the PSU were not long enough so I will remove the orange Bitfenix ones I ordered and instead cut them and solder this on.


All of the cables will come out and be braided in camo fluorescent green. I used red stuff for the stereo project and really liked it :) The silver Dinoc will also go for something a bit more up to date and tasteful.
 
I should be OK dude. I am plotting out the build and what I will do is prefit everything, get the hose lengths cut and then remove it all so I can use boiling water to fit the hoses (which takes some force etc so I want it off the hardware). Once that is done I will start leak testing in the bath (the entire loop) and when happy I will take it out and fit it back to the rig.

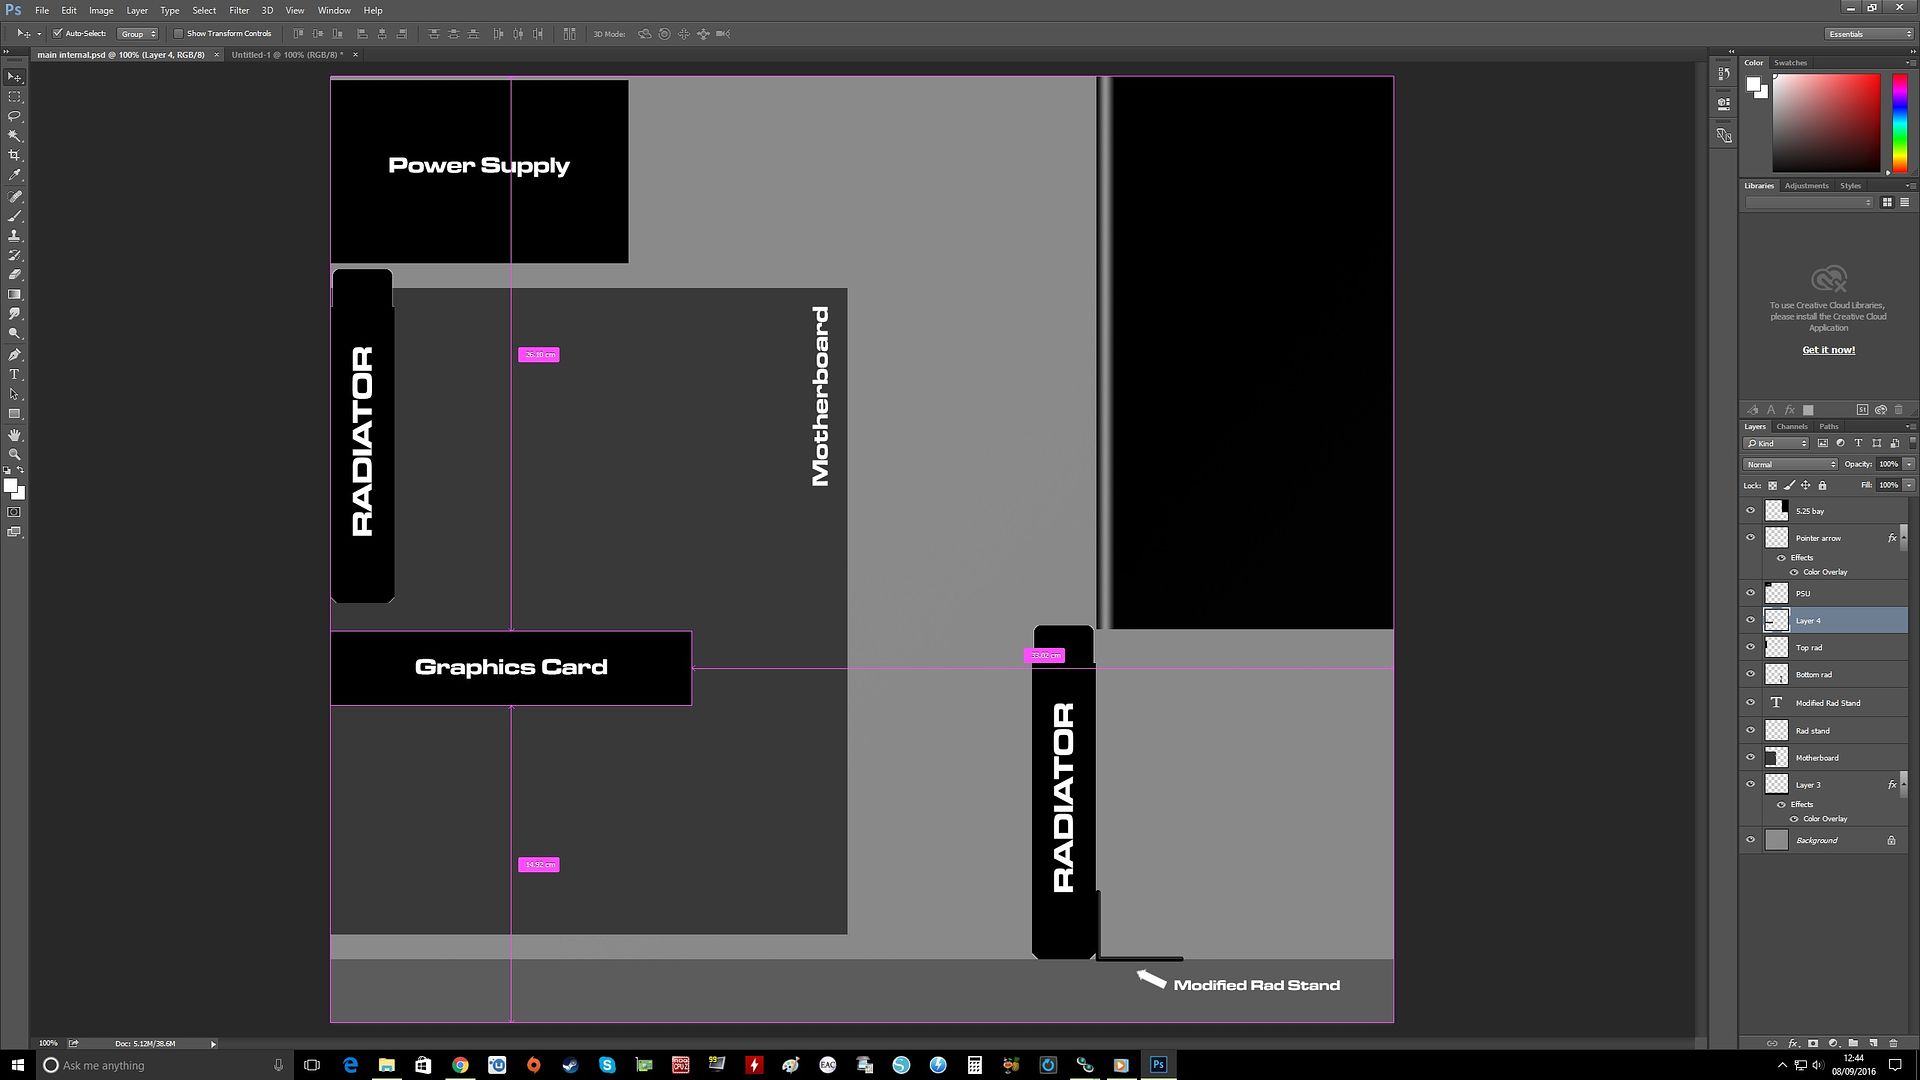
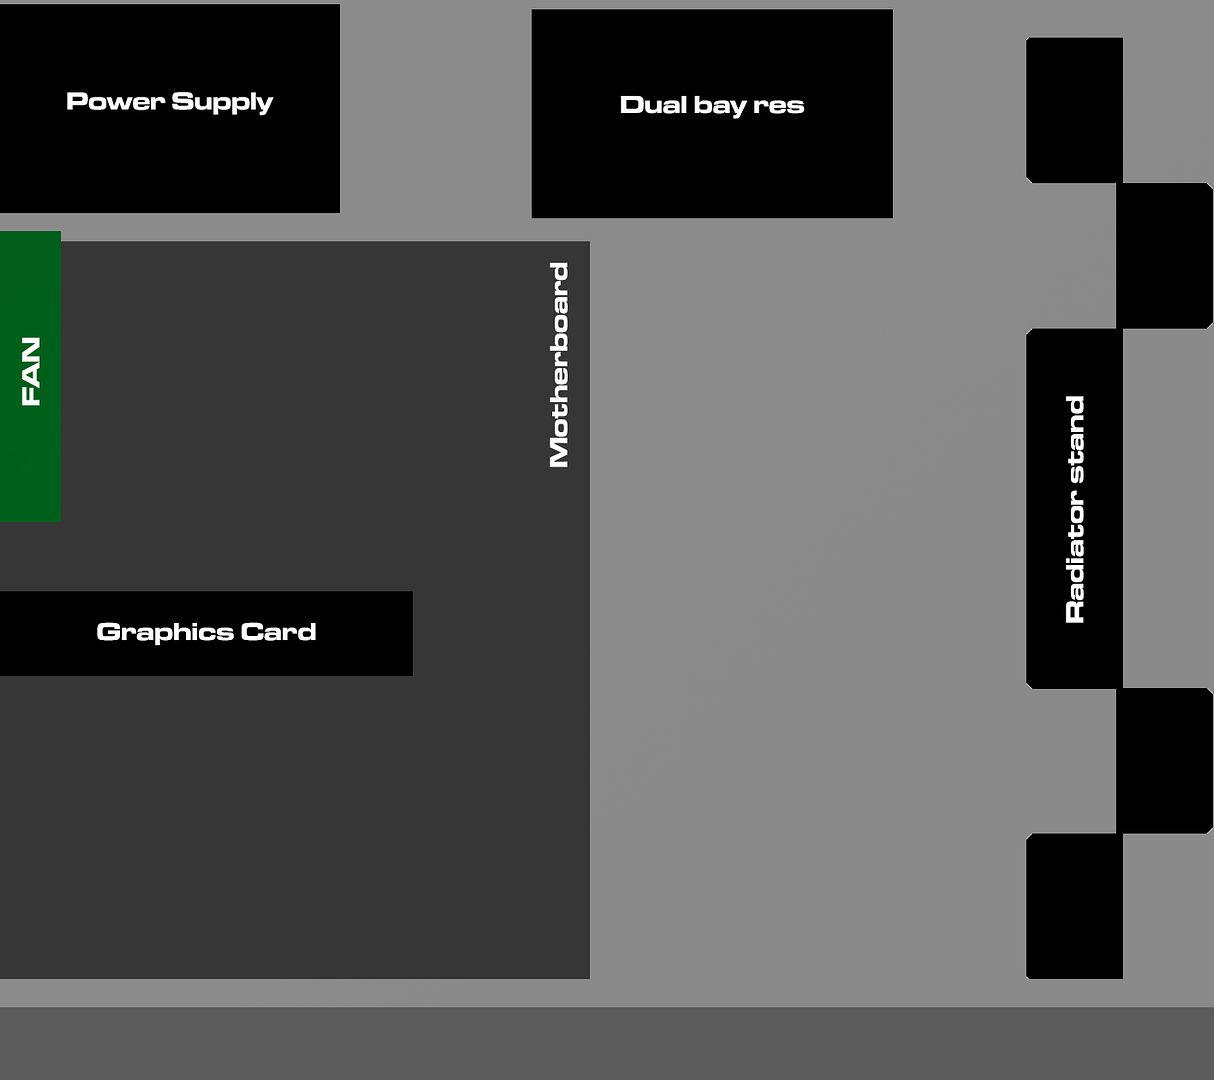
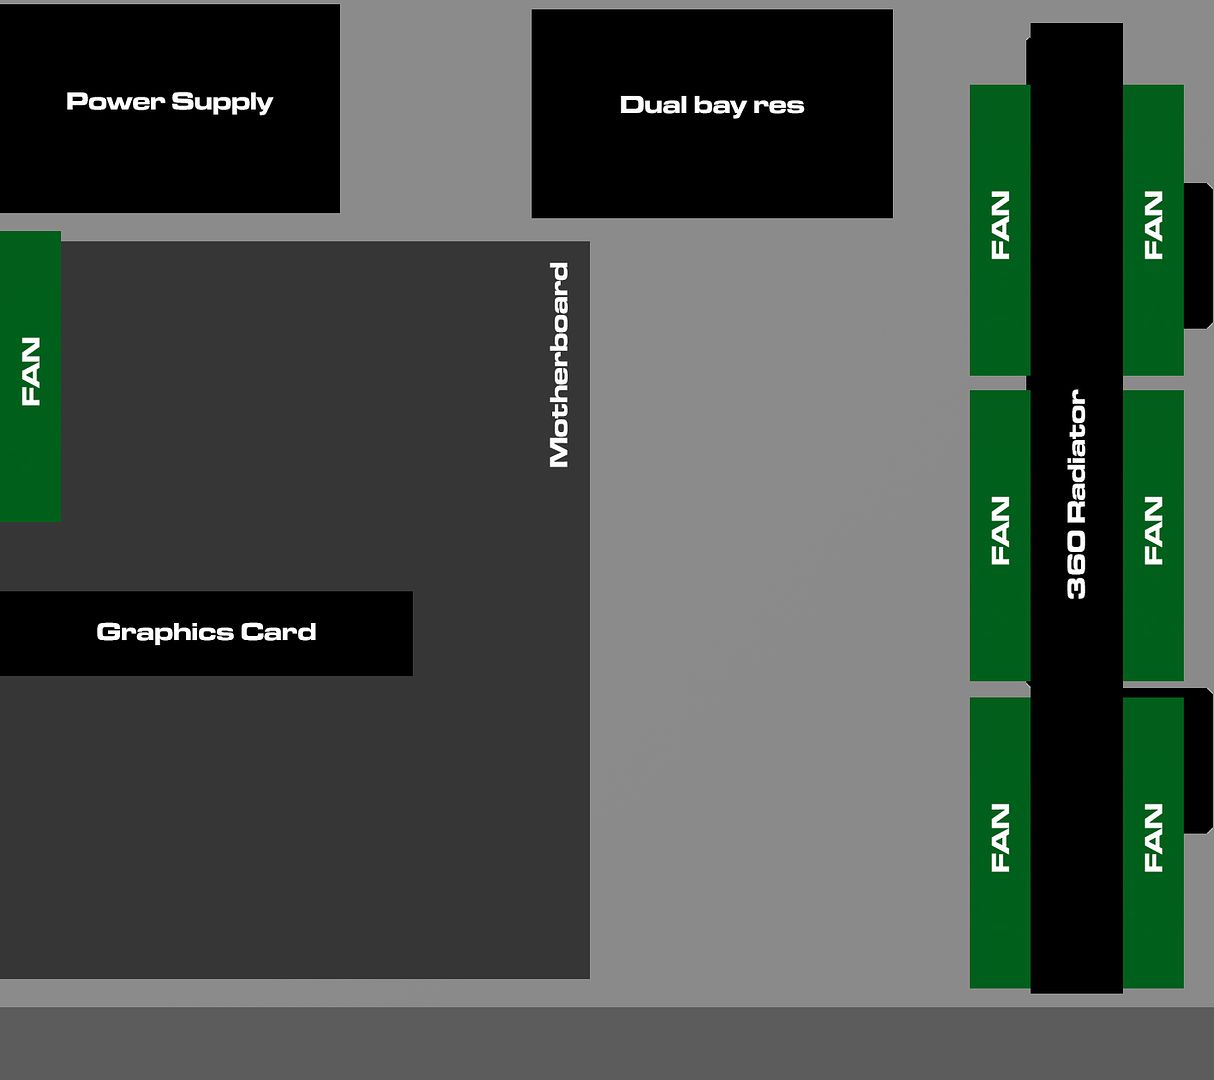
So thanks to Photoshop working in MM I can design the internal layout.


This is where I am at so far, after measuring what I have and getting the other sizes from tech docs :)


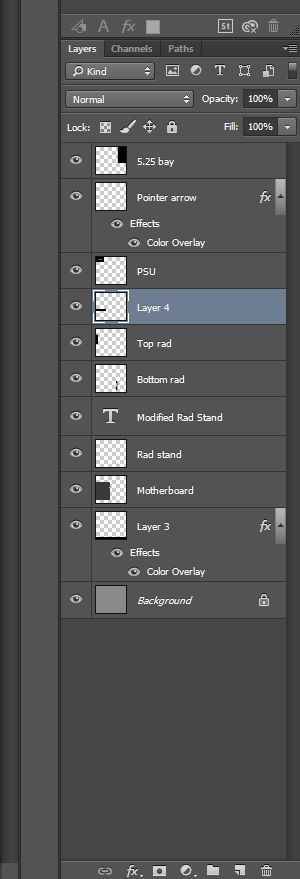
I had the foresight to make everything as separate layers so I can jiggle it around without too much hassle :)

 
On a cold and gray Chicago mornin'
A poor little baby child is born
In the ghetto (in the ghetto)

Set up ghetto, set up ghettoooooo


Argh, forgot it doesn't have an OS on ! when I robbed the Mars I also robbed the SSD :D


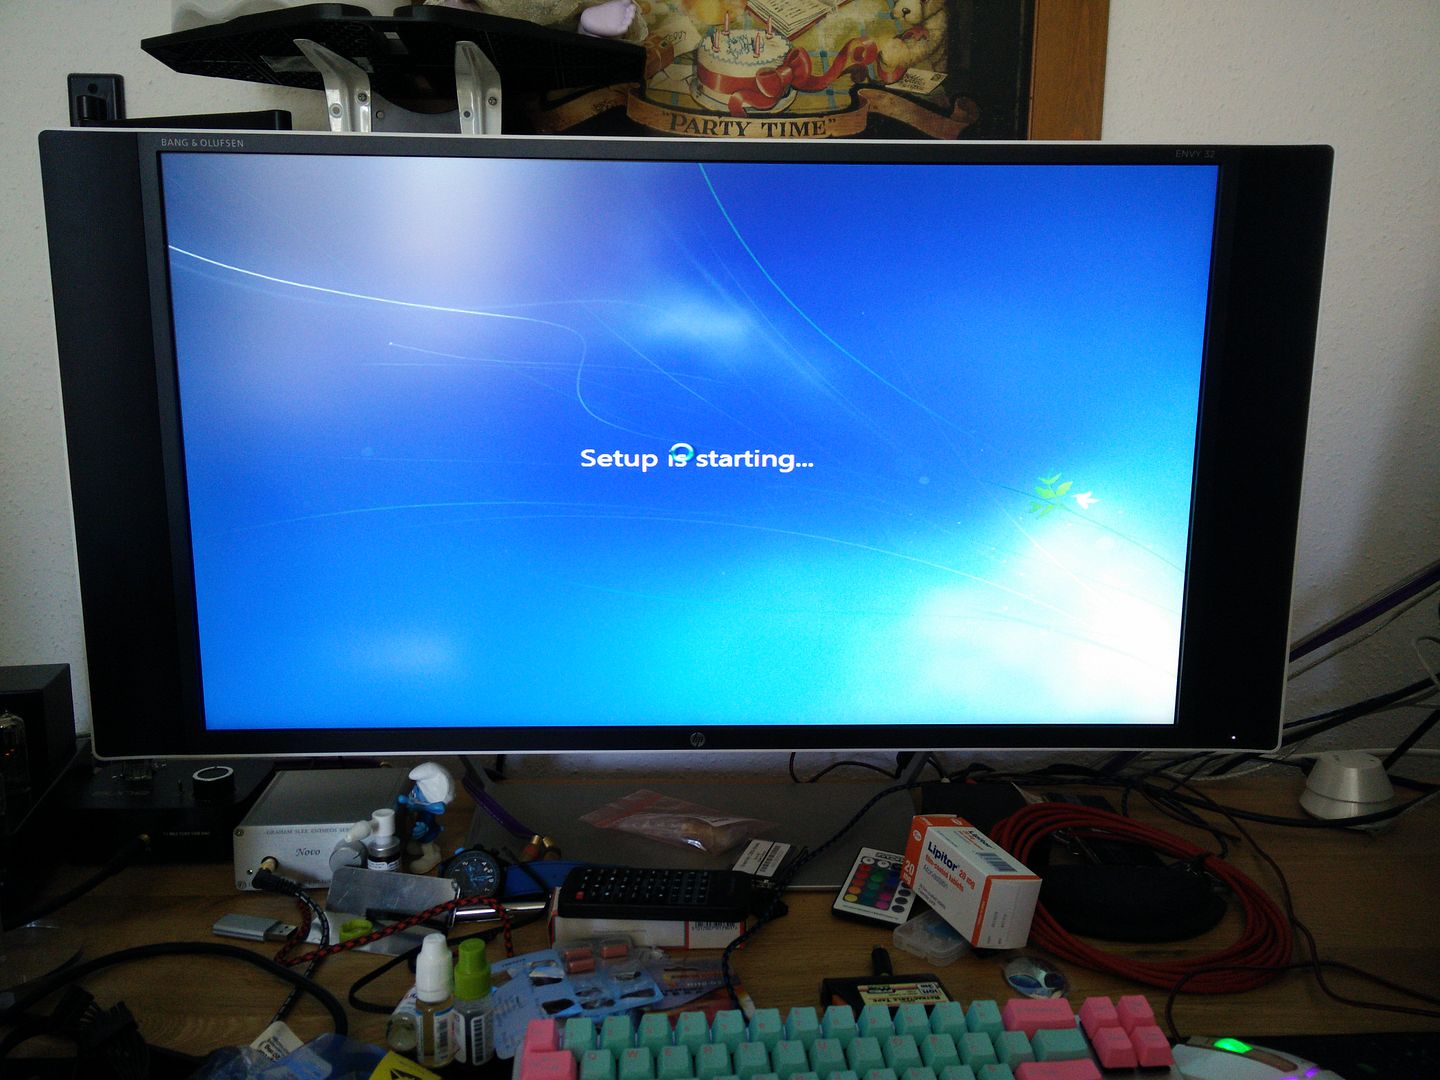
So I grabbed a ghetto laptop mechanical drive and started the install.


It's finished installing, I'm just installing the Nvidia drivers etc. Then I will get it into Steam and leave it benchmarking for about an hour then take all the temps :)
 
Morning update :)

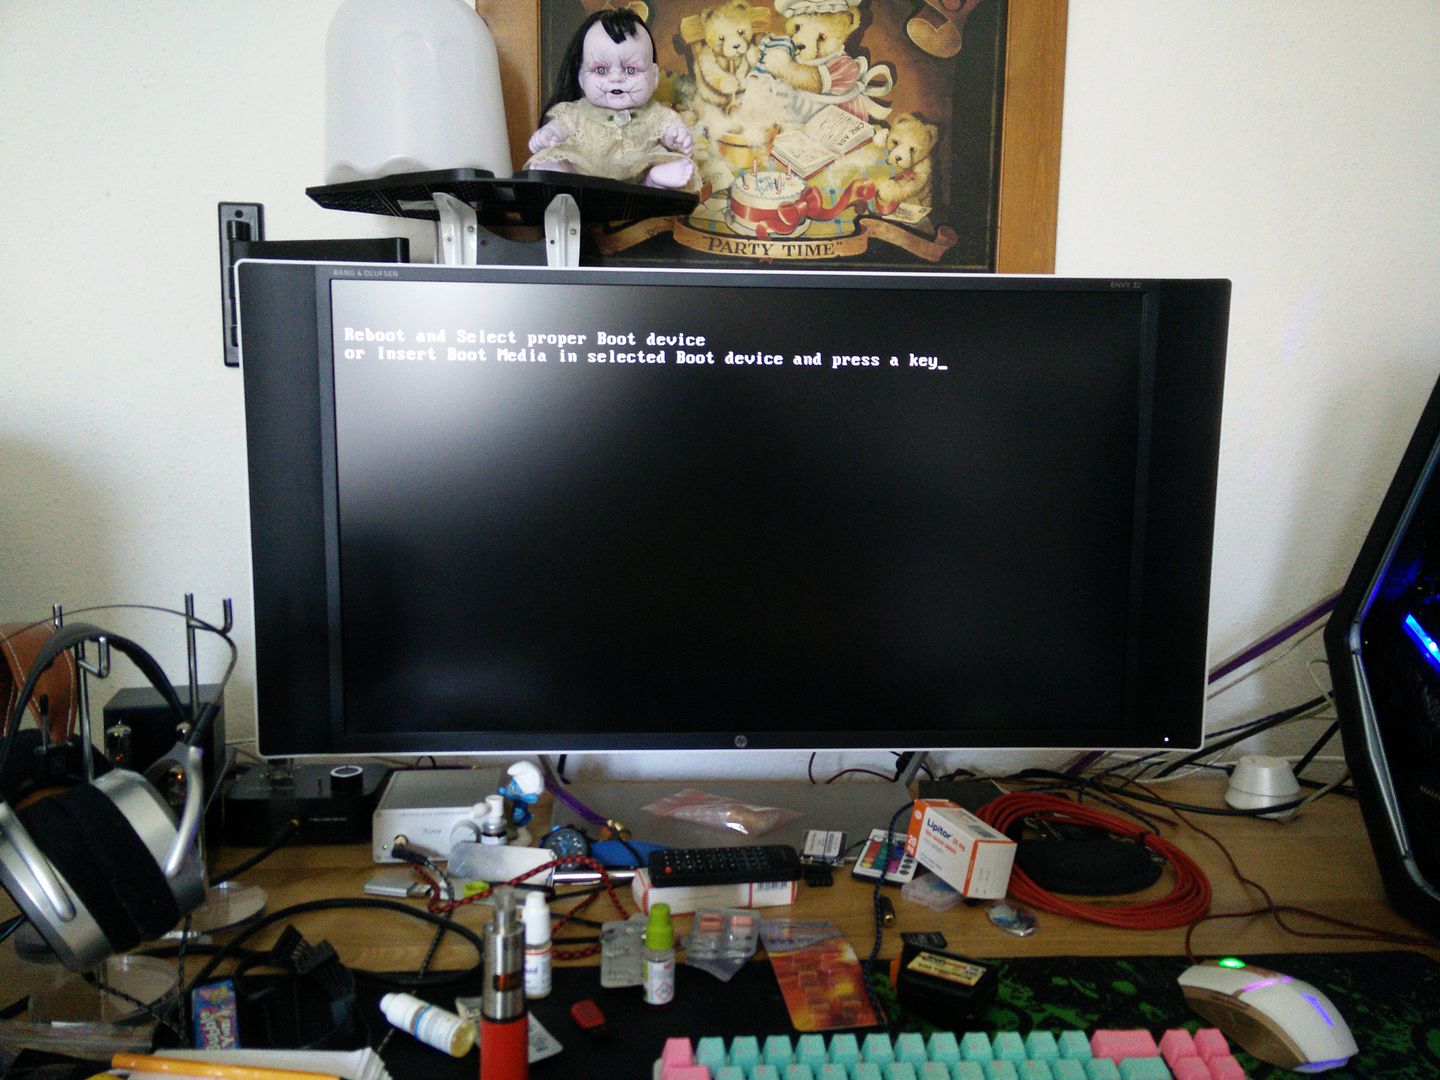
After installing Windows 7 Pro yesterday afternoon I was having some serious issues. I could not run the benchmarks, because they were making the rig black screen and become unresponsive. I have heard about black screen issues with Nvidia cards but had never had the issue myself. Until now.

I tried pretty much everything (older drivers, DDU etc) but nothing helped. As soon as I launched a game or benchmark that used the GPU it would black screen and become unresponsive whilst the monitor remained on.

I then read about some laptops having this issue with new games and the solution was to run them windowed. I ran Valley windowed and yeah, worked perfectly. So I started doing some digging into the issue myself and eventually I realised the monitor was running at 59hz so I force changed it under the adapter settings and the PC black screened no game.

So now I knew I was onto something but still wasn't sure what to do about it. I upgraded to Windows 10 whilst I still could but the problem remained.

Then after a nice big cup of tea this morning I realised I could create a custom resolution under the Nvidia control panel. I created one for 1440p leaving everything alone except the refresh rate which I changed to 59hz.

Problem fixed.

So I will get on with the benching later :)
 
OK so Windows was reporting 60hz (under change res) and the NVCP was saying 60hz. However if I went to adapter settings (by clicking on advanced under Windows resolution settings) it was showing the monitor as 59hz. I tried to change it to 60hz to match everything else but it black screened (no game running, monitor stayed on LED stayed on PC dead). I had to force restart every time it happened. However, I clocked it was showing as a plug and play monitor so I went off to HP and found they had a driver.

I installed the monitor driver and went back to the settings and changed the refresh to 60hz and this time it did not black screen. However, when I exited and went back it had gone back to 59hz again.

So basically this monitor on this cable (which could be the culprit, 5m white HDMI cable that cost about ten pence) will not run at 60hz on this GPU in this rig. If you do the PC crashes.

So I created a custom resolution under the NVCP and ignored all of the warnings it gives you. I then changed nothing but the refresh rate to 59hz and bam, it works perfectly.
 
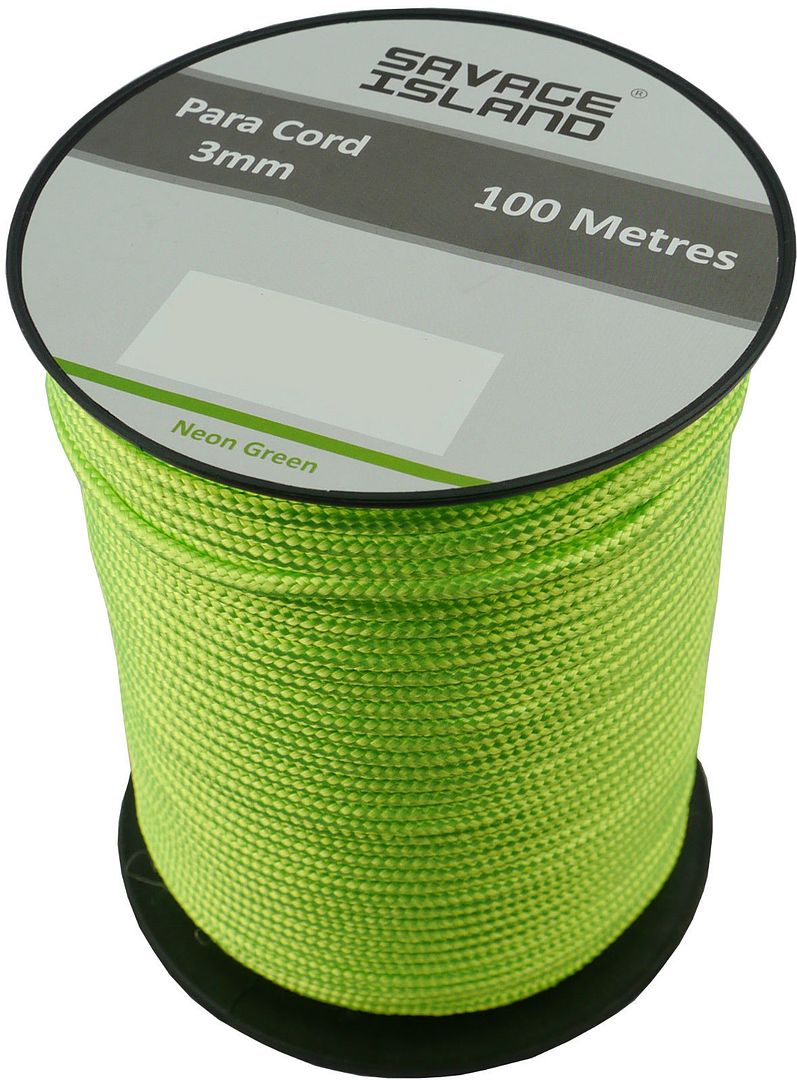
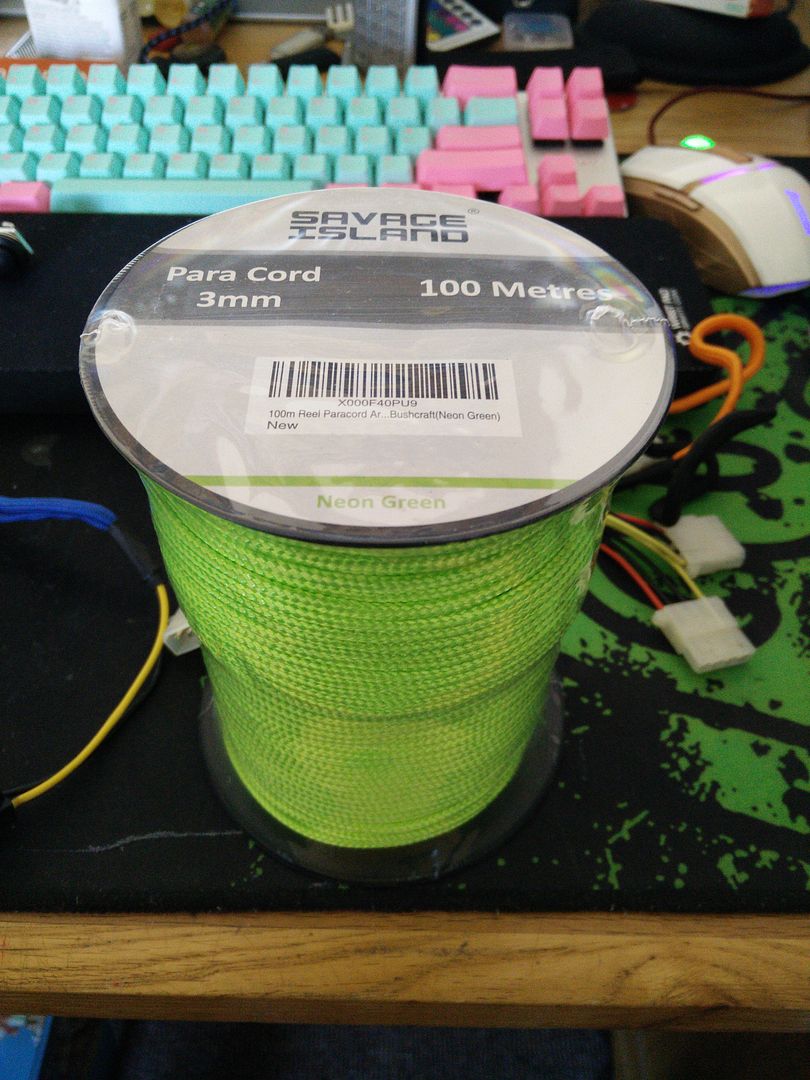
Just a quick update. Now that I have the rig functioning as it should I have decided to do some design work on it also. When I quickly restored it back in December of last year it was just that, a quick restoration to get it going and a few minor upgrades etc. However, I have decided I want it to look better inside. I am going to go for a silver/met green/black colour scheme. I only need to braid three cables (6 pin PCIE 24 pin and 8 pin EPS) so I have decided to order this.


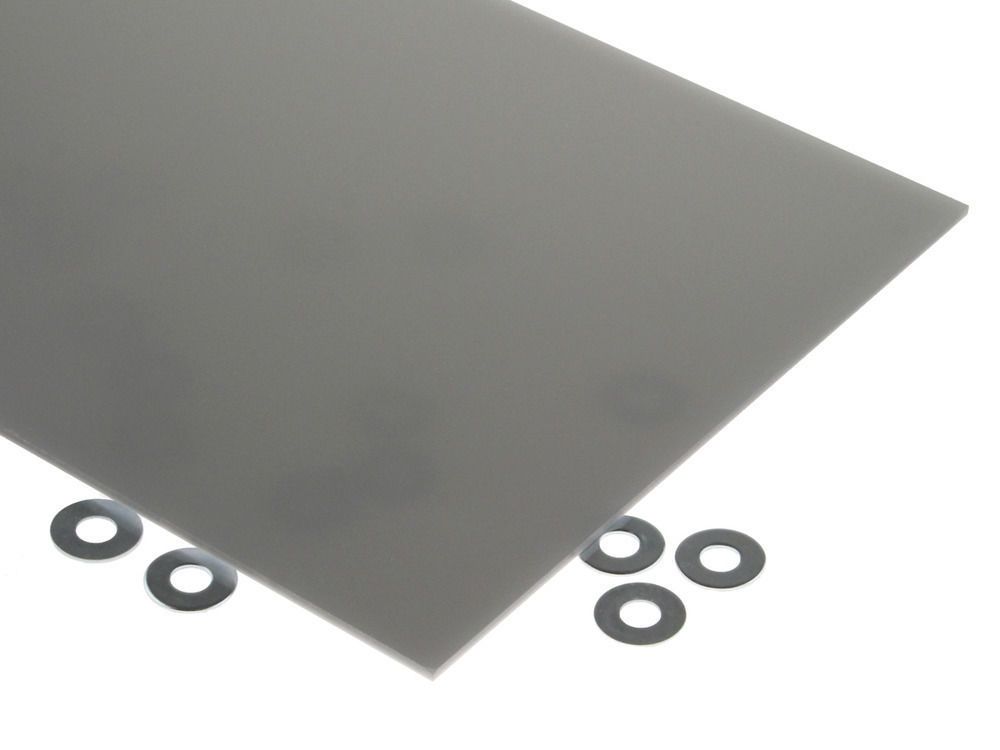
It costs twice as much as regular cheap paracord and will probably be harder to use (as it's thicker and jams pins easier) but I have fallen for it. I am then going to make my cover panels out of silver acrylic.


And in a tribute to my first ever Alienware computer this.


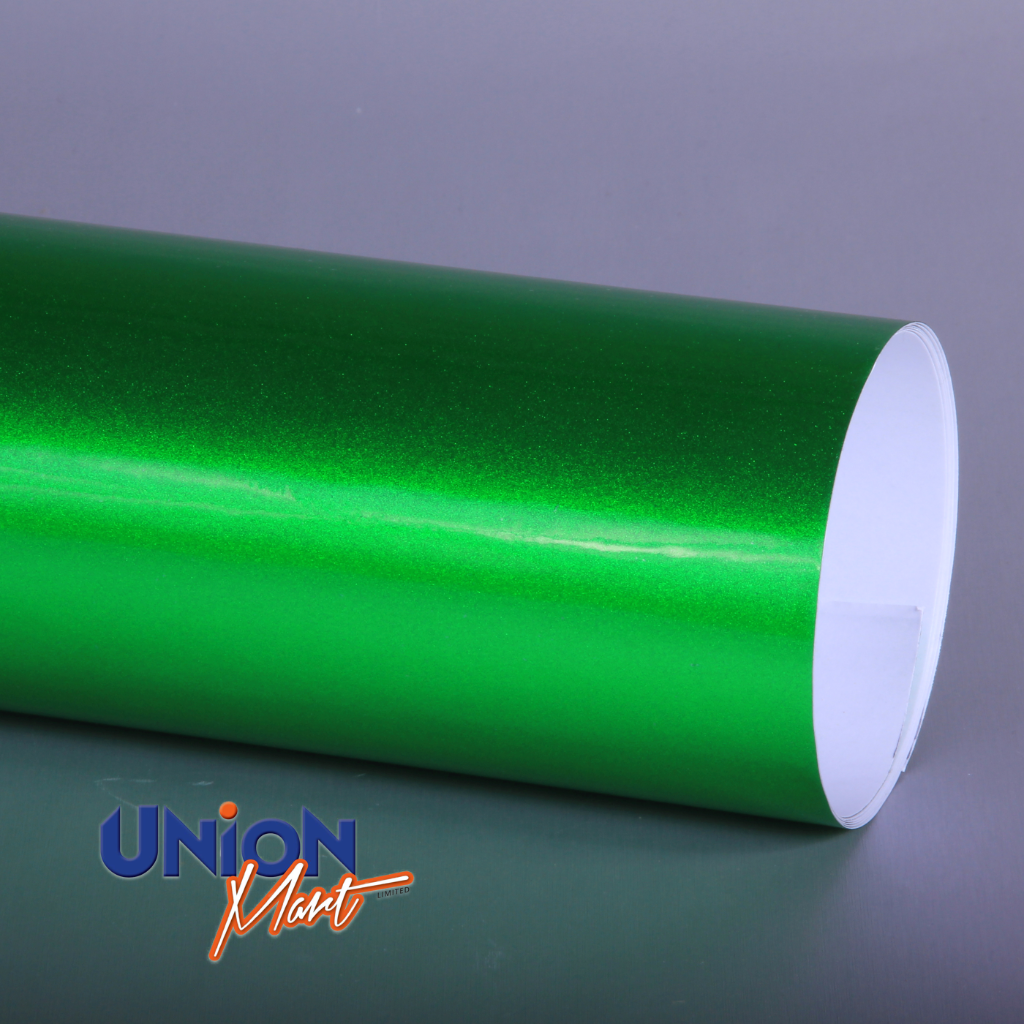
Candy apple metallic vinyl.
 
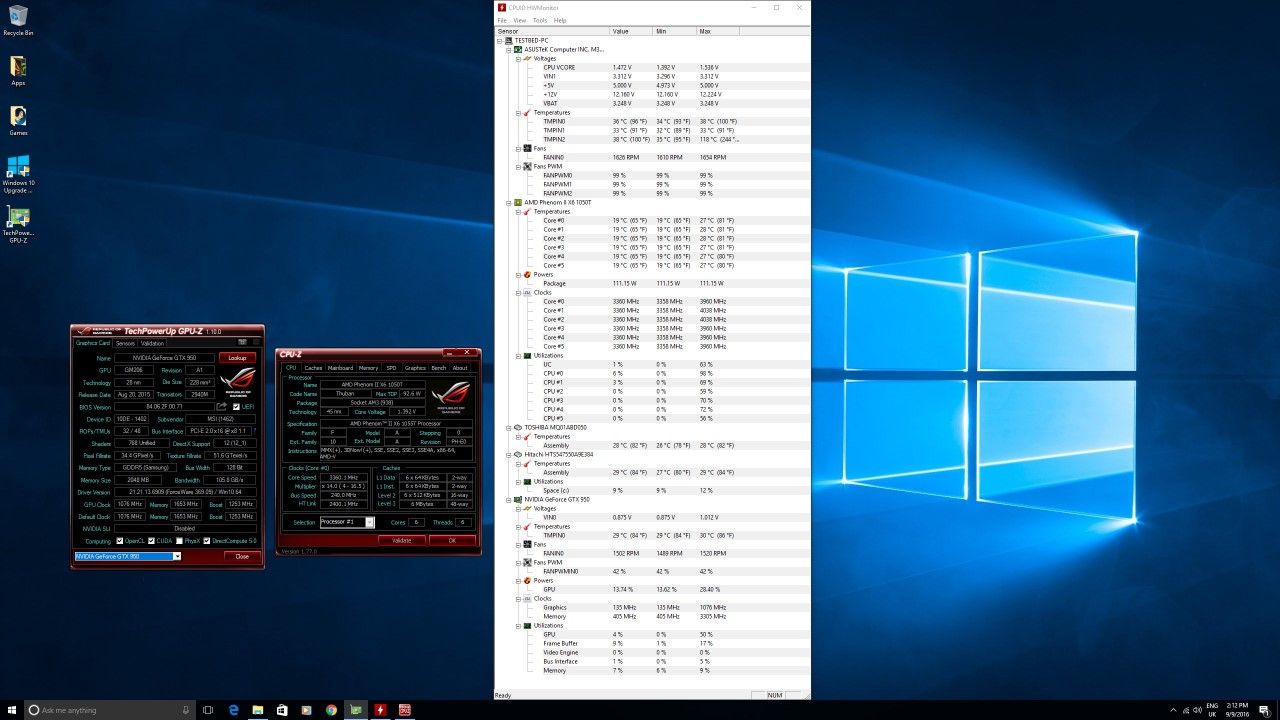
OK so the air testing is complete. First thing I did was install CPUID, GPUZ and HWMON then open them all, using the latter to record temps.


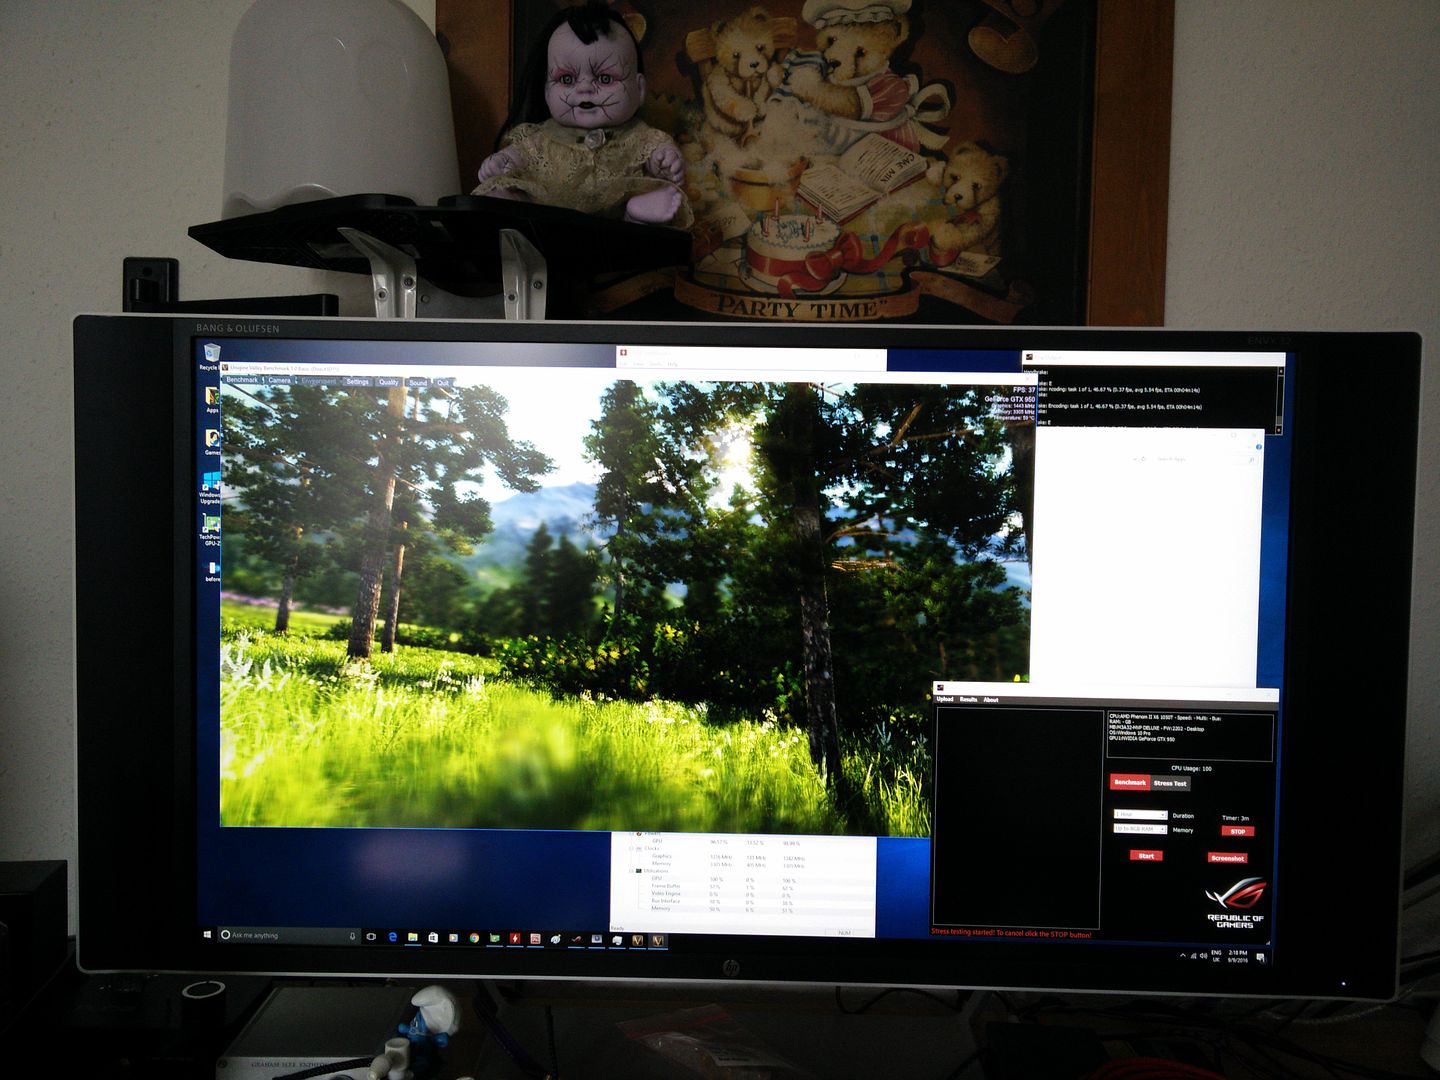
I then set up Realbench to stress mode/8gb ram and set it for an hour. However, after thirty minutes it was obvious that things were not going to get any hotter. Any way, I also ran Unigene Valley (just left on not benching) and again after thirty minutes it too refused to get any hotter.


What surprised me was how responsive the system is now that I have fixed the issue it had. I was easily able to browse the web with the crap being thrashed out of it.

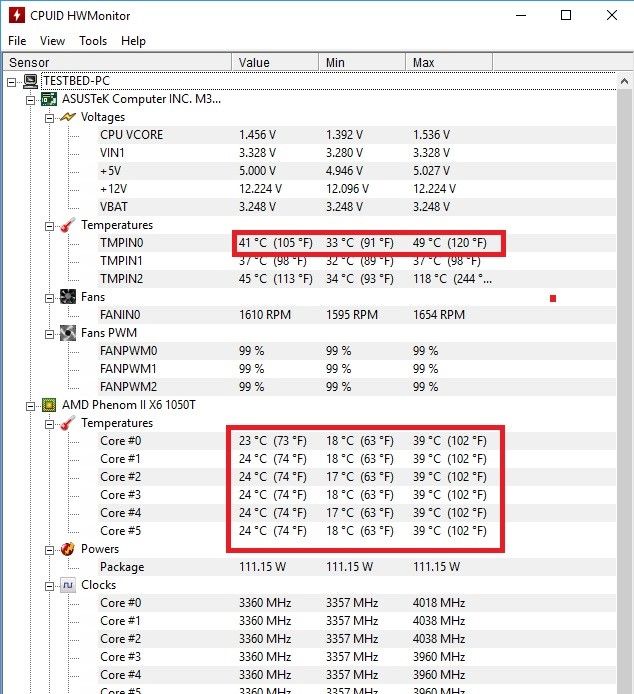
And the results. Lowest temp on the CPU was 17c. Highest temp was 39c. However, I expect these numbers to be false and highly suspect that the actual temp is TMPIN0 like it was on my 8320. This showed a minimum temp of 33c with a maximum of 49c.


Moving over to the GTX 950. Minimum temp shown was 29c and the absolute maximum was 65c.


As I said, pointless going on as it was just staying the same (or dropping a few C when the new scene loaded on the GPU, or when the test changed on the CPU).
 
OK so here is where I was at at 2am lol.

YSQ9qO2.jpg

There's only one thing worse than dirt. Tape adhesive.

cDVbVzN.jpg

And there is only one thing worse than tape adhesive and that's moar tape adhesive.

5ETeNXq.jpg

I'm not sure of much but I know this is going to SUCK.
 
Last edited:
Sorry for the lack of updates. It's not usually my thing to start a log and then go quiet but I have been in talks about this build and instead of having cheap laughs I may invest into it a little more. We shall see :)

Any way I got all of the gunk off.


The back side was actually easy as the alcohol cut straight through it. The other side though? nightmare. At some point in time I thought it was a good idea to stick the graphic from a XFX GTX 260 Black Edition over one of the case's holes. What I did not realise was that it was double laminated with cardboard and all sorts of other crap on it. It was literally like trying to remove that 1970's vinyl tile on a roll crap with a steamer. After about an hour and a half I finally got it off but I'm never sticking anything stupid anywhere again.


You will notice I have removed all of the cable management trims. There's a good reason for this :)

I managed to cobble up enough cash to buy the braid so that I have something to do over the coming days. I don't get paid until Friday and I'm already pretty bored lol.
 
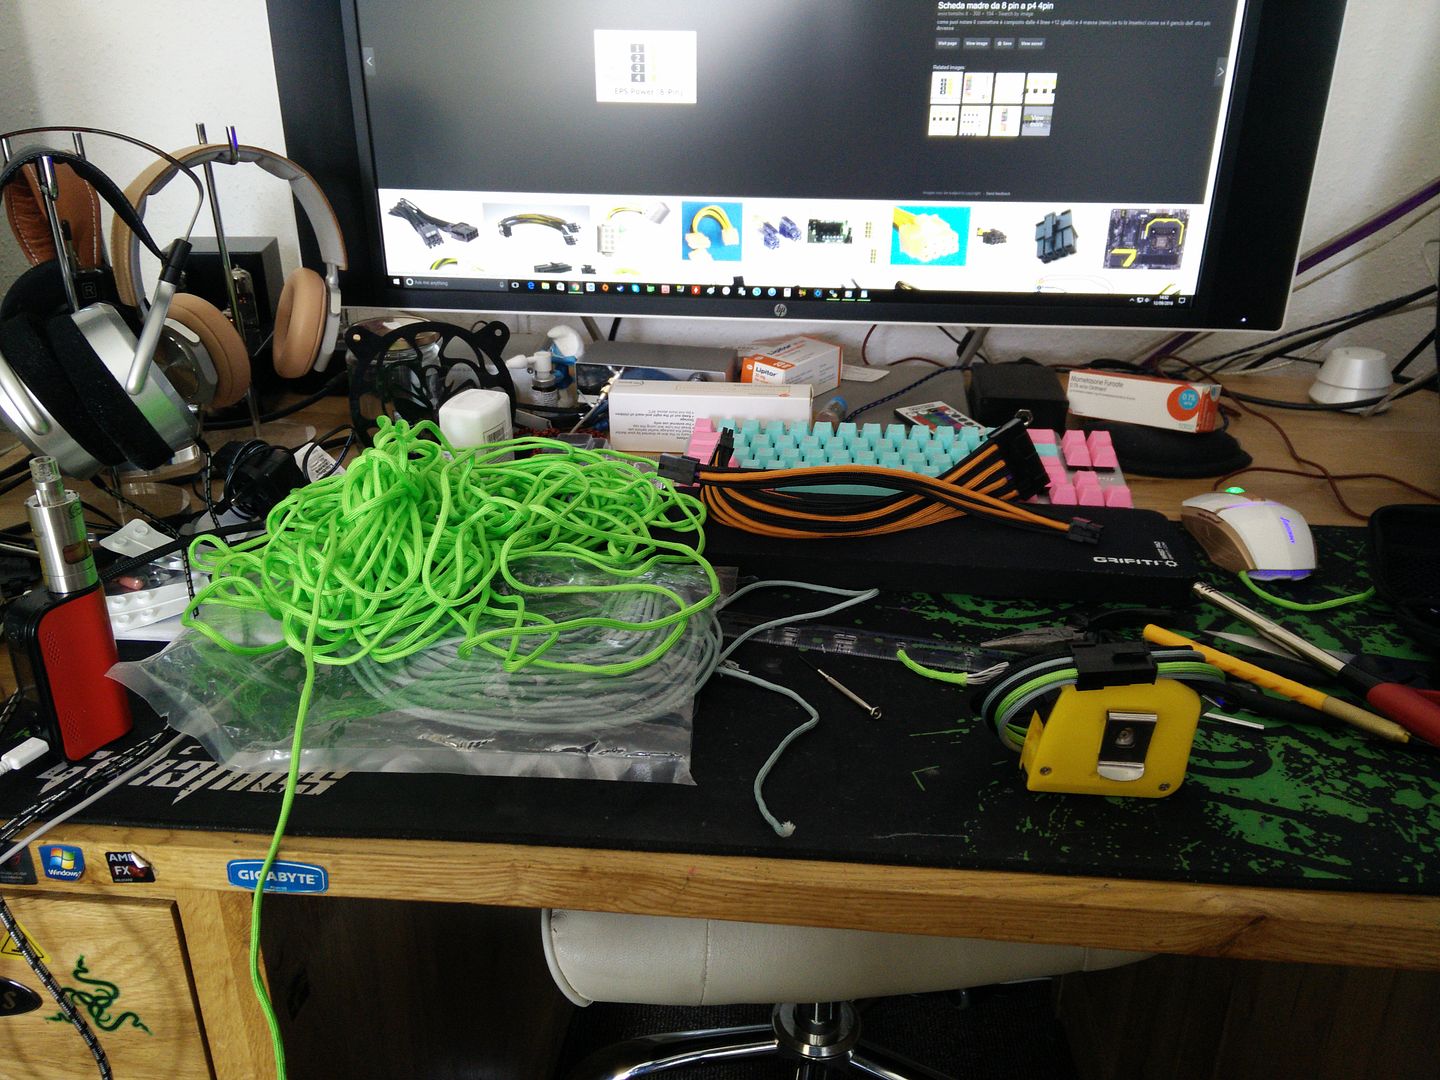
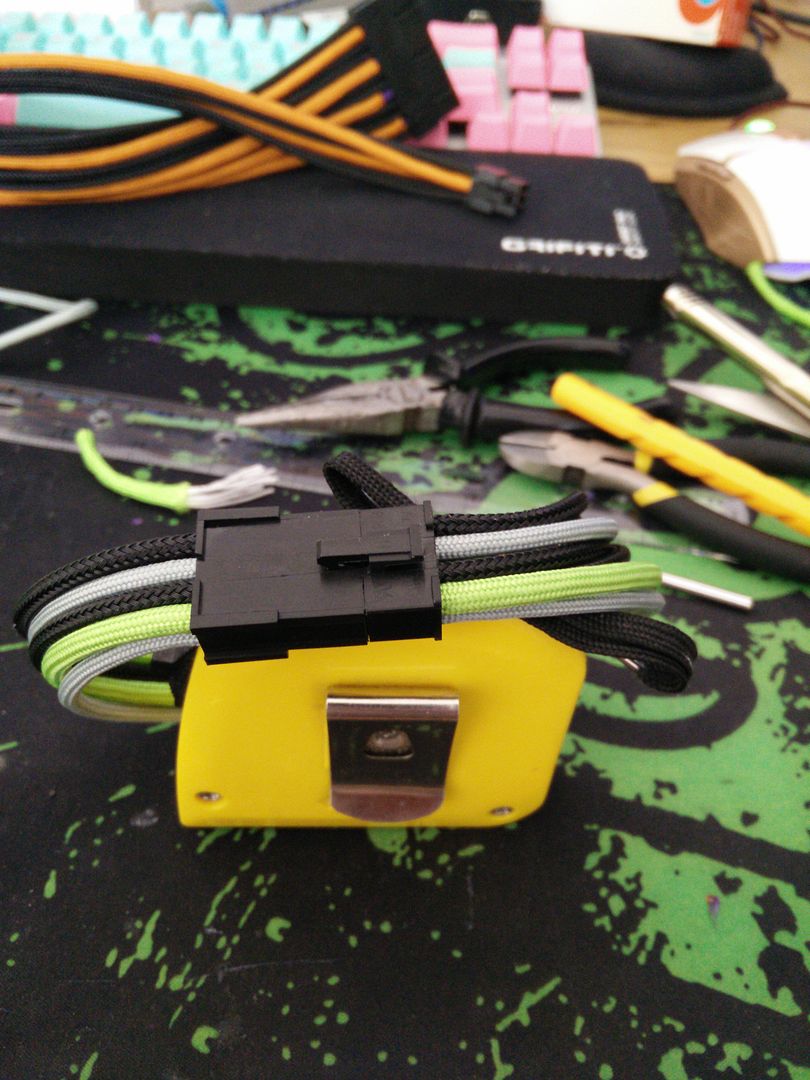
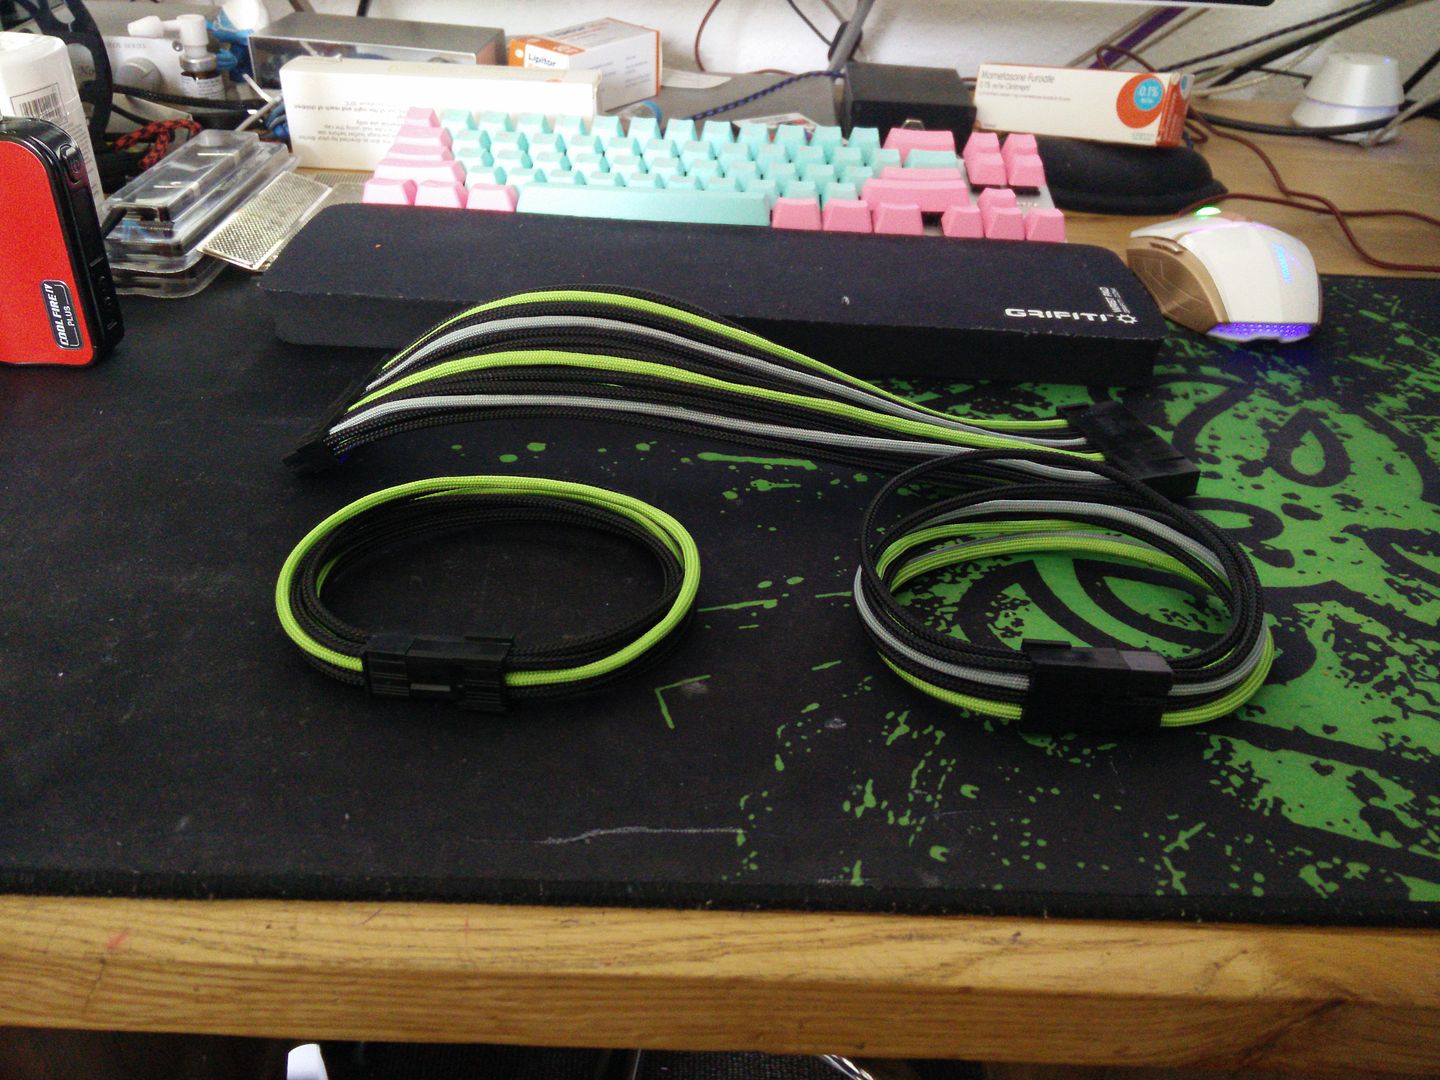
Braiding done. Like a wally I did not look before I ordered the other stuff and had forgotten that I had neon green and gray left from a project I didn't bother with.


8 pin EPS


And all of the cables I needed for the rig. God bless simple GPUs :D

 
Well, if you're finished already and at a loose end, you can always come round and help out with mine! :D Just started some non-standard 6-pin PCI-E style plugs to molex and then have a bunch of 4-pin Aquabus (same as PWM fans), an EPS extension and got to do something with the 24-pin ATX. Plenty of work here if you're bored! ;)

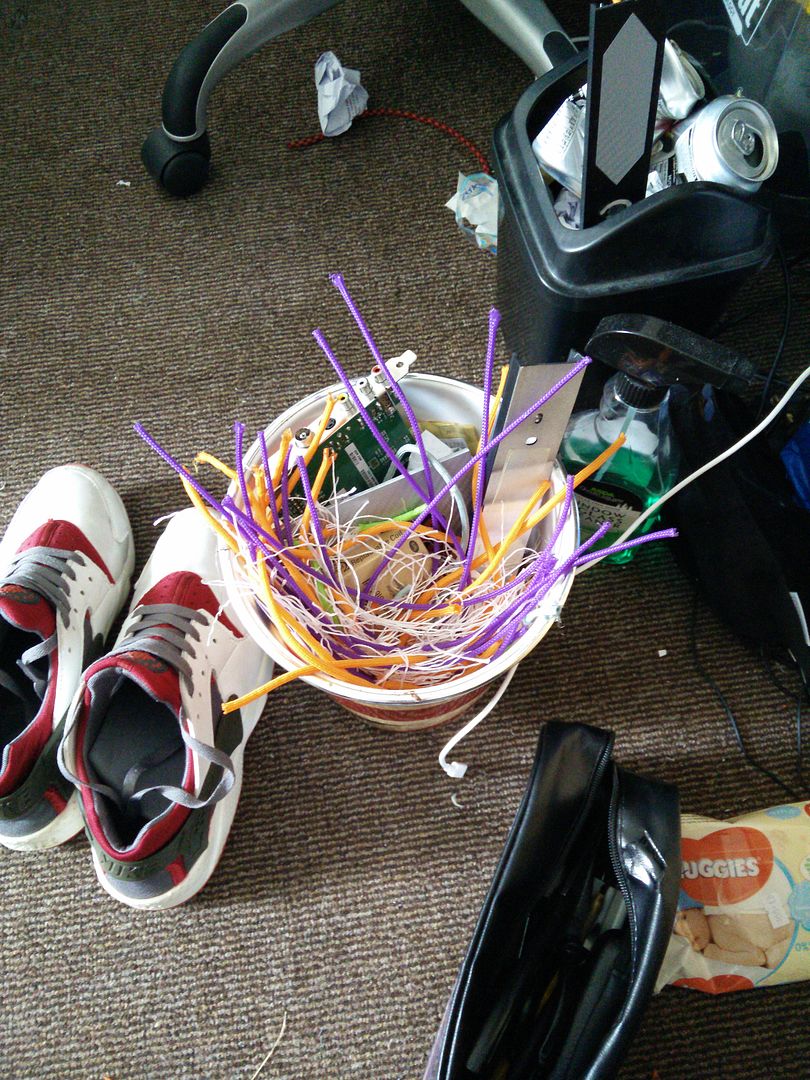
Dude it sucked. It originally came in purple and black, and ages ago I decided I was going to change the purple for orange. Any way, lazily I went over the purple with the orange and then found that this braid would not do that so I had to sit and pick it all off. As proof I show my bin !


Seriously man like cleaning off that gunk it totally sucked so bad :(
 
Wicked work man love seeing a bit of innovative modding

You should see plenty of that :D

When I sat down and realised what I had spent on the stereo I was kinda shocked. £290 ! the head unit only cost £129 :S

This time I am going to have to be more creative instead of just hurling money at it left right and center because no matter what it's still going to be a 1055T and a 950. Not that it matters because the end goal for me is Elementary OS but yeah, need to reign in the spends this month.

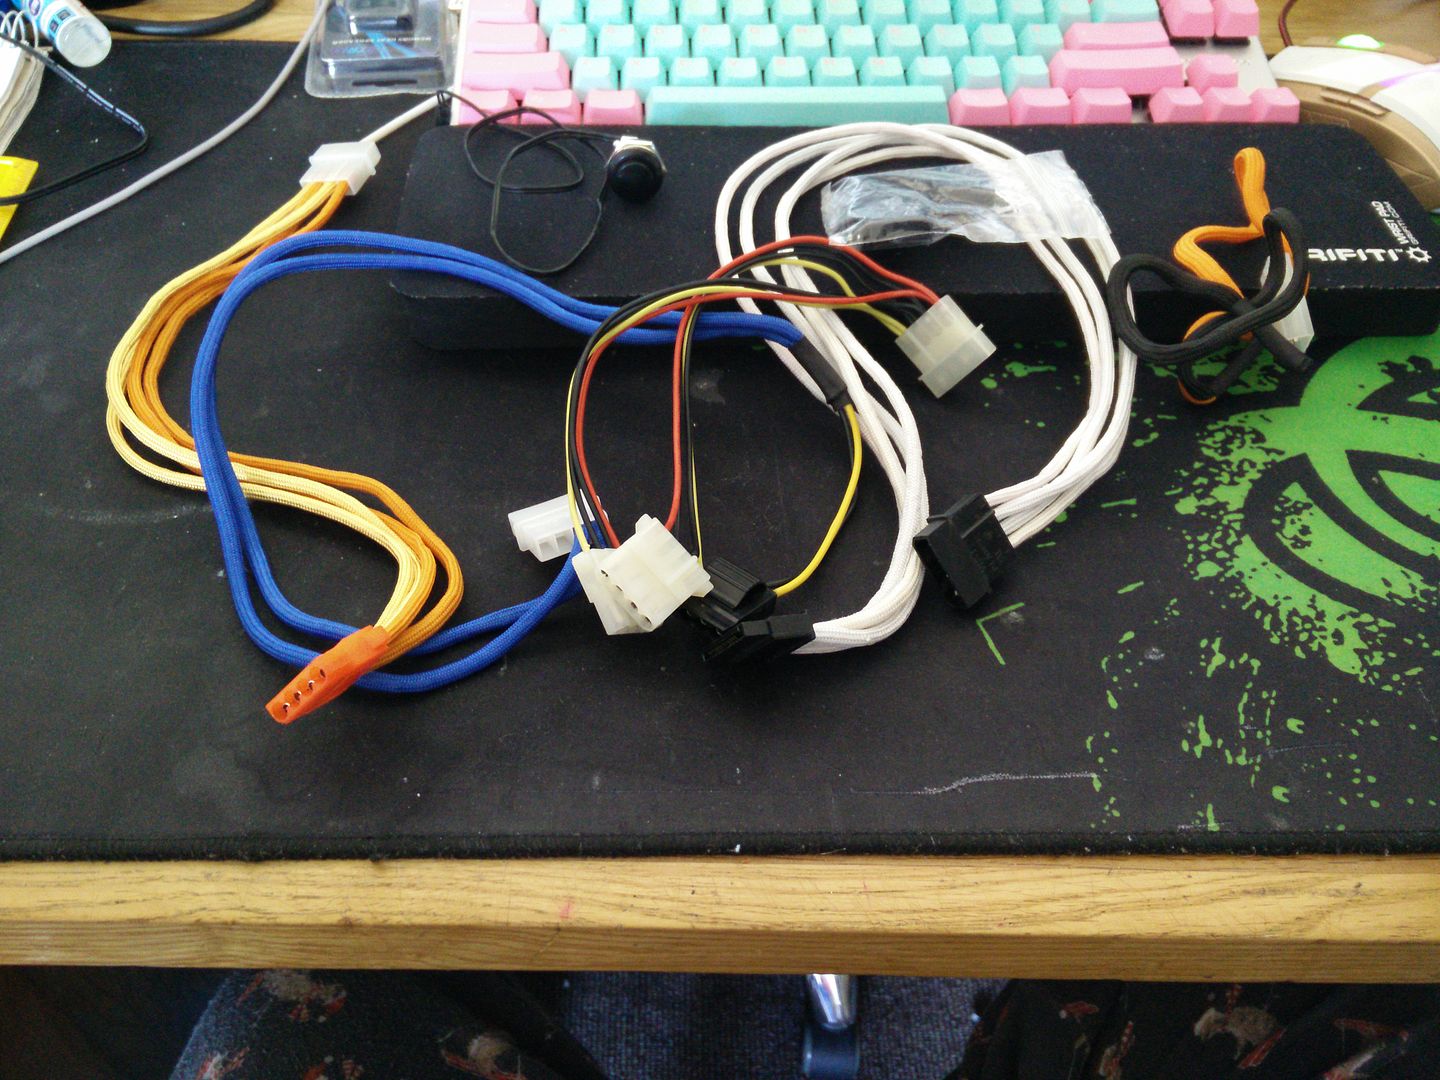
One thing it will need are lots of molex. Pretty much everything these days is run from molex or nothing so I need to add molex plugs, but thankfully the stereo project left me with about 70% of a power supply plugs and all :)
 
So I dug out a few old molex connectors and some wire, in order to make a few extensions and splitters etc so everything reaches.


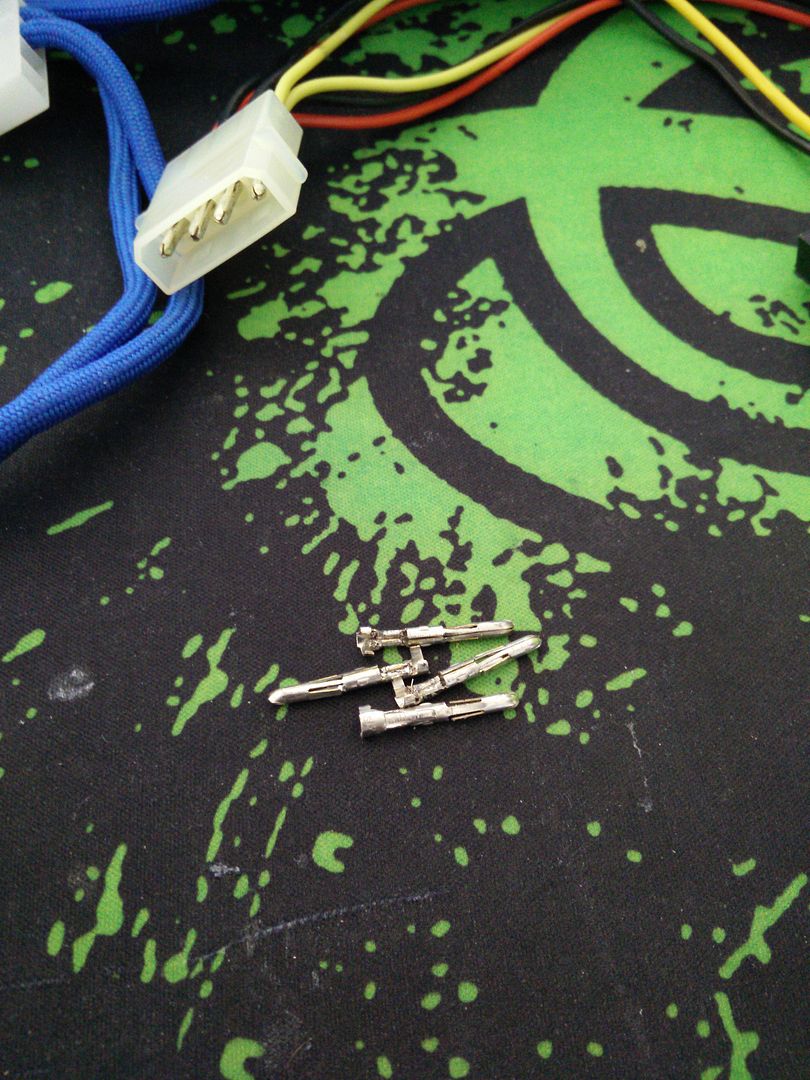
Harvest a few pins.


New braid.


So the first extension is finished. Very difficult braid to use but looks lovely.


Then the doorbell went :)


And.


And a massive thanks go out to Lewis. Ain't gonna be no ghetto now :)
 
Cheers. TBH there isn't much left to braid because it will all be hidden away. Just a couple of molex power splitters because I'm going to need a few.

If you are having trouble feeding the braid dude then cut it at the ends from inside once you have melted it. I use snippers to cut a couple of snips it makes the bugger open right up :D

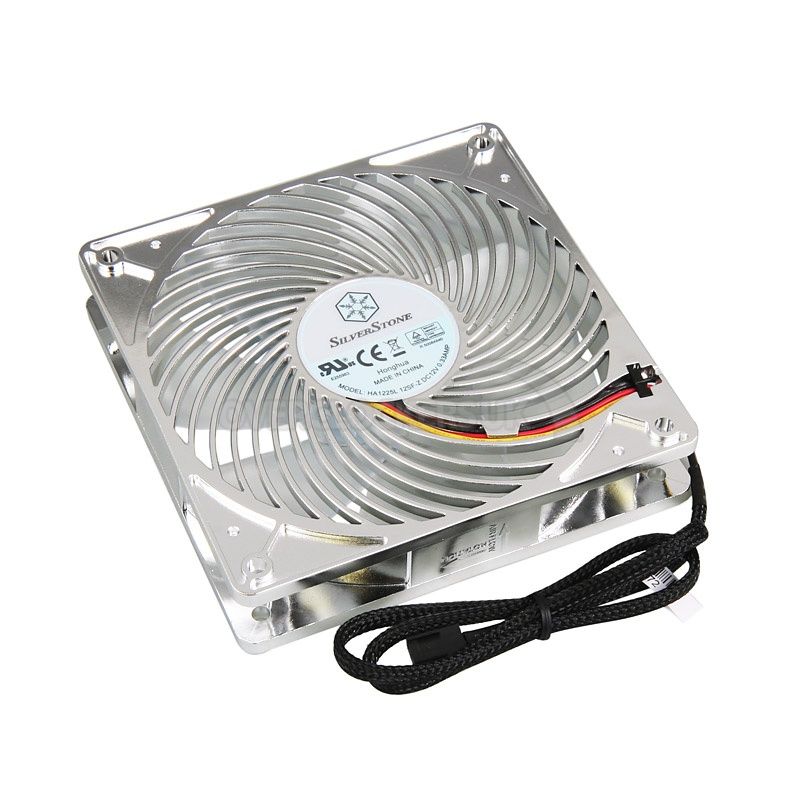
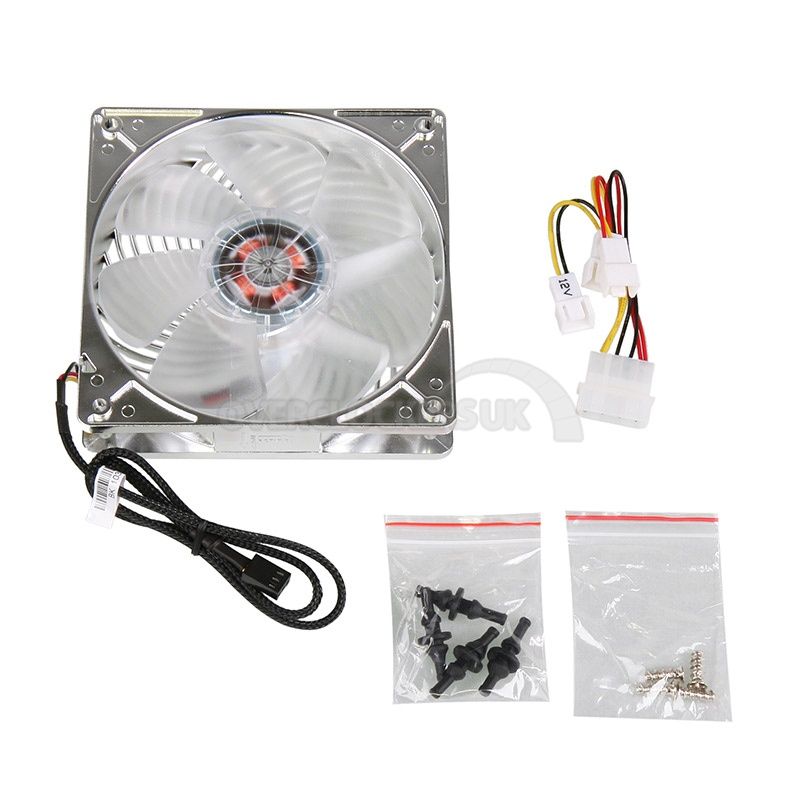
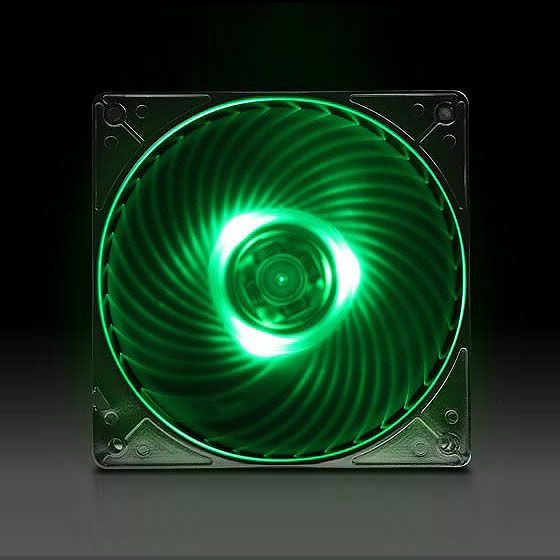
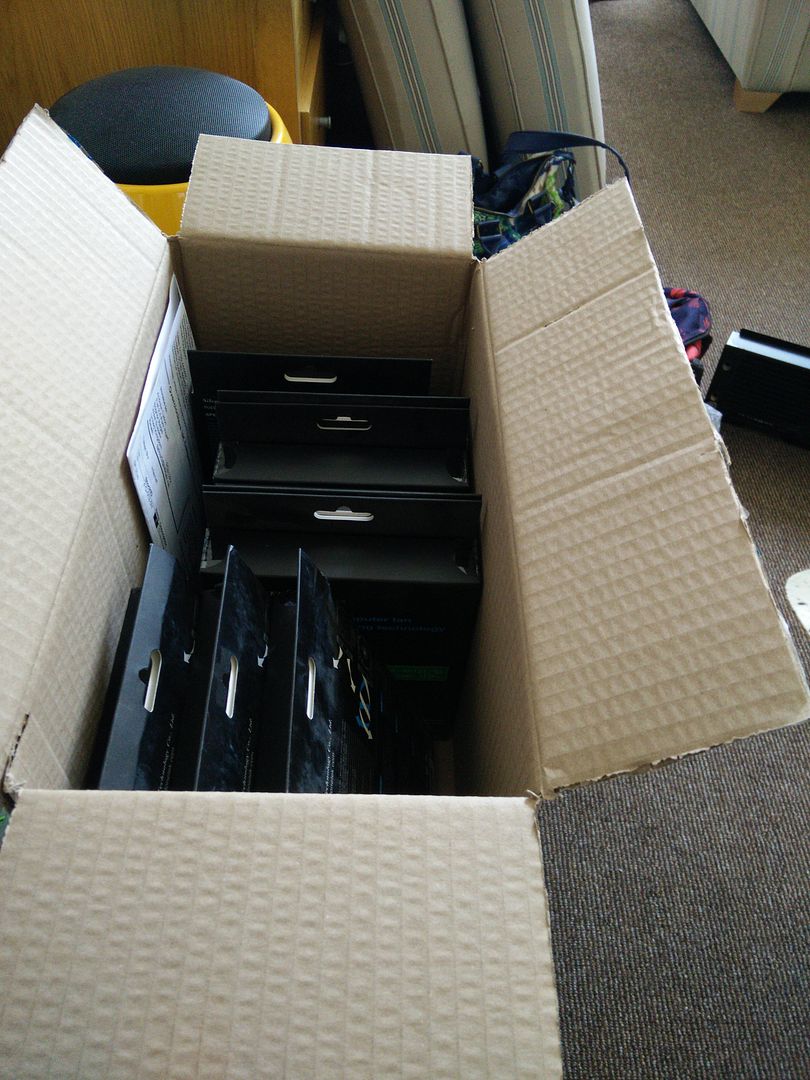
Final order is in. It went a little something like this. Firstly I was poking around on OCUK this morning and saw these for, wait for it, £4.99 each :eek: I've ordered 8.


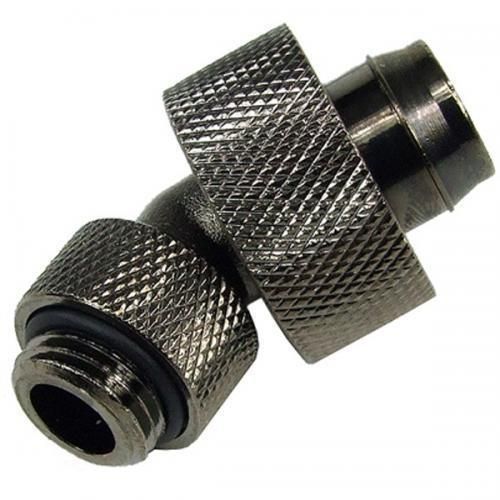
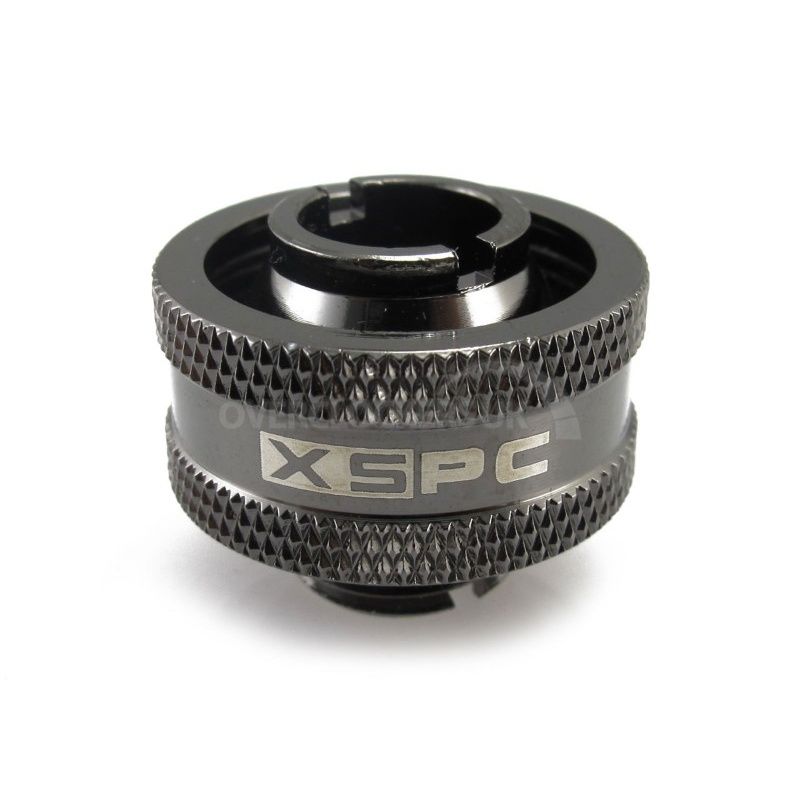
Then I pretty much scoured the bay and found a full set of fittings that would all work with each other and the hose I wanted. I ordered two of these for the bay res (they need to come out sideways) and two for the GPU block.


I ordered two of these for the CPU block.


45 Deg, and two of these for the rad.


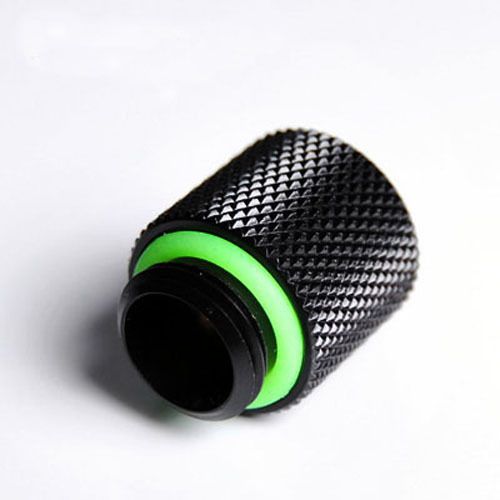
I then had to order two of these, because when I tried to remove the old barb from one side of the rad the extender came out and I scratched it badly trying to get it off the barb.


The hose.


OK so all of that is G1/4 1/2" ID 3/4" OD, or 13mm 19mm. I can't tell you how long it took me to learn all of that and make sure what I ordered was going to be compatible.

GPU block.


One 1000x500 (yup, 1m x 1/2m) sheet of green acrylic.


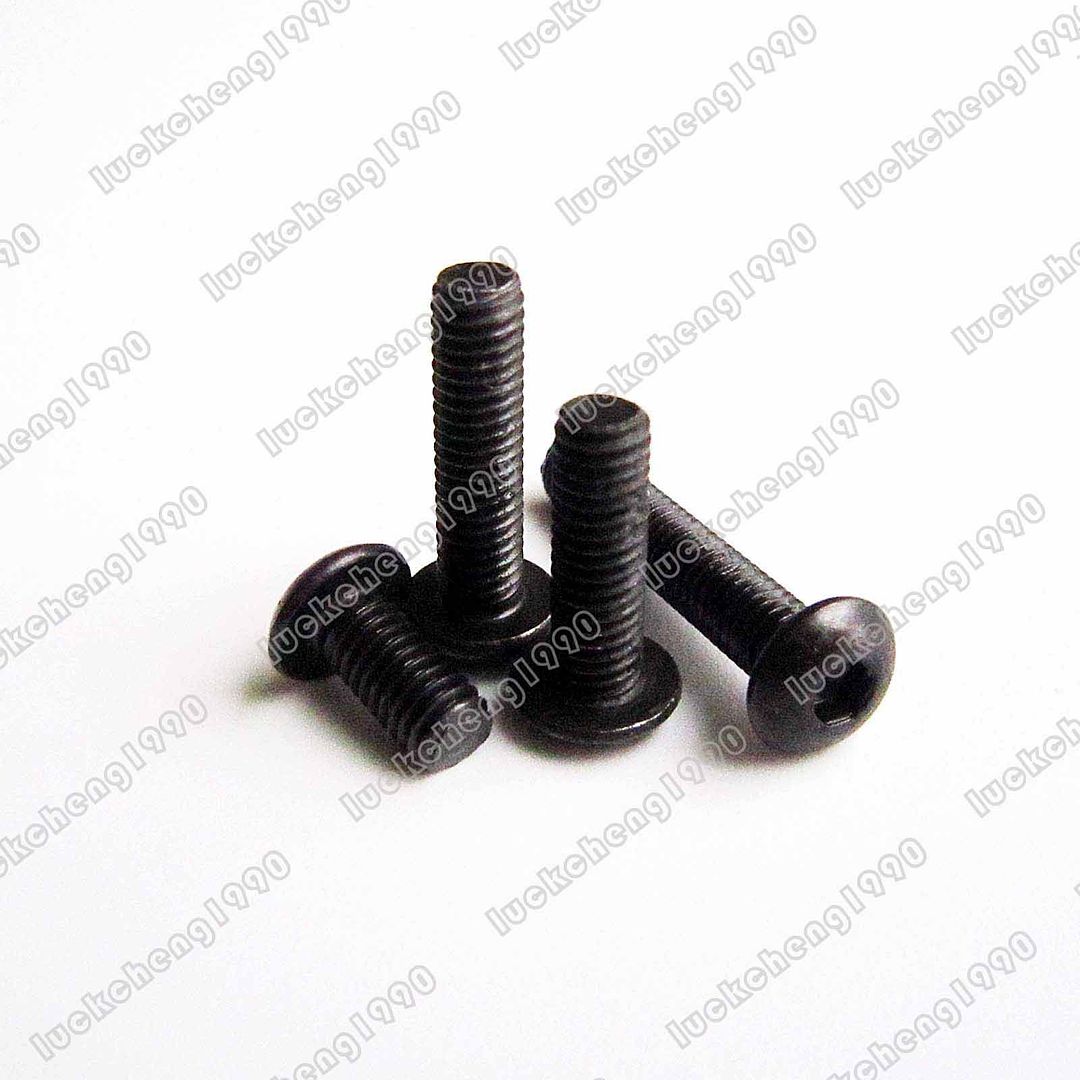
50 8mm button bolts with nuts and 50 6mm bolts with nuts (M3)


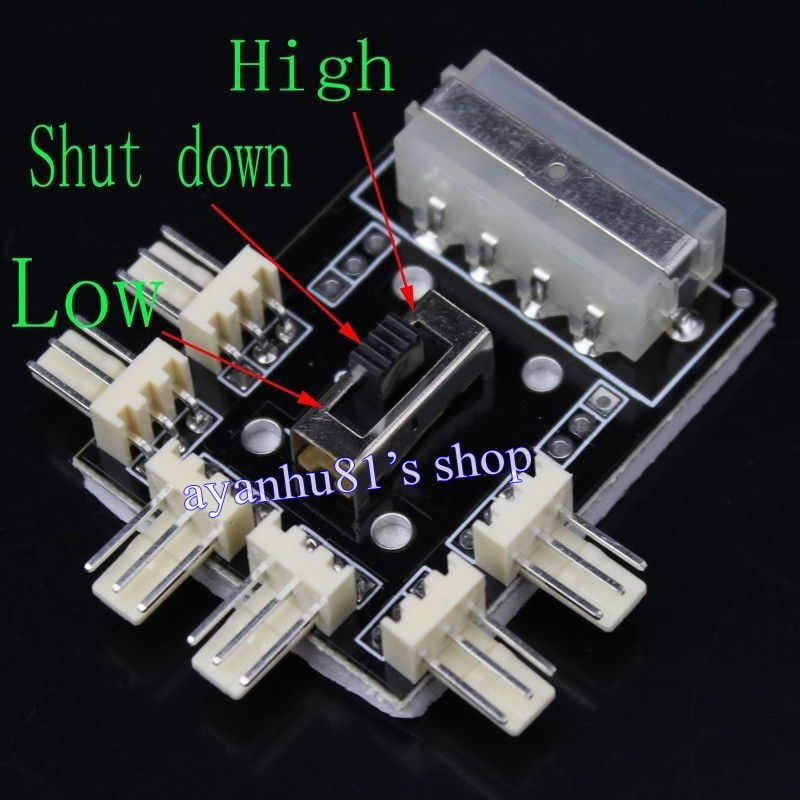
Power distro for the rad fans.


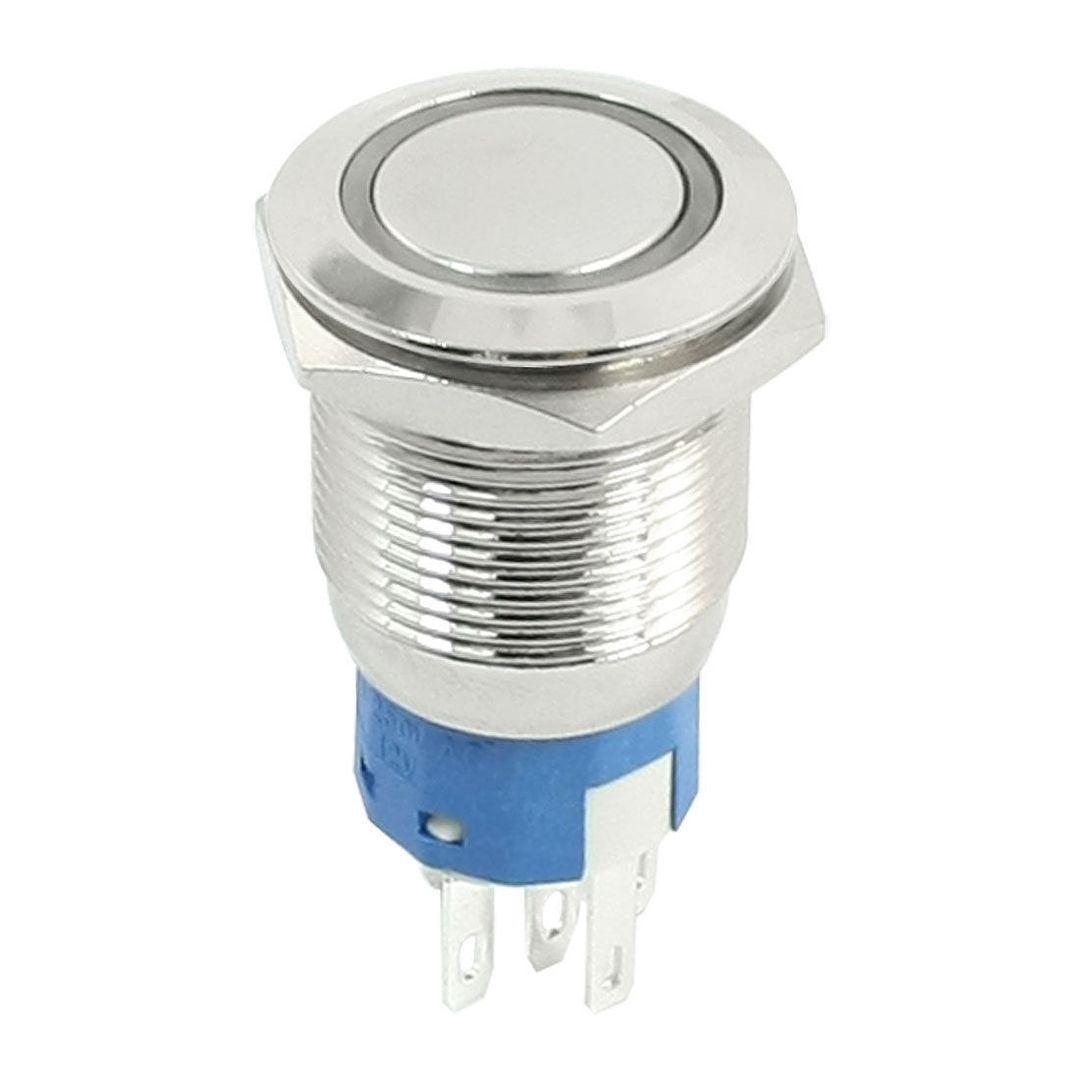
19mm power button, as the alien head button on the front of the rig is temperamental.


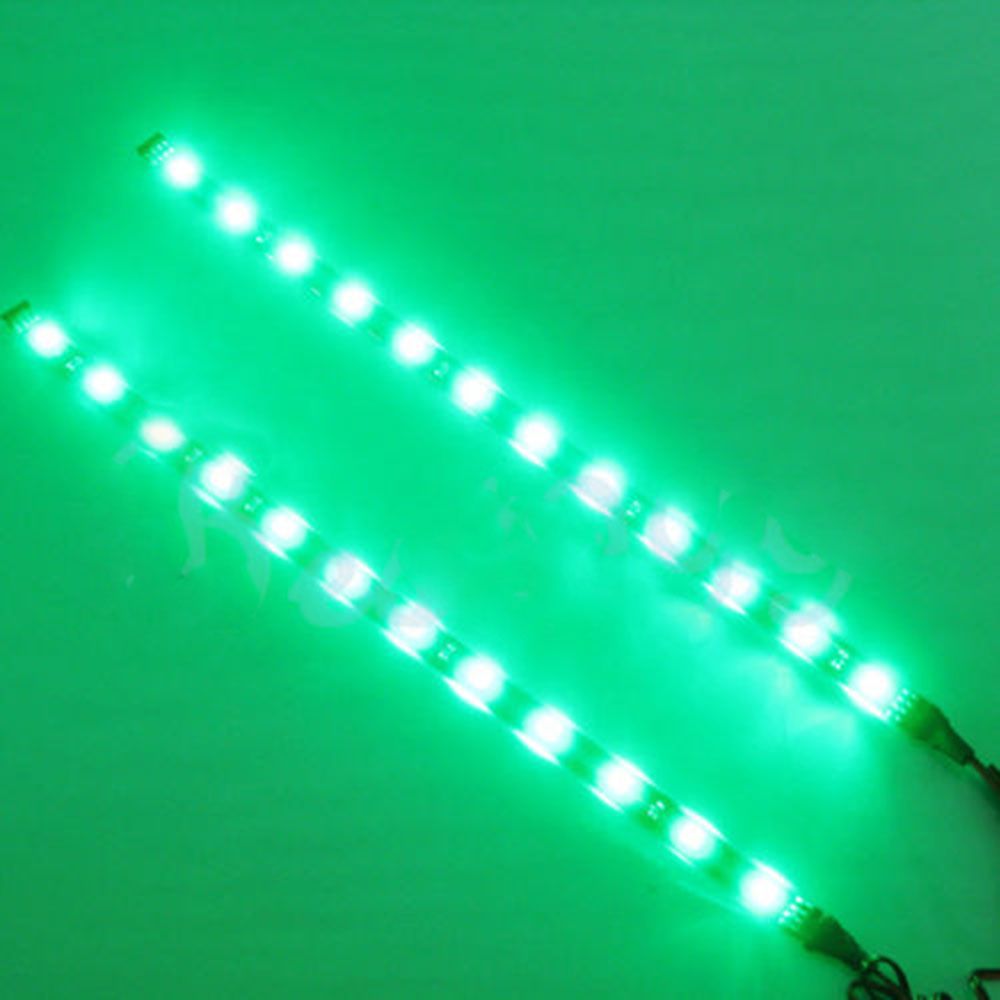
Green LED of course :) 8 of these.


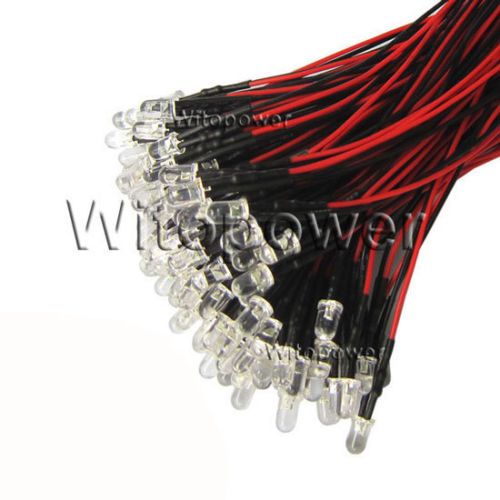
40 pre wired 5mm green LEDs (for the res, general LEDs etc)


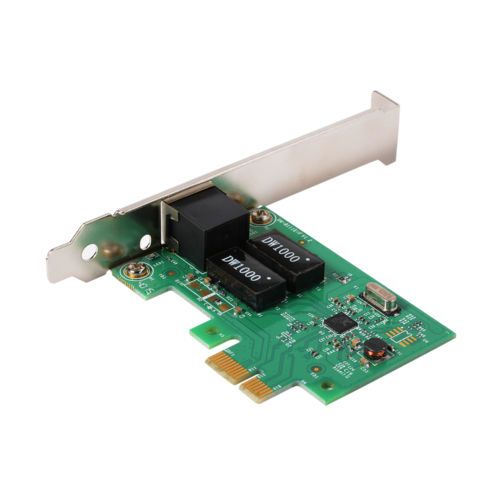
And a network card that will work with Elementary OS


Now if you'll excuse me I have a few hundred rivets to drill out :D
 
Nope ! not a single one did the twist :D

I think it's because the case is alu as well as the rivets so a bit more grippy? but no was literally a ten minute job :)
 
I meant that if you pull one end of the cord from the bag it pays out freely but pull the other and it just tangles. Managed to get it threaded over the pins using a piece of heatshrinked shrunk at one end - sort of like a needle for the wire.

Sorry I forgot to answer this. Look at this pic.


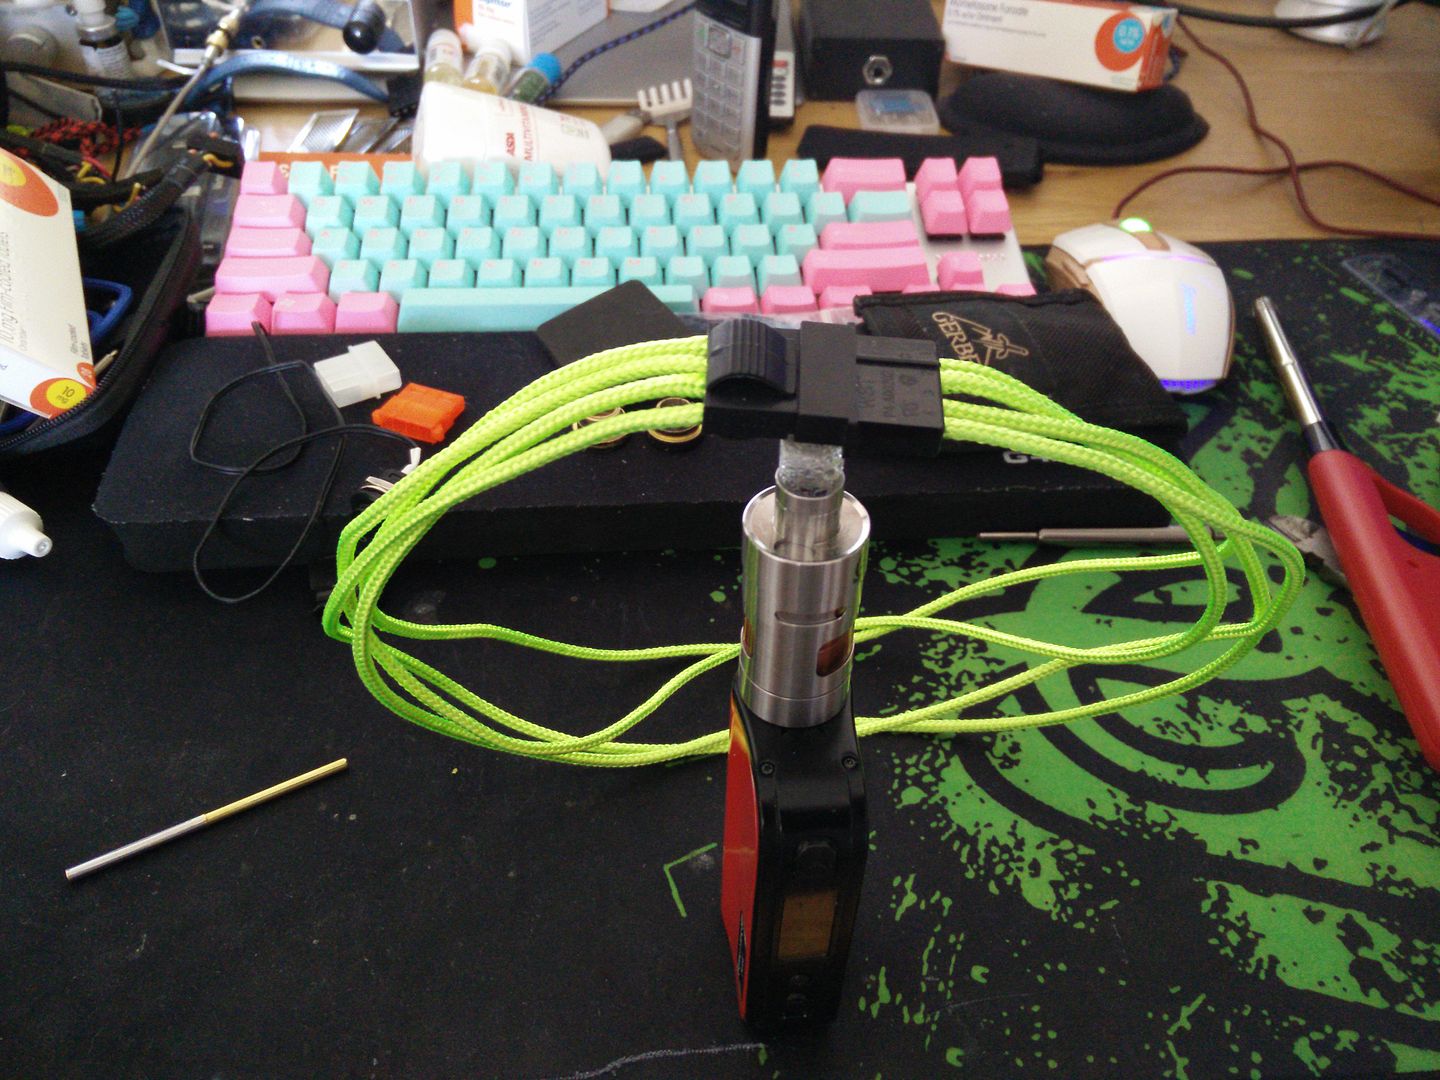
See that silver thing with the brass end on? that's my tool. A guy I have known for a few years makes them by cutting up car aerials and then milling brass for the tip. Inside is a coil thing that is grippy, so you just insert your cable in there firmly and it then stays and gives you like a needle attached to the cable. You simply feed the braid over it like putting on a sock.
 
So today I cut the supports for the res and welded them in place.


And drilled the holes for the screws that hold it in place. Sorry about the pic, sun went and it was awfully dark in here.


And then the fans came :)


I will probably make the other supports now and get them welded in :)
 
Back
Top Bottom