Soldato
- Joined
- 3 Nov 2004
- Posts
- 9,873
- Location
- UK
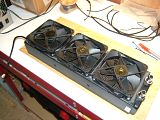
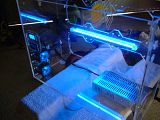
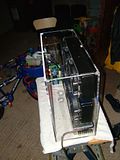
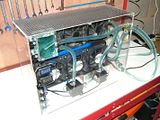
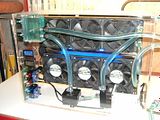
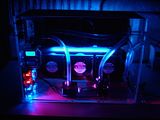
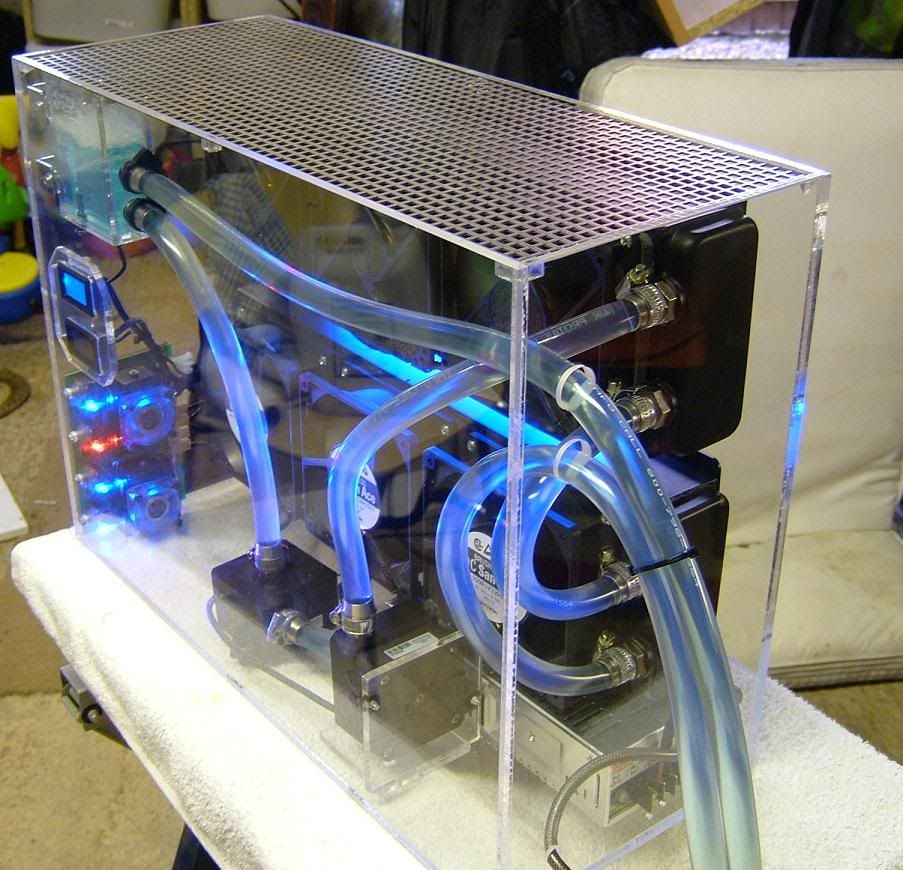
Been buying bits and pieces for a high capacity radbox for a few months now. Thought I'd better get on with it.
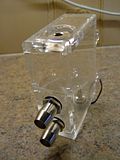
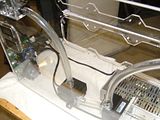
So first up cutting the acrylic, never used this for fabrication before. Table saw seems to cut it well enough with a 80 tooth TCT blade, scraped the edges square. Drilling and tapping is fine once I reground a box of drills to a 90 degree point with a slight rake. Forstner bits also make a nice clean hole with a pillar drill.
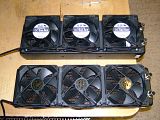
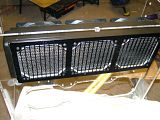
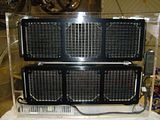
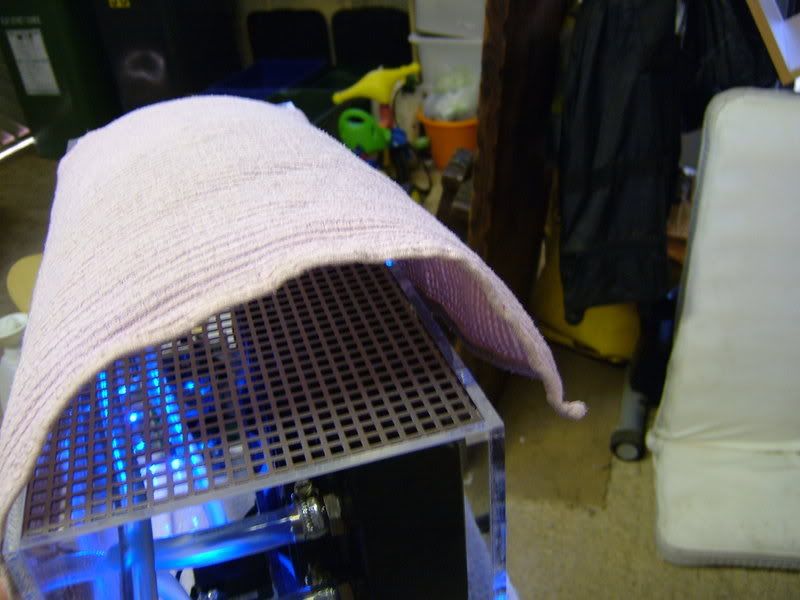
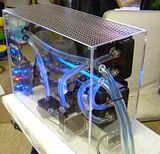
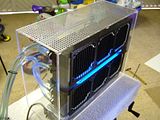
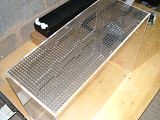
Cut the radiator holes with a Dremel with spiral bit. Flies through it, not easy to keep square. In future I think I'd make a MDF template and use my router with a roller laminate bit. Or maybe I'll get an xy compound milling table. Cut a stainless grill for the top, mounted on some corner bonded supports. Polished the visible edges.
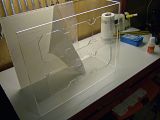
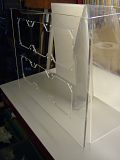
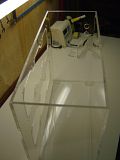
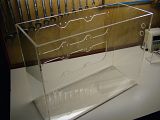
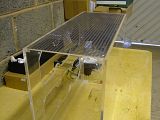
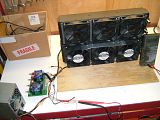
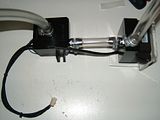
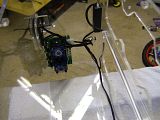
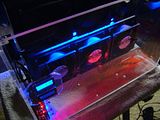
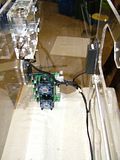
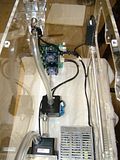
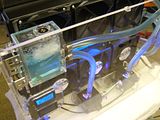
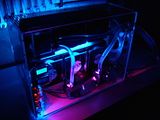
Let is cure for awhile then offered up each part to mark out the fixing centers. Drilled, tapped and countersunk all the fixings to keep it looking clean. Tested out the CPC quick release connectors, not cheap but very little resistance and hardly any losses. Made a few brackets to hold the LCD displays and pumps. Mainly so I can remove the them quickly in one lump on strip down. Dry assembled to cut the 7/16th Masterkleer to length.
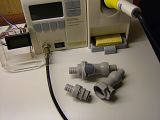
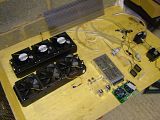
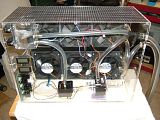
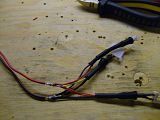
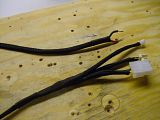
Next up the wiring/sleeving and how to kill a perfectly good reservoir by cleaning it.
- Plan is to make it from 6mm cast acrylic sheet.
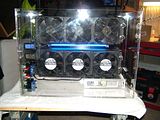
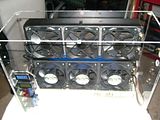
- Capacity is designed for the long term future needs, so 2xPA120.3. Enough for cpu, motherboard and two graphics cards with fans running silent. Basically handle anything, serious overkill desired.
- Two pumps in series for redundancy and pressure.
- Variable speed control for 2x3 fans and 2 pumps.
- Single loop with quick connectors.
- Self powered and air/loop temperatures monitors.
- Physical dimensions to fit in front of my window, so 500mm x 200mm footprint. Designed it to be compact as possible.
So first up cutting the acrylic, never used this for fabrication before. Table saw seems to cut it well enough with a 80 tooth TCT blade, scraped the edges square. Drilling and tapping is fine once I reground a box of drills to a 90 degree point with a slight rake. Forstner bits also make a nice clean hole with a pillar drill.
Cut the radiator holes with a Dremel with spiral bit. Flies through it, not easy to keep square. In future I think I'd make a MDF template and use my router with a roller laminate bit. Or maybe I'll get an xy compound milling table. Cut a stainless grill for the top, mounted on some corner bonded supports. Polished the visible edges.


Let is cure for awhile then offered up each part to mark out the fixing centers. Drilled, tapped and countersunk all the fixings to keep it looking clean. Tested out the CPC quick release connectors, not cheap but very little resistance and hardly any losses. Made a few brackets to hold the LCD displays and pumps. Mainly so I can remove the them quickly in one lump on strip down. Dry assembled to cut the 7/16th Masterkleer to length.


Next up the wiring/sleeving and how to kill a perfectly good reservoir by cleaning it.
Last edited:


 I'll look forward to seeing the results.