This project has been brought to you by OCUK and Monsoon so a massive thank you to them for giving me this opportunity.


Disclaimer: This is a build from the perspective of a newbie and is intended for newbies. It is just a CPU loop (at the moment). I've never water cooled before so I will probably detail things that are both obvious as well as some common mistakes. A mix of backgrounds as some were taken when I received the goods, other were taken during the build.
There is a glaringly obvious one which I'm kicking myself for missing but it will be rectified when I next modify a couple of things (see below)
It was a dark and stormy night (I live in Wales, it always rains and its quite windy too) when Sir O'Neill (thats 2 L's) donned his Hat of Generosity (its a trilby if you were wondering) and made this thread.
This coincided with me thinking about trying my hand at water cooling. You can water cool your system for about £100 but I think for what you would get, an AIO would be a better option. Could I afford to spend more? Work bonuses help but it would be a stretch. I could stick with Air Cooling but a wise man once said "Get Wet or Go Home" and you should never ignore what wise men say.
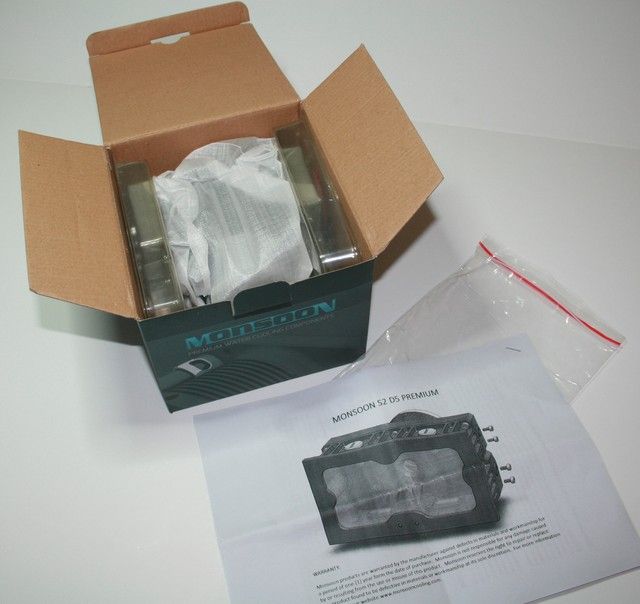
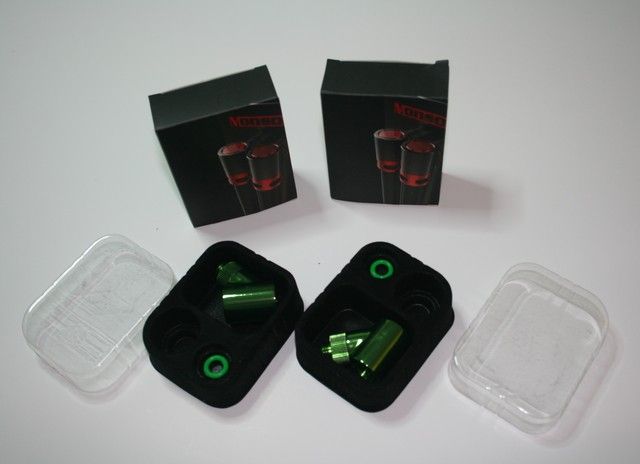
3 week later and Sir O'Neill had chosen 3 people for sponsoring (looking forward to their builds). A couple of emails later and the next day I had this arrive
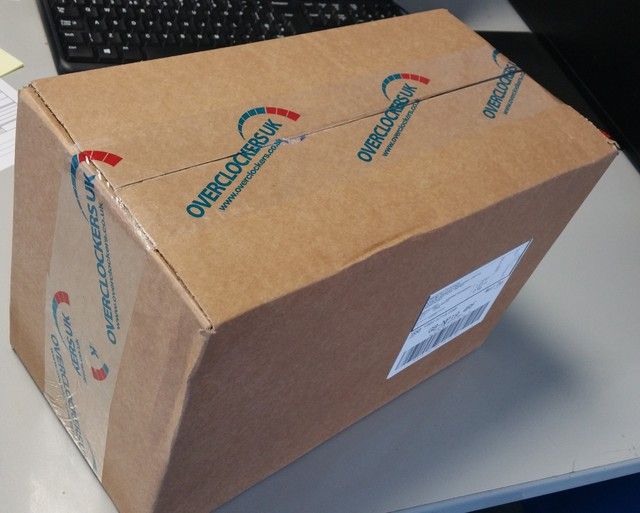
Obviously I got excited and opened it straight away and it was full of goodies and Haribo. Did I finish work straight away and rush home to admire everything behind a locked door? You bet I didn't, my manager wouldn't let me. So having my plans foiled in such a dastardly manner, I ate my jam sandwich and ordered all the other parts I needed which are in the next post (this one is just for the sponsored stuff)
YOUR BASKET
1 x monsoon m2 reservoir d5 premium – chrome
2 x monsoon chain gun fitting 3/8" x 5/8" multi pack - green
2 x monsoon 16/10mm (od 5/8) rotary 45° - green
1 x monsoon premium g 1 / 4 temp plug - green


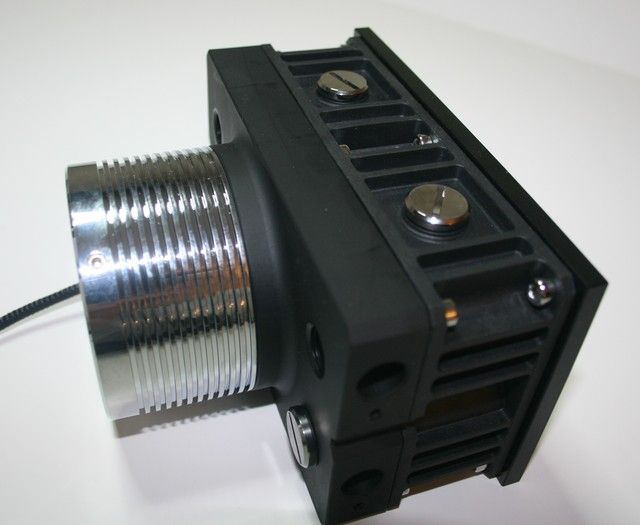
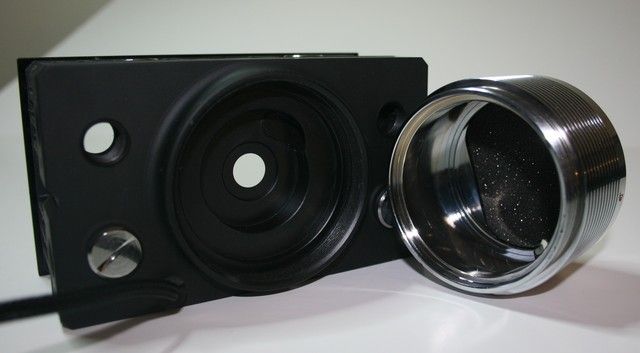
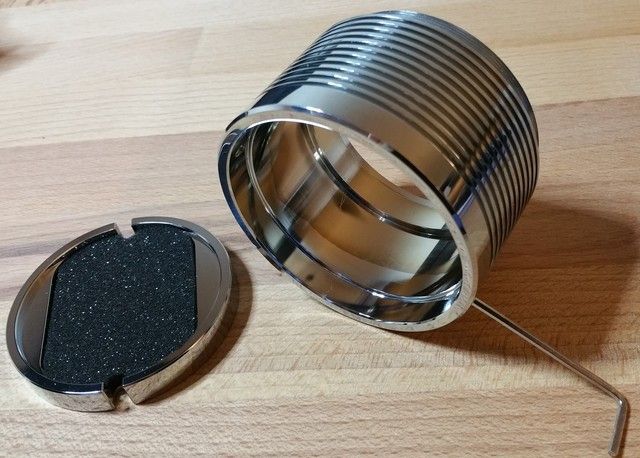
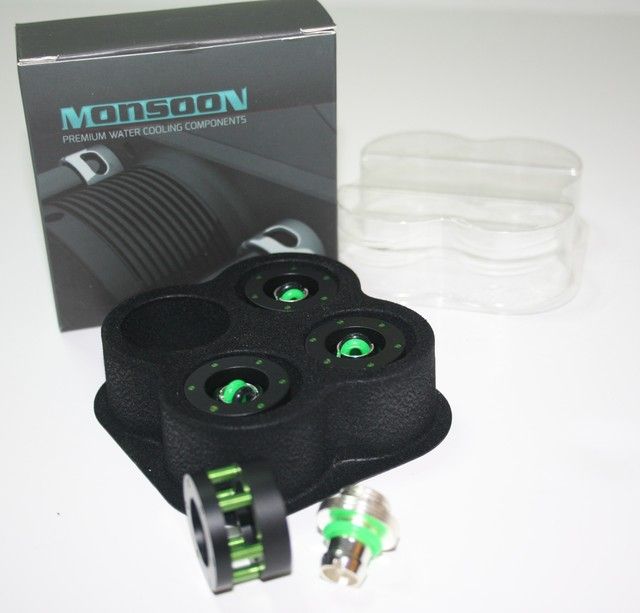
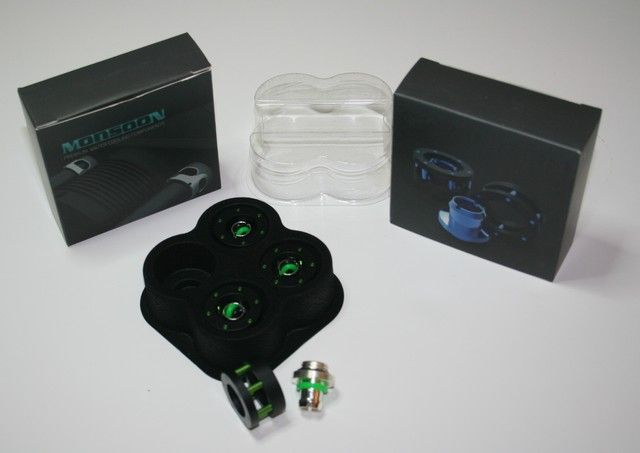
the reservoir
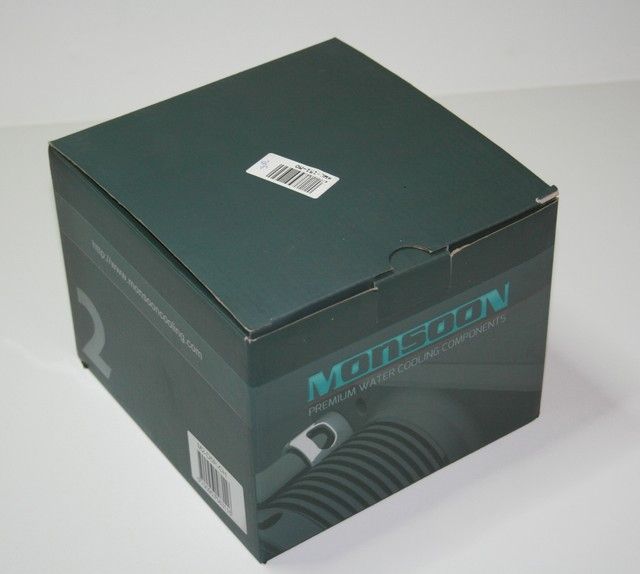
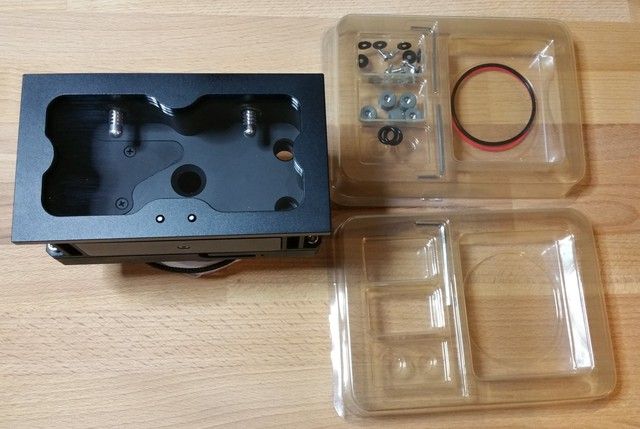
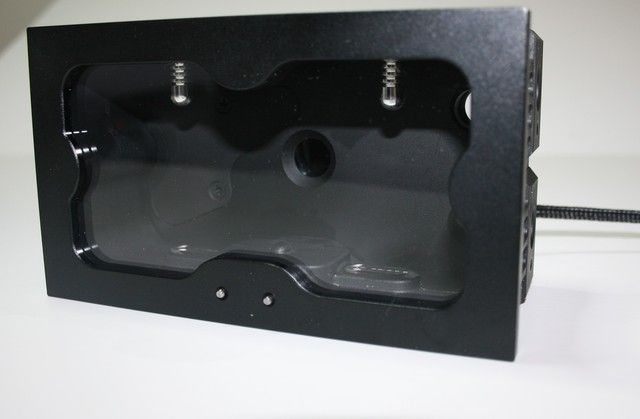
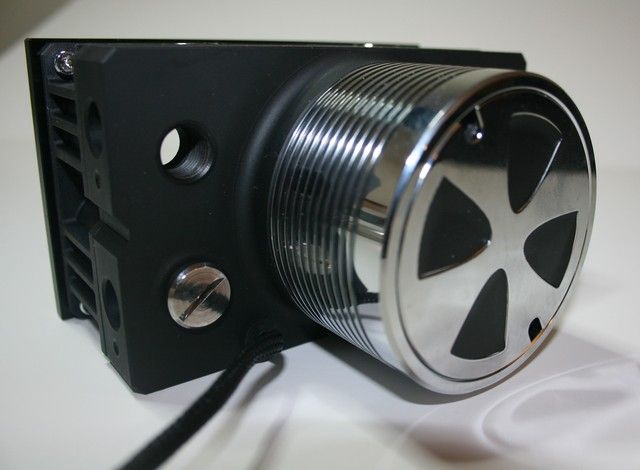
Chrome? Why not Green? Green has been out of stock for a while and I wanted to do this build for Easter (4 days off!!). The only Chrome you can see are the tiny switches on the front which turn the LED's on/off and change the colour.
The instructions were on printed A4 pages and very easy to follow. Red and Black O rings which were different thicknesses. I used Black as I'm a N00b as it has a larger tolerance in case you screw the pump cover on too tight (and wreck it).
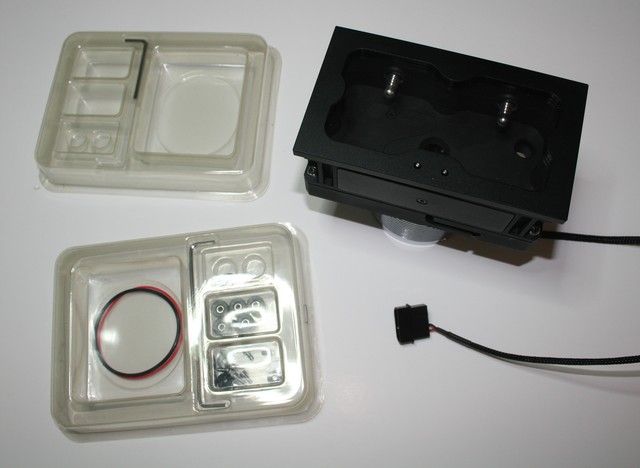
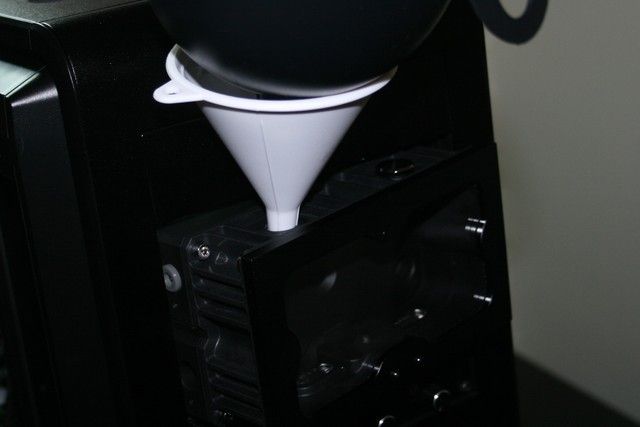
Filling was done by removing either (or both) of the silver microbial plugs on top of the Reservoir.
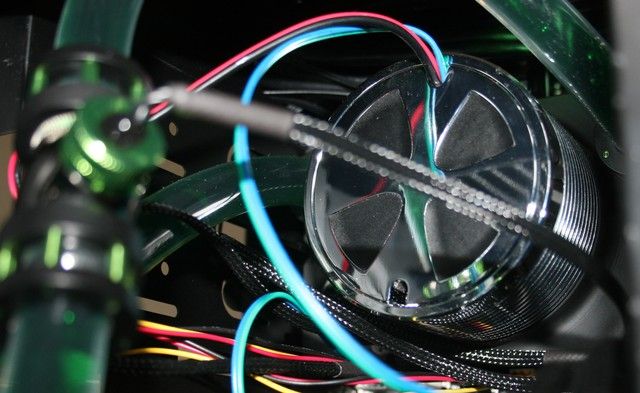
To secure it in the drive bays, you use the provided Allen key (they supply 3 of differing sizes) with the small screws which screw into the provided rubber plugs which slot into the Res sides. I found the case mounting quite fiddly as the screws are small as is the Allen key needed. But it is secure so thats great.
Newbie Advice:
Attaching the fittings/tube to the reservoir is best done before you cut your tube as there isn't much room to get your hand in beside the pump case to tighten the fittings. I have average sized manly man hands and chain gun fittings so that helped.
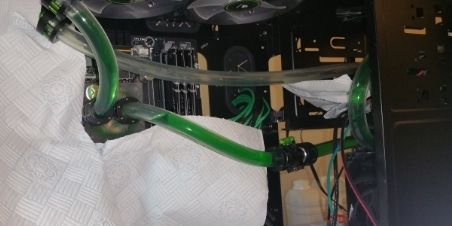
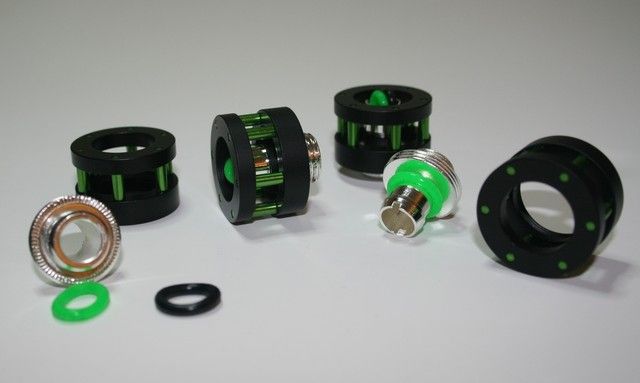
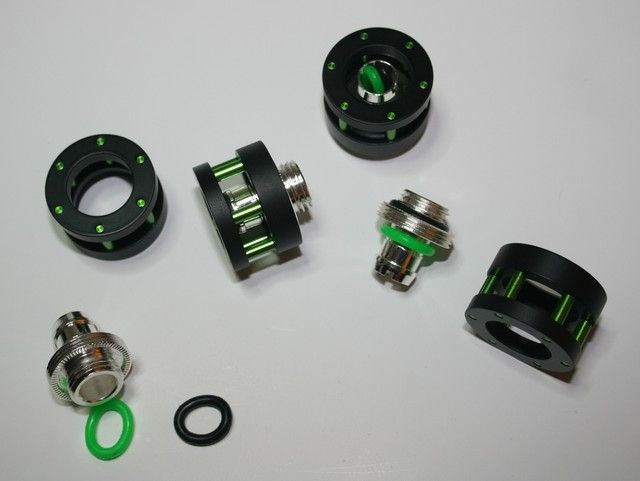
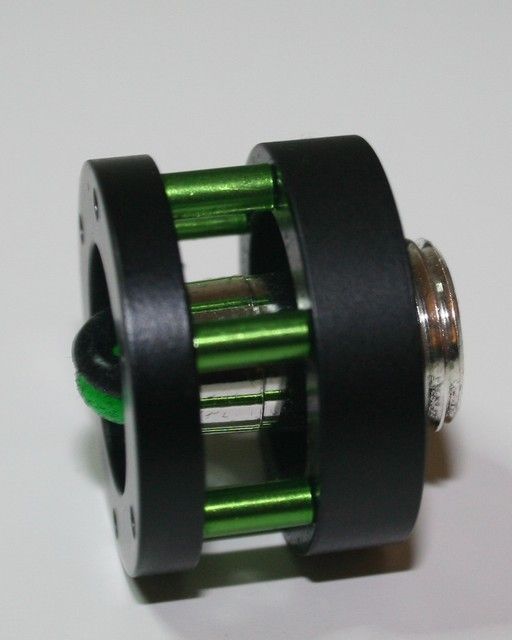
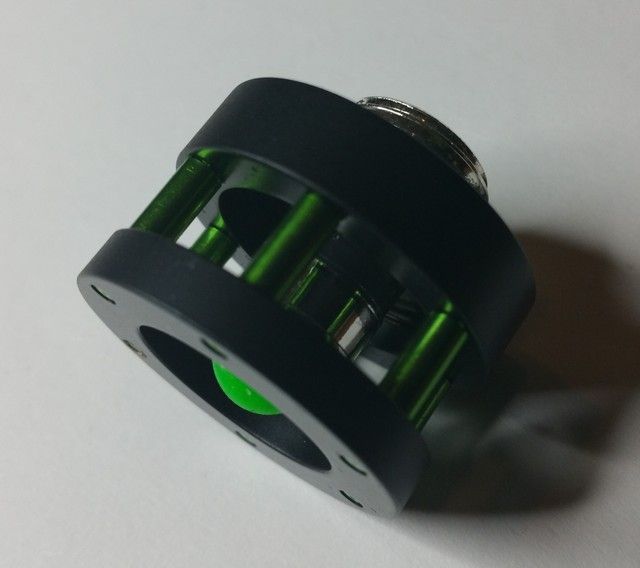
Chain Gun Fittings
These look awesome. They feel fantastic too and were a pleasure to work with.
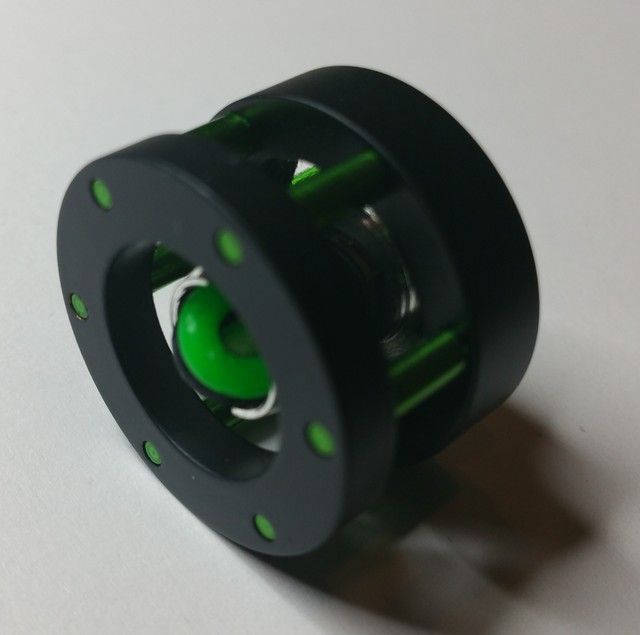
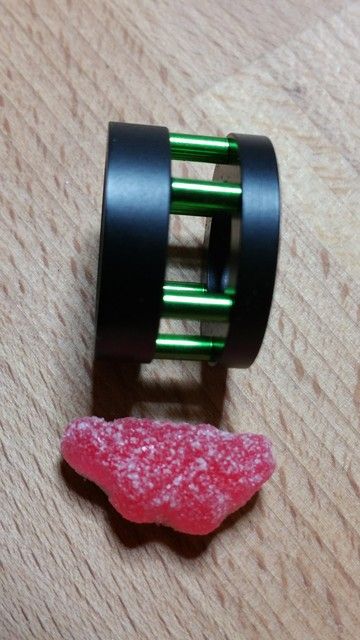 < The Haribo Scale
 ")
I highly recommend these to anyone thinking about using them. Fantastic build quality and had no problems at all with them. A bit more expensive than other compression fittings sure but well worth it. All were tightened without the use of tools and after 12 hours of leak testing....no leaks!!
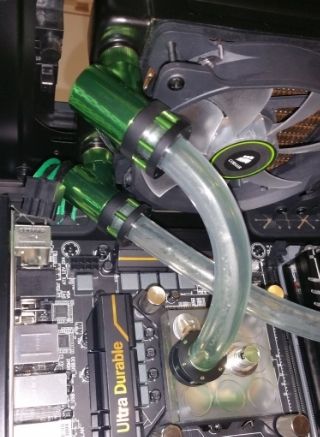
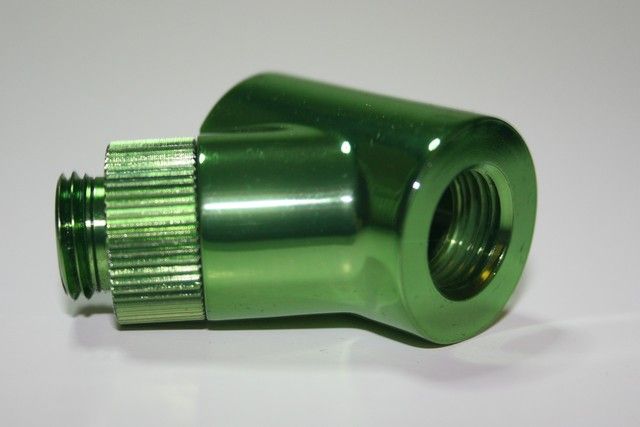
45° Fittings

 < More Haribo Scaling
GLARING ERROR MADE HERE
These felt and looked great (I should say only 1 was sponsored as when Rich asked for my list I forgot to include the other one so I bought it).
A perfect fit into the waterblock. However, you can only get one in as there is no room to screw the other in too. That messed up my plans what with me being a n00b but you live and learn. I can put them on the radiator instead. See next post for details of my outstanding ability to work around problems.
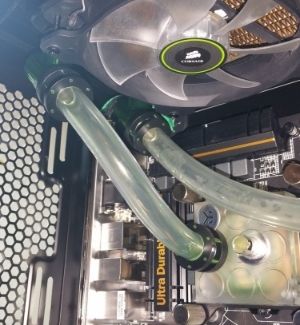
Temperature Plug
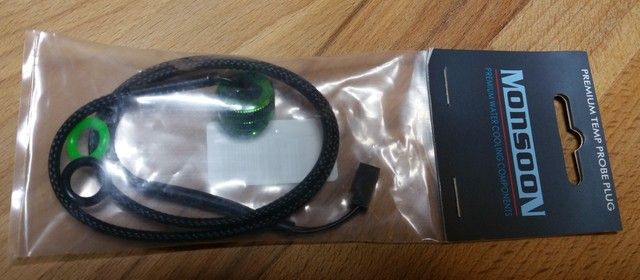
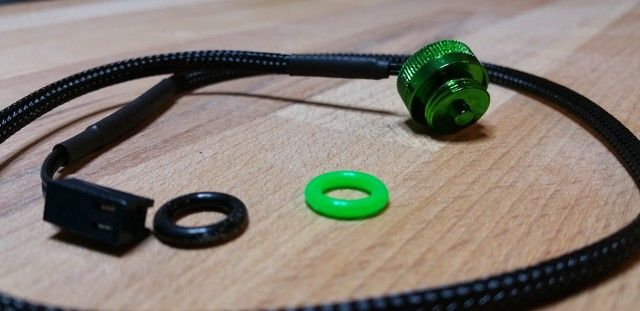
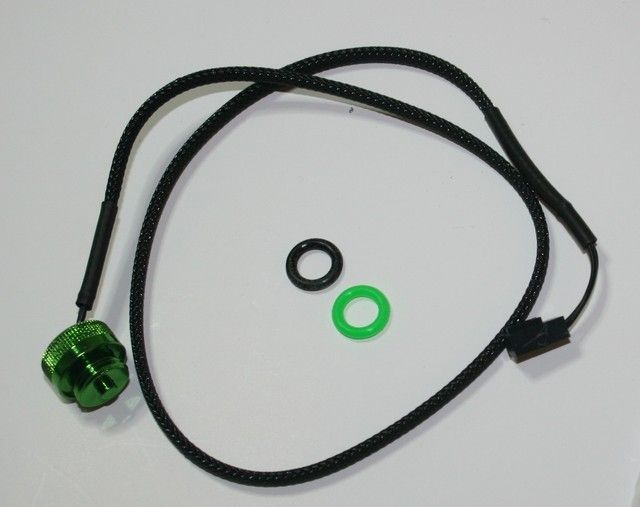

I wanted an Green LCD display to sit inside the case but due to a lack of stock I opted for this and plugged it into my fan controller instead. I actually prefer this method as the fans on the rad are controlled from the same dial. Just writing this shows the temp as 24.5°C
Newbie Advice:
A 4 way fitting will allow you to monitor temps. 1 for the temp probe, 1 pipe in and 1 pipe out and the other can be used as a drain point. I've used a plug until I figure out what I need exactly.
Summary
Overall, very impressed with Monsoon. Admittedly I have nothing to compare them too unless you count the fittings we used to completely redo the central heating system and plumbing in the house.
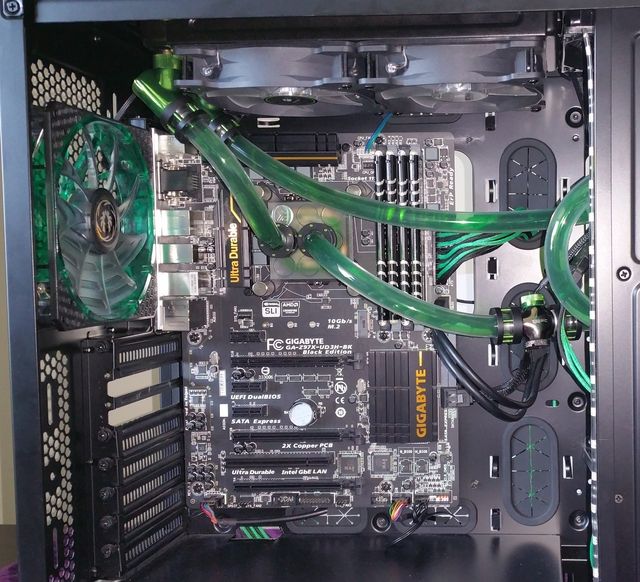
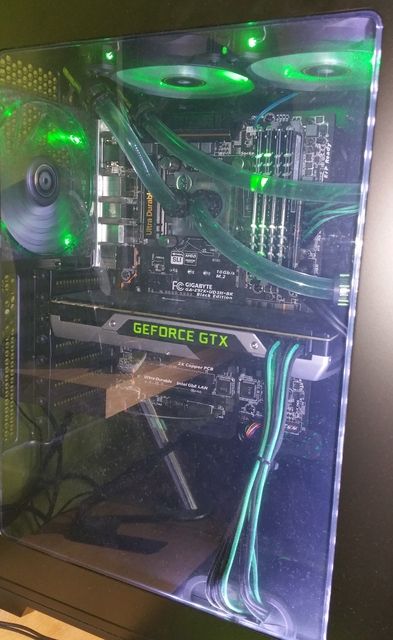
When it comes to components, I stick to Gigabyte for motherboards and Nvidia for GPU's as they've always been good for me. I think I'll add Monsoon to that now (And EK as the block and pump are fantastic, see next post for that though)


Disclaimer: This is a build from the perspective of a newbie and is intended for newbies. It is just a CPU loop (at the moment). I've never water cooled before so I will probably detail things that are both obvious as well as some common mistakes. A mix of backgrounds as some were taken when I received the goods, other were taken during the build.
There is a glaringly obvious one which I'm kicking myself for missing but it will be rectified when I next modify a couple of things (see below)
It was a dark and stormy night (I live in Wales, it always rains and its quite windy too) when Sir O'Neill (thats 2 L's) donned his Hat of Generosity (its a trilby if you were wondering) and made this thread.
This coincided with me thinking about trying my hand at water cooling. You can water cool your system for about £100 but I think for what you would get, an AIO would be a better option. Could I afford to spend more? Work bonuses help but it would be a stretch. I could stick with Air Cooling but a wise man once said "Get Wet or Go Home" and you should never ignore what wise men say.
3 week later and Sir O'Neill had chosen 3 people for sponsoring (looking forward to their builds). A couple of emails later and the next day I had this arrive

Obviously I got excited and opened it straight away and it was full of goodies and Haribo. Did I finish work straight away and rush home to admire everything behind a locked door? You bet I didn't, my manager wouldn't let me. So having my plans foiled in such a dastardly manner, I ate my jam sandwich and ordered all the other parts I needed which are in the next post (this one is just for the sponsored stuff)
YOUR BASKET
1 x monsoon m2 reservoir d5 premium – chrome
2 x monsoon chain gun fitting 3/8" x 5/8" multi pack - green
2 x monsoon 16/10mm (od 5/8) rotary 45° - green
1 x monsoon premium g 1 / 4 temp plug - green
the reservoir


Chrome? Why not Green? Green has been out of stock for a while and I wanted to do this build for Easter (4 days off!!). The only Chrome you can see are the tiny switches on the front which turn the LED's on/off and change the colour.
The instructions were on printed A4 pages and very easy to follow. Red and Black O rings which were different thicknesses. I used Black as I'm a N00b as it has a larger tolerance in case you screw the pump cover on too tight (and wreck it).
Filling was done by removing either (or both) of the silver microbial plugs on top of the Reservoir.
To secure it in the drive bays, you use the provided Allen key (they supply 3 of differing sizes) with the small screws which screw into the provided rubber plugs which slot into the Res sides. I found the case mounting quite fiddly as the screws are small as is the Allen key needed. But it is secure so thats great.
Newbie Advice:
Attaching the fittings/tube to the reservoir is best done before you cut your tube as there isn't much room to get your hand in beside the pump case to tighten the fittings. I have average sized manly man hands and chain gun fittings so that helped.
Chain Gun Fittings
These look awesome. They feel fantastic too and were a pleasure to work with.


 < The Haribo Scale
 I highly recommend these to anyone thinking about using them. Fantastic build quality and had no problems at all with them. A bit more expensive than other compression fittings sure but well worth it. All were tightened without the use of tools and after 12 hours of leak testing....no leaks!!
45° Fittings


 < More Haribo Scaling
GLARING ERROR MADE HERE
These felt and looked great (I should say only 1 was sponsored as when Rich asked for my list I forgot to include the other one so I bought it).
A perfect fit into the waterblock. However, you can only get one in as there is no room to screw the other in too. That messed up my plans what with me being a n00b but you live and learn. I can put them on the radiator instead. See next post for details of my outstanding ability to work around problems.
Temperature Plug


I wanted an Green LCD display to sit inside the case but due to a lack of stock I opted for this and plugged it into my fan controller instead. I actually prefer this method as the fans on the rad are controlled from the same dial. Just writing this shows the temp as 24.5°C
Newbie Advice:
A 4 way fitting will allow you to monitor temps. 1 for the temp probe, 1 pipe in and 1 pipe out and the other can be used as a drain point. I've used a plug until I figure out what I need exactly.
Summary
Overall, very impressed with Monsoon. Admittedly I have nothing to compare them too unless you count the fittings we used to completely redo the central heating system and plumbing in the house.
When it comes to components, I stick to Gigabyte for motherboards and Nvidia for GPU's as they've always been good for me. I think I'll add Monsoon to that now (And EK as the block and pump are fantastic, see next post for that though)
Last edited:


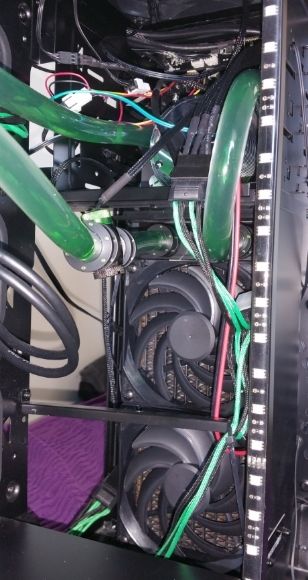
 ) I don't think the green fittings and green fluid work... I know a lot of people do it but personally I like black or nickel fittings...