Project: Hush! - updated 26/12/23

Soldato
OP
Joined
13 Mar 2006
Posts
6,712
Update

Time for an update. :)

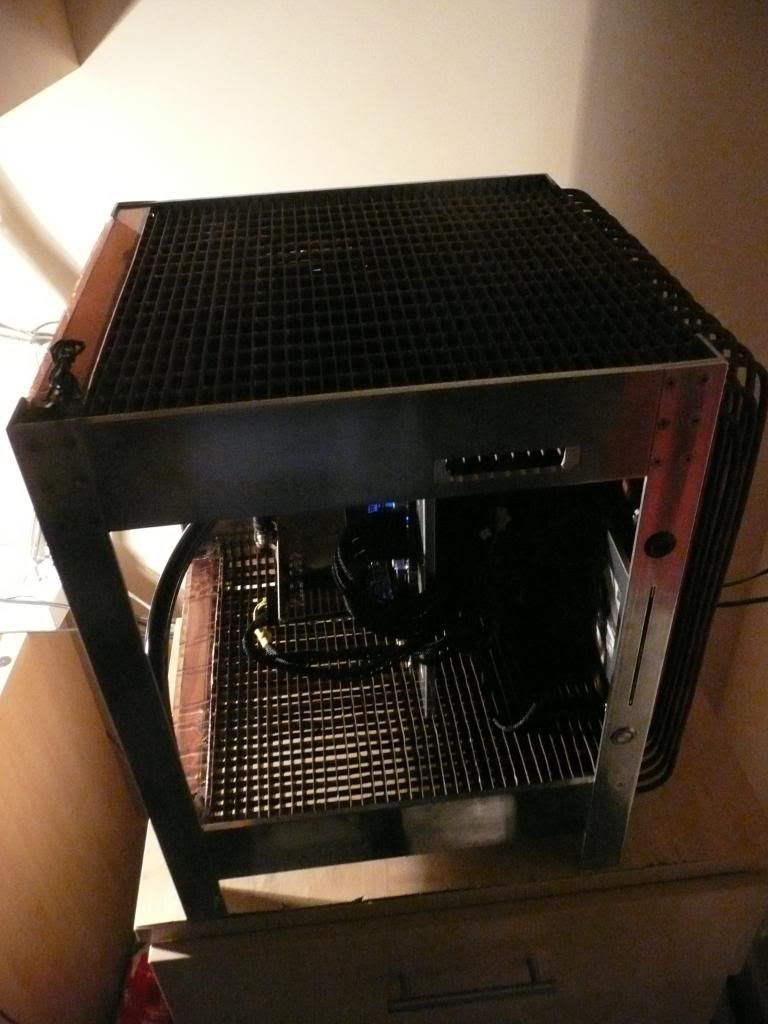
I decided to replace the backpanel I'd used from another case that has the fan hole. It's a bit dusty.

P1010029-1.jpg


P1010030-1.jpg


P1010034-1.jpg


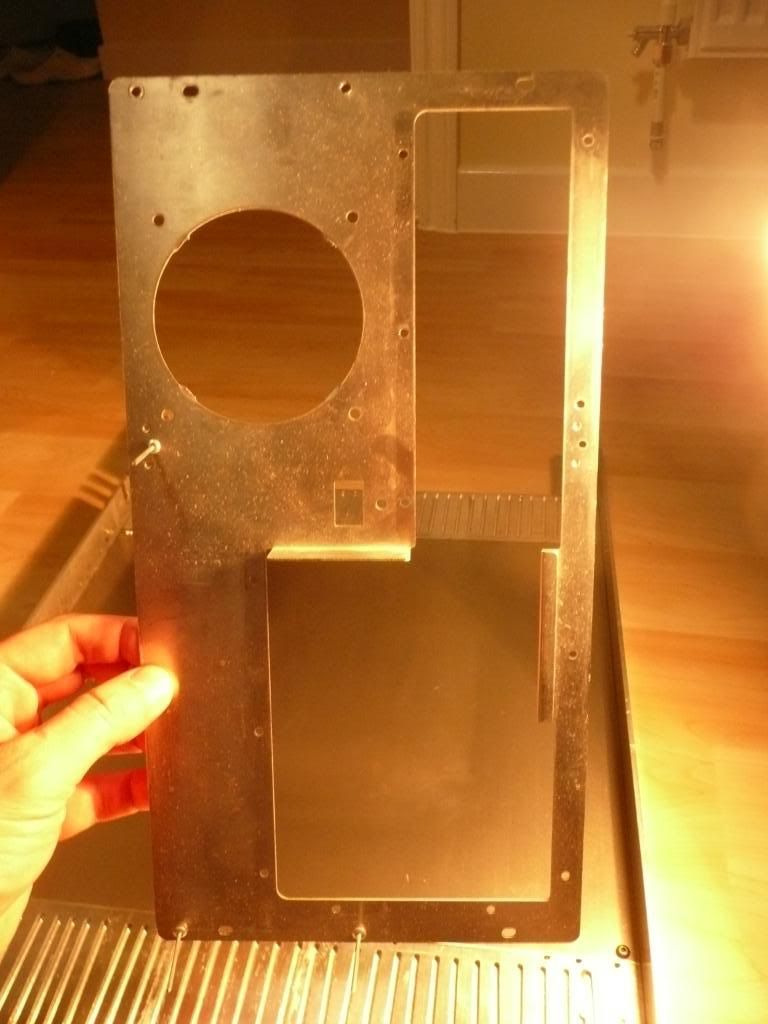
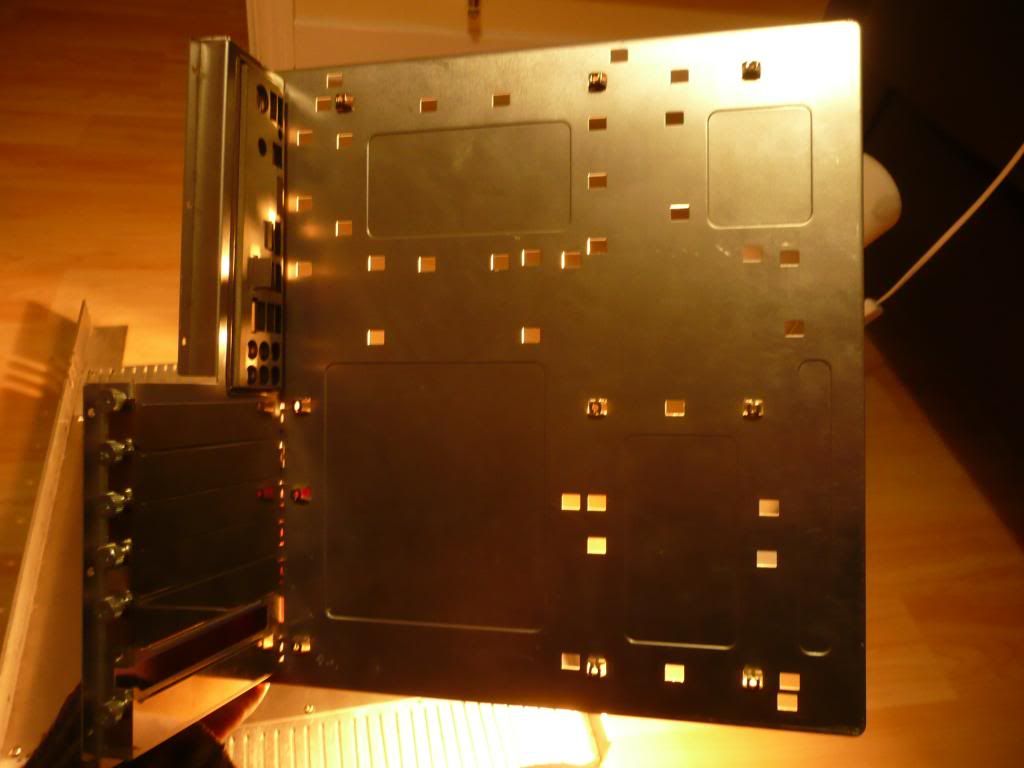
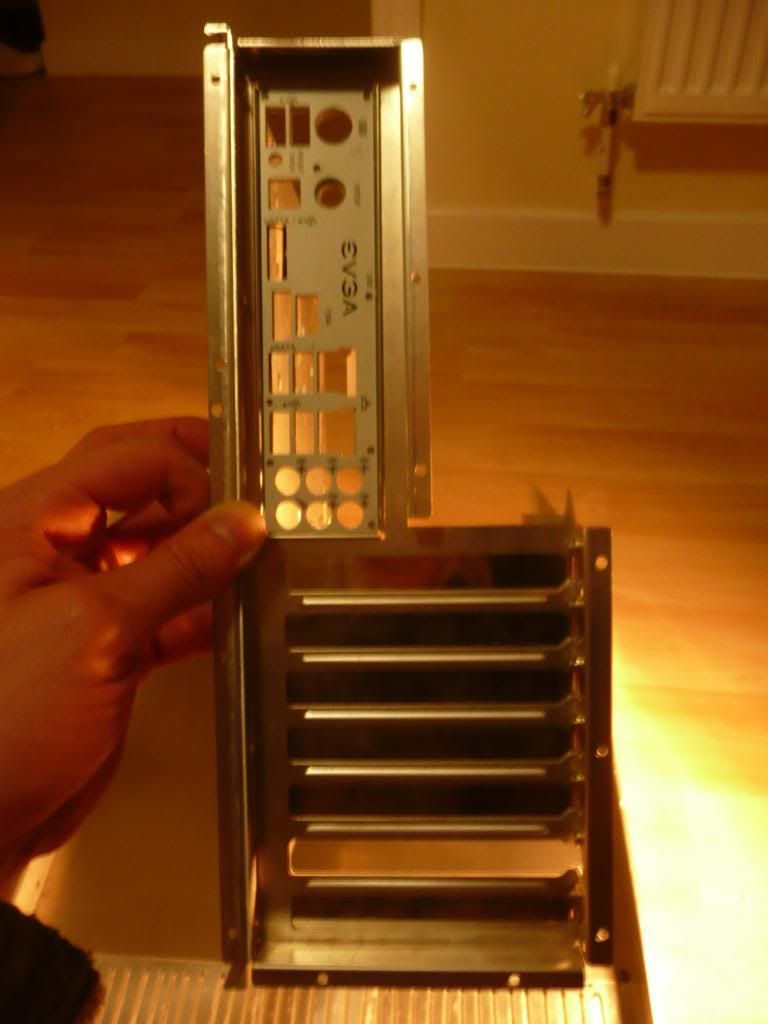
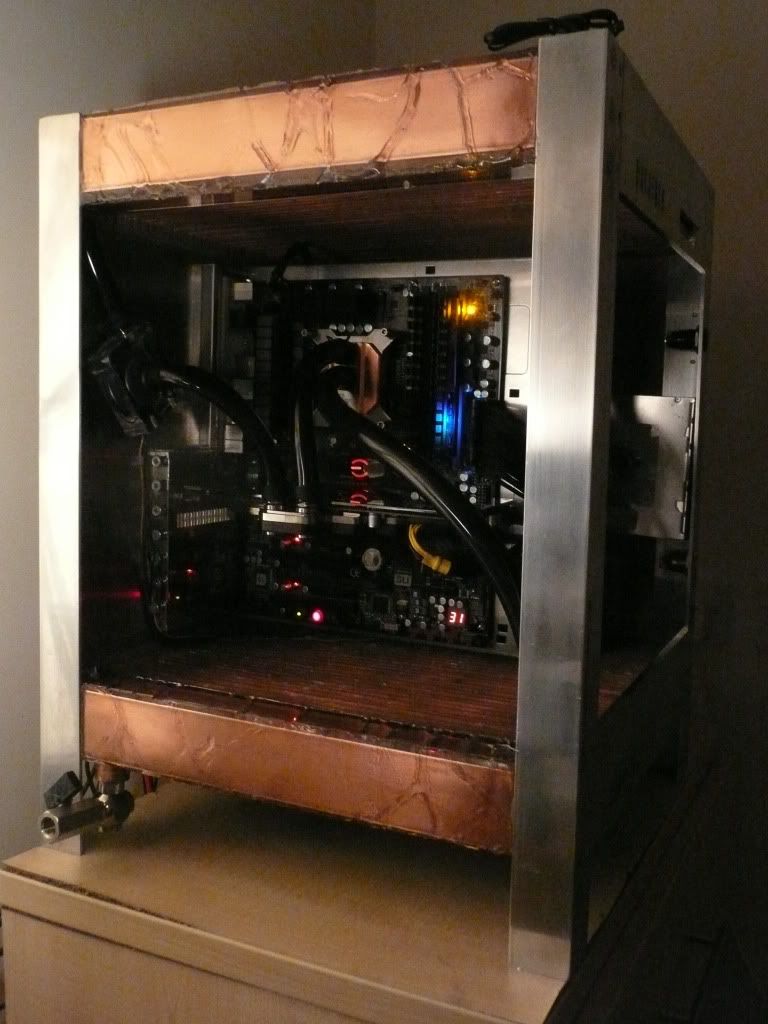
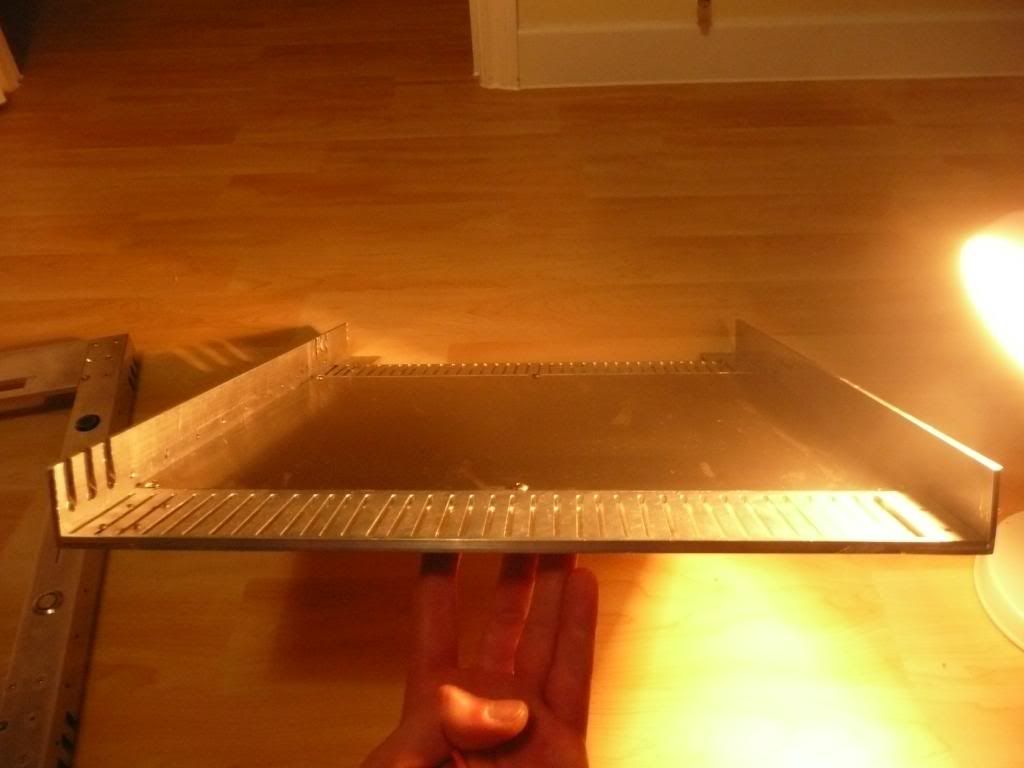
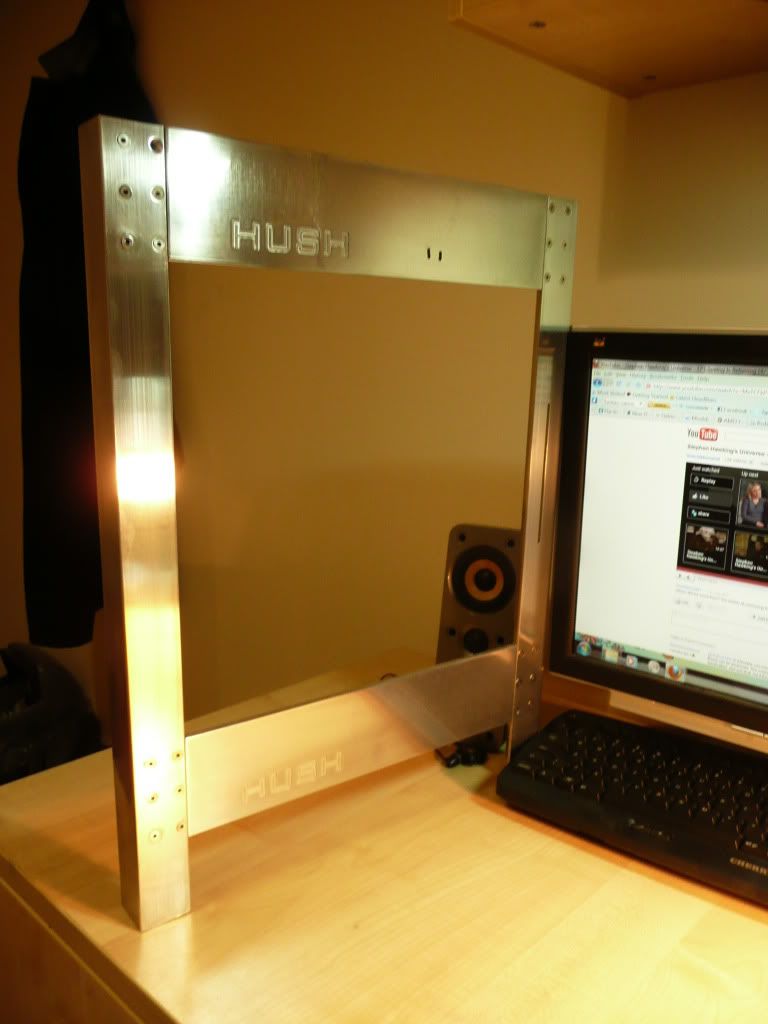
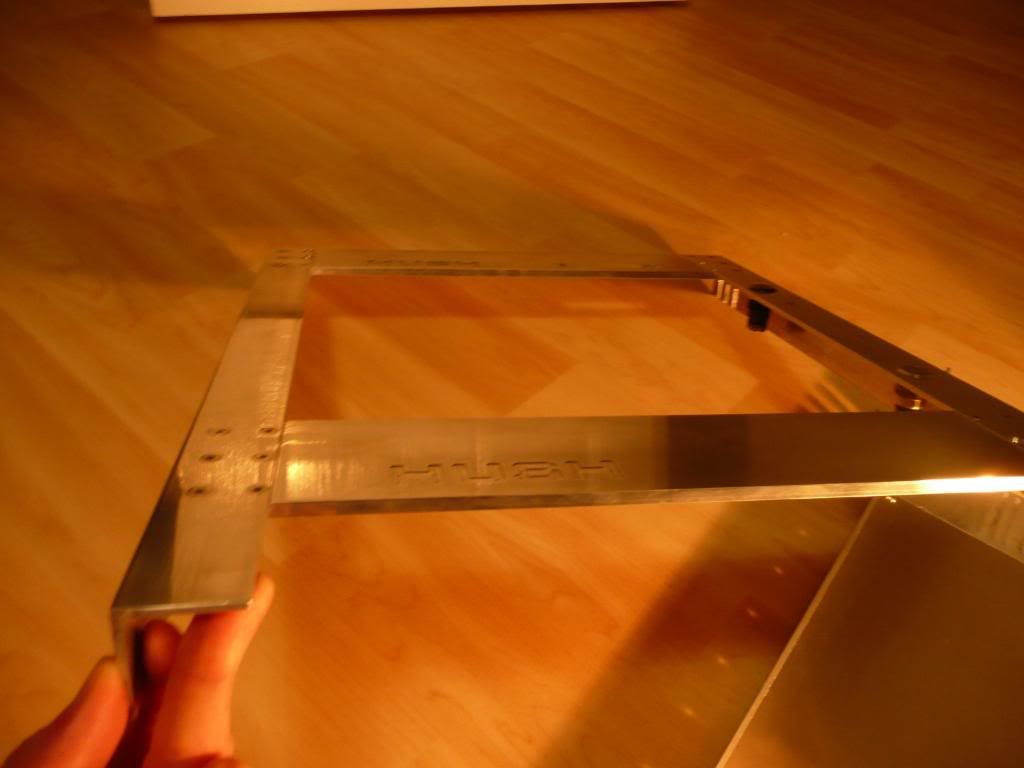
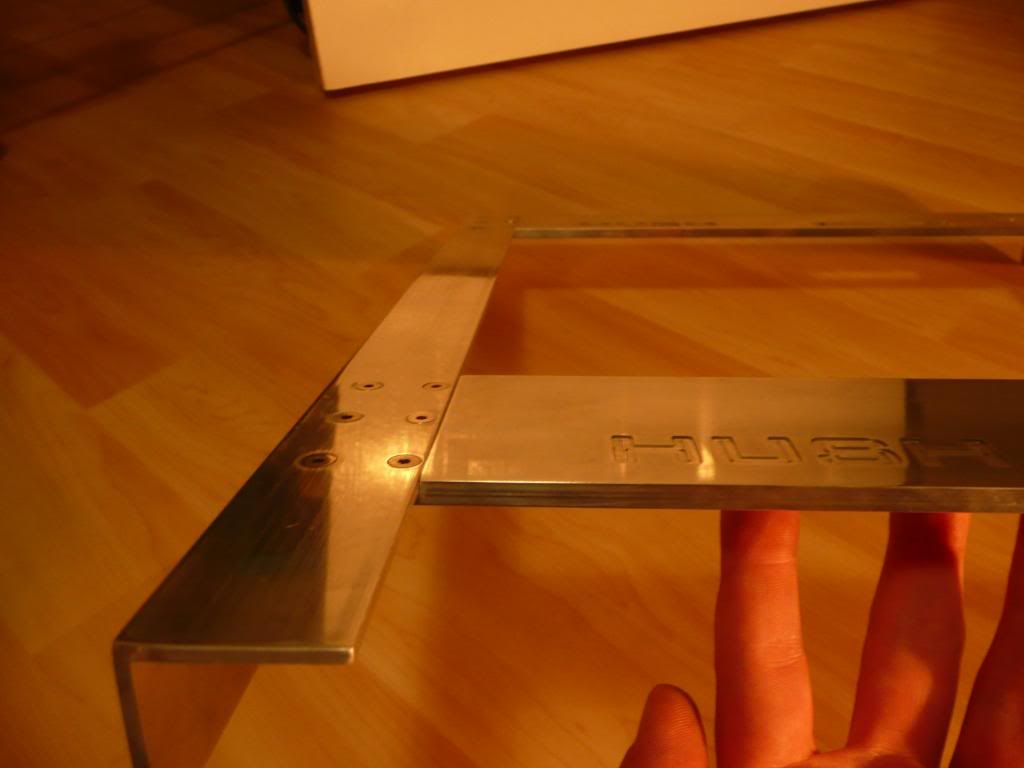
I wanted to have a simple aluminium back panel.

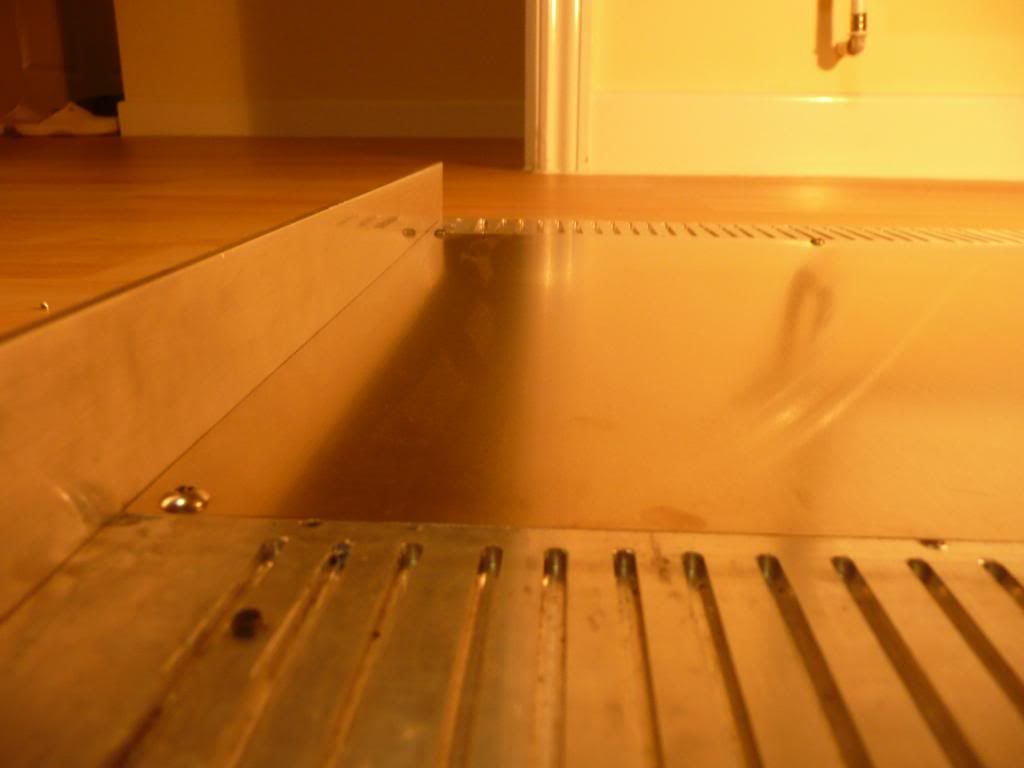
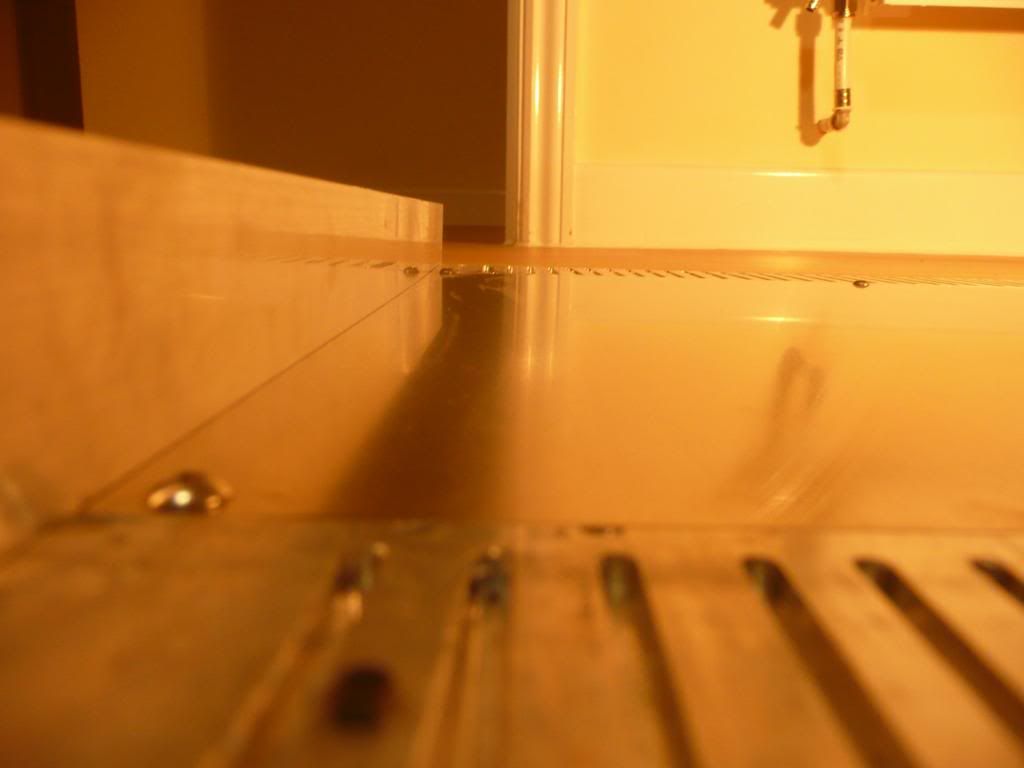
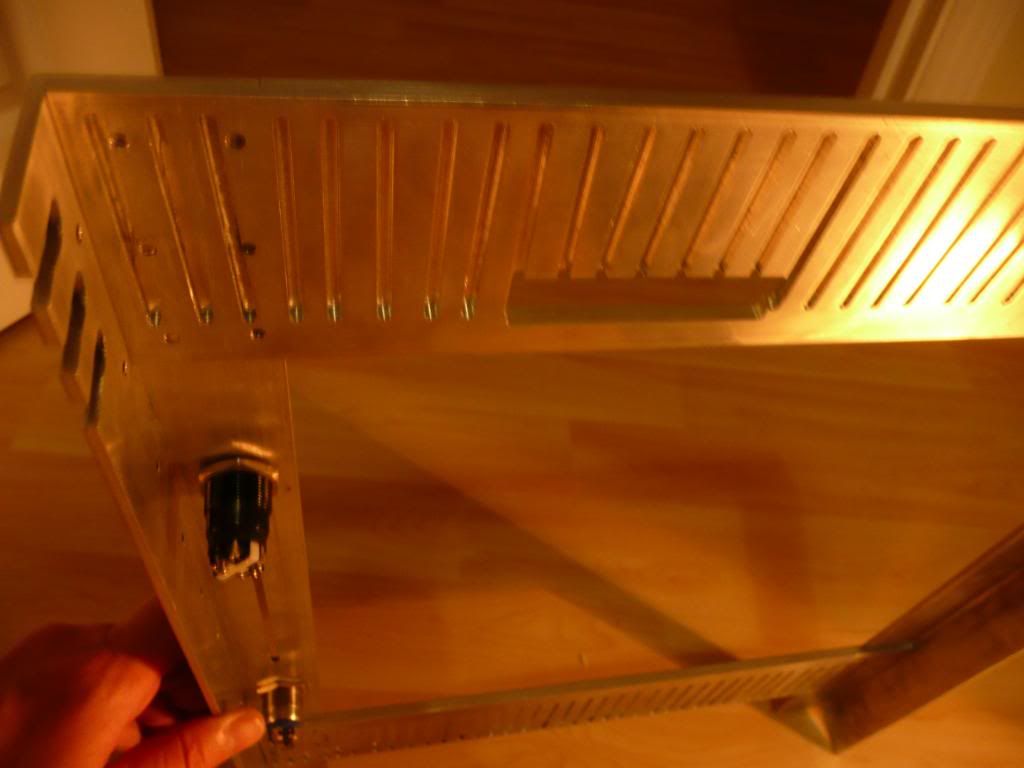
To have it sit flush with the aluminium frame a 10mm x 1.5mm step was milled from the inside side of the aluminium top and bottom frame and a 1.5mm sheet of aluminium cut and filed to leave the 1.5mm back panel sitting flush with the frame on the inside:

P1010015-1.jpg


P1010017-1.jpg


P1010025-1.jpg


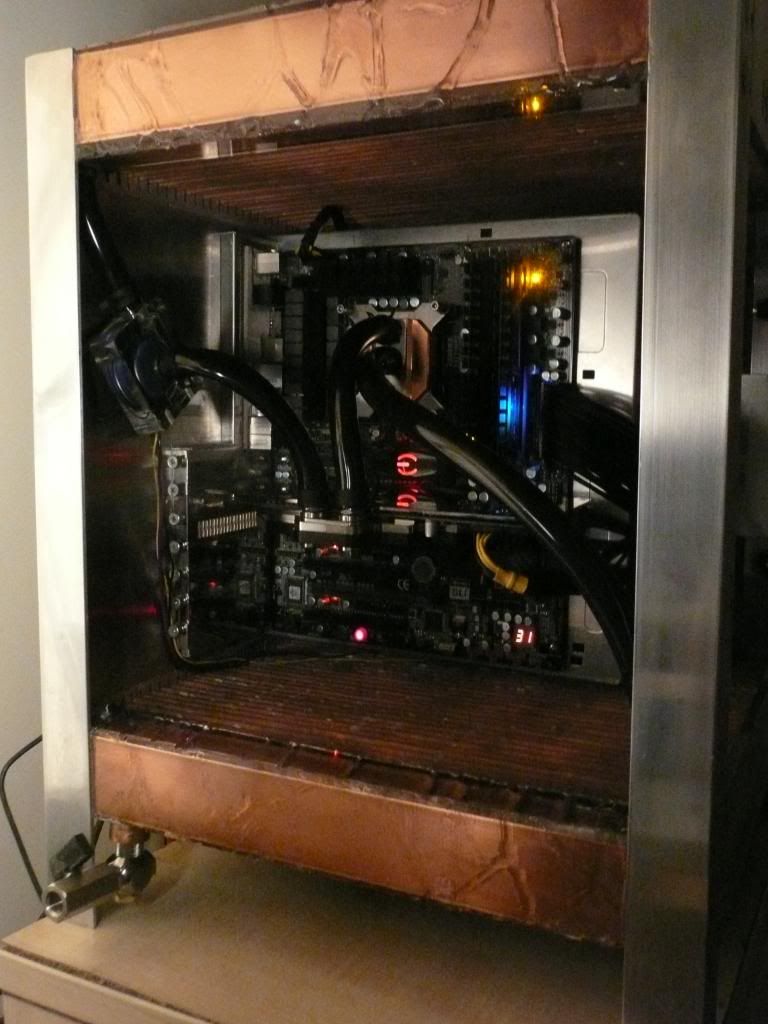
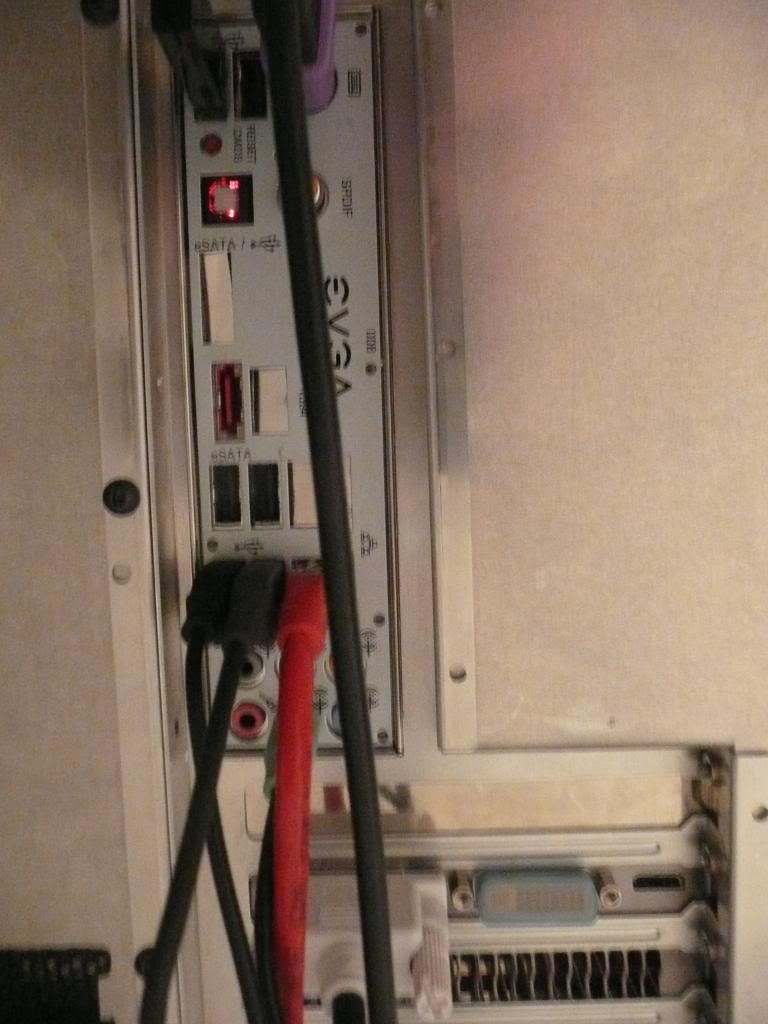
Next thing will be to cut out the hole for the I/O and PCI bracket to sit it in. This is going to be inserted from the back so you can't see the folded aluminium of the motherboard tray where it attaches to give a cleaner look when viewing from the inside of the case.

I used a stepped drill to make the 2 19mm holes for the antivandal switches; one for power, and one will be wired up to replace for the button of the slot-loading slimline dvd drive.

P1010012-2.jpg


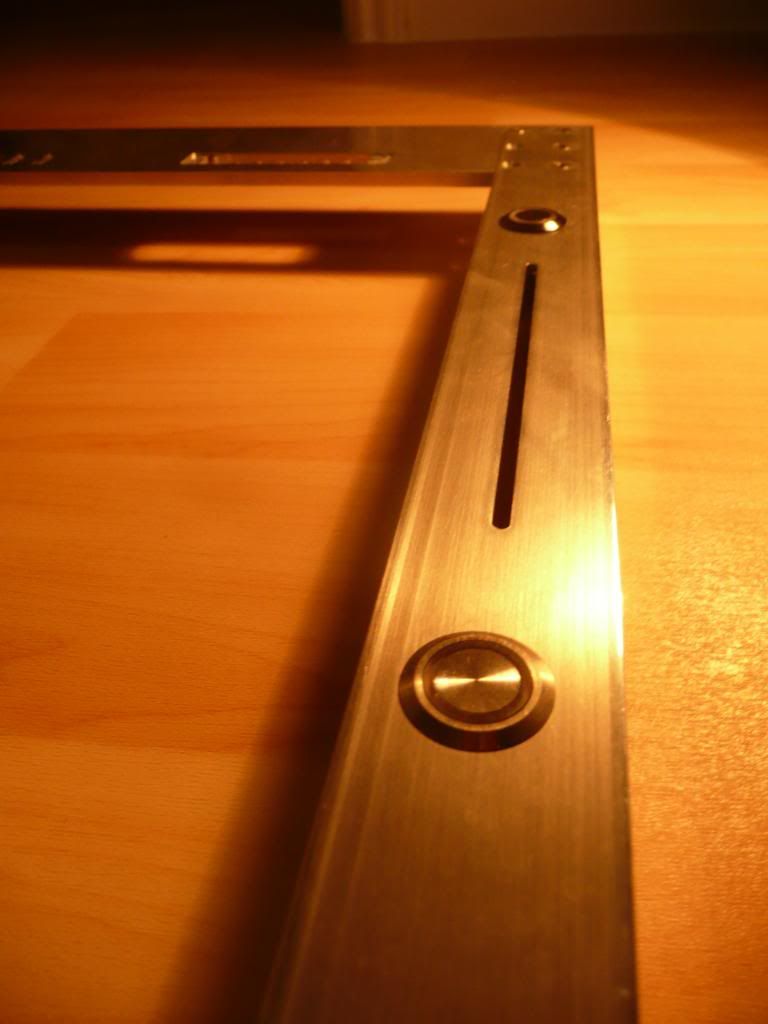
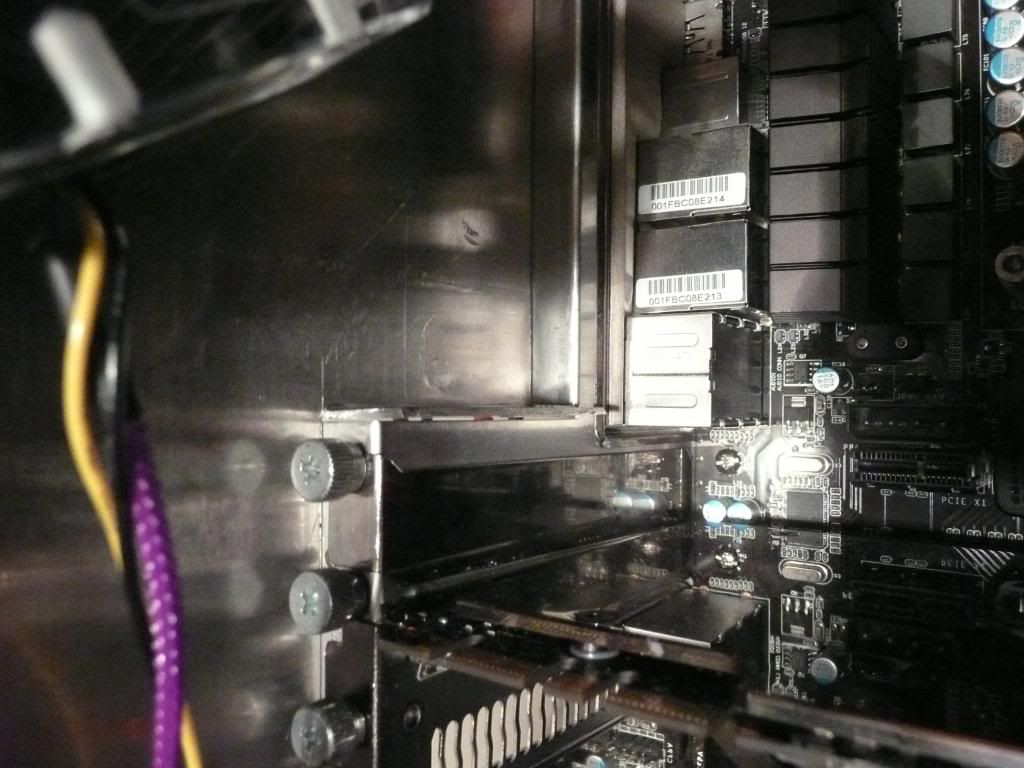
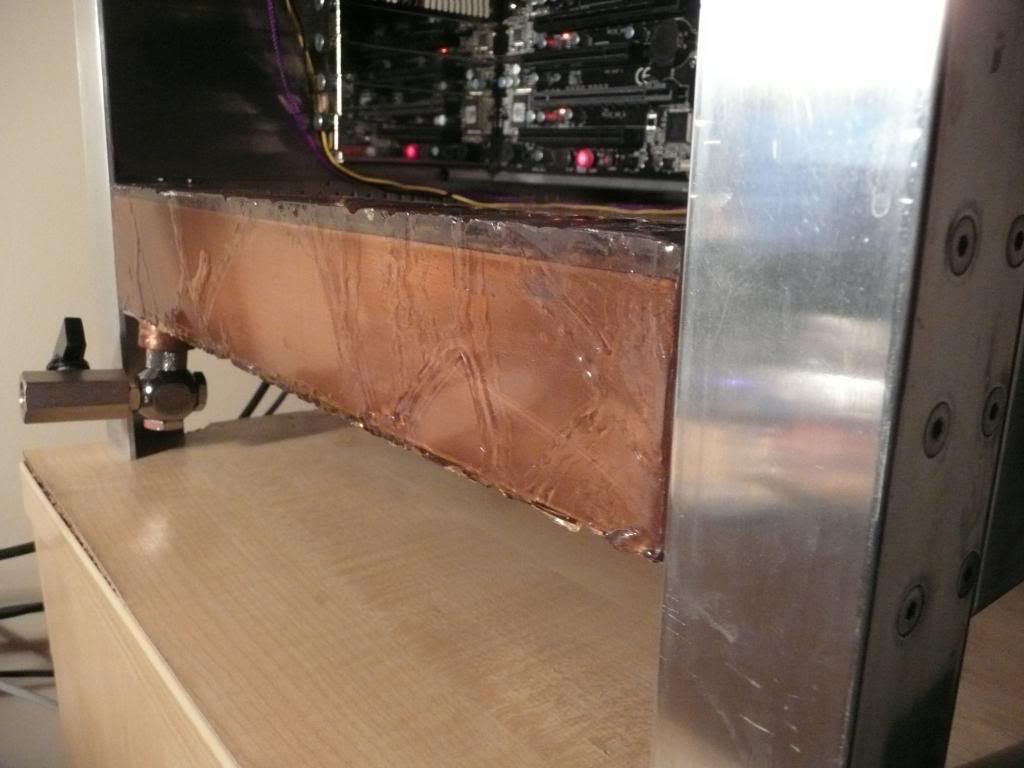
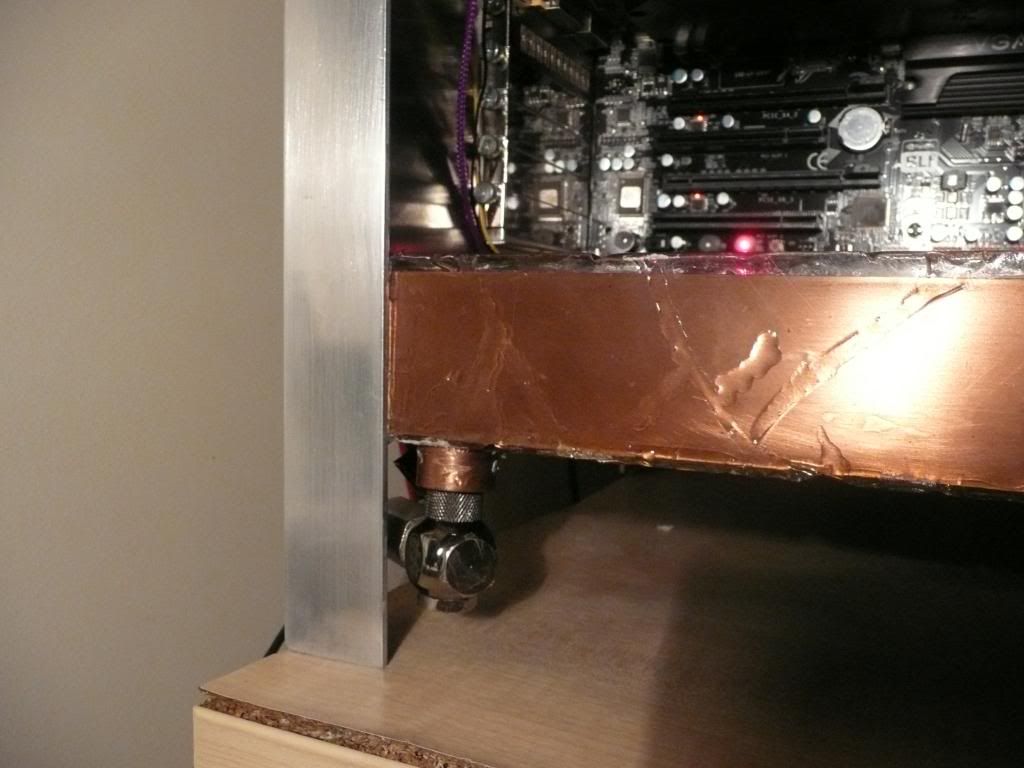
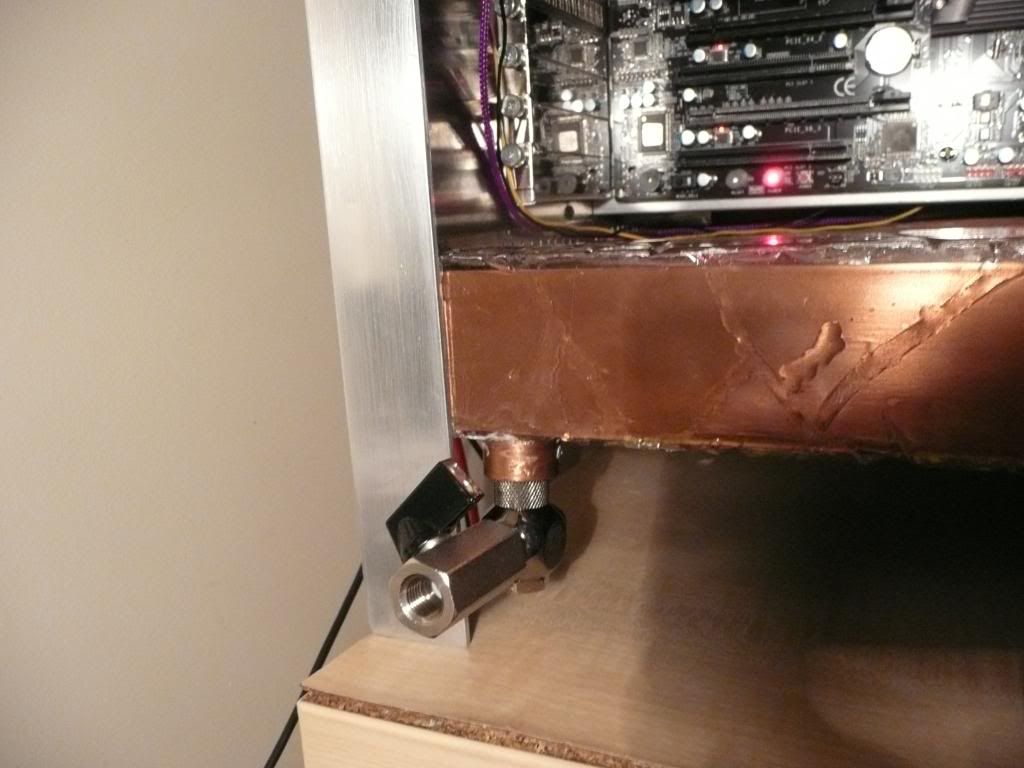
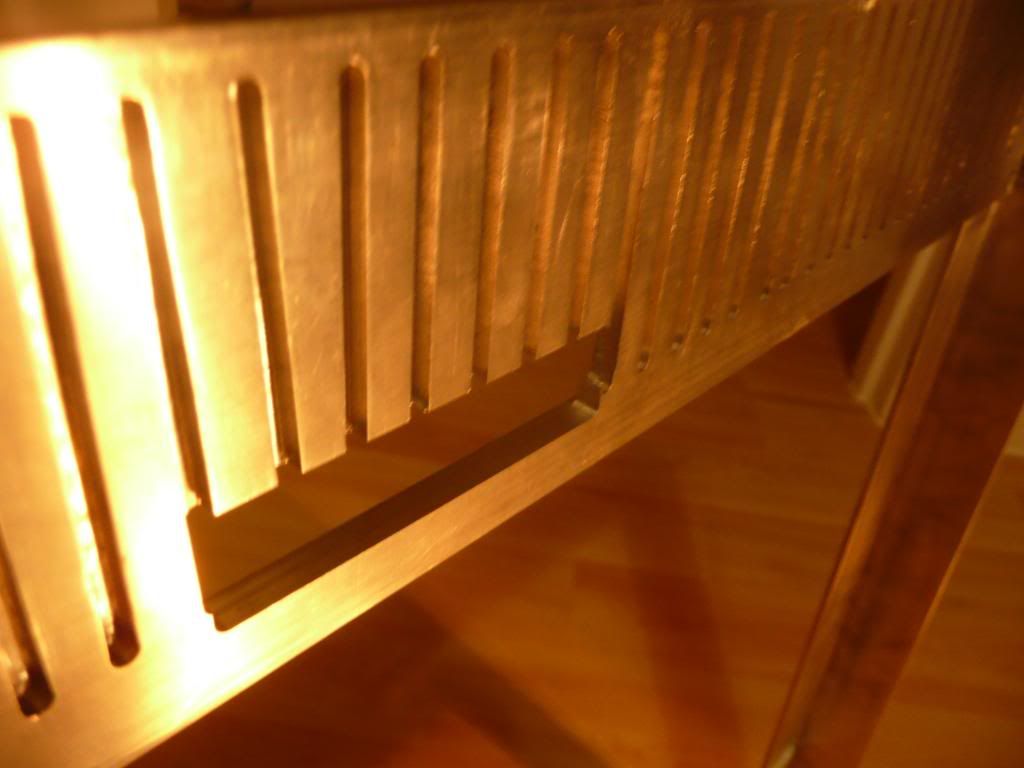
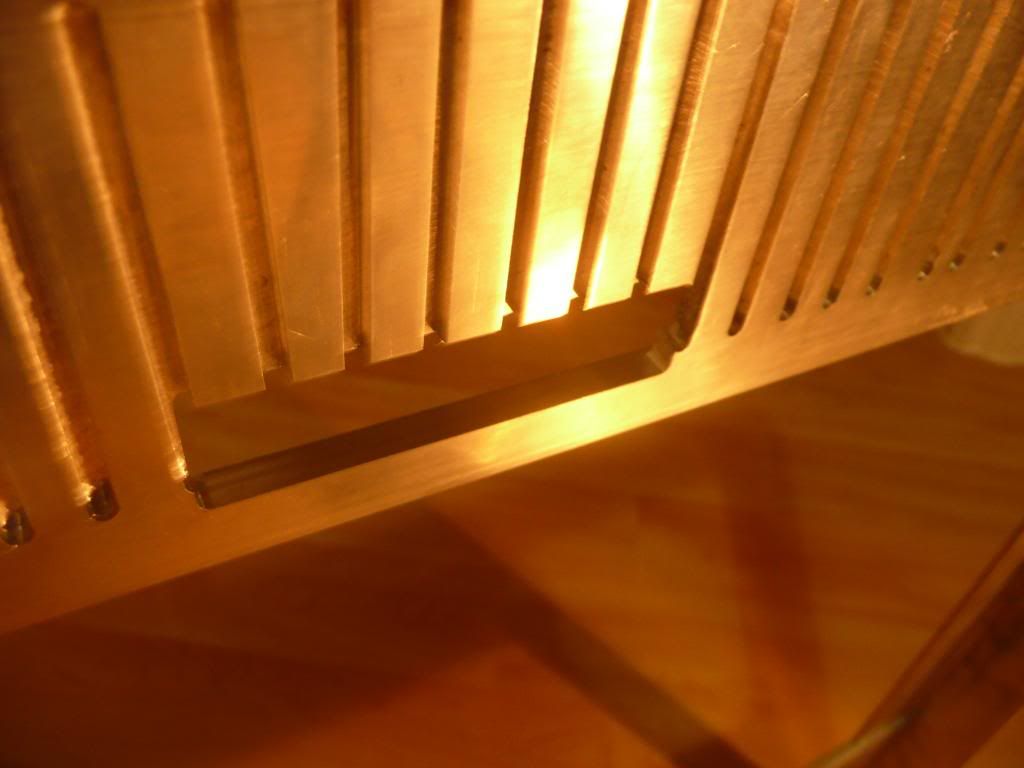
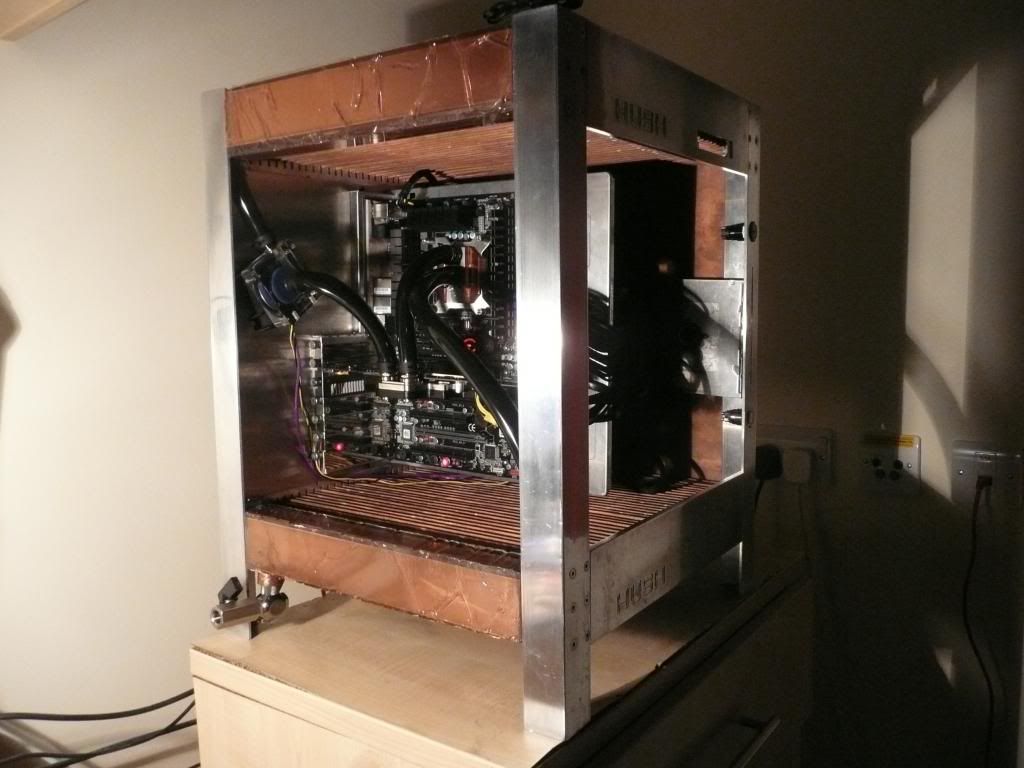
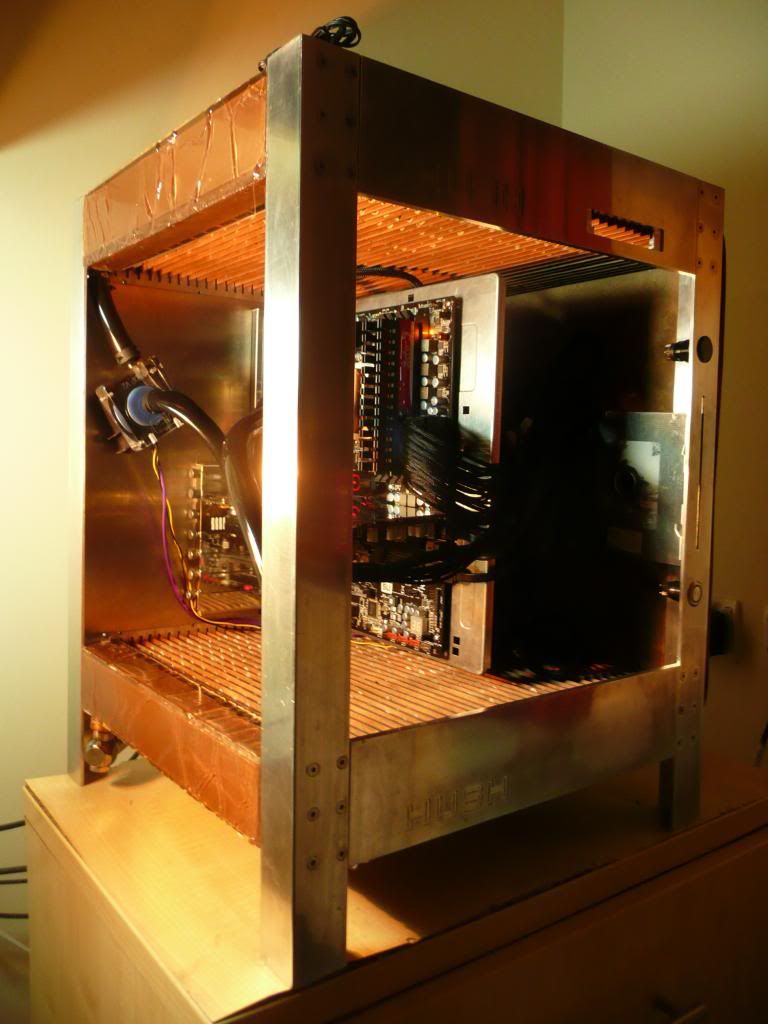
There had previously been holes in the 1/4 aluminium frame that were made from machining bits breaking when milling the slots the copper fins sit in as so:

P1000985.jpg


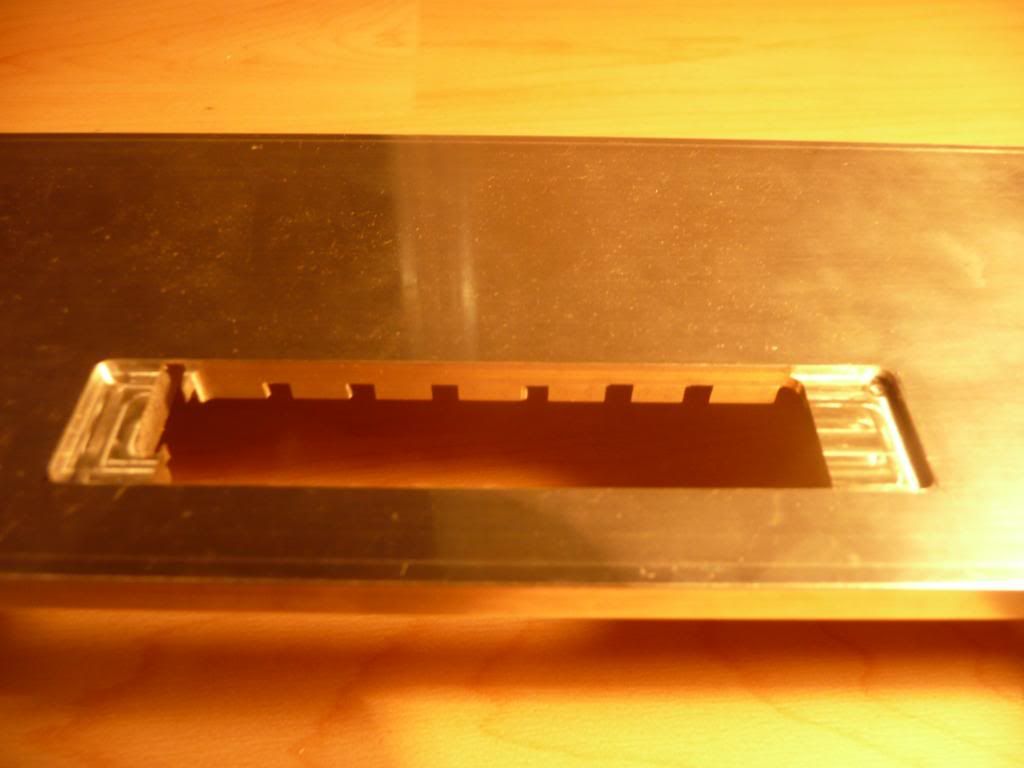
To hide these I had a 1.5mm deep stepped section cut out for an aluminium cover plate to sit in. This will have front panel ports; USB (USB 3 if I can find some), audio, eSATA and firewire ports, and will allow me to make a new cover panel for different ports etc in future whilst securing the aluminium panel to the copper fins with resin.

P1010010-2.jpg


P1010048-1.jpg


P1010050-1.jpg


P1010044-1.jpg


P1010043-1.jpg


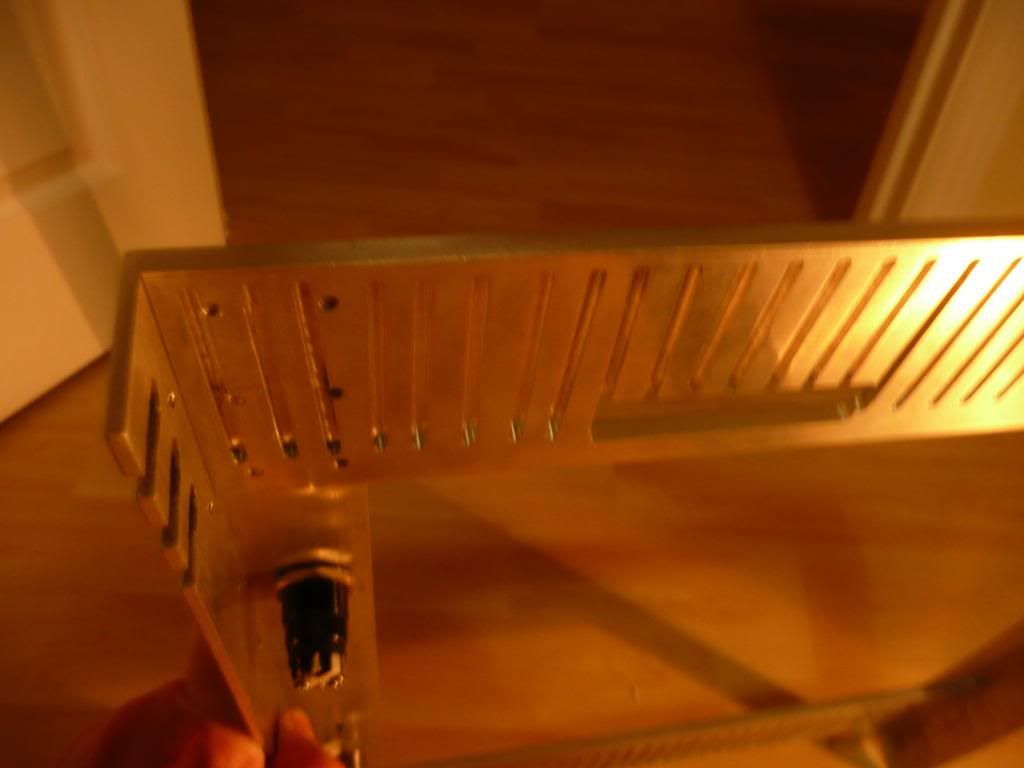
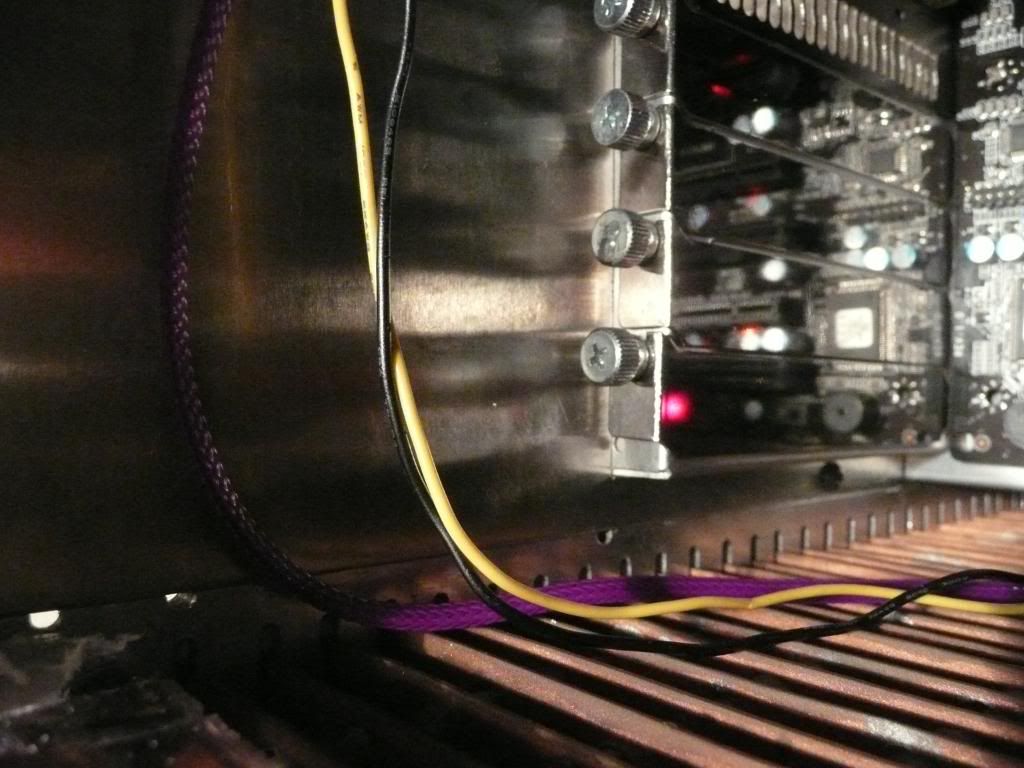
I also did a little more countersinking to make the screwheads sit nice and flush.

P1010037-1.jpg


P1010042-1.jpg


Still a bit more to do on some of them though.
 
Soldato
Joined
18 Oct 2002
Posts
7,836
Location
Scun'orp
Are you gonig to put something around the dvd slot to prevent the possibility of scratching your disks, or are you just going to be very careful when putting them in?
 
Soldato
OP
Joined
13 Mar 2006
Posts
6,712
Are you gonig to put something around the dvd slot to prevent the possibility of scratching your disks, or are you just going to be very careful when putting them in?

Not sure really - haven't made the bracket to hold the slot-loading drive in place so haven't tested it yet, though I've flanneled the slit with wet'n'dry strips so it's nice and smooth. Ahem. Good question though - might need to put some soft foam around the opening to stop the possibility of discs scratching.
 
Soldato
OP
Joined
13 Mar 2006
Posts
6,712
Any changes made since your last post Monkey Puzzle? :)

Good timing. :) Was going to post an update a few days ago but need to wait for bits: I've dismantled the motherboard tray and PCI slot bit and cut a hole in the back aluminium sheet so you attach the PCI slot bracket/plate from the back. Also partially cut out a hole for the PSU to attach to. Unfortunately I've run out of cutting discs for my dremel and with everywhere being snowed in I'm still waiting for more discs to arrive in the post. Still a bit of cutting and sanding to make a nice PSU bracket for it to sit in vibration-absorbing neoprene. Will update as soon as it's done - I'd rather post a hefty update rather than little bits and pieces. :)
 
Associate
Joined
1 Nov 2008
Posts
1,222
Good timing. :) Was going to post an update a few days ago but need to wait for bits: I've dismantled the motherboard tray and PCI slot bit and cut a hole in the back aluminium sheet so you attach the PCI slot bracket/plate from the back. Also partially cut out a hole for the PSU to attach to. Unfortunately I've run out of cutting discs for my dremel and with everywhere being snowed in I'm still waiting for more discs to arrive in the post. Still a bit of cutting and sanding to make a nice PSU bracket for it to sit in vibration-absorbing neoprene. Will update as soon as it's done - I'd rather post a hefty update rather than little bits and pieces. :)

It amazes me how things go a bit topsy turvy when a little snow comes along here lol :p.
 
Soldato
Joined
16 Nov 2010
Posts
16,498
Location
Swimming in a lake
I'm feeling quite a bit like a small child wanting it to be finished!

This is going to be epic by the looks of it, and as many have said, completely different.

Shame about the snow though... Good luck with the PSU bracket and getting your cutting discs!

kd
 
Associate
Joined
10 Nov 2010
Posts
277
Location
West London
Great project log, as well as a really interesting case/rad.

Do you have some time off this Christmas that will allow you to complete it, along with the final chapter of this log? I hope so!
 
Soldato
OP
Joined
13 Mar 2006
Posts
6,712
Bit of an update: upgraded my graphics card to a GTX 480 with full cover block. I was a little concerned it might screw up my temps but only seems to have bumped up idle temps 4 or 5C to 32-33C with the GTX480 set to 900MHz core and 2200 for memory at max volts (1.138Vcore). The i5 750 processor is at 4.2Ghz, 1.42Vcore. With Intel Burn Test and Furmark running together I'm getting temps of 49-50C on the GPU and max of 63C on the CPU. :)

The eagle-eyed may spot the severe kink in the primochill 1/2" ID, 3/4"OD tubing between the GPU block and the pump. Think I may need to go for some 45 degree rotary fittings to solve that.

P1010095.jpg


P1010080.jpg


P1010071.jpg


Here's the 1.5mm thick aluminium backplate. I've cut a hole for the pci/io bracket and an extra 1mm width to allow for the motherboard tray. There's also a hole for the PSU to vent through, though I still need to cut slightly into one of the supporting legs for the PSU kettle plug to go through

The PCI&IO backplate is attached from the back - it's not attached by screws yet - it'll have some countersunk screws hidden behind the pci bracket thumbscrews.

P1010092.jpg


I don't have a metal break, so I clamped aluminium angle with G clamps and bent the flap of the backplate above the PCI bracket to a right angle with a hammer against the clamped alminium angle. Unfortunately I missed a few times, and theres two small dents. :( I'll try getting rid of them with by clamping the backplate between two flat plates, but if that doesn't work I might need to use filler and spraypaint the backplate...

P1010096.jpg


P1010112.jpg


P1010086.jpg


P1010111-1.jpg


P1010110-1.jpg


P1010090.jpg


Here's a poor photo of the back of the case:

P1010089.jpg


Not that easy to see, but I've filled in the irregular creases in the polyester coat on the ends. Still needs filling with polyester resin on the top and bottom of the bottom plenum, and then I can sand it down. I'll probably end up spraying the plenums black.

P1010103.jpg


I added a ball valve for draining the loop, attached to a bitspower rotary adapter. I had tried a less compact rotary fitting but it leaked. :/

Hidden away...

P1010093.jpg


Swiveled round for draining. A 90 degree turn of the black tap and the system drains. :)

P1010094.jpg
 
Last edited:
Associate
Joined
10 Nov 2010
Posts
277
Location
West London
Great to get an update on this very interesting project.

You are getting very decent temps considering there are no fans as far as I can see, so you've only got the noise of the pump (and PSU fan?) to hear. How do they sound? How fast do you have to have the pump to get round all that pipework?
 
Last edited:
Soldato
OP
Joined
13 Mar 2006
Posts
6,712
Absolutely awesome work man! Such a great project.

that is such a creative build buddy

A+ stuff

Thanks guys.

Great to get an update on this very interesting project.

You are getting very decent temps considering there are no fans as far as I can see, so you've only got the noise of the fan (and PSU fan?) to hear. How do they sound? How fast do you have to have the pump to get round all that pipework?

The only fan is the PSU fan - it's a Seasonic x-750 with a 12cm sanyo denki pwm fan that starts at around 200-300w load, and then increases according to load/temps. It's a quiet fan, though atm the psu is resting on an unsecured thick aluminium bracket I made so vibrates slightly - it'll rest on a 10mm neoprene layer with 10mm neoprene around the sides to dampen vibrations. But that's for the next update...

The pump is an 18w DDC with EK v2 top - running at full speed atm, but flowrate/voltage will be controlled according to water temperature (with an inline aquacomputer temp sensor) with the aid of an aquaero 5 fan controller, once they're back in stock and I can get my hands on one. :) Pump mounting isn't ideal atm - will probably have to fork out for some expensive bitspower 45 degree fittings to tidy it up.
 
Back
Top Bottom