Welcome to my first online build log!
While I am relatively new to the forums as a registered member, I have been lurking and admiring the wonderful projects that you have all being undertaking for quite some time.
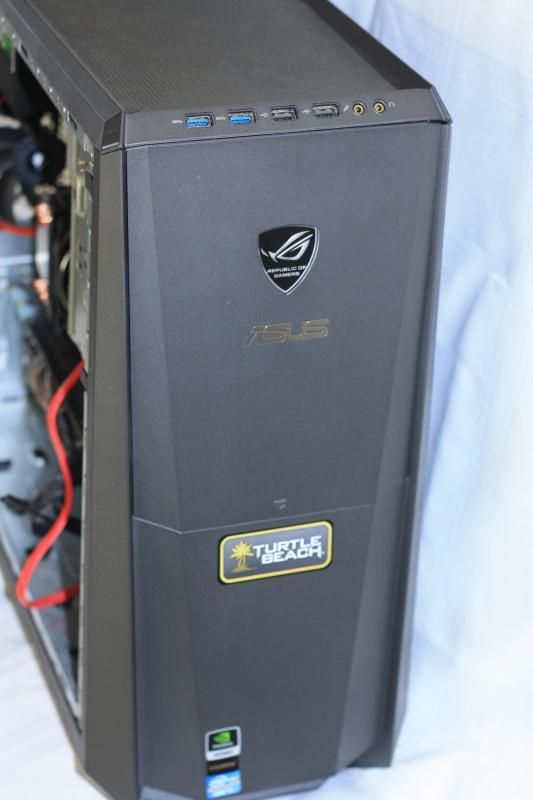
Progect 77 will utilize some existing components from the system it is replacing, my ROG CG8480. The 8480 shipped as standard with the following:
P8Z77M Pro
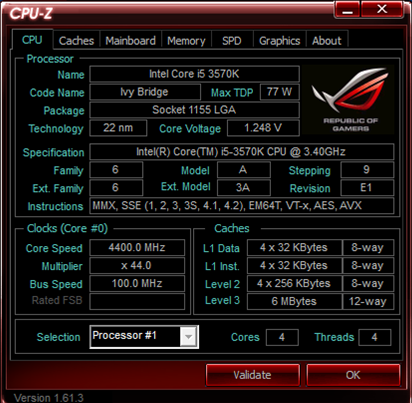
i5 3570K
8GB RAM
ASUS GTX 650
1TB HDD
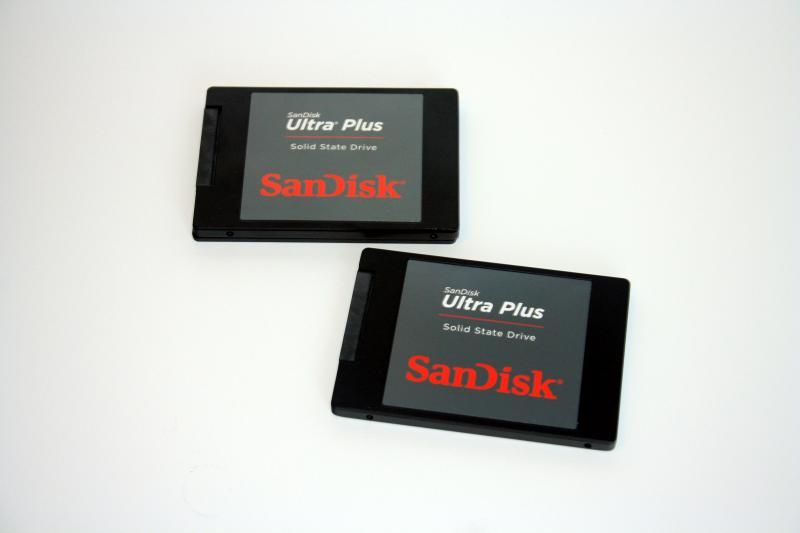
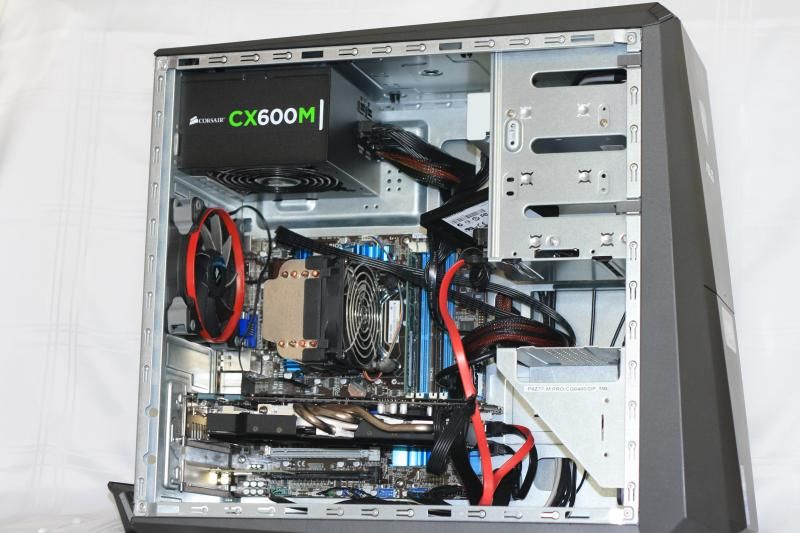
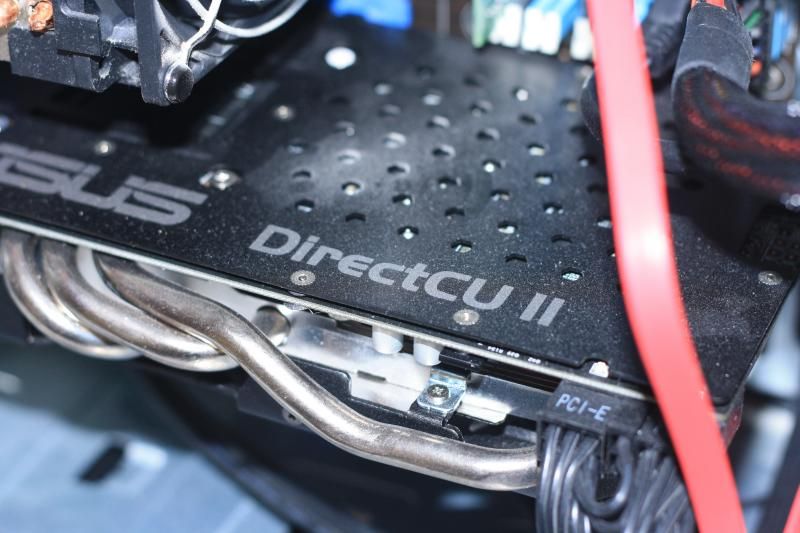
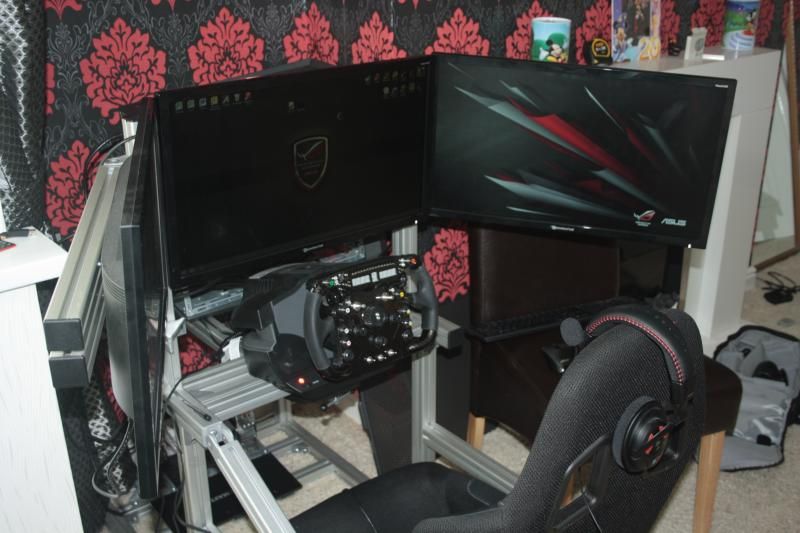
Since the initial purchase I have made some slight changes. I replaced the stock power supply with a CX600M, added some Corsair AF 120mm fans and switched out the GTX 650 for a GTX 770 (ASUS of course). I have a triple screen rig and wanted something with a bit more oommpphh to game on. A Sandisk Ultra Plus SSD was also added to speed things up. Because I also use the PC for work, it has to handle anything I throw at it and the triple screens really help with organizing everything I need to do.
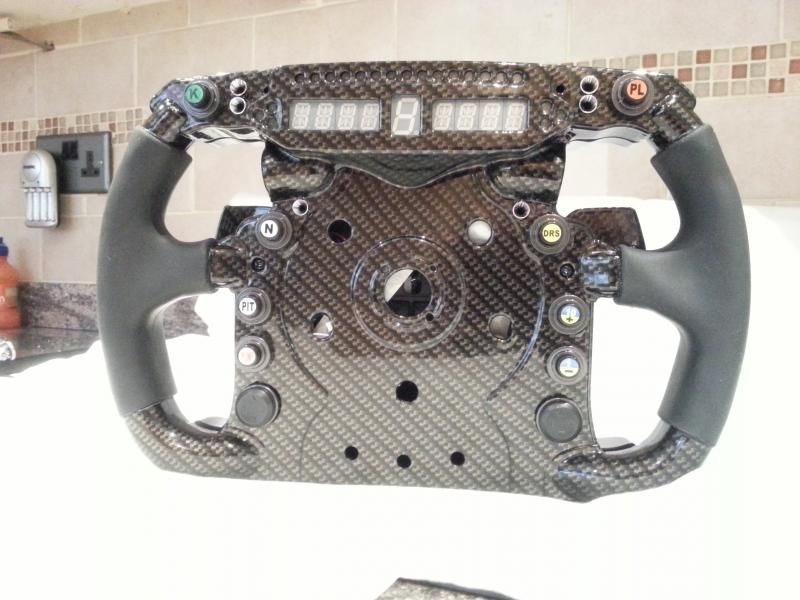
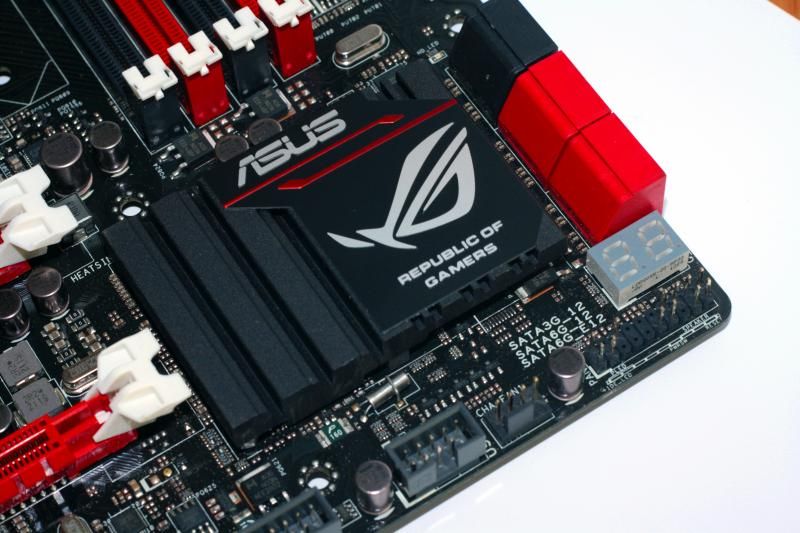
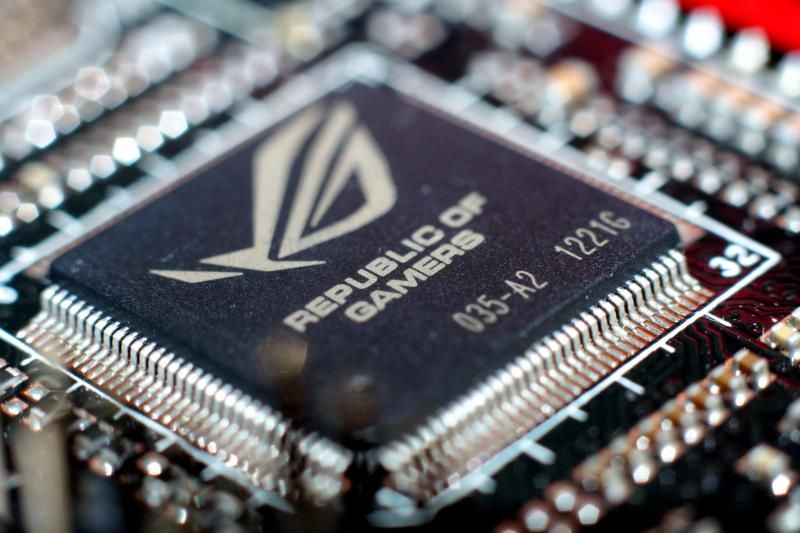
I admit I bought it a little on impulse as I loved the case. It also gave me a base to work with when I had the time to start tinkering, and now as I finish a custom F1 steering wheel project, Progect 77 will take me into 2015 nicely before a more adventurous project. I have used ASUS components many times and they never fail to deliver, the quality is fantastic and this will be my first venture with a ROG motherboard...excited!
So lets focus on the actual build and show you whats in the pipeline:
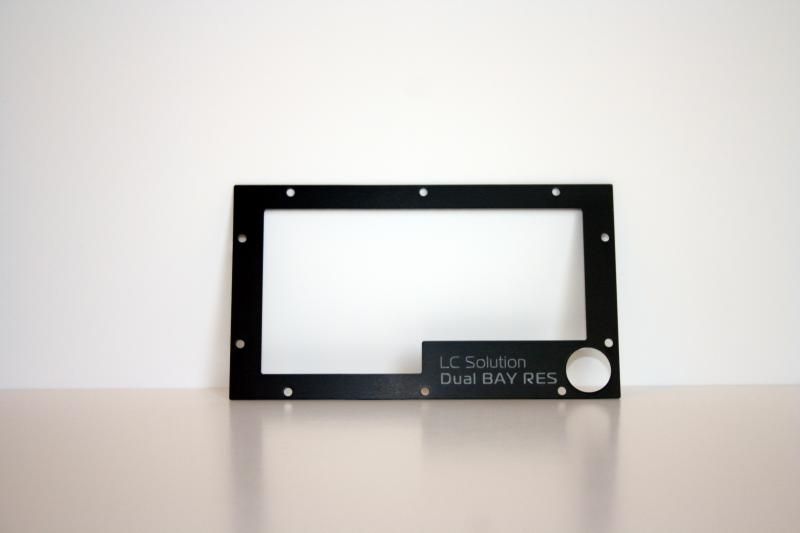
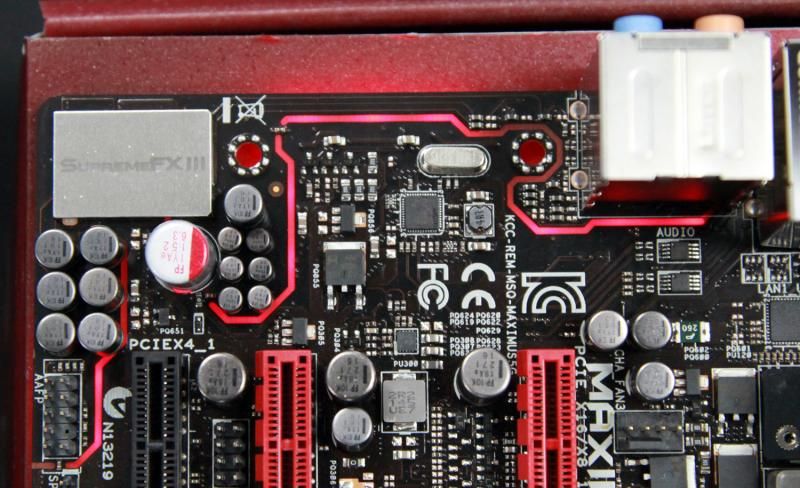
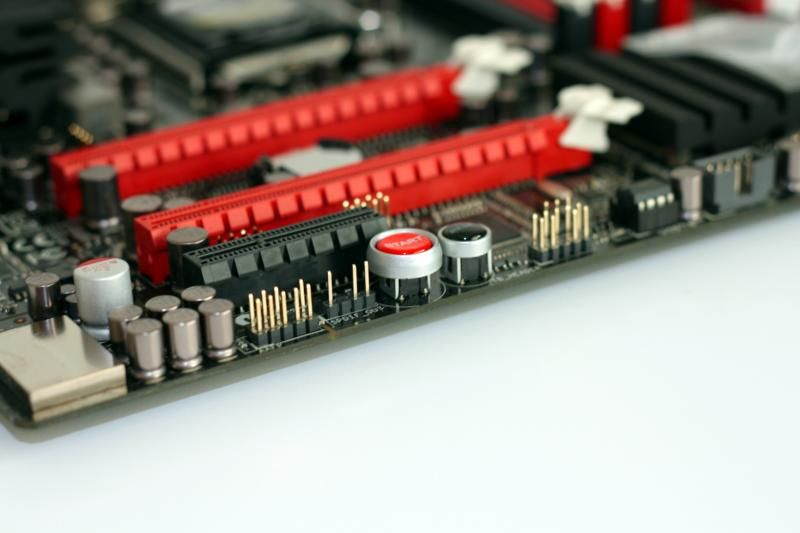
Drawing in inspiration from the ROG motherboard series, I wanted to create something a little unique. The ASUS ROG boards have audio separation from the main board as you may know and this blends in to the design.
At this point I am still undecided to go with white or black for the main panels, there are some great black and red builds around so I will wait and see on this for now. I am still playing with final design of the inlay and position of items but it gives a good indication of what I am after.
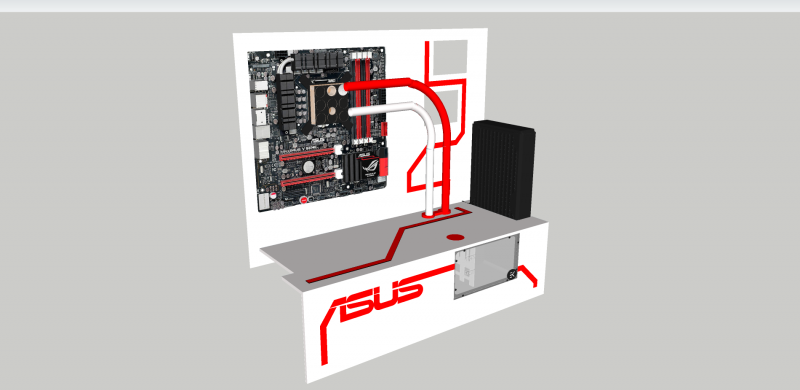

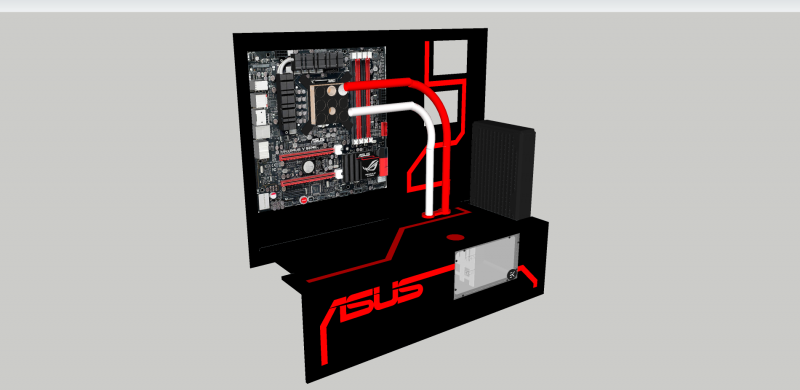

The ASUS logo and striping will be back lit with subtle white case lighting to highlight everything else.
I aim to have a really clean, clinical finish with very neatly organised color coordinated cabling and pipework.
The mock ups show a Formula VI, this is to ensure that I have enough room for future upgrades to an ATX board when the time allows.
The component list includes some that I already have and some additions to really make this a great ROG based Z77 build. With my wedding coming up very fast, I will be trying to get a bit done each month and have something near complete in time for Christmas.
I hope you will enjoy following this as much as I have enjoyed the other fantastic builds here at OCUK.
Last edited:


")