Project MEGA DEBLOW - Watercooled Desk Mod

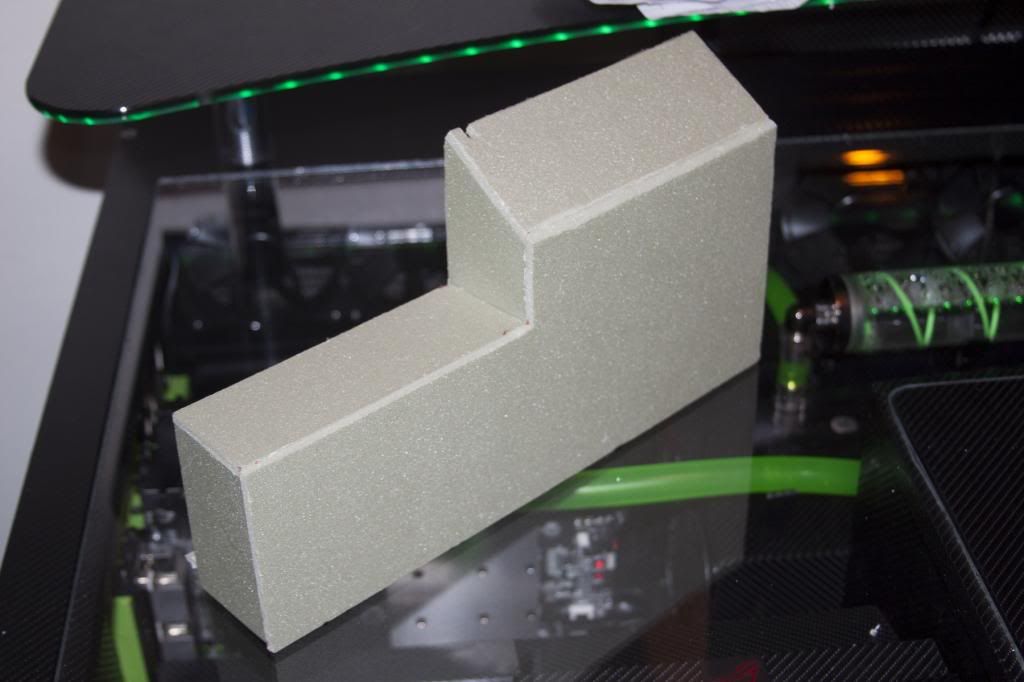
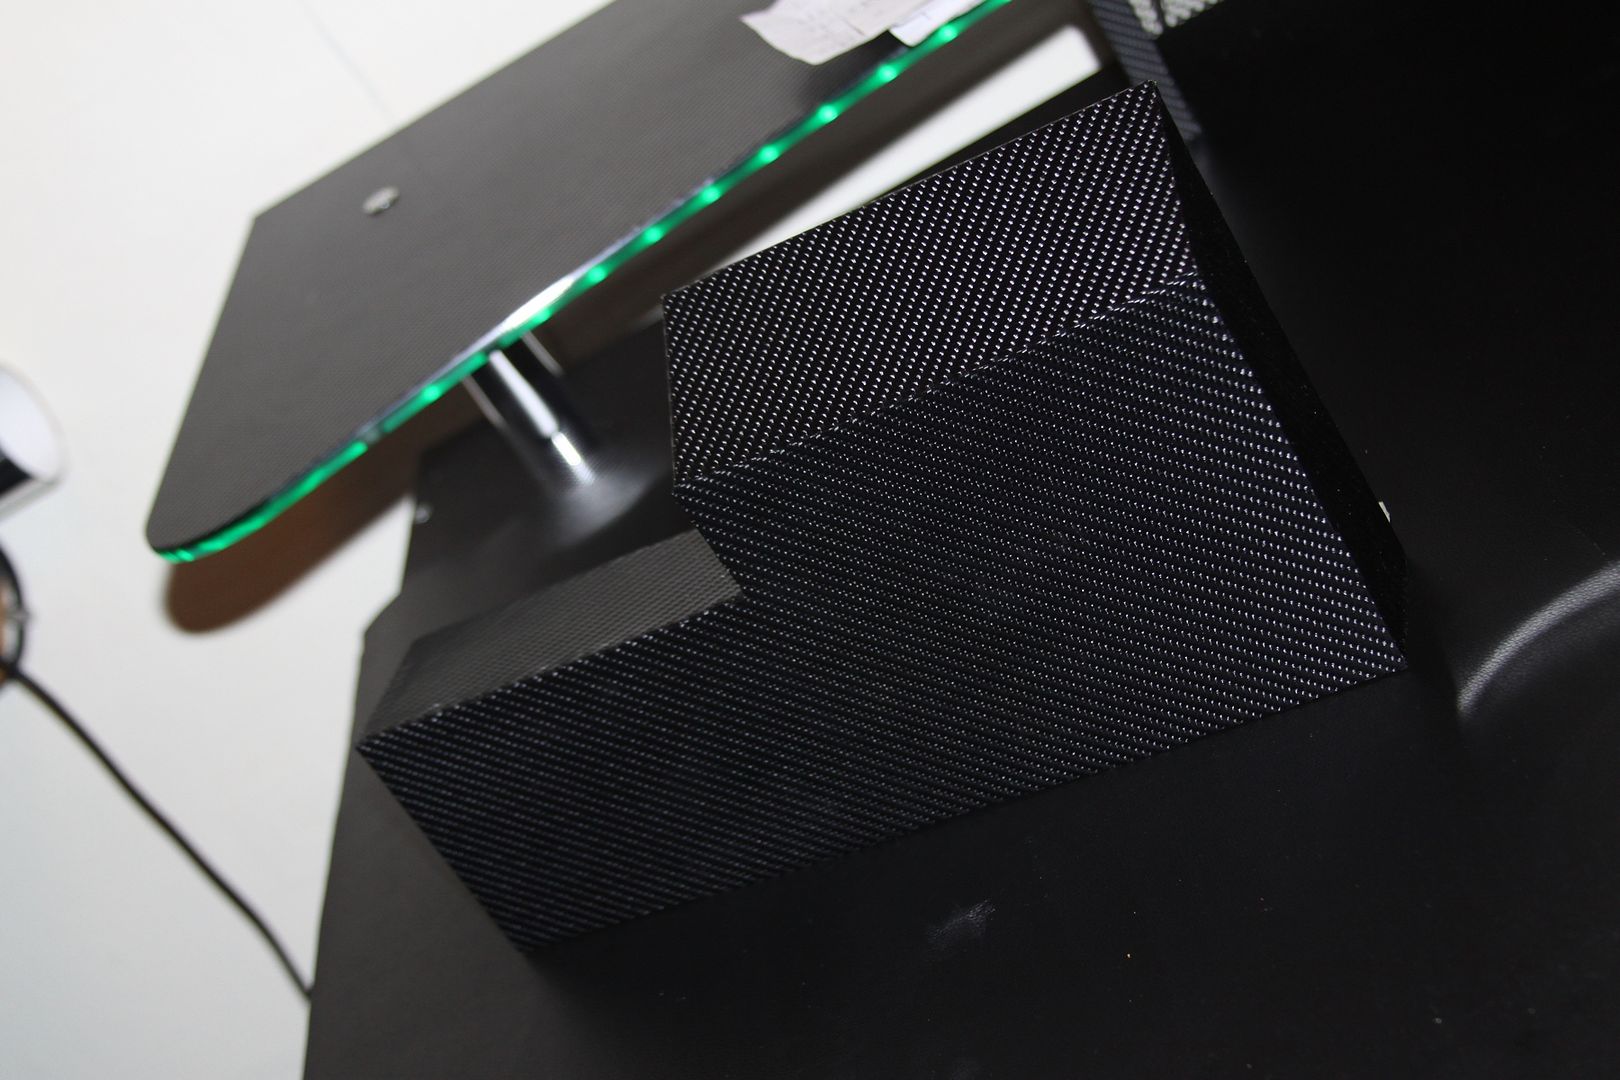
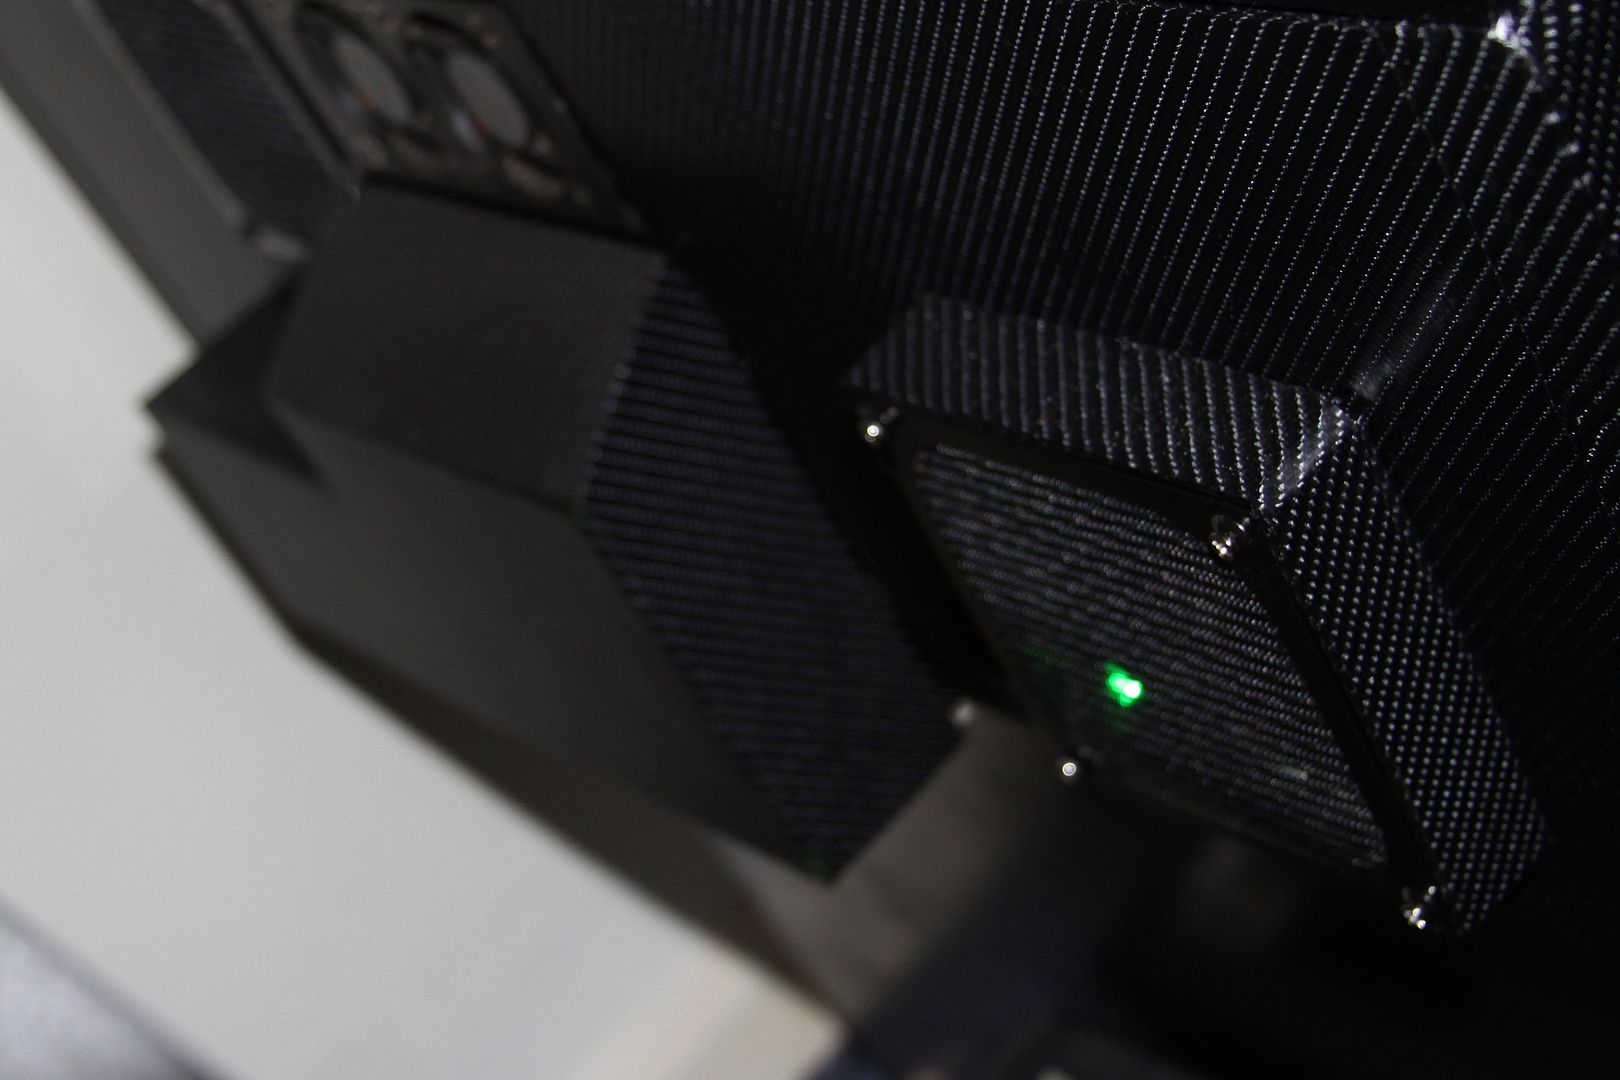
Side cover now remade, snaps on to cover the MB cables

aadIMG_3095_zpsb9b8ff23.jpg


aadIMG_3103_zps82d35eeb.jpg


aadIMG_3112_zpsaa04cc16.jpg
 
Wow mate this is truly stunning, wish I had come across this earlier but looking through from start to finish you have done an amazing job, might have to find some carbon wrap ;) was considering some but after seeing this thread I'm sold haha
 
Wow mate this is truly stunning, wish I had come across this earlier but looking through from start to finish you have done an amazing job, might have to find some carbon wrap ;) was considering some but after seeing this thread I'm sold haha

Its nice to work with and less messy than the alternative, paint.
iv been using it for a couple of years now, mostly on bikes & cars.

Thanks for your comments ;)
 
Hey deblow, ive not been able to get on here for a while. Production has been a little slow while im waiting for parts to come.
Did you ever use any types of activator with all that carbon. I have a few awkward shapes to wrap myself and im unsure if i will need any to help it stick.
Did you use the controllable LED strips that change a range of colours on that glass shelf. Im tempted with mine but not sure if i can fit anything else inside.
It looked great in the first place but now you added the carbon to the top of the glass it just suits the build completely. My hats off to you sir, this is a very impressive build.....


I used a hair dryer for parts near plastics so as not to damage anything, and in some other places i used a heat gun because it has a longer reach,
what was you thinking of wrapping that could be a problem?
some of the hardest parts i found to wrap was curves, sharp corners can be cut in most cases but sometimes leave a gap you need to fill.

I use 5050 led strip full range of color control & iv just added a UV strip and removed the UV tubes i had.

had to wrap the glass because it was too bright lol, even on the low setting it was annoying
I'm glad i added extra switches to control top,inside,res & bottom shelf lights because i use them quite a bit and they all run from
the same controller/power.

Iv had the man flu this week, but i did start to work on the desk cover (flux leather), mouse mat, MECH keyboard design and some res brackets.

all still work in progress but should have some updates later in the week, still struggling with the flu ATM :(
 
BTW, i found working with 3D wrap easier then with 4D, i think the problem is 4D has a extra glossy lair to it, when working on motorbike parts i use 3D and then clear coat over the top.
i will be doing something similar with my keyboard but using 4D.
 
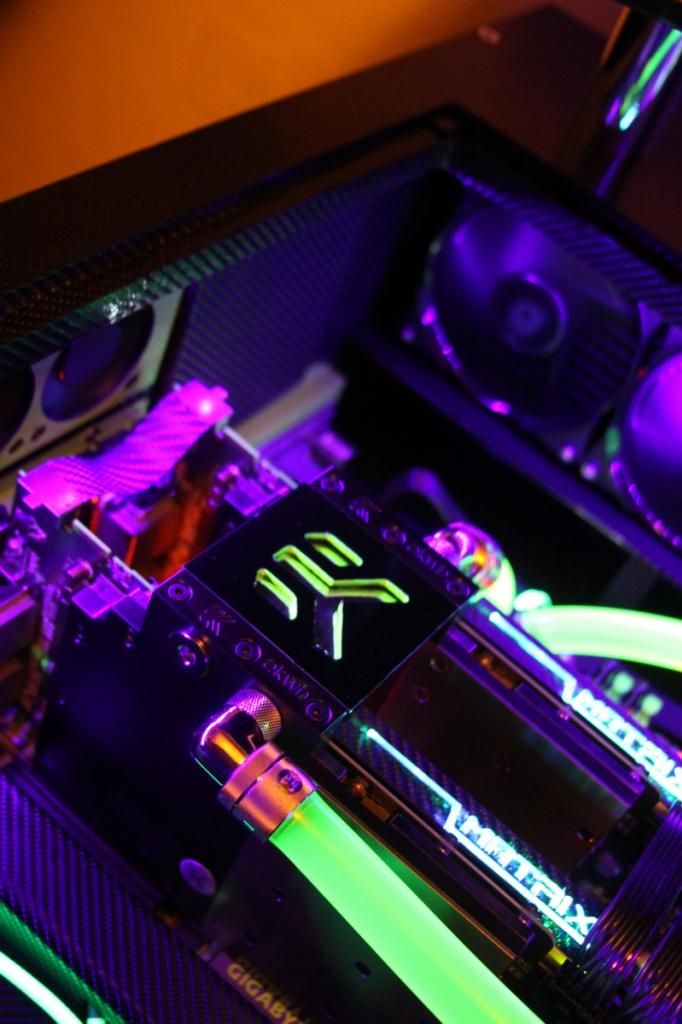
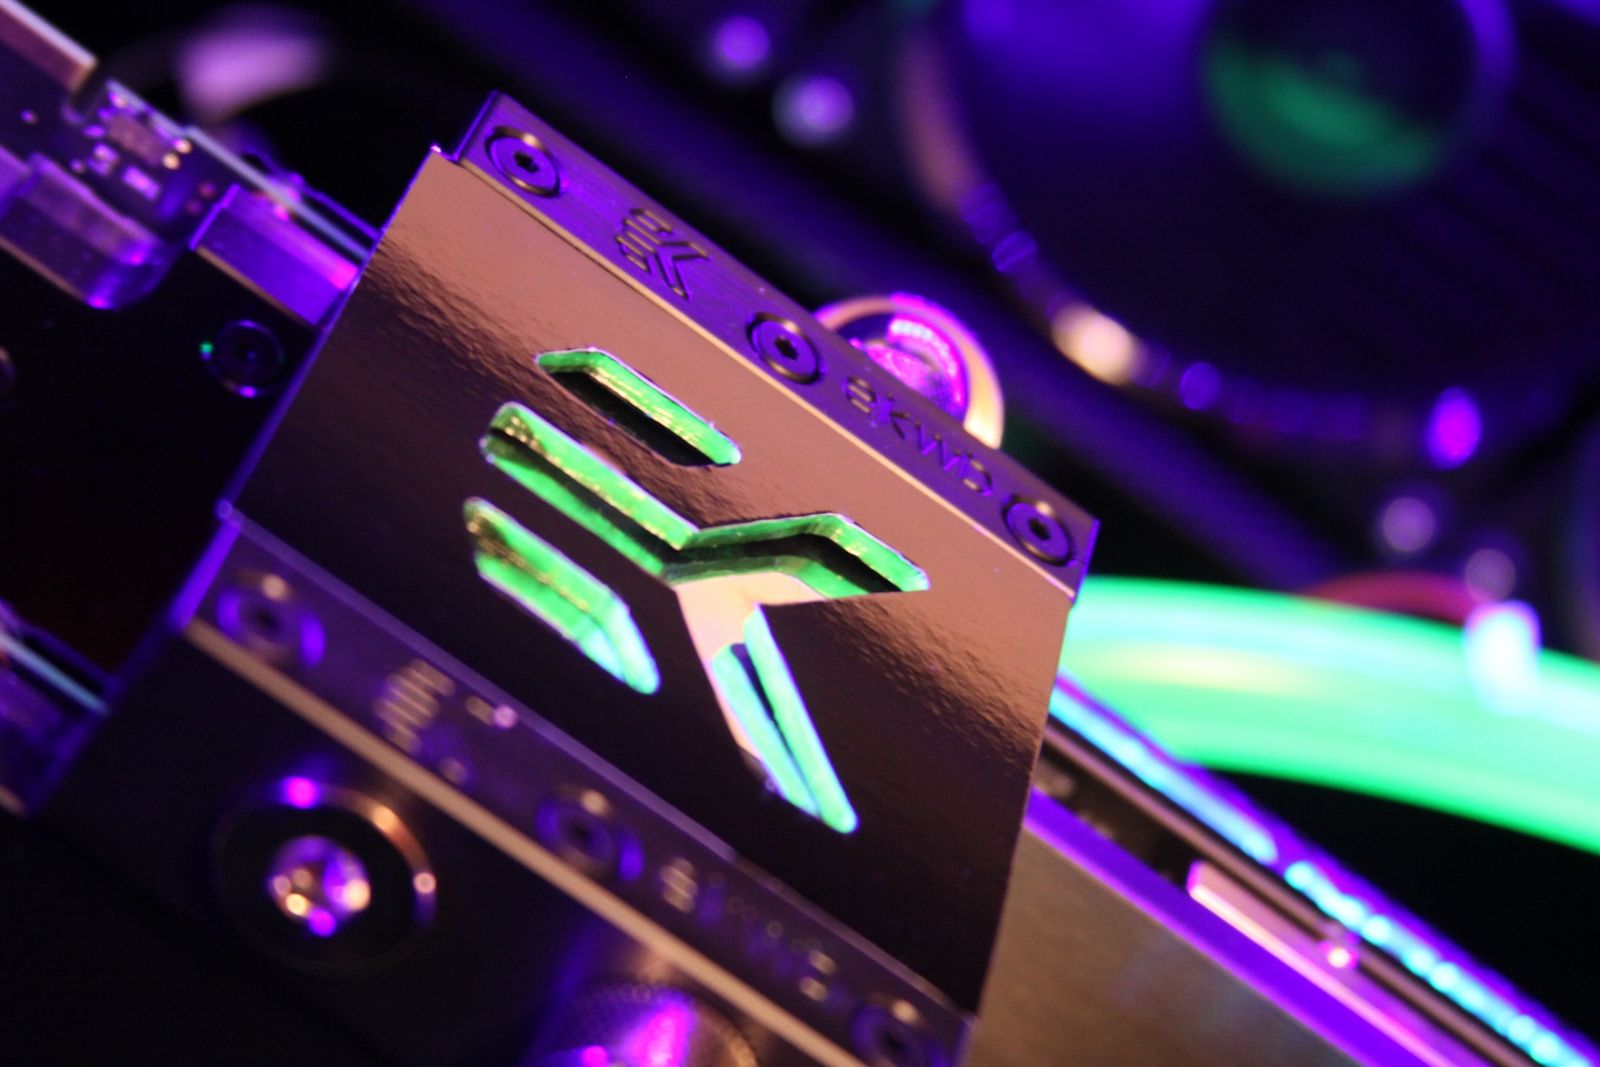
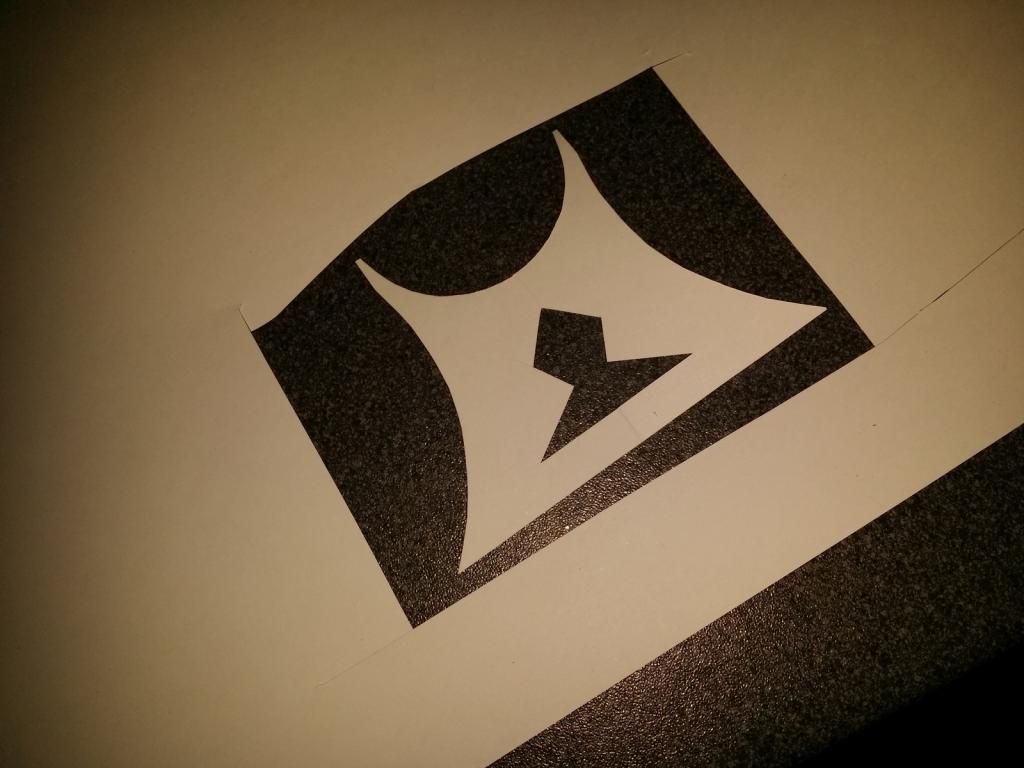
EK bridge cover now chrome & black nickle wrapped, think it looks better now as it can be seen in daylight and at night under UV.

aadIMG_3181_zpse4d4e209.jpg


aadIMG_3179_zps003ebede.jpg


aadIMG_3127_zpscbaf0df1.jpg
 
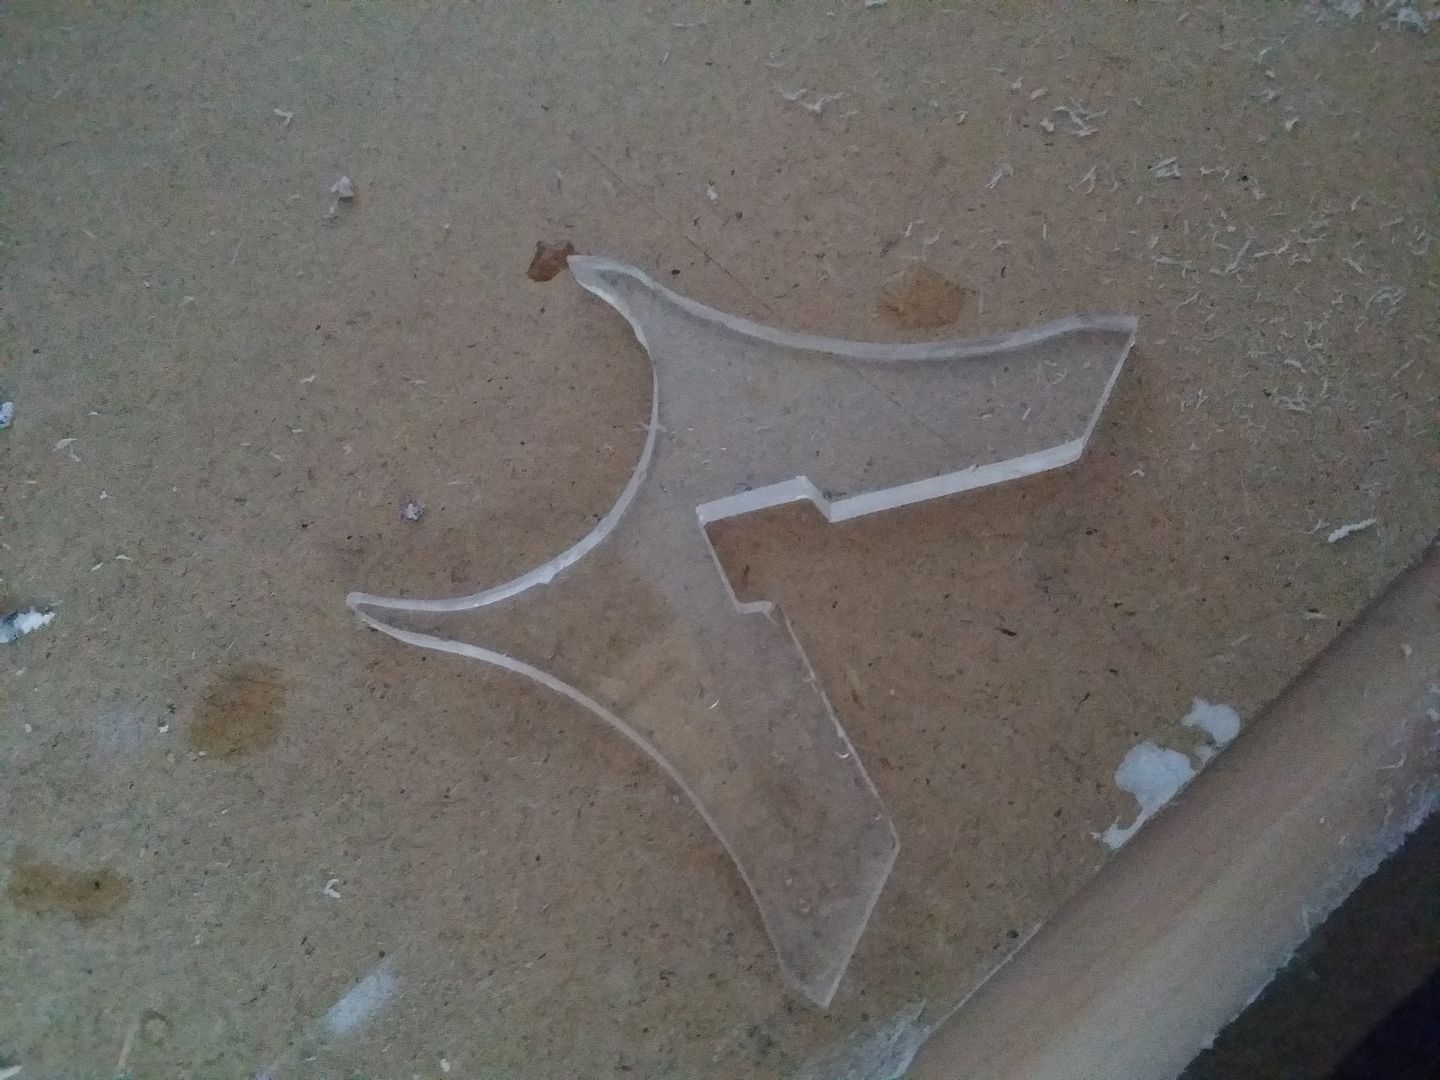
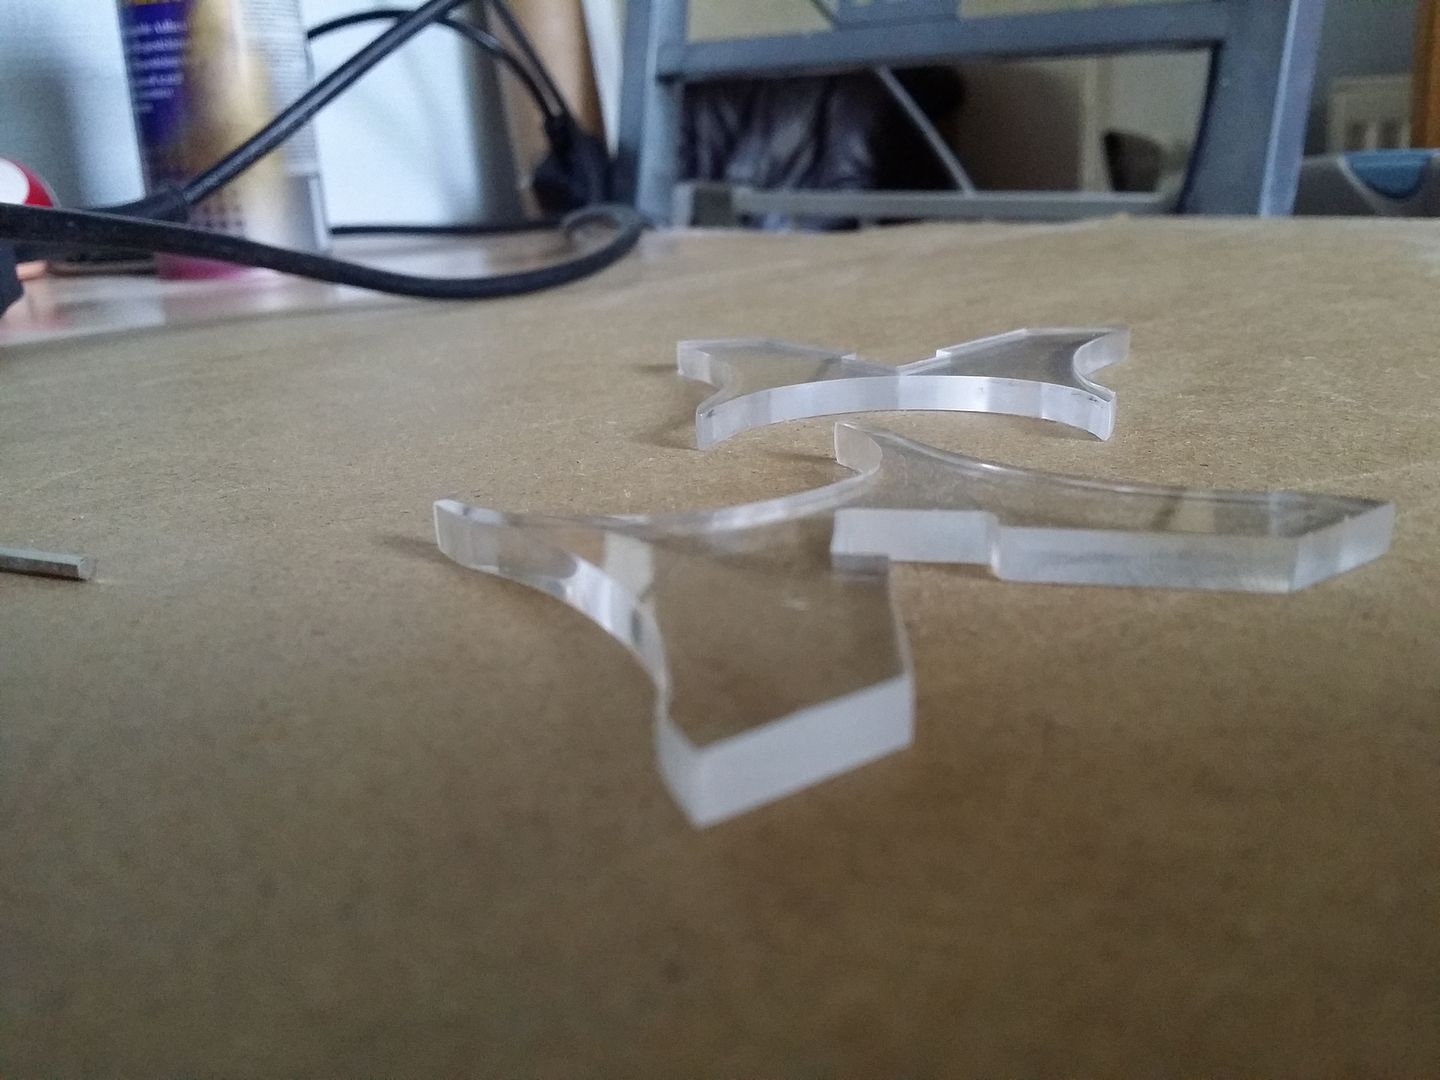
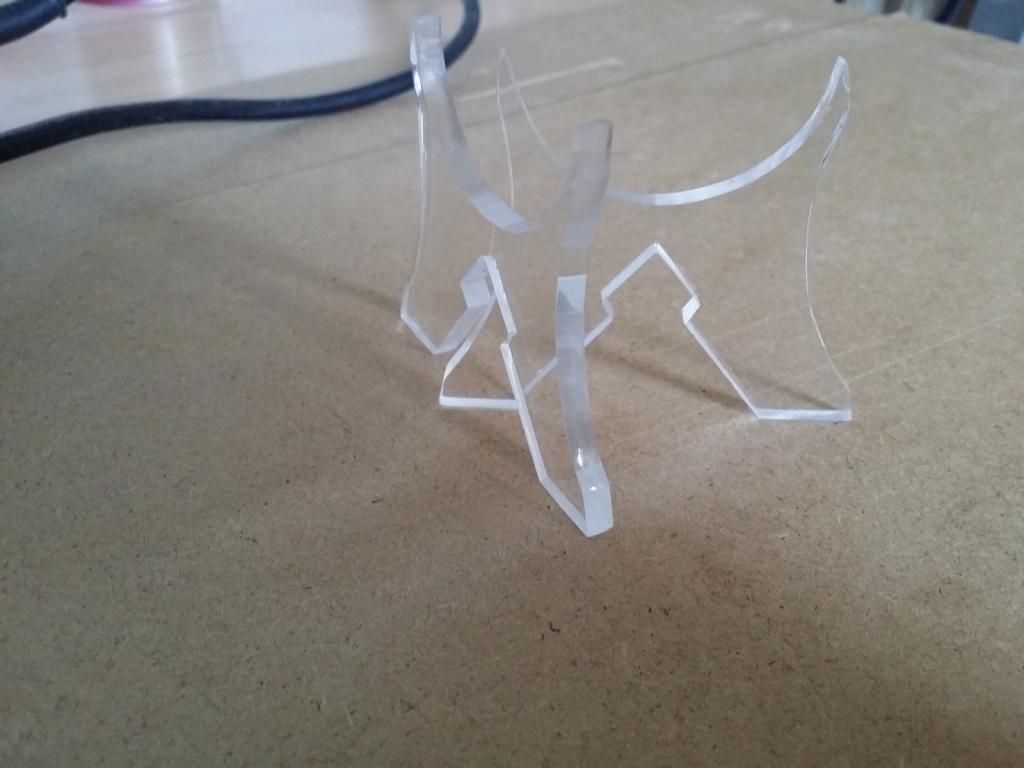
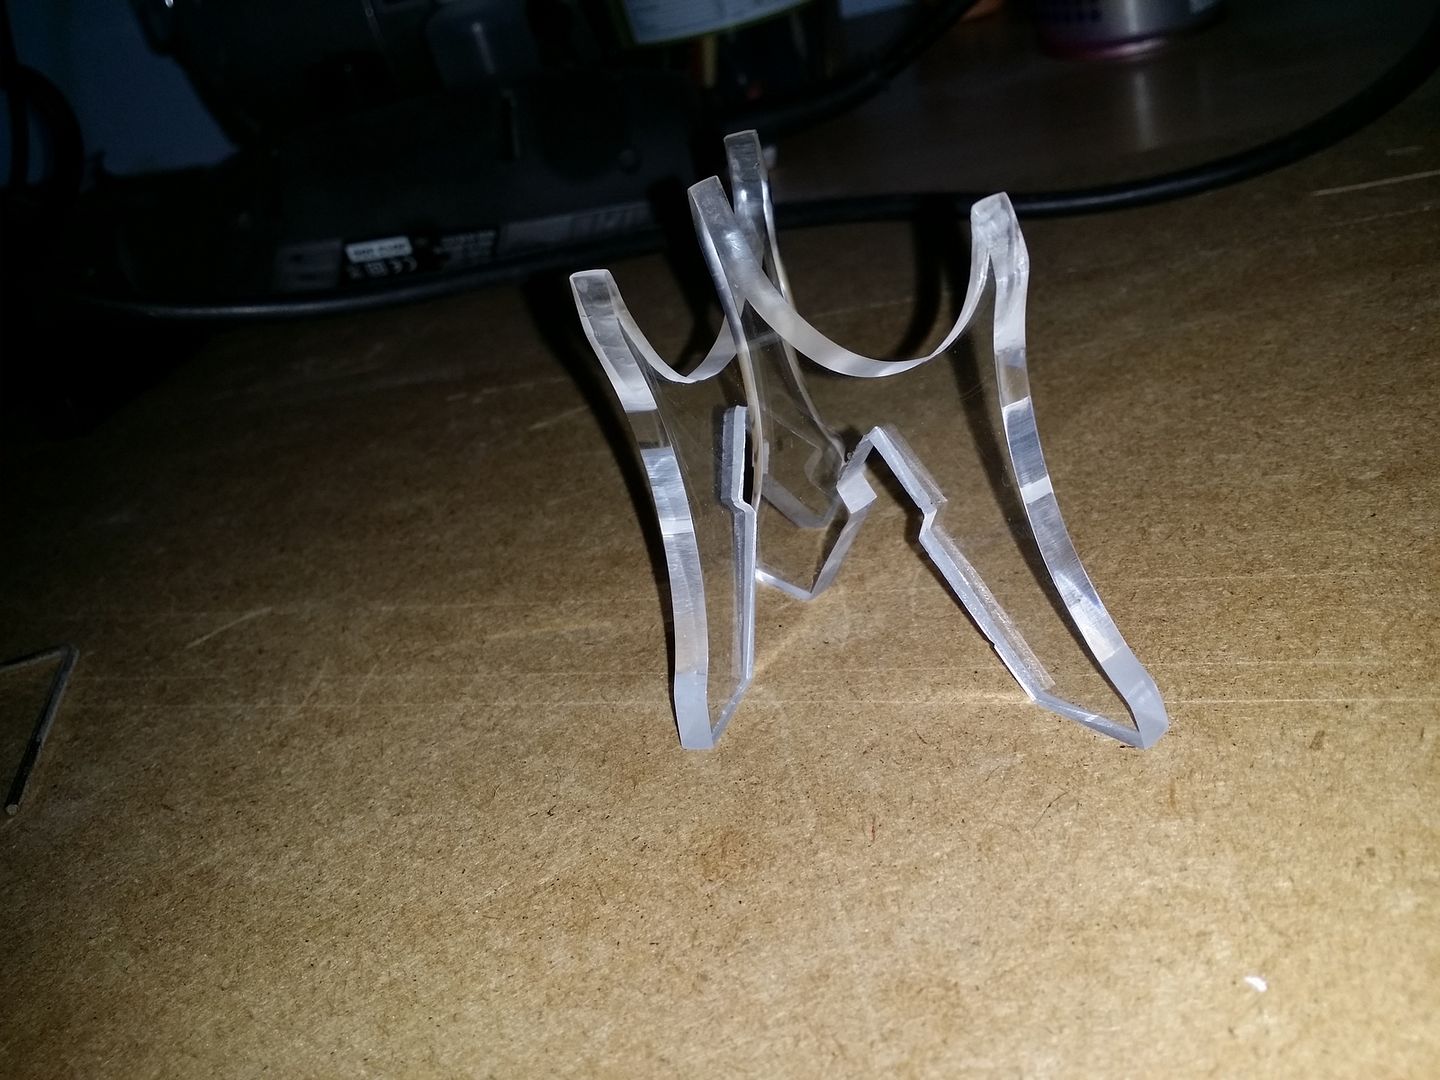
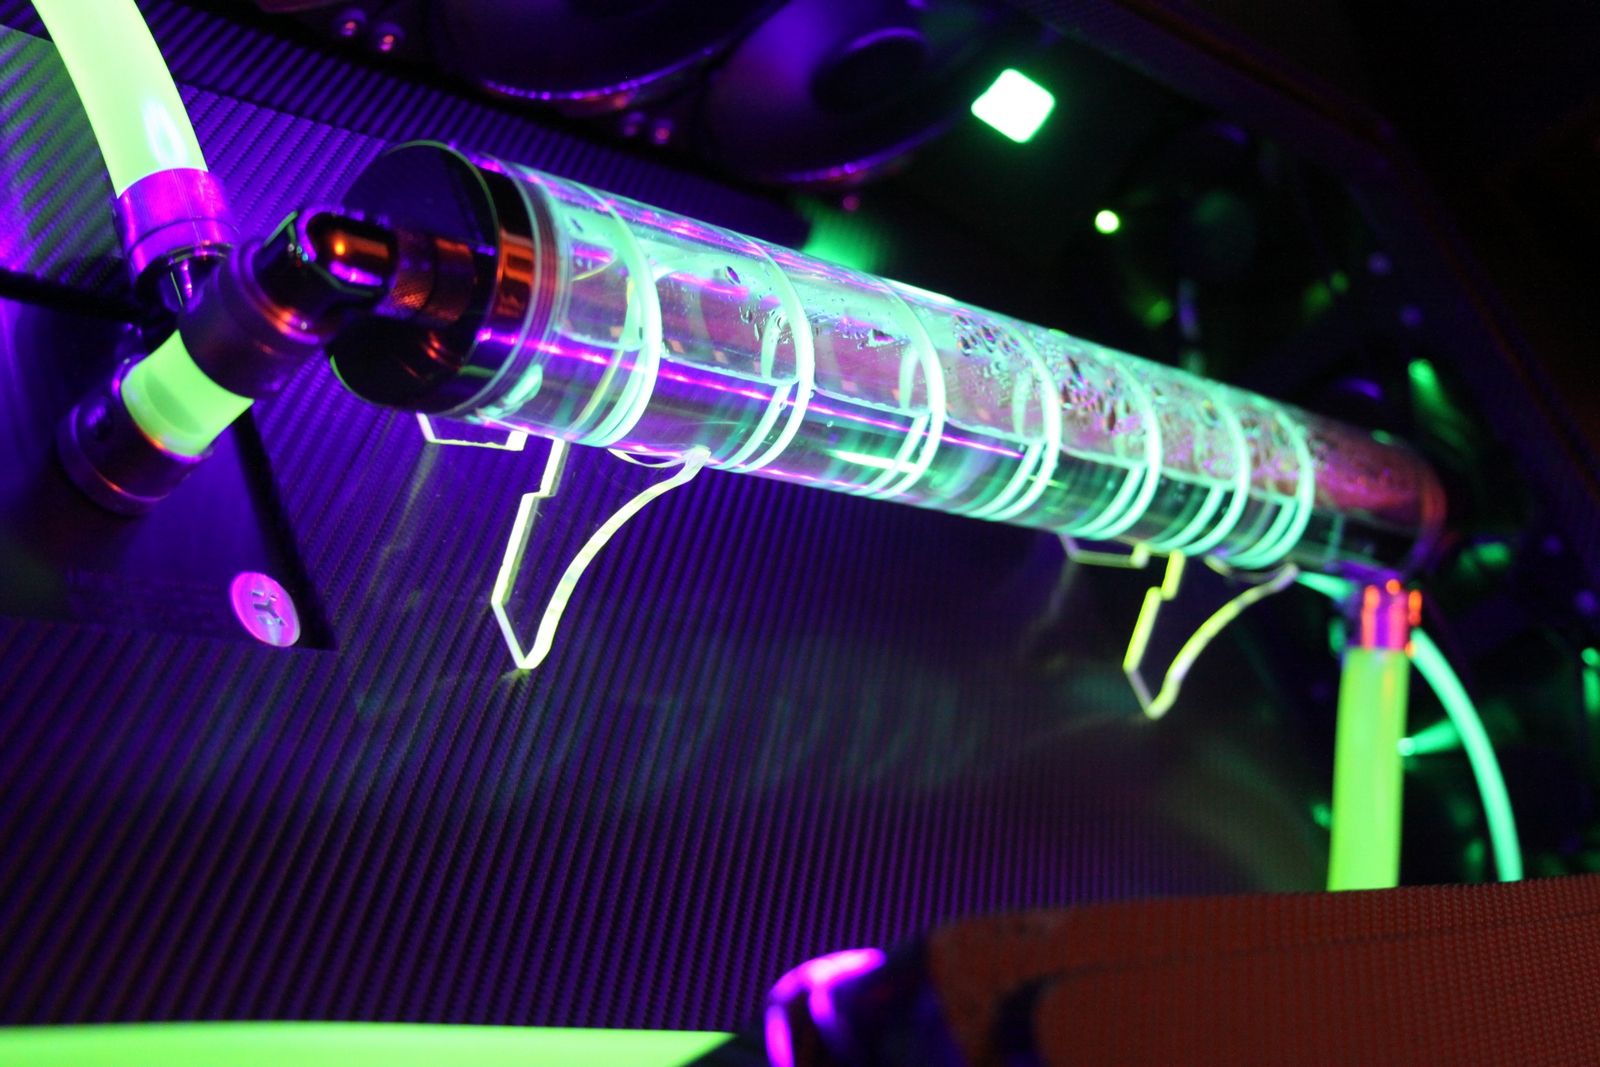
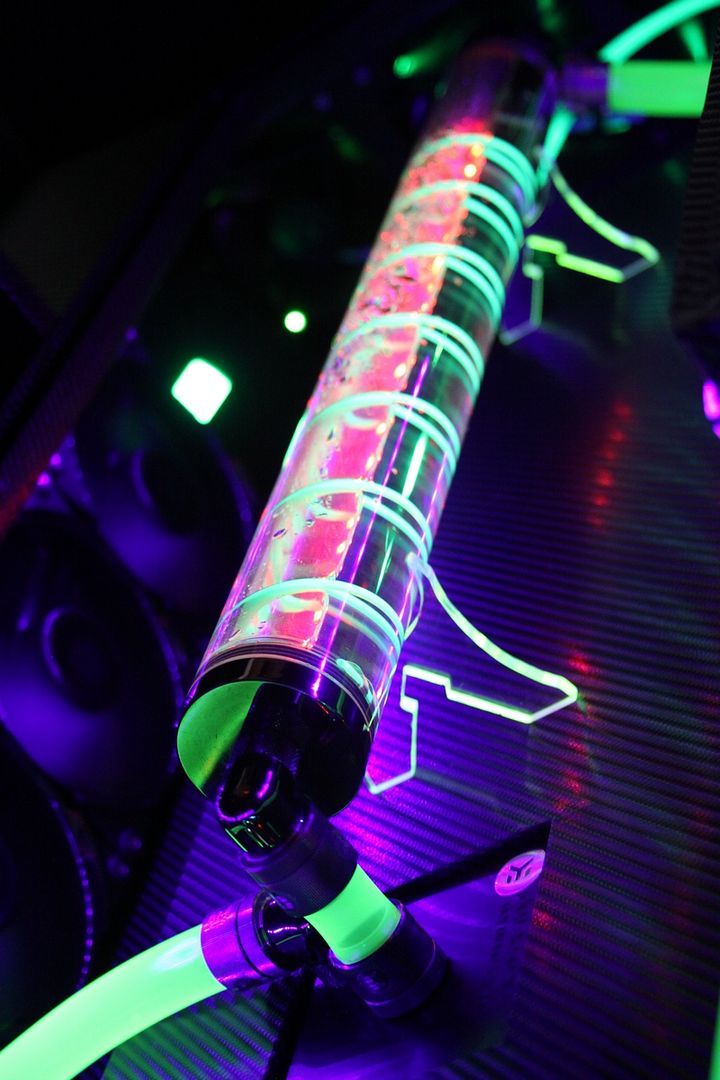
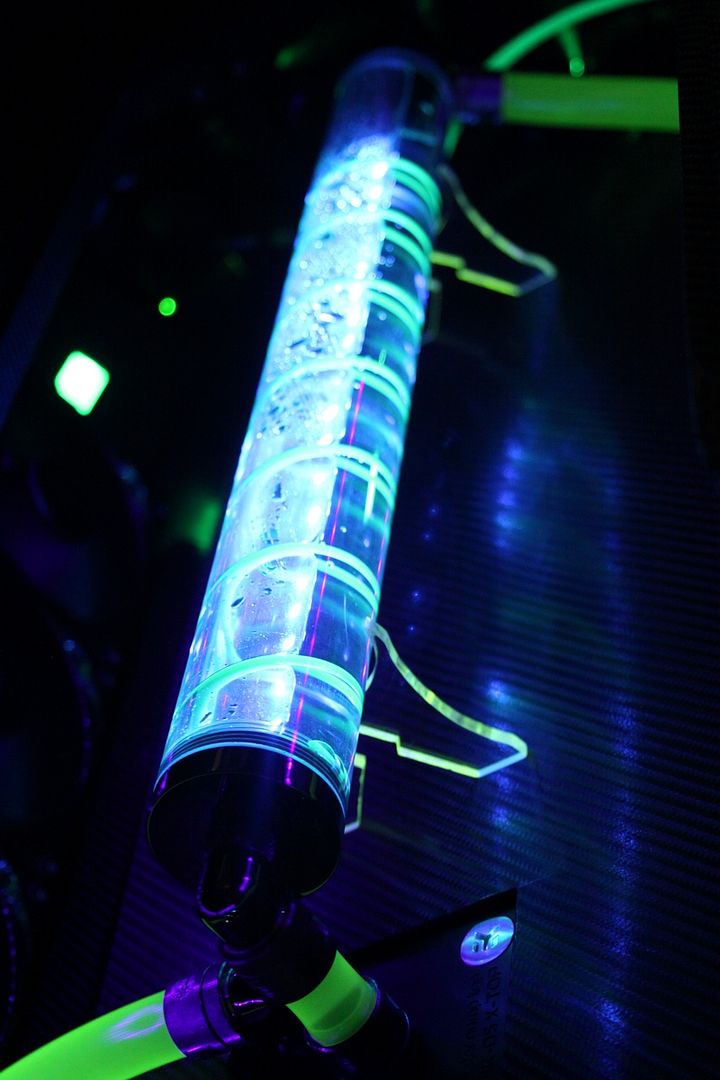
Finished my clear perspex RES holders, the inside groves are UV coated so they give of a green glow under the UV lighting, if the UV lighting is of they change to what ever color the RES is set to.

aad20140405_004545_zps2fc5f410.jpg


aad20140408_103409_zps0db889d9.jpg


aad20140408_173022_zps6e0b7c6d.jpg


aad20140408_172907_zps0a91f0a6.jpg


With camera flash on
aad20140408_172936_zps625ed459.jpg


aadIMG_3176_zps0d2518eb.jpg


aadIMG_3186_zpscfb4166c.jpg


aadIMG_3187_zps2e7d628b.jpg


Having another operation soon :( So im hoping to have this build done and dusted before the end of next week (fingers crossed)
 
That is an awsome build , i didnt think it would work but now it really does look good. does having all that extra pipe work not mean the the cooling is hindered ?
 
You are one talented individual!
Thanks Jim
That is an awsome build , i didnt think it would work but now it really does look good. does having all that extra pipe work not mean the the cooling is hindered ?
thanks Leigh, no the cooling is working great, no problems with heat at all
made me want to push the CPU and GPU even more than i was doing :D
i was not to sure how well the D5 would pump the water around but its doing well & i have the pump set to 4/5 speed.
temps are a couple of pages back

That is schweet bud.

How do you fill and empty your loop?
Im finding this the hardest part in my desk setup.

To fill i use the RES, top right side has a hole i made sure would be available for filling,
as for draining i have done it once so far by removing the tube that's under the top right hole on the RES, then place the tube in a container as the tube is about 70cm long its not a problem,
then i lift the right side of the RES a little and push the water out using my big gob :D
or you could suck from the tube
 
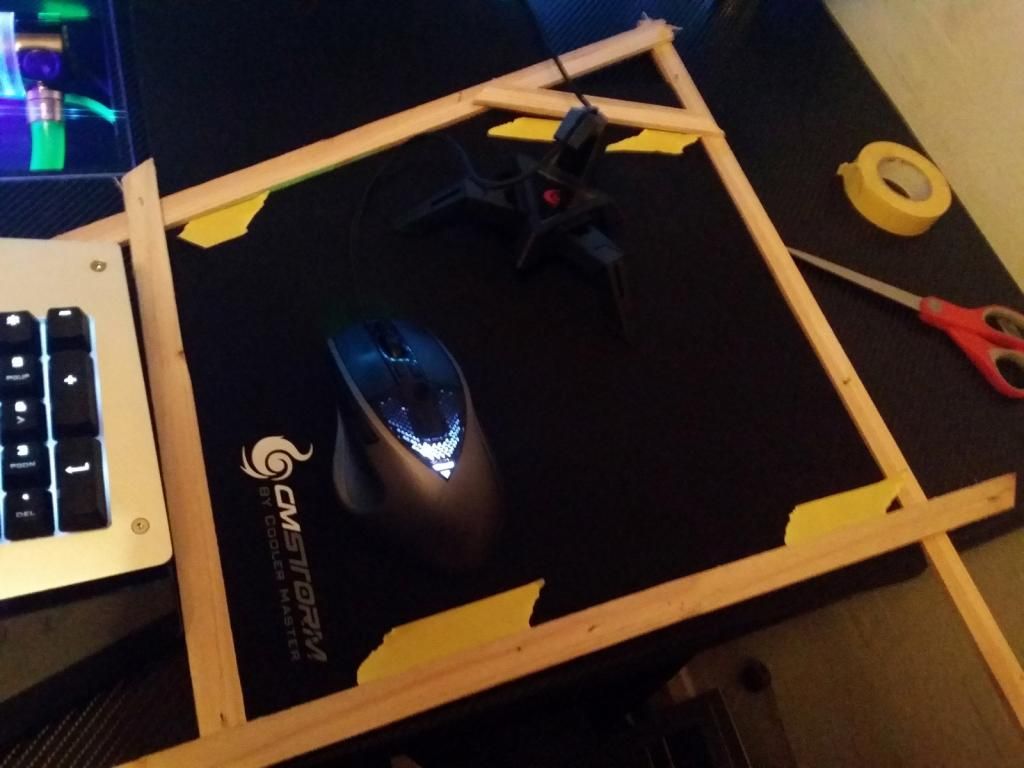
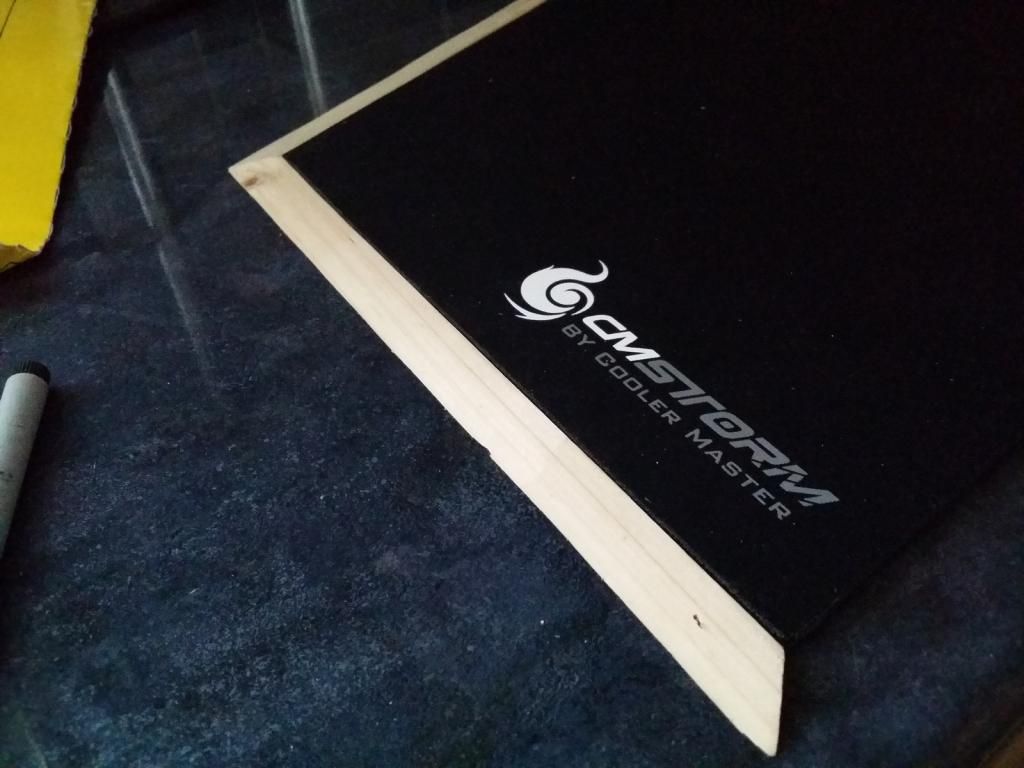
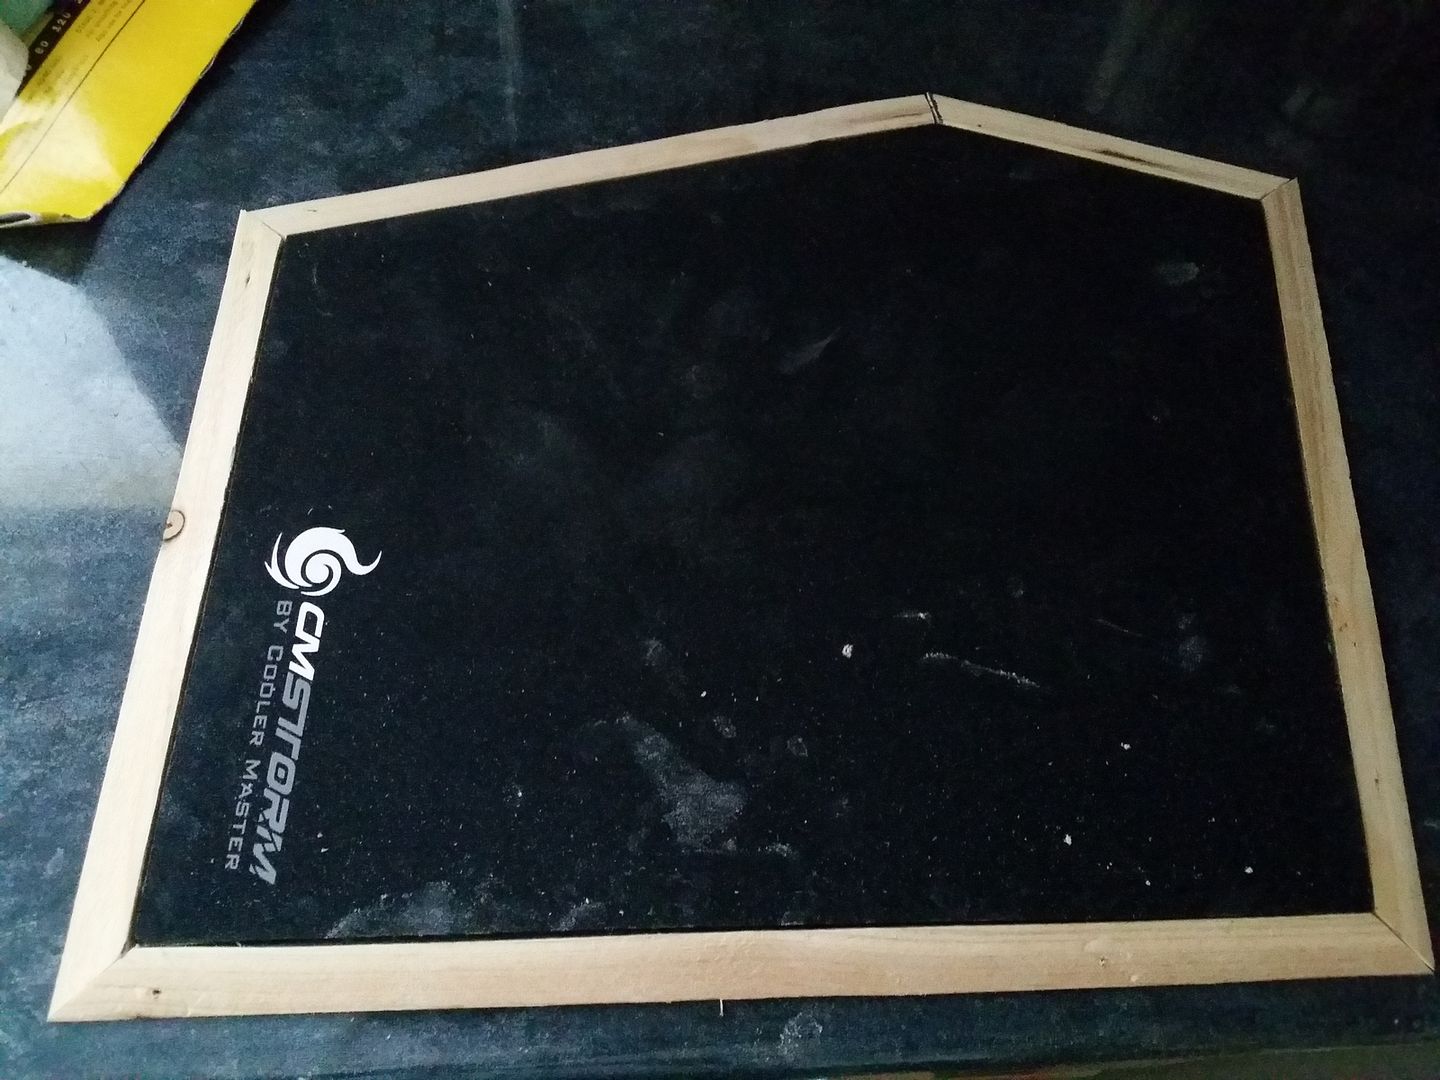
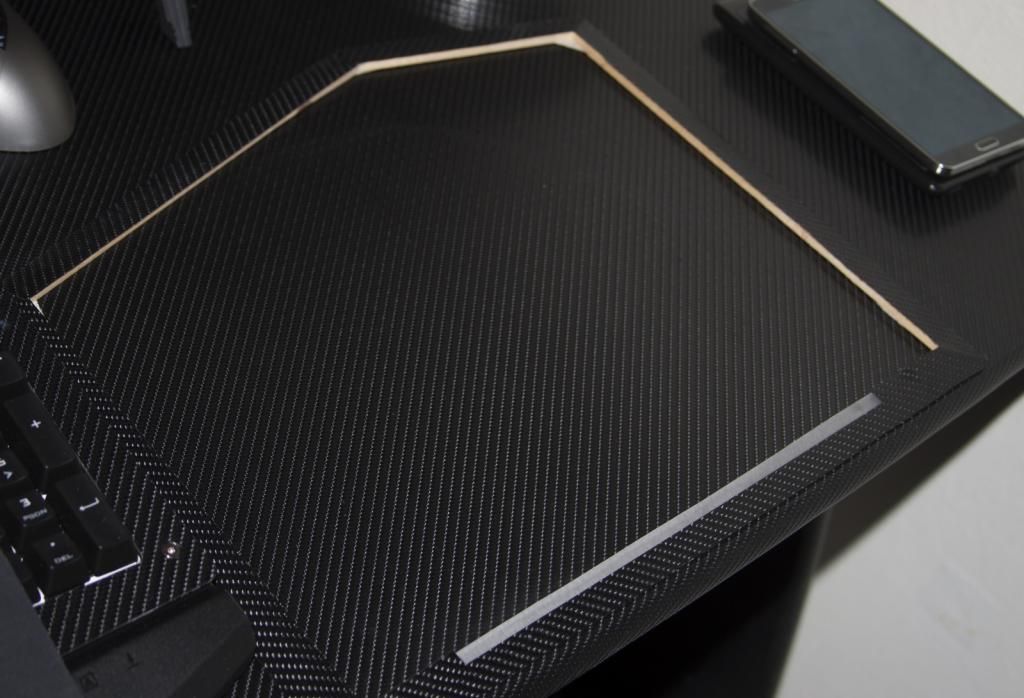
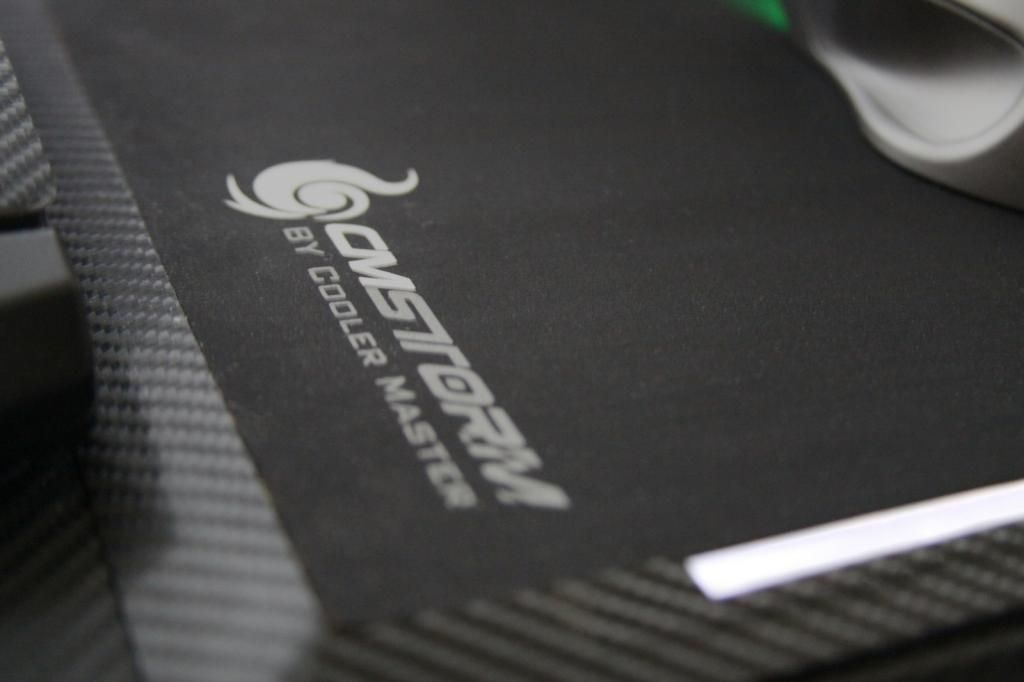
Finished my mouse mat, made from wood & perspex, wrapped in carbon to match the desk
also fitted a white LED to match up with my headset,mouse and keyboard

aad20140405_223147_zps79db56eb.jpg


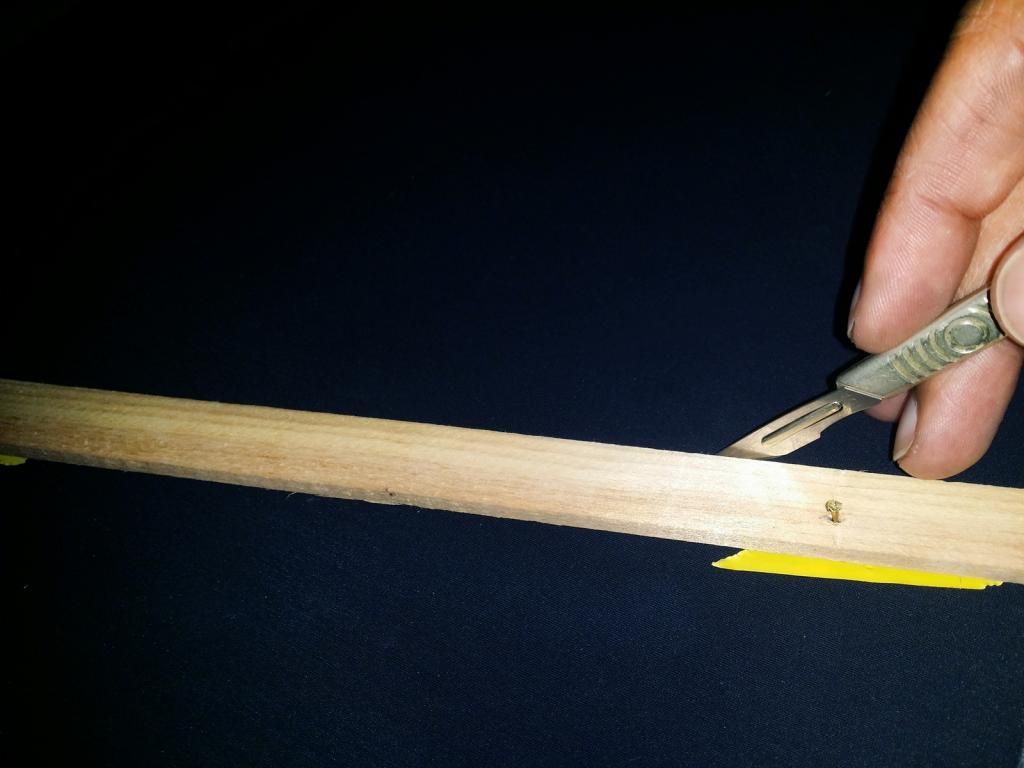
Made a big hole in my leg when i dropped this scalpel, had to tape my leg together with some sellotape lol

aad20140405_223725_zps85b80fbf.jpg


aad20140408_134750_zps042d0408.jpg


aad20140408_143639_zpsdd14534c.jpg


aadIMG_3172_zpsb6b557f0.jpg


aadIMG_3214_zpsa9fd8fc5.jpg
 
Last edited:
Back
Top Bottom