Associate
- Joined
- 11 Sep 2014
- Posts
- 212
- Location
- Suffolk, England
THIS BUILD LOG GOT SHARED ON THE OCUK FACEBOOK PAGE ON 19/02/2015!!
I'm currently looking for sponsors for this build! Any help will be appreciated & offers are welcome at any point
As the title sugests, this is a build log on my latest project, Molten Gold. It's set in an Enthoo Primo Gold Edition & is going to be a long term project, in no hurry to complete so no end date has been set. It'll receive updates in the long run, both small and large, all posted here for you to see.
My plan for this project is simple, make the most elegant, beautiful computer I possibly can! To do that, everything will eventually be water cooled, all cables will be custom made by myself and plenty of modifications will be made along the way. I will have 2 loops, one for cpu and gpu & the other for ram and mobo. Loop one will have clear or golden coolant and loop two will have purple coolant, with both reservoirs mounted side-by-side on the motherboard tray. I plan on extending the side window to the full length of the case and replacing the acrylic with glass and the side panel will be hinged, turning it into a door.
If possible, I'd also like to create and install a removable panel behind the motherboard tray to hide the cables even though they'll be tidy.
- Current PC Hardware -
Phanteks Enthoo Primo (Gold Edition)
Asus Sabertooth Intel X79
Intel i7 4820k
Gigabyte GeForce GTX770 Windforce
Corsair Vengeance 8 GB (2x 4GB)
- Current Watercooling Hardware -
1x EK D5 Pump
1x EK 480 Rad XTX
1x Aqua Computer Aqualis 150 Reservoir
1x Aqua Computer Cuplex Kryos Pro
8x Monsoon Free Center 13/10 Compression Fittings (Gold)
2x 90° 13/10 Rotary Fittings (Gold)
1x 45° 13/10 Rotary Fitting (Gold)
1x Aqua Computer Ball Valve
Primochill Primoflex Advanced Tubing 13/10 - Clear
- Planned PC Hardware -
Asus x99 Mobo (unsure which one yet)
2x GeForce GTX 980 - Reference Design (or better)
Completely custom length cables (black, gold and purple)
8GB (minimum) of DDR4 Corsair or Kingston RAM
2x Samsung 500GB EVO SSD's
- Planned Watercooling Hardware -
2x 480 Rad by EK (top & bottom of case)
8x Corsair SP120's for the rads (pushing)
8x Corsair AF140's for the rads (pulling)
2x EK D5 Pumps
2x Bitspower Pump Tops (Gold editions of course)
2x EK-RES X3 250 Reservoirs
Clear Primochill Primoflex tubing at first, then clear Bitspower Crystal Link later on
PrimoChill Revolver Compression Fittings - (Purple)
Below is a series of images showing how the build started off. As you can see, it was very empty and very stock.
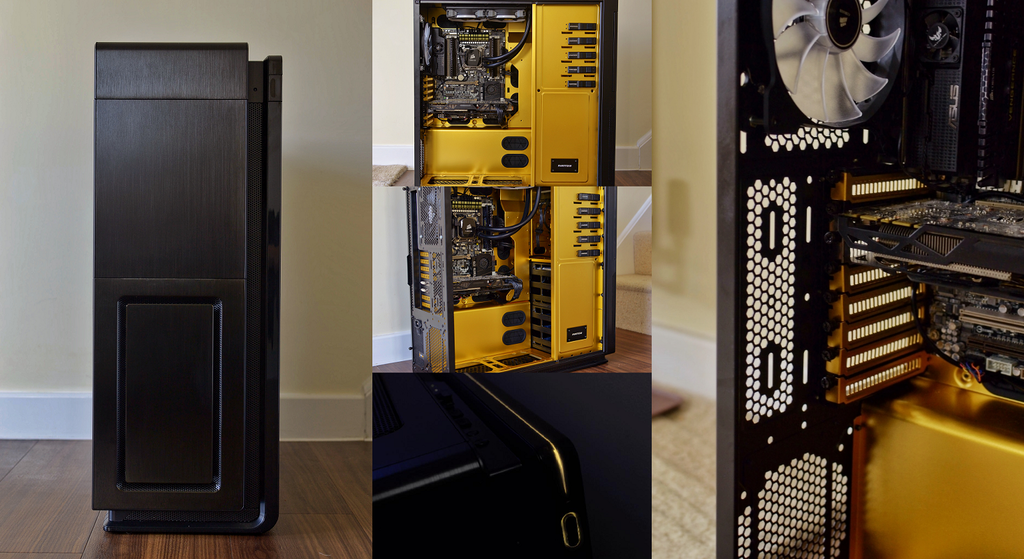
(project inspired by Project Primo Midas and Murderbox MKII)
I'm currently looking for sponsors for this build! Any help will be appreciated & offers are welcome at any point

As the title sugests, this is a build log on my latest project, Molten Gold. It's set in an Enthoo Primo Gold Edition & is going to be a long term project, in no hurry to complete so no end date has been set. It'll receive updates in the long run, both small and large, all posted here for you to see.
My plan for this project is simple, make the most elegant, beautiful computer I possibly can! To do that, everything will eventually be water cooled, all cables will be custom made by myself and plenty of modifications will be made along the way. I will have 2 loops, one for cpu and gpu & the other for ram and mobo. Loop one will have clear or golden coolant and loop two will have purple coolant, with both reservoirs mounted side-by-side on the motherboard tray. I plan on extending the side window to the full length of the case and replacing the acrylic with glass and the side panel will be hinged, turning it into a door.
If possible, I'd also like to create and install a removable panel behind the motherboard tray to hide the cables even though they'll be tidy.
- Current PC Hardware -
Phanteks Enthoo Primo (Gold Edition)
Asus Sabertooth Intel X79
Intel i7 4820k
Gigabyte GeForce GTX770 Windforce
Corsair Vengeance 8 GB (2x 4GB)
- Current Watercooling Hardware -
1x EK D5 Pump
1x EK 480 Rad XTX
1x Aqua Computer Aqualis 150 Reservoir
1x Aqua Computer Cuplex Kryos Pro
8x Monsoon Free Center 13/10 Compression Fittings (Gold)
2x 90° 13/10 Rotary Fittings (Gold)
1x 45° 13/10 Rotary Fitting (Gold)
1x Aqua Computer Ball Valve
Primochill Primoflex Advanced Tubing 13/10 - Clear
- Planned PC Hardware -
Asus x99 Mobo (unsure which one yet)
2x GeForce GTX 980 - Reference Design (or better)
Completely custom length cables (black, gold and purple)
8GB (minimum) of DDR4 Corsair or Kingston RAM
2x Samsung 500GB EVO SSD's
- Planned Watercooling Hardware -
2x 480 Rad by EK (top & bottom of case)
8x Corsair SP120's for the rads (pushing)
8x Corsair AF140's for the rads (pulling)
2x EK D5 Pumps
2x Bitspower Pump Tops (Gold editions of course)
2x EK-RES X3 250 Reservoirs
Clear Primochill Primoflex tubing at first, then clear Bitspower Crystal Link later on
PrimoChill Revolver Compression Fittings - (Purple)
Below is a series of images showing how the build started off. As you can see, it was very empty and very stock.

(project inspired by Project Primo Midas and Murderbox MKII)
Last edited:


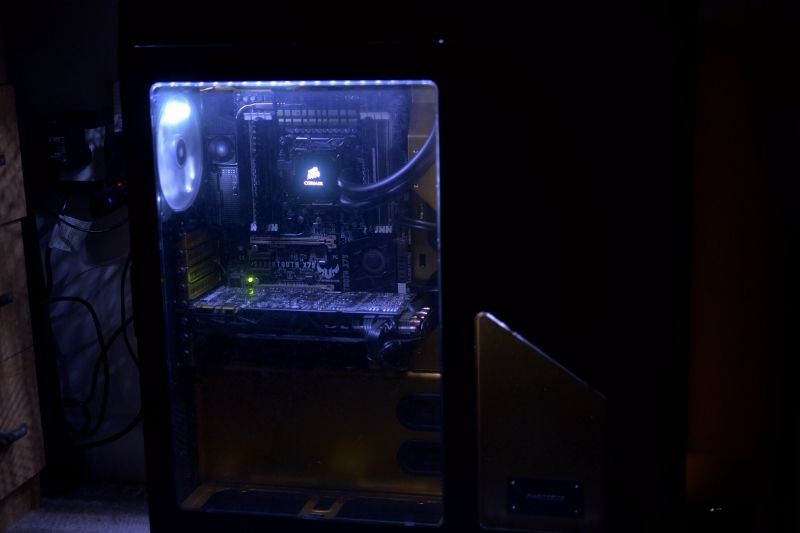
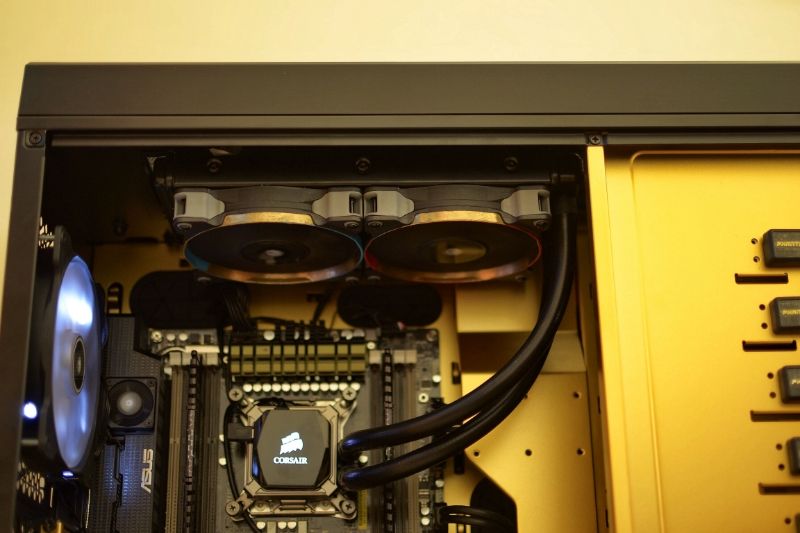
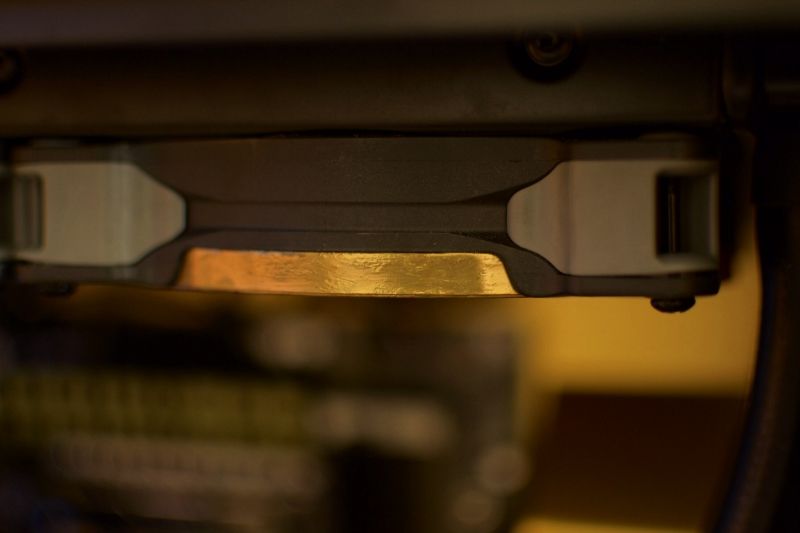

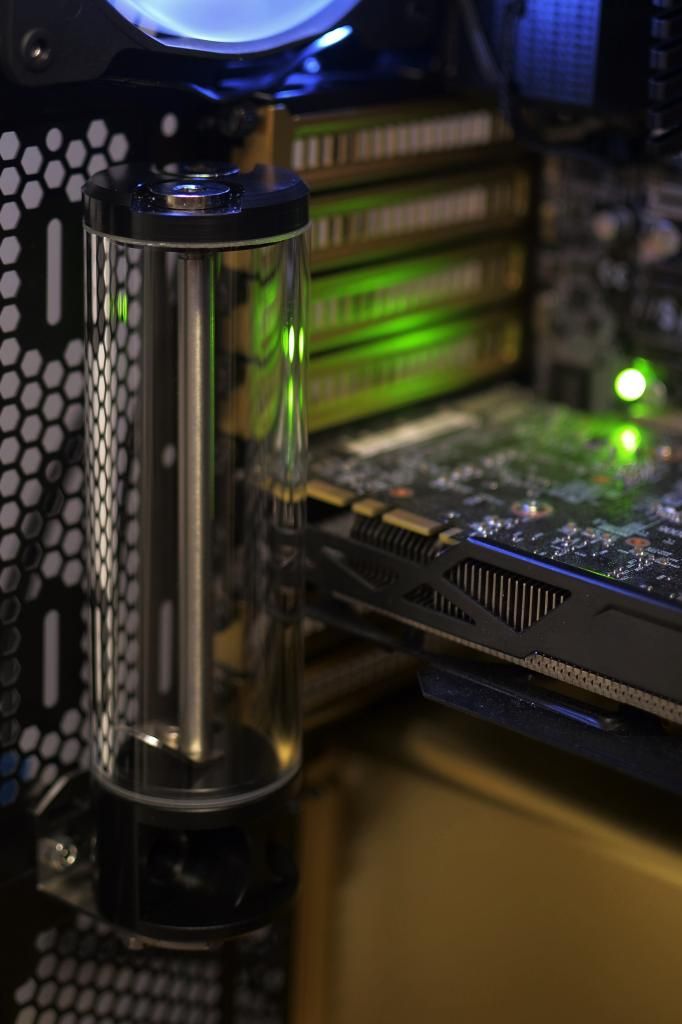
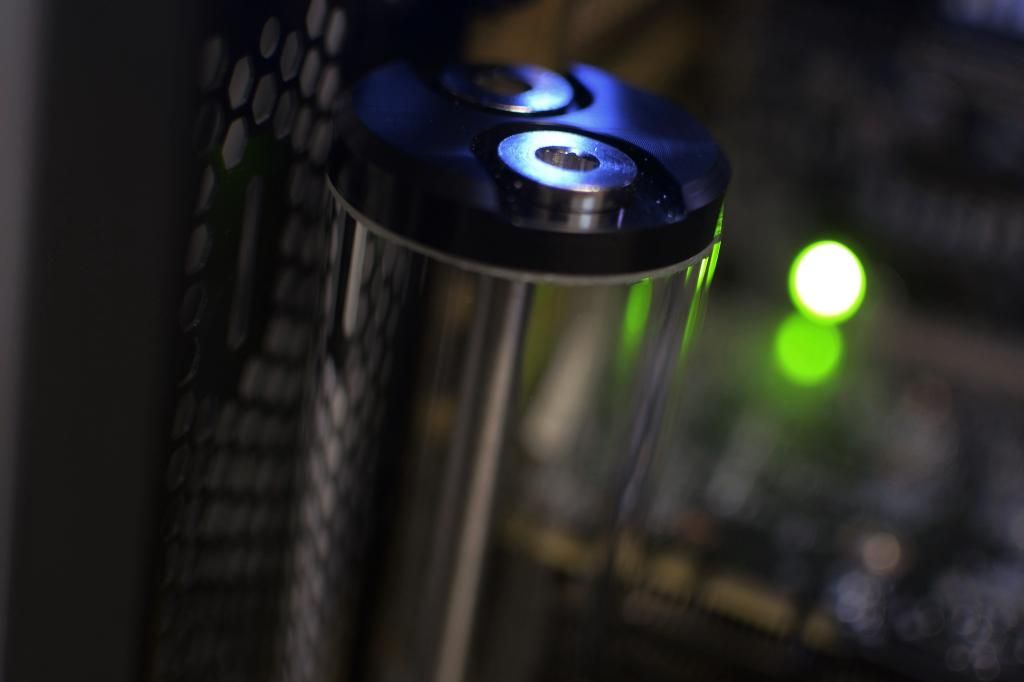
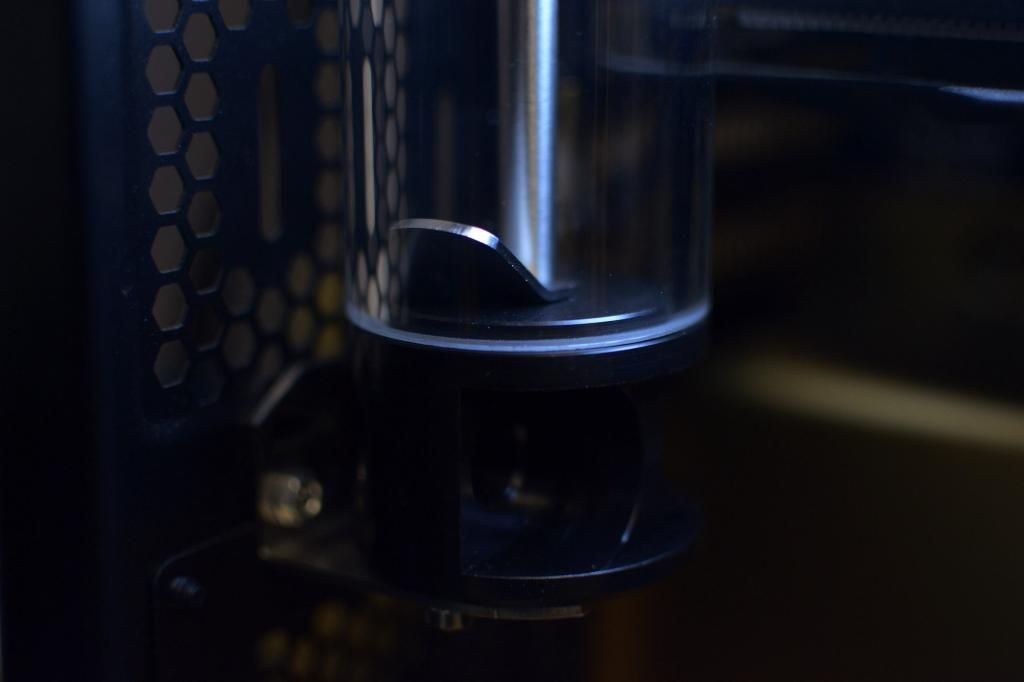
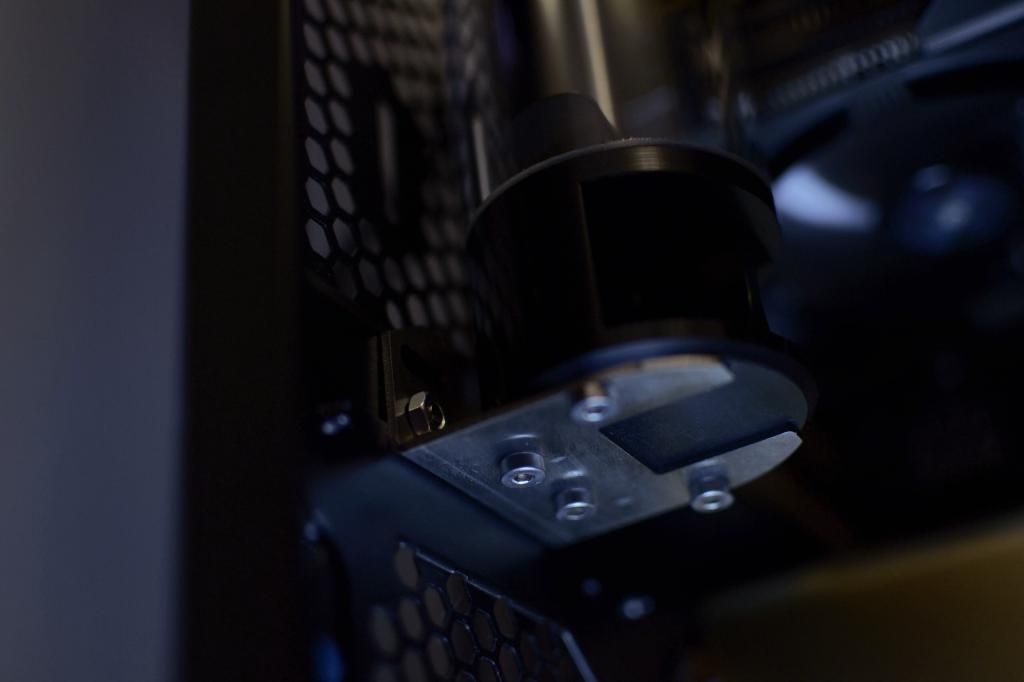
 so a new card will also be needed. This build is getting far too expensive, but don't tell my bank balance that, it's in enough pain as it is aha! Expect some more pictures in February, cables, fans & lighting are what I have planned for that month