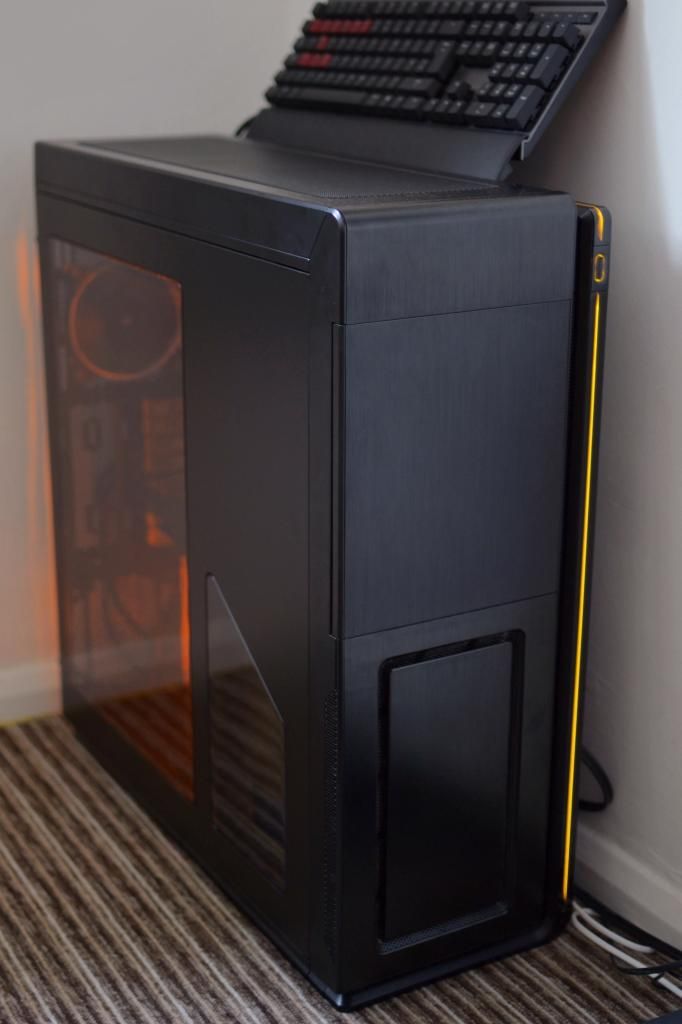
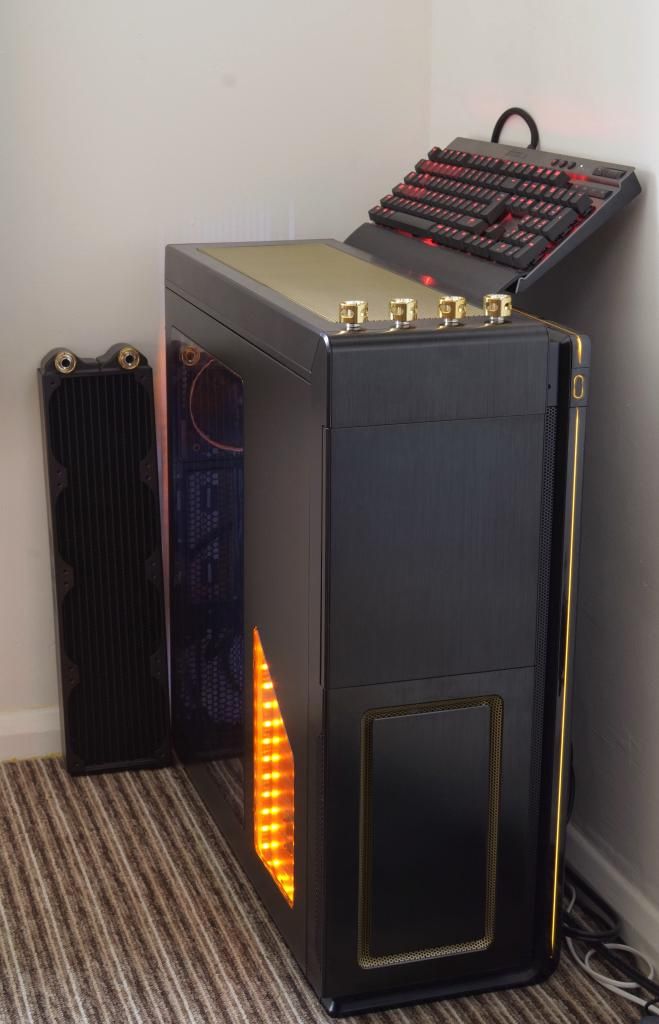
Project: Molten Gold

Got some kind of paint job planned for friday/saturday this week, guys! Might try something new if I'm feeling brave enough, we shall see. Might be buying some custom cables & some fans & lights tonight if I can settle on which ones I'll be buying. Will have a picture soon too of my future acrylic tubing route. All good things coming soon!
 
It was a very painful decision to make, but I just spent (including shipping costs) £120 on lights, cables, cable combs & fans. I really didn't want to do it but I couldn't resist! I might have to trickle the pictures onto this thread, spread the updates out until I can afford anything else. The first batch of pictures will be up this weekend!
 
Did you need to drill those mounting holes for the tube res, or where they already there?

They're already there. There's two mounting points for tube res', one at the rear of the case & one just infront of the gpu on a special mounting plate which can be removed if unused.

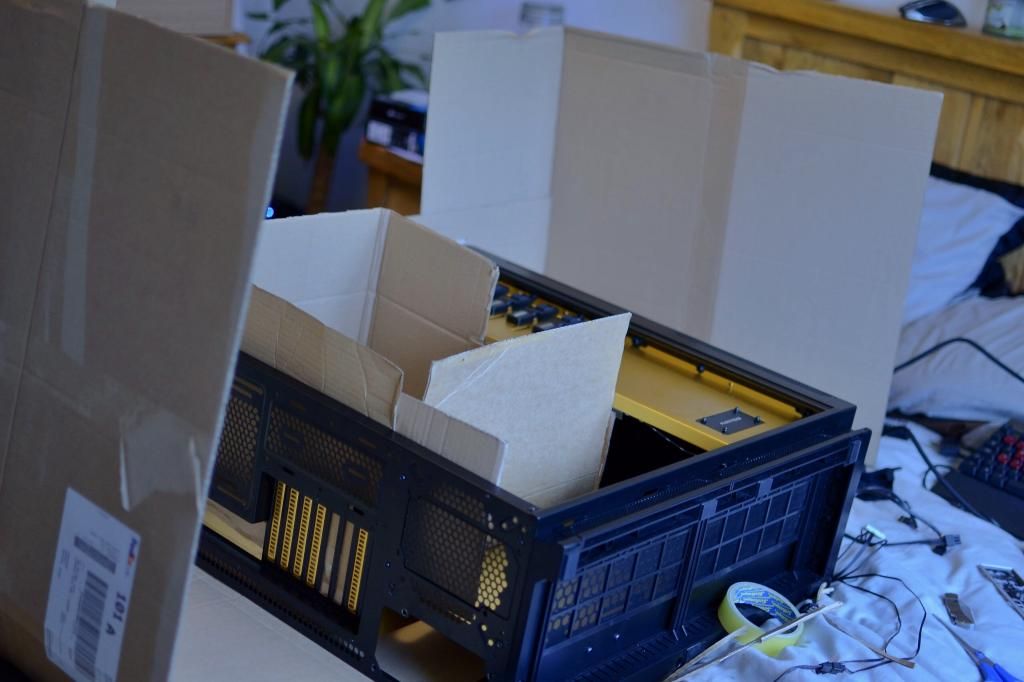
I've brought some big boxes home from work so I can spray the case inside them whilst indoors as we don't have a shed or garage to shelter from the wind. So I'll make a cardboard spray booth tonight & spray the case when I'm off work on Friday.
 
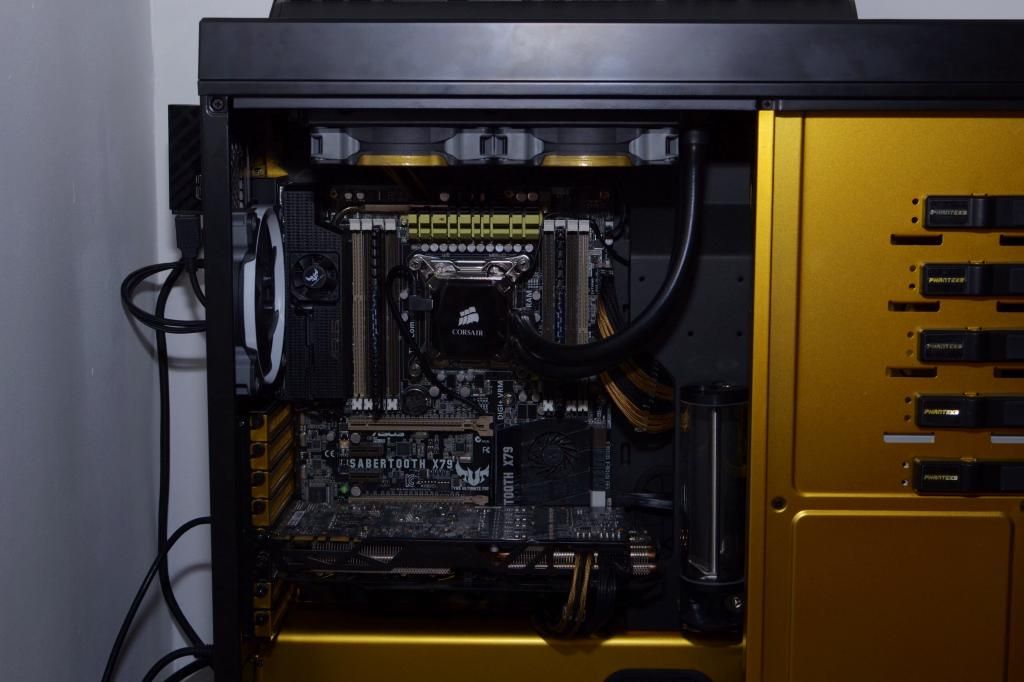
Minor update: New black & gold cables for ATX Power, EPS Power & 6 Pin GPU. 8pin GPU cable isn't in stock so I'm stuck with the ugly stock 6+2 pin for now :(

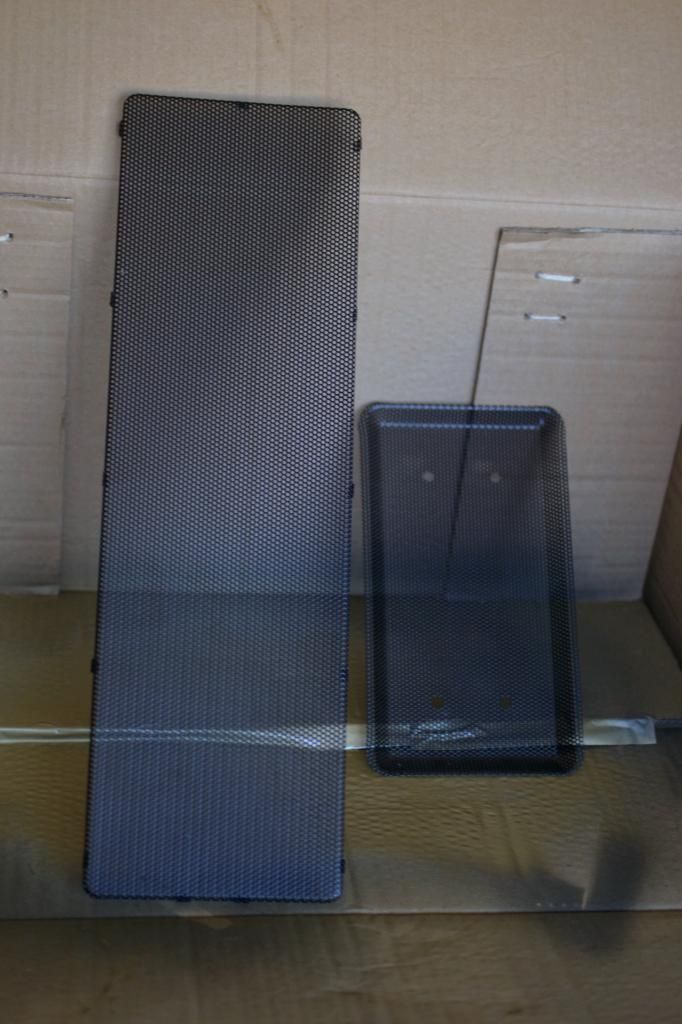
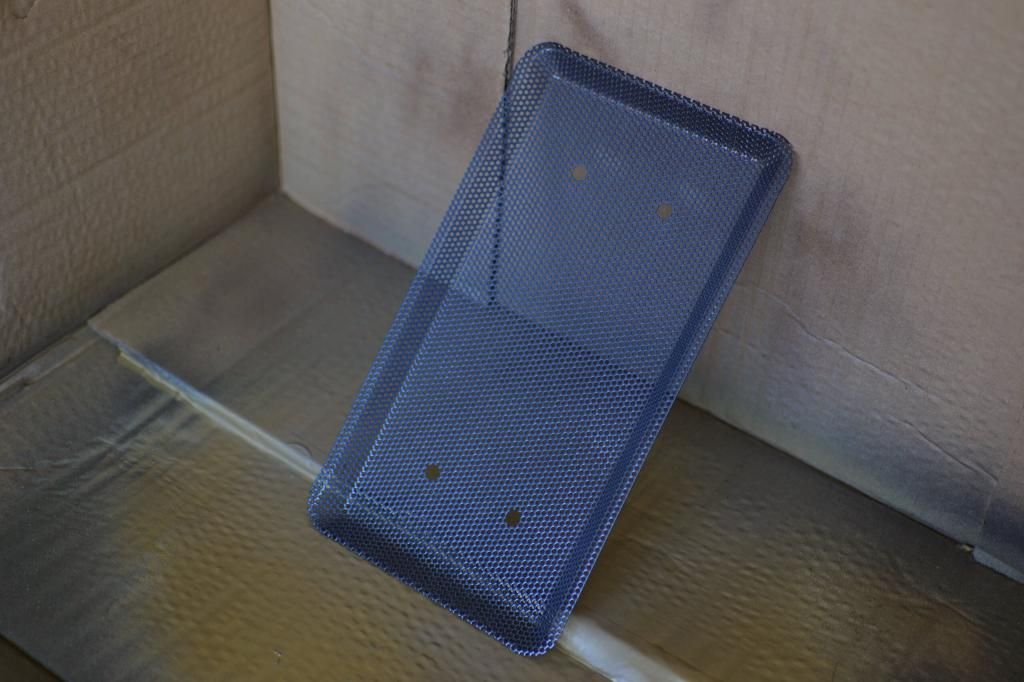
Also sprayed the res bracket black. More to come soon, so hold tight! In the mean time, this is how it currently looks...
image.jpg1_zpskf7gll0t.jpg
 
Well, I guess I've kept everyone waiting long enough. Here's another small update to how things are looking. Last friday I took home from work some large boxes to make an indoor spray booth for the case. This is how it turned out...
image.jpg2_zpskliucofp.jpg


Masking off the case & using cardboard to block off big areas was a pain in the butt! If I had masking tape, I'd definitely have used that. Will next time for sure.
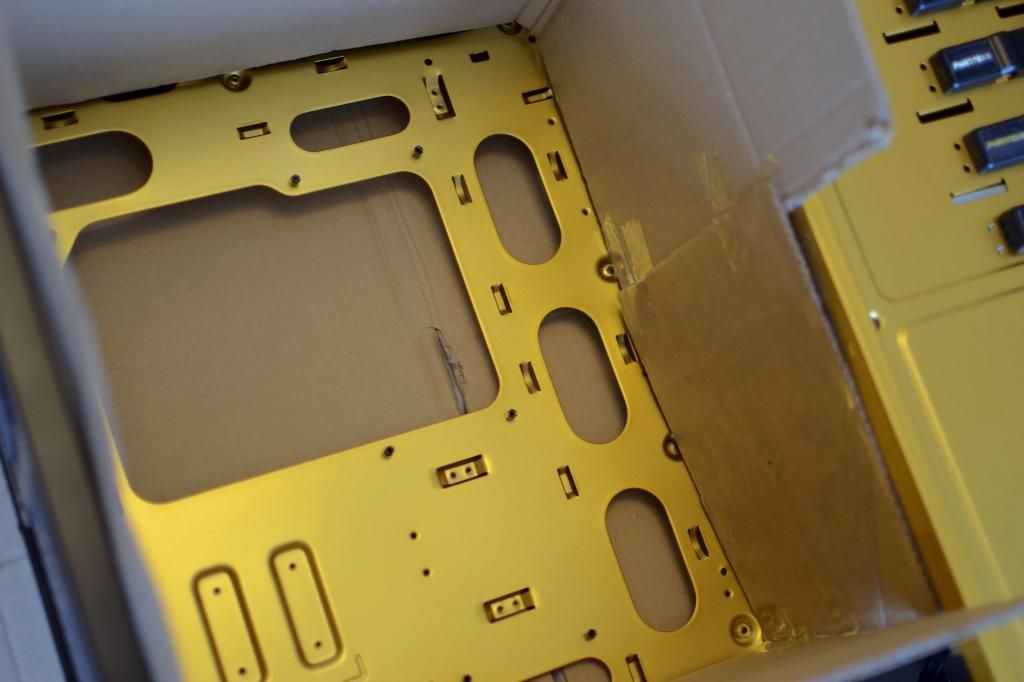
image.jpg3_zpsssfggyf4.jpg


Came out rather well actually. Missed a few spots, but you can't see most of them once the motherboard etc is all in. I'll touch it up down the line but for now, it'll do!
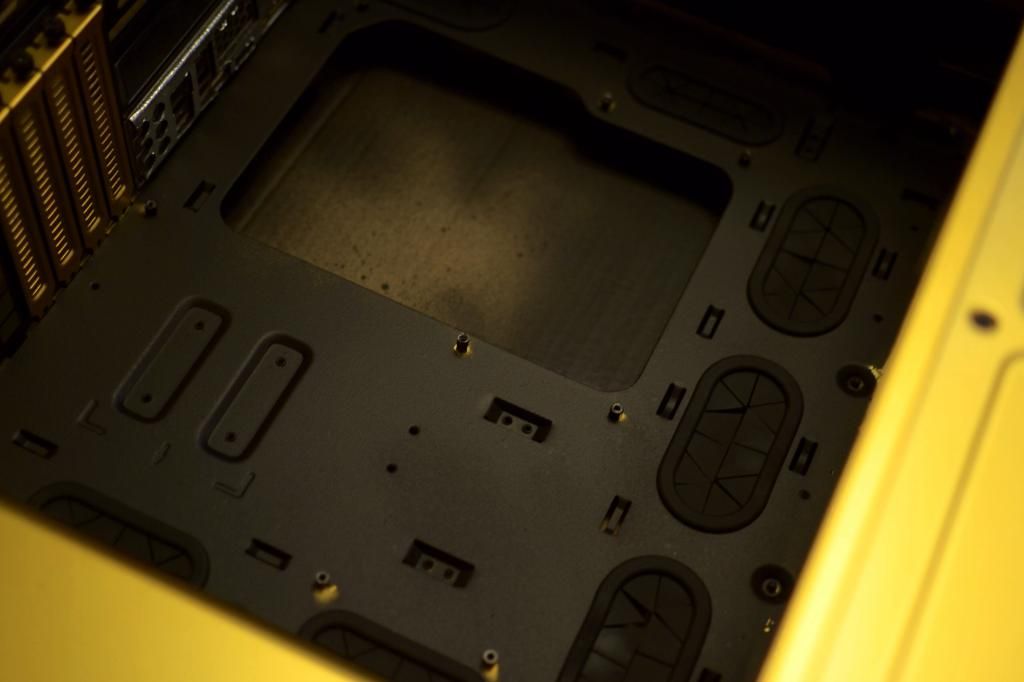
image.jpg4_zpsvhorms3b.jpg


The part I'm least happy with, is the top left corner. Missed a huge chunk out. But you can't really see it in normal conditions unless you're looking for it.
image.jpg8_zpstep73fdi.jpg
 
Yo dude, saw this and I must say - looks bloomin' amazing! Like it so much that I thought I'd share it with our FaceBook!

Oh wow!! Seriously, that's caught me so off guard & I'm honoured to have you share my build log on your Facebook page. Thank you guys (: There's more pictures on the way, the final ones until the parts for the first loop can get purchased.
 
So, I don't think much is going to happen to this build for a little while now, at least not anything major like watercooling. Maybe some smaller things such as custom cables, case modding & paint touch ups, but for now I shall post some final pictures of how the build currently looks. Please note, this is NOT the end of the log & will continue until I announce on the first post it's finished.

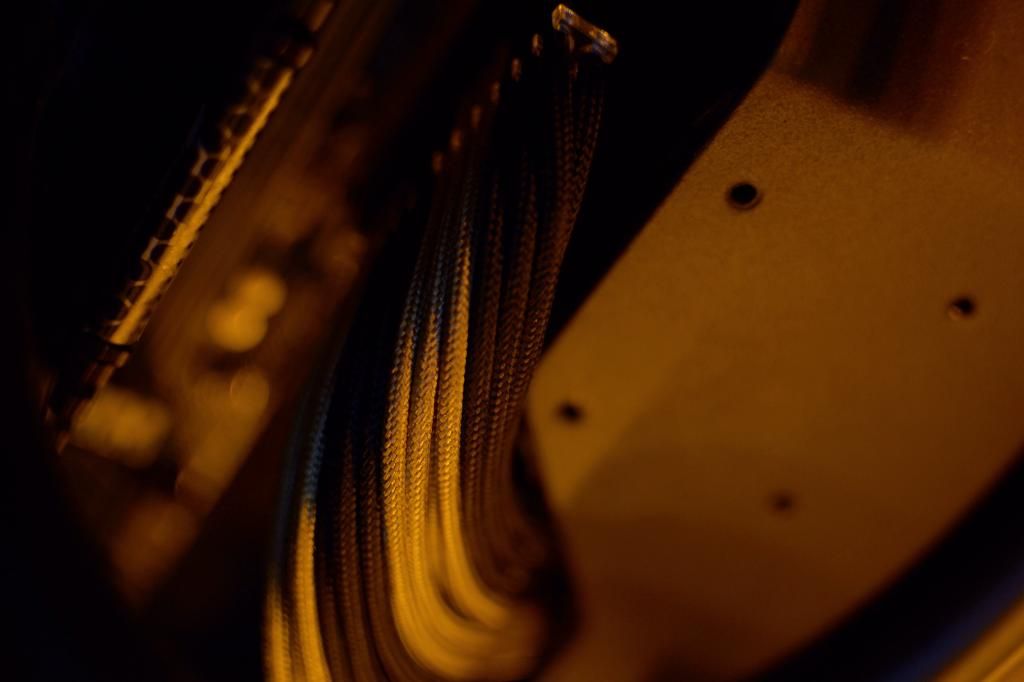
24pin extention, tidied up with clear cable combs. First time using them things & accidently snapped both in multiple places! They still hold things in place, but I'll buy more to make it stronger
image.jpg7_zpsoyicuafy.jpg


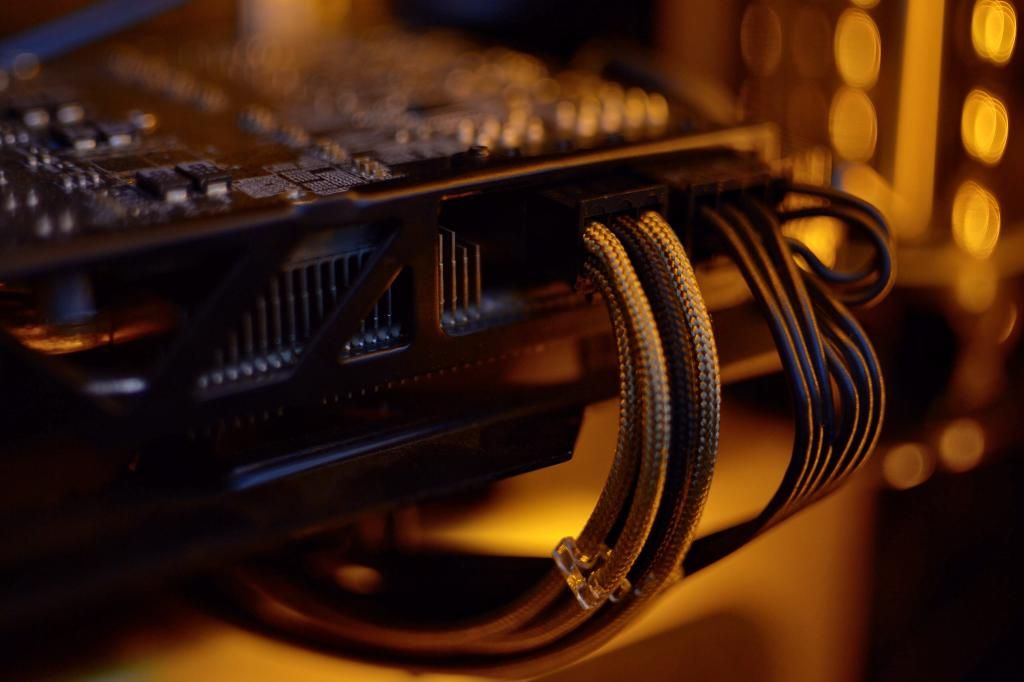
6pin pci-e extention, tidied up with clear cable combs. When I get the 8pin pci-e extention, I plan to cable comb that then use a couple of 14 slot cable combs to bring the two together. Tidiness is a key aspect to this build
image.jpg6_zpsn2hdtytc.jpg


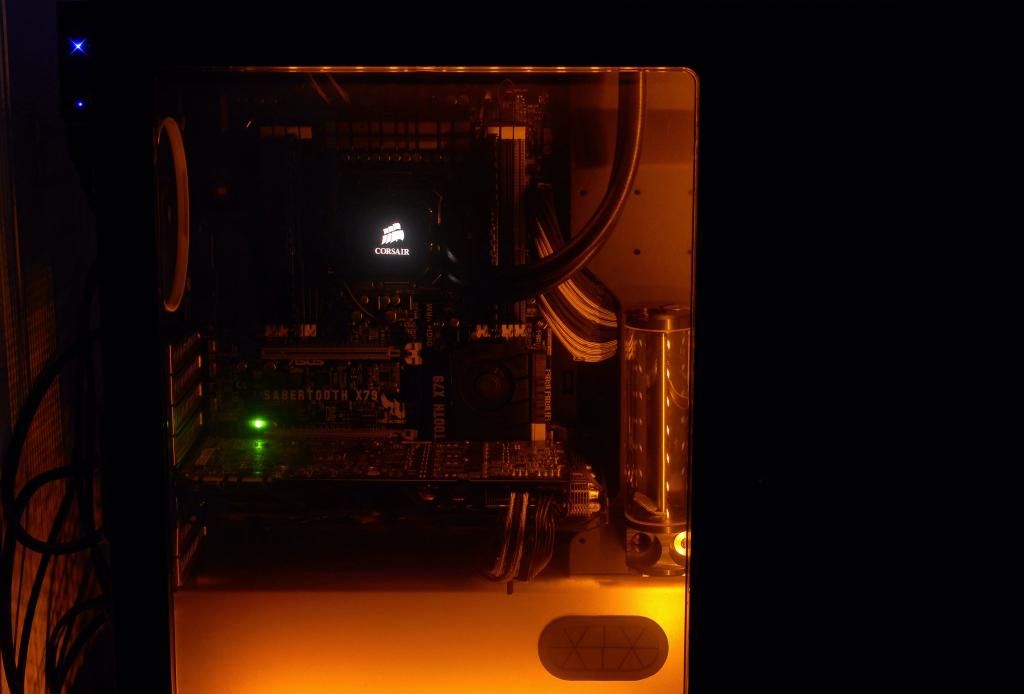
So, I'm not sure about the lighting. Feels a little too orange & needs balancing with white maybe? Orange on the top & bottom & white on the sides? Opinions would be great!
image.jpg1_zpszfrrxuin.jpg


And the final image. Slightly annoying the leds in the case don't match the strip on the front & top, but maybe I'll change them another day, we'll see.
image.jpg5_zpsh66q8qcv.jpg


But for now, that's the last of the major updates. Feedback on how it's looking so far would be great. Anything you don't like or how I could've done it differently? Tips & tricks are also welcome, especially with painting!
 
The motherboard stood out like a sore thumb with gold tray, definitely had to go black with that bit! Might have to get some white bitfenix lights to try out, it's a shame they don't do them in yellow because I reckon they'd be the right colour tbh. Might have to use a mix of white & orange for the main internals then just orange for the smaller window.
As for the cables, I was worried the gold wouldn't be quite gold enough but I think they're nearly perfect. They've got a slight shimmer to them, not quite glossy but not quite metallic, somewhere in between. Worth checking out I think (:
 
So you don't want my led strip then ?

Nah, sorry man. I'm kinda ocd about my computer & like to have one brand for each thing such as fans, lights etc. For ease of use & continuity reasons too.

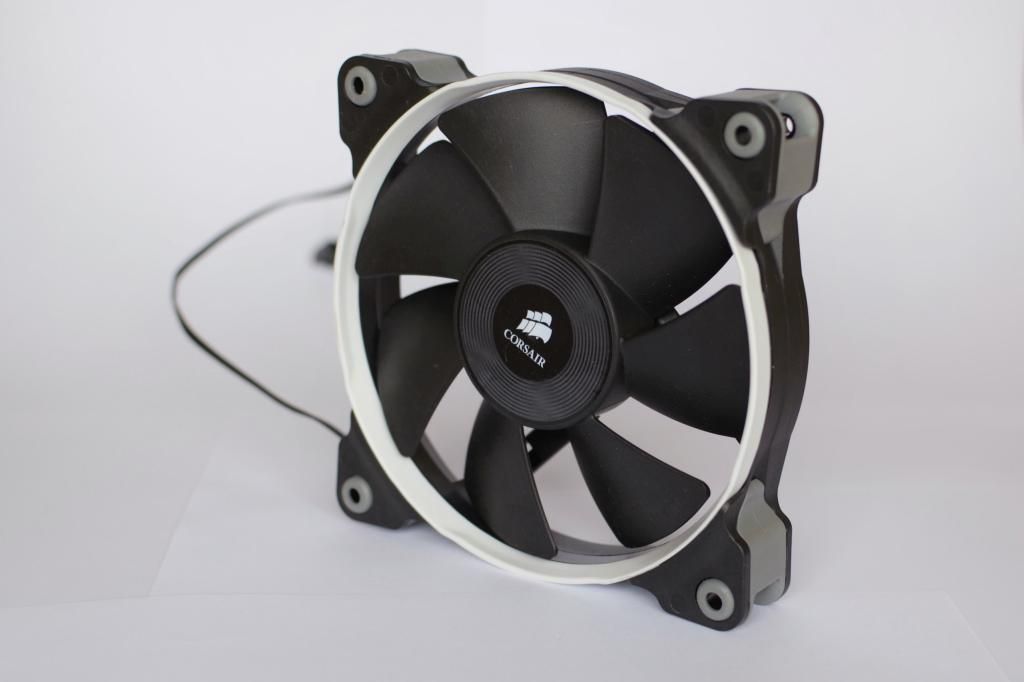
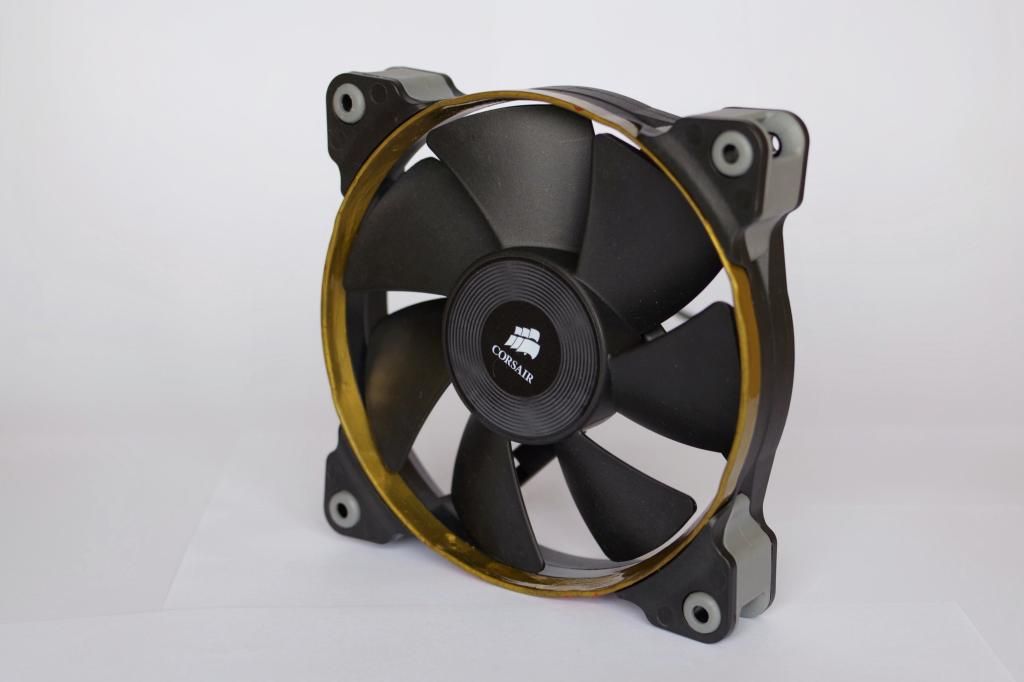
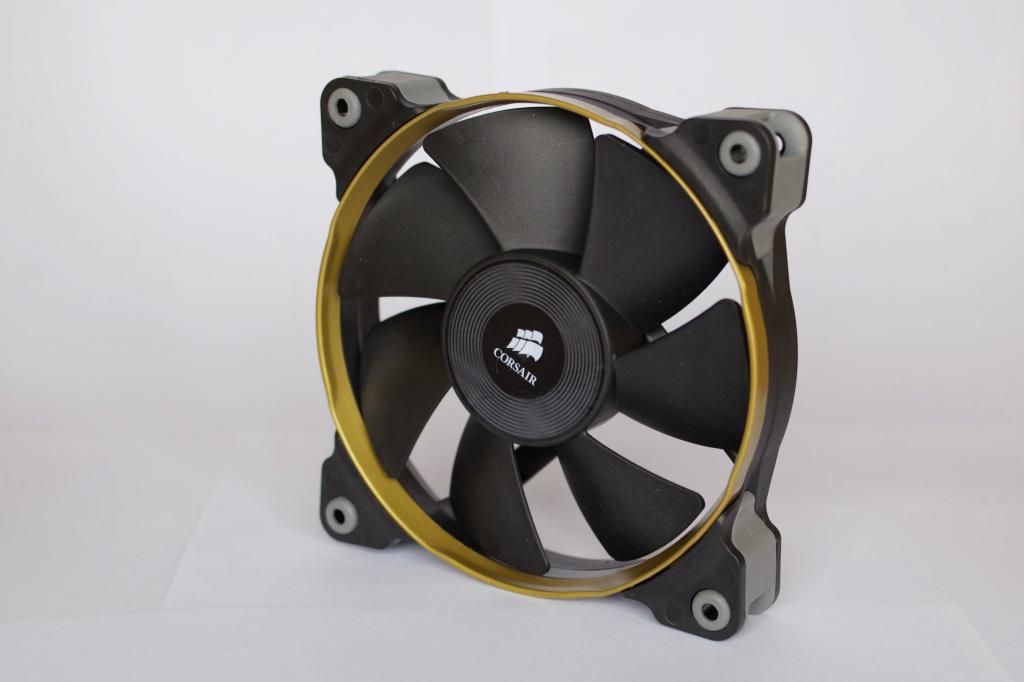
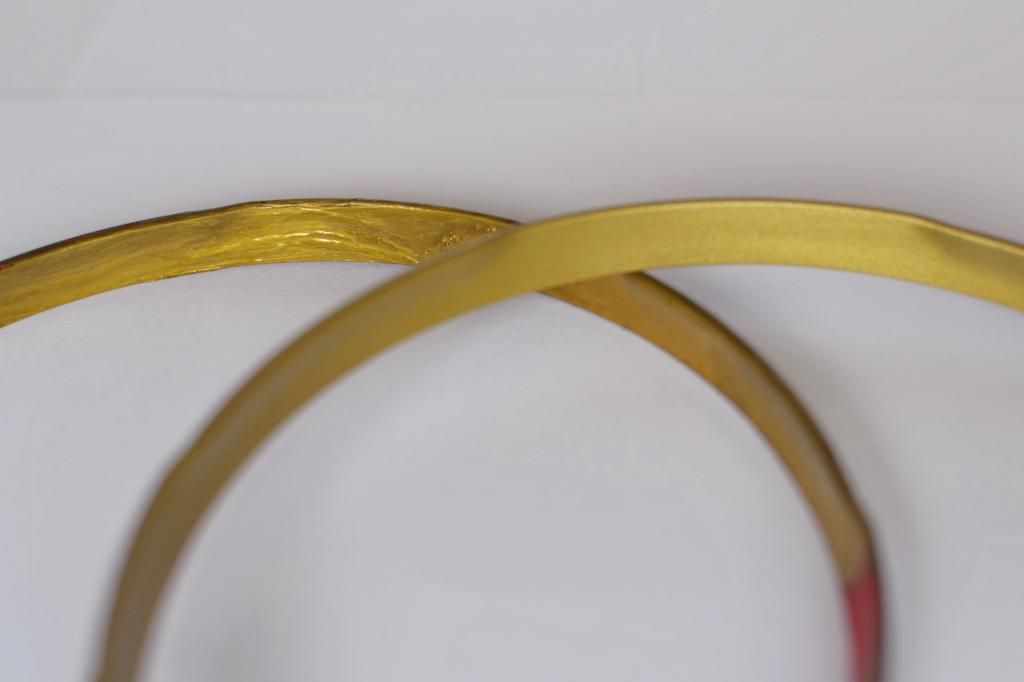
On another note, I got some Ford Solar Gold spray paint on Friday & gave a couple of the sp120 rings a couple of coats. So, in order of appearance, original white, first gold attempt with a pen & the FSG spray paint...
image.jpg1_zpszqj2gbtw.jpg

image.jpg2_zpslnvvwef1.jpg

image.jpg3_zpskccrapyz.jpg


Close up of the texture difference, a hell of a lot nicer on the FSG one, obviously. Although, I prefer the colour of the gold from the pen to the FSG.
image.jpg4_zpshp23ooqi.jpg
 
So, another small update:

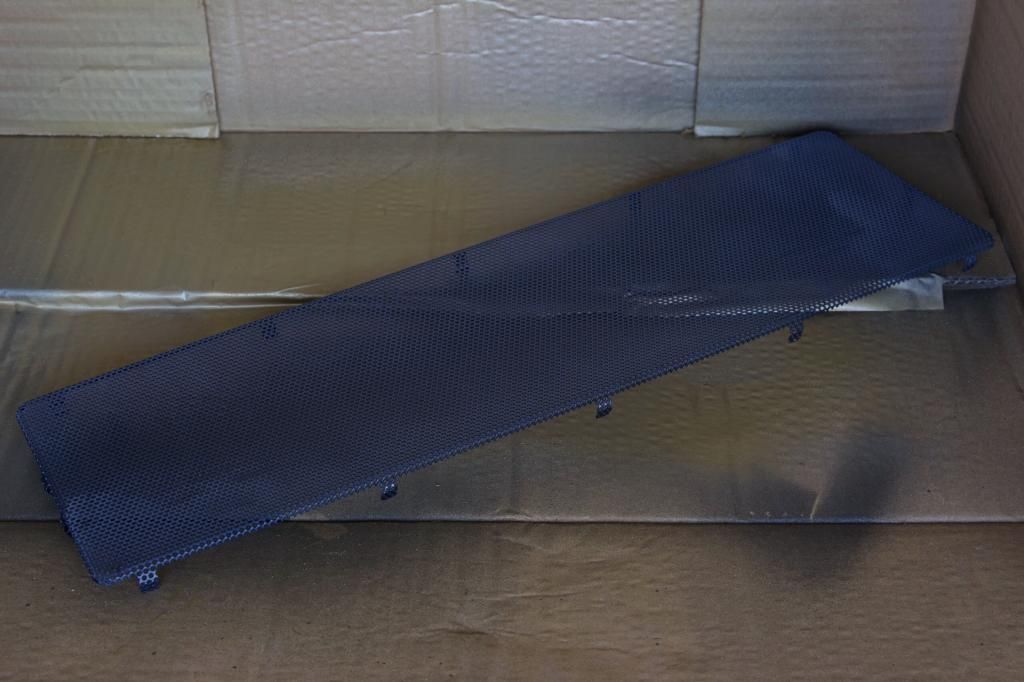
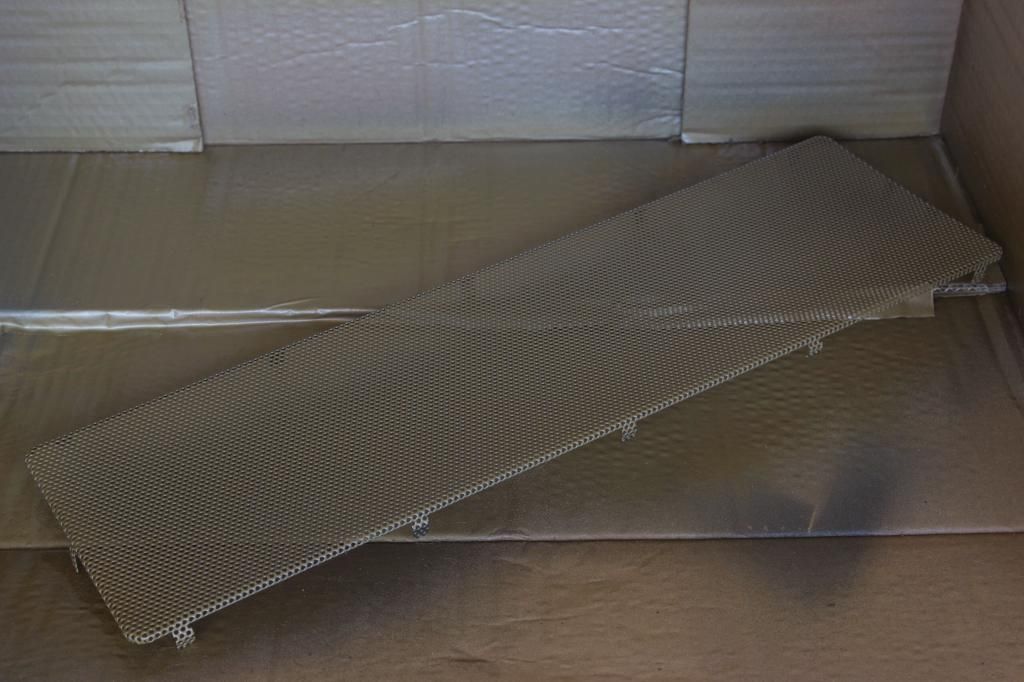
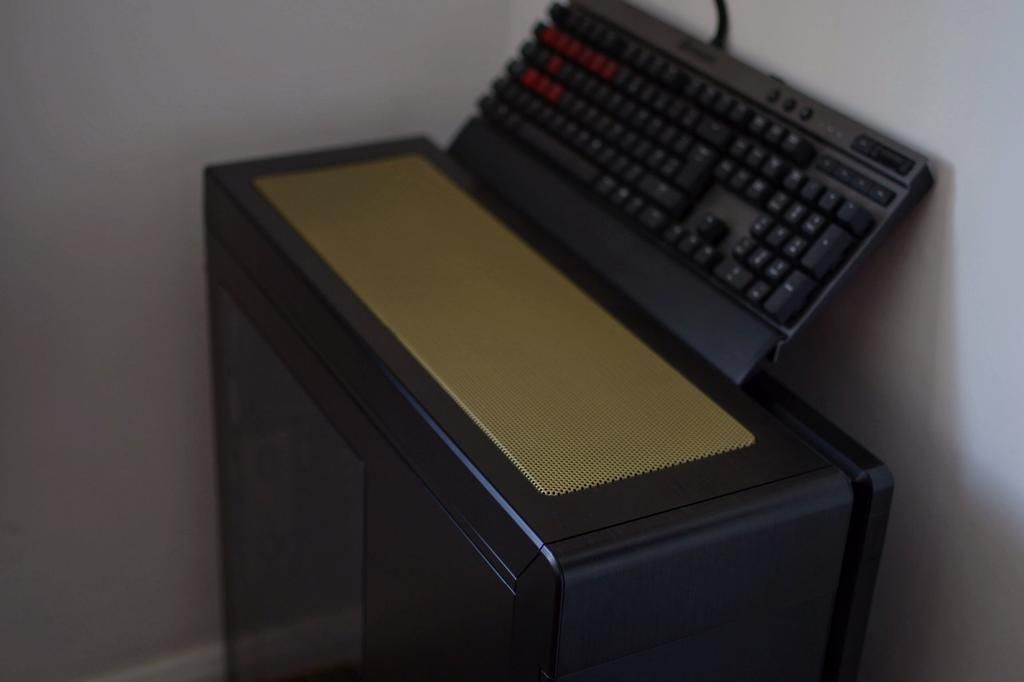
Today's been fairly productive. I decided to copy Colin & spray the front intake grill gold, but been brave & one up'd him by spraying the top grill too.
image.jpg1_zpsiuwicdcd.jpg

image.jpg2_zpshloppbym.jpg


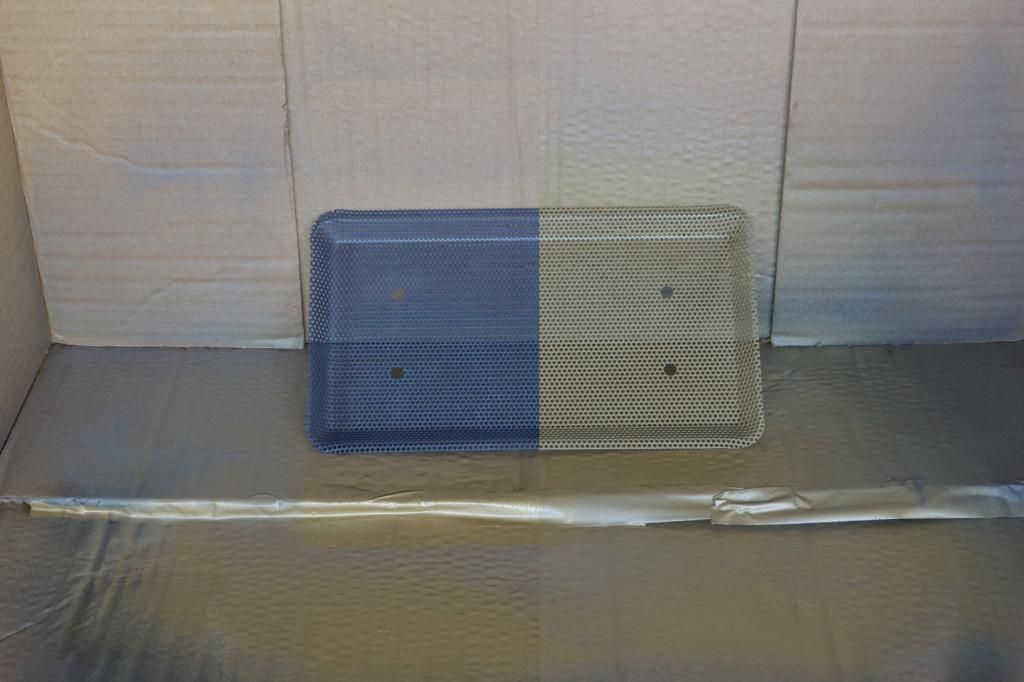
A couple of before & after pictures merged into one. Not having photoshop makes it difficult to colour match both photo's but you get the idea.
image.jpg1_zpsvezvlwaa.jpg


Prepping the top mesh involved bending back the 'hooks' on the side which hold the whole top grill together. A process which had me cringing the whole time, worrying I was going to snap one off as it's such thin metal!
image.jpg3_zpsodktuwin.jpg


Came out rather well though I think. The coat isn't quite as even as I'd hoped, but I can always fix that another day if it's that bad.
image.jpg4_zpsw8sxejuw.jpg


They'll get put back on the case tomorrow after work so they've had 24 hours to dry then. In the mean time, enjoy those boring pictures :p
 
So, he's the front grill all golden & lovely...
image.jpg2_zps7bsmsa6k.jpg

And a close up...
image.jpg3_zpshadits9n.jpg


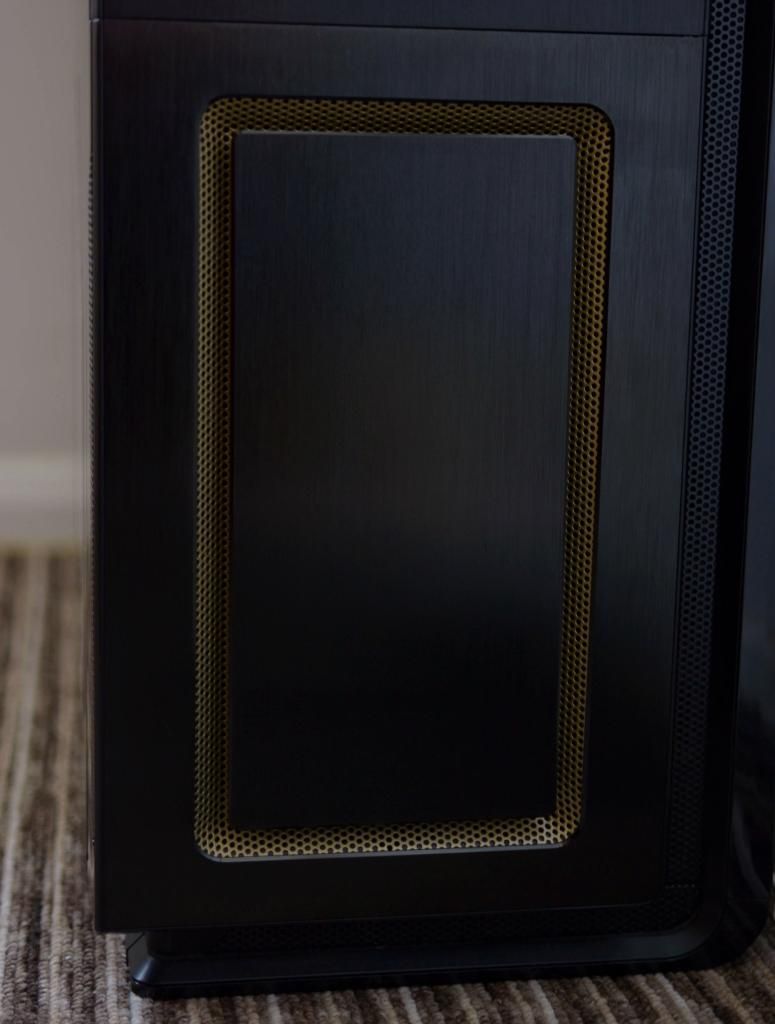
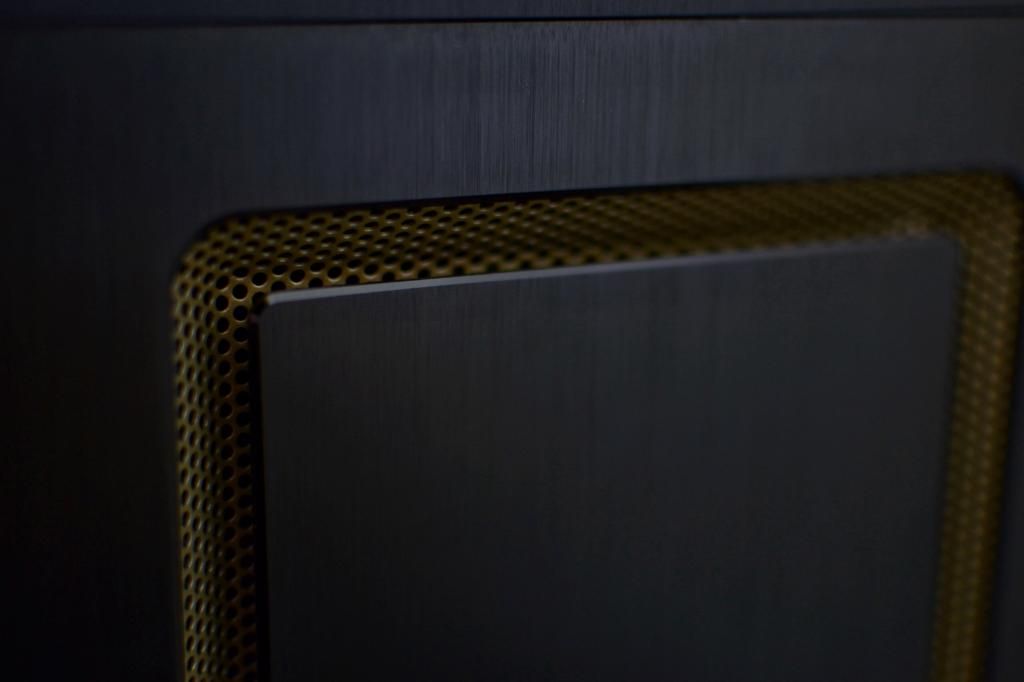
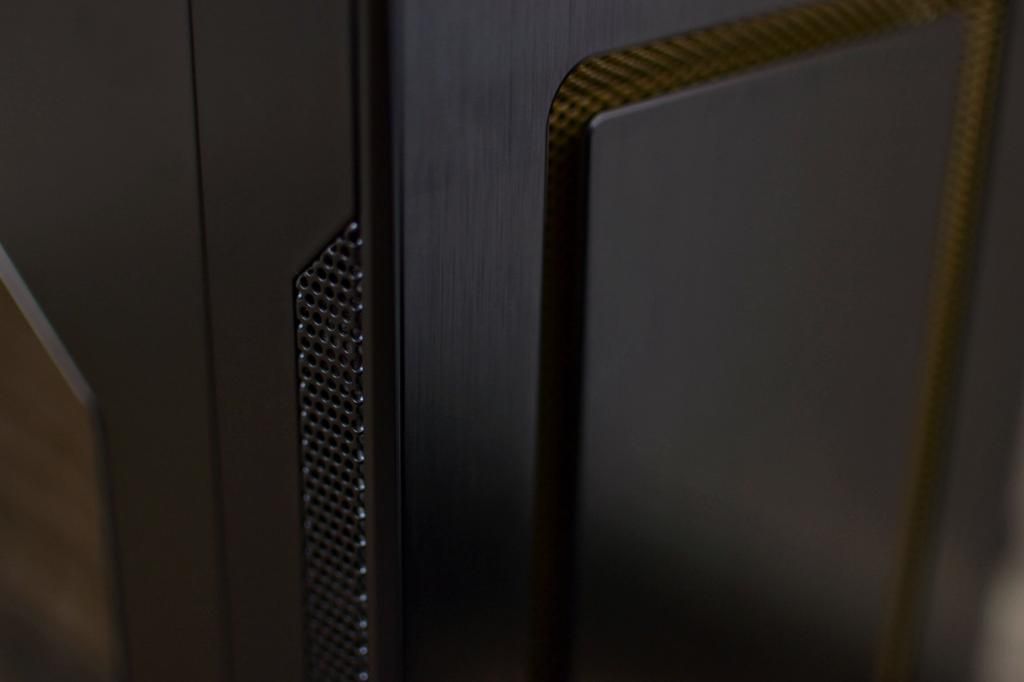
When I was putting it back together, I noticed these side mesh vents could be taken off too, but they seem too much hassle for now so they'll stay black for the time being
image.jpg4_zpszfyelg76.jpg


And the top mesh grill. I wasn't sure this would look right, but what did I have to lose? I think it looks pretty good, what do you think?
image.jpg1_zpsnkhyei8r.jpg
 
Okay so this is going to be an important update & status change for this build log!

As of today, I've now got the 480 rad, all 8 fittings for the first loop, the d5 pump & the lighting has been updated with a white led strip taking the place of one of the orange strips in the main window.

All I need now to complete the loop is the cpu block, tubing and pump top (and maybe some mayhems fluid if I can decide on a colour). Only problem is, all the items I require (except the coolant) are out of stock. So if possible, could a OCUK staff member please be able to give me an estimate of when I can expect the following products to be back in stock, thanks! :

Aqua Computer Cuplex Kryos PRO - Socket 2011
XSPC Acetal Top for Laing D5 (Multiport)
Primochill Primoflex Advanced Tubing 19/13 - Clear

Until these items are in stock, this buid log is unfortunately being put on hold :( Sorry guys & girls!
 
Taken a few final shots of the build and how it's being left now until the final three parts come into stock again.

image.jpg1_zpstg2hakae.jpg

image.jpg2_zpsrneupm47.jpg


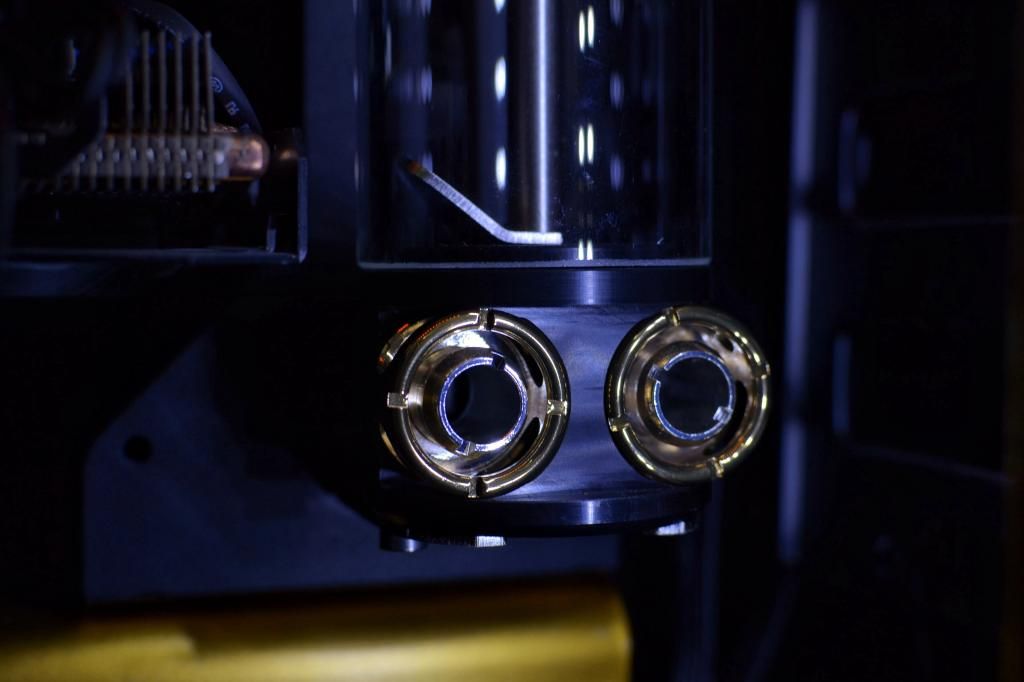
They fit perfectly with this res, I love it!
image.jpg3_zpsddetlrje.jpg


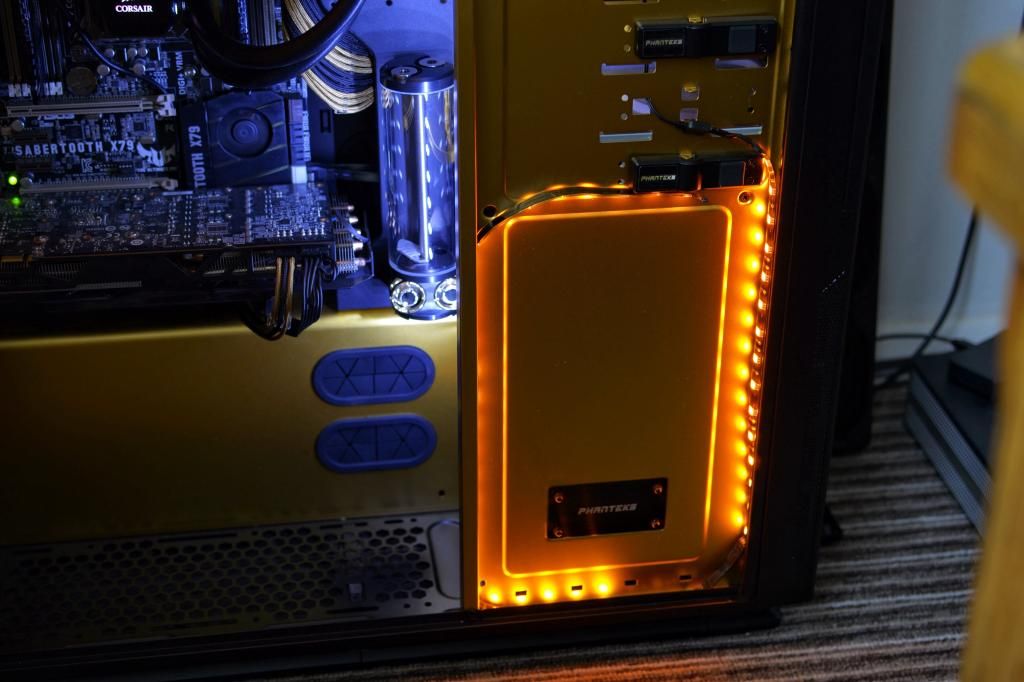
So this is the best/only way I could figure out how to light up the front window. Highly recommended if anyone else is stuck on this one!
image.jpg4_zpsbppz1nlb.jpg


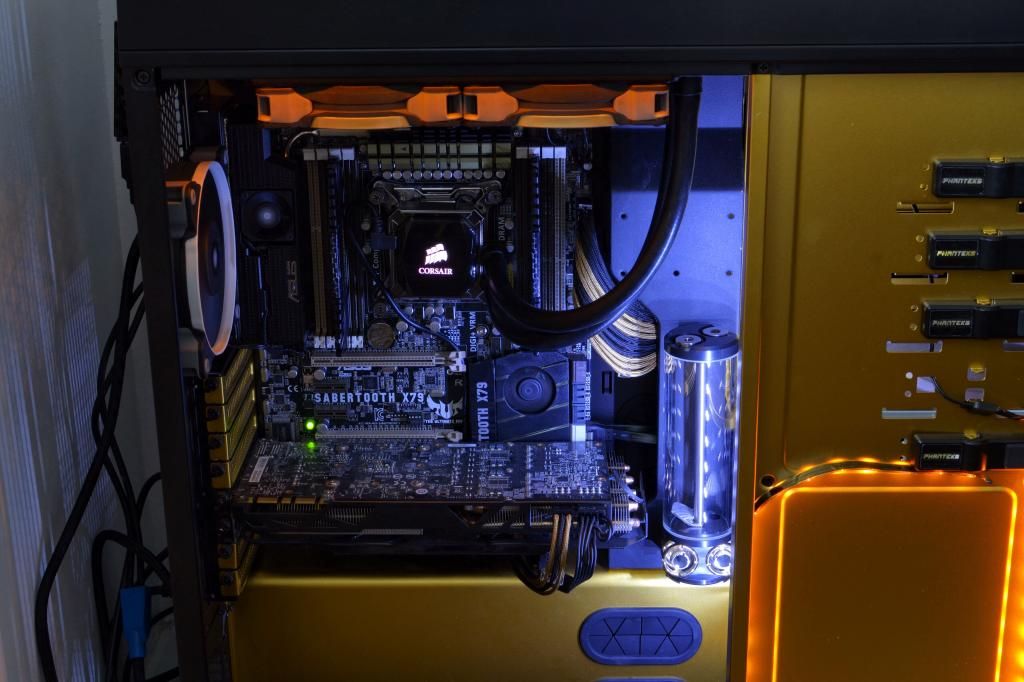
I think it could do with one more white led strip down the back next to the rear fan, just to even out the lighting & brighten the whole thing up a bit more, but it's okay for now
image.jpg5_zpsv15ulyyh.jpg


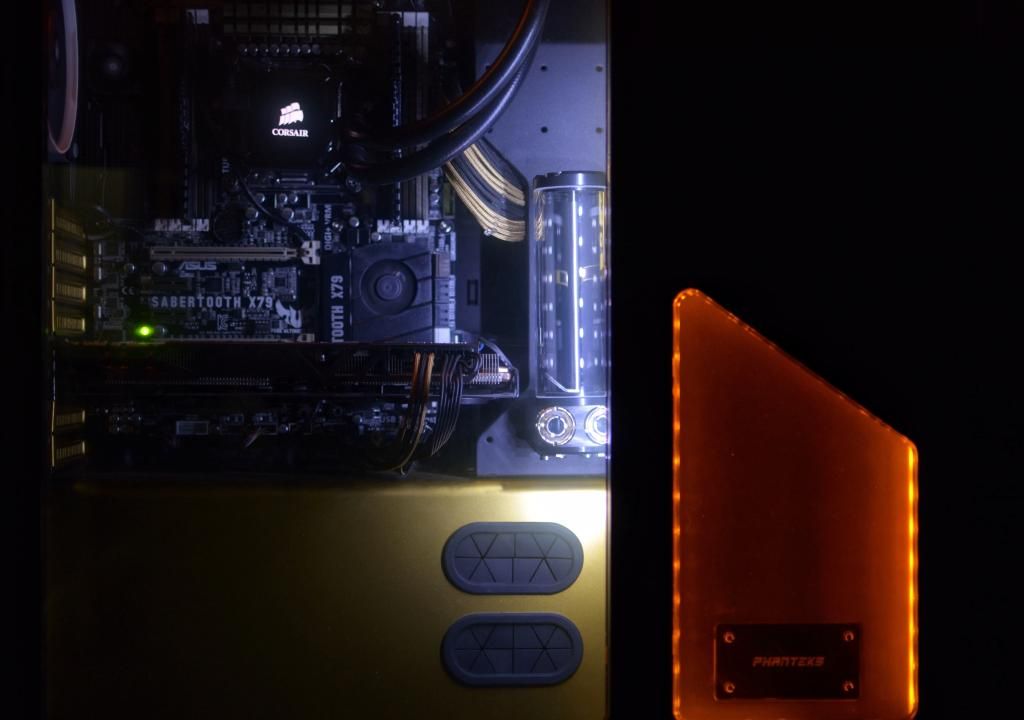
The front window lighting has come out really well, don't you think?
image.jpg6_zpsgag4nngl.jpg


And this is how it looks now. Nothing else can be done until the last three parts are back in stock. I could shop elsewhere, but I'm a firm supporter of OCUK & even if I have to wait a while, I'll be purchasing from them for sure!
image.jpg7_zpsxysjvwhz.jpg


Hope you've all enjoyed this log so far, but don't worry because it's not over just yet!
 
BAD NEWS!

I gave into the presure & bought the last bits from another shop. Got it all connected & ready to rock, started my leak test to find that the pump is leaking from the pump top. It's coming from one specific spot between the collar that holds the pump in place & the pump. It doesn't even need the pump running for it to leak.

Does anyone know of this problem or how to resolve it? I don't want to go through the hassle of getting parts replaced, but if that's what's it comes down to I guess I'll have to. Seriously bummed about this :(

EDIT: Seems that there's no o-ring on the pump. Either my pump didn't come with one & I failed to notice that, or I've misplaced it. It's the Ek-D5 pump, does this come with an o-ring or not? If not, where can I buy one from?
 
Last edited:
Okay, to keep everyone up to date with how things are looking, I have these few pictures.

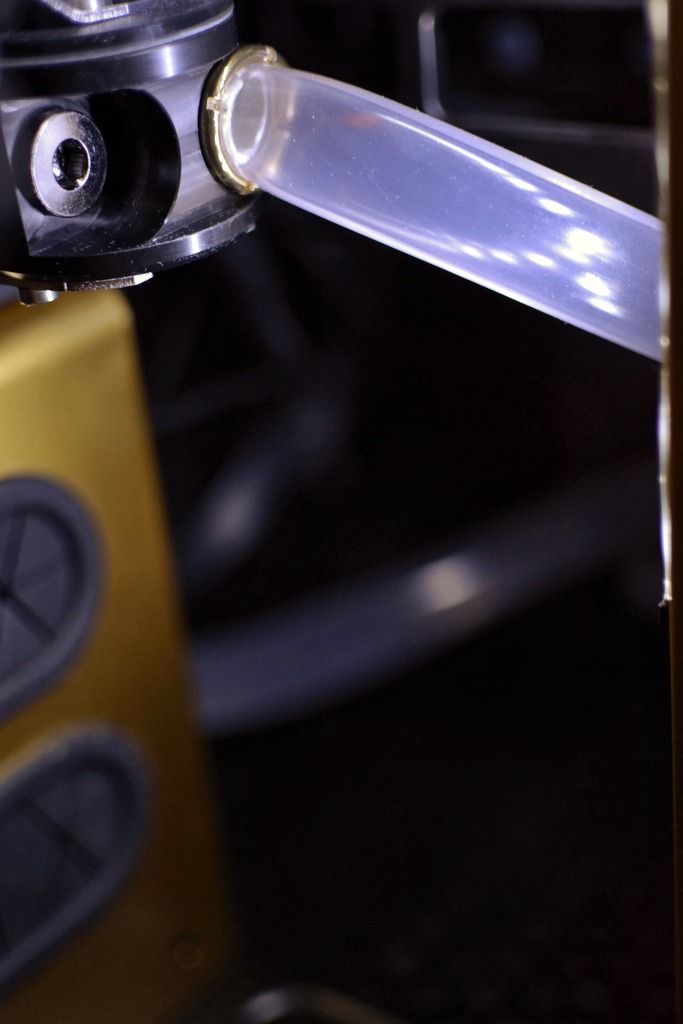
First up is this extremely frustrating incident. The Fittings can't sit next to each other as the inlet & outlet are 1mm too close together. So, a 45 degree rotary is on it's way to hopefully fix the isssue!
image.jpg1_zpsdnlcgtvy.jpg


Until the 45 degree rotary arrives, this is how I've secured the tubing for the leak test (which obviously failed majorly!). The zip tie isn't visible when I'm not holding the other tube up, so it's not too bad appearance-wise.
image.jpg5_zpsc7dems4o.jpg


Will this be a problem? It's on the barb just fine, but because of the angle & the length of tubing being so short, it's got a bit of tension pulling the tube like this. Will this leak or should I be okay?
image.jpg3_zpskoo28yaa.jpg


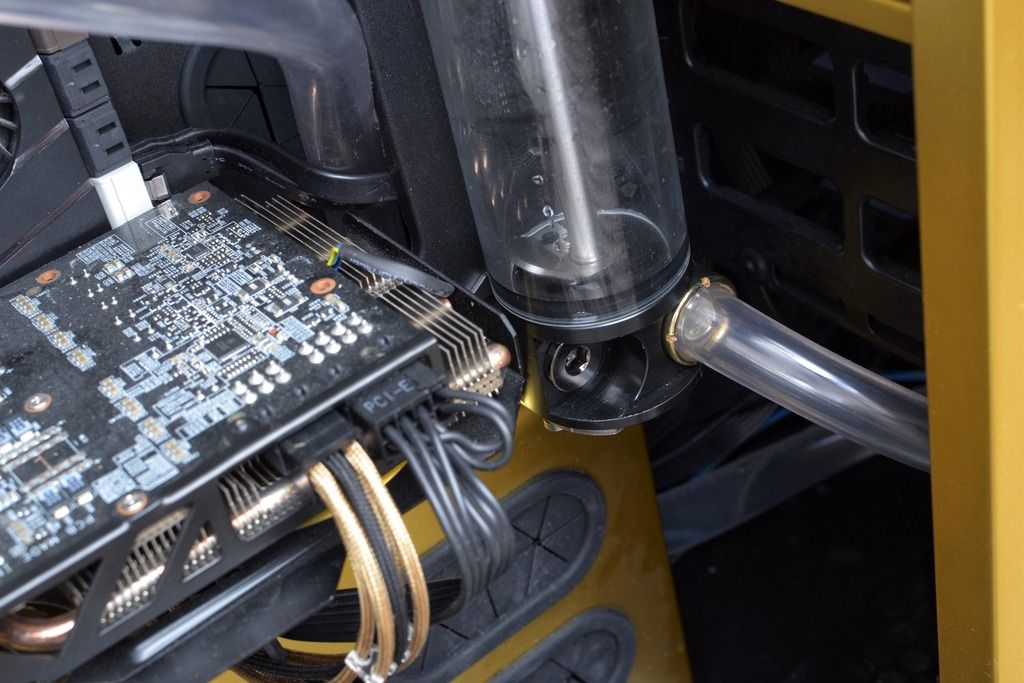
From the res down & round the back as discretely as possible to the pump, then out the pump, straight up behind the res bracket towards the cpu. Wanted to keep the tube routing as clean as possible for this, hence the awkward res - pump route.
image.jpg4_zpsh7aehohs.jpg


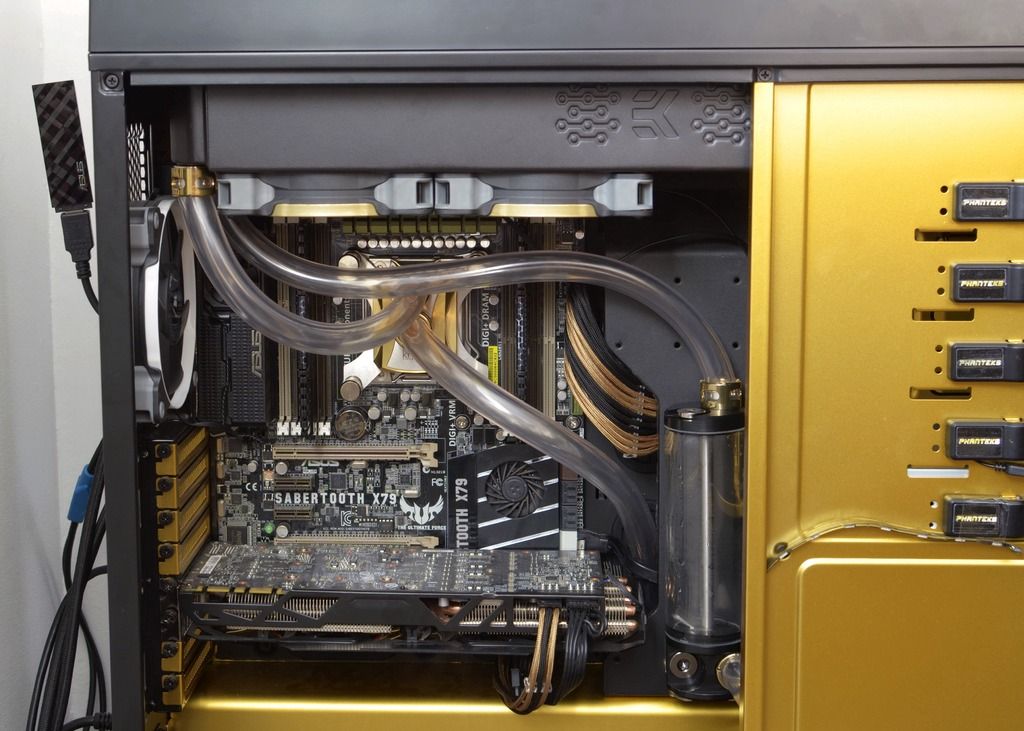
And here's the finished loop. All ready to get filled once the pump O-ring and 45 degree rotary turn up. Quite pleased actually!
image.jpg2_zpsjsifyszy.jpg
 
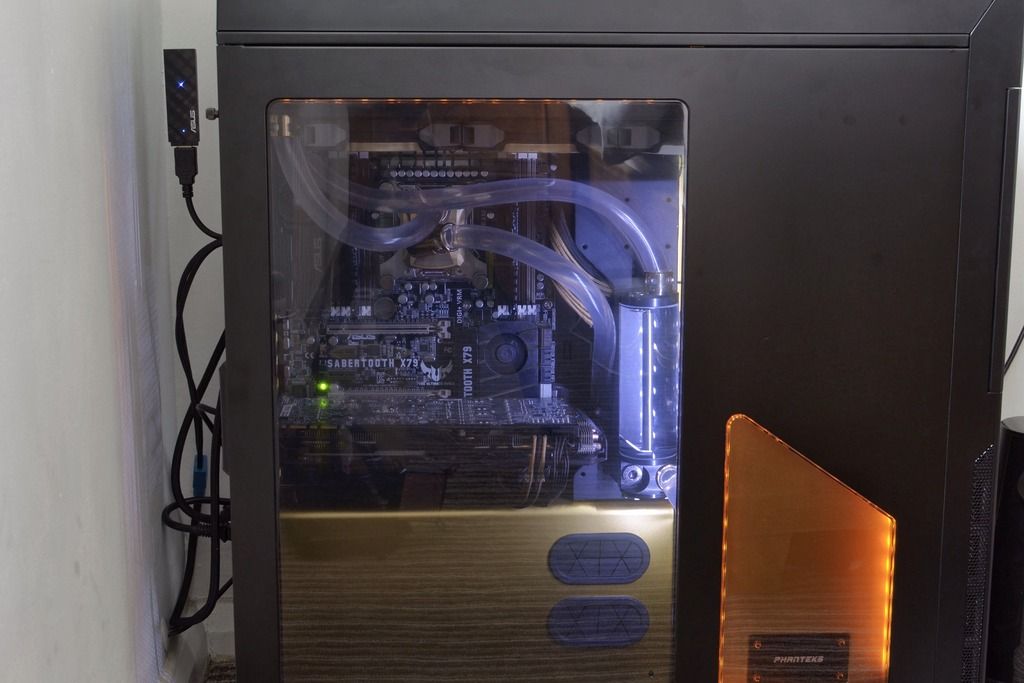
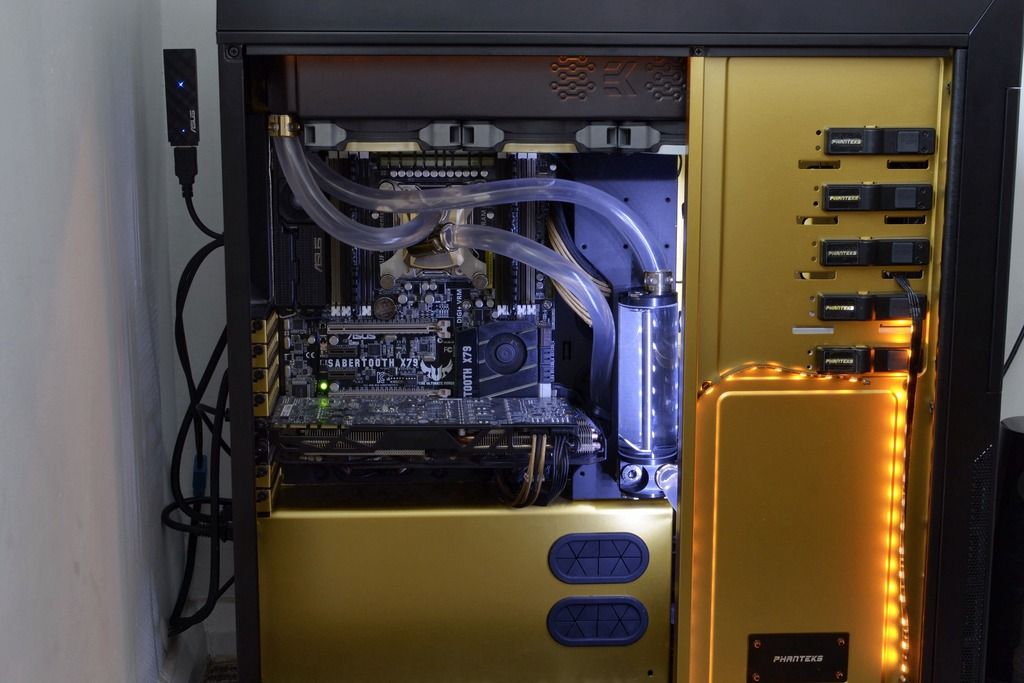
STAGE ONE COMPLETE! Here it is...

Sorry for the poor images, the lack of space restricts me & the angles of what I can do :(

image.jpg1_zpsgjercefu.jpg


That LED strip section for the small window is so bodged aha!
image.jpg2_zpsspzhb99m.jpg


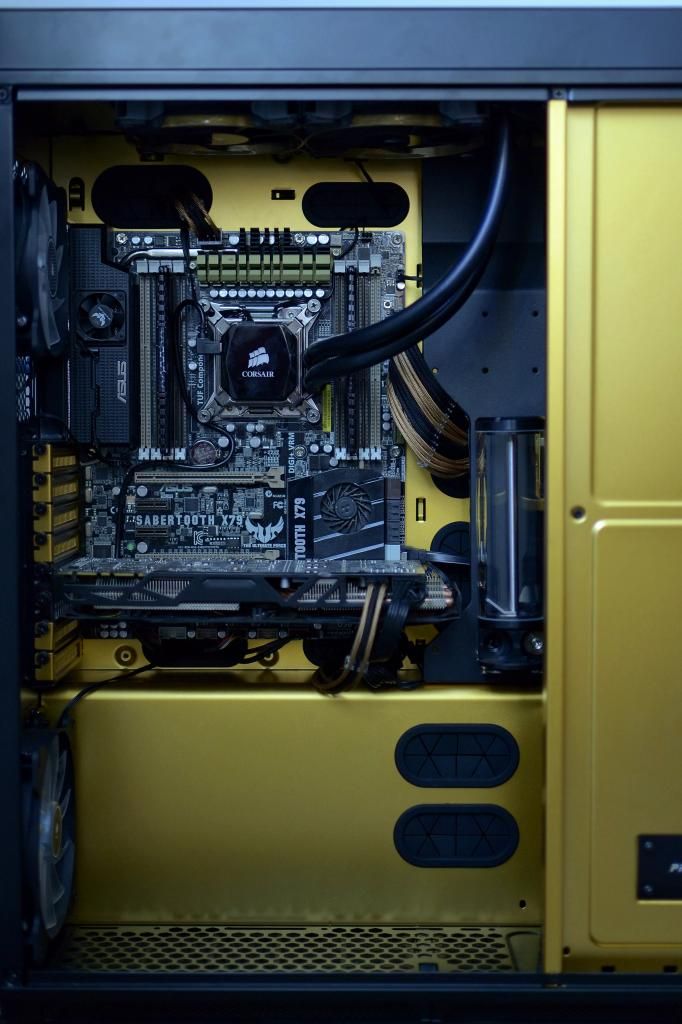
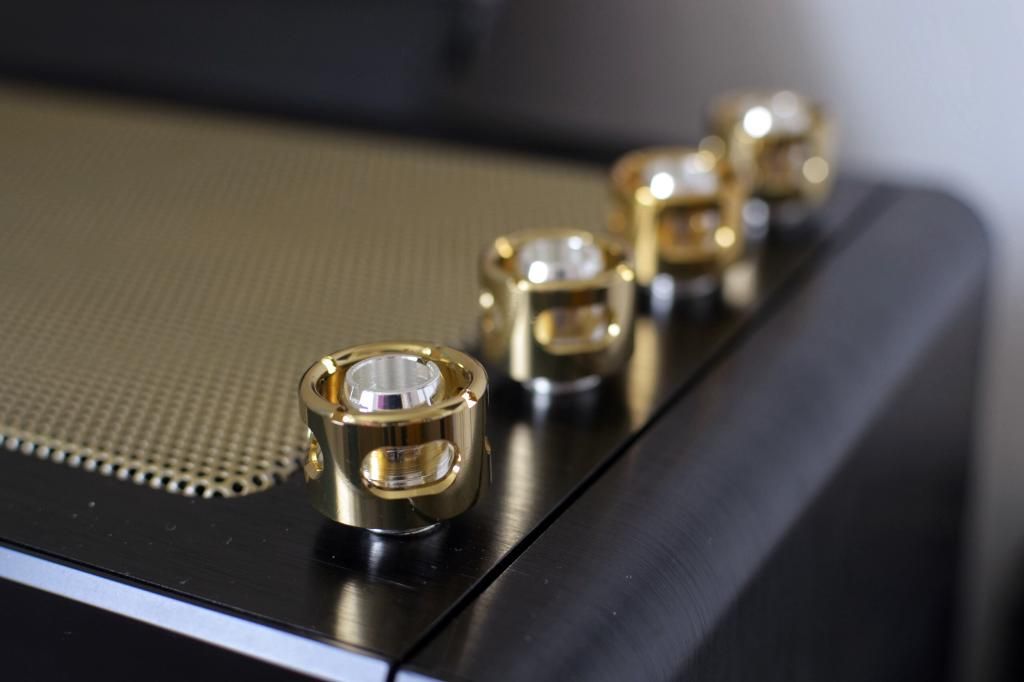
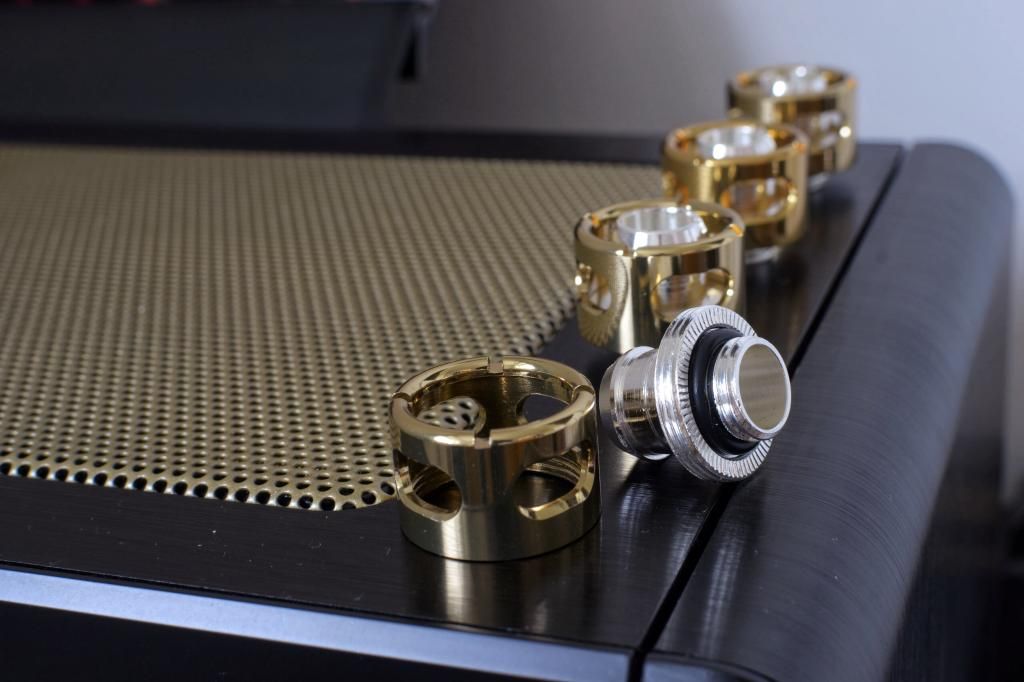
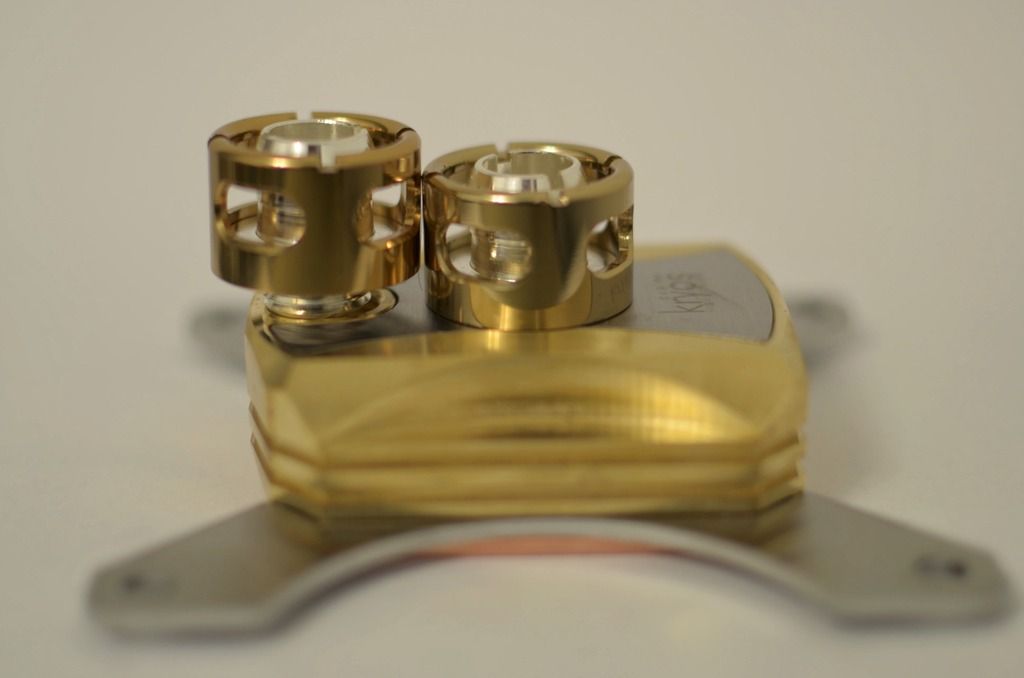
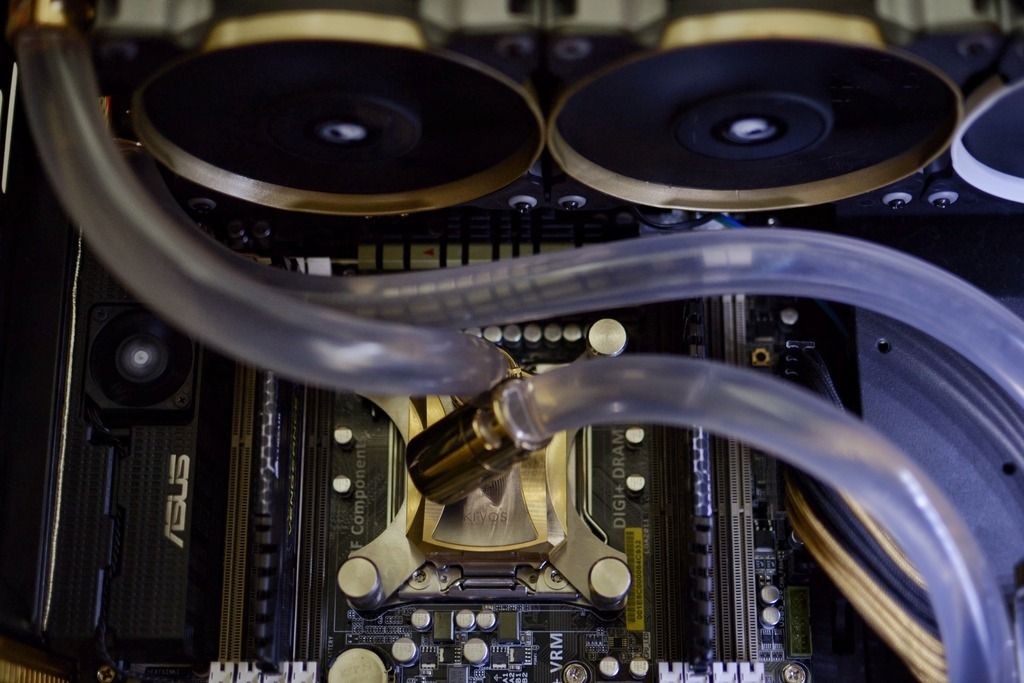
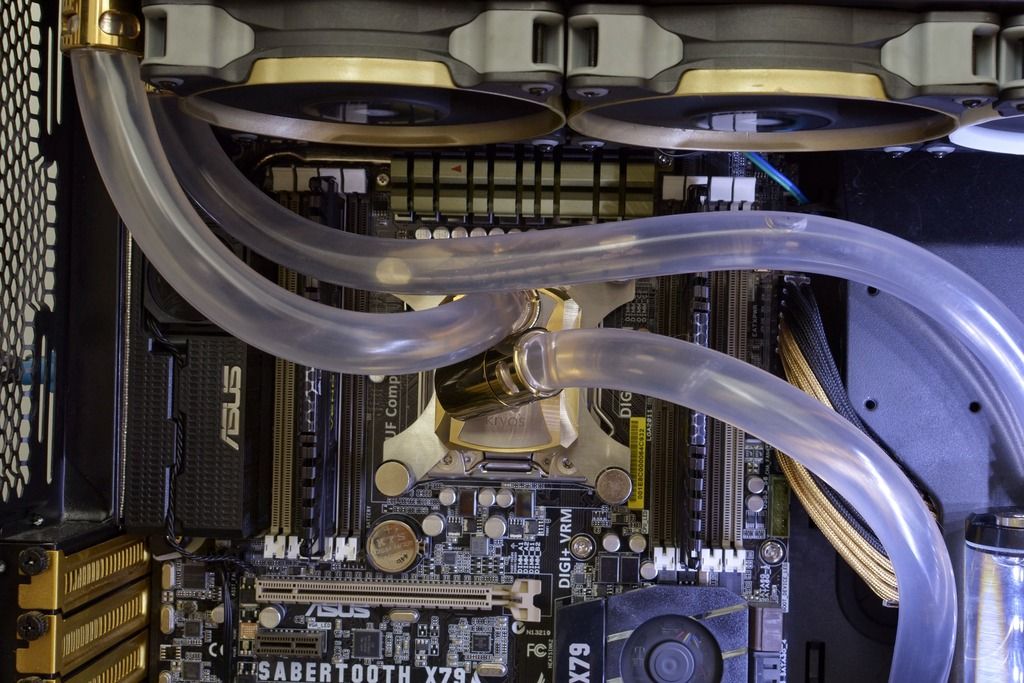
Can't quite get over how good the cpu block looks & how well the gold matches the fittings & fan rings!
image.jpg7_zpsmhn49wpc.jpg


Such a busy intersection! I was so tempted to get an X-flow rad for this exact reason, but prefer the looks & size of the XTX 480
image.jpg3_zpsfxydifyf.jpg


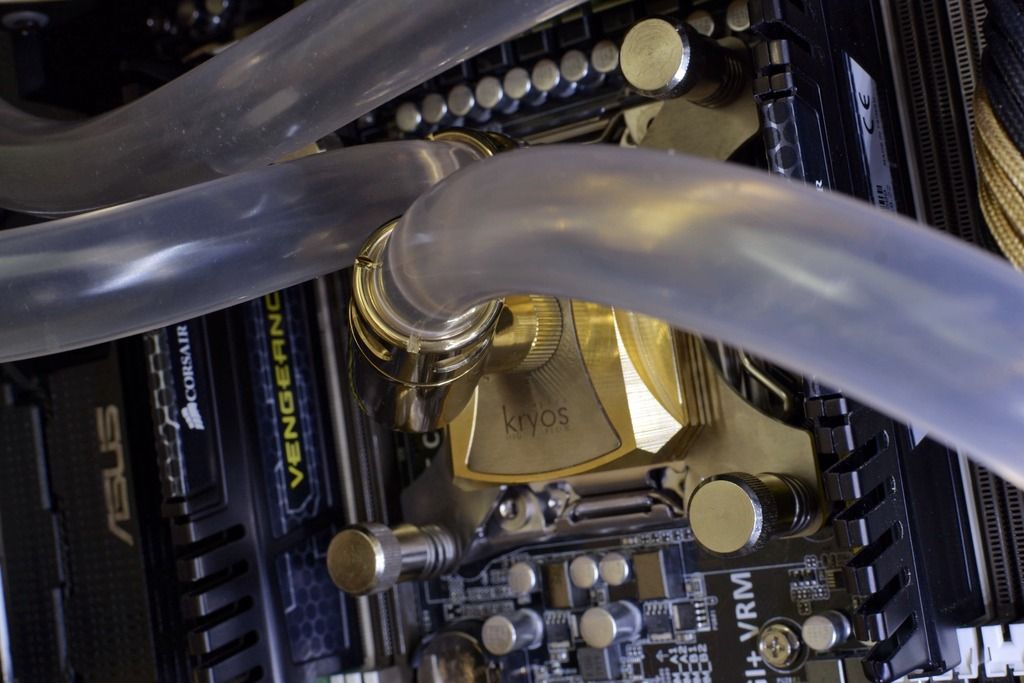
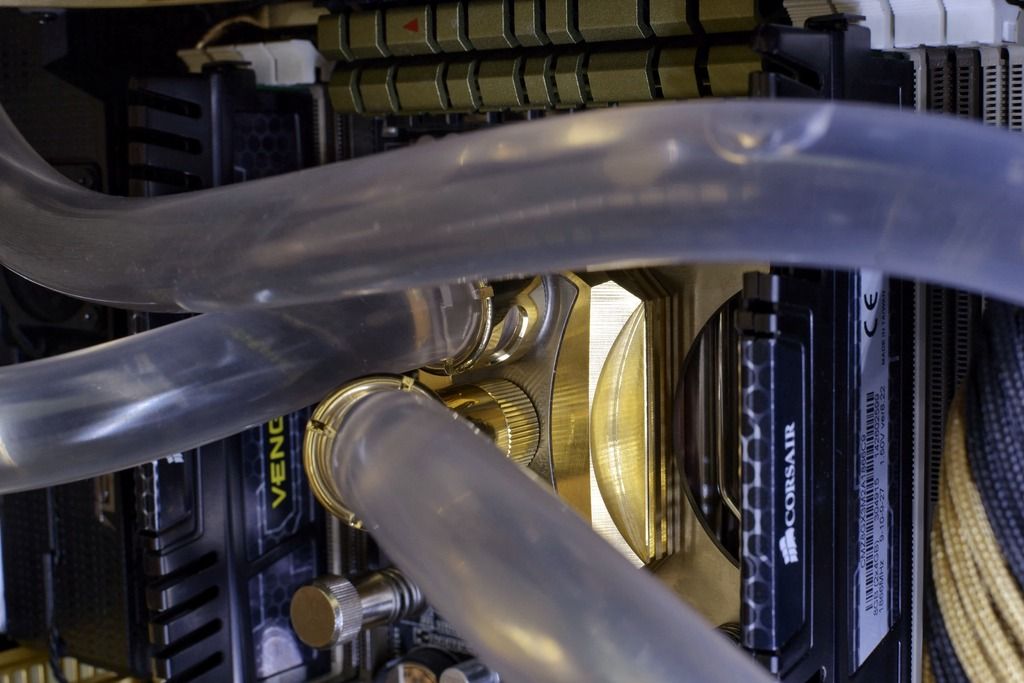
Close up of the block
image.jpg4_zpszpxakvcz.jpg


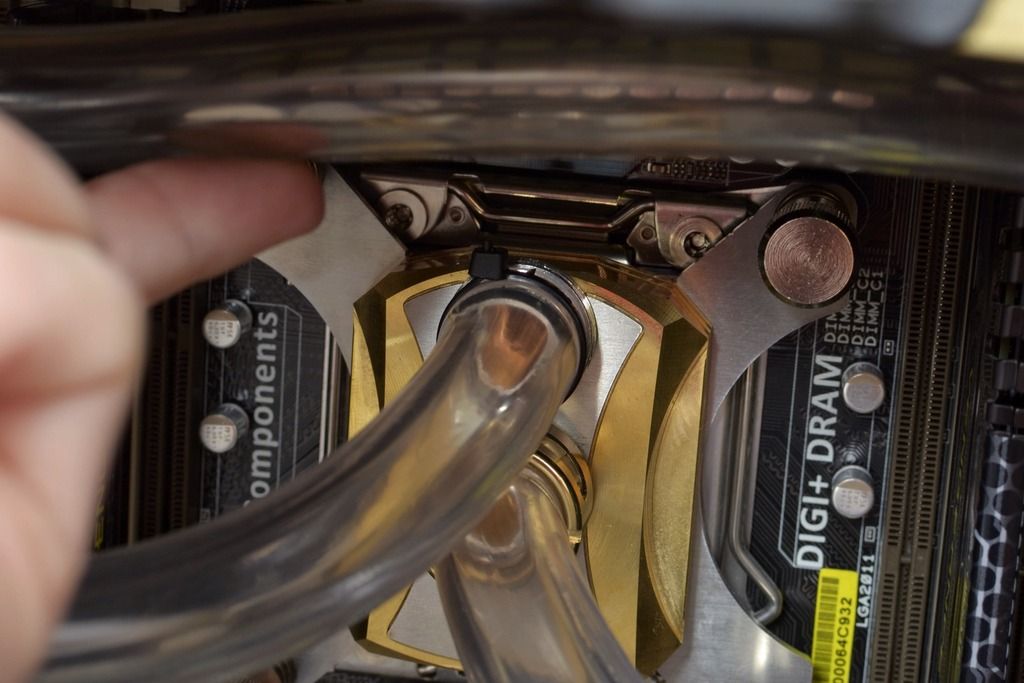
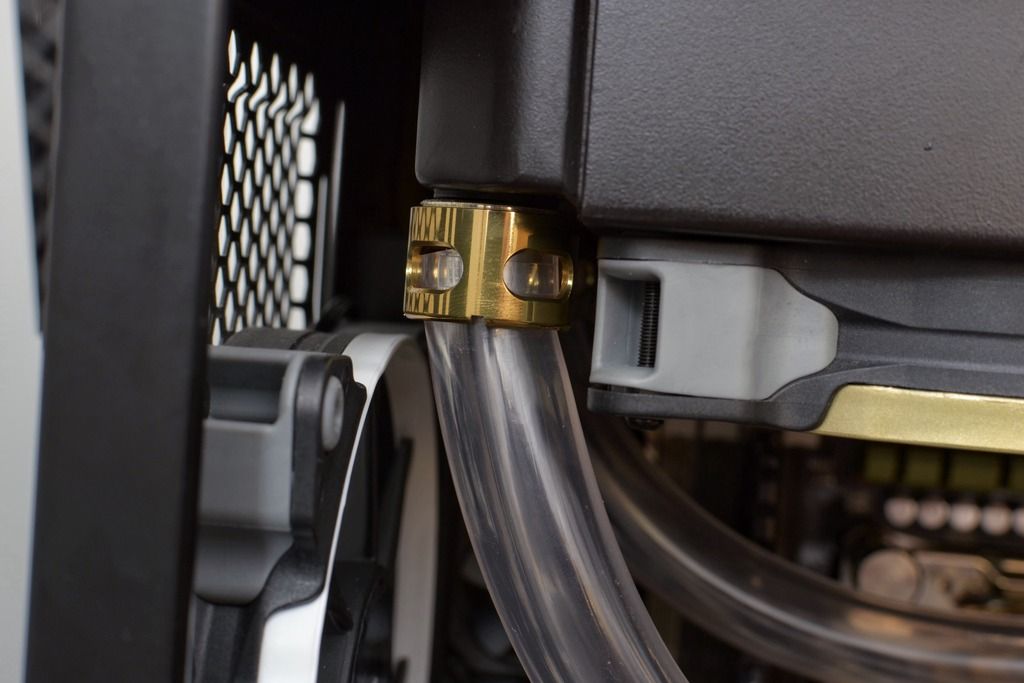
This just shows how much the 45 degree rotary helped raise the compression fitting off the block so it would actually fit. Although, I'm tempted to switch it from the inlet to the outlet but I'll have to do that another day. It's fine for now
image.jpg5_zpsfhrkvcl0.jpg


Thinking about moving the tube to the other side. Not sure though
image.jpg6_zpsc4hflatr.jpg


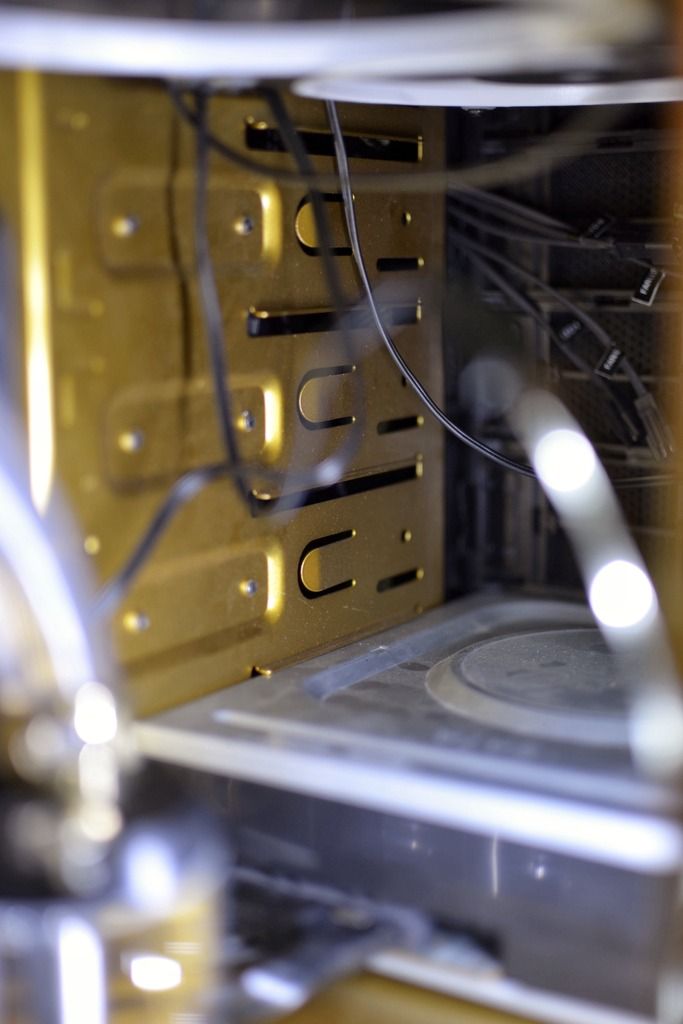
Saving the best until last, the ugly mass of fan & led cables tucked away in the 5.25 bays area. Need to get a cover made to hide that mess.
image.jpg8_zpshnbrrg3n.jpg
 
Something rather special is in the pipeline, so keep an eye out! This could be going one of two ways. Either, it'll turn out absolutely amazingly, or it's going to be good at first then go down hill.

Also, I now have a certain company giving me a part sponsorship for this build ;) Anyone wanna take a guess who it could be?!
 
Back
Top Bottom