Project: RB

Associate
Joined
16 Feb 2010
Posts
554
Location
Oxfordshire
So, it's that time of year again, where I feel the need to start a new project.

Some of you may remember Armour V2.0 from last year, and I'm hoping to build on what I learnt doing that project and my original project (which never got completed) to make one ubertastic pc.

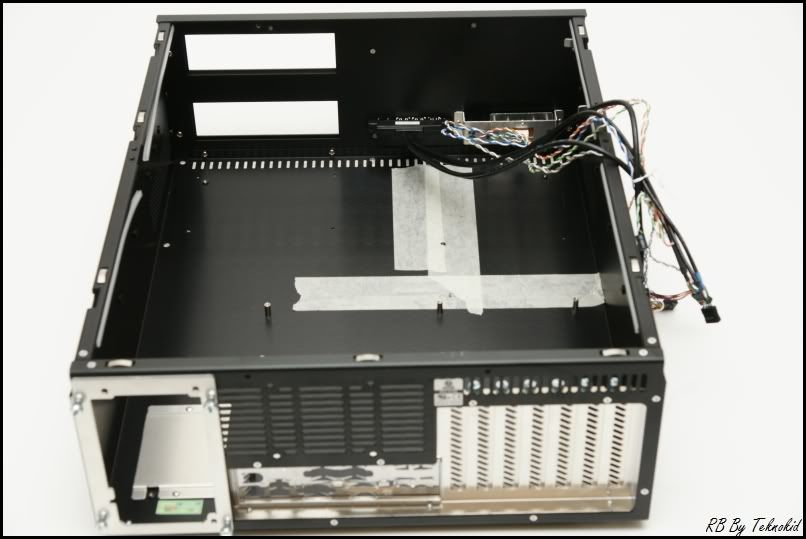
Nothings gone far yet - heck I havent even bought the case! But, I thought I'd post up some teasers.

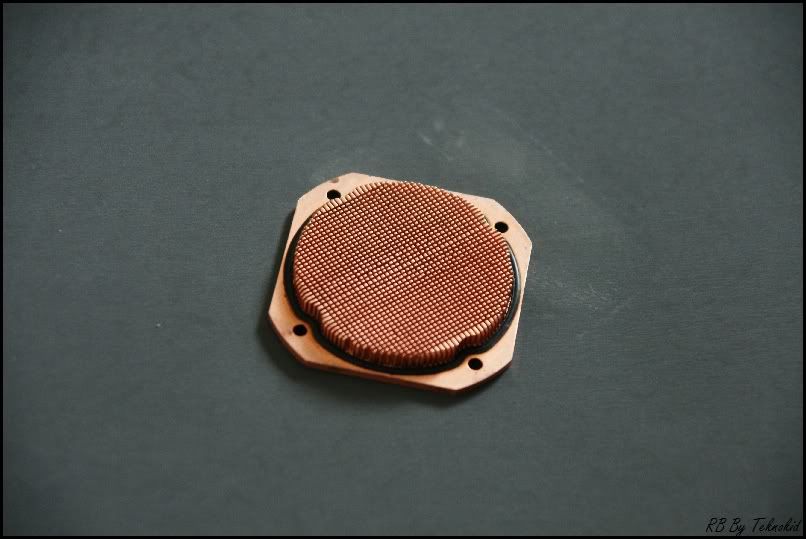
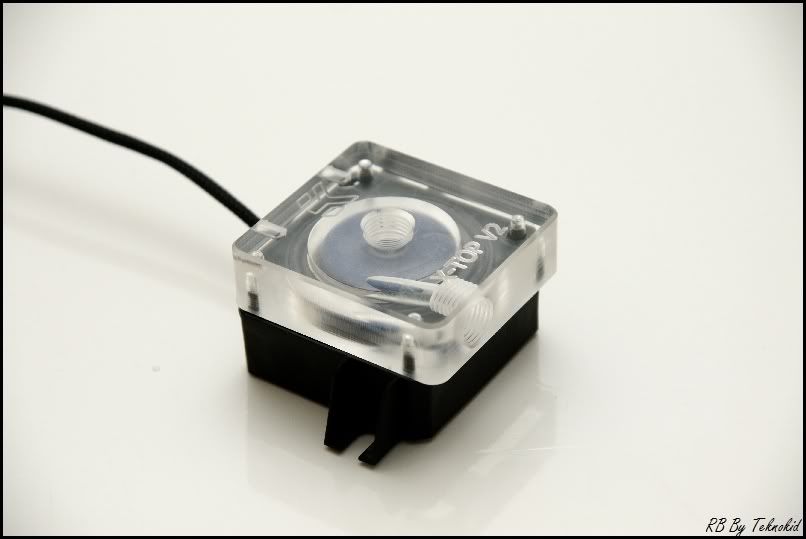
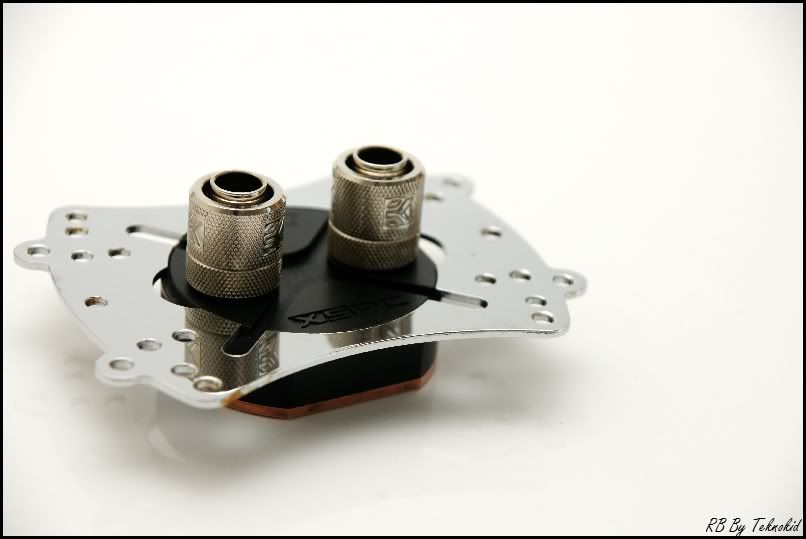
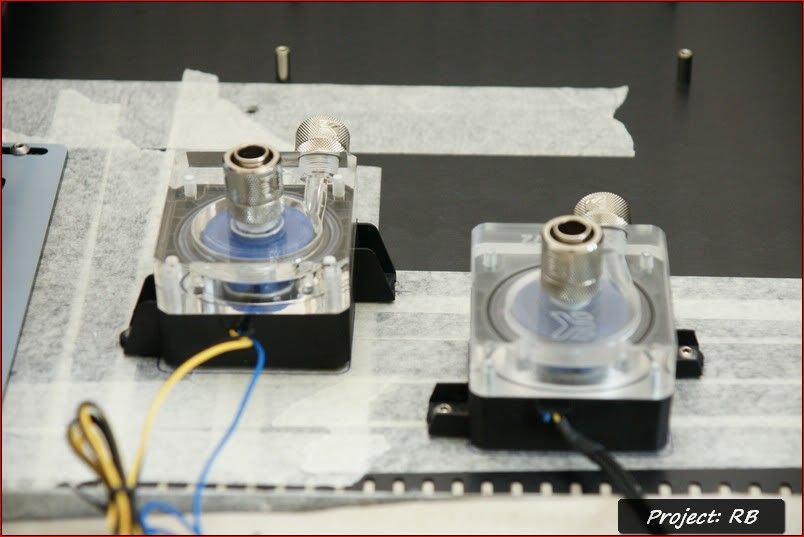
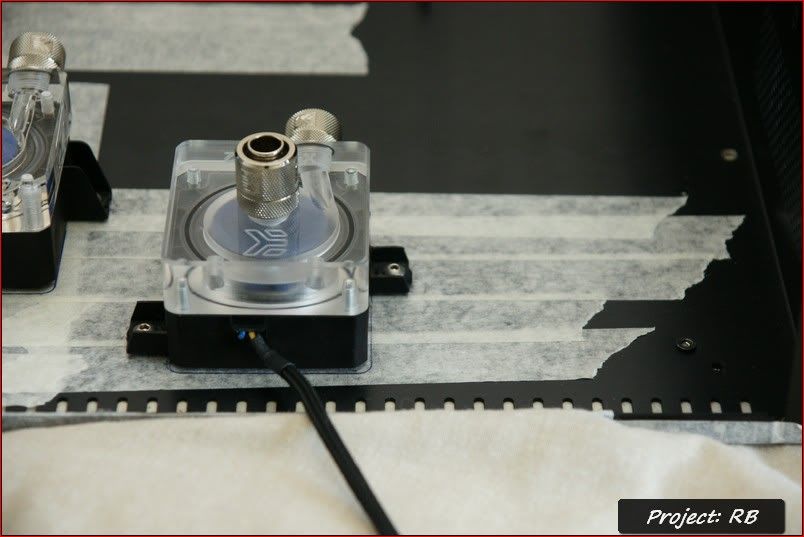
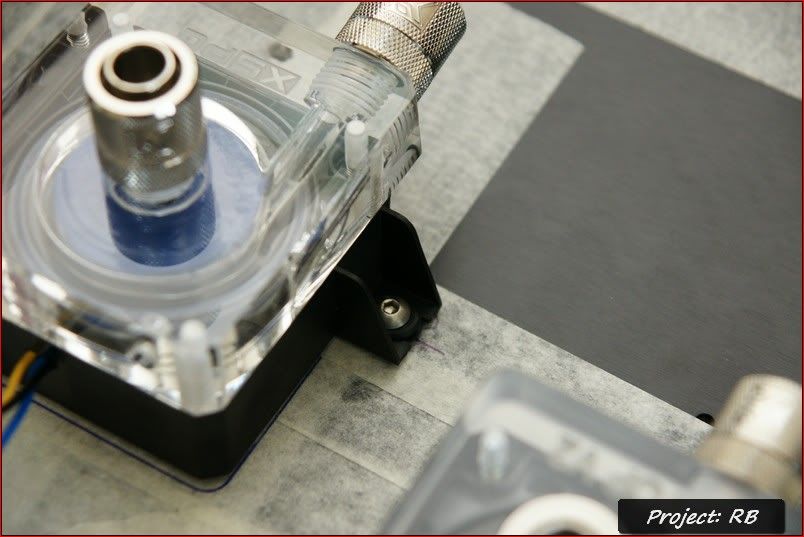
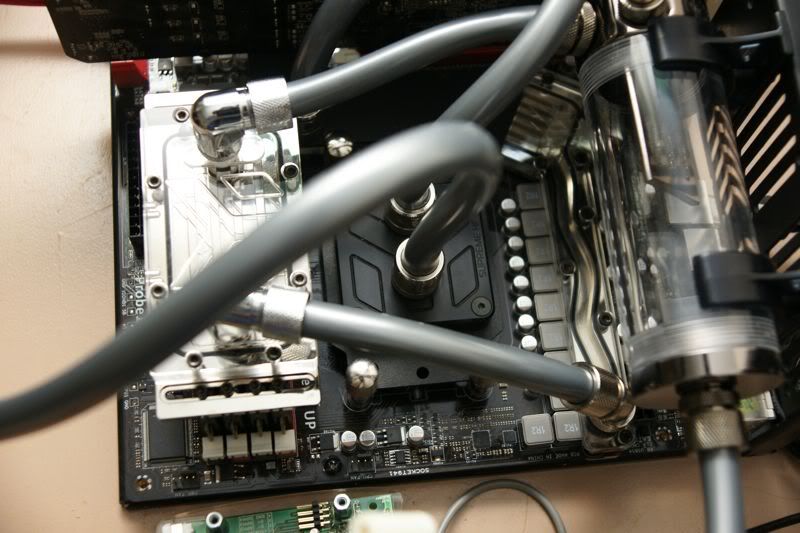
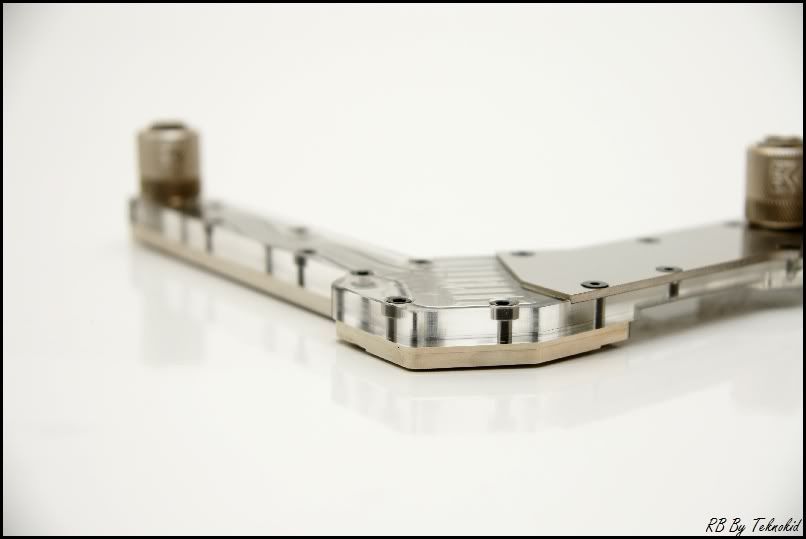
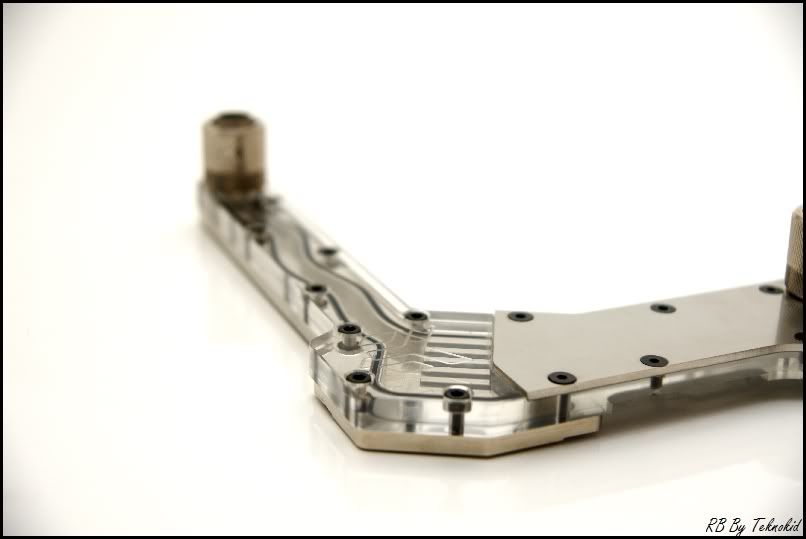
Big shout out to gcwebbyuk (bit-tech) for chucking in a load of extra barbs with the CH4 block I bought from him :rock:

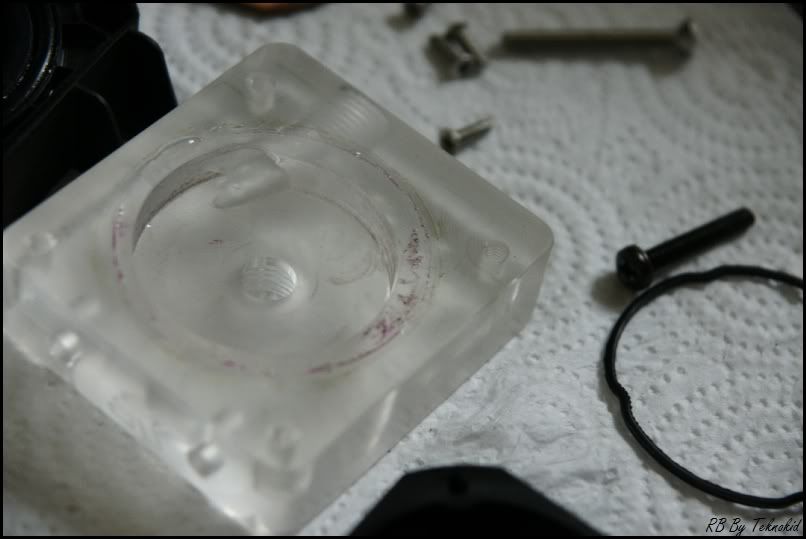
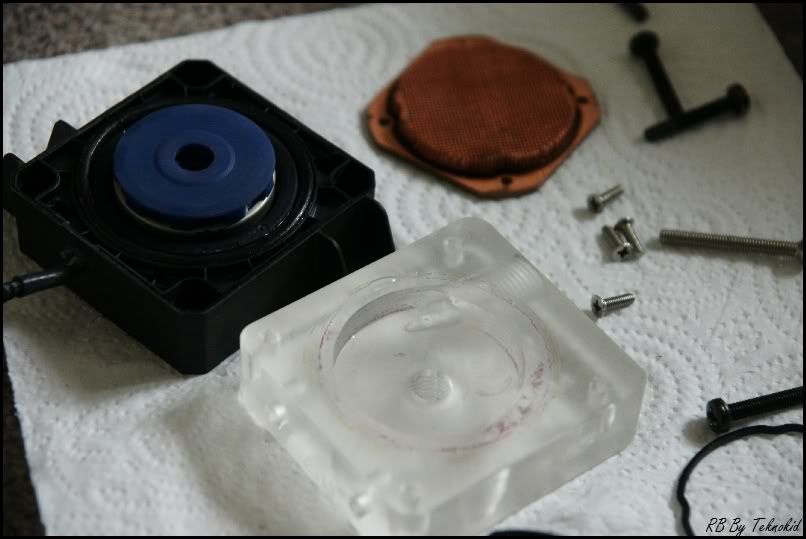
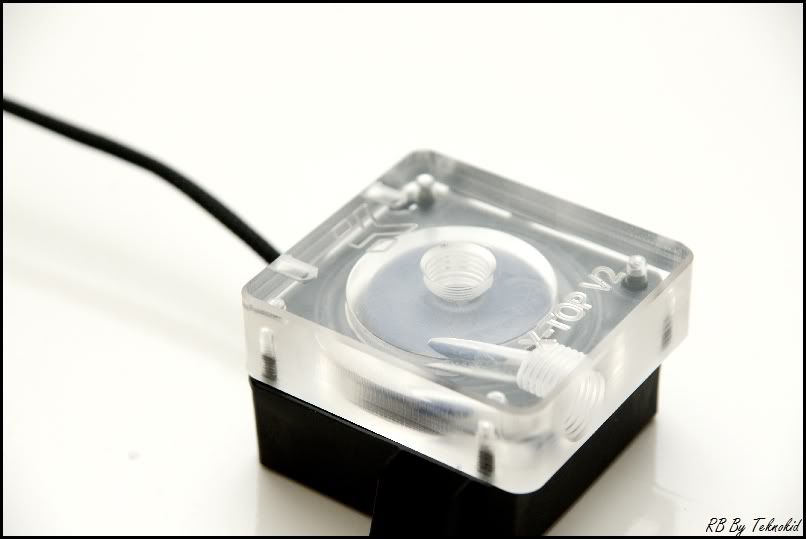
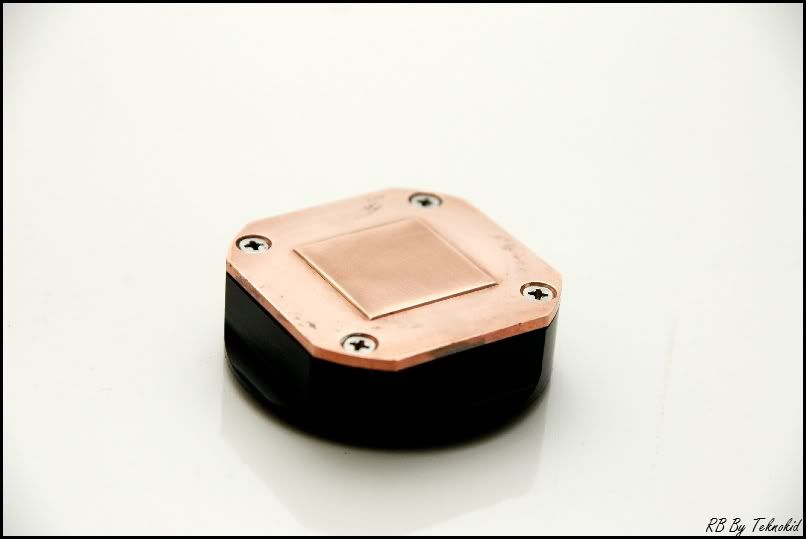
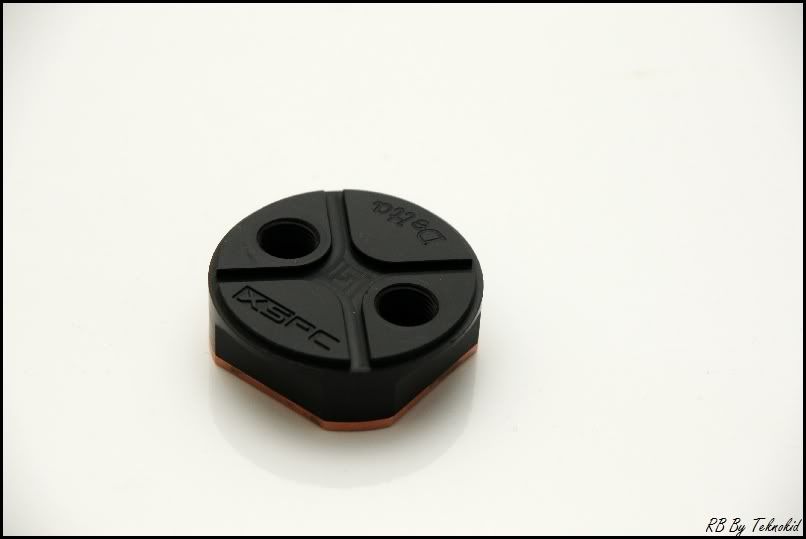
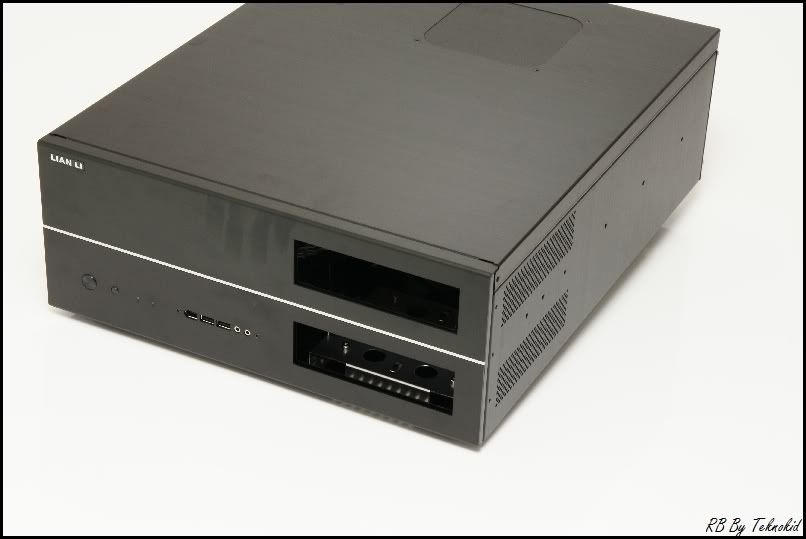
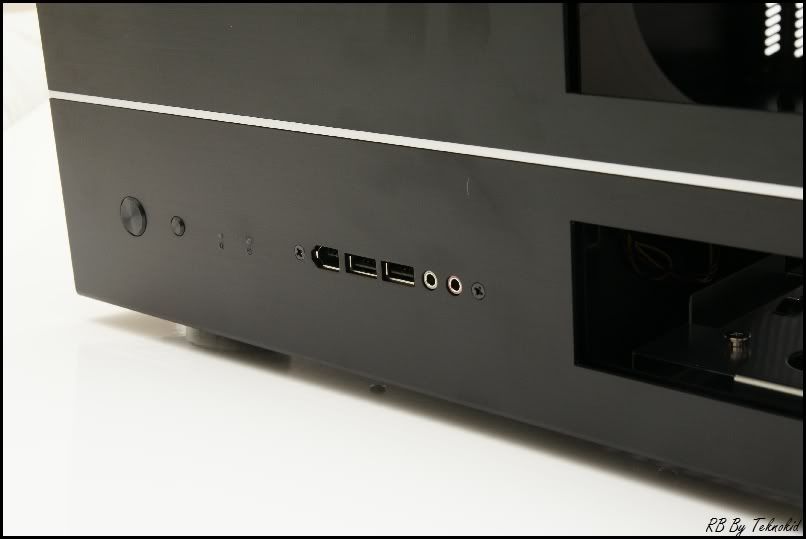
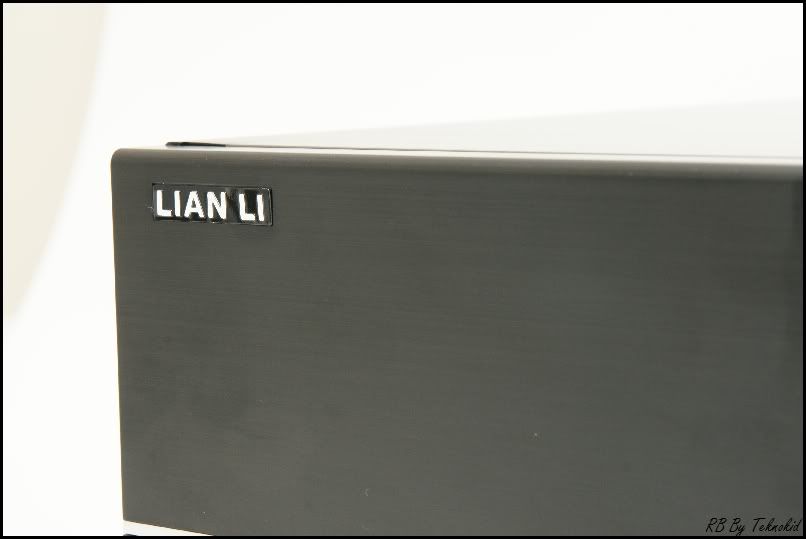
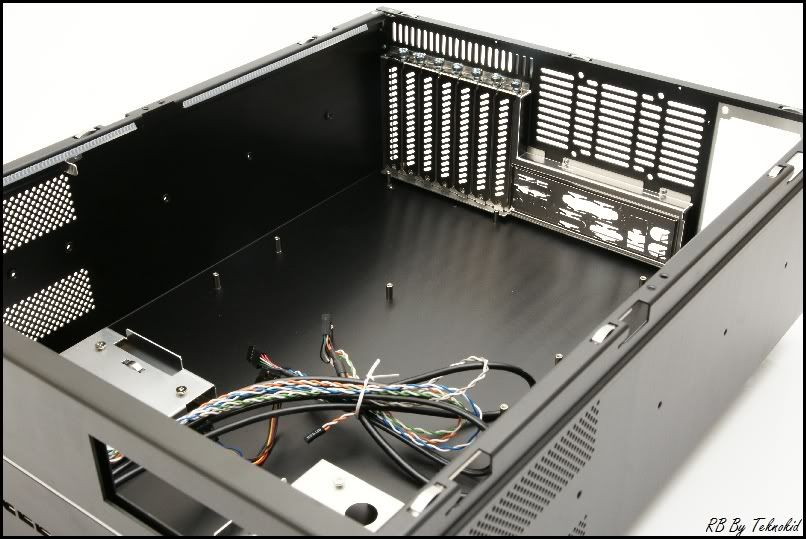
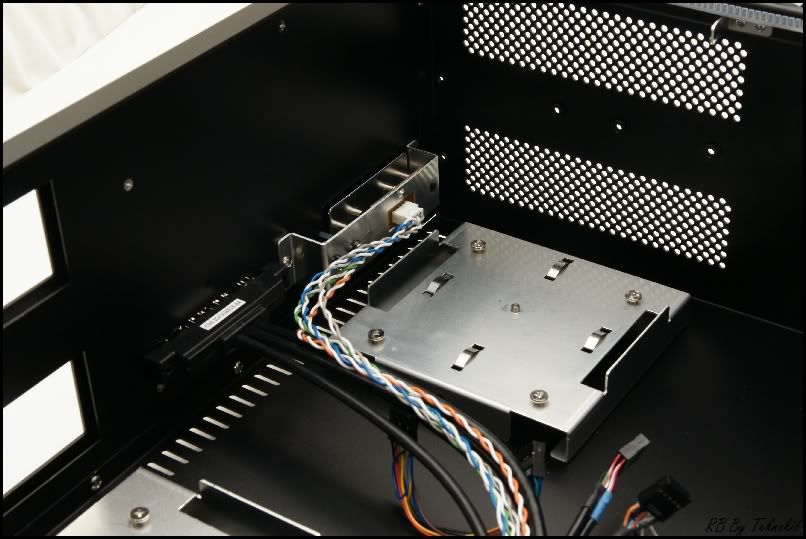
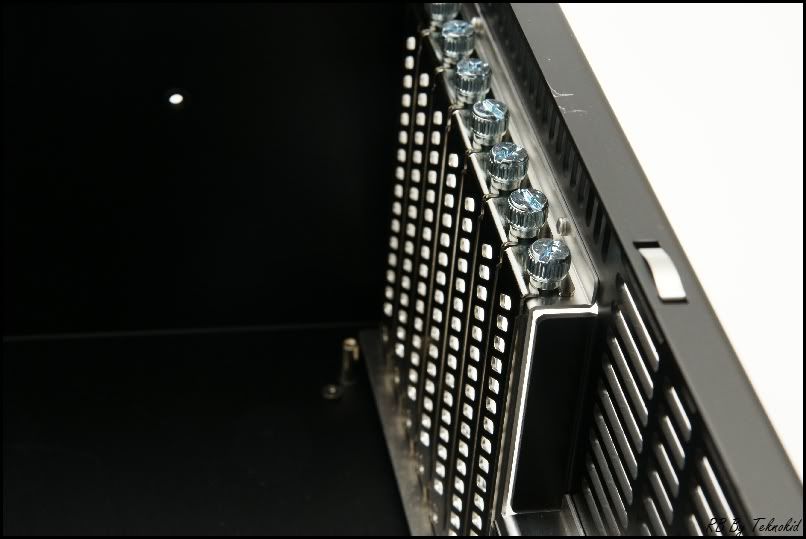
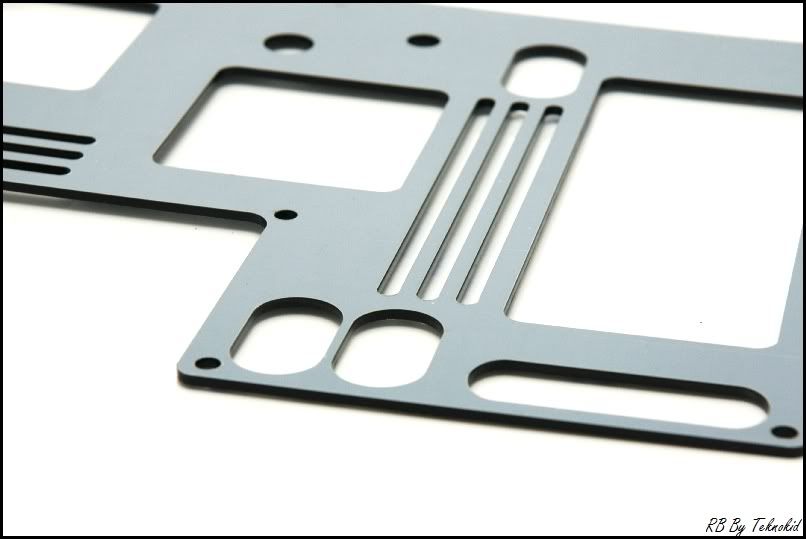
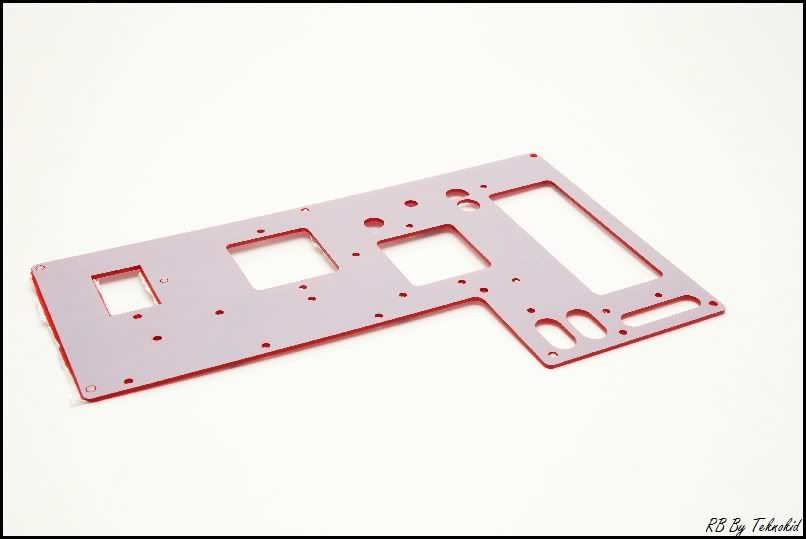
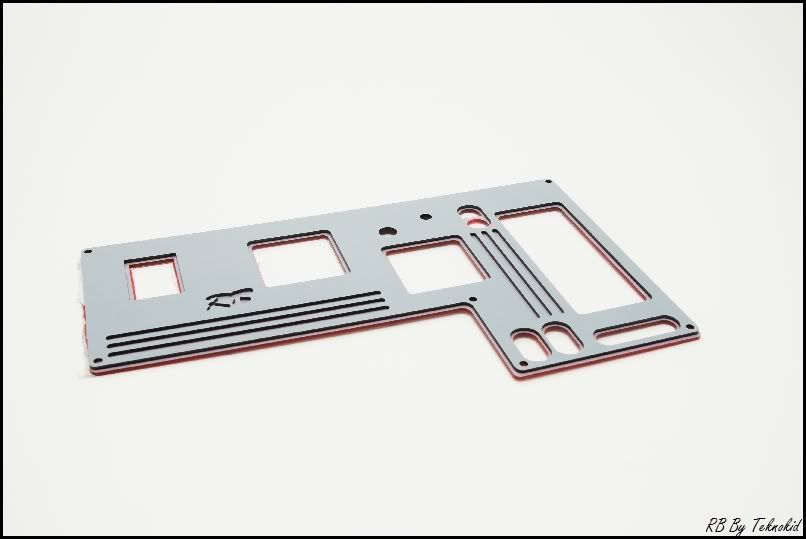
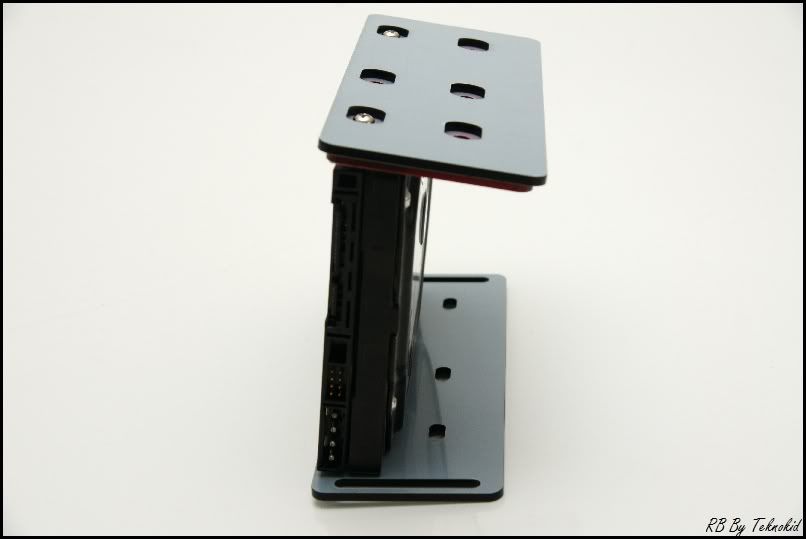
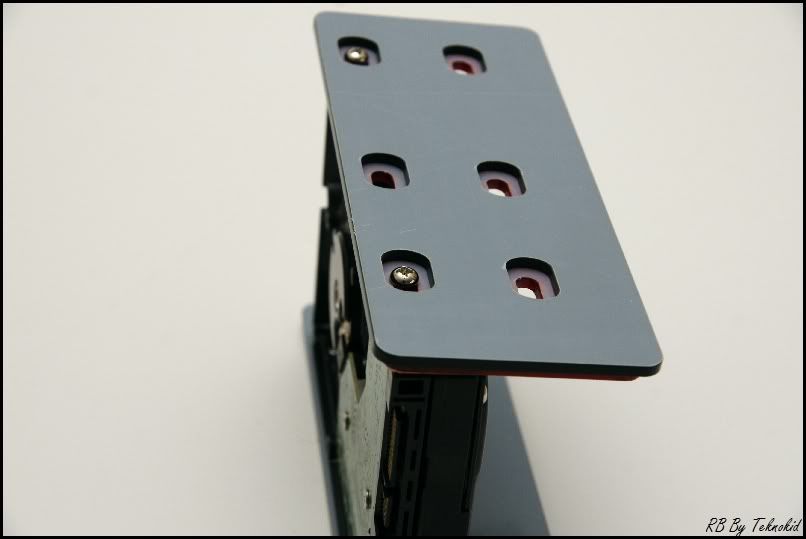
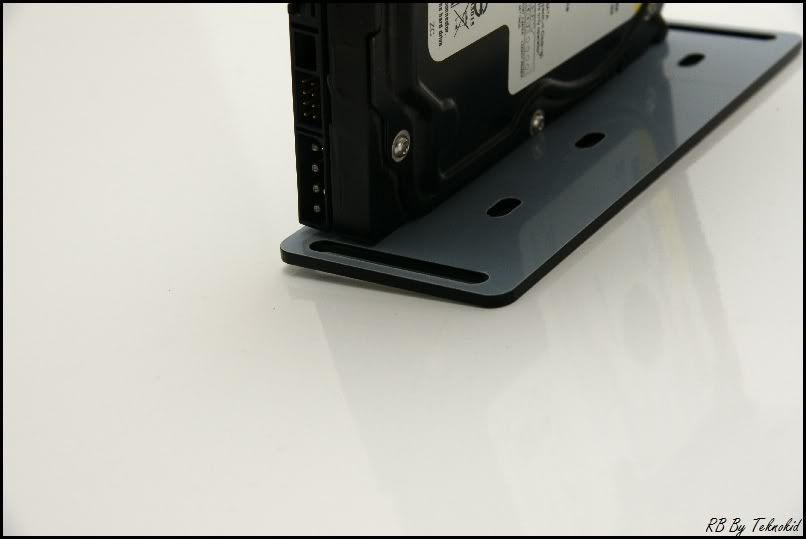
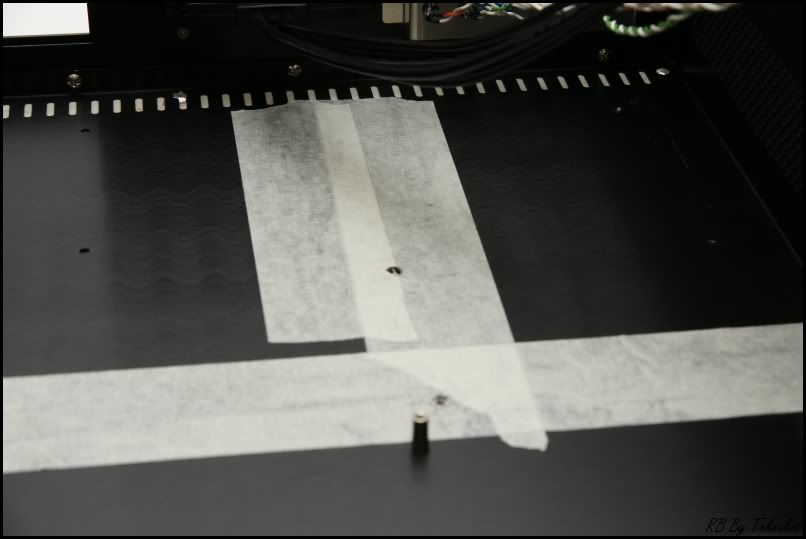
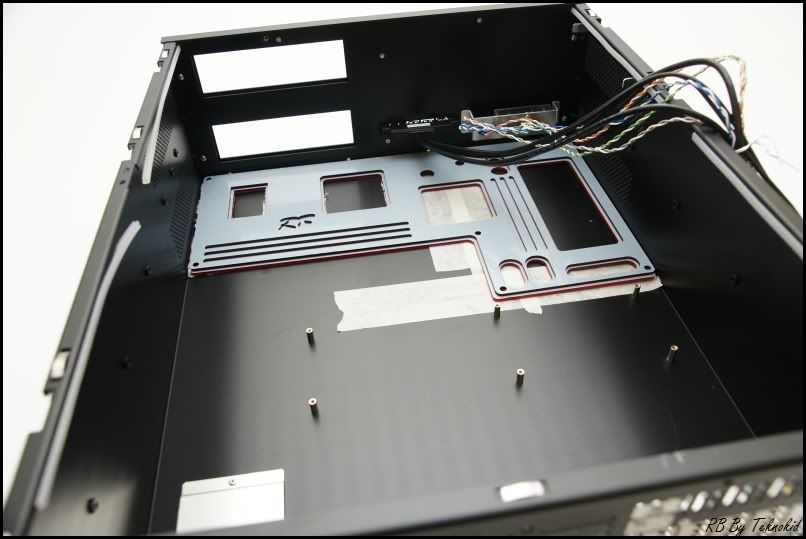
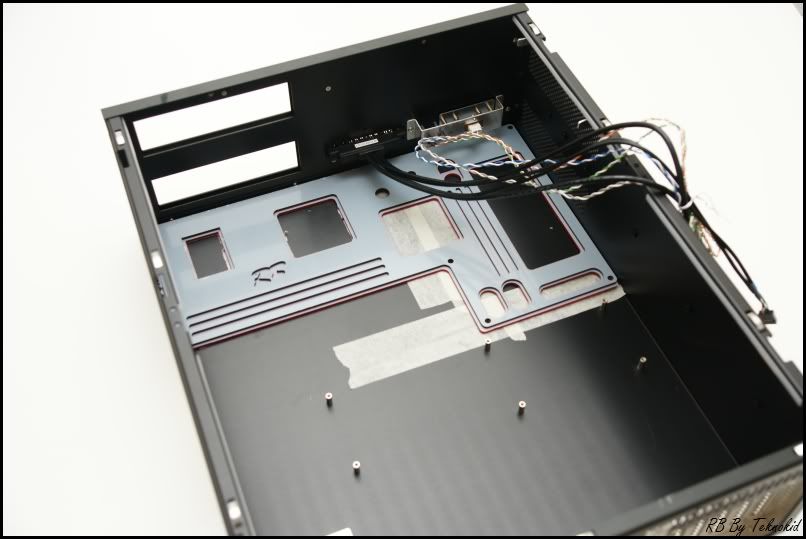
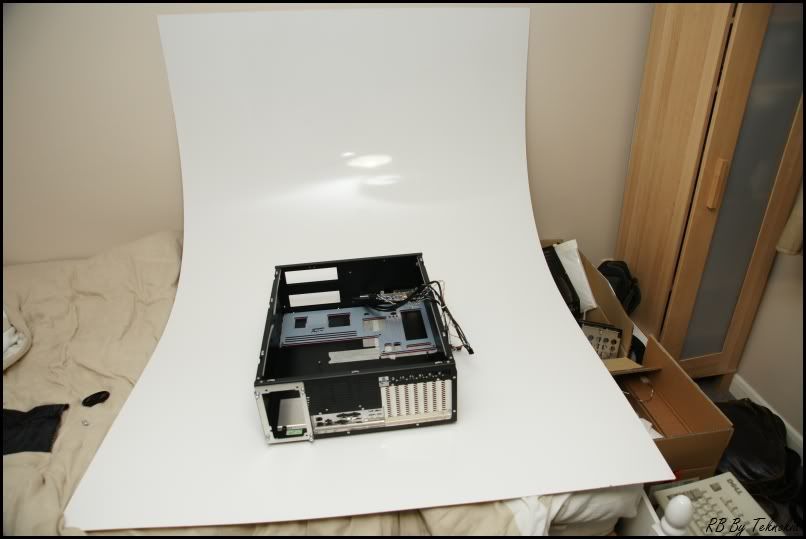
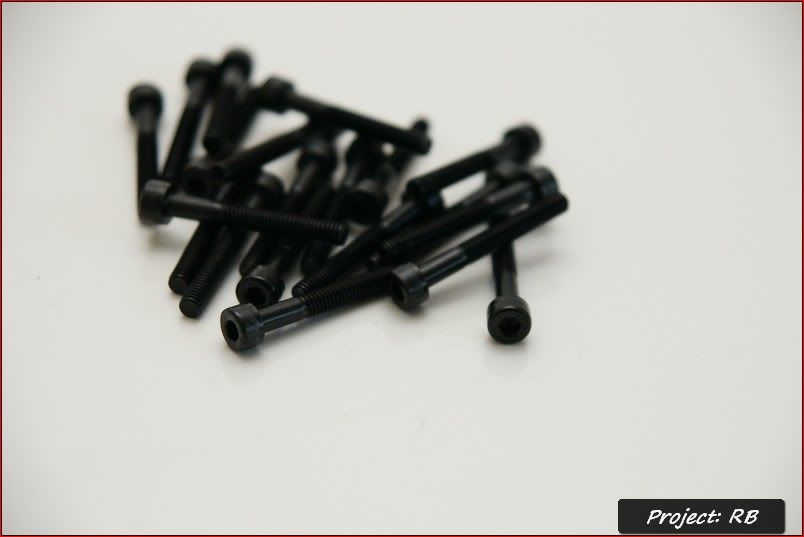
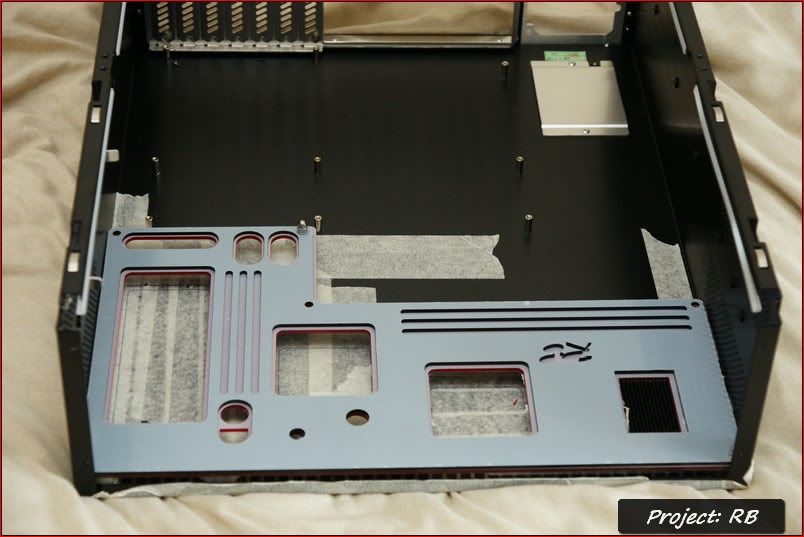
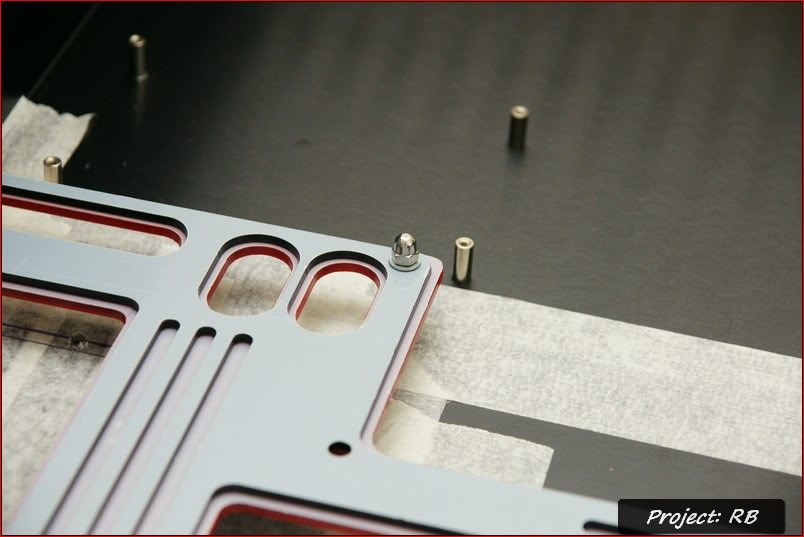
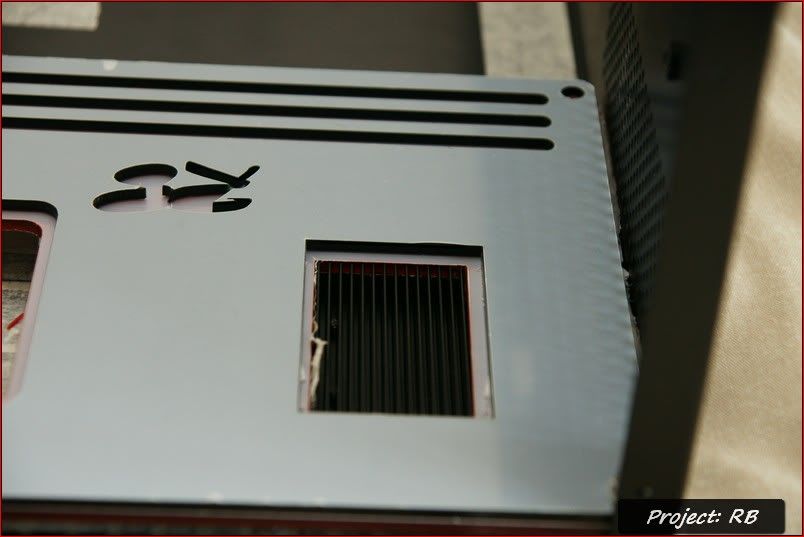
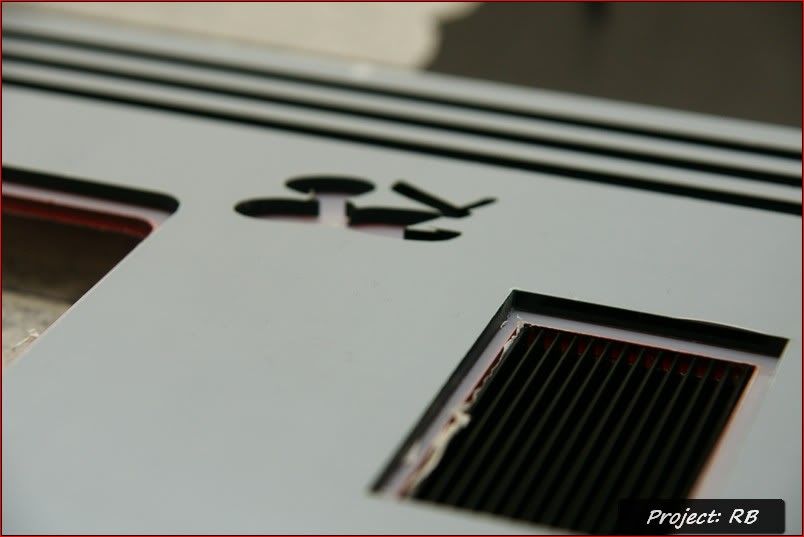
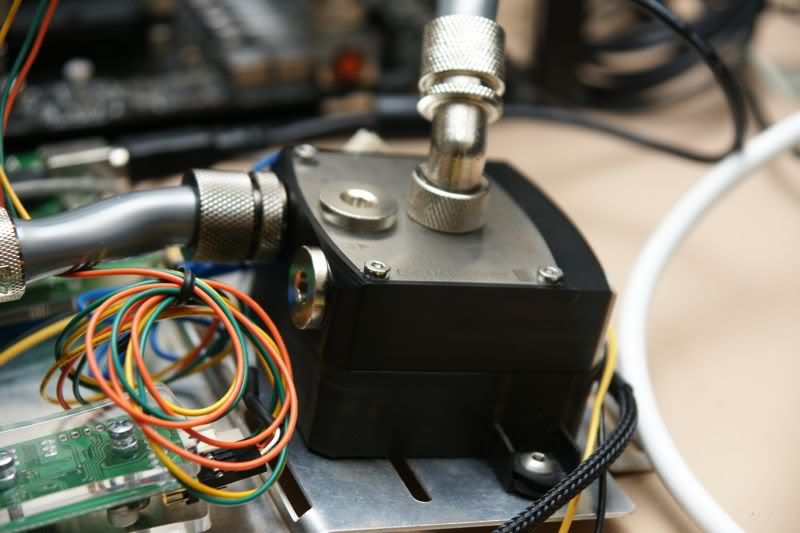
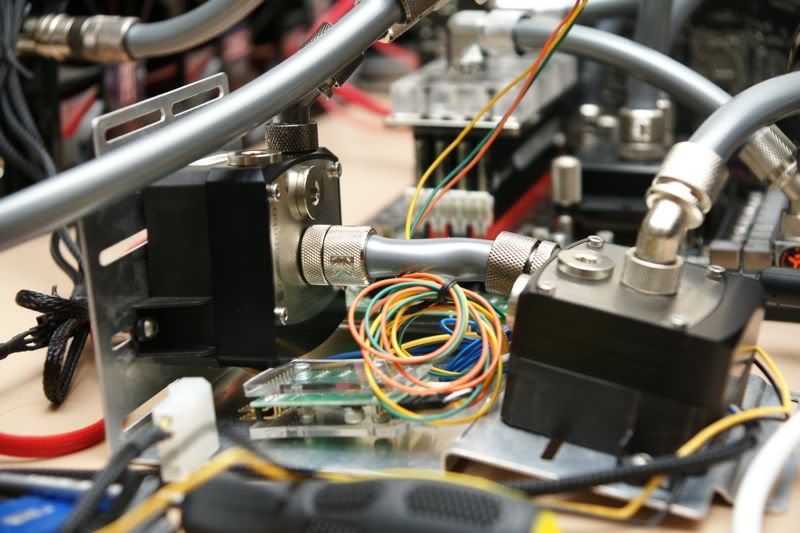
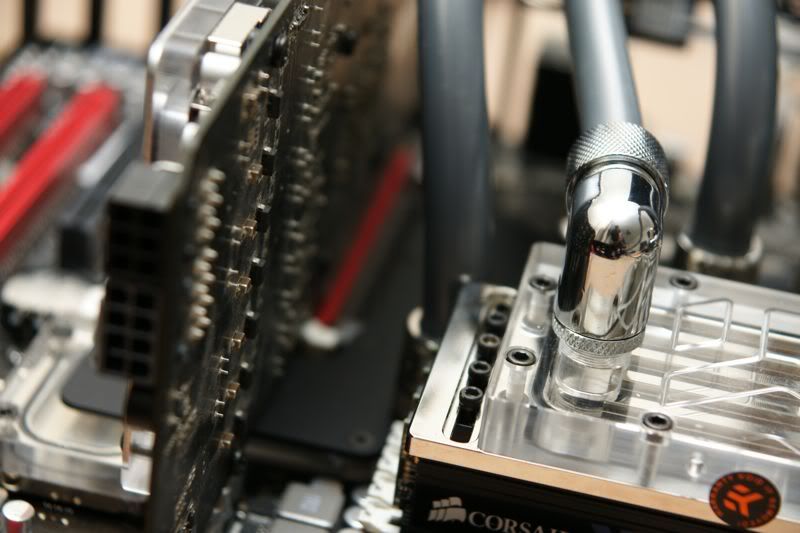
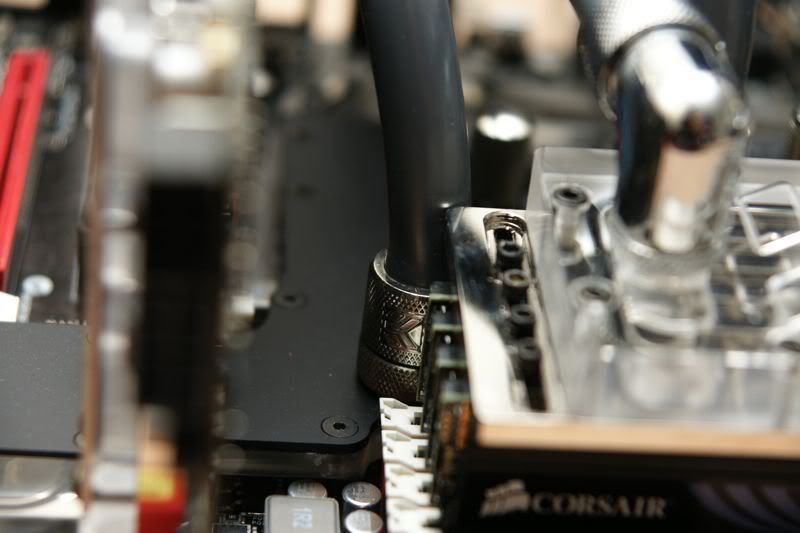
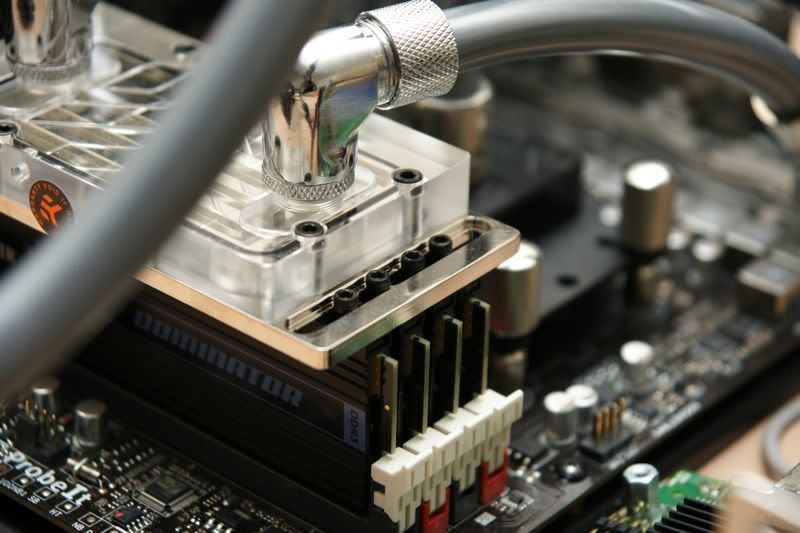
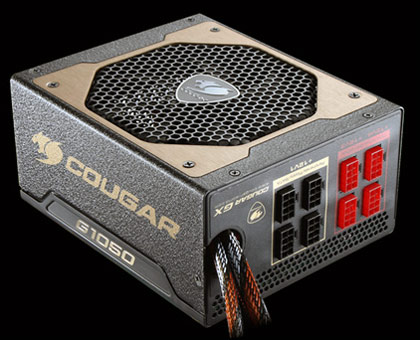
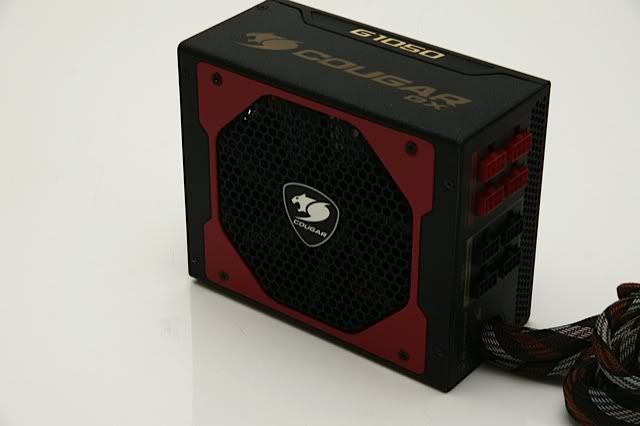
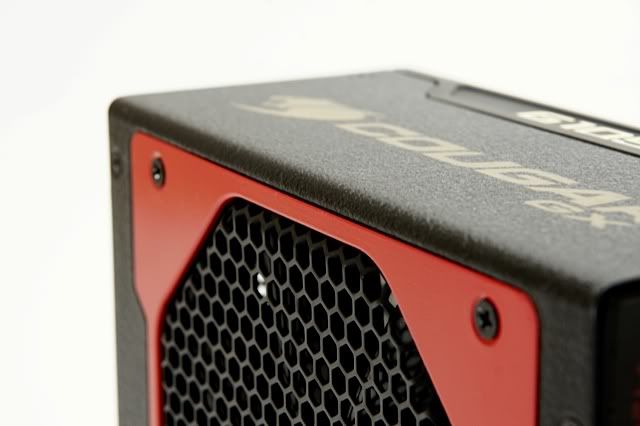
Anyway, enough talking, here's some pics of the bits and pieces I have already:

DSC04382.jpg

DSC04379.jpg

DSC04378.jpg

DSC04377.jpg

DSC04376.jpg

DSC04375.jpg

DSC04373.jpg

DSC04371.jpg

DSC04370.jpg

DSC04367.jpg

DSC04366.jpg


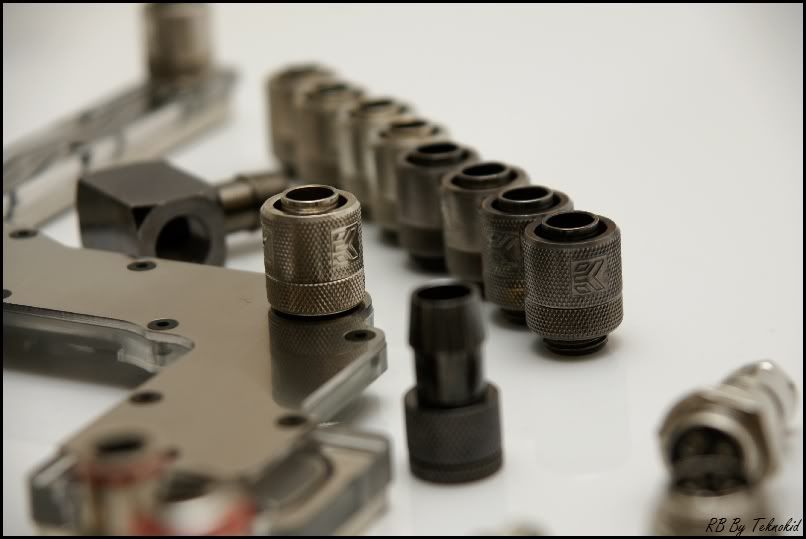
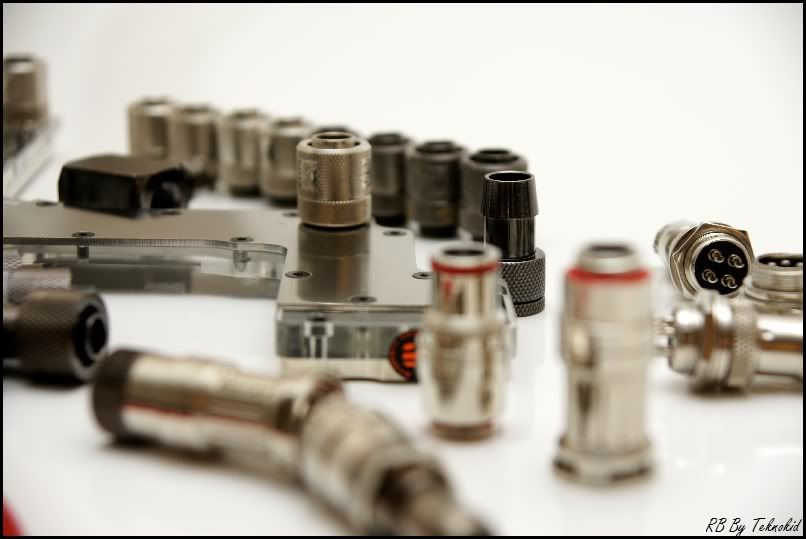
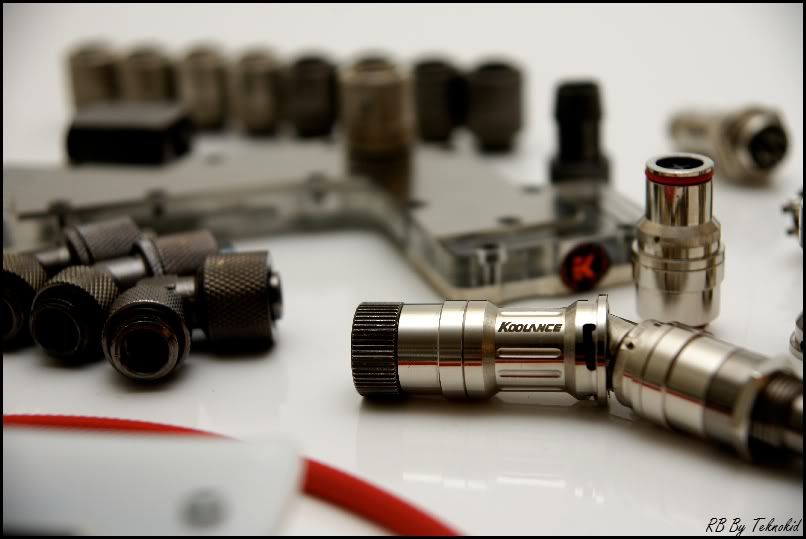
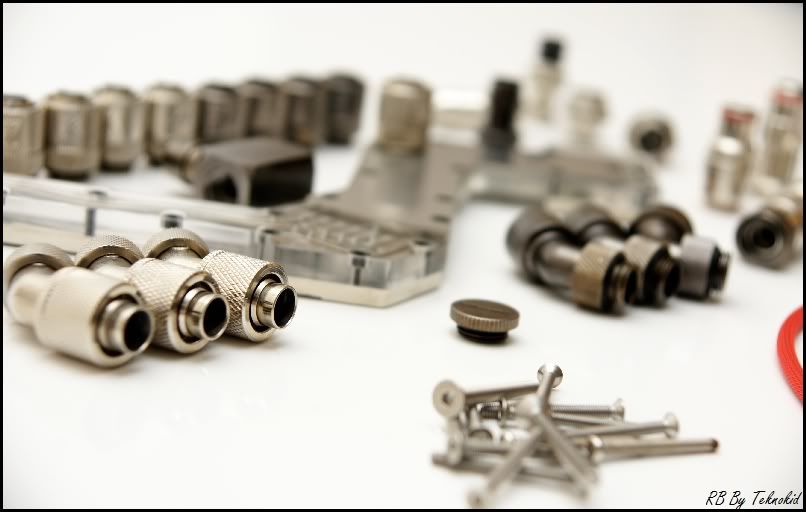
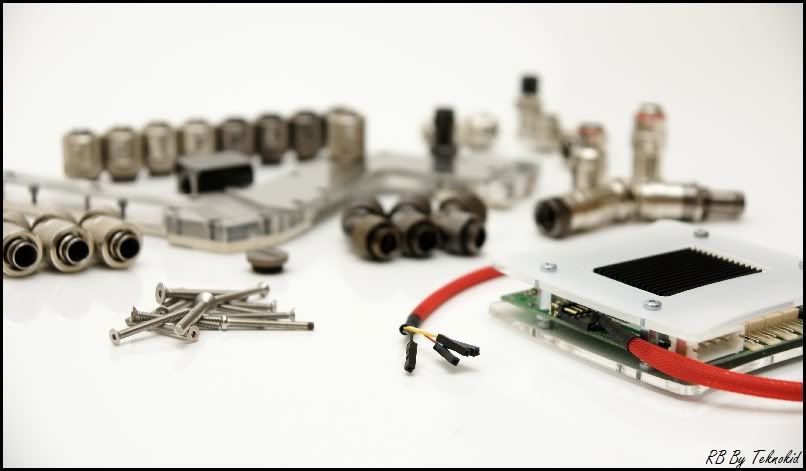
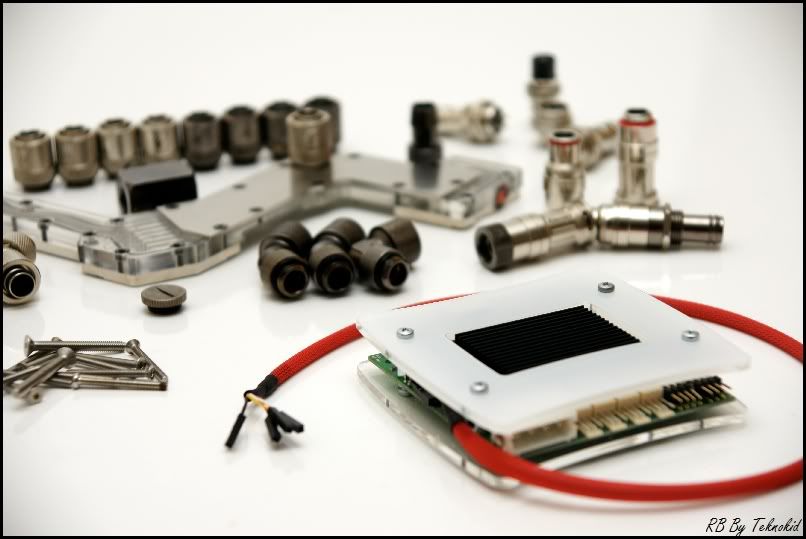
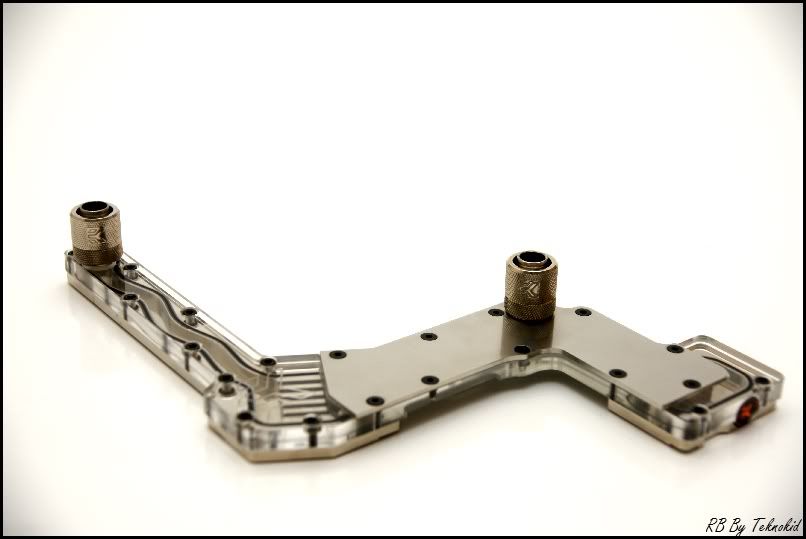
What do y'all think? Ill try and update it as and when parts come in..
 
I received some more goodies in the post today. They'd all seen their fair share of usage, so I got the rubber gloves, ketchup and distilled water out and gave them all a good scrub. In particular notice the purple gunkyness on the pump - this was actually really sticky and a pig to get off.

Anyway, what do you think? I also gave the bottom of the CPU block a quick sand with 2500grit, didn't quite get the shine I expected but improved it from what it was before.

DSC04384.jpg

DSC04386.jpg

DSC04389.jpg

This was after 40 minutes with the ketchup - it was all oxidised before but the ketchup worked a treat and it was no more!

DSC04390.jpg

DSC04392.jpg

DSC04394.jpg

DSC04399.jpg

DSC04402.jpg
 
Last edited:
It seems like an absolute age since I've updated this log - I've been snowed under with exams and reviews work, but at last I have an update for you.

Unfortunately it's not as complete as I'd like, as I didn't have time to photograph everything. Instead, I've only got some shots of the case semi-stripped down. Over the next couple of weeks I should have the time to strip it down completely and reveal something that has quite literally taken me hours of CAD time...

Anyway, some pics:

DSC04725.jpg

Excuse the hand print!

DSC04727.jpg


DSC04728.jpg

Not what you expect from Lian-Li - the case badge arrived half fallen of and there was quite a few scratches in the anodizing. Fortunately they're nowhere noticeable, but for £150 I expected better!

DSC04729.jpg


DSC04730.jpg


Just a little hint - the stock brackets for the HDD cage will be going, as will the mounts for the 5.25" bay - I've already fabricated my own mounts, but you'll have to wait to see them :P

DSC04731.jpg


Anyway, what do you all think? It's not a case I've really seen modified before, but as it can hold an ATX mobo yet it's still fairly small it fit the bill perfectly.

I hope to update ya'll soon!
 
I felt a little stingy with what I posted yesterday, so made some time today to update you all on what I've been working on.

Basically, because the case won't normally accommodate all the hardware I want to put in it, I've created a custom floor, which reduces the amount of space taken up by the hard drive and removes the CD drive enclosure completely.

With CAD designs made, my College teacher kindly let me use the laser cutter so I could bring my design to life.

What I've got is a layer of red acrylic going beneath the black. The red acrylic has 'bullet holes' all over it so that I can fit some LED's in to make it glow :)

DSC04752.jpg


DSC04753.jpg

black

DSC04754.jpg

red

DSC04755.jpg

Laser cutter didn't quite go all the way through, leaving some rough edges in places where I had to snap the acrylic, so some filing will be needed!

DSC04756.jpg


DSC04757.jpg

Mock install. I haven't got 2 pumps, but on the left is the T-balancer, then Ill have 2 pumps and the hole on the right is for the Hard disks...

DSC04758.jpg

Little power pass-through for the hard disks.

DSC04759.jpg


DSC04760.jpg

My custom Hard disk cage - the screws I had were completely the wrong lengths, but it's enough to show you how it will all go together.

DSC04761.jpg


DSC04762.jpg


What do you think?

Tom
 
Outstanding can't wait to see that floor plate lit up, as I have been pondering a like minded idea. I have to give a lot of credit to you for fabricating your own parts, as I work with cad a lot and I know it can be frustrating at times. Now if I could just find time!!!

Cheers - yeah time is a massive consideration when using the cad. I had to print all of this onto paper and cut out mock ups 4-5 times to get all the dimensions right, but now they're perfect so it was well worth it :)
 
Today I drilled out the rivets that held in place the HDD mount and DVD bay rack. Doing so without scratching the case to buggery was actually rather hard, so I wrapped the whole lot in masking tape.

I also drilled the holes for mounting my false floor - hopefully ill pick up the fittings to mount it tomorrow and get it all installed :)

Anyway, some pics:

DSC04816.jpg


DSC04818.jpg


DSC04820.jpg

How she's gonna look..

DSC04822.jpg


And my photography setup (using a Sony A700, flashgun and Zeiss 16-80mm).
DSC04821.jpg


Anyway, what do you think? it's beggining to take shape!

-edit-
Pictures are a little below standard - apologies. My brother used the camera and moved the focus point and I managed to use it without noticing :(
 
Last edited:
Im back - with an update! It's been a while, I've been busy busy busy with exams, which finished yesterday, so I can finally get back to working on the case.

I'd actually done some bits and pieces during my study leave, but didn't have the time to update you all (sorry!), so todays update is fairly substantial.

DSC04873.jpg

Got some black hex bolts for about £2 which seemed pretty good.

DSC04922.jpg

Pumps have now been mounted to the bottom of the case, with little rubber pieces in the mounts to reduce vibrations.

DSC04923.jpg


DSC04924.jpg

HDD cage is also in, again with rubber mounts for the hard discs to reduce vibrations....

DSC04925.jpg


DSC04929.jpg

I installed the floor, with only 3 bolts instead of all 6. I also mounted the T-balancer (which bolts to the floor of the case, and took ages to get the holes alligned)..

DSC04930.jpg


DSC04931.jpg

The air hole not only looks cool but should also keep the fan controller cool.

DSC04932.jpg


What do you think?

Im not sure whether to get black nuts for the top of the bolts or whether the silver ones I used here worked well? Let me know your thoughts!
 
I'm not sure I'm understanding how you are connecting your acrylic to the floor. If it is possible I would countersink the plastic and use countersunk black screws. If you have to use nuts I would choose I black

Unfortunately the bolts really need to come up from the bottom, so I have to have a nut on top.. I think Ill go for black, although it's hard to really know till the protective layer is off the acrylic.
 
zocker24-albums-mein-smaragdene-s-lian-li-v2010b-2521-picture38450-aquatuning-logo.jpg


Wahoo! I've got my first sponsor. Aquatuning have agreed to help me out with this project, for which I am incredibly grateful - the enormous range of components they have of on offer will undoubtedly come in handy with this project.

Unfortunately I don't have that much of an update to show you, as I'm still waiting for the final waterblock, but here's a little teaser:

DSC04957.jpg


What do you think? Can anyone guess what I'm running?
 
Update time - wooo!

I've finished college now but due to review work I havent progressed with the log that much, but have managed to get some stuff done in the last few days (some of which Ill save for another update, when it's more complete).

Basically, I bought myself some spray paints, and got sprayin'!

I've also decided to run a 9600gt as a physx card, so that got the spray treatment too. It's an MSI 9600gt Hybrid freezer 1gb, so the cooler is pretty hefty. I was originally going to watercool it, but the cooler is silent most of the time anyway so i didnt see the point. Anyway, this is how it looks stock:

msi-geforce-9600-gt-hybrid-freezer.jpg


Shroud removed:
DSC05118.jpg


and back together (PCI plate also sprayed):
DSC05120.jpg


DSC05121.jpg


DSC05122.jpg


DSC05123.jpg


DSC05124.jpg


DSC05125.jpg


Sorry there's so many images - I couldnt decide which ones were best. I'd also like to apologise for the lack of formatting on them - as my pc is in bits I didnt have the chance to format them all like I normally do :(

I also took the opportunity to spray the backplate on my 5870, and some vented PCI plates for the case:

DSC05127.jpg


DSC05128.jpg


DSC05129.jpg


Anyway, what do you think? Im hoping to really get moving on the project now, and have some parts arriving soon.

Once again I'd like to thank my sponsor Aquatuning!!

aquatuning.jpg
 
As ever, my pc is still in bits so apologies for the photos not being upto their usual standard (I don't have the editing tools on my mac).

Anyway, Ive sprayed a few more pieces - what do you think?

DSC05131.jpg

PSU backplate and Fan Grills

DSC05133.jpg


Took the case apart to get the back panel off - what a pain! Anyway, here's it all sprayed up - doing the screws was a pain!!

DSC05136.jpg


DSC05137.jpg


Also ordered some LED's that are flat topped to go in the acrylic piece:
DSC05142.jpg


DSC05143.jpg


Wired up:
DSC05157.jpg


DSC05158.jpg


Capturing the light properly is proving difficult, this is the best I could come up with for now:

DSC05167.jpg


If you're wondering why I wired it in with a 3pin fan connector - it's because Im going to connect it to my Mcubed T-balancer fan controller. This way I can turn them on/off as I wish :)
 
Update time!

I've been busy beevering away on another review, so there isn't that much for me to show you I'm afraid.

It's been an expensive week though - More WC parts, another 5870 and yet more WC parts (in my next update ill have to show you my stock pile.. I must have about 8 radiators :\)

Anyway, for my review Im utilising all the waterblocks I will be using on the final rig, so it's a good time to show you roughly how it's all going to look (Final routing of tubing will be different, and res won't be mounted above mobo).

Got some new pump tops too (smaller than old ones so fit my new floor):
DSC05170.jpg


DSC05172.jpg


DSC05173.jpg


DSC05174.jpg


Sprayed part of the mobo block black - Ill also be getting backplates for my GPU's to give it a more stealthy look.
DSC05175.jpg


DSC05177.jpg


So, what do you think? I can't stop oggling at the EK waterblocks, they're beauty's!

I just need a few more parts (already on order), along with another GPU block and it'll be ready :)
 
Is the 5870 going into this project then? It's looking awesome btw! Very nice Camera Skills/Pictures :D

It certainly will be - I just need to get some funds together to buy the last few pieces I need (inc a waterblock for the 5870) and Ill be ready to do the final install!
 
Another update, although only minor - I got a new PSU.

The stock item looks like this:
cougar_1050g.jpg


This simply wouldn't do, so, voiding the warranty, I opened up the PSU and gave it a little re-spray. Here's the results:

DSC05337.jpg


DSC05338.jpg


I also quite like the braiding they've used on it- quite different:

DSC05339.jpg


DSC05341.jpg


What do you guys think? Im not sure what to do about the writing on the top. It's not too bad, I reckon I could leave it- what do you think?
 
Back
Top Bottom