Project: Rebuild (Name Change Pending)

Associate
Joined
14 May 2012
Posts
1,210
Project: Overhaul

So, some of you might have seen the build log which is in my Sig.

Following my successful HTPC build log I'm going to rebuild my main desktop.

I'm not actually changing any components, just redoing the wiring, tubing and adding some mods to the case to make it look tidier.

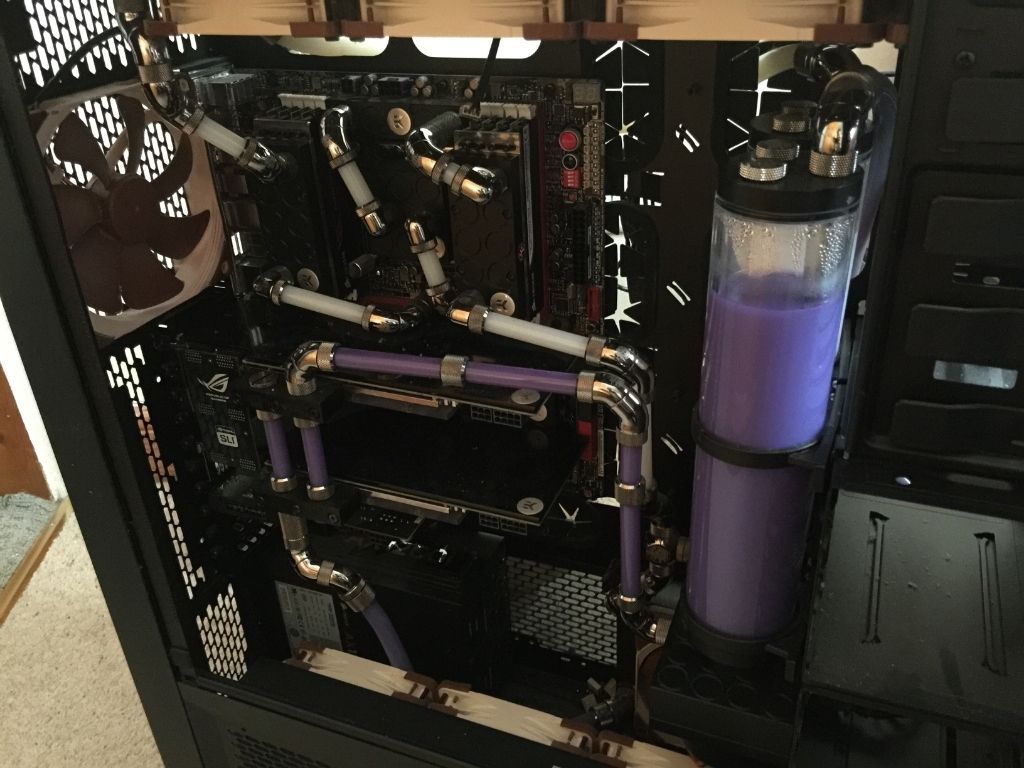
So here's what I have now:
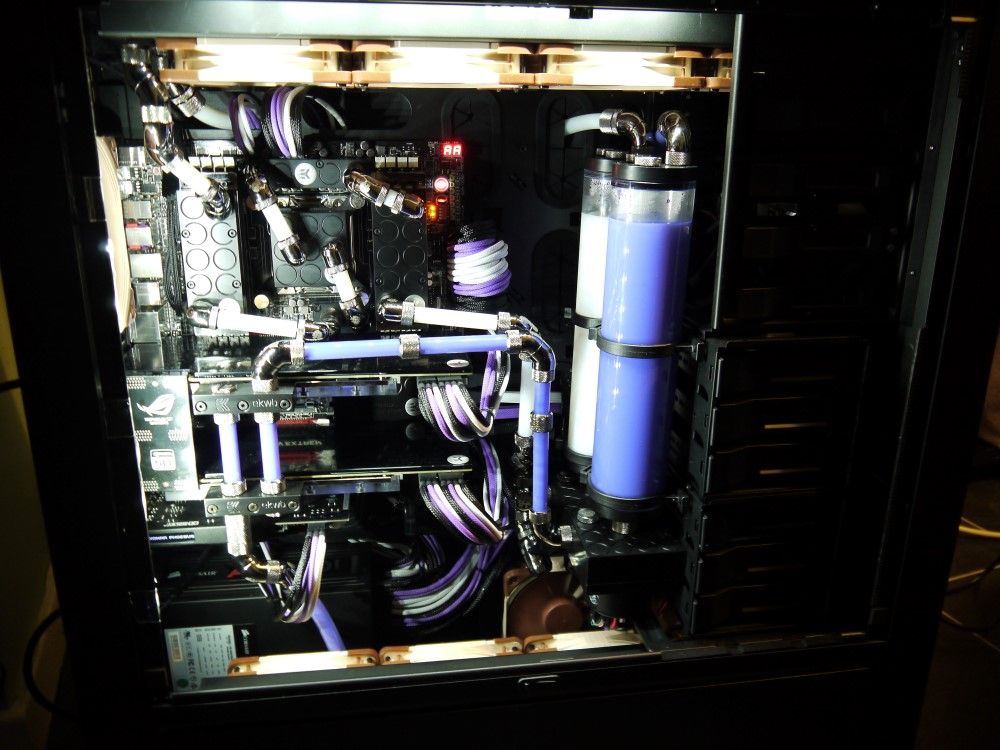
P1040025_zps1ce16c0f.jpg~original


I have just placed an order for a whole load of Custom Acrylic sheets for it...

Including a shiny lightbox.

However I (think) I want to change the colour scheme.

I don't know what to though, suggestions welcome.
(Red / Grey / Black is out).
 
Last edited:
Looks awesome. The colour scheme works well with the liquids.
I know noctua fans are very quiet but if you could replace them with other premium fans (if you want to waste money on just aesthetics) that match the colour scheme it would be great.

I might either replace them or spray them during the rebuild.
 
Spraying fans is quite risky even if you dismantle it correctly.
You have to coat it very thinly and even or it could completely ruin them.

Good luck though :)

I guess thinking about it once the lightbox is in then it will only be the top 4 fans and the rear fan which need replacing / spraying / dying. which massively decreases the cost.

I have incoming:

Lightbox (Full length)
HDD cage covers, front and Side
5.5" drive bay covers (both sides, MB side has mounts for 2 SSDs
5.5" drive bay side panel
Rear cover for the missing HDD cage
PSU Cover (for spare PSU slot)
Rear Panel with fan cutout
and a backplate for the Soundcard


I'm thinking possibly a black / dark blue / grey might look good. Especially with the RGB lightbox.
 
Last edited:
Been spending some time today trying to plan out the tubing routes, and I think I've finally come up with something acceptable which looks much tidier.

It's going to involve quite a bit more work that I originally planned, but I think it will be worth it in the end.
Just need to plan out the fittings I need to do it; hopefully I don't need too many more, I seem to remember spending over £500 on fittings for the original.

Although I think it might need a few bits and pieces because I want to try to hide a bit more of the tubing behind the trays etc.

Also I think all of the tubing in the bottom of the case (under the lightbox) will be replaced with soft tubing for ease of use / access.
 
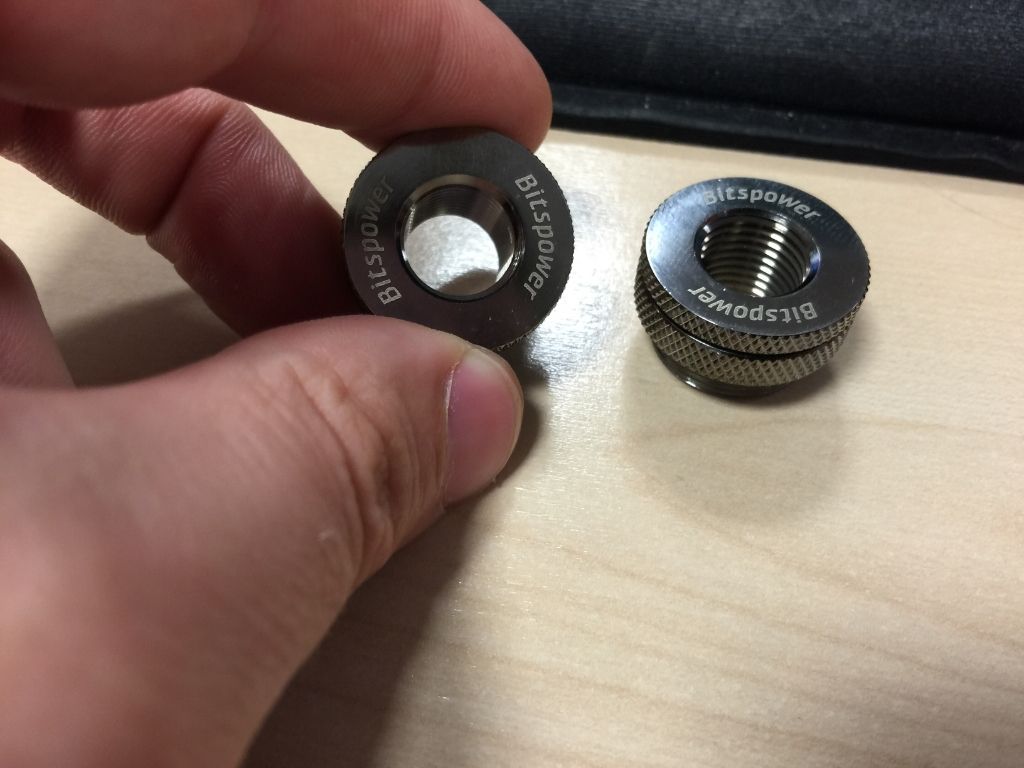
First order has arrived:
CDF7F7DB-C0F7-464D-9AE5-C637272AF349_zps0mgc4ni2.jpg~original


35634513-0EE2-4596-88BF-F0AB5CBF39FA_zps1q9dv6xo.jpg~original


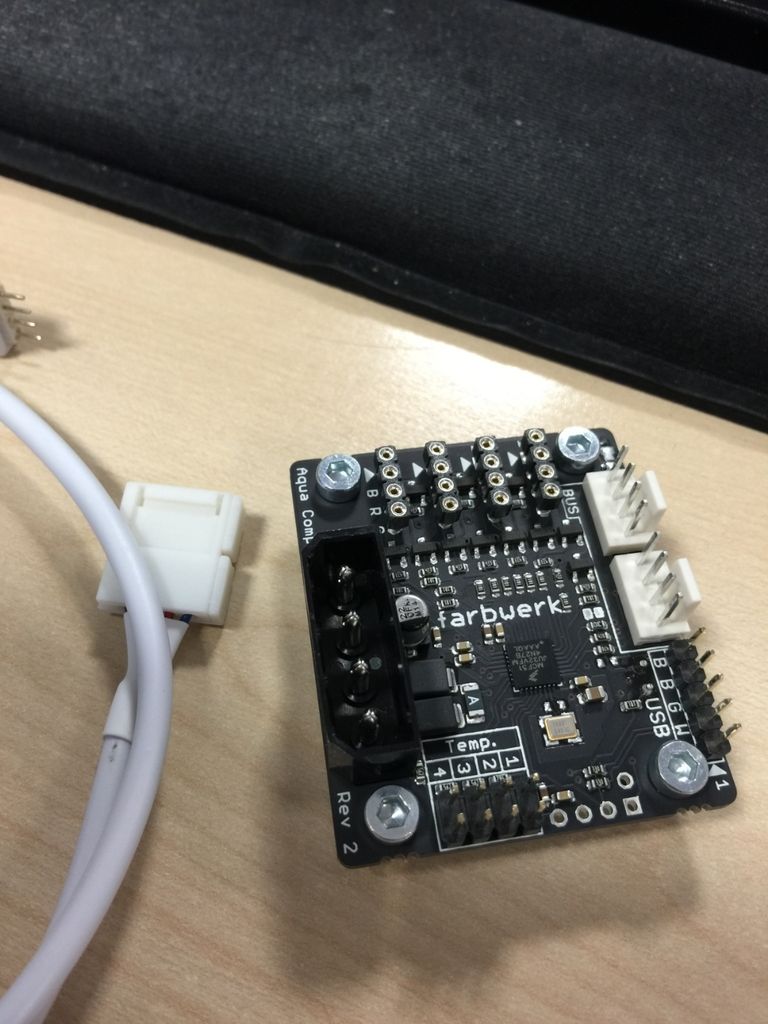
Still waiting on 5x90 degree Black Sparkle G1/4" rotary connectors, 4 more of the Pass throughs & some soft tubing to go in the cooling "section" in the base of the PC, and a second USB connector to configure the farbwerk.

And my acrylic won't be dispatched until the middle of next week...

Ah well.... I guess it gives me some time to work on what this build will be called :rolleyes:
 
What's the item in the first picture and what does it do?

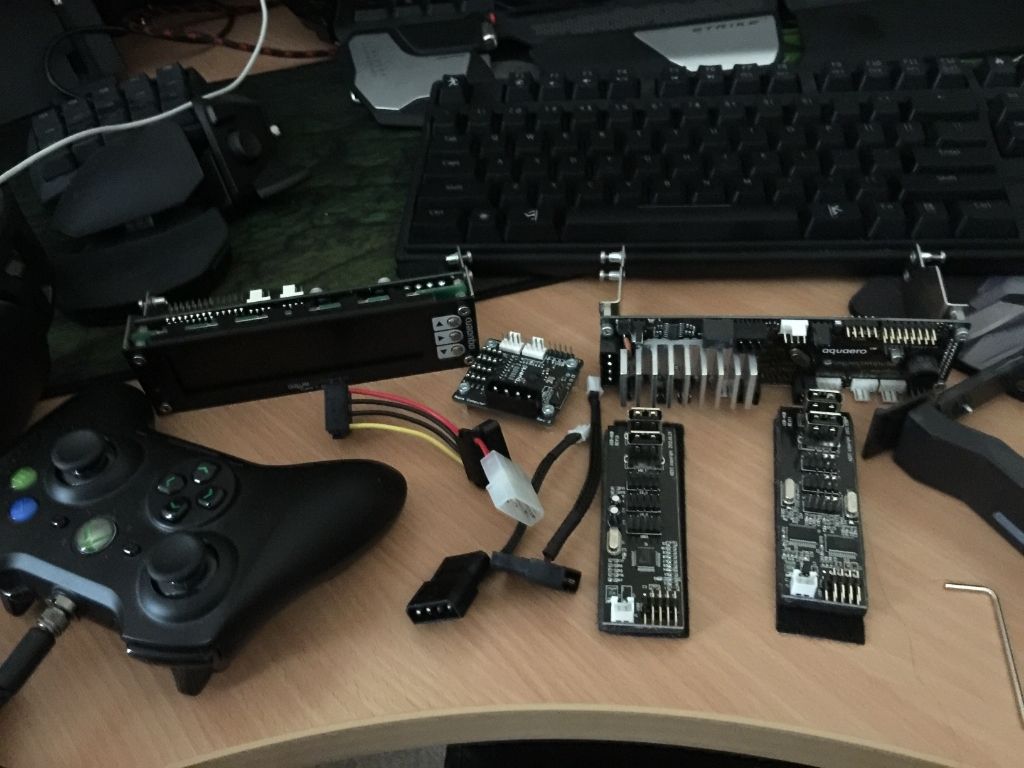
It is an Aqua Computer Farbwerk (Colour Works) and it's a USB 12v RGB LED controller.

It will also connect to my Aquareo's and use the temp sensors from them.

I'm really looking forward to getting everything out of my PC and giving it all a good clean, and tidy up.

Once my fittings arrive from the Netherlands I think I'll drain my loops and start constructing the new configuration.
(I'm too impatient to wait until my acrylic parts arrive the back end of next week).
 
Last edited:
Today's update is pretty boring...

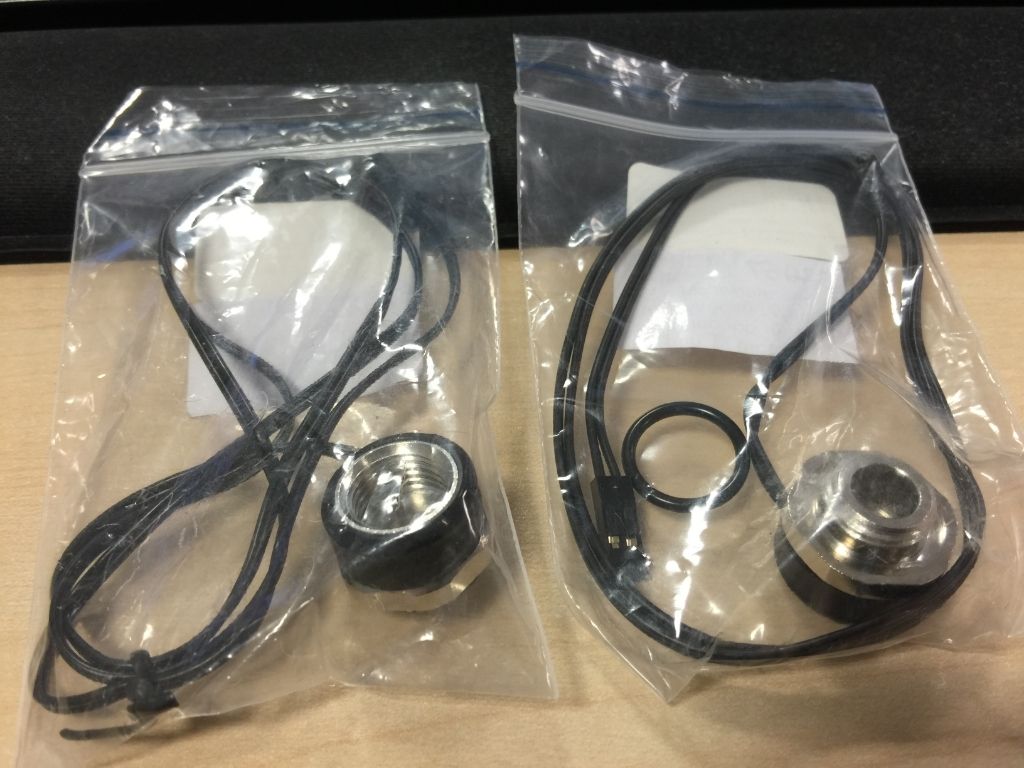
But hey these arrived today:

45A9EAE3-6806-4901-B60D-DD0BDBA90915_zpsylet4dee.jpg~original


I finally got fed up with usingA AIDA 64 for temperatures for my Aquaero; since it leads to very sharp changes in pump speed / fan speeds.
I'm going to switch to water temps.
I might also add more temperature sensors which I didn't have before, I kind of couldn't be bothered before I never really knew where to put them.
 
Having looked at them some more, I won't be...

Probably the last update before anything exciting happens...

610A18DB-F940-4436-A1E6-A4CD262DE432_zpsbx2rfeqy.jpg~original


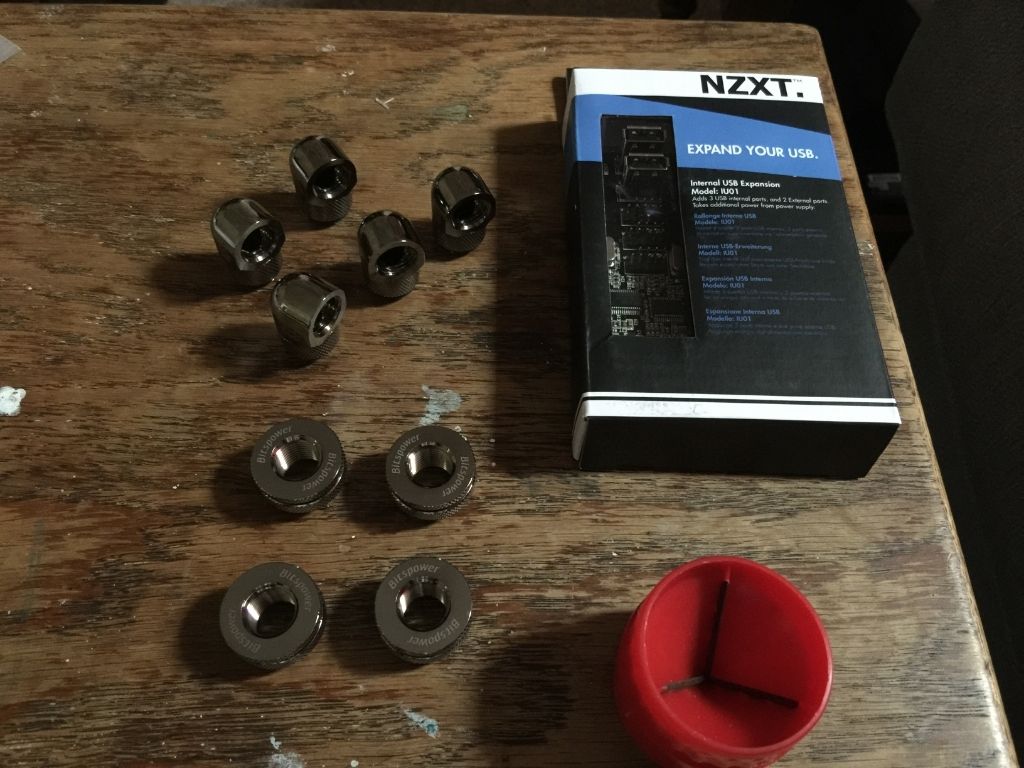
Got all of these things today!
(AquaComputer stuff needs so many USB ports).
I have 2 Aquaeros, 2 Pumps & a Farbwerk and the 2x front panel USB ports to run off 2x USB header... not going to happen.

However this should allow me to mount the Xbox One wireless controller inside my case when it's finally released!
 
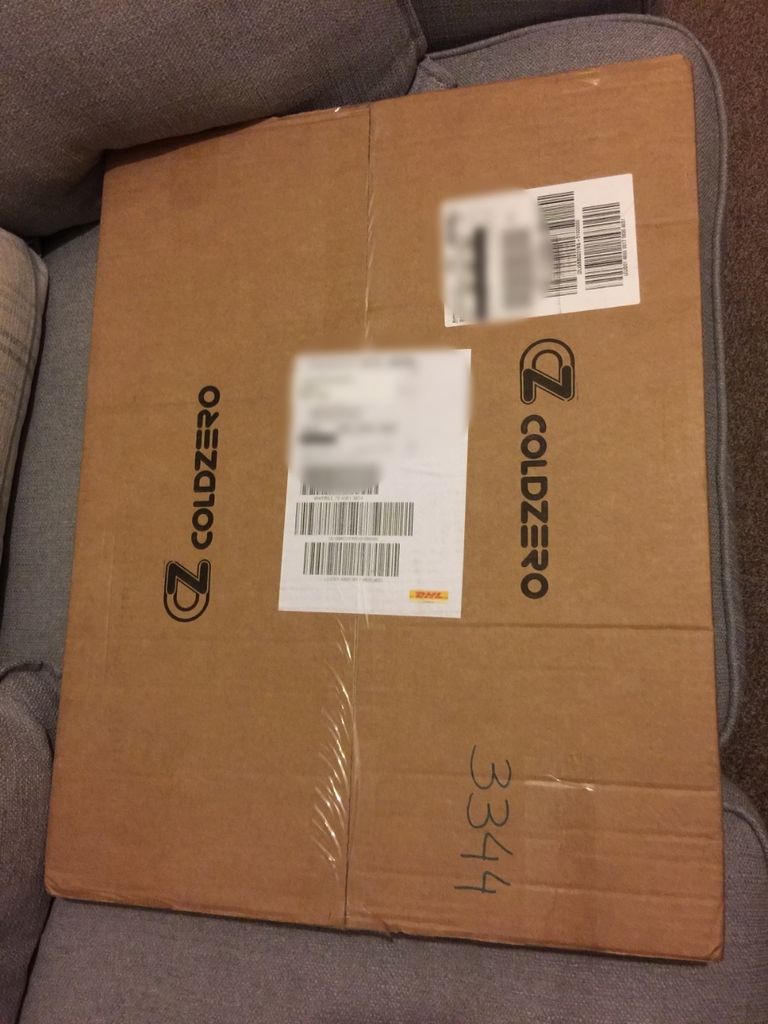
So I was away for the weekend however this arrived:

CE6DC19D-73BA-49F0-8297-4BFF9A384DFA_zpsgzc9xcpv.jpg~original


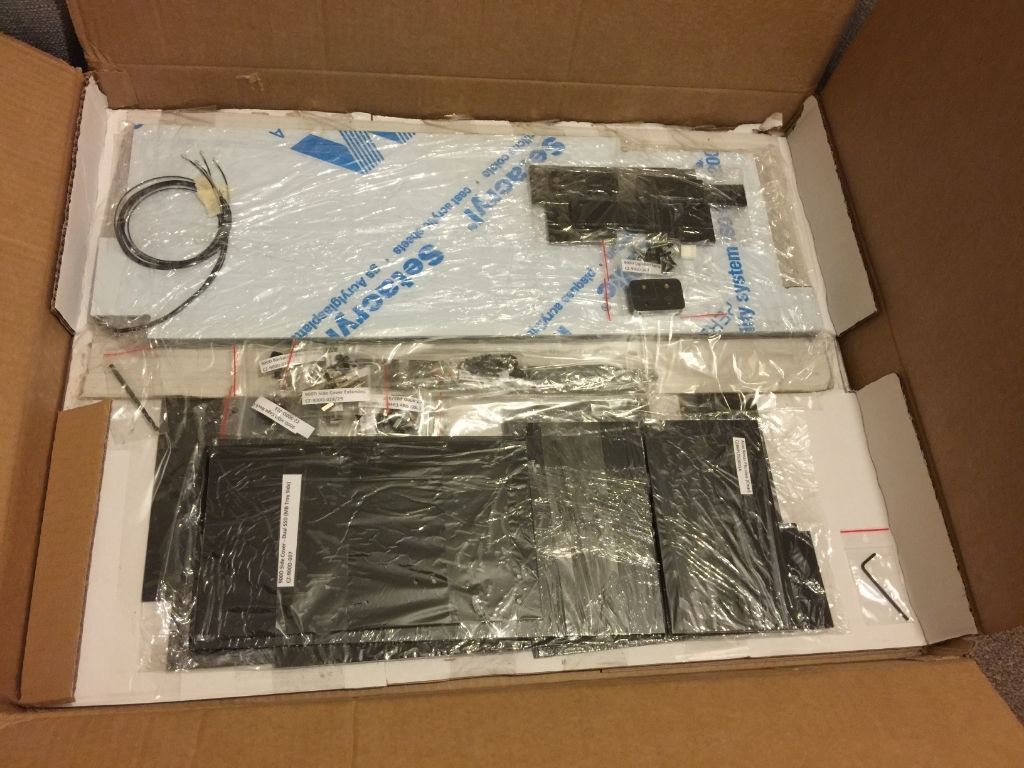
It was all really nicely packed:

34575ADE-3AFA-4626-89D6-CCA3EF222E35_zpslzftygpe.jpg~original


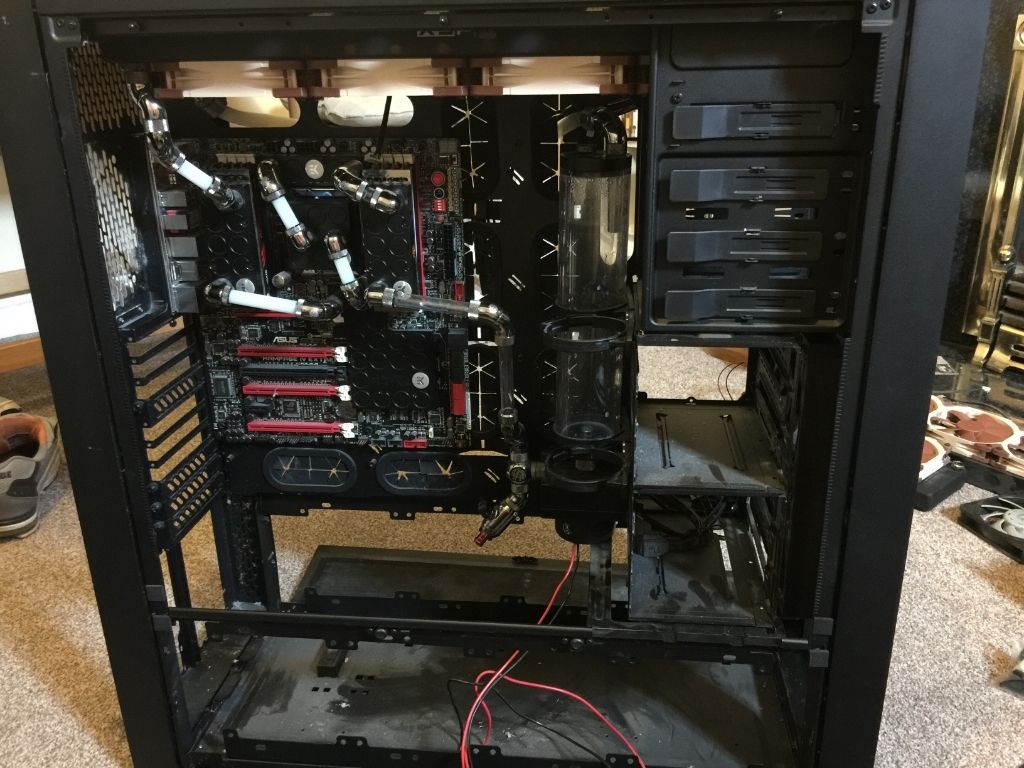
So then it was time to start stripping everything down and drain the loops.

The case (full) weighs a ton, so I thought it best to start stripping it down and then drain the loops...

61FD61A3-2DAF-487D-8040-D8AB1155A5E8_zpskmge0qv4.jpg~original


All drained:

5EA9AD6A-254C-4A83-8B48-F93217BD7C4D_zpscxrm8ptg.jpg~original


IT's SO filthy! Look at all that dust... :eek:

All of these need to go back in:

E274D7DC-5957-4FEB-8722-AE900573B6BD_zps3naf81xs.jpg~original


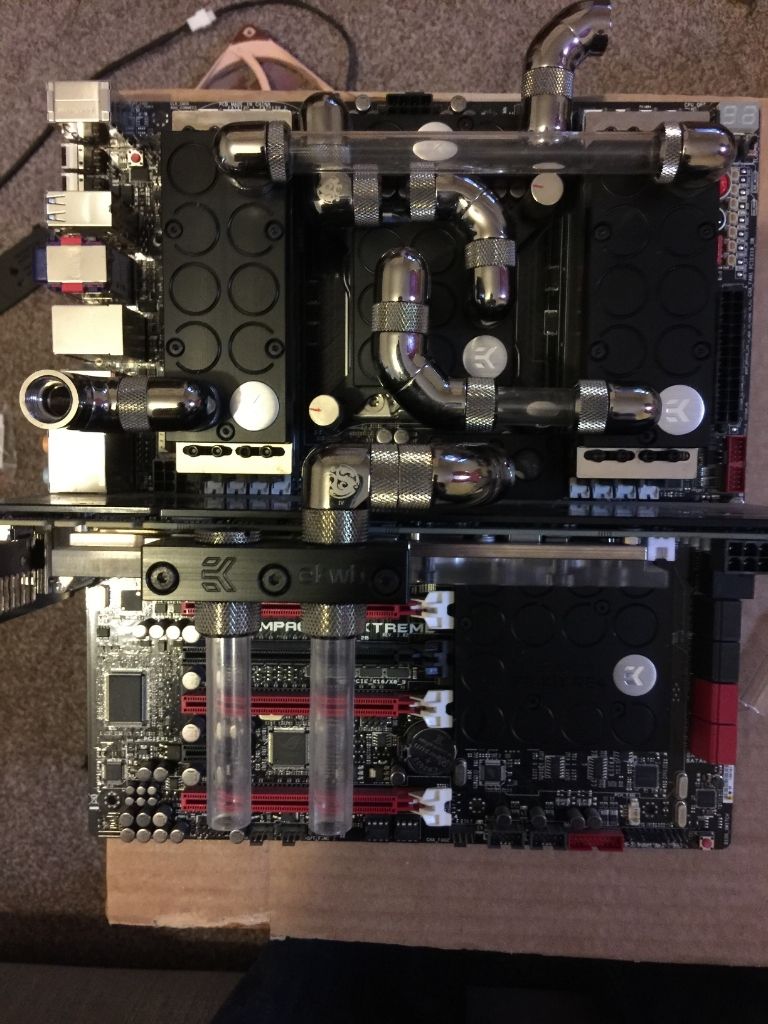
I then took the motherboard out and redid the tubing runs to tidy it up:

CBE4AA25-FE4D-4205-B37C-26E1A667B4EA_zpsmtiuw32i.jpg~original


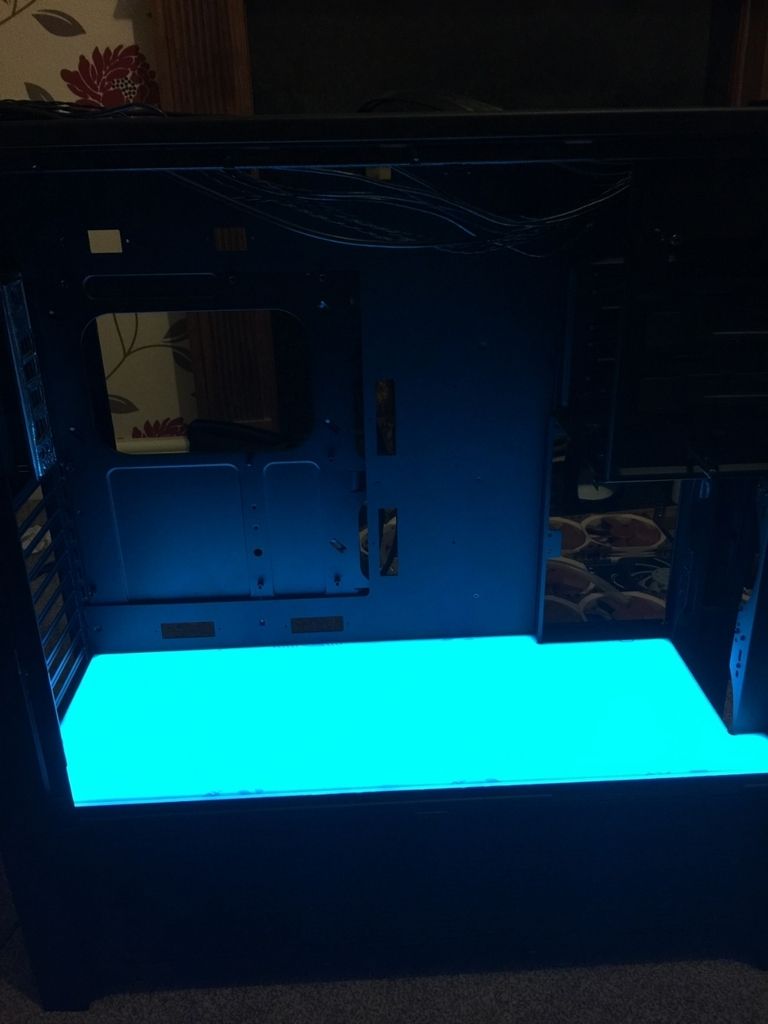
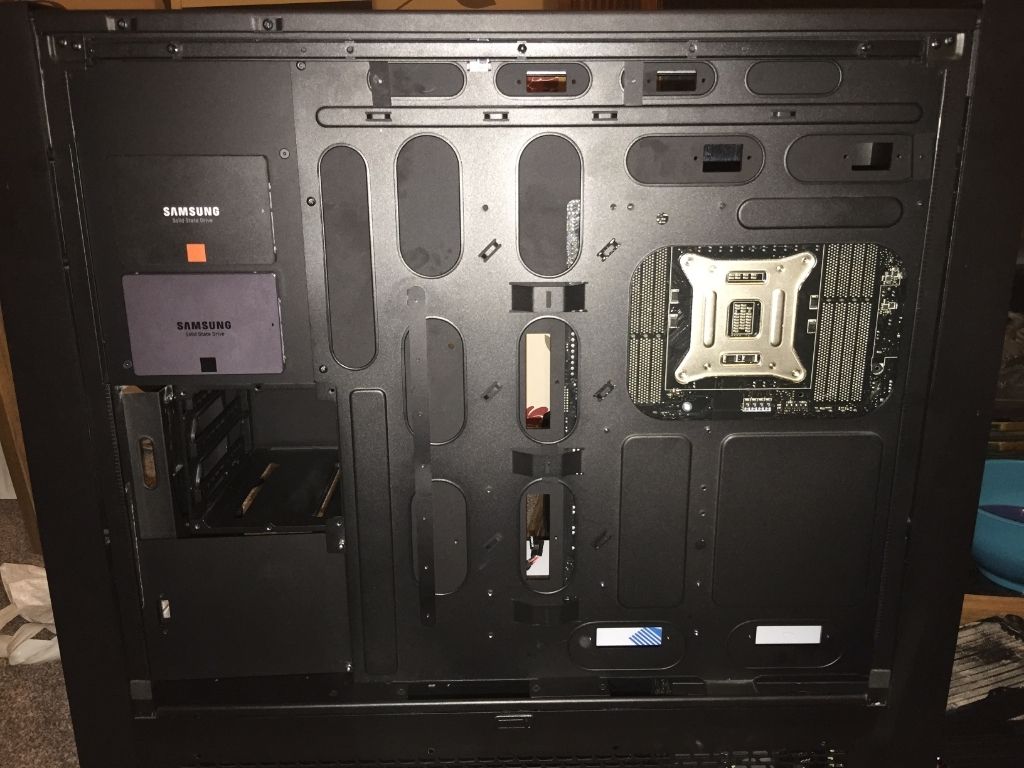
Then (it's a dark picture because the lightbox is so bright....) I fitted all the acrylic and the light box.

D6F7C472-88A1-4BBA-9651-BBE6693BD5B4_zpshgu6zele.jpg~original


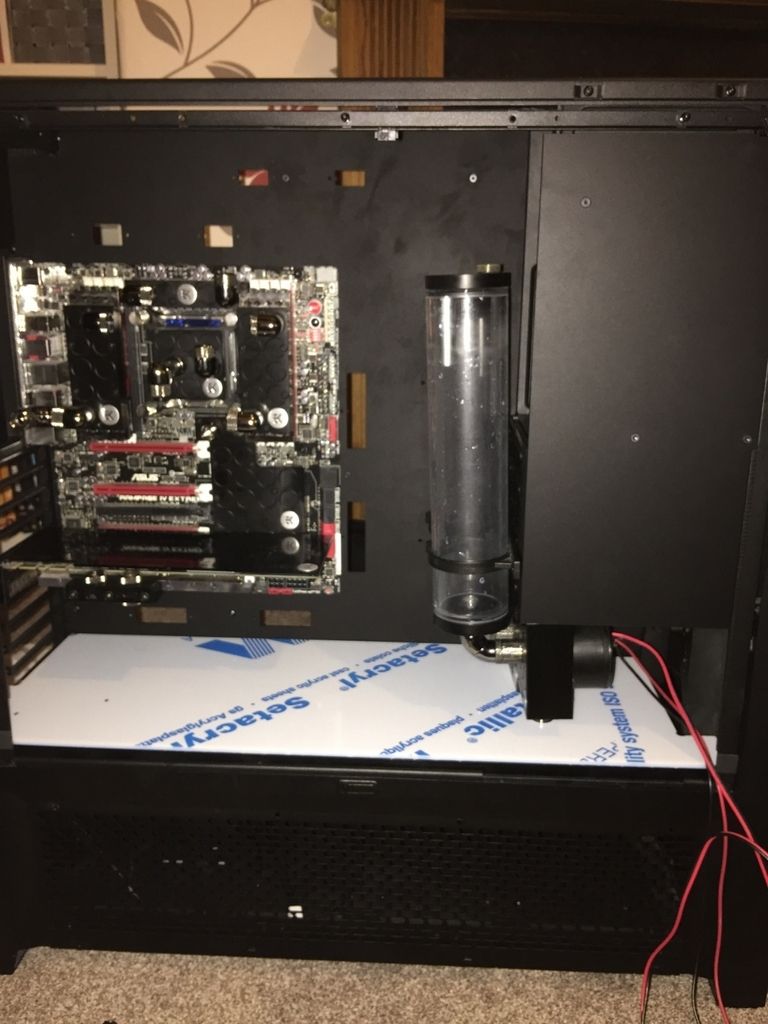
That's with all the protective films still on everything as well...

I have since put in the motherboard and test fitted the new pump positions etc. it got a bit late, so I didn't photograph it.

I'll do that tonight.
 
Last edited:
Back
Top Bottom