Old build kind of ground to a halt but things are now picking up and this project is back on its way, its changed so much since it first started I thought it would be worthy of a new thread for it ")
Outlining the spec at the moment:
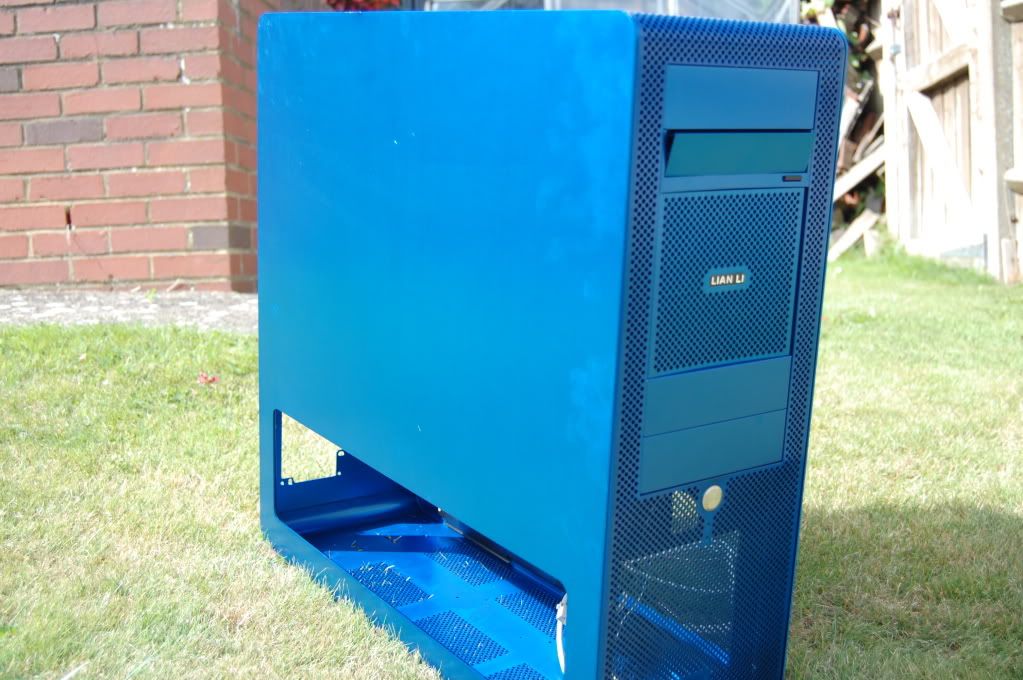
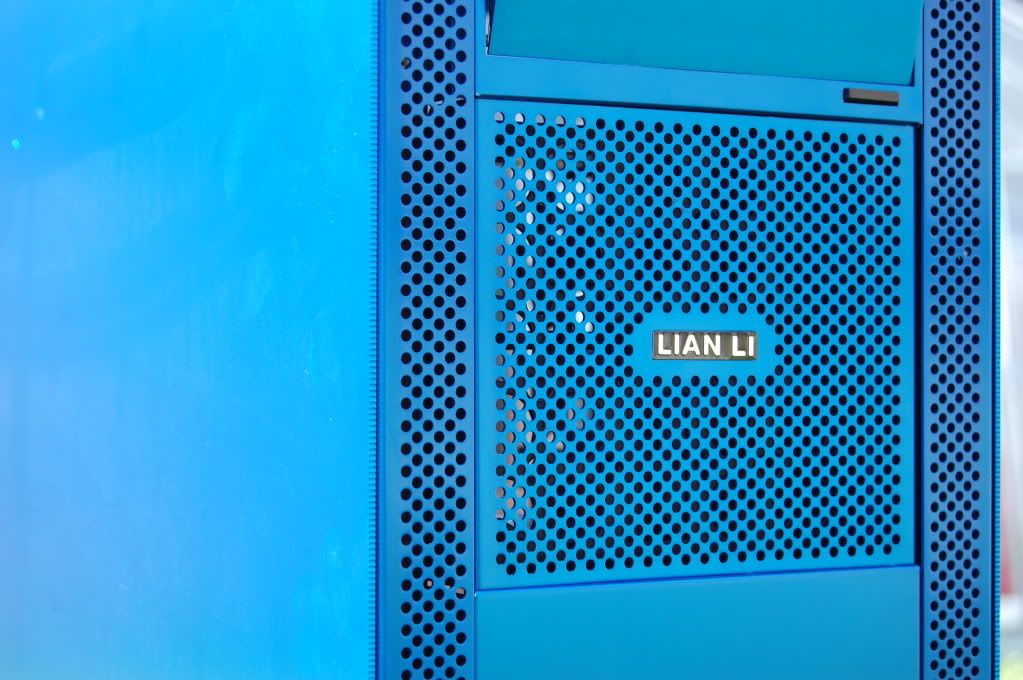
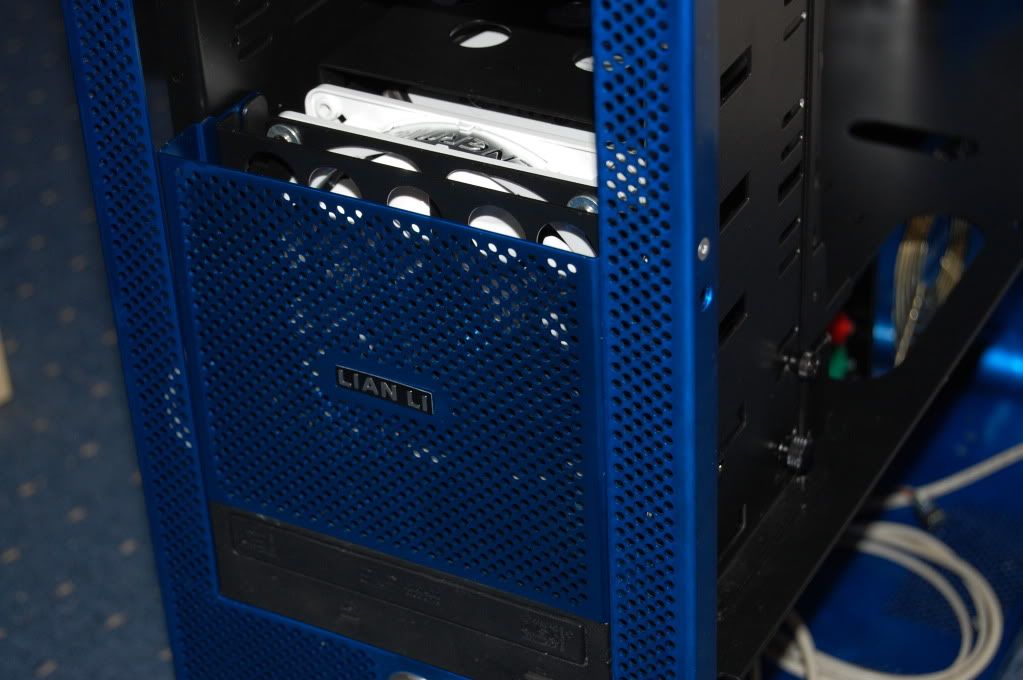
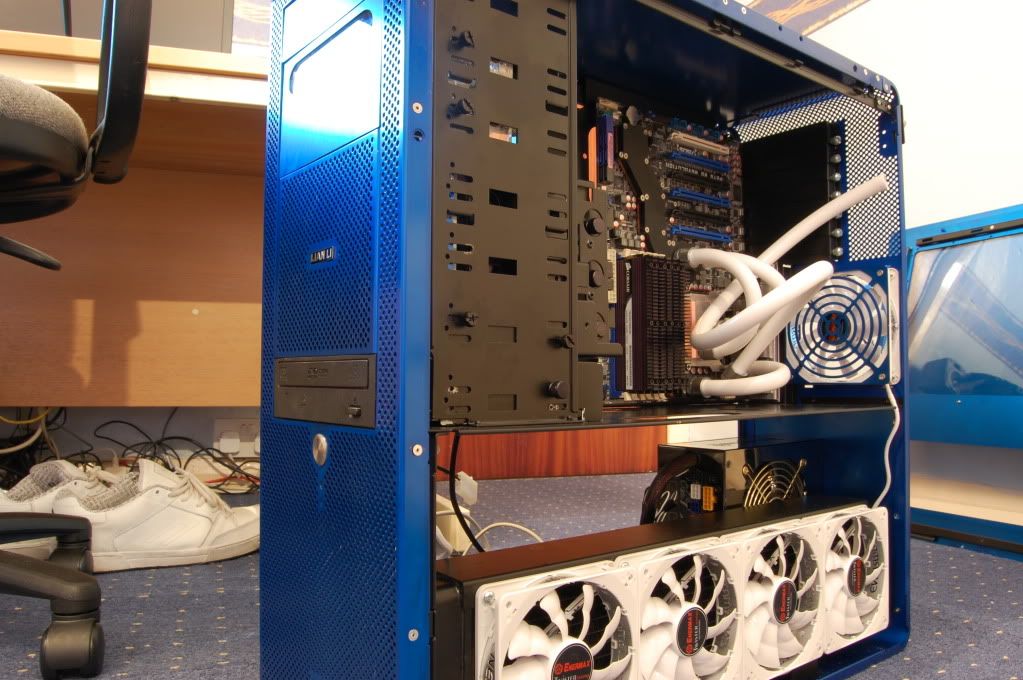
Case: Lian Li V2000
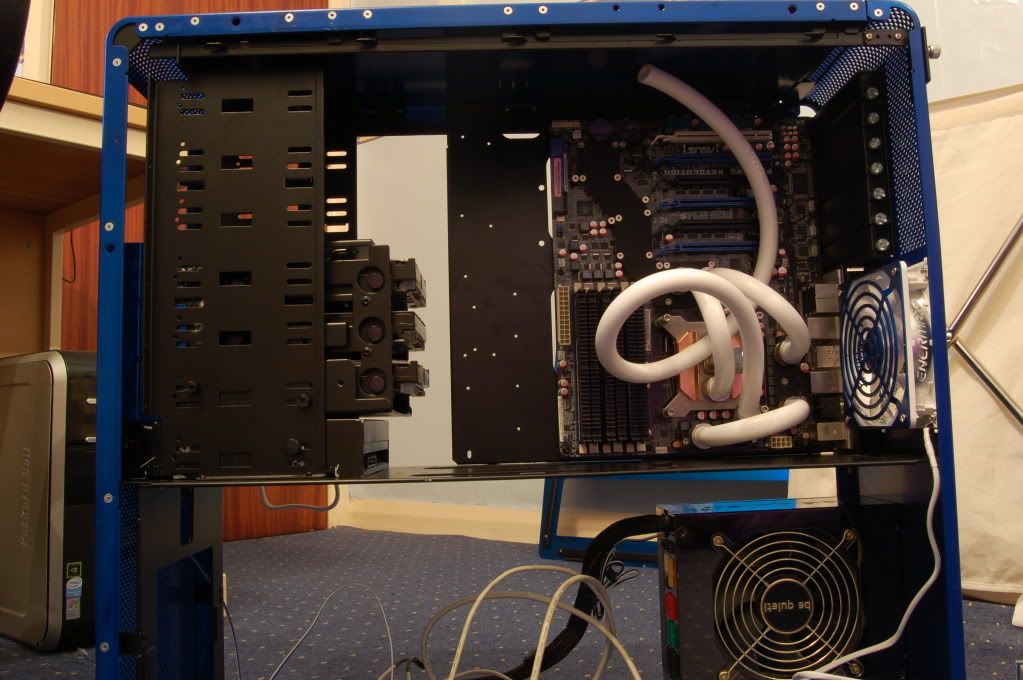
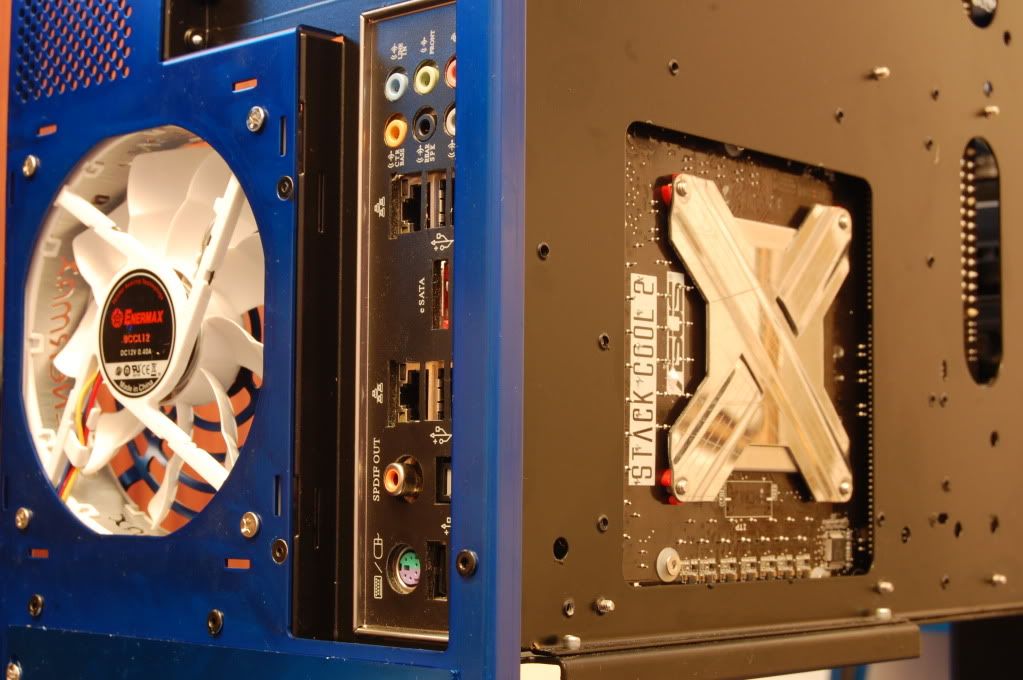
Mobo: Asus P6T6 WS Revolution
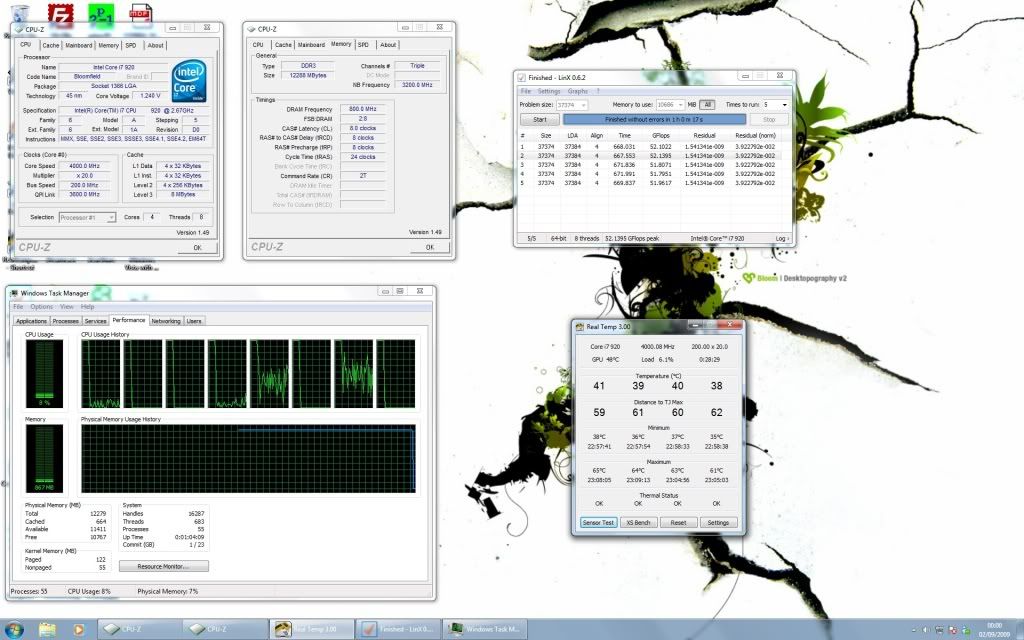
CPU: i7 920 D0 Stepping
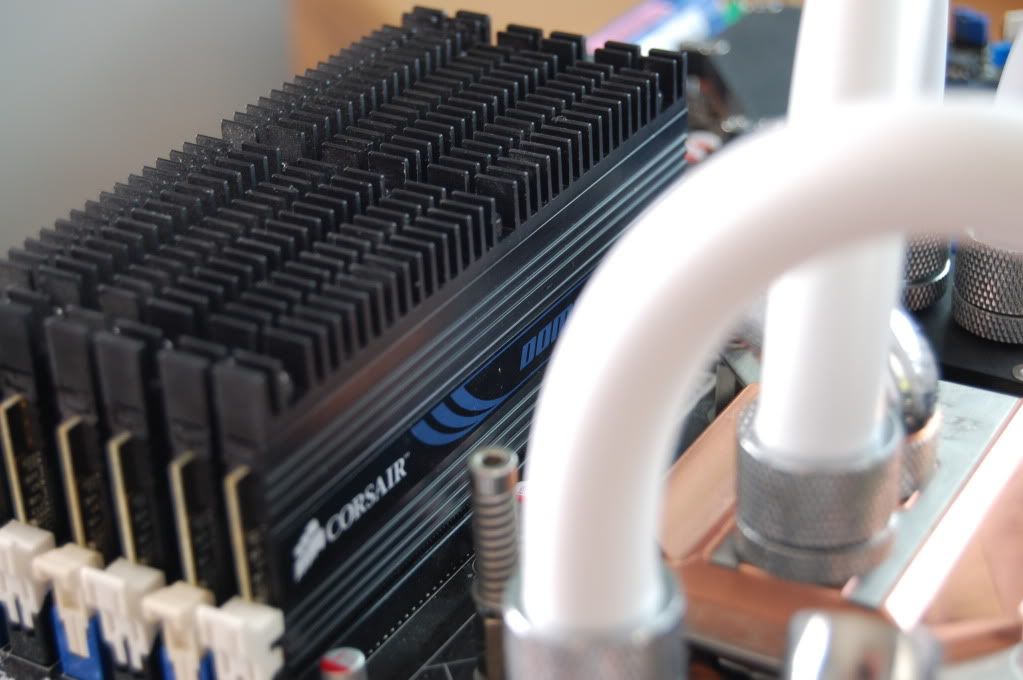
RAM: 12gb 1600Mhz Dominator
HDD: 2x500gb HDDs in Raid0 + 1tb storage drive (waiting on new SSD releases but will be 2x64gb SSD's in Raid0 replacing the 500gb's)
GFX: 4870x2 in RMA, 8800GTX standing in
PSU: BeQuiet 1200w Modular PSU
Fan Controller: Big NG
Sound: Asus Xonar DX + Z680
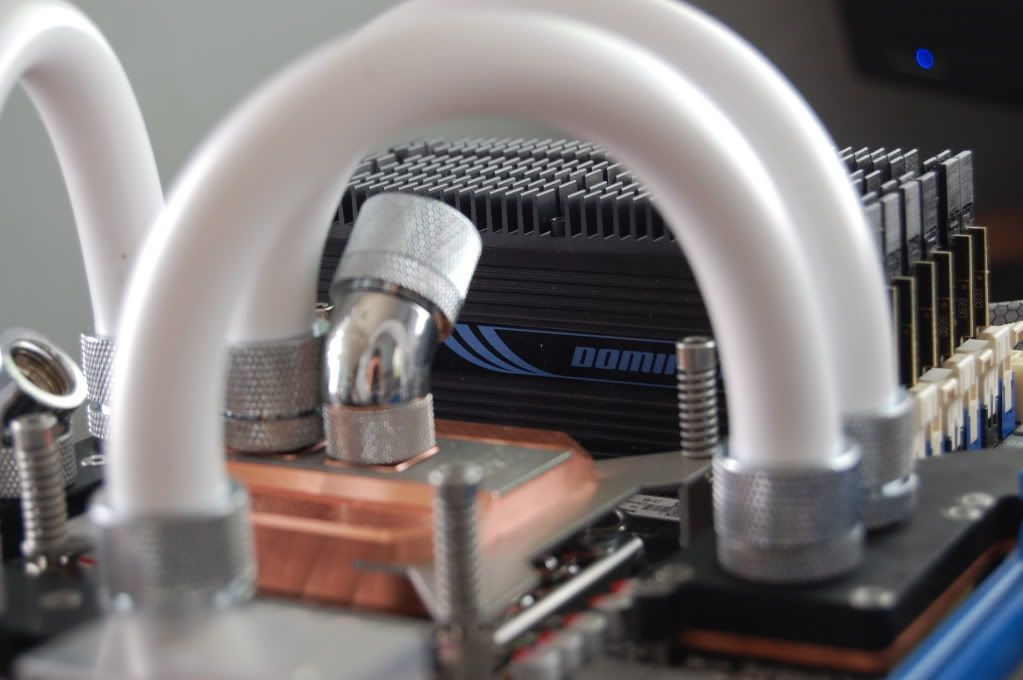
Cooling will be done by water of course
CPU and board loop:
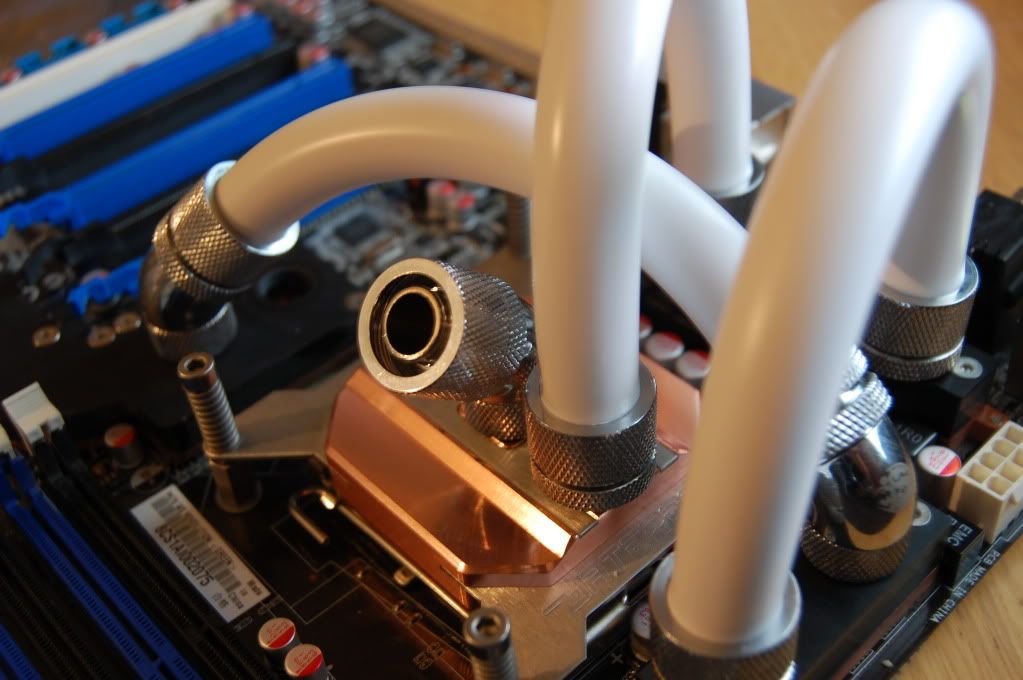
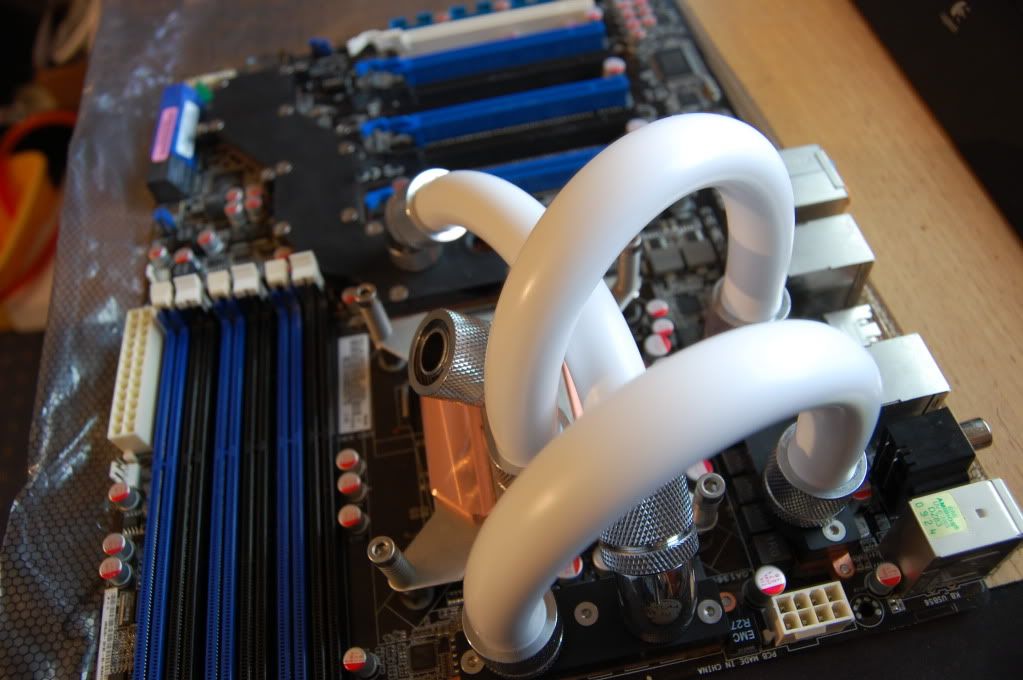
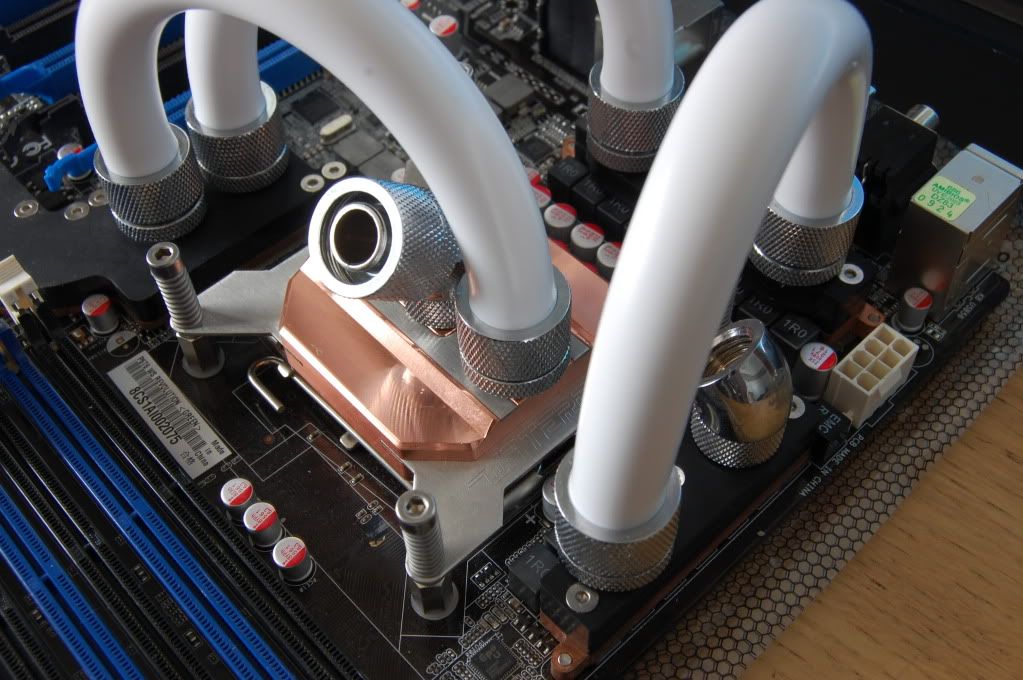
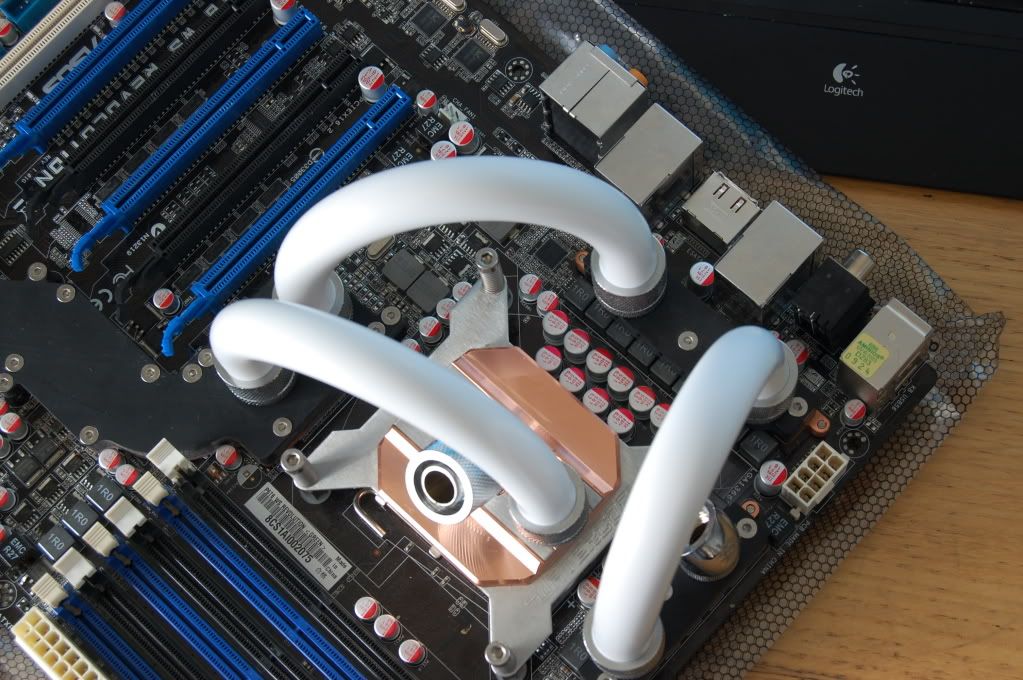
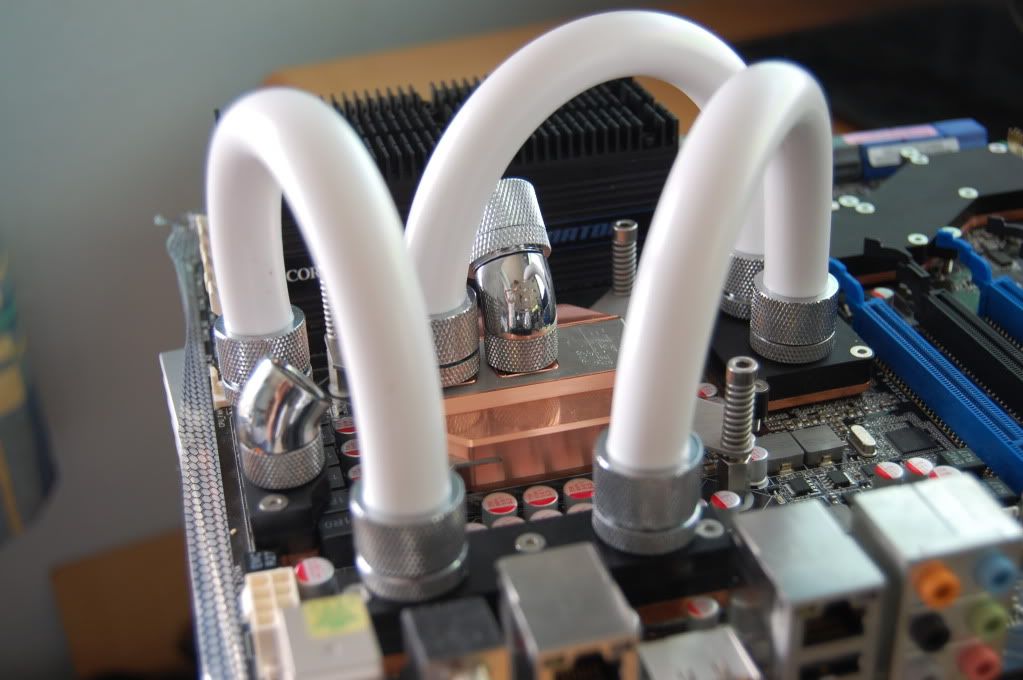
CPU: Heatkiller 3.0 Copper
NB/SB: MIPS NB/SB/NF200
MOSFETS MIPS Mosfet block x2
Rad: Thermochill PA120.4
Pump: DDC 18w
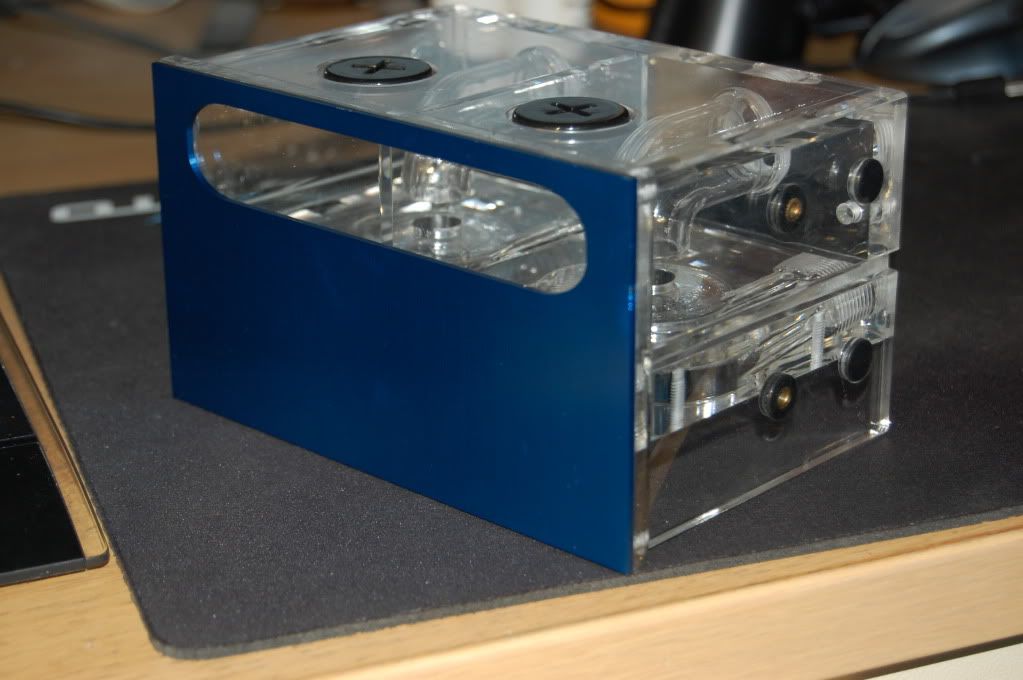
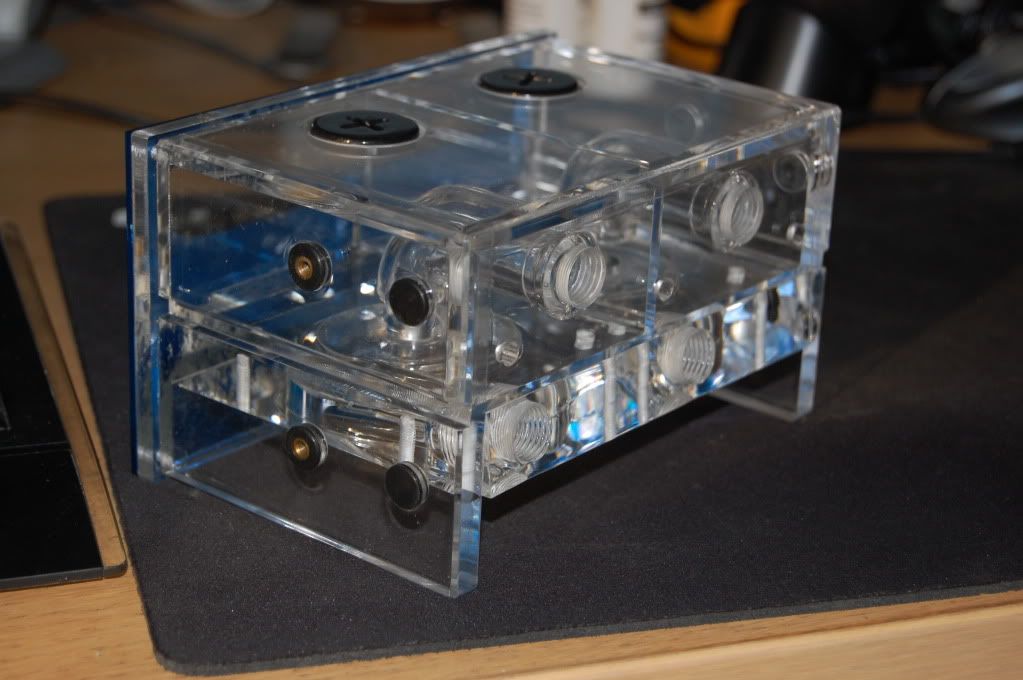
Res: Dual DDC Res Top
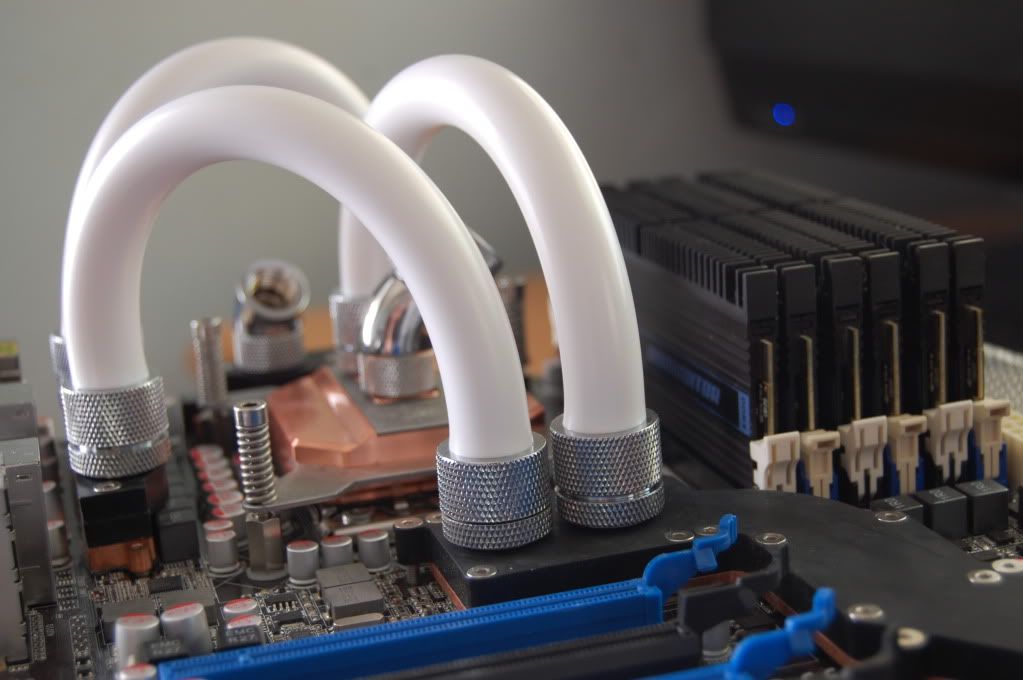
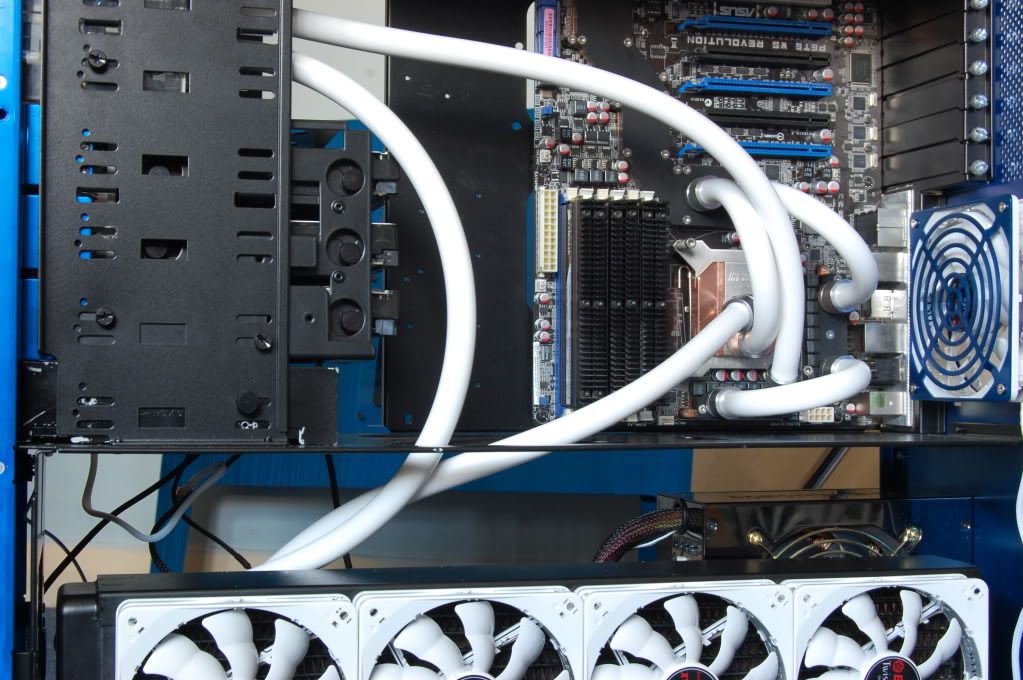
Tubing White 3/8 5/8 XSPC Tubing
Graphic card loop:
Rad: Thermochill PA120.2
Pump: DDC 18w
Res: Dual DDC Res Top
Block: EK Full cover GTX Block
Tubing: Blue 3/8 5/8 XSPC Tubing
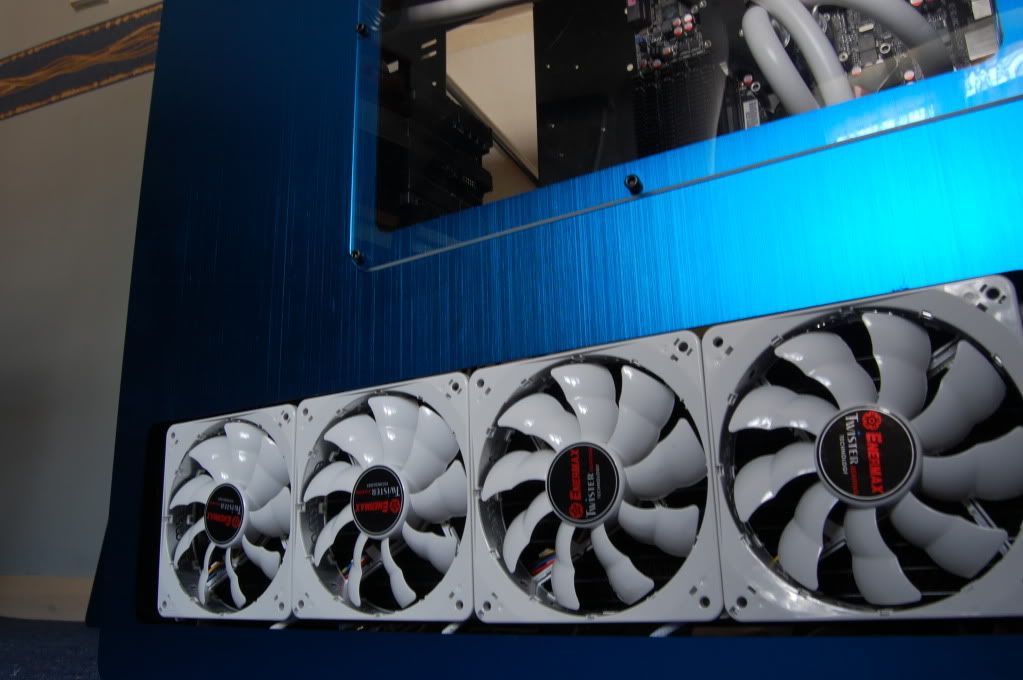
Fans throughout the build will be Enermax Clusters
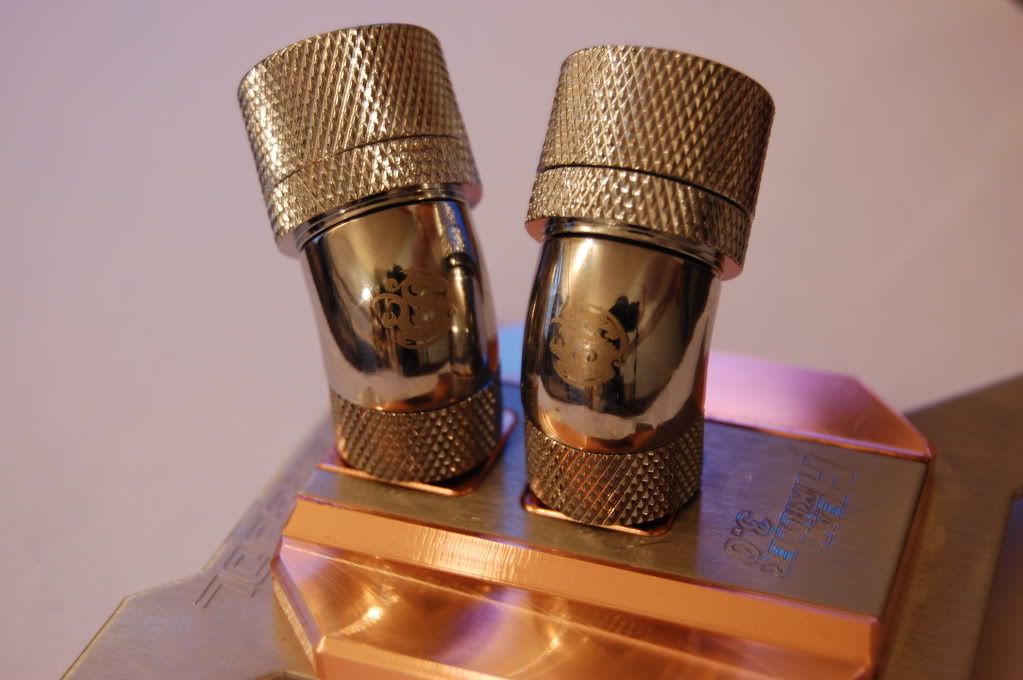
All using 3/8 compression fittings and 45/90 degree rotaries where required.
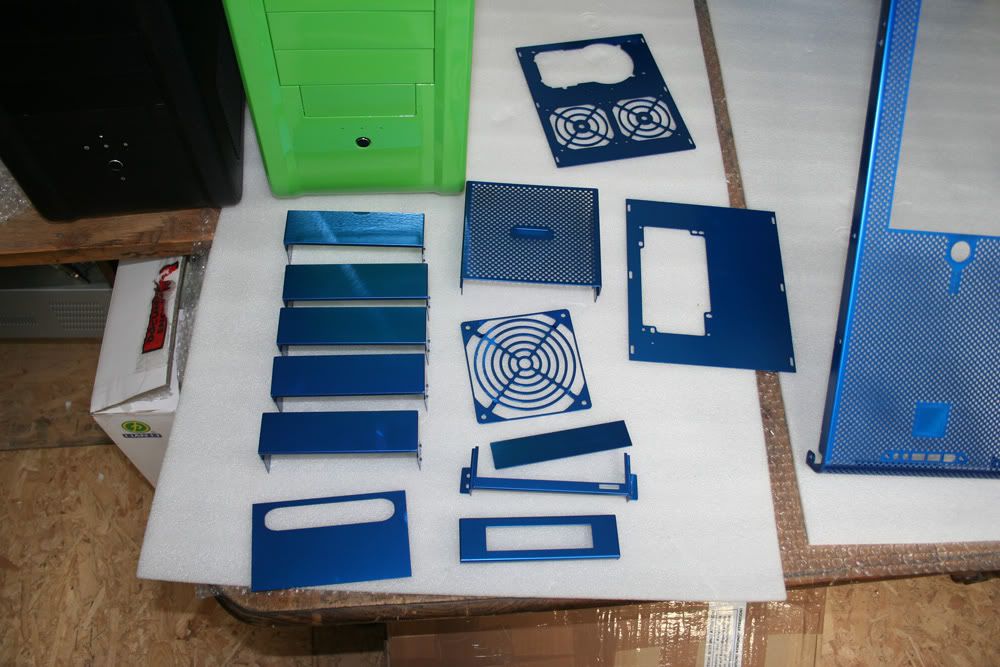
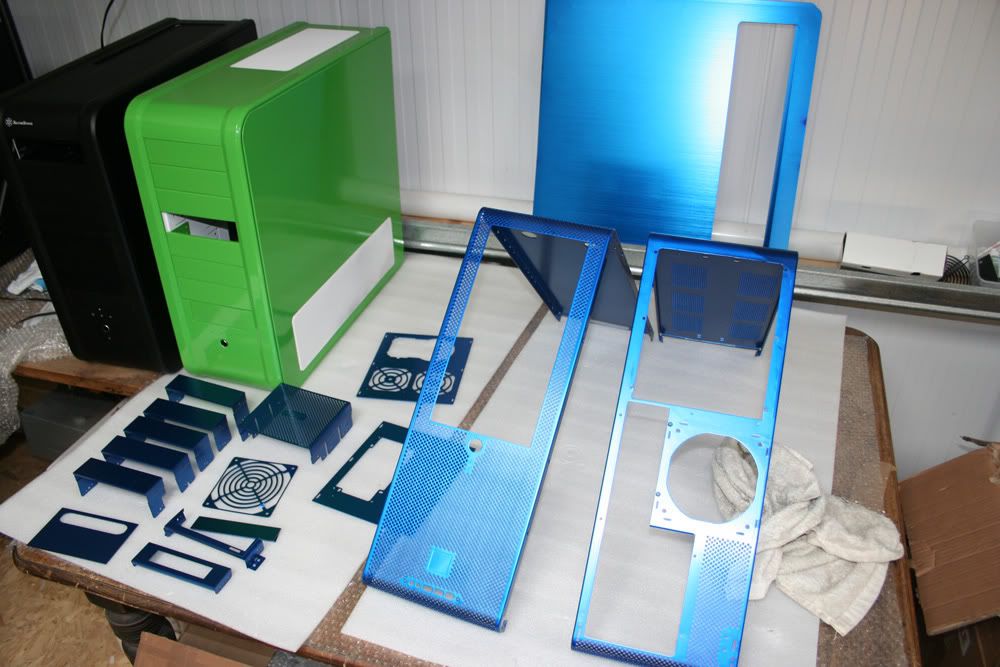
Finally case mods being done:
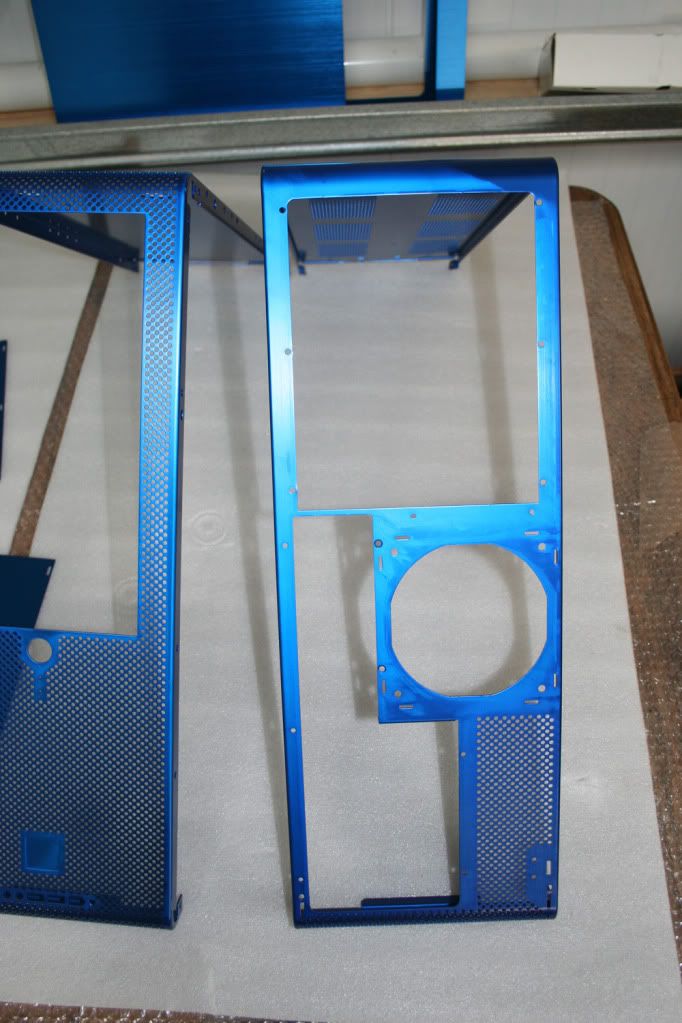
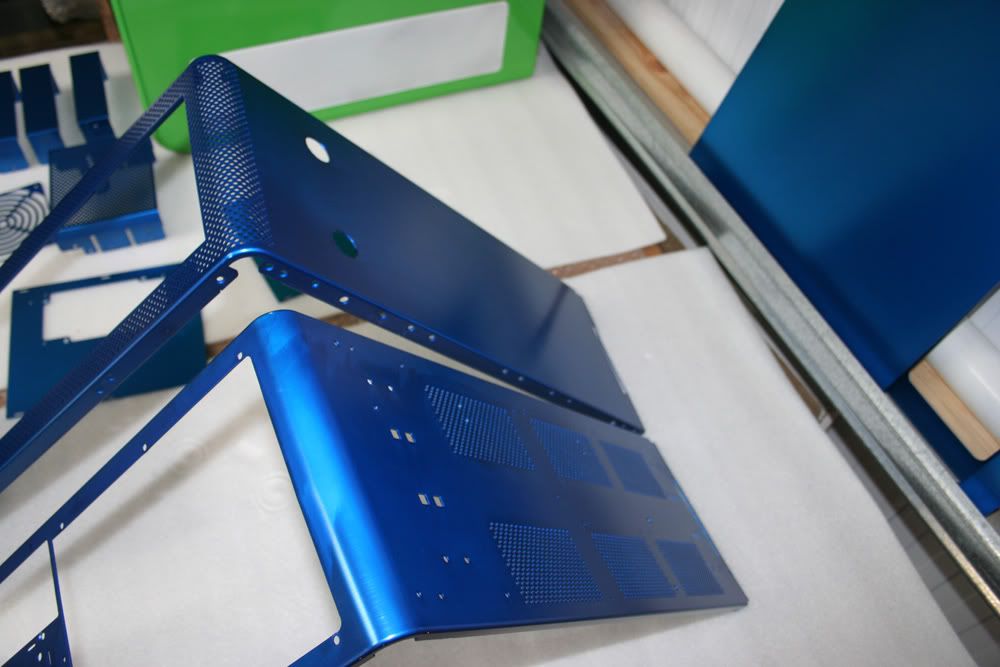
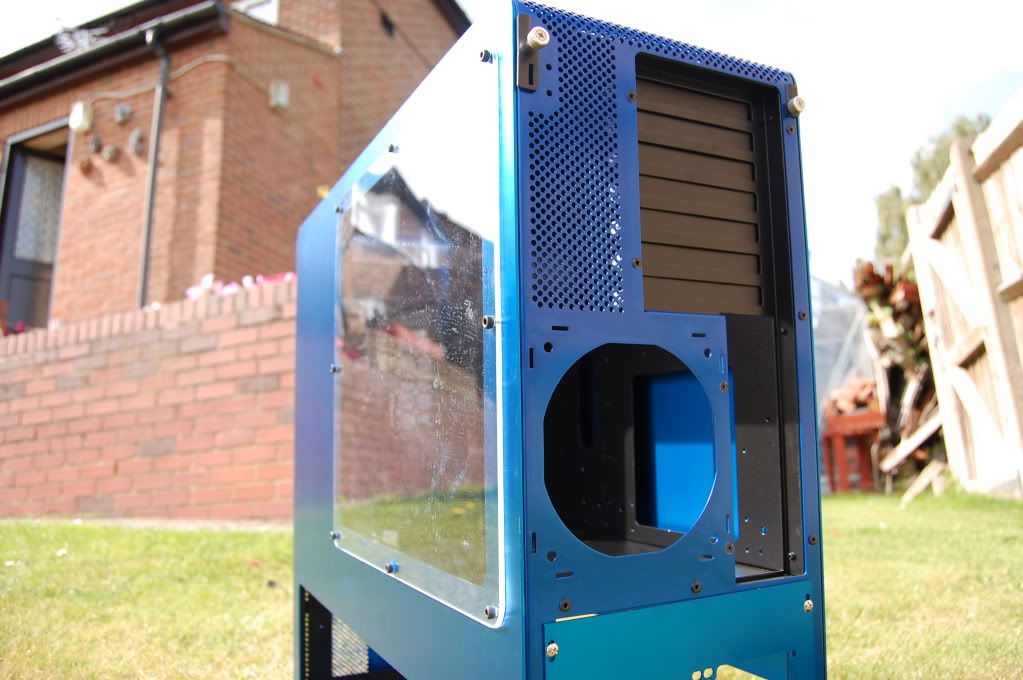
1. Anodized electric blue externals
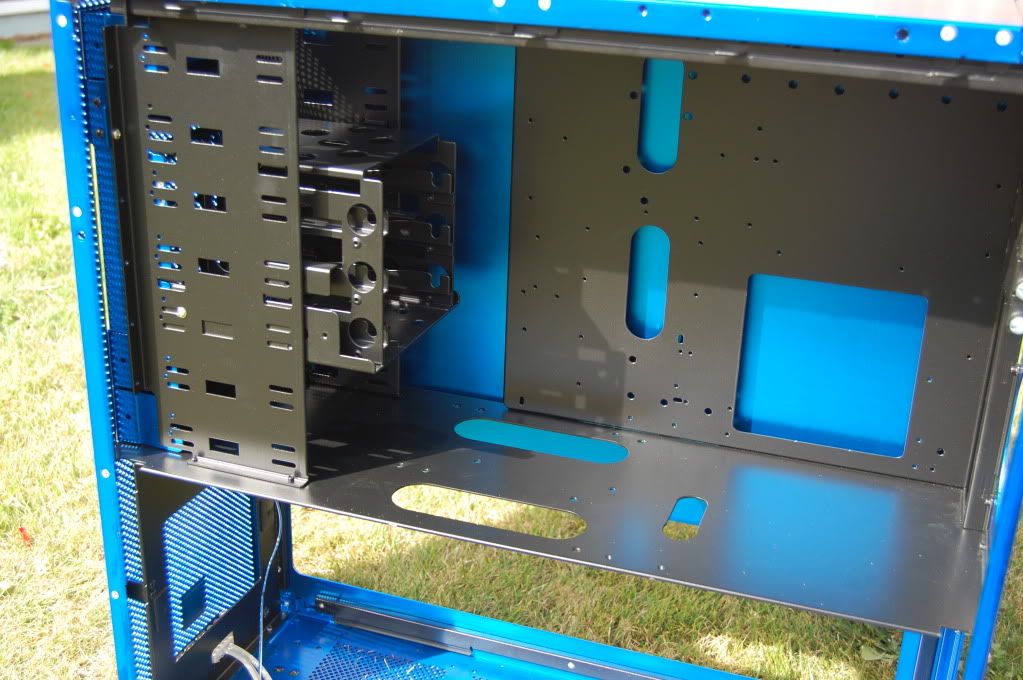
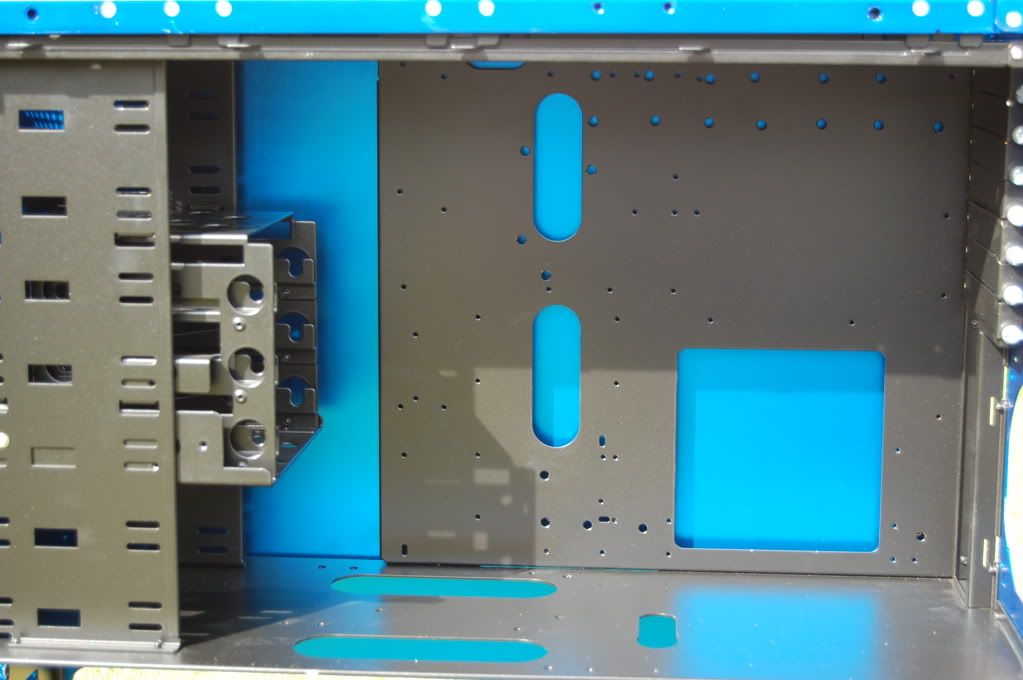
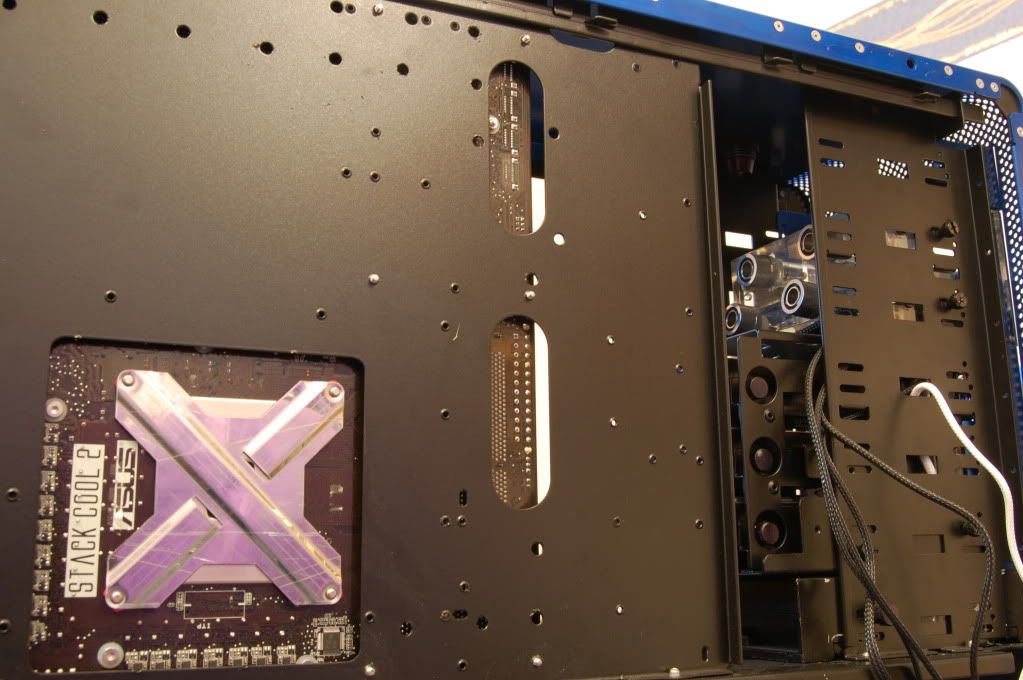
2. Powdercoated black internals
3. Mobo tray and midplate cut for cabling and tube routing
4. Side panels having two rad grills cut for the bottom section
5. Right hand panel will have a window mod done to it
Currently the case is away having the above work done on it and is due back in a couple of weeks time
Things I got to do in the mean time...
1. Braid PSU, misc cables - got a choice of black and white braid for this
2. Sort out motherboard - Currently away for RMA and awaiting on a replacement, this is the reason my last project log grinded to a halt
Most of the hardware is already acquired and am really just waiting on the motherboards return before I can start getting things under way
Thanks for reading so far, will organise some pictures of the hardware shortly!
Outlining the spec at the moment:
Case: Lian Li V2000
Mobo: Asus P6T6 WS Revolution
CPU: i7 920 D0 Stepping
RAM: 12gb 1600Mhz Dominator
HDD: 2x500gb HDDs in Raid0 + 1tb storage drive (waiting on new SSD releases but will be 2x64gb SSD's in Raid0 replacing the 500gb's)
GFX: 4870x2 in RMA, 8800GTX standing in
PSU: BeQuiet 1200w Modular PSU
Fan Controller: Big NG
Sound: Asus Xonar DX + Z680
Cooling will be done by water of course
CPU and board loop:
CPU: Heatkiller 3.0 Copper
NB/SB: MIPS NB/SB/NF200
MOSFETS MIPS Mosfet block x2
Rad: Thermochill PA120.4
Pump: DDC 18w
Res: Dual DDC Res Top
Tubing White 3/8 5/8 XSPC Tubing
Graphic card loop:
Rad: Thermochill PA120.2
Pump: DDC 18w
Res: Dual DDC Res Top
Block: EK Full cover GTX Block
Tubing: Blue 3/8 5/8 XSPC Tubing
Fans throughout the build will be Enermax Clusters
All using 3/8 compression fittings and 45/90 degree rotaries where required.
Finally case mods being done:
1. Anodized electric blue externals
2. Powdercoated black internals
3. Mobo tray and midplate cut for cabling and tube routing
4. Side panels having two rad grills cut for the bottom section
5. Right hand panel will have a window mod done to it
Currently the case is away having the above work done on it and is due back in a couple of weeks time
Things I got to do in the mean time...
1. Braid PSU, misc cables - got a choice of black and white braid for this
2. Sort out motherboard - Currently away for RMA and awaiting on a replacement, this is the reason my last project log grinded to a halt
Most of the hardware is already acquired and am really just waiting on the motherboards return before I can start getting things under way
Thanks for reading so far, will organise some pictures of the hardware shortly!
Last edited: