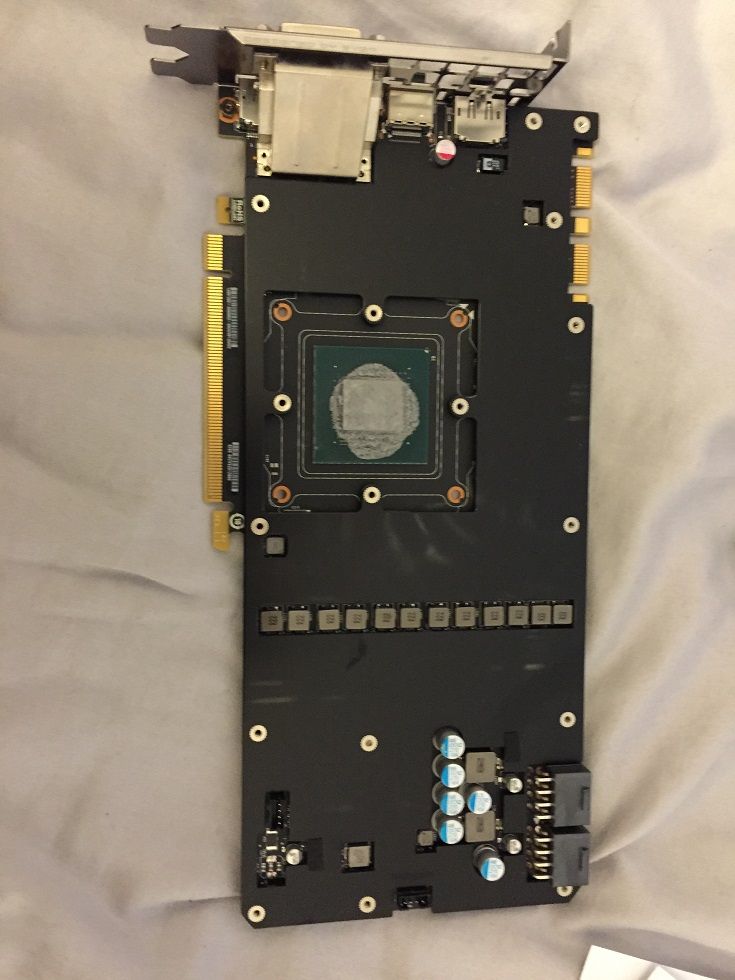
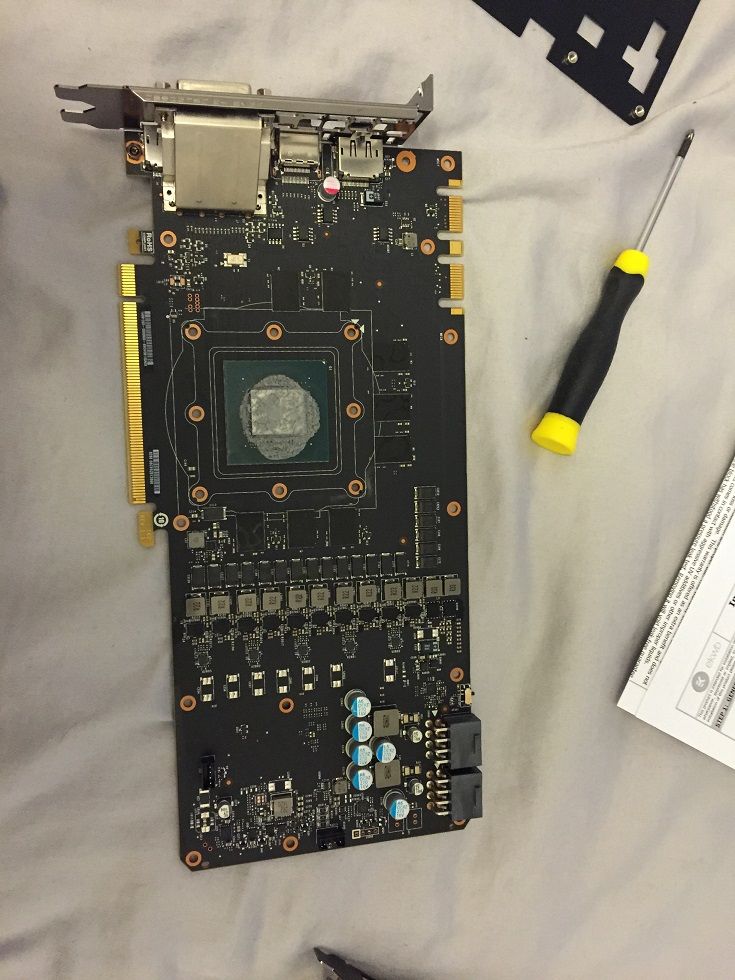
Project Smurf 3.0

Flushing update (that sounds very wrong...):

The kit worked well, i'm still going to flush out a good few litres more but what was interesting is that the 480mm was virtually clean after a few flushes whilst the 360mm is a problem child. I honestly can't believe the amount of crap coming out of it, but i'll have another crack at it this evening.

Looking good for a bit of a start this Sunday then finish up with all the GPU blocks next week.
 
This probably doesn't help - either you've already done it or you won't want to know! - but I found that you have to half-fill them and then shake them to get the stuff out. My wife did ask why I appeared to be either abusing or pleasuring (choise of words rather constrained but use your imagination!) a rad in the kitchen :D

Haha, yeah i've been doing that don't worry. Few more rinse and shake rounds and it should be good, the 480mm is impressively clean so thats something.

Edit: 480mm was pretty clear after only about 3-4 flushes... 360mm has had about 10 but its starting to ease up so will do a few more and see.
 
Last edited:
Love these cases. I just redid the loop in mine the other day, I'm keen to see how you do your tubing on this one. You've got some great kit going into yours.

Yeah the tubing is taking some thought I can tell you, mainly just waiting on the GPU blocks and I think... Hope... The backplates are good for early next week. So far i'm a pump short, potentially, so planning around that and will probably just use clear distilled and drain to fill once everything is ready.

Mainly excited to get the GPUs clocked under water, the CPU seems to be pretty nice since I did my delid so should be good! Mainly I like the space in it, its so crammed right now its nice to get some space and fit it in right. Case looks great but they have kinda stopped replying about some damaged bits which isnt so great...
 
Some more updates whilst packing stuff to move i've been reducing the amount of computer stuff to pack in the only way I know how... Building it ;)

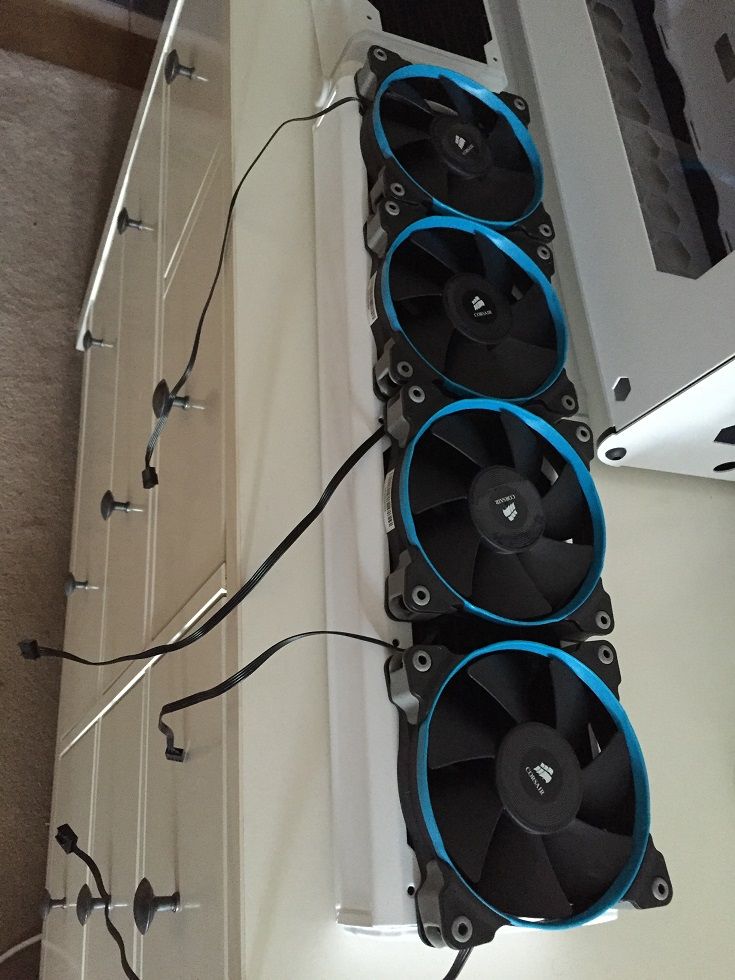
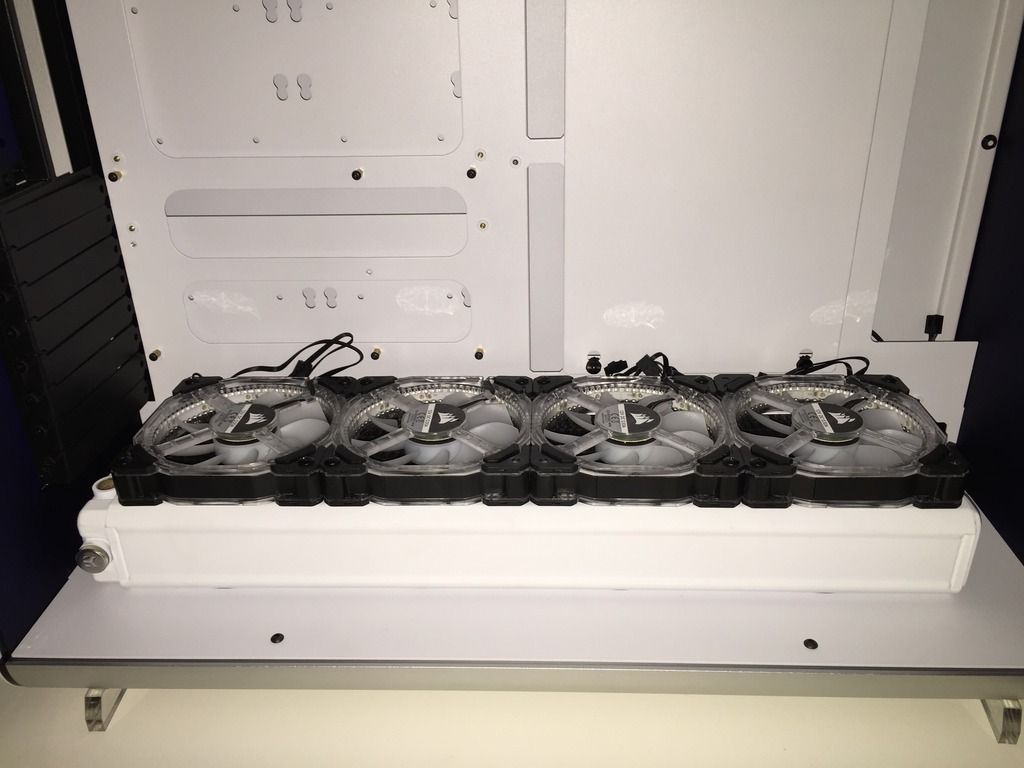
Extracted and replaced these from the current build:
File_000%202_zpsgmkttrtq.jpeg


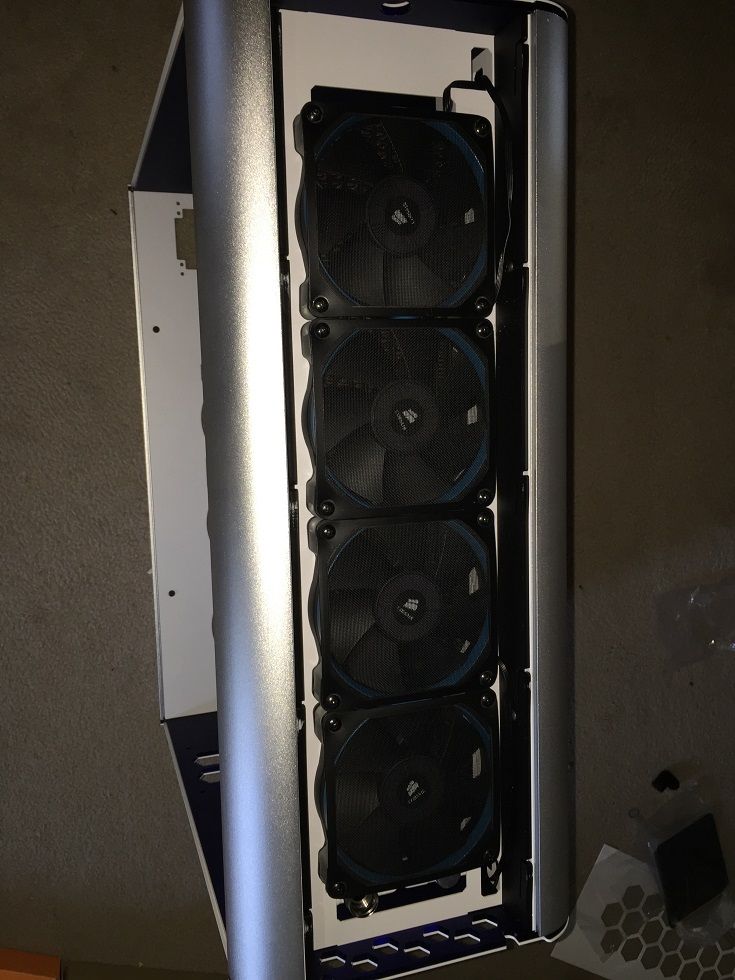
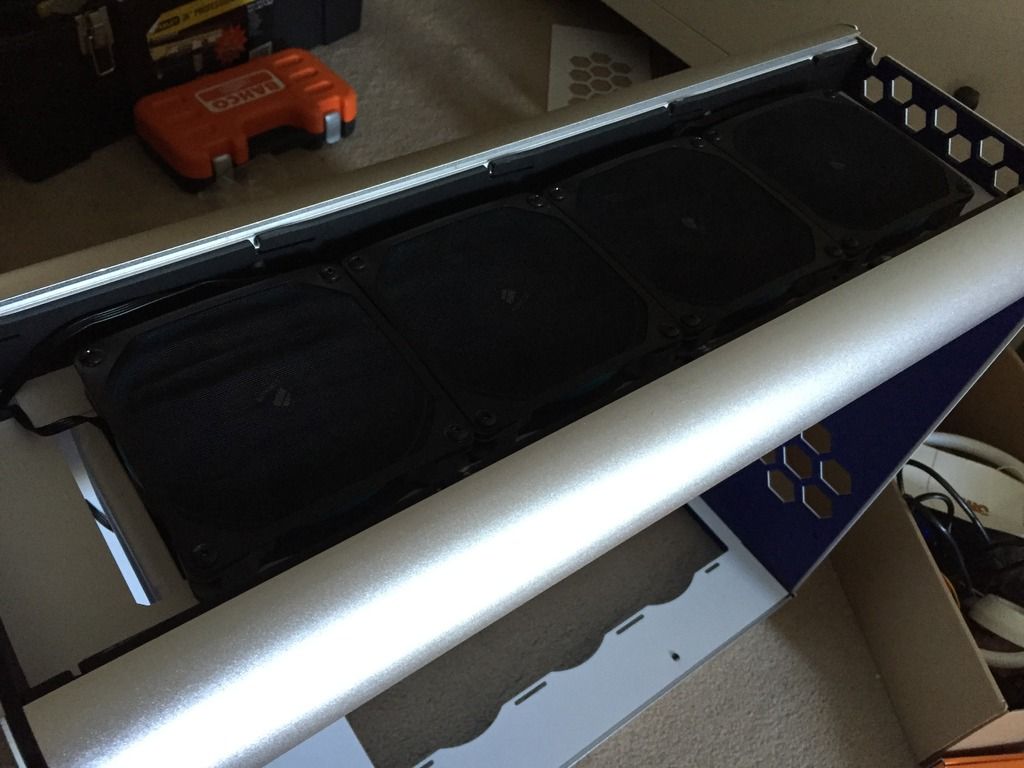
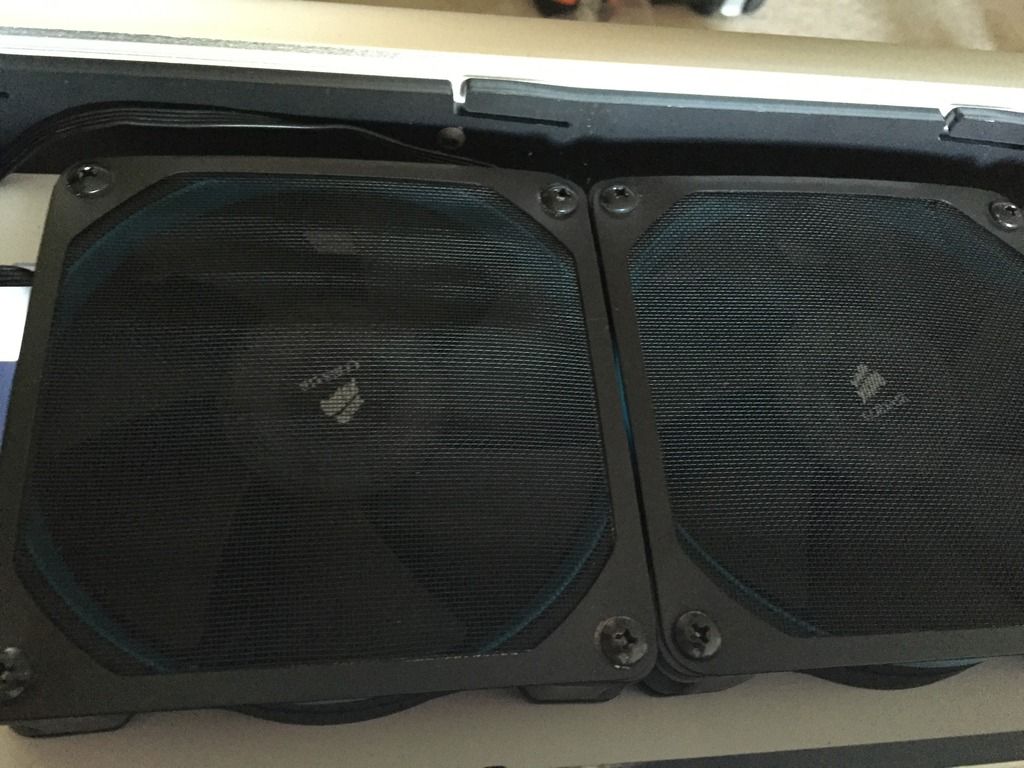
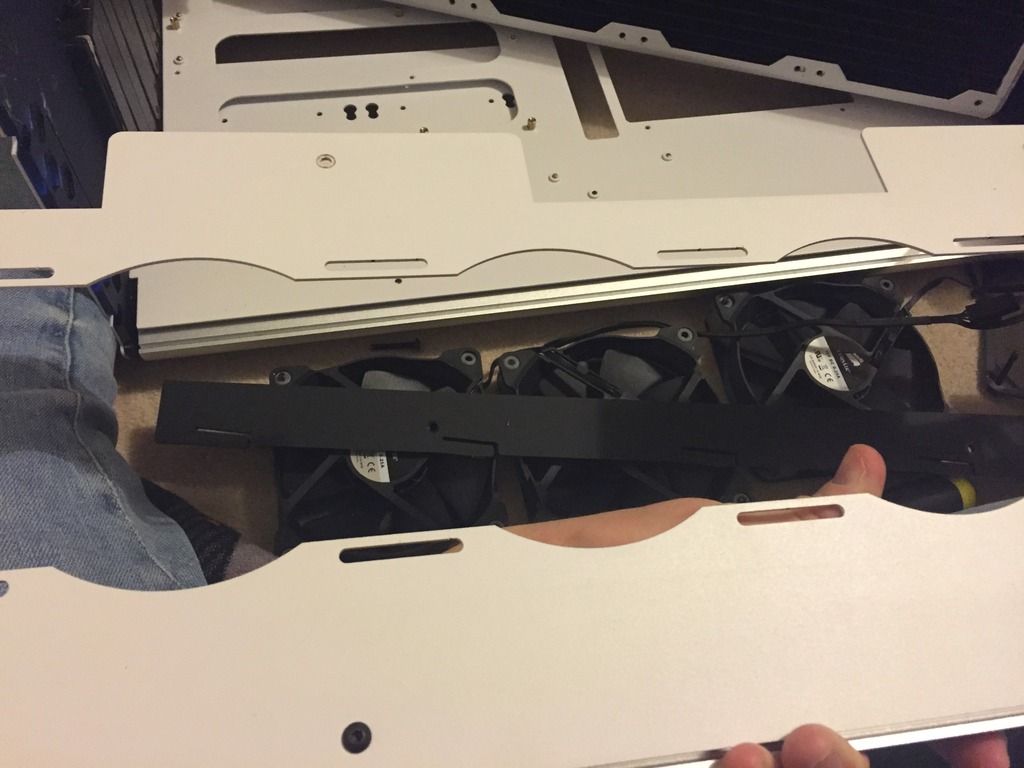
Fitted in the hidden underside, complete with the metal fan filters provided with the case - a word on the HW Labs radiators... Are they serious with how short those screws are??? Also does anyone know where to source spares, I need more and you don't get any extras for push pull.

File_001_zpsdgtpjblv.jpeg

File_003_zpsisqlvrya.jpeg

File_004_zpswnhvah0x.jpeg


Started to put the new fans on the top layer, not enough screws but they're on. I'm thinking i'll probably have the tube exit the bottom rad on the side depending on the route and run across the front with a flow indicator spinning in the middle of the radiator. No? Another word on the radiators, replaced ALL the crap white plastic stoppers with EK Nickel - i'm still not impressed with the white finish but i'm too stuck for time right now to respray...
File_005_zps7jxqedr9.jpeg


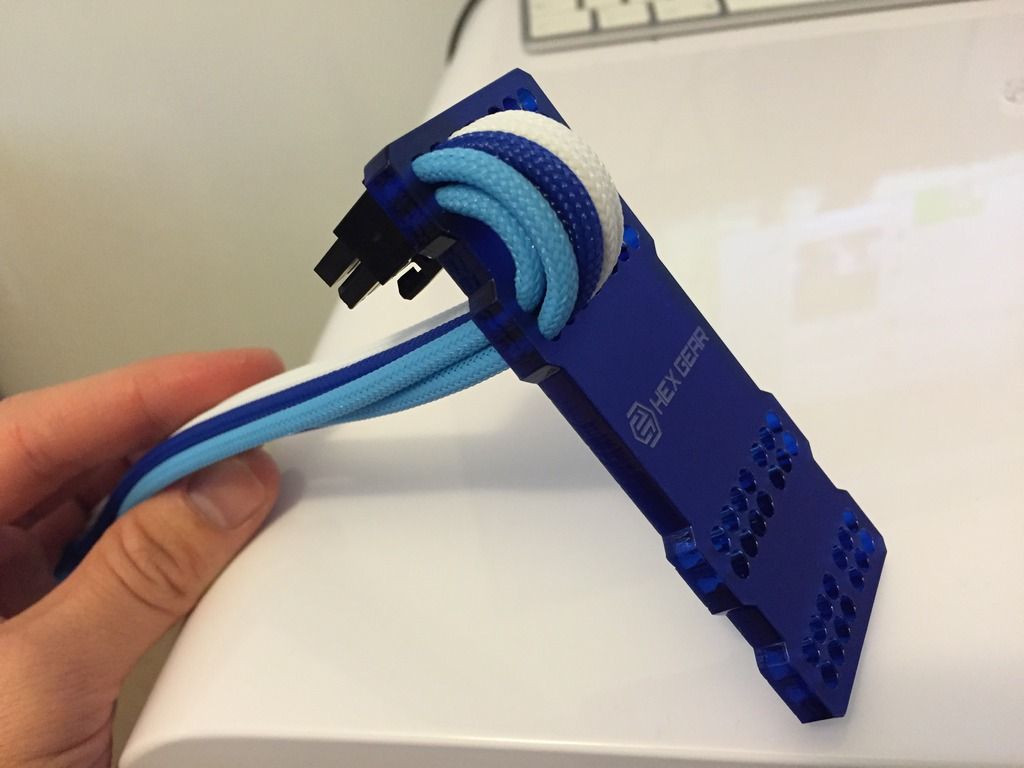
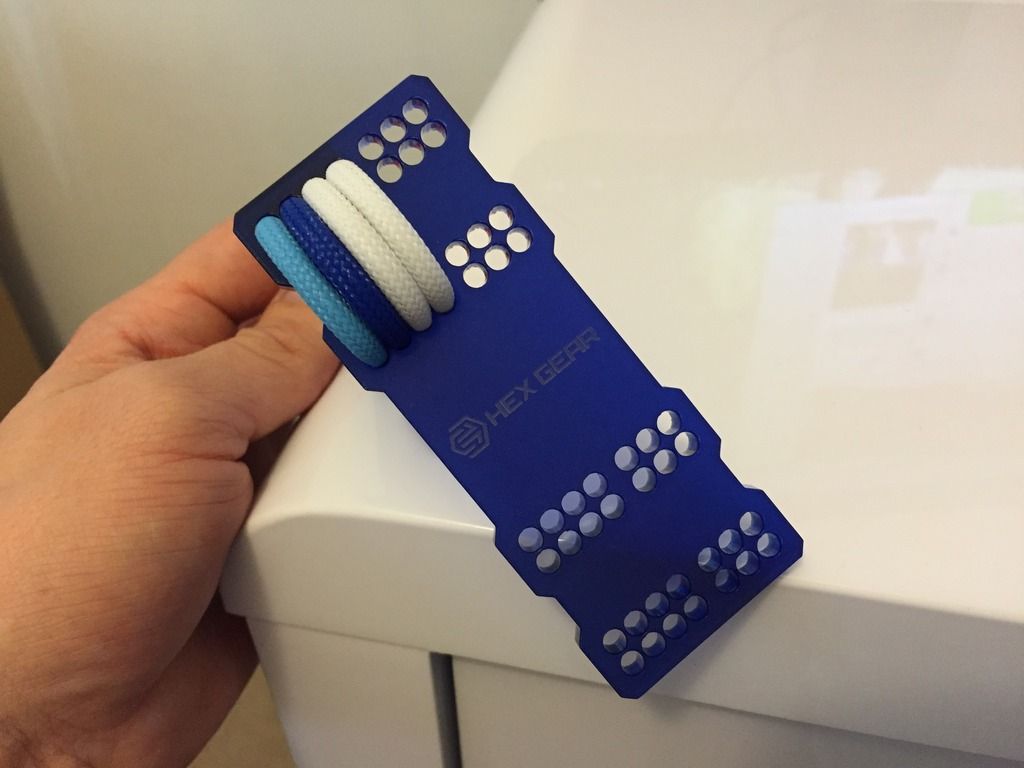
Whilst packing I had a play with this little gadget from Hex gear, it seems pretty nice so hopefully it looks as good as I think on the blocked 1080s. Only thing is I realised they sent me the wrong one, 6+8 not 8+8... Bah!

File_007_zpsggwp3qry.jpeg

File_006_zpsaisprhym.jpeg


Slow progress but progress. Backplates should be arriving early next week then I can officially start to transplant it all over...
 
Most rad screws (at least that I've come across) are either M3 (metric) or #6/32 UNC (see Wikipedia here for explanation).
M3 are the same as a lot of motherboard screws. You can pick them up in a variety of different lengths, colours and cap styles from auction sites - but delivery takes a while. A lot seem to be Allen key headed (hex). Black tend to blend in nicely.

Thanks mate, will have a look around - they seem to be M4 (0.7) so will have a look and see what I can find. That seems right to me as they are a little fatter than the EK screws which are M3.

Edit: Ordered some basic black ones for Tuesday, seen other more sexy looking anodised options which might be a consideration for the longer term project.
 
Last edited:
OMG, The backplates are here... :O

Just need the last couple of bits tomorrow and its go time!

Got one in green and one in white for a Welsh theme build

Dont suppose you know where the manual is online, want to check a few things about configuring the ports and mounting options (rotation etc)? Can't find it, the Monsoon website is useless... A photo of some manual pages would do - in short want to know how I can run the two in serial and acceptable orientations of a pump being fed by another.

Edit, alternative could be a dual loop with the two pumps directly mounted to the res... Thoughts?
 
Last edited:
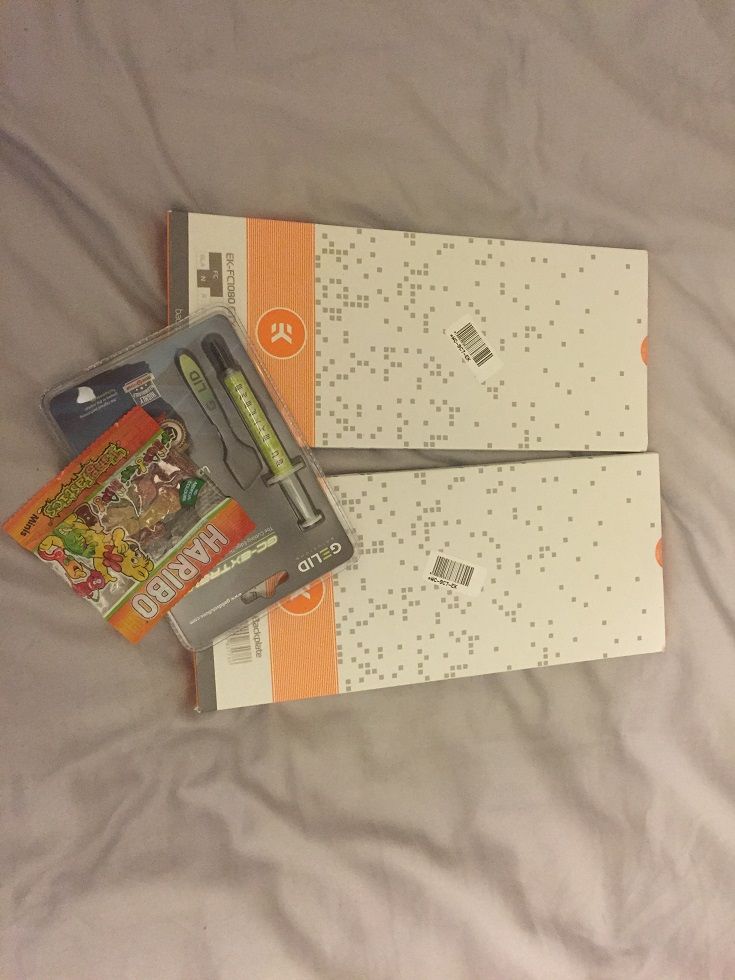
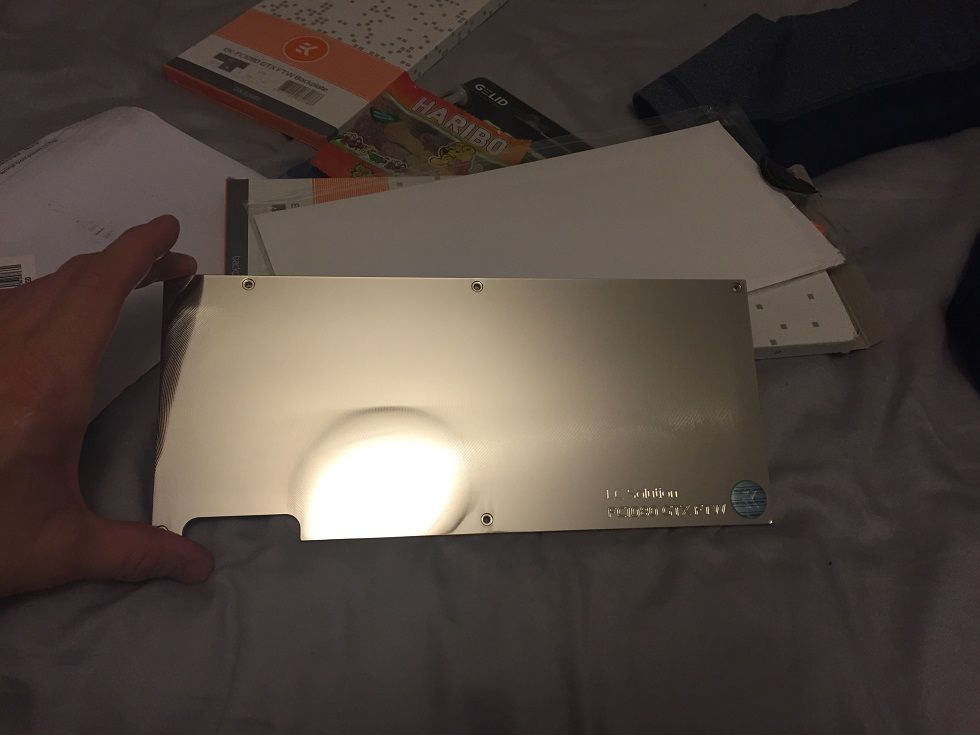
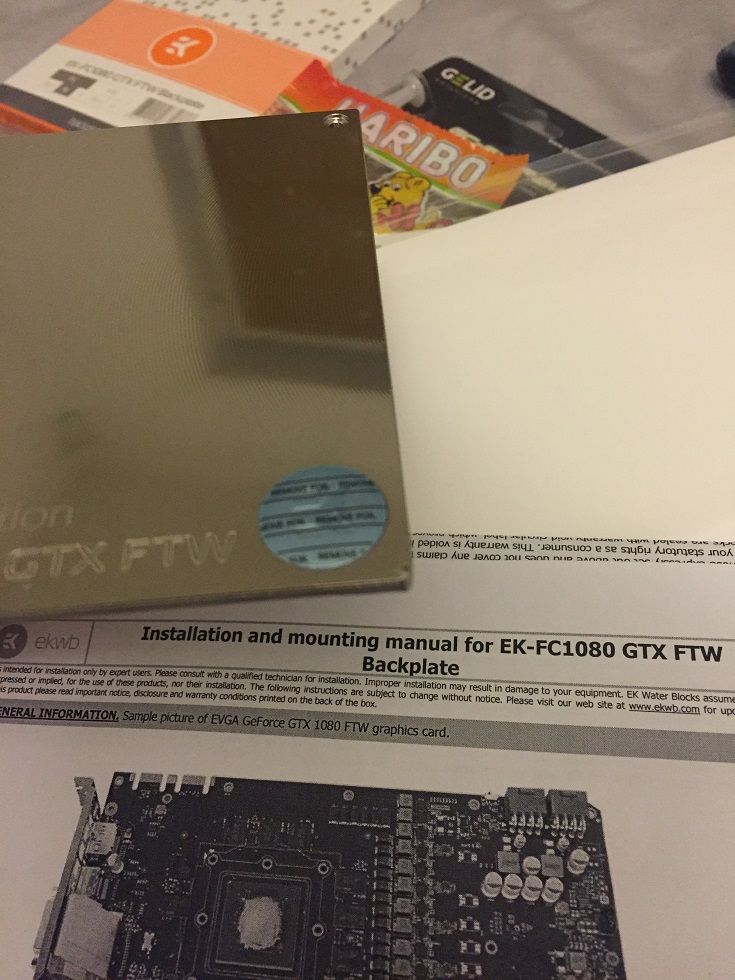
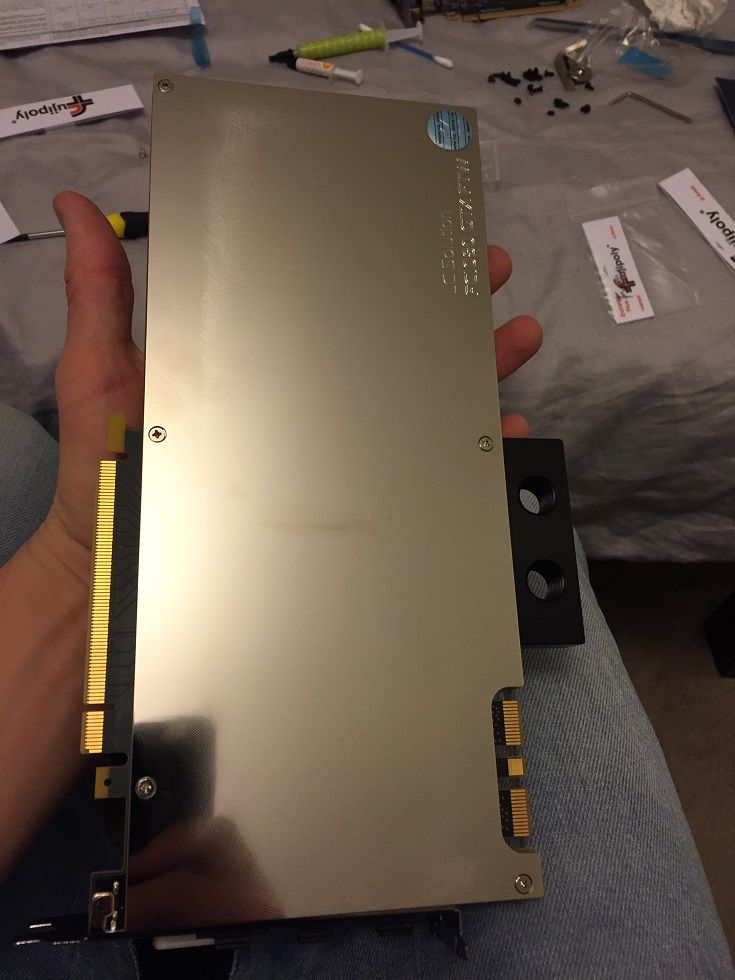
Well finally the day comes when the Nickel backplates are in stock and arrive...
File_000_zpslrtycicn.jpeg


These things shine like you wouldn't believe:
File_001_zpsp7vbvnc9.jpeg


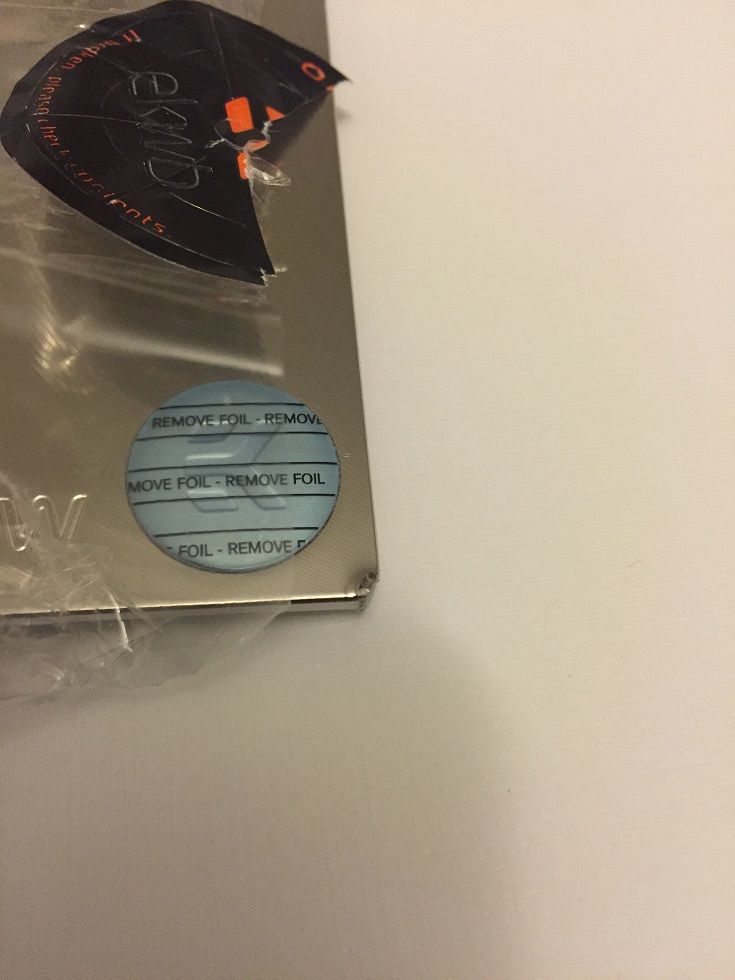
Then excitement turns to utter frustration when I notice the bottom right corner, its damaged - basically the corners been heavily flattened (which must take some force on this!)... So I'm annoyed and I think well one has to get replaced...

File_002_zpsy1tjybna.jpeg


Make that two:
File_004_zpskjcjpcg5.jpeg


Identical damage on both plates. :(

So annoyed I can't even describe it... Its not the DPD delivery, these were literally wrapped in tons of bubble wrap so I can only assume the box they came in was dropped heavily on to a hard surface - Dear EK you seriously need to pad the inside of the boxes as its super thin card. I don't know if this was on the way to OCUK but i'm about to log a ticket, please please please cross your fingers for me that they are not sold through because I can't do this build without them...

FML.
 
Hard luck on the backplates. It'll get sorted I'm sure but it's just a ball ache when you don't expect it.

Did you get a response from hex gear about the problems with the case?

They've gone totally quiet, its a bit annoying - wasn't 'quality' really one had a chunk out the edge and pain on the front panel isnt amazing. Basically its all shipped over from China as far as I understand so if its got a bit of damage in transit thats life, instructions are crazy poor also but its a really nice case once together.

I've now got two nice shiny new backplates, an Aquero 6XT on order for Monday... Was literally just setting up to do some building and my heat gun dies after 1 bend. Seriously this luck :D

Probably have to wait until tomorrow now if I go and pick up a new one.
 
Well turns out the heat gun only broke on one setting so the 'omg burn the house down' was still working... It wasn't ideal but basically some progress - but in to the old case still. I was annoyed at looking at all the kit so I undertook the 1080 transplant in to the new blocks seems as OCUK sorted my backplates out, cheers chaps. I've done this once before but took me bloody ages!

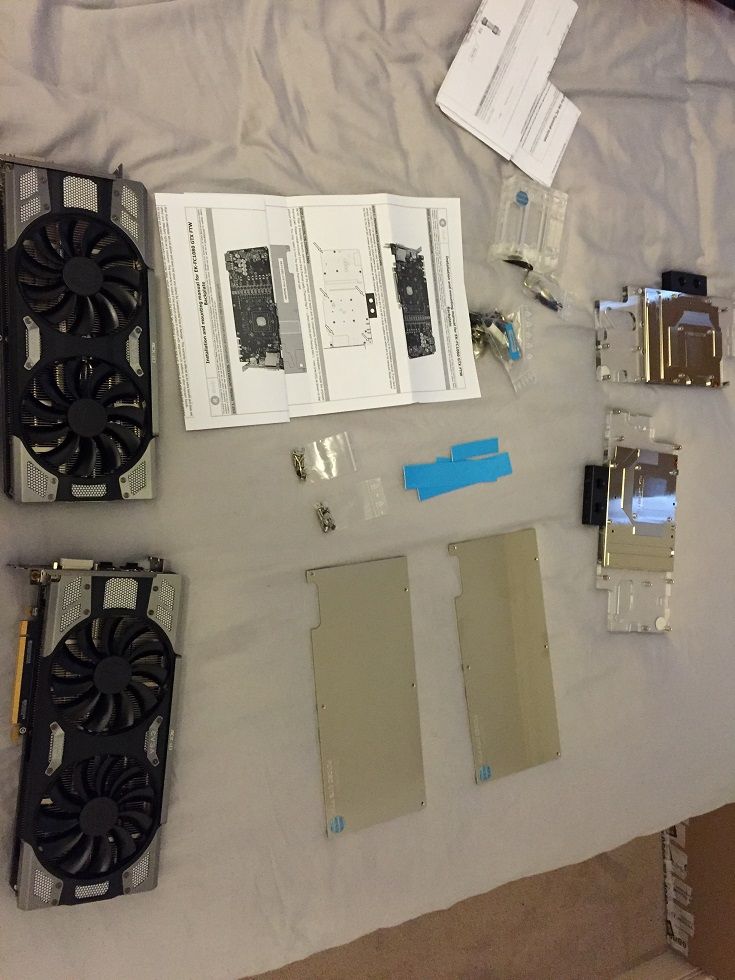
One has to take a look at all the kit before getting started...
IMG_1223_zpsps3qtp6o.jpg


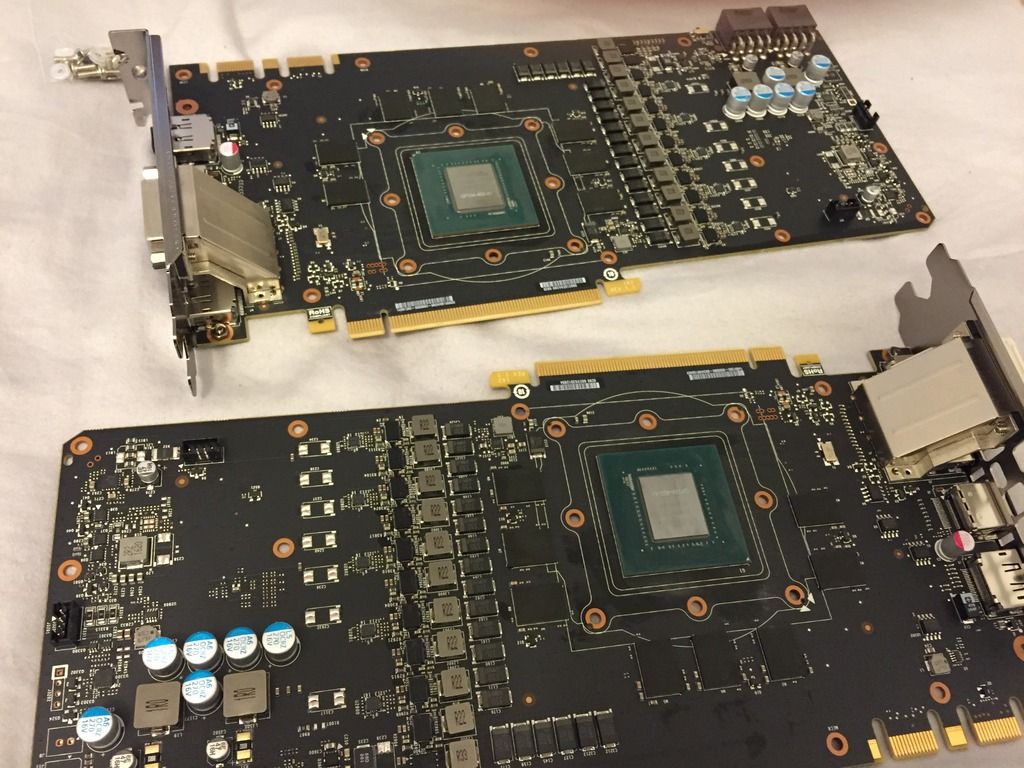
Time to get these bad boys naked...
IMG_1224_zpsrz3ss3iq.jpg

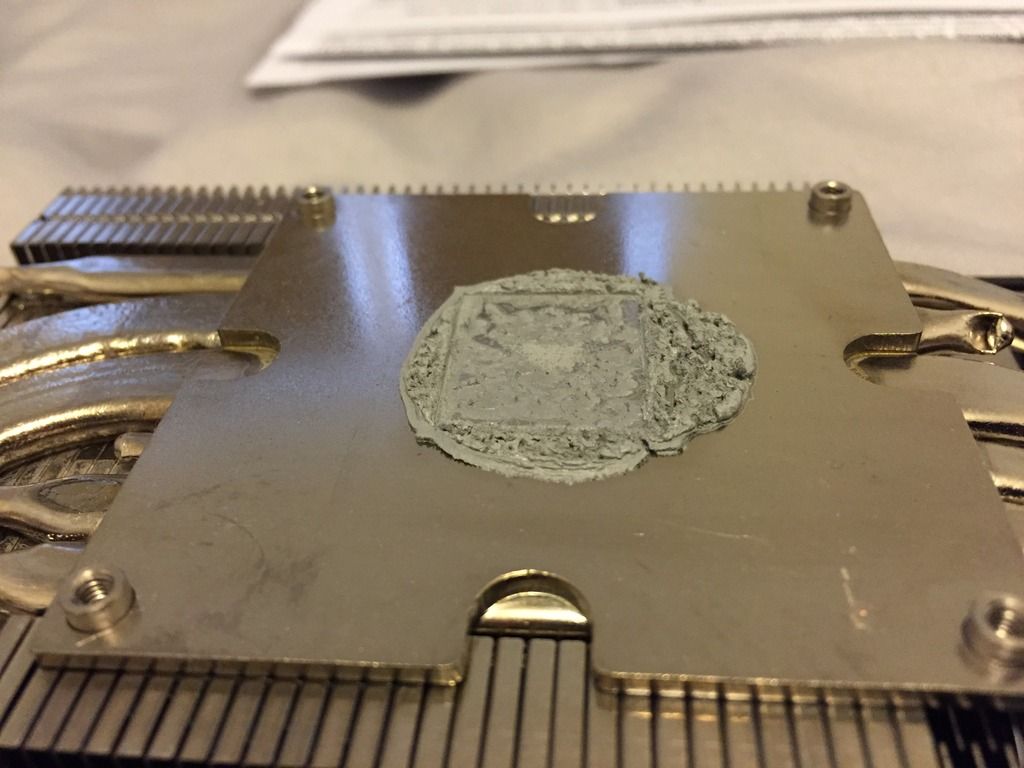
Dear god EVGA thats a lot of paste!
IMG_1225_zps57n3dqfg.jpg

Like A LOT:
IMG_1226_zpsqe2nmez5.jpg


Thanks to that it took ages to clean but got there in the end
IMG_1227_zpsnqyzf6t3.jpg


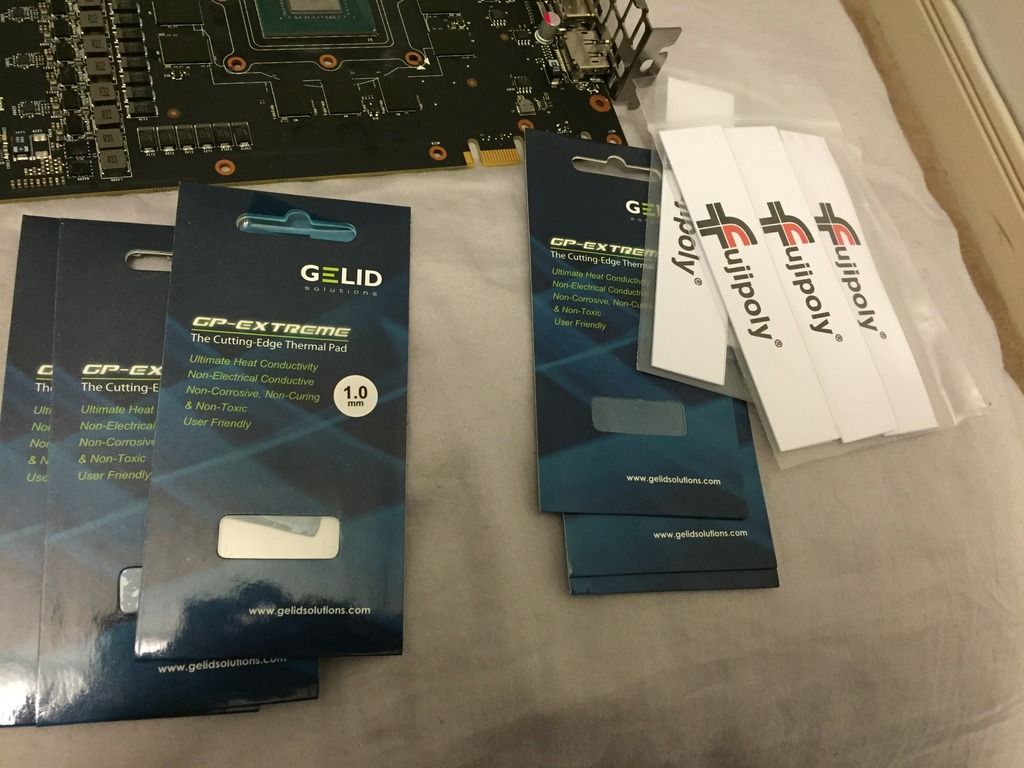
Greebo costing me a fortune in 14w/11w pads instead of the free EK crappy ones...
IMG_1228_zpsctbeku9z.jpg

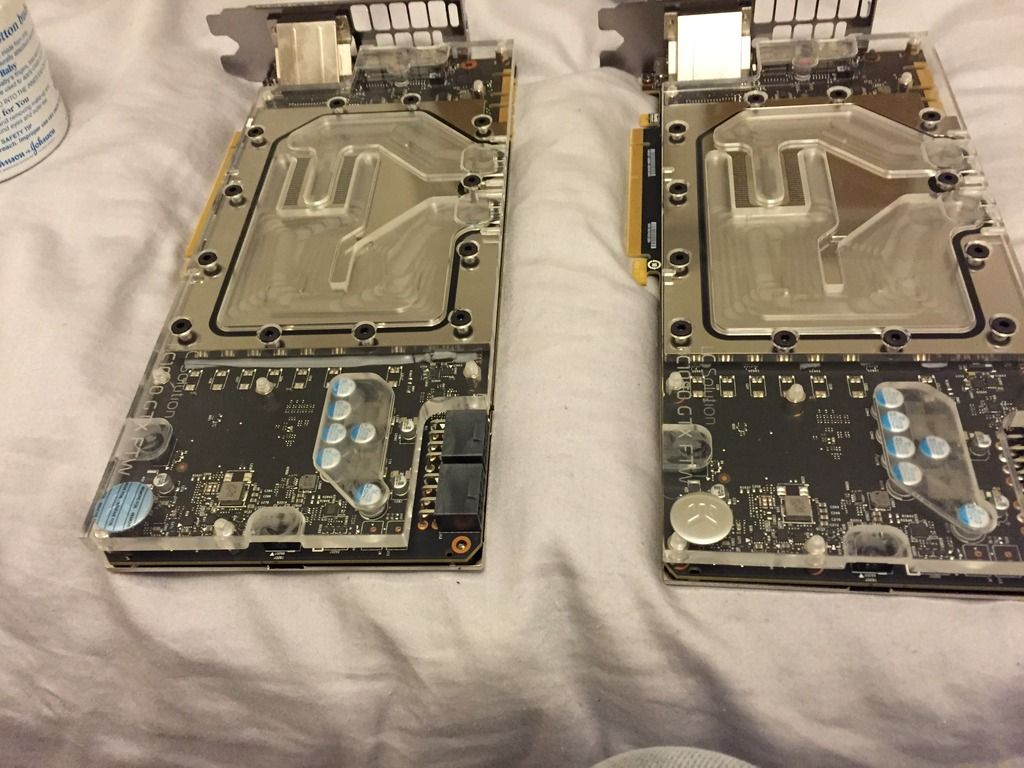
Blocks on
IMG_1229_zpsxyp6j8g9.jpg

BLING on... They look so good!
IMG_1230_zpsh6usk6bd.jpg

And... Repeat
IMG_1231_zpsw9mmlihv.jpg


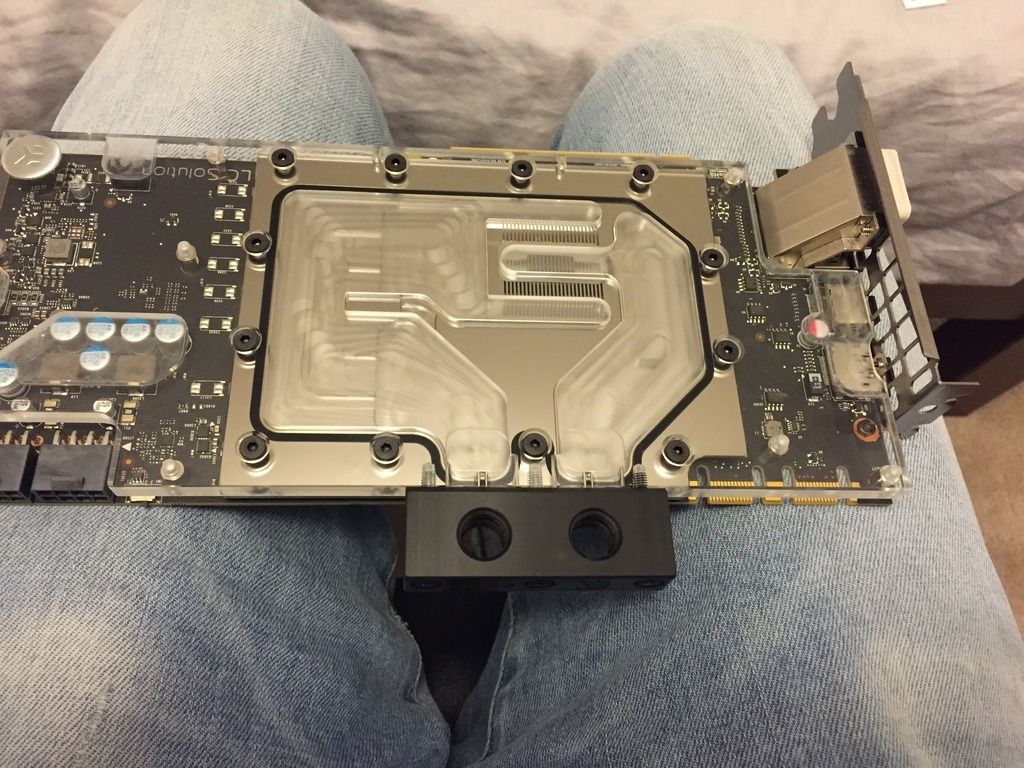
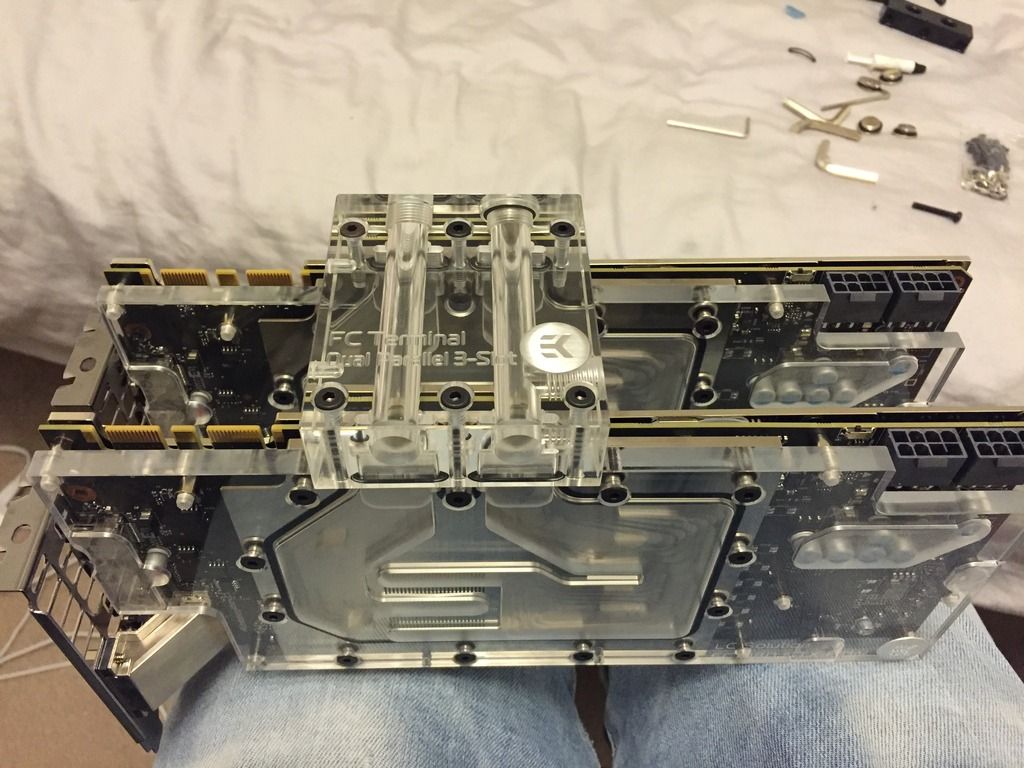
Now theres some debate over the look of EK Terminals, but i personally like it... Looks clean, nice and simple and adds some stability to the SLI configuration.
IMG_1232_zpsktpxq5fs.jpg


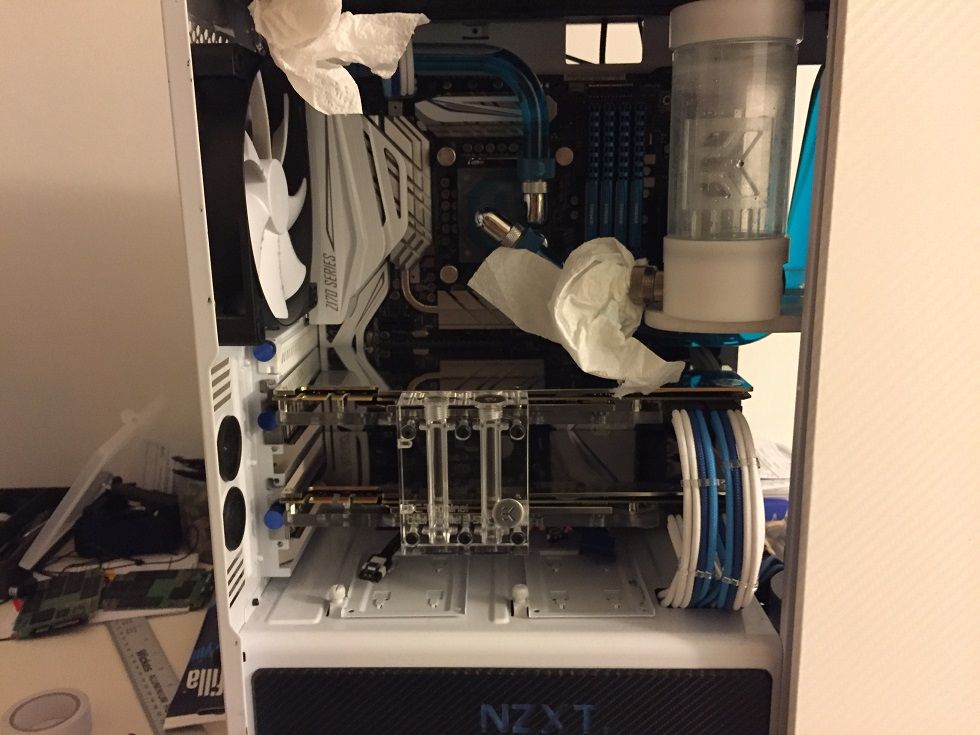
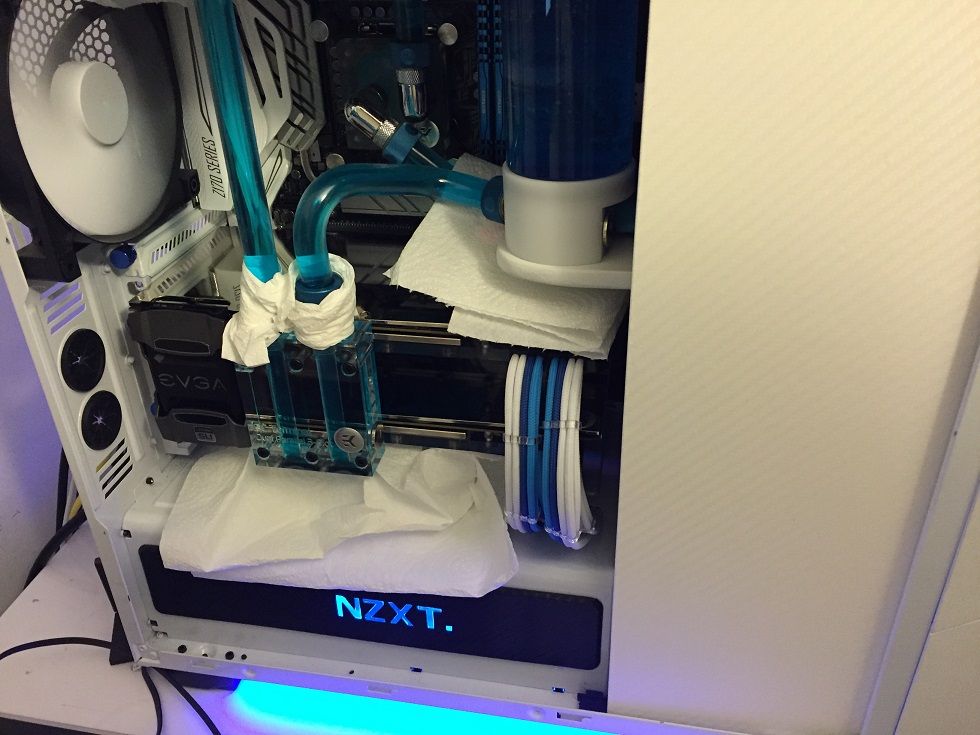
Back in the old rig for now, while I wait on the Aquero and other bits to decide my final layout and then its go time. It actually looks really good in the current case:

IMG_1233_zpsc2sksd7b.jpg

IMG_1235_zps6sfuttlk.jpg


And now i'm nackered so its beer time... But I feel like progress has been made! Any questions on the terminal etc let me know, seems like a nice bit of kit to me... Also notice the EVGA HB SLI bridge, thing of beauty and confirming that it does indeed fit with the blocks.
 
Well... Moving house is a pain in the behind.

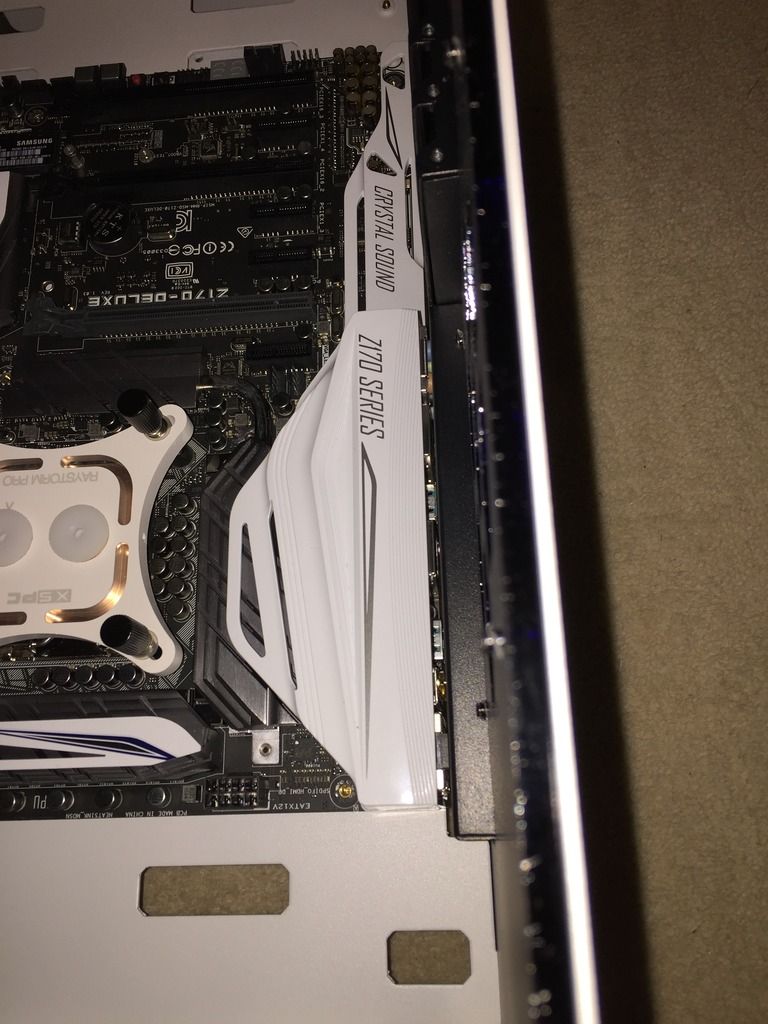
I've made a lot of progress so plan on getting more pictures up as soon as possible (no internet at home) but i've hit a fundamental problem with the case. Long story short its just not fit well, the more I look at it the more I think it has some serious design flaws but the main issue for me right now:

The motherboard sits too low on (its on standoffs), which means I cannot mount PCI cards... Physically its impossible as the shroud hits the limit on the case before the card is fully inserted. I've also noted a lot of other issues which are restricting me from having the 'ideal' set up. Basically its a real shame for something which claims to be designed with modding in mind its really got some MASSIVE over sights which more build testing would have shown up... Right now i'm stuck with a £300 case that can't be used. Options are:

1. Parvum save the day and give me a case so I can show off my expensive kit and they can laugh at the competition.
2. Parvum unlikely to give me one... Buy one :)
3. Another case which will take my 480mm and 360mm radiator and allow some modding whilst looking good
4. Hex Gear resolve my issue, though I can't see how and everything is just ordered from China so I can't wait...

So annoying, pics to follow to show the problem and also some new kit i've got hold of :)
 
Hi Smffy. Rather than clog up JR23's log, I thought I'd clog yours up instead ;) :D
You said you were interested in splitting an Aquaero 6 so that the screen is mounted separately. To do it, you need to make up a cable to connect the two halves. It's all DuPont pins but they're not the usual 2.54mm (0.1 inch) pitch, they're 2mm pitch which means they're closer together and the pins are smaller. I initially though some ribbon cable would be the easiest way of doing it but once I'd finally found the right parts and started making up the cable, it dawned on me that it would result in the two columns of pins being crossed - think of two sets of two columns of 12 pins laid next to each, the ribbon would connect the left column to the left and the right to the right....but when the two halves are directly connected it's the right column that connects to the left and left to right. In other words, ribbon cable's no good and you have to do it as individual pins. You can get from eBay some wires that have a pin crimped on one end - which makes life a bit easier. I found these but the seller does not communicate at all and you won't get combined postage because you cannot 'add to basket' and he won't communicate. Stuff did turn up though for a couple of orders.

Pins
Wires
Shells
Crimper

Hope it's of help.

Its massively helpful yes, thanks for that - first thing I did was take it apart and think oh this looks a bit annoying so good to know your experience of it. Thankfully the old man is an electronics engineer so I think with your notes i'll just give him a little project while he's busy being retired :D

I've been pretty hectic moving house so its all delayed (plus the pain of the case as above) but one thing I have been doing is crimping and braiding a lot so hopefully that stands me in good stead for this one! Will post up some pics of that later all going well, now I've got internet again for a few days.

I'm thinking about never looking at his build again, its too good :mad::D
 
As promised, been very all over the place the past weeks moving but managed to pretty much strip down the old build and made good progress with this one until the case turned out to be utterly unusable due to the motherboard tray sitting too low and not aligning as it should... Still going back and forth on it and to be honest its dragging on longer than it should for a £300 case.

See here my key problem, sits too low and this is as far as you can actually sit the PCI cards:
IMG_1353_zpsjzp5wzgs.jpg

Basically its useless, can't use the case so now completely stripped it down again and removed all fans/rads (not happy). The board does not align to the case well on top of the height issue:
IMG_1348_zpsruzyblbg.jpg

And on another note the mounts once I really looked at them are so restrictive in terms of the radiator and basically will not leave room for push pull, i've suggested them move the fan mounts back 1-1.5cm as its easily possible and stops them sitting so far forward where you need to connect the front panel etc.
IMG_1330_zps90iuvuff.jpg


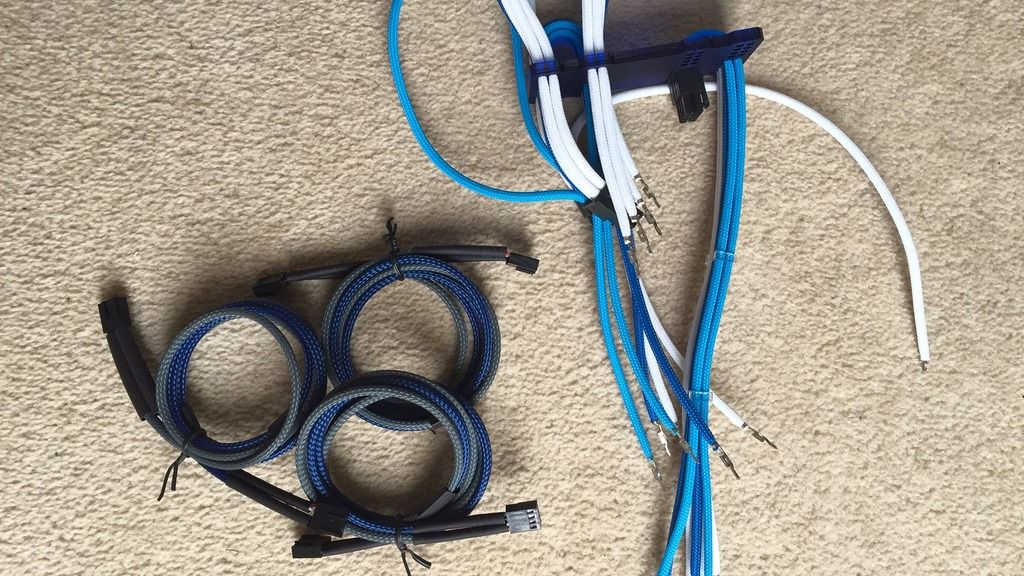
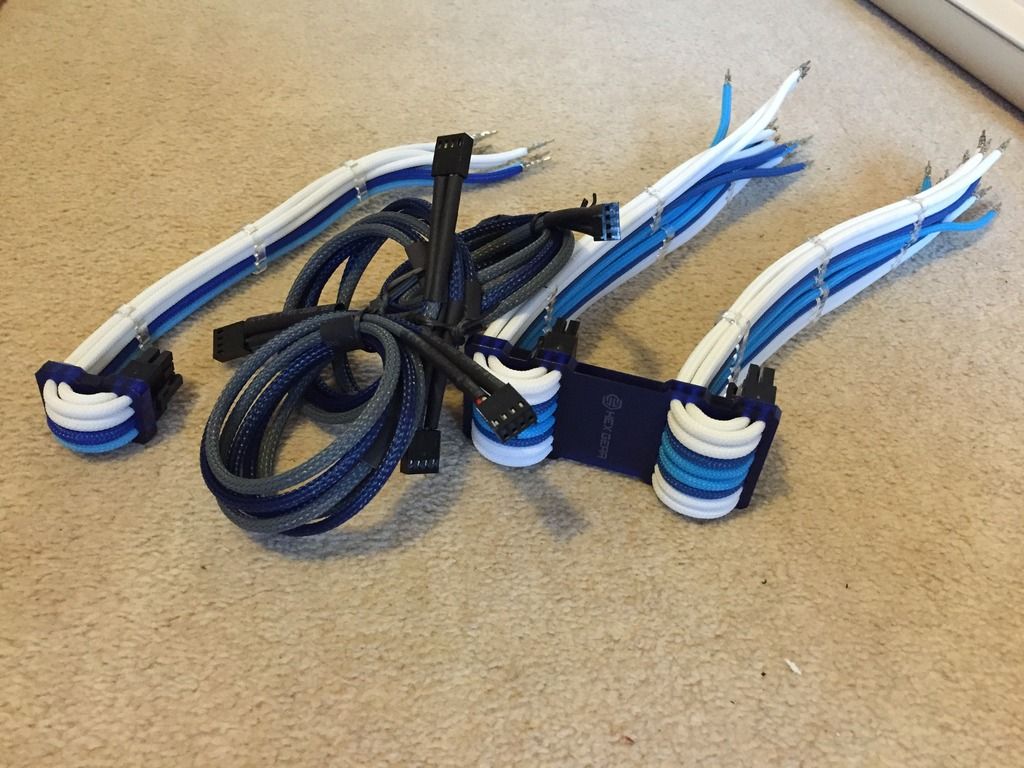
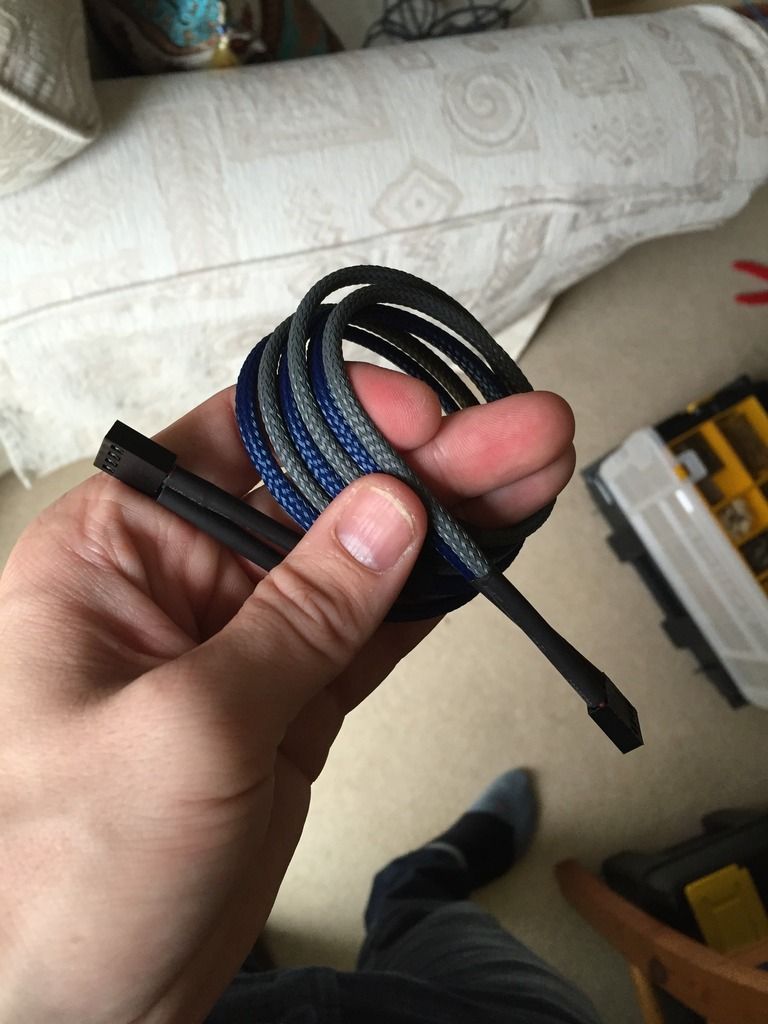
Anyway... While this has all been going on i've been learning to braid and tidy up the cables, i've ordered a load of connectors so planning to make some custom cables direct to the PSU to have a nice tidy build instead of the madness that often ends up behind the good stuff. the GPU combs look pretty nice when in in my opinion but each to their own:
IMG_1303_zpsc0atgssn.jpg

IMG_1304_zpsrnw856jy.jpg

Braided the Aquaero connectors, hated the massive cheap black braid it came with...
IMG_1296_zpsmnoz8ogt.jpg

IMG_1302_zpsh3nz6mwy.jpg

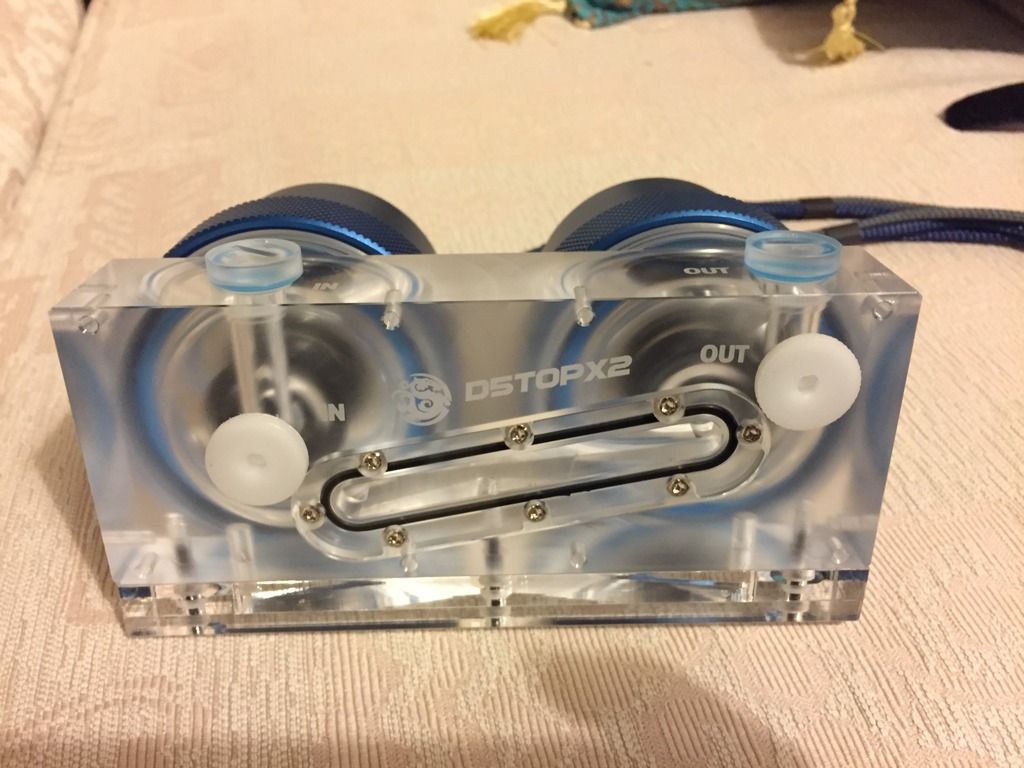
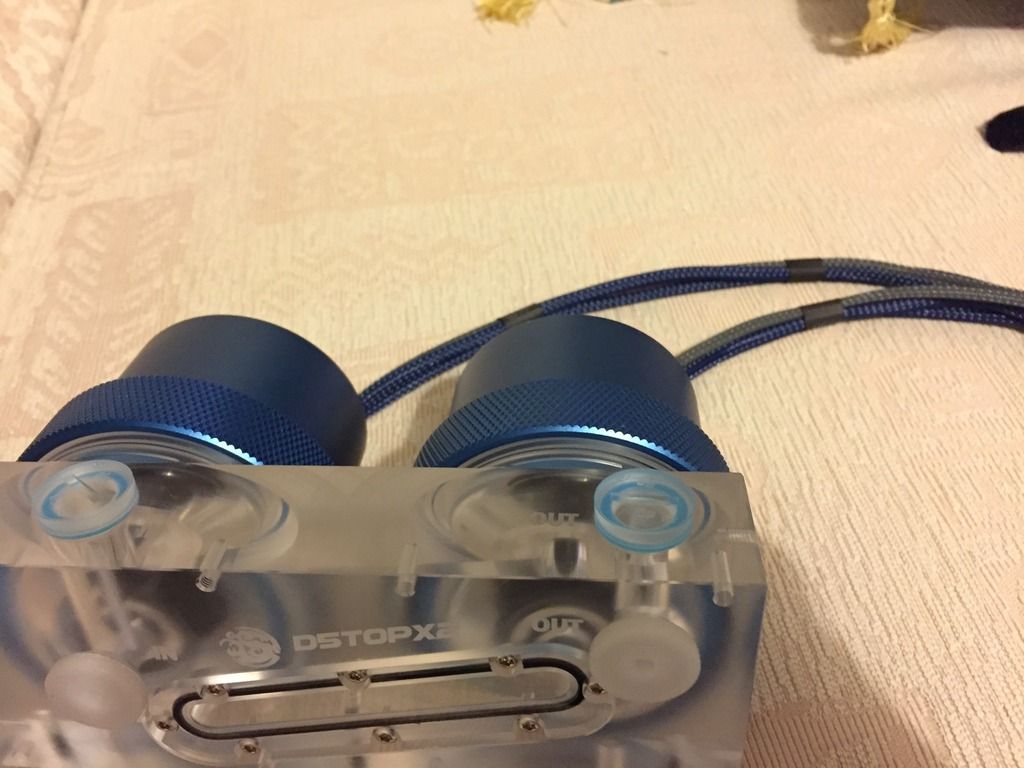
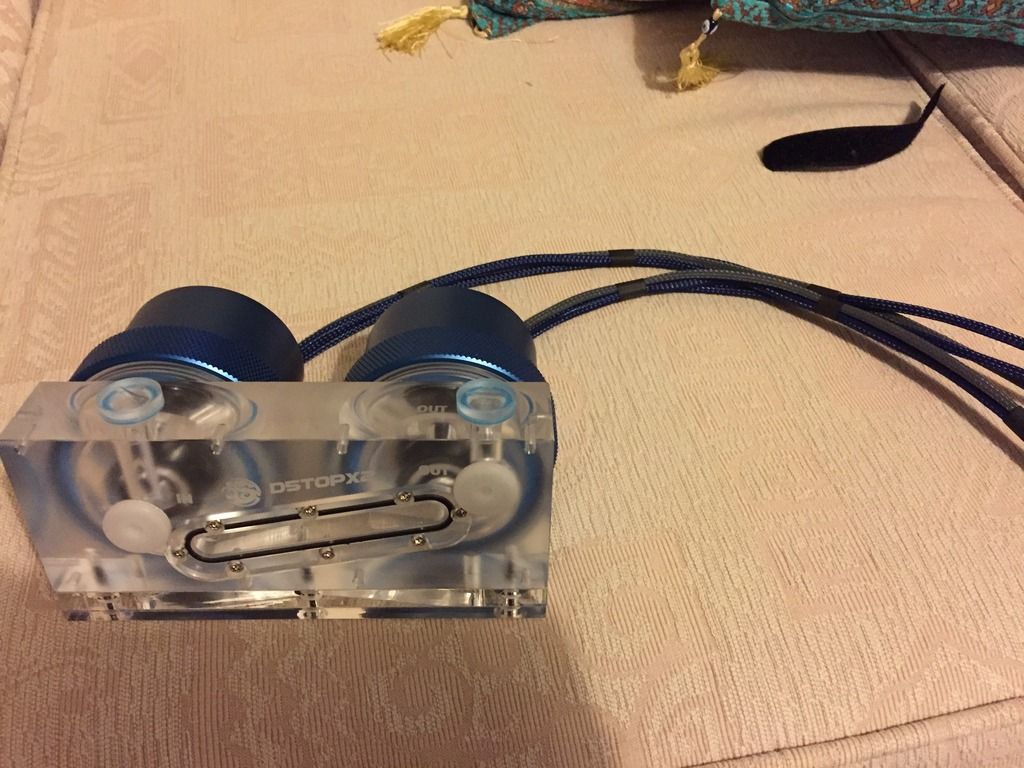
And finally I managed to get hold of this rare creature from Holland, complete with some mod kits and another EK D5 pump to complete my flow powered dream... It wasn't cheap but pretty much I just wanted a dual top and this is the only one I've seen that actually looks nice. The base plexi comes off and is not required so my plan is to drill out two holes in the mounting plate in the case and mount horizontally up the the notched grip on the mod kits. Secure then in place probably with some hot glue which will also absorb the virations...

The top, I replaced the black O rings with UV Blue - the front will also be replaced when I get round to ordering one:
IMG_1345_zpseyj2zrg0.jpg

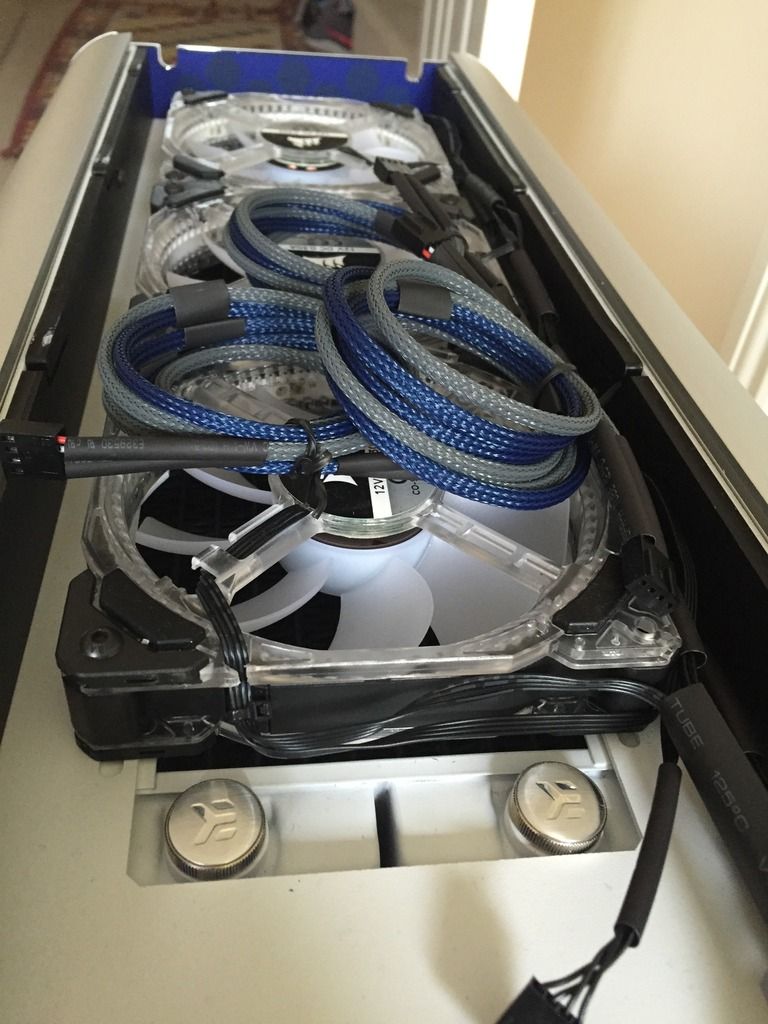
Braided the pump cables ready to rock, connectors are still off as i'll probably trim them as I don't think they'll need to be so long.
IMG_1346_zpscn1c013n.jpg

IMG_1347_zpssvrsvjga.jpg


And thats about it for now, the saga of the case continues - if its not resolved soon I give up and i'm ordering a Parvum L1.0.
 
If they're not prepared to fix it in a reasonable length of time, can you not return the case as not fit for purpose?

Braiding looks good. Have you got the wire crimped in the first 'wings' and the second set of wings crimped over both the braid and the wire's insulation? The guides I've seen melt the braid into the pin with the pin already crimped onto the wire but I can see your method making it easier to get the braid into the plug....as long as it doesn't make the wire more susceptible to pulling out the crimp.

Aquabus cables look good too. I cheated (perhaps) by running all four wires down one braid. Some blue to show up and some black where I want them to disappear.

Pump top is nice. Frosted looks nice. Have you seen that Alphacool have launched a series of hardline tubing with a satin finish? Just a thought, if you want to extend that look.

I like the 180 degree combs. Prefer the cables wrapping straight down....but it's difficult to get them then to exit cleanly. I've also seen a dual GPU with the top one 180'd downwards and the bottom one 180'd upwards so they meet in the middle and eclipse the cabling behind.
How did you measure the cable lengths so that they're equal after the bend? Did you do a rough measurement and cut them different length to start with or do one end, run them all and then trim to the right length afterwards?

The crimping is not yet done fully but yes first set on wire, second is over the insulation and braid then just melt it down - the braid has loads of space once you get it through the combs. In the connectors, loads of room...

Went for a bit of a mix of colours if i'm honest, i've got a load on order from OCUK then i'll aim to actually use one scheme throughout, its quite fun to learn it though and the ability to remove and replace connectors is seriously handy. It takes a lot of time, but it eases my OCD with the build and cables :)

The comb cables have not yet been trimmed but you can actually use them without cutting (basically start the exact same size then i'll possibly trim them). If you arc the cable, as you would if you ordered a 'rainbow' cable it actually lays together perfectly without trimming... I like the look, it works really well with the full covers to neatly run the cables down - although I could get my 'free' evga adapter. Inverting would be simple, literally thread it the other way but not sure i'm keen on it... Also work pointing out it acts as a really good brace to stop them sagging.

I'm loving the new alpha kit, have you seen the plexi res? Love it, looks amazing having the entire thing in transparent including the base - called Eisbecher i think. I'll defo check the tube but my long term plan is to replace with copper and have it black nickel plated, potentially open to change but I think ultimately depends on my case resolution... They are at least now responding, I ordered it in September. I'm going to try one more 'check' but then I think i'll just ask for a refund/complete exchange on it, it came with three damaged panels which are on order also so i'm not waiting on stuff from china forever.
 
Nice cable work and loving the detail man (Orings and stuff like that). Sucks about the case though, hope they sort it out soon.

Yeah I'm a sucker for the detail, things feel a bit all over the place but looking over all the small things while I wait on the case (just emailed). Should have gone for a Parvum me thinks...
 
Wow that's quite a delay, I was looking at frosted clear also but not necessarily custom - what do you design the custom panels in? I've made some mods to my motherboard and RAM today, rapidly running out of stuff to do while I wait but potentially sleeving all cables will keep me busy ;)
 
I just knocked up a rough idea of what I wanted using GIMP and left the guys who know what they're doing to make it work, but if you're a lot more skilled than I am with 3d rendering software like Sketchup they'll cut pretty much anything you can draw... Just get some soup & beans in because it could be quite a wait!

Cool, i'll have some new pics up later but Hex Gear have now asked to 'recall' the case to check it... Also asked that I send my motherboard and graphics cards to check - yeah thats not happening :)

Have you actually called up Parvum then, curious as to whether its the custom bit thats making it take so long or just a back log - they didn't even reply to my email last week so who knows.
 
They seriously thought you'd send them an expensive GPU and motherboard to use as a template?! That's beyond ridiculous, but fair play on them for having the cheek to ask :D

Since then I've sent a couple of emails, first time was told it "should have shipped but I'll check tomorrow" but that was on 3rd November and I've not heard a thing since. Starting to think come December I'll be asking for a refund and looking for a plan C... Maybe pick up your old Hex Gear on the cheap lol

Yeah I know why they ask but seriously I'm not about to send them 2 x 1080s in waterblocks/bridge to mess with... You might be lucky and get my dodgy case, but it wont let you put a GPU in the motherboard so good luck ;)
 
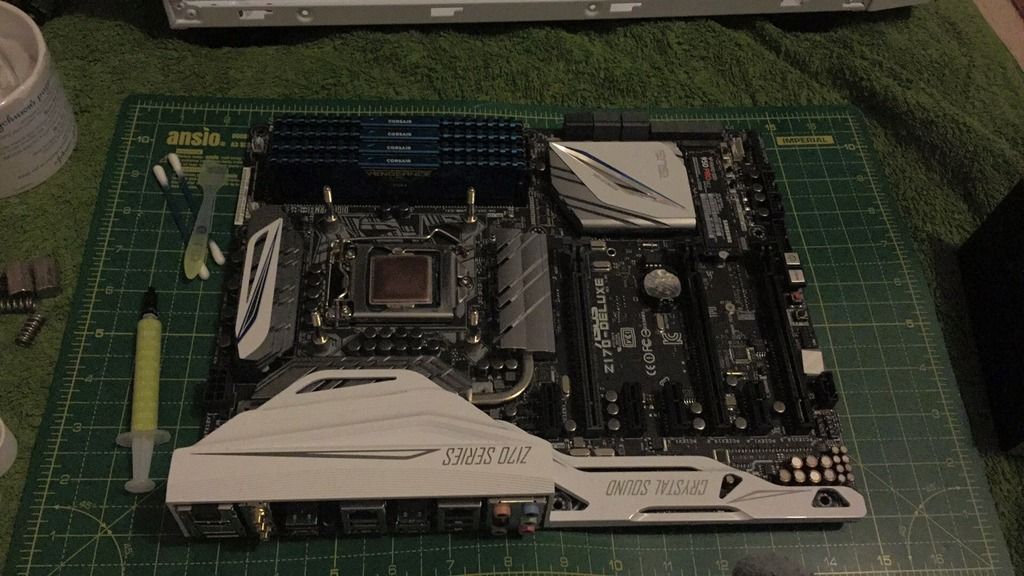
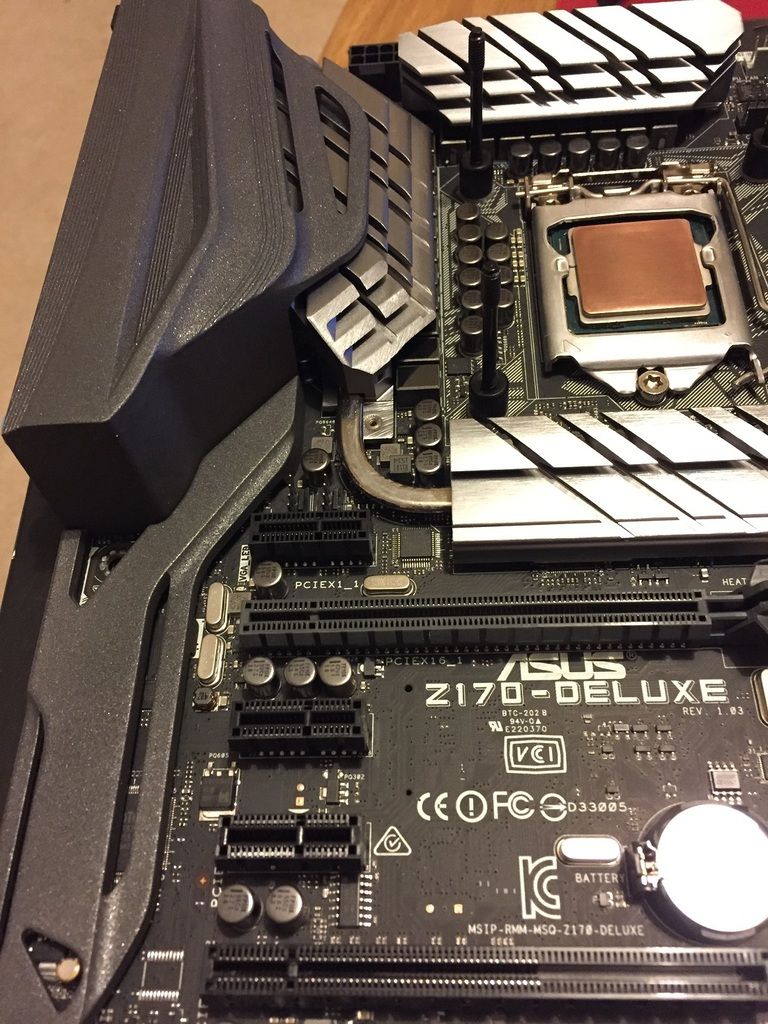
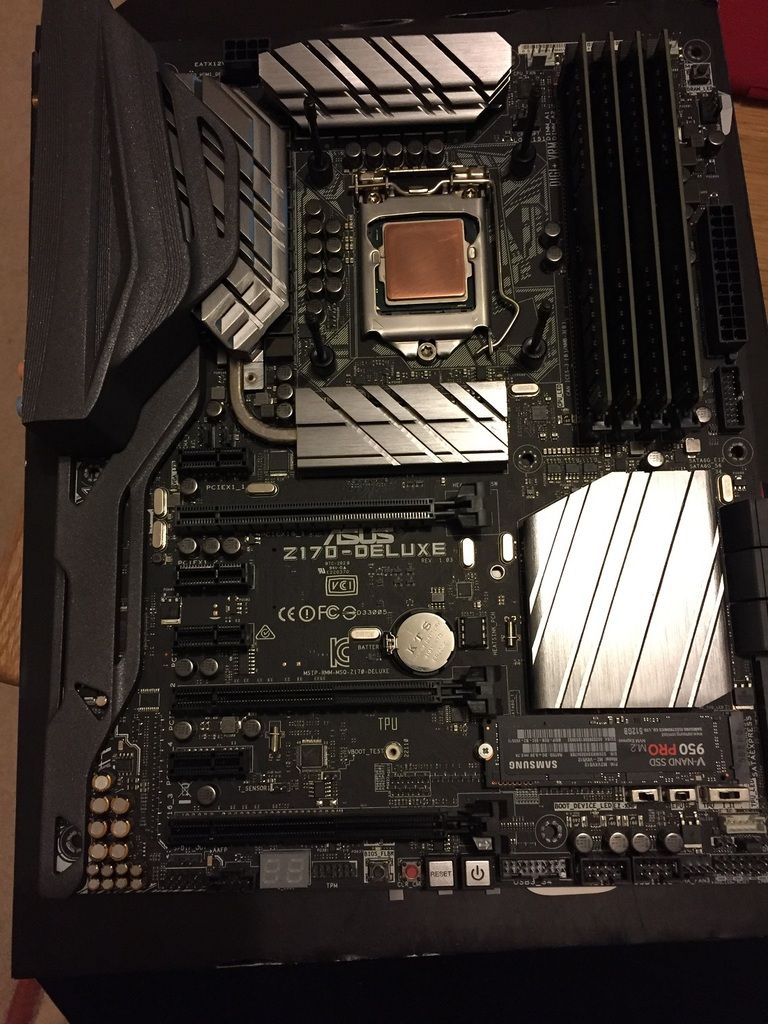
While i'm here some snaps from my tinkering while I wait/move house yet again... So after much looking at this kit while I can't actually build it in decided I wanted to lose the sort of cheapy feel and make it look a bit different. Part of that was to remove the funny stickers and go for a more stealthy 'EVGA' board look.

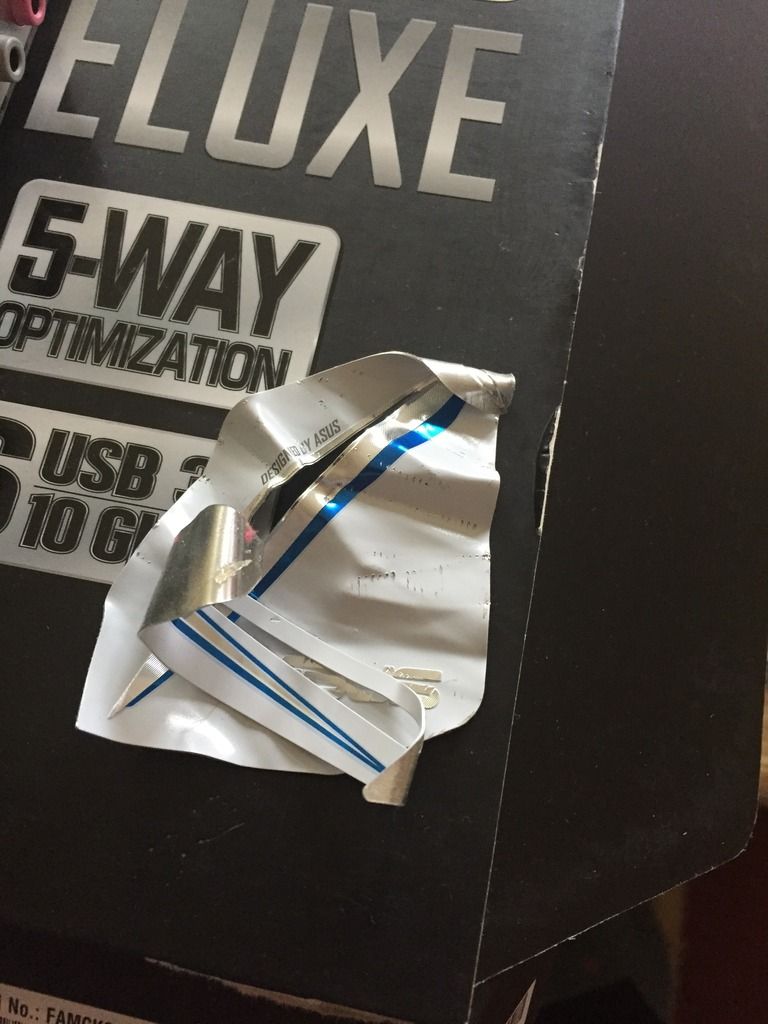
Step 1, remove kiddy stickers (I was pleasantly surprised at how easily these metal stickers peel off).

Reminder of how it looked:
IMG_1328_zpsfqkg4c3o.jpg

IMG_1348_zpsruzyblbg.jpg


Unscrew the various metal heatsinks from the rear of the board and they just fall off. The stickers are stiff as hell but peel an edge up then I pulled them off with pliers...
IMG_1393_zpspnor7y3m.jpg

Back on the board with the white shrouds (plastic aesthetic only) removed:
IMG_1394_zpsjynewr3i.jpg


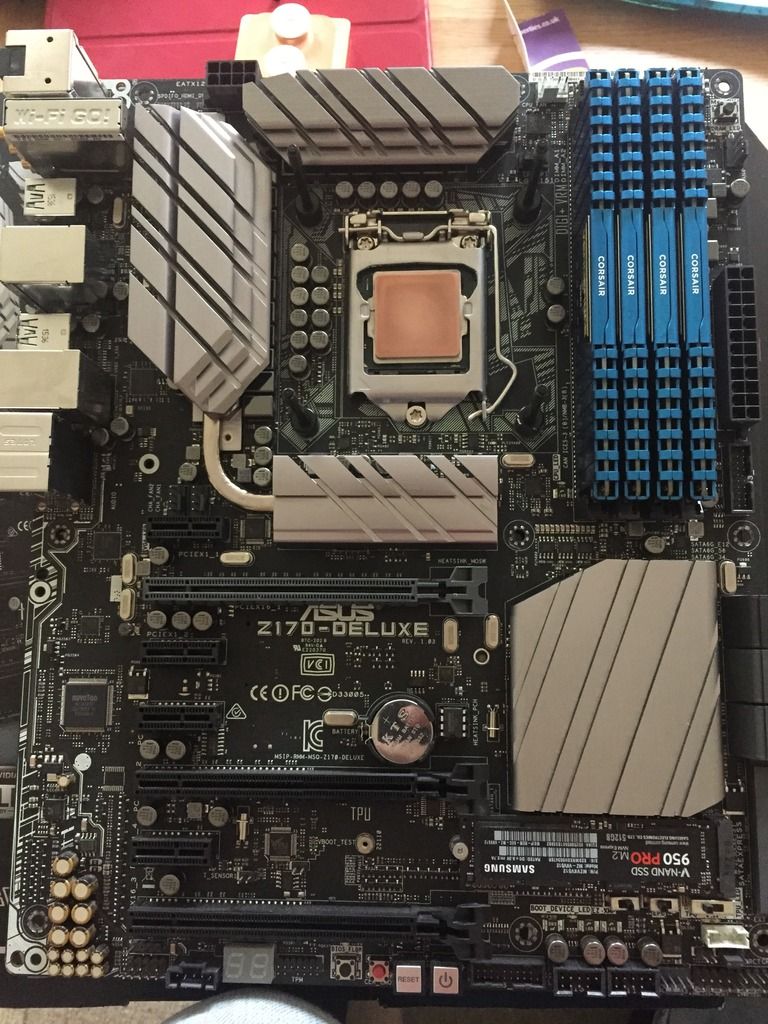
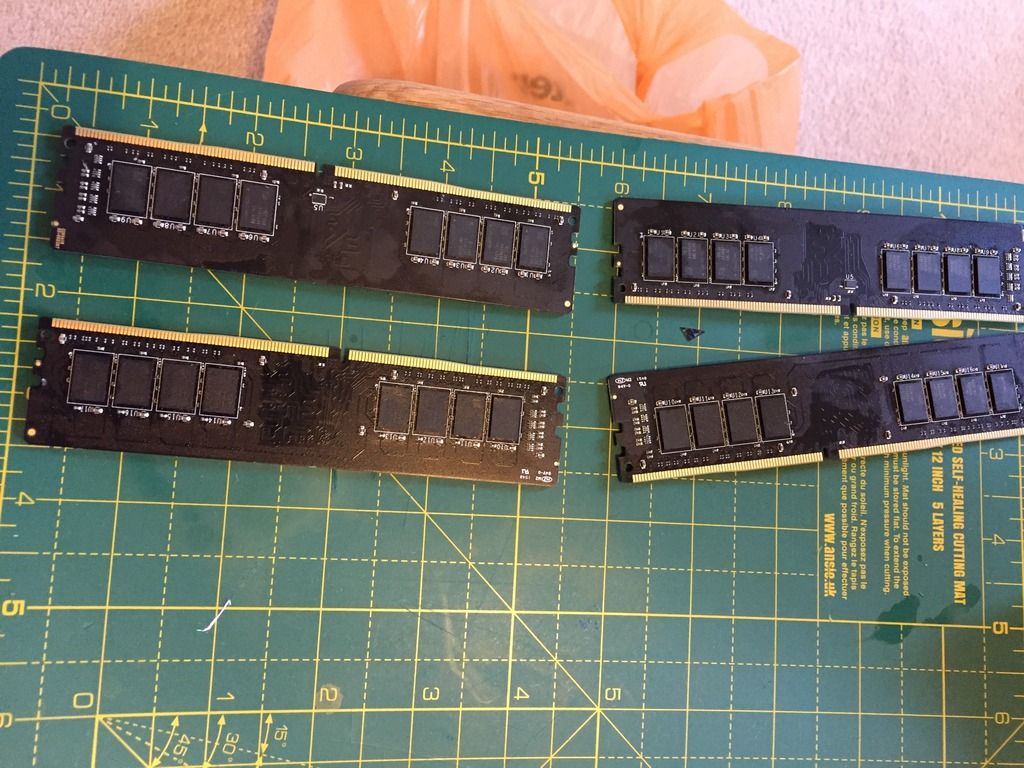
Step 2, decide I don't like the RAM anymore... remove the heat spreaders carefully - this was tricky but ease it open and give a squirt of contact cleaner/isopropl and it should start to ease off. It was tedious though I won't lie.
IMG_1398_zpsnlxaxfb7.jpg

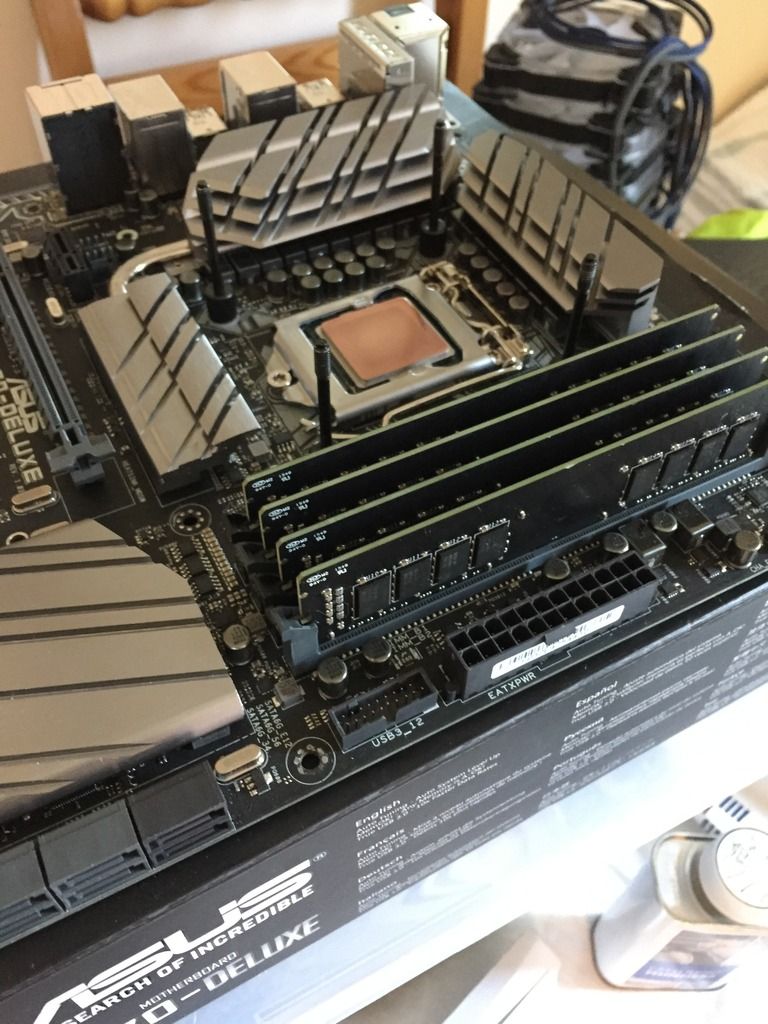
Back in the board while I wait on my new EK Monarch Nickel bad boys to arrive - two are here now (nobody had stock of more than 1 pair) so pics of that later:
IMG_1399_zpscf3lwwjd.jpg


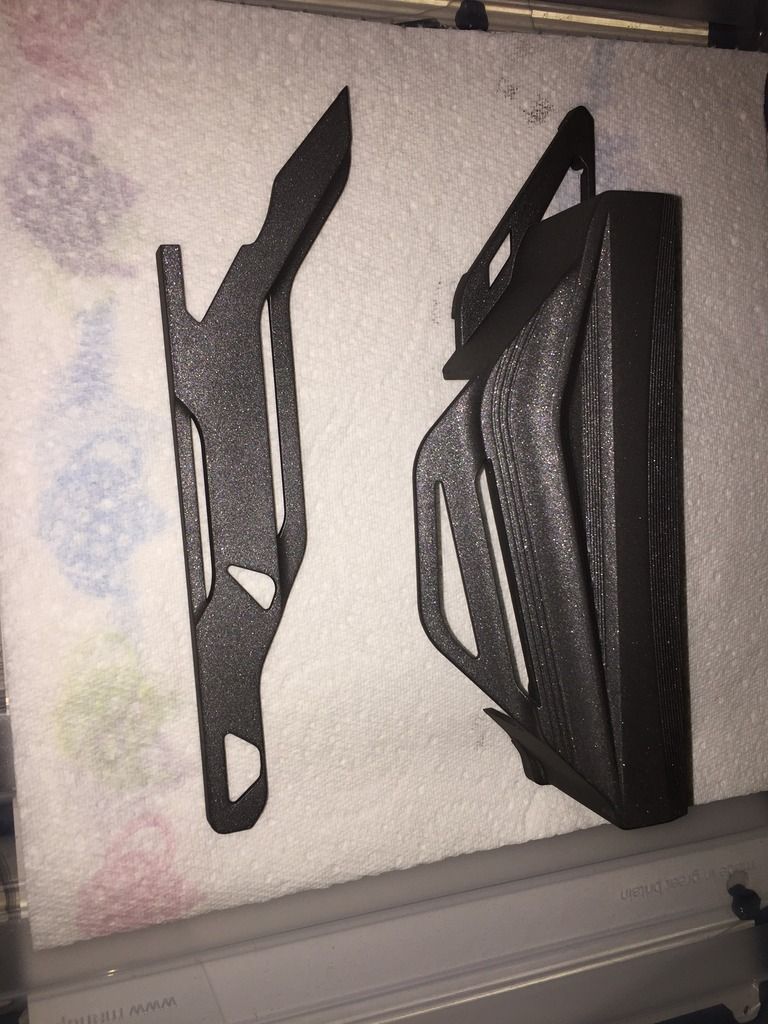
Stage 3, making my board look a bit more stealthy... Decided to spray the shroud with this lovely looking metallic grey/black:
IMG_1401_zpsjyrgdox5.jpg

IMG_1402_zpsbk9svjte.jpg

IMG_1403_zpsh7m7dxby.jpg

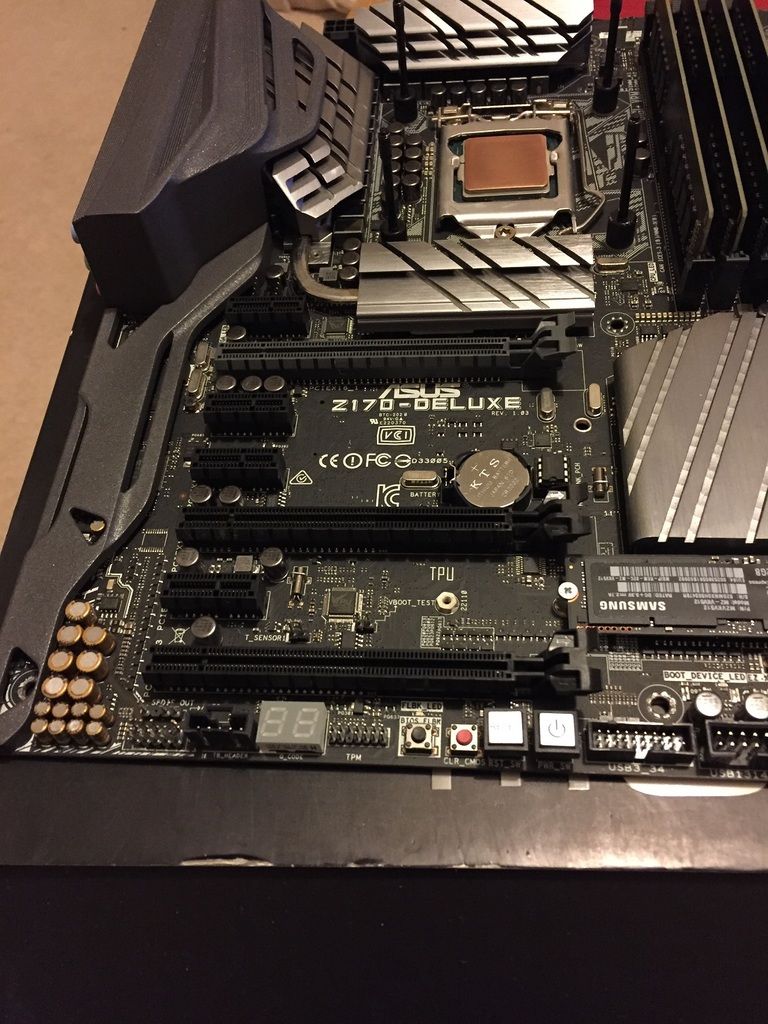
I think its come out really well, love the paint...
IMG_1404_zpsqirguj17.jpg


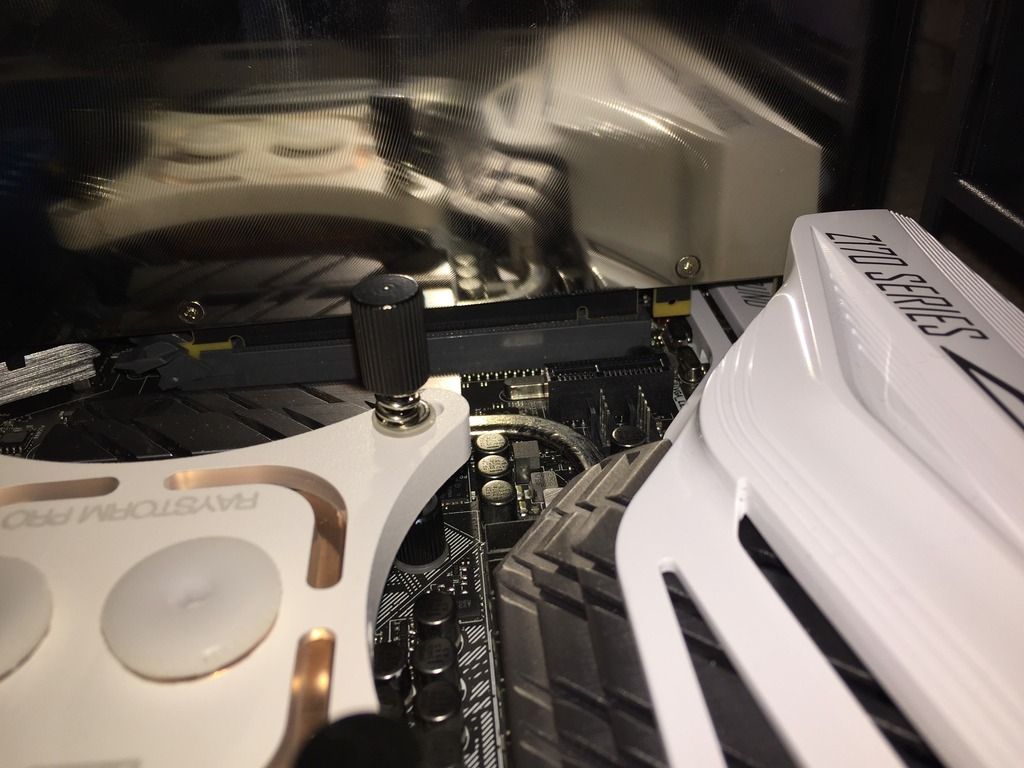
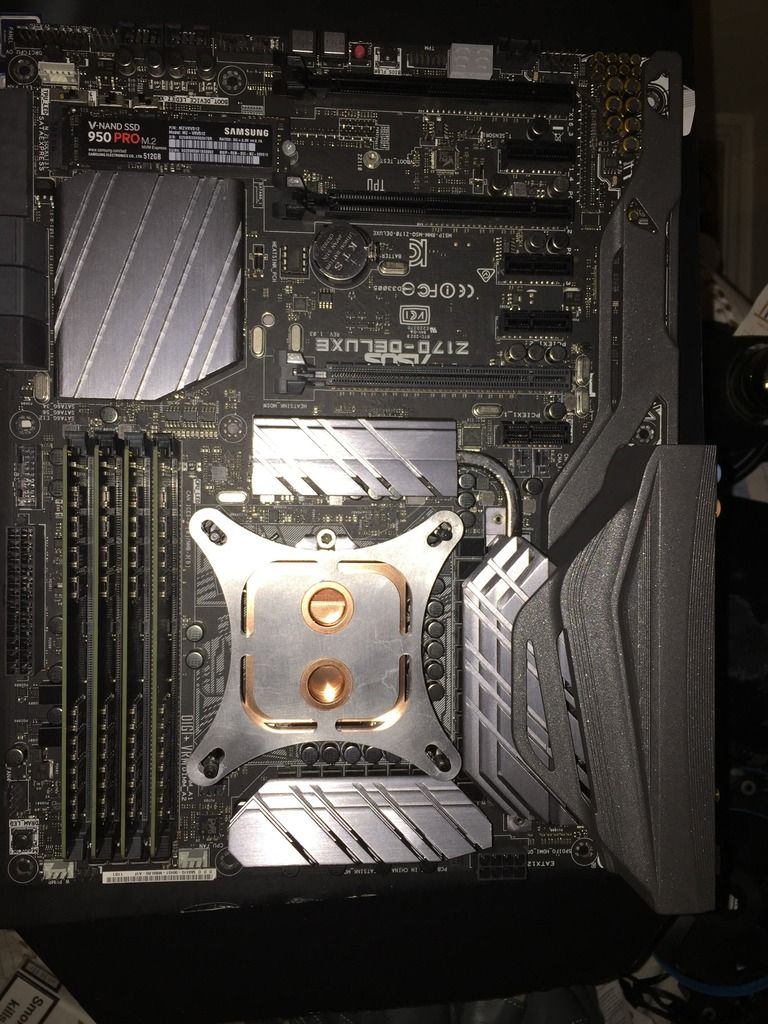
Step 4, decide again you don't like your brand new XSPC Raystorm block... Debate about returning it... Decide to attack it. Stripped off all the pain on the surround, its solid aluminium so wanted to see how the finish was naked:
IMG_1405_zpszjgvs1ok.jpg

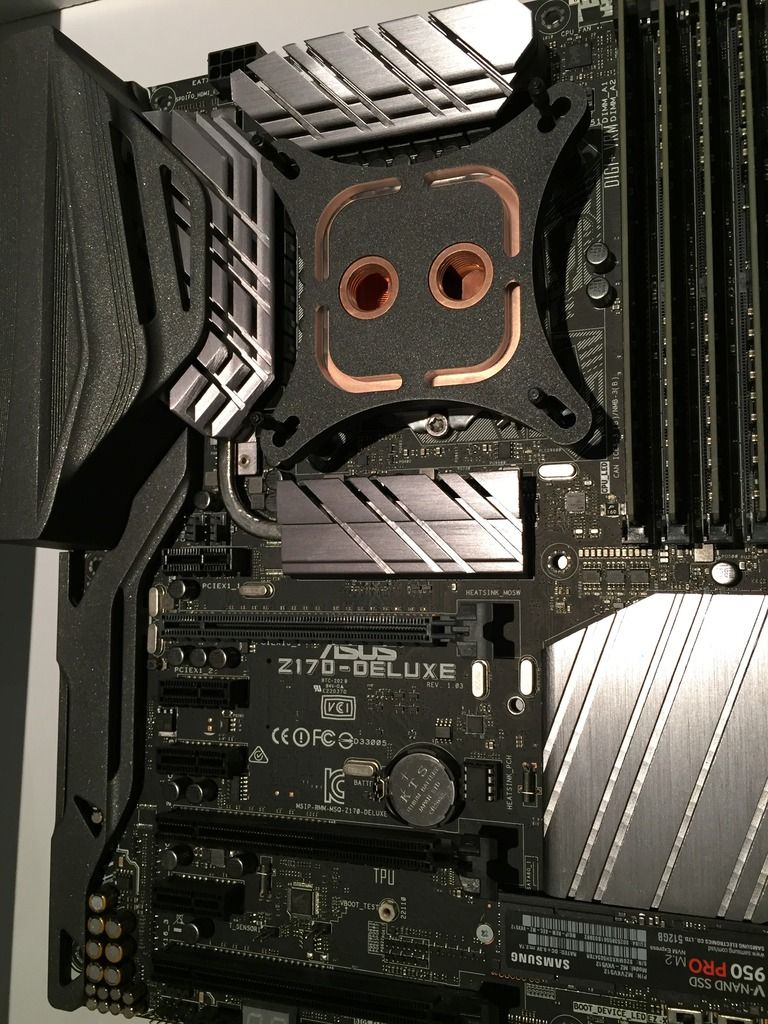
Looked a little off being quite bright so opted for the same metallic paint job as with the board shrouds which I think looks really nice... Also thinking I might copper pipe the liquid cooling instead of PETG...
IMG_1412_zpspvnkelro.jpg


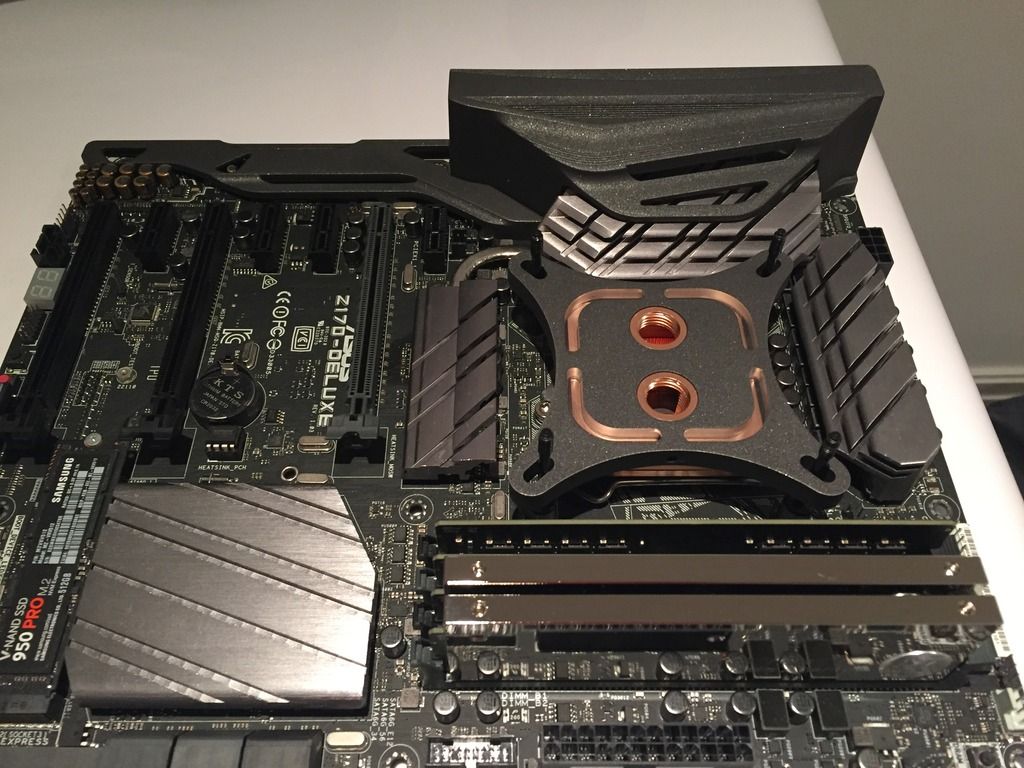
They better hurry up and sort my case before I obsessively mod anything else! My plan for the RAM is just to leave the Nickel casings on as heat spreaders, at this point I don't plan to actually loop in the RAM and water cool it.

What do you think to my new EVGA ASUS board? :)
 
Lots better. Copper of the CPU block looks a little odd next to the rest of the metal but that'll get hidden but coolant and fittings. It's looking, to me, ripe for black nickel fittings.

I did think the same thing but if I want to I can just take the top of the copper block off and spray it white/silver, however i'm not thinking if I have copper tubing it will look like it matches... We shall see, plenty of time to mull it over while I wait for the case problems to get resolved. Two of the RAM modules arrived...

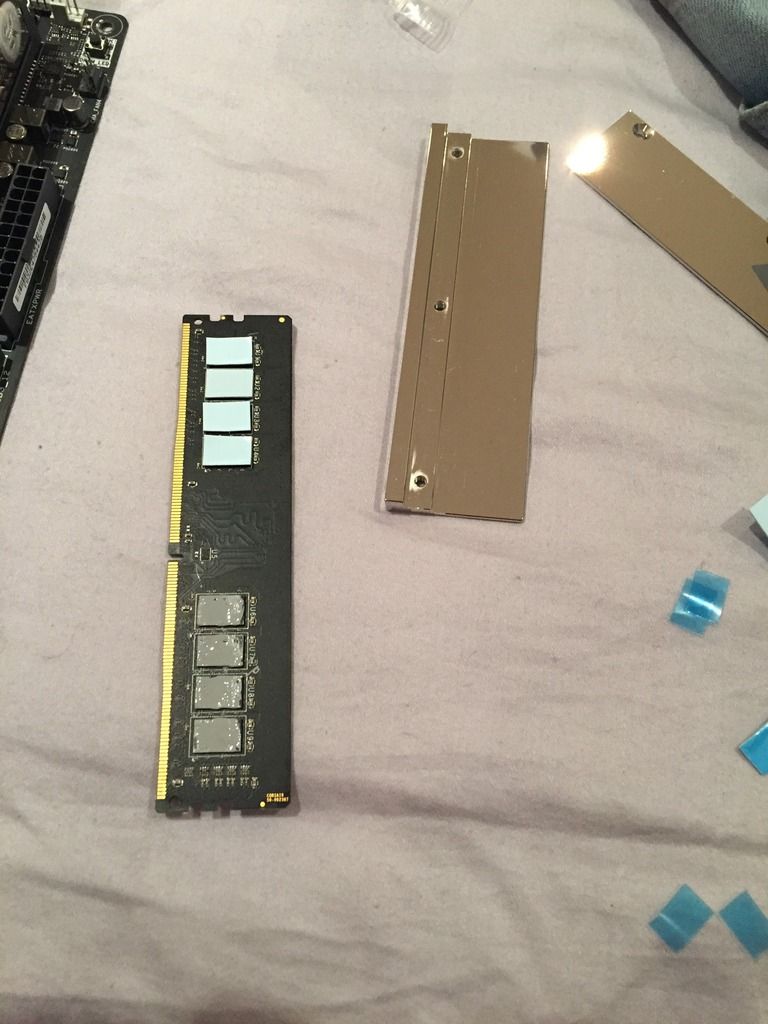
Stripped down clean RAM was pretty simple to do, bit of thermal paste on each to stick the pad and also improve the thermal transfer. the pads come cut way to wide, it was actually spot on to cut down the middle of the strip.
IMG_1417_zps6yhqyvdf.jpg


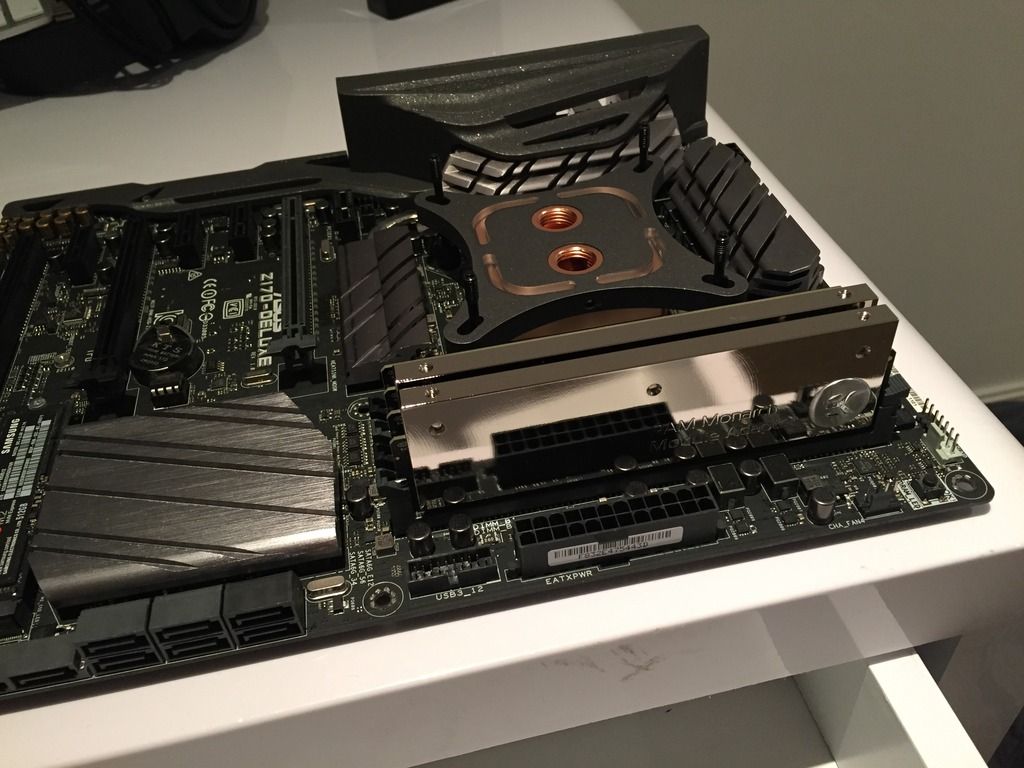
Sexy shiny RAM... My GPU backplates match this so should look pretty nice when its all together finally!
IMG_1418_zpsprplgvdl.jpg

IMG_1419_zpsqsqmitgm.jpg
 
Or you could have the copper piping black nickel plated to match the shiny RAM. Ahh, spending other people's money is so much easier! ;) :D

I reckon I could actually spray the EKHD fittings to match the new metallic grey shroud, right now i've got about 20 blue ones :)

Might try it on one and see how it looks but that paint is pretty good at getting a smooth coverage and i'd only need to spray the outside. What I would need is 16mm copper though, find that and you can spend my money on it.
 
Back
Top Bottom