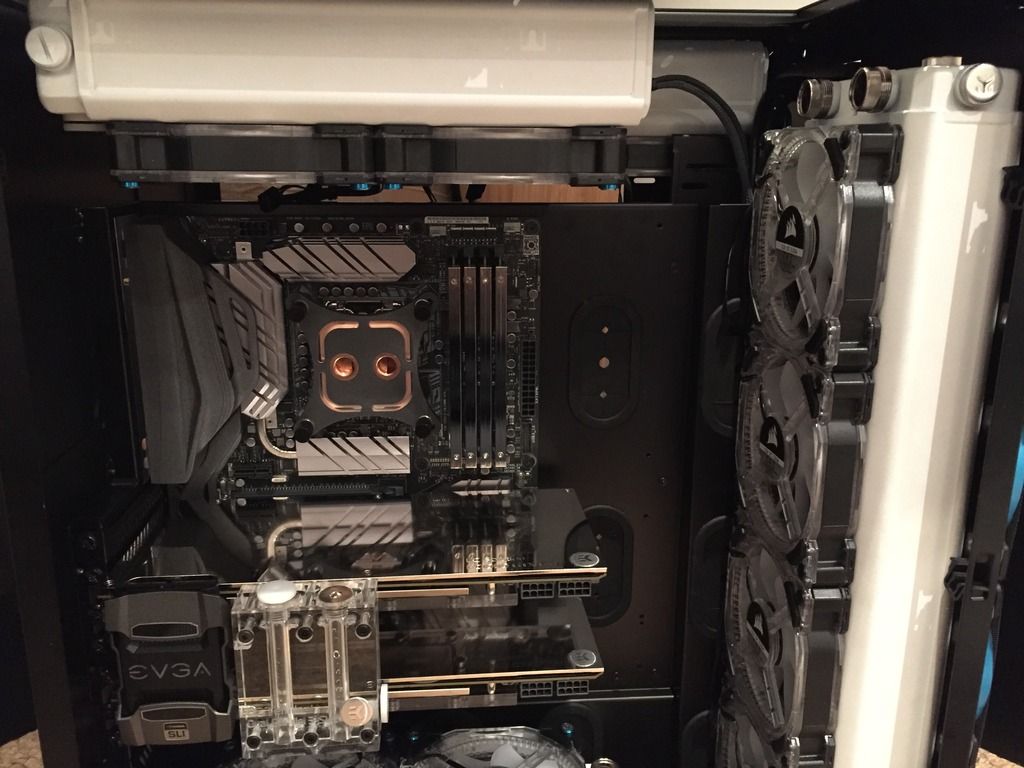
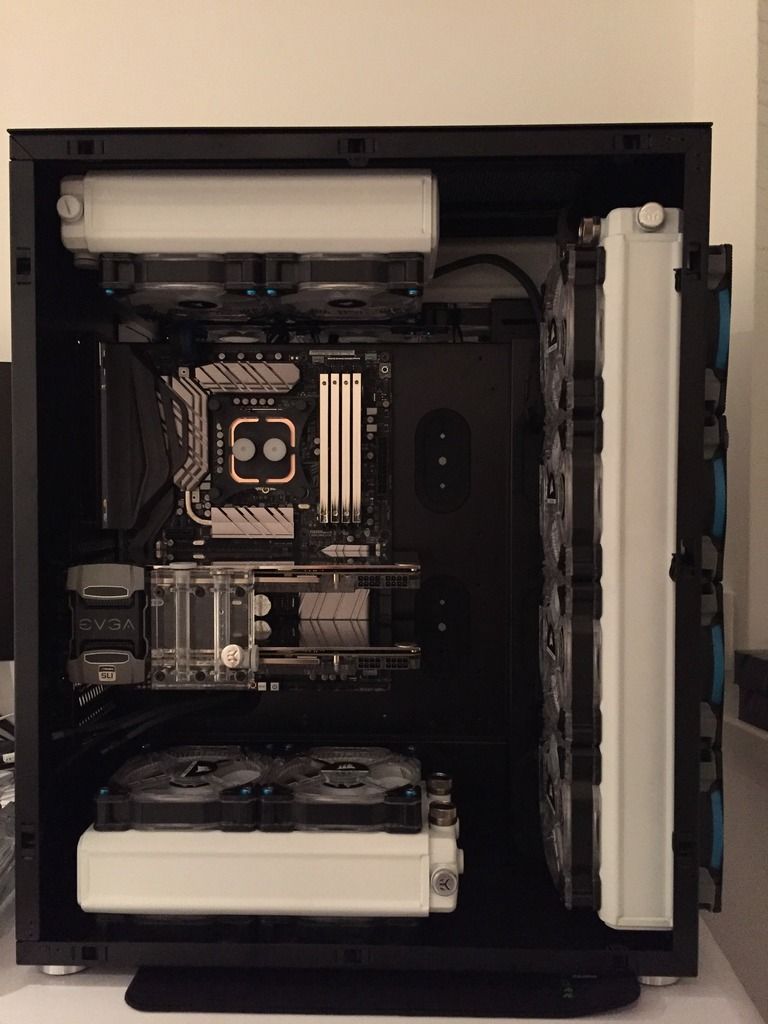
Project Smurf 3.0

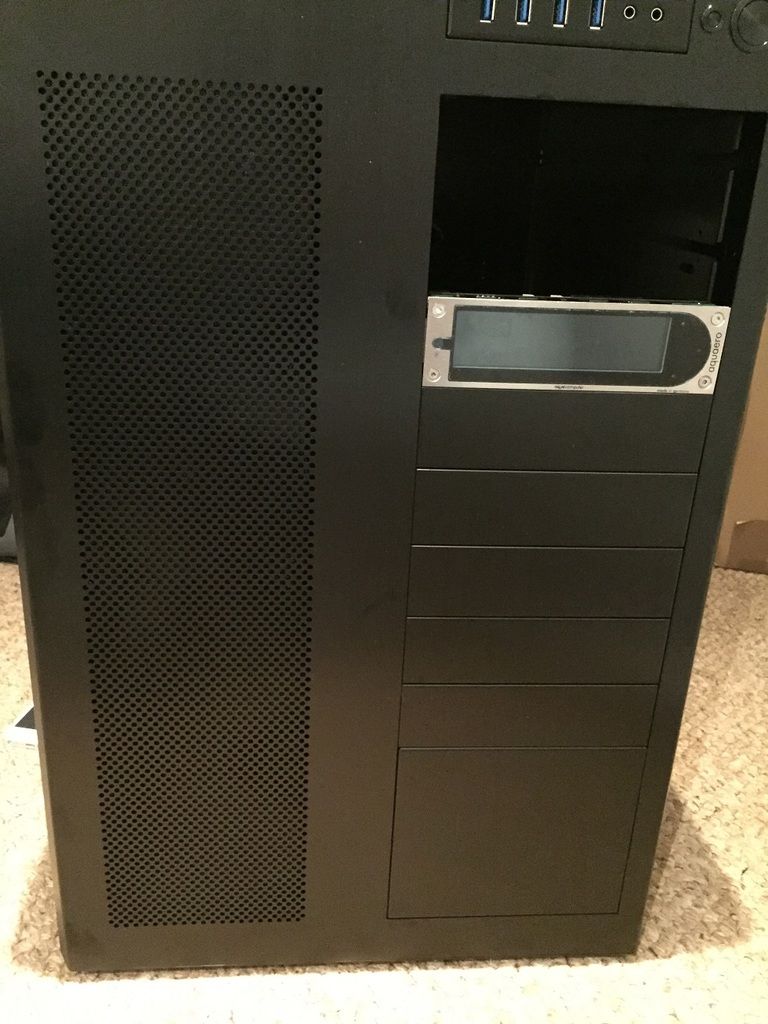
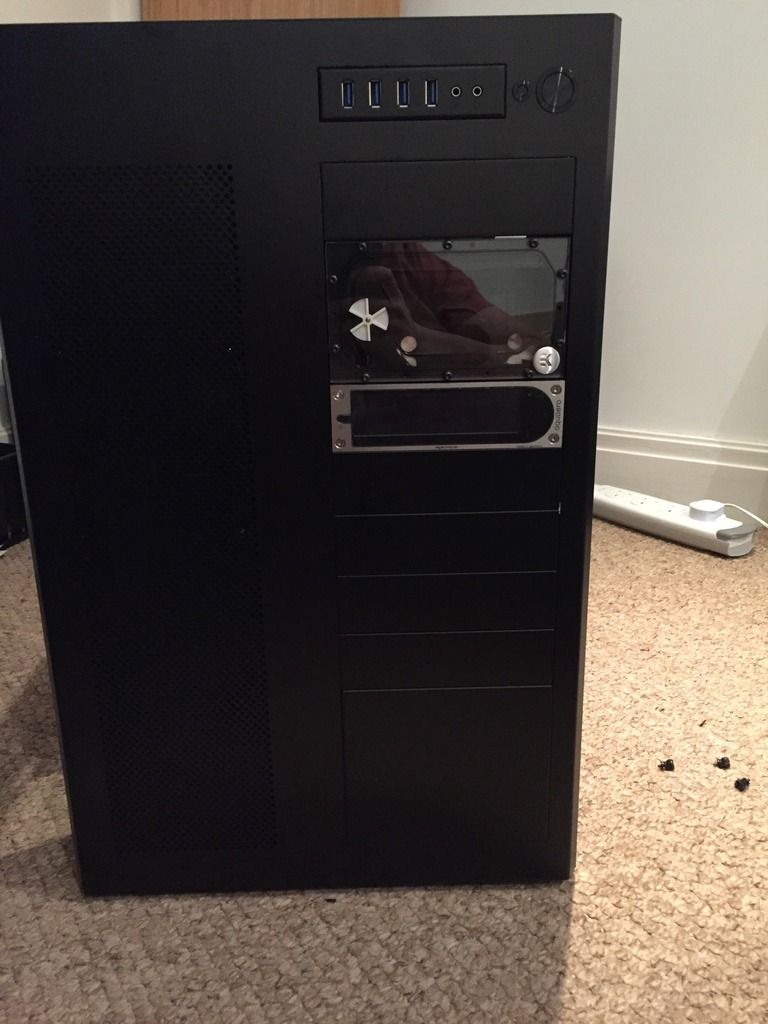
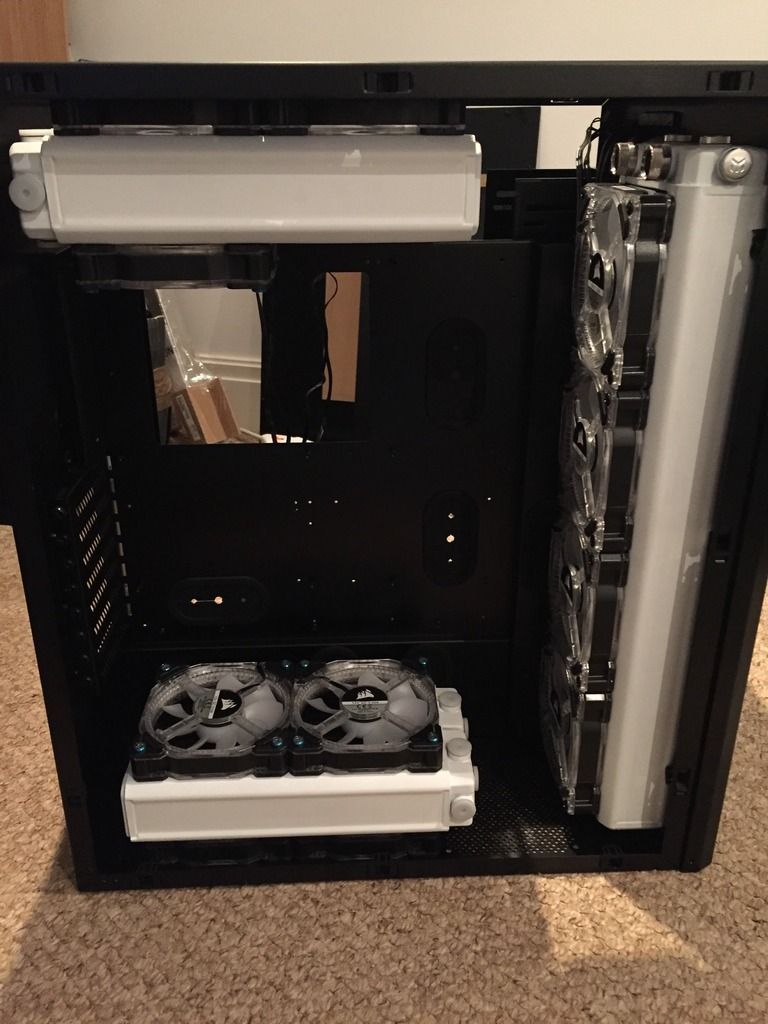
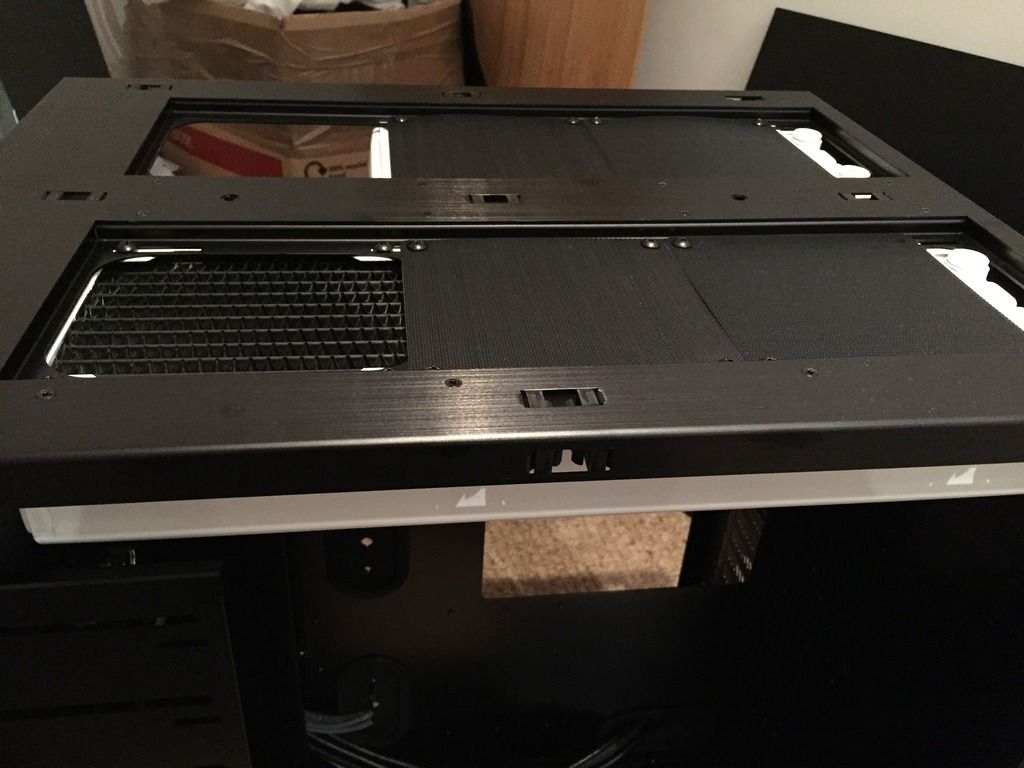
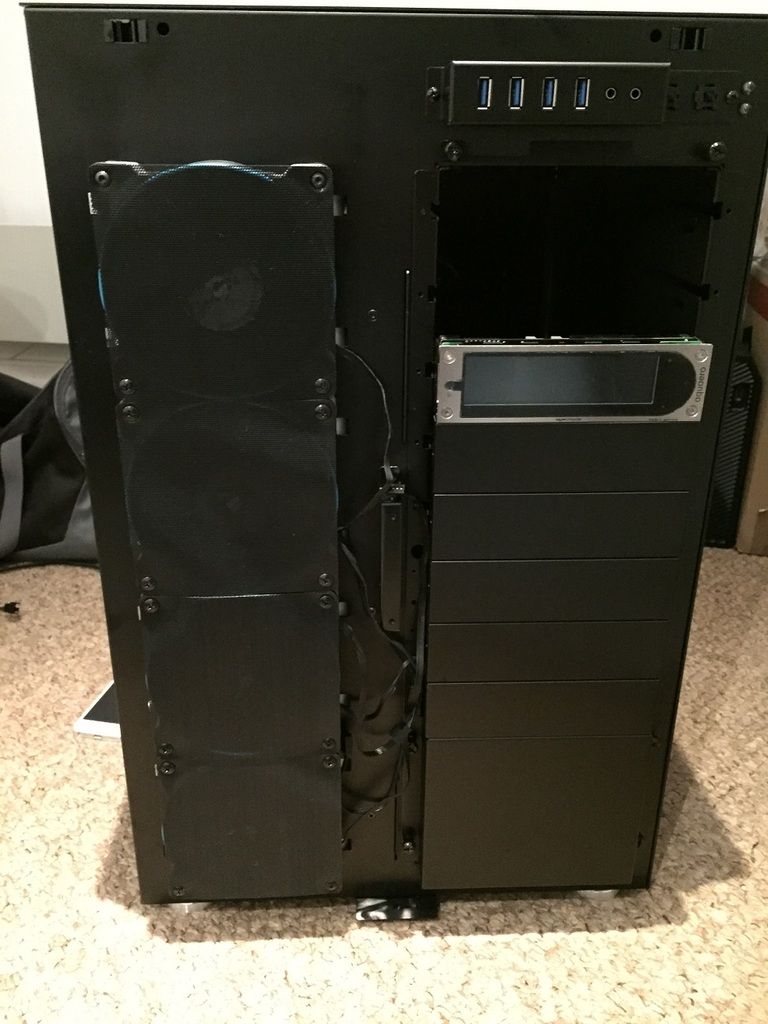
Slow progress continues... Had a bit of time last night so got the front 480mm stuff in, using those fan filters seems to have worked a treat and i've now got a hidden row of 120s on the front pushing air in with the internal in pull.

IMG_1636_zps8n9qgvws.jpg

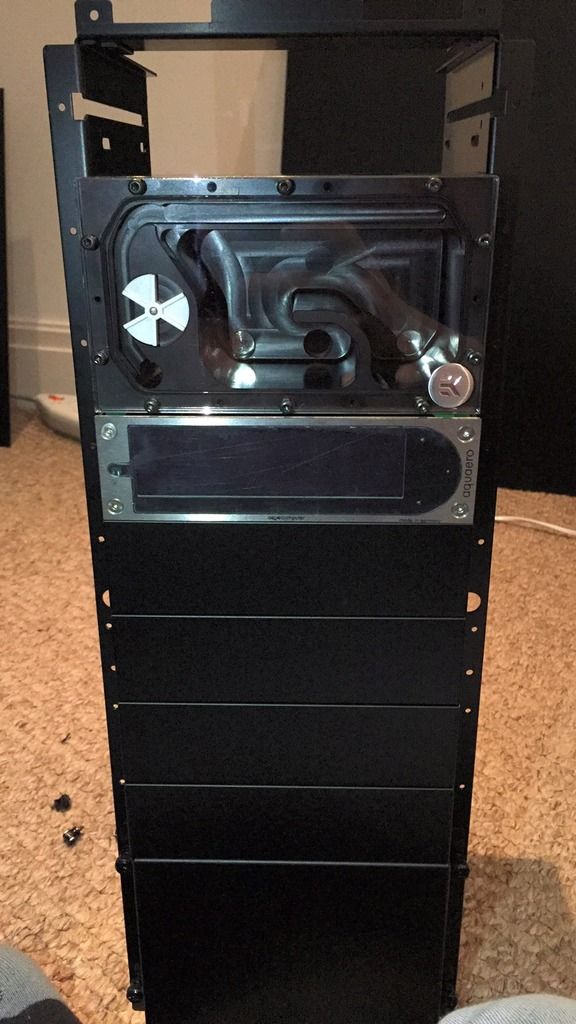
Once covered up the filters do a good job of keeping the stealth look and hiding the fans:
IMG_1637_zps0pkmo2y0.jpg


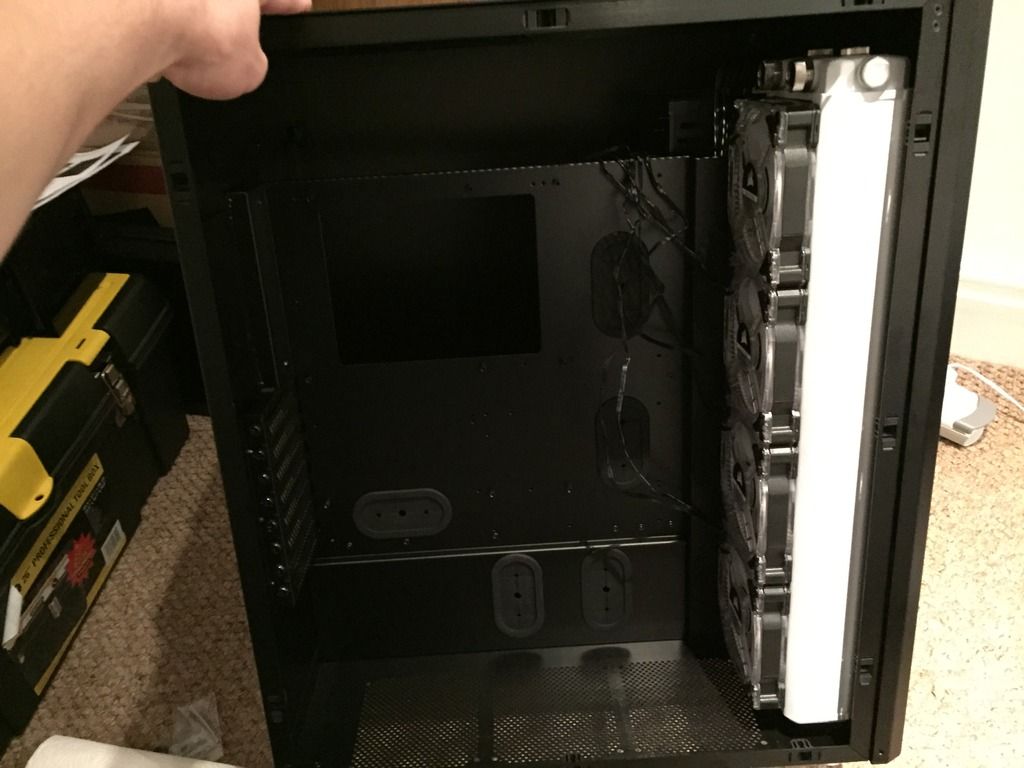
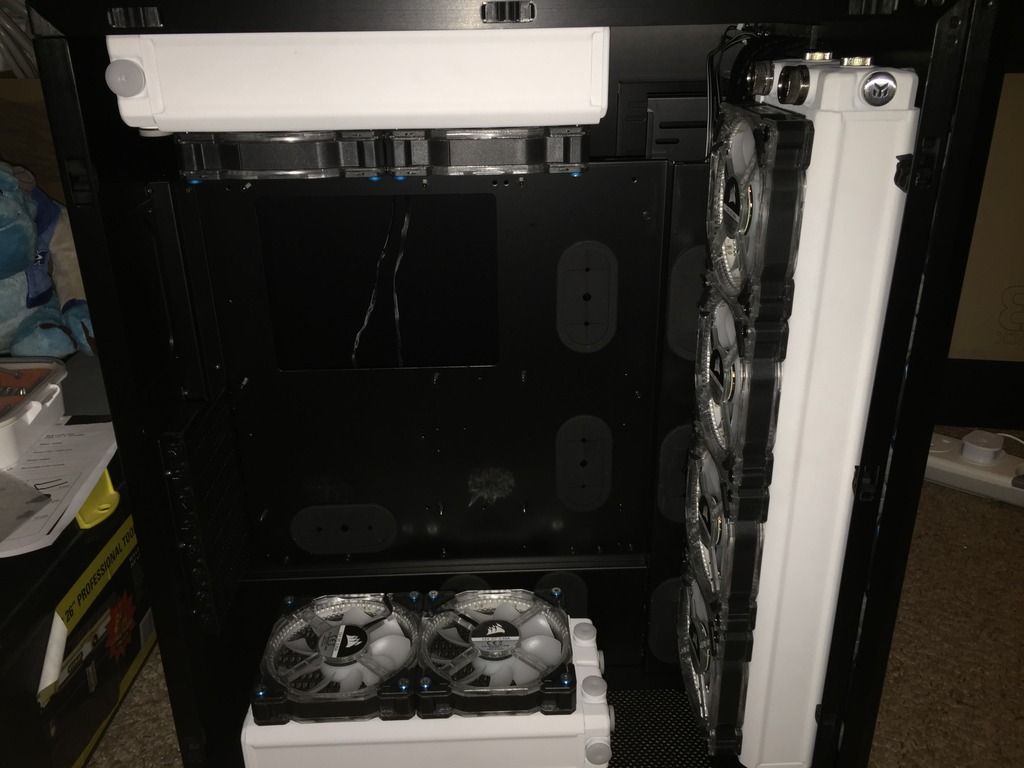
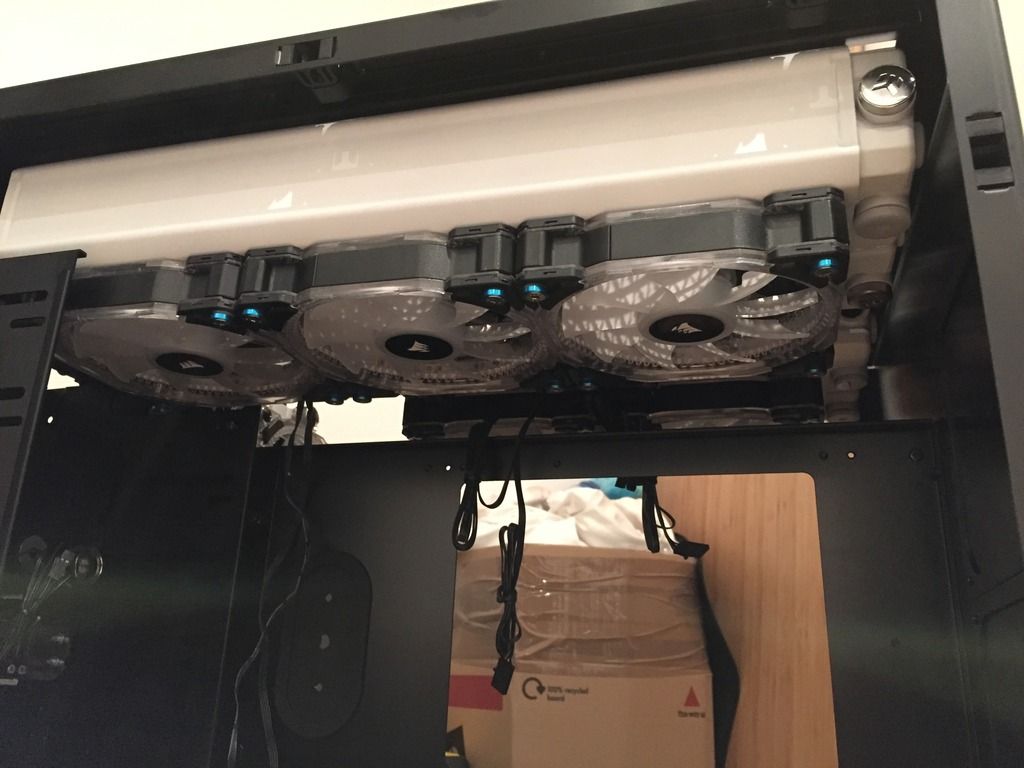
Internal first radiator in, going to stick with the white for the time being as I think it will look good (these need cleaning though!)
IMG_1638_zpsikeneqcb.jpg


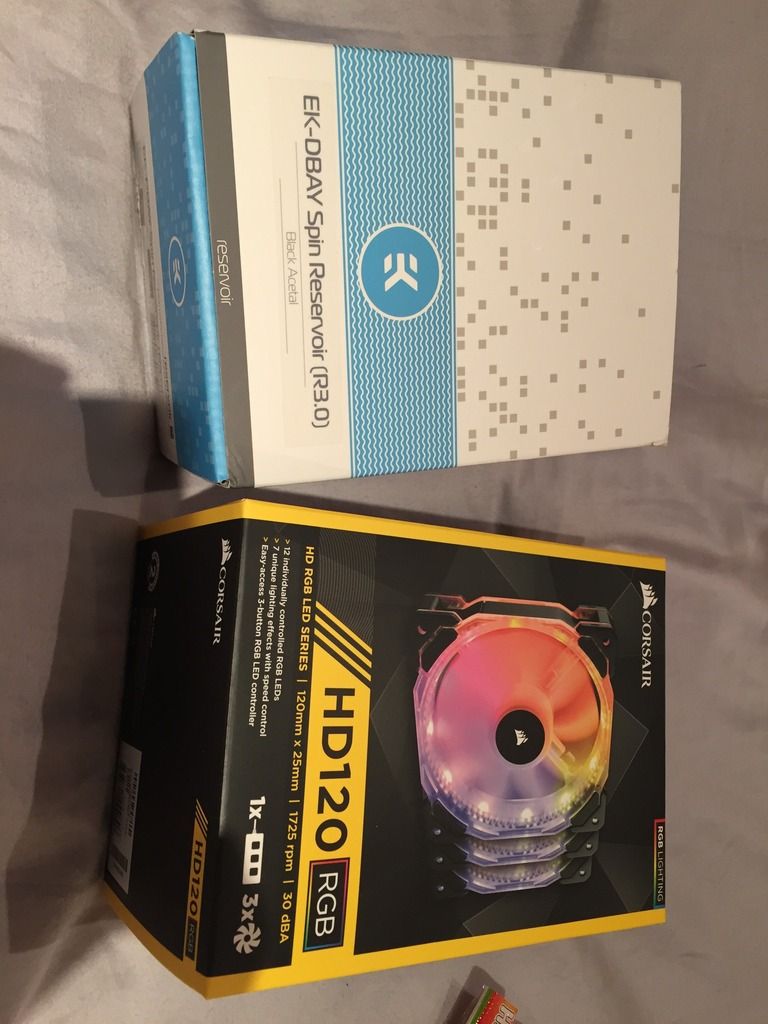
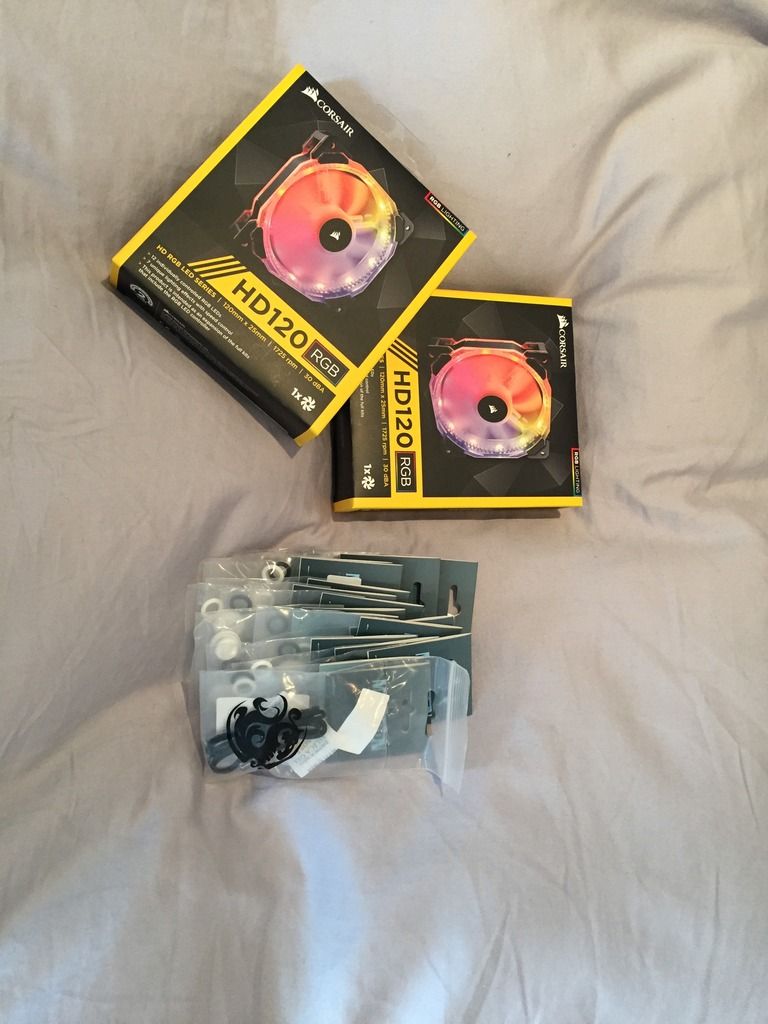
More kit in Sunday evening I think, need to order yet more bits to complete it but only 3 more ML120s and the bay res I think i'm going to go for...
 
Not sure how I got unsubscribed for this but looks like you've been making progress.

Have you told OCUK where you got the 16mm copper? Just wondering if it's something they'd stock as a number of people have been interested in doing copper builds lately.

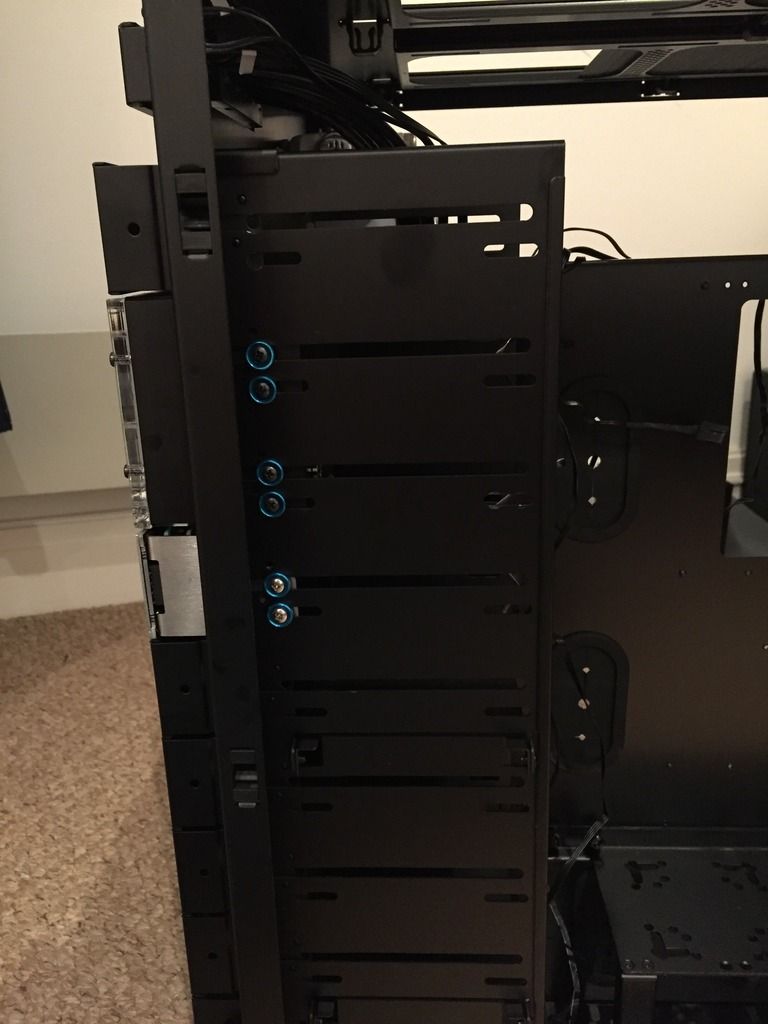
4x2.5" bay looks good. Just hope that tiny fan doesn't whine like a ***** though. Maybe get three bays and fill them with 12x2.5" SSDs in RAID. Then you can swap the fan for a 120....and the credit card bill for a mortgage!

I've not told them no, its a place in Birmingham but they didn't seem overly sure how much they had... OCUK could procure a load and cut it in to 1m sections though and make a reasonable cash on it though. I've got way more than I need but better to be safe so i've got 6 meters of it sat here.

That fan is on 'L' as default, if its noisy i'll just take it off to be honest as its not really necessary. I've already just spent MORE cash, 3 x 120 ML RBG fans again and I've bit the bullet and ordered the Bay res to go in the double 5.25 space. Need to get some rad flushing done then i'll probably aim to get all the fans cabled in this week ready to go... Need a couple of bitspower mounts for the pump which I would like to show off but looking like its going in the back at this point.
 
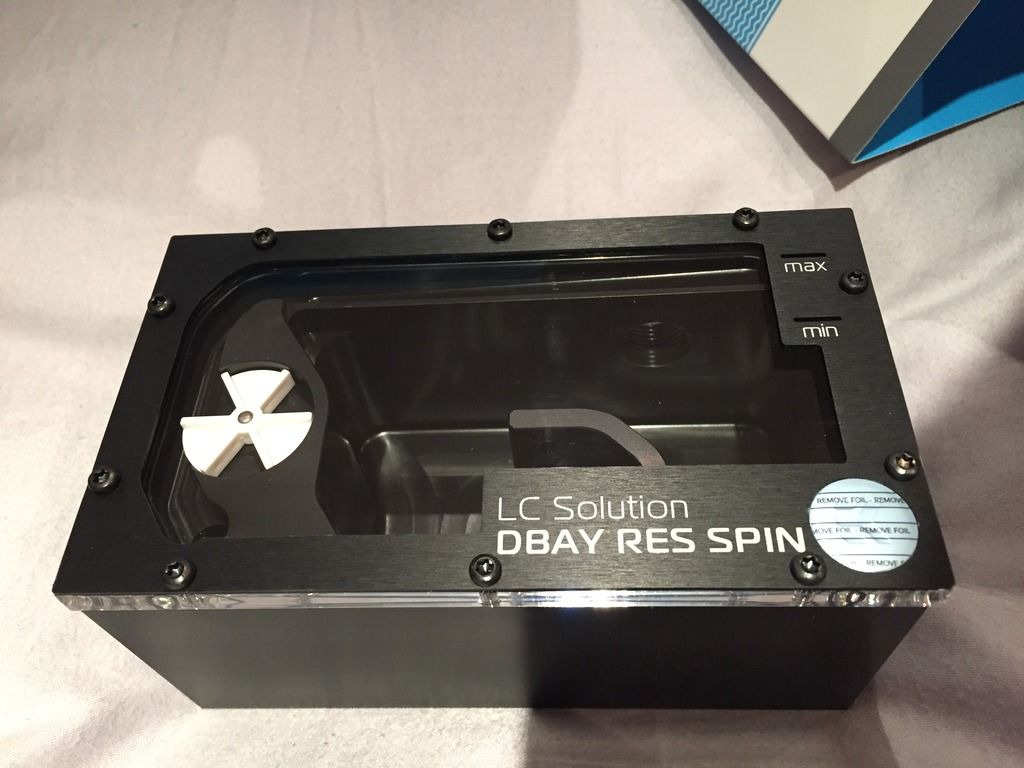
Well... More toys (yes again lol) have arrived. Now aside from a couple of pump mounts I need i've got everything you could ever want near enough! So today this arrived, not a lot of feedback on the Bay res's so I thought i'd just get it - might be replaced by something more bespoke in the future.
IMG_1673_zpsryvrycme.jpg

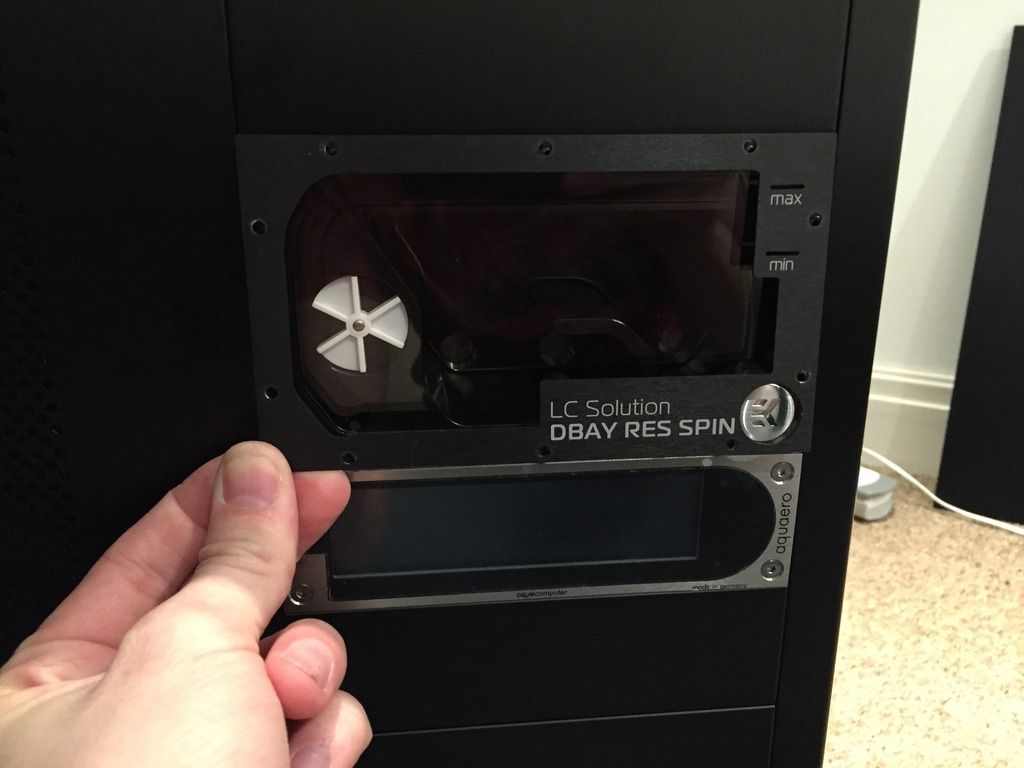
It actually looks a bit more 'premium' than I thought, was worried they look pretty cheapy in the pictures but the brushed aluminium front is kinda nice:
IMG_1674_zpsbf29mnfs.jpg

IMG_1675_zpspceg0z5i.jpg


Having said that I don't want it on, i'd like more of the moving liquid to be visible and its frankly a bit on the big side just to print the bay name on it (why??). Removed the front:
IMG_1677_zpstyczby3j.jpg

OCD Screws in, had a load of these anodised washers so thought I might as well use them. Some got lost in the post and replaced but then arrived many weeks later - thinking about replacing with the copper Orange but the shop on the bay seems to have vanished (Mizo?)
IMG_1682_zpsactsjbpj.jpg


Finally here's the front held against and below without, prefer without for sure!
IMG_1679_zpscqsp6bwp.jpg

Mounted a slot down, basically filling/accessing the res is 100 times easier this way and I think it looks fine:
IMG_1678_zps89f4b485.jpg


So thats it for now, just spent ages flushing the two 240mm rads so those are now in the case and will get the fans added tomorrow and have a crap evening running all the cables to the splitty's... The end is in sight though!
 
Ah good to know mate given it's one of very few that aren't shipping from Hong Kong with decent prices on these odd little bits... probably gets them from HK and just resells but i can't wait that long ;)
 
I prefer it with the surround on. It looks a bit too raw and unfinished with it off.

Shame it isn't flat black really with no writing on.

Still, you can send that to the powder coater when you get the case done ;) :p :p

I did think the same but what I think, or rather hope, is that with fluid in it looks good naked. If I want I can just remove the writing as its only painted on I believe, I can always just sand it off and brush again anyway just the design of it is bad with the stupid chunk for the model name (WHY???). Probably super easy just to get a nice simple 5mm surround made with no crap in the way...

We will see, need to open it up again coz I screwed a hair in to the plexi it looks like :D *dumbass*
 
Some more progress, slow but not got as much time as I thought lately! Sticking the rads in to place I reaslise I can have another push/pull setup on the bottom rad so i'll be needing yet more ML120s :D. Just the two though...

Push pull at the top was a bit tight to the board so swapped this out:
IMG_1696_zpswbus1w2p.jpg


And its now sat with just a push setup in the top 240, so thats 3 out of the 4 rads in place the last being what is in this rig and that 360mm will go in the back section again with push only to extract air out the top. Also going to order and replace the screws and the washers with something more suitable but that can be done at any point by removing and replacing one at a time.
IMG_1700_zpsq2nklzu7.jpg


Thats it for now... Won't get much done in the next couple of days but i'll try to plan out the loop at least. Next task is wiring the fans to the splittys and then I need to figure out what the hell to do with the LED wire from the fan - starting to wish I didnt get the RGB fans as I really failed to realise it was a separate wire to control that via the small unit but i'll figure something out ;)
 
Was just thinking that those EK rads look a lot nicer than the last one I used. Then I went back to page 1 and found they were Black Ice SR2's and you'd just confused me with EK stop-plugs. There's an irony in white Black Ice's :D

I think I'm with Andy, the white rads in the black case look pretty good to me. Contrasty :)

Haha! Yeah i'm thinking of getting some non branded stops to be fair, will be replacing the crappy white plastic ones on the two new rads like those. I thought the white would look pretty good, should also look good with the copper in there as a nice black/white/orange. Just remembered i'll need to paint all the blue EK fittings......... fml.

To be fair the white paint job they come with isn't incredible and i'd respray another coat if I had the time and the patience but for now I just need it at least up and running!
 
The EK logo'd stop-plugs look fine....probably expensive for the quantity you need for those rads though...but nice to have the tubing options.

The paint looks ok in the pics so it's probably something that once you get the window on, you'll never notice.

Could you return/sell the blue fittings and buy chrome/copper coloured ones?

They were like £2.50 each so not the end of the world - some of the underside you actually have to use the plastic because the design on the multiport is a bit dumb sticking out past the flat point on the rad makes mounting hard.

The fittings its just the screw down cap so at a guess I can either strip the paint off thats on it and its Nickel or spray over with the same sparkled black on the mobo which is probably what i'll try... Its a bit of a shame you can't buy just those bits without the fitting. Bought them a year ago so not able to sell them but just thinking about it I should check i've got enough!
 
Wow, that's one hell of a change of direction on the case mate!

Looking good though, using an old Lian Li case for my current work PC and will never understand why other manufacturers didn't copy those drive mounts - great idea :)

It is indeed - Hex have literally until tomorrow to respond to PayPal so fingers crossed I finally get my money back. I don't like to bash them but its seriously unacceptable to arrange to collect a faulty unit then not bother to look at it for a month while sitting on your money/ignoring you... Hoping because they've not responded it just gets refunded.

Very happy with the giant that is my new case though, more so that Gibbo sorted me £100 off on BF.
 
Wow that sucks. So long as you provided a tracking number they should refund you with any luck.

Well seems like the end is in sight, just waiting on PayPal to confirm it I think and I should have some cash back... Which is good because some more stuff might have been ordered :D

I can understand from the guys that have handled your RMA that you have been through quite the back and forth. I have asked them to refund you the full amount of the case, the accessories you have bought and the initial shipping you paid.
We figured out what was wrong with your case. A faulty PCI bracket (The black part that the graphic cards screws into) was manufactured wrongly, and was too high. I am sorry that we were not able to figure this out sooner, and have had to drag you through this.

I hope that you find a case that you will be happy with, and that we might be able to win back your trust in the future.

All the best, and thank you for putting up with the mess this has been. I am sincerely sorry that this has not been a good experience for you as we strive to supply the best products and service. But in this case we have failed, and for that I am truly sorry.

Best regards

Hans Peder Sahl

HPS is 'Pope' I believe from this world, honestly don't know if I believe it or not but the fact it took a month from returning the case to send that is just not good enough. Oh well, 8Packs beast is certainly proving fun :)

Edit: More stuff arrived...

Now have 13 of these fans............ Unlucky for some? Yes unlucky for me having to wire them all in.
IMG_1724_zps0tygkkud.jpg


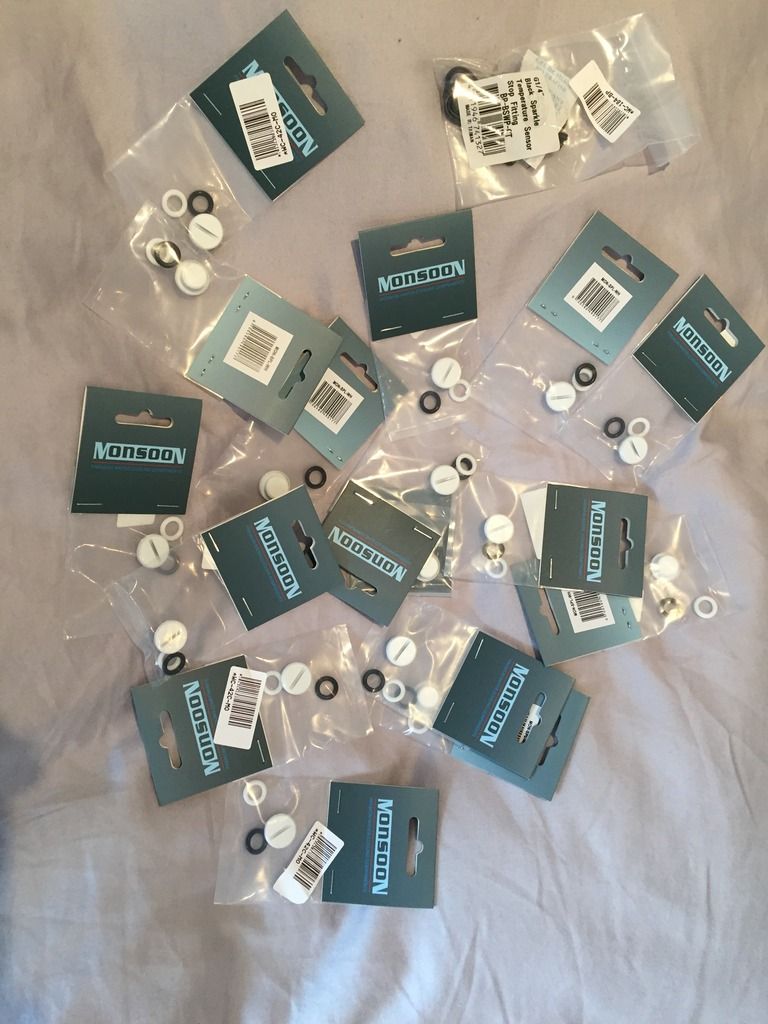
And a massive load of these Monsoon stops, replace the crappy plastic ones and tone down the mad amount of EK ones...
IMG_1723_zps04oaguyi.jpg


Also on order is a specific bracket for the Bitspower top (from holland...) and some O-Rings to replace the old EKHD ones which seem a bit past it.
 
Last edited:
Oh well, at least now you've got room for more radiators!!

Yeah really he should refund me additional money for all the kit I've bought in the time its taken to resolve it :D just do the maths on those fans alone... Dear god did I really spend that on fans.

If you were considering buying it then just know if they run out there are no spares and seems like the lead time from China is about 3 months+. Shame though, if they had someone local cutting the aluminium (not even sure it is its so heavy) might be better.
 
Well, what a boring afternoon that was :D

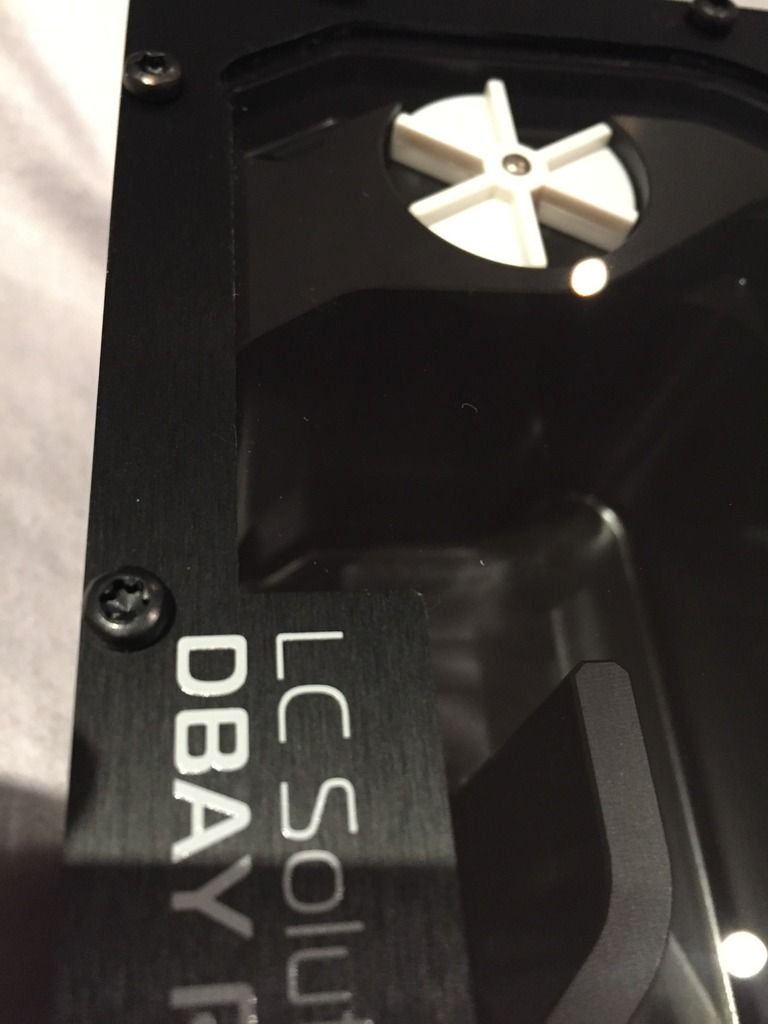
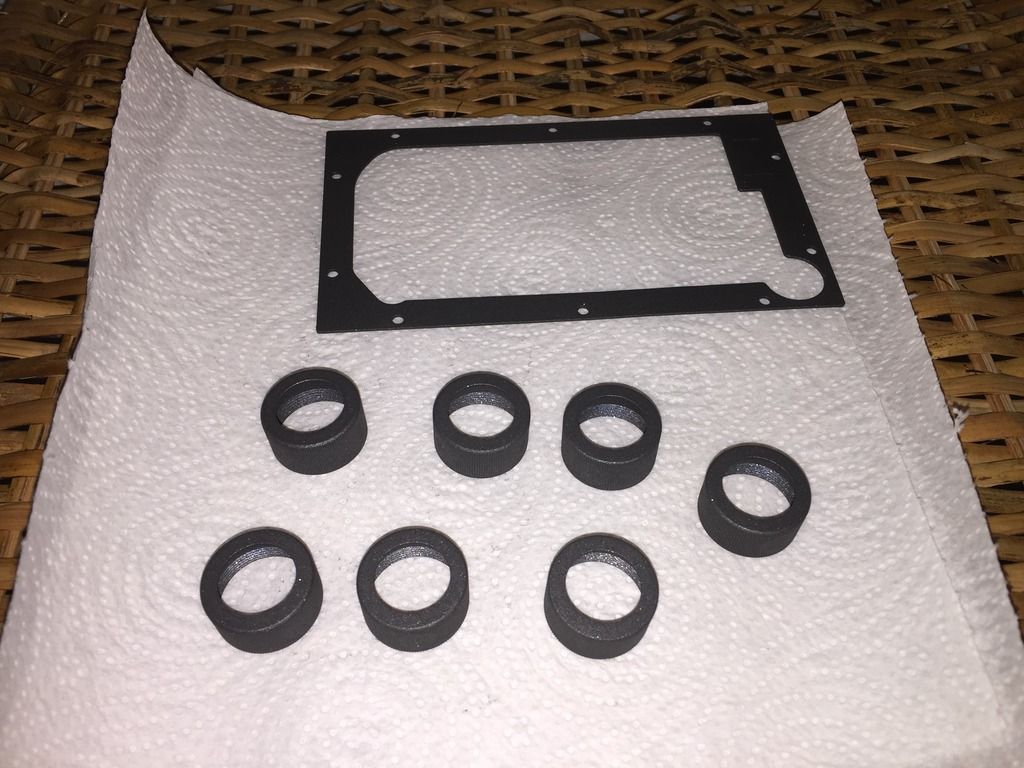
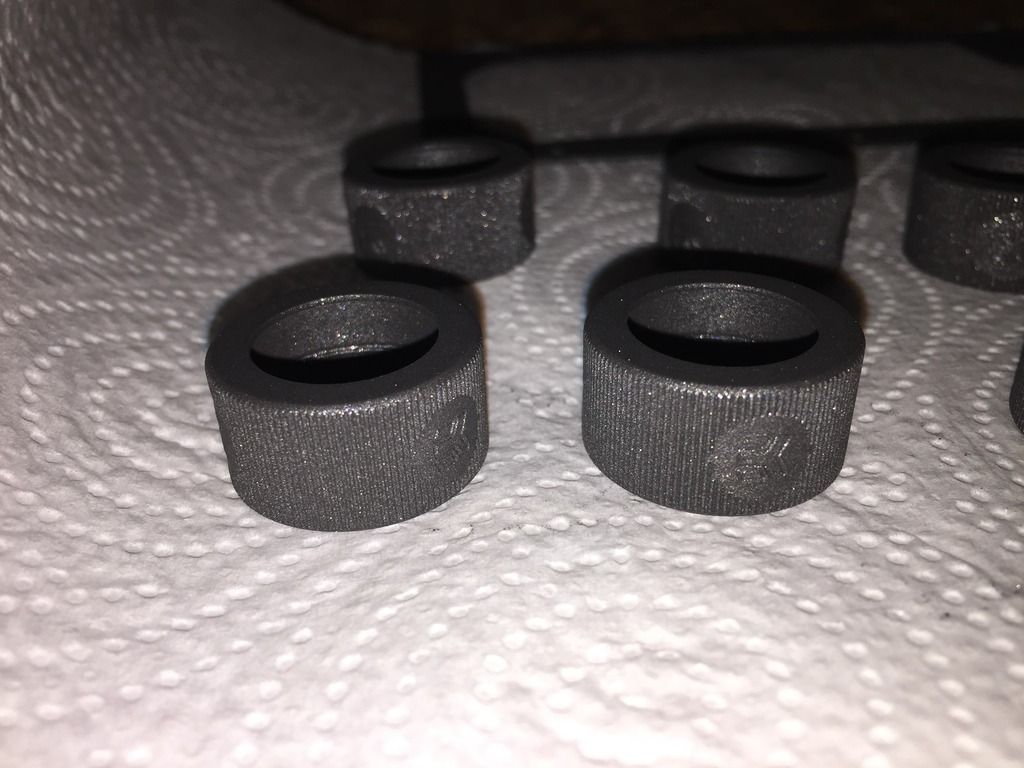
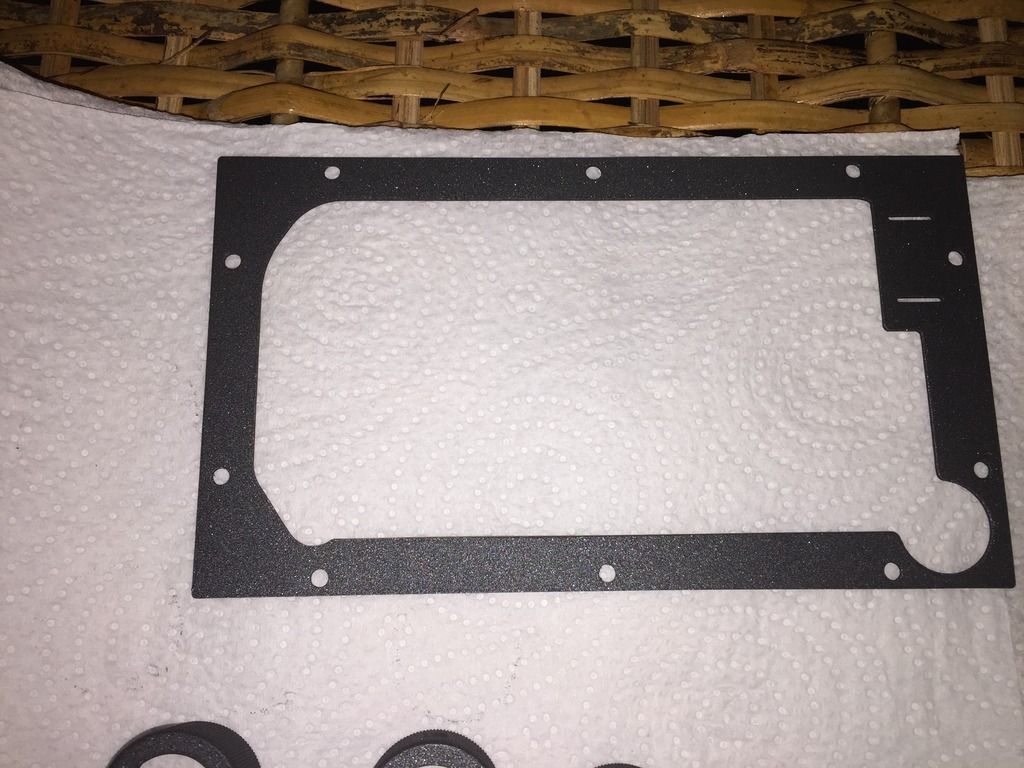
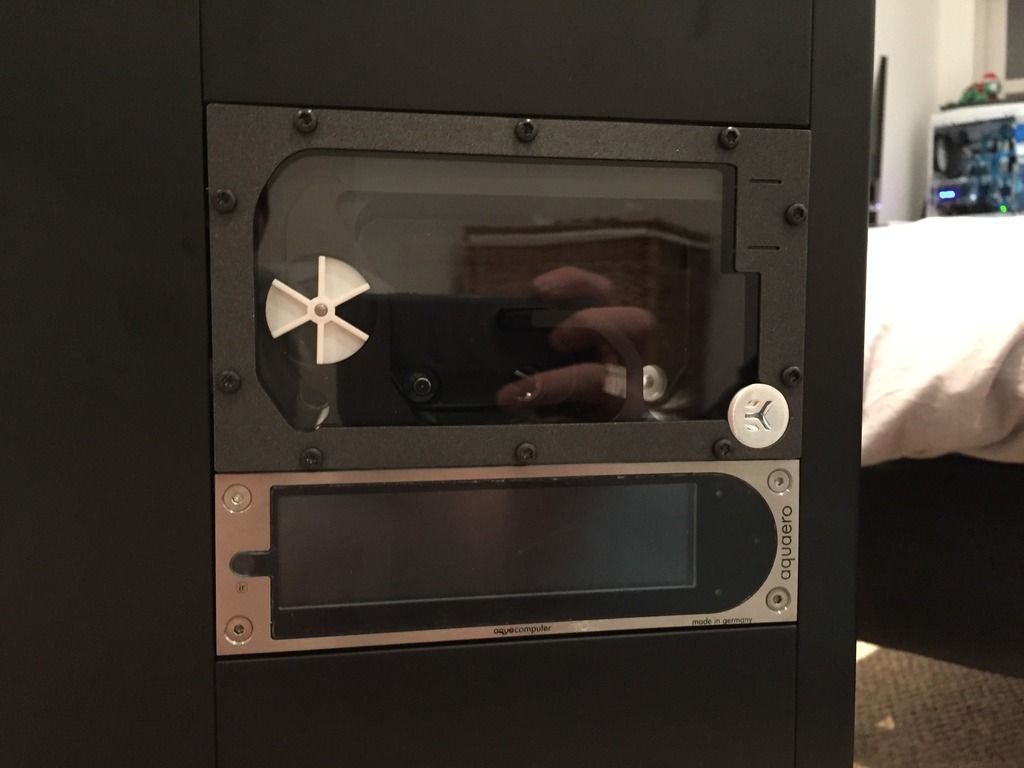
So while I was doing the cable job from hell I painted some EK fittings to see how they would come out, they look nice - matches the mobo paint with the sort of reflective grey/black. Also did a quick mod on the faceplate for the Bay Res, got rid of the giant model number and finished in the same paint:

IMG_1726_zps4utwv1kd.jpg

IMG_1728_zps93lumnlc.jpg

IMG_1727_zpso2gboz3b.jpg

IMG_1737_zpsekxotgli.jpg


Probably going to take the bezel off the aquaero and give it the same treatment:
IMG_1736_zpsjo0q6gdo.jpg


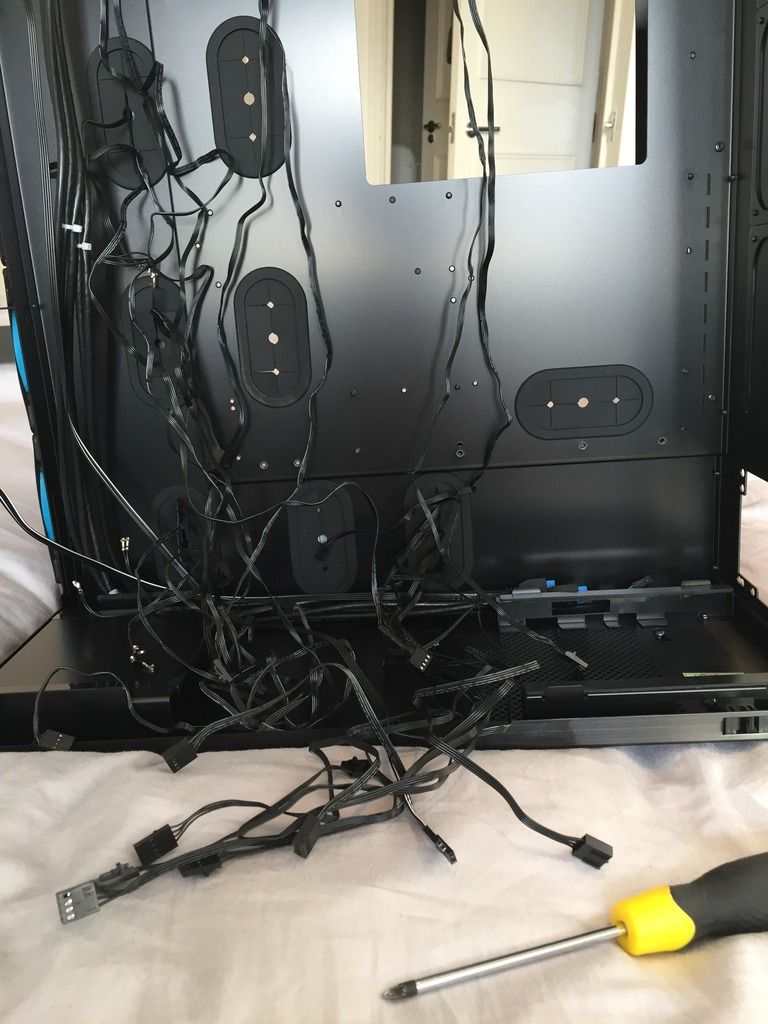
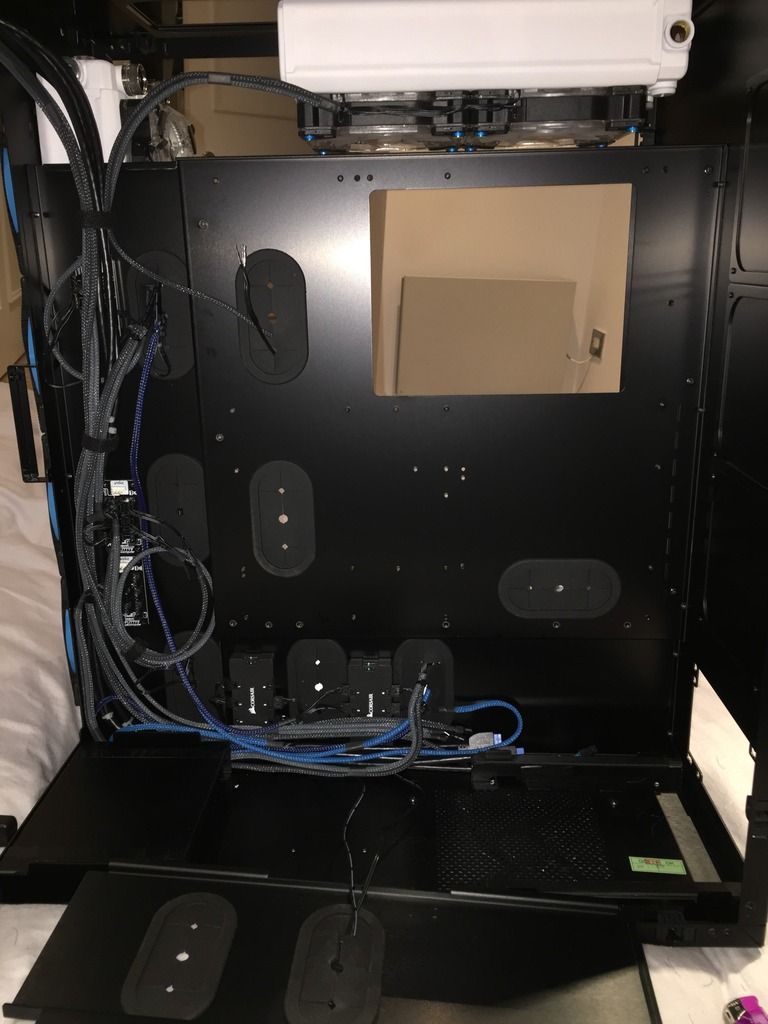
Anyway, on the the rats nest... Its less ratty now, I hope you'll agree ;). Decided to sleeve the fan cables in pairs to make life a lot less cluttered, I know it seems like time wasted because you can't see them but it was worth doing. Sleeved the front panel connectors also:

IMG_1734_zpsigi5hlfz.jpg

IMG_1731_zps64bixktb.jpg


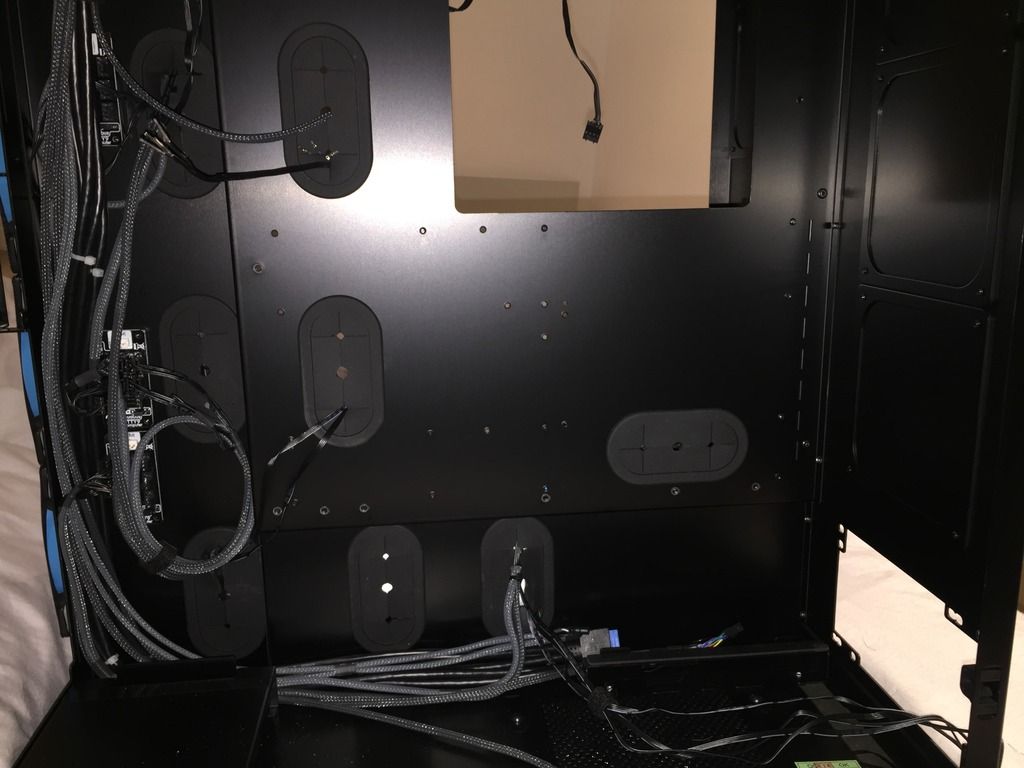
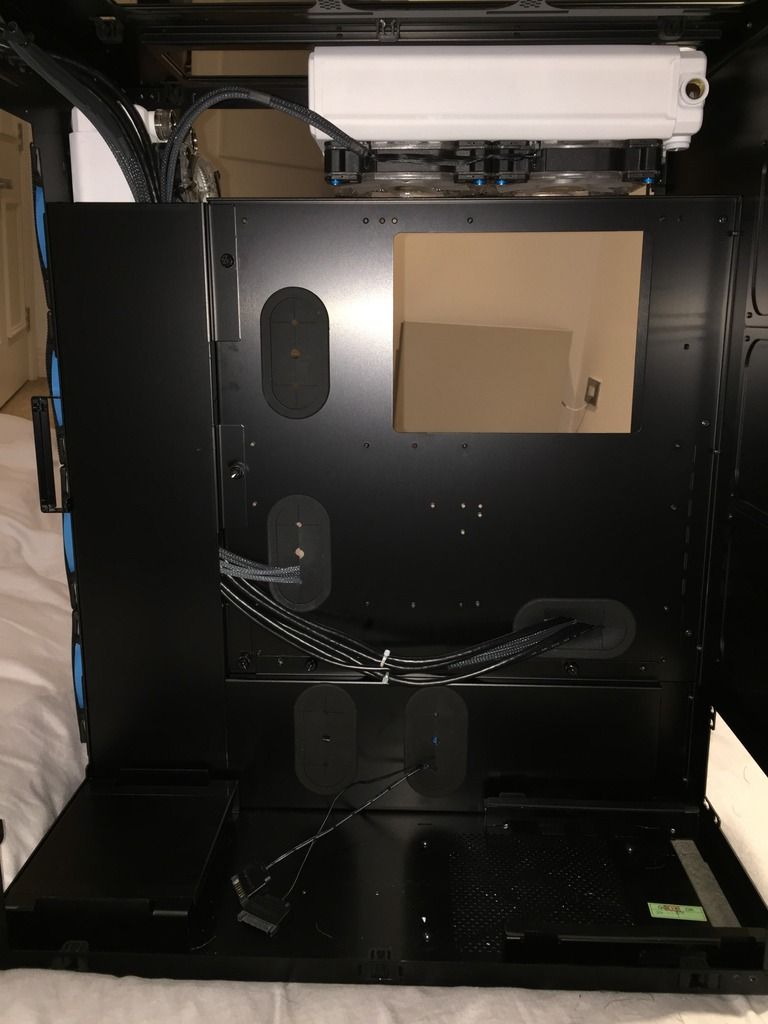
And with the cables hidden away again:
IMG_1735_zpsi7grnfpp.jpg


I've got the three more to do on when I add the final 360 radiator from this current temp setup and then for the LEDs my plan is as follows, tell me if its dumb i'm so bored now after that :)

  1. Finish connecting the final LED leads
  2. Do something clever to connect all the SATA power leads, possibly get a hub and hid it all away
  3. Take the remote boxes and mount hidden, run the ludicrously short external control switches to 3 vandal switches mounted in the front using one of the spare 5.25" bays

Should be able to control the fan modes using the front of the case then... Right?

Haven't visited your log in a while. I'm so glad you went with the Hardware Labs SR2 radiators. I hope you like them too?

Like em so far, the screws are stupid short to mount fans though... Swapped out and i've got a load of copper Orange versions of the blue washers coming for maximum OCD effect.

I need beer.
 
Last edited:
Ah man, so it's a 'spare part' but it's glued on???? Why is it never easy haha! Does the glue ease off if you get some IPA on it or it's basically gonna be a pain?
 
Well then I look forward to that annoying job... Just occurred to me I don't really want the blue fluid anymore. Thinking maybe white or silver, I've got some of that Mayhems silver booster which will make it look a bit special on the front res but i'm torn between a copper orange or white.
 
Copper could look quite cool. Far less common than white too. White would blend with your rads...which is either good or bad depending.
The silver booster is Aurora though so only short-term show use no? I think it takes chunks out your pump impeller if you use it long term...that and settles out.

Really lol? It actually kills things? Well... Probably not that then. Might go for the blood red and get the yellow dye so I can add until nice and coppery.

Face plate looks boss, I approve ! :D

Cheers bud, I think I also approve so it might be staying on... Got a load more fittings to paint when this rig is stripped down maybe tomorrow. thorough flushing of all the parts to get the blue fluid out then its time to learn how to bend copper pipe/give up and get the PETG out :P
 
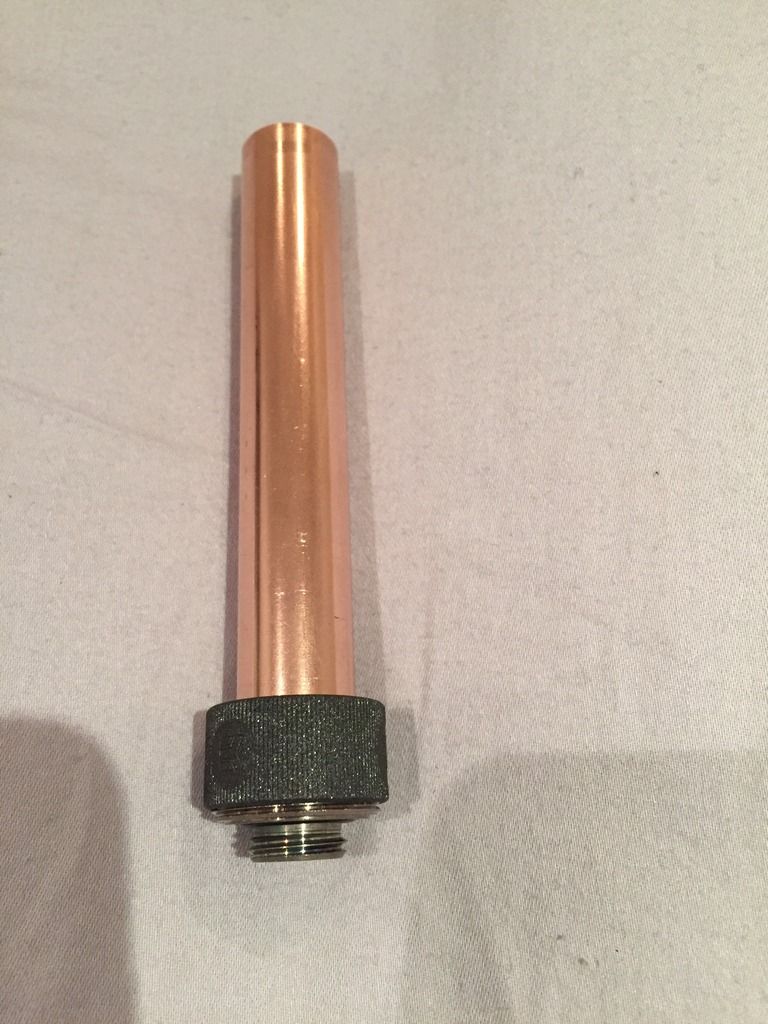
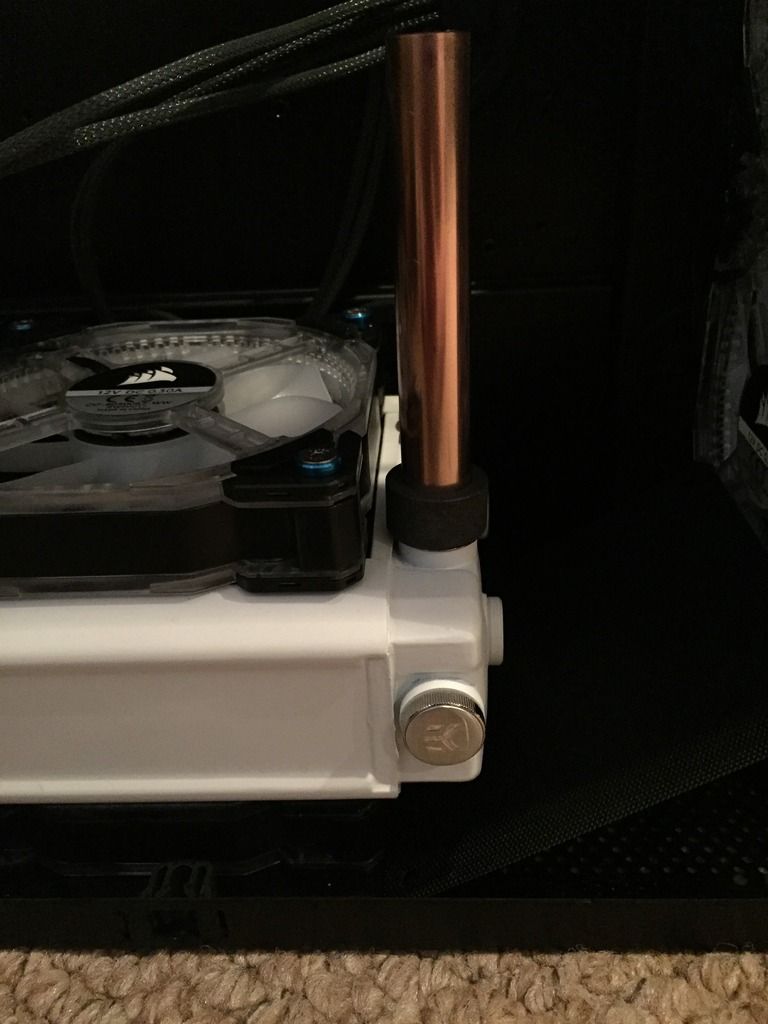
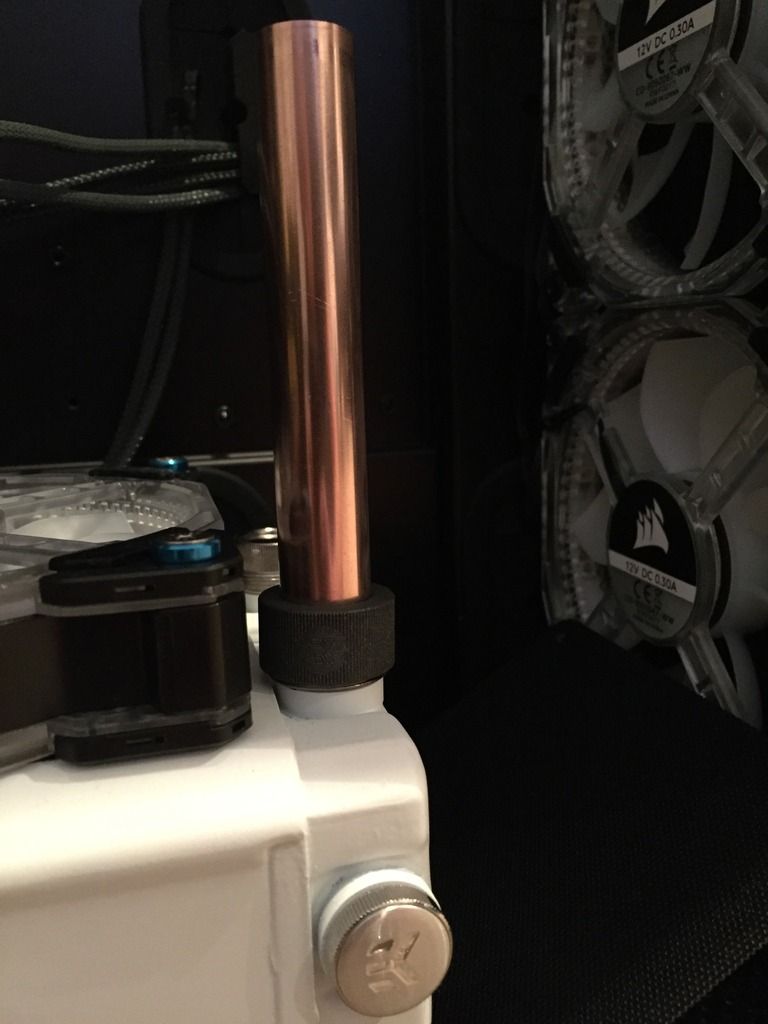
Ok couldn't resist polishing up a bit of the pipe just to see how it looks. Absolute shiny metal porn:
File_002_zpsfdtda0pv.jpeg


File_000%202_zps60mftz8u.jpeg

File_001_zpsdmmyykwy.jpeg


The finish from just a few seconds of ultra fine wire wool is good, 10 seconds with metal polish and it seriously shines... Seems like it will look good with my Orange washers when they arrive next week.
 
As far as I'm aware yes but my info old be out of date as there seems now to be an "Aurora 2" designed for "longer term use" but with no details I can find and it's not listed (that I can find) on Mayhem's site. TheRe is a link to their Aurora guide: https://mayhems.co.uk/mayhems-aurora-guide
you might get an answer from Mayhems if you post in the Watercoolin forum with Mayhems in the title.

Well thank god you were paying attention, this crap is not going anywhere near my build then... £7 wasted, could return it but meh.
 
It looks pretty - JR23 did a great looking reservoir with oil black coolant mixed with silver aurora. But is not friendly with filters, can clog, settle (if allowed) and damage impellers eventually.

Pipework looks shiny :D Sure one of the copper builds used some sort of clear lacquer to keep it shiny. Might be worth a search. If you put ridiculous amounts of elbow-grease in and go finer and finer, it's possible to get a mirror finish....but lots of work!

Yep, planning to use some special wax to stop the tarnishing and obvs will spend more than a few seconds on the actual bits ;)

If you can convince JR to make me a special res i'll love you forever :D
 
Well, the redneck build has now been ripped apart and everything rinsed to de-blue it... What an evening that was. Now edging ever closer to actually finishing this project and some significant progress has been made... I'm also tired lol. So stipped out all the old kit and drained the Hex-Gear 80,000 :D Was actually easy to drain because the res was literally screwed to MDF on the outside so just took the top off and poured it all in the bath.

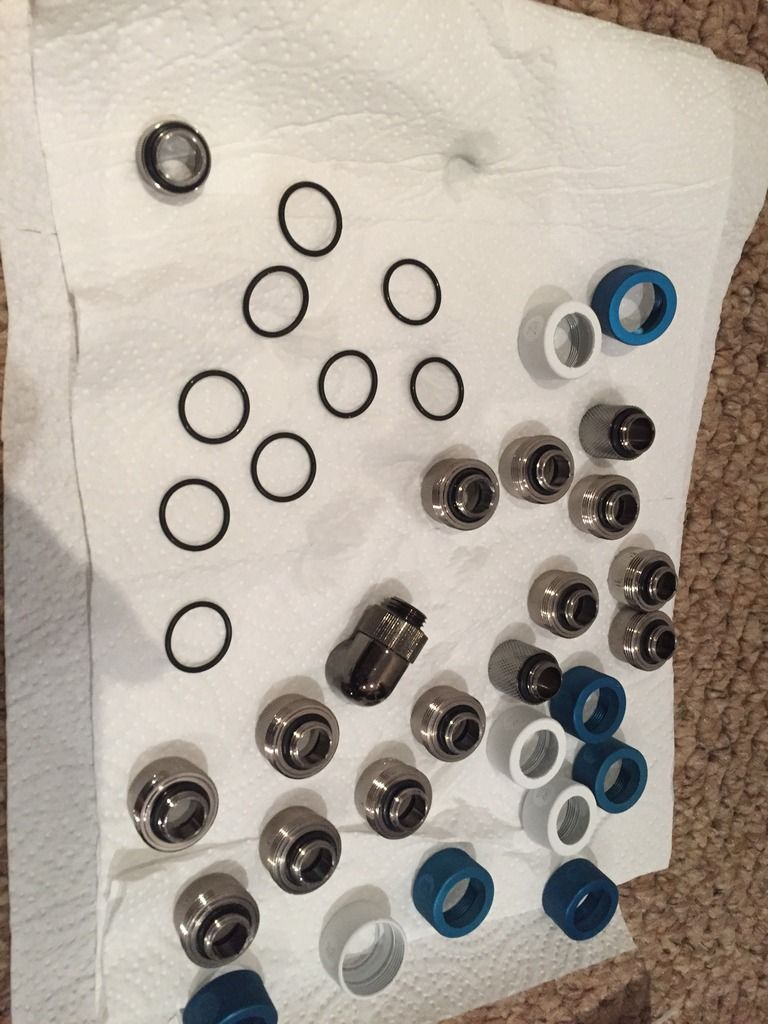
Rinsed all the fittings, i'll spray the old ones as per the others i've already done - FYI the white finish is really quite crap on the EK fittings:
IMG_1777_zpssjtmgtrt.jpg

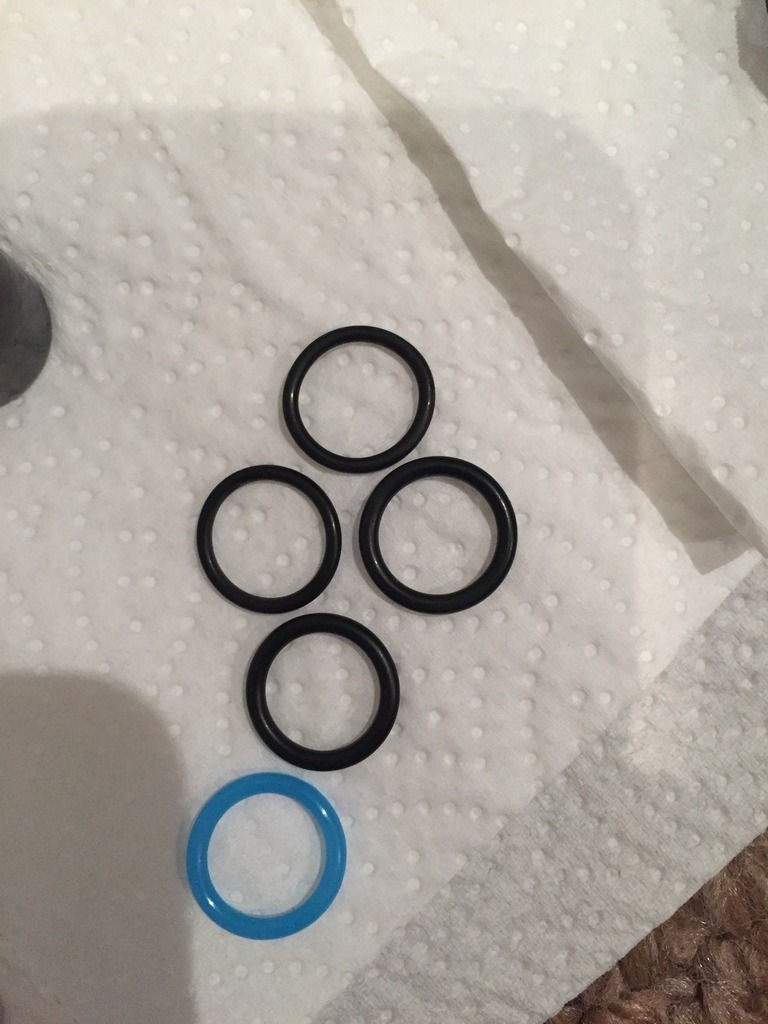
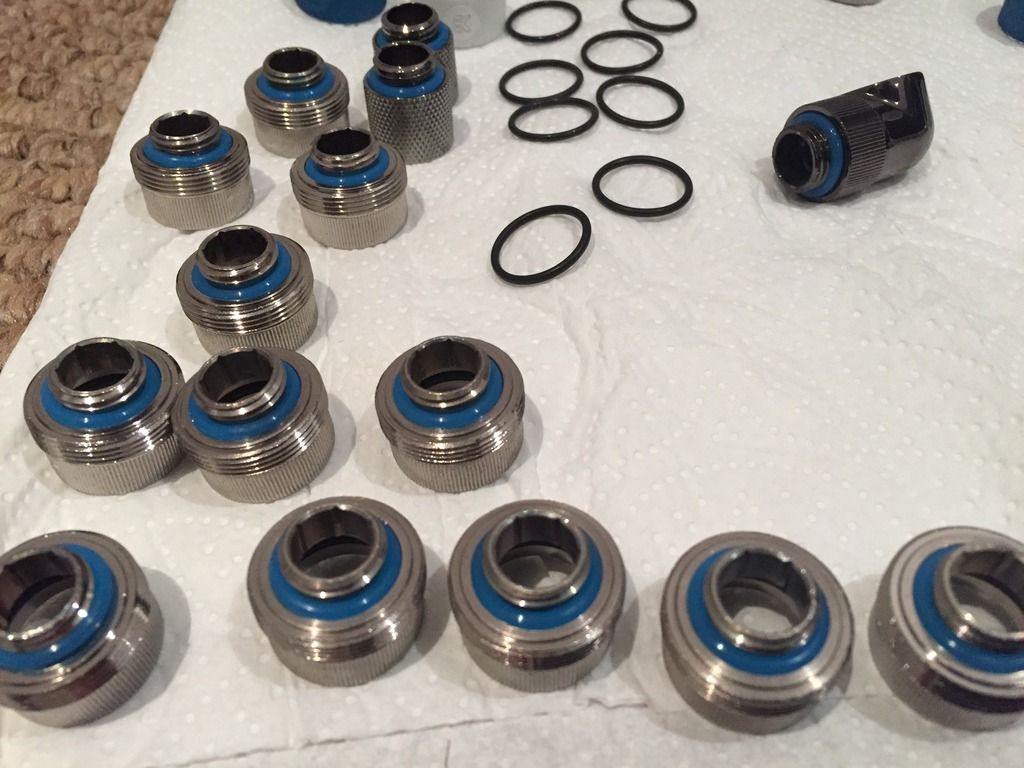
Replaced all the old G1/4 O-Rings, you can just about tell but some of the EK fittings had pretty slim O-Rings (Top two) where as some more normal (Bottom two) and I've replace all of them with some nice new Bitspower ones. UV Blue, coz I had some already and you cant see them so I don't care:
IMG_1778_zpsl01hyb7u.jpg

IMG_1779_zpsdvpfv7h0.jpg


Final radiator rinsed thoroughly and added to the build, its going to be taken out again to link it to the 240mm at the front through the side multi-ports...
IMG_1782_zpspyeijkzc.jpg

IMG_1784_zpsbcgiq9zx.jpg

Bit more cable management/braiding to do on these last fans...
IMG_1784_zpsbcgiq9zx.jpg


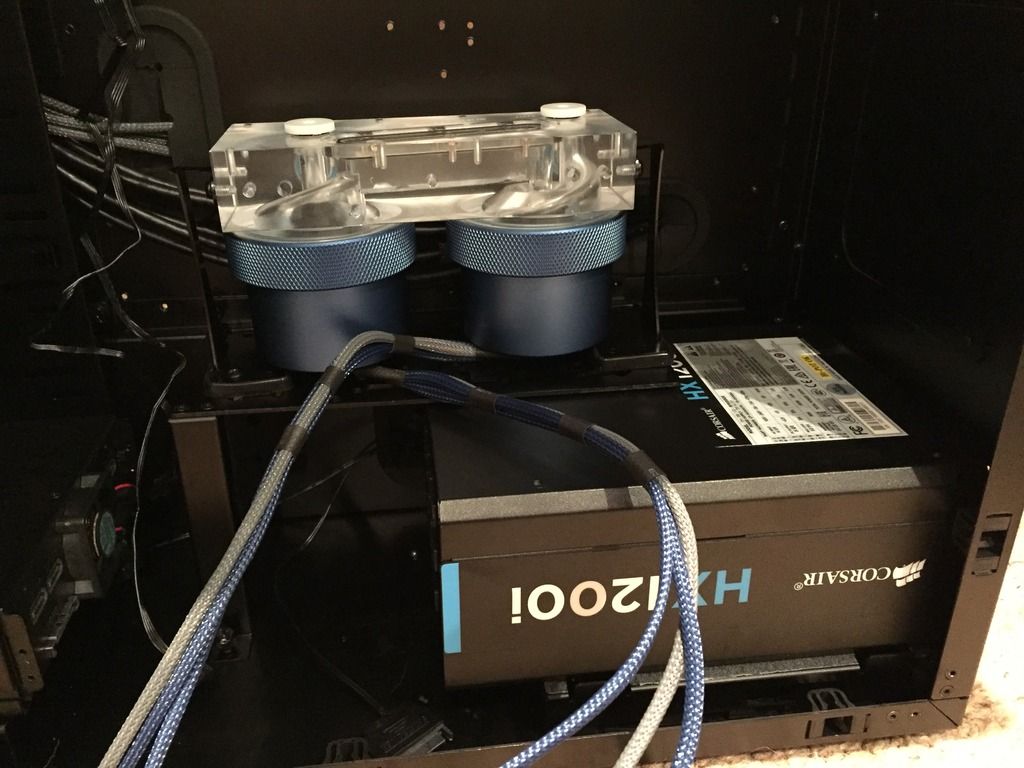
Pumps mounted on the removable rack, slight annoyance in the design as the Corsair supply seems to be ever so slightly too high so i've removed the rubber from the PSU stand (saved about 1.5mm) and cleaned that up so it literally just squeezes in but here it is placed for reference:
IMG_1785_zpsotwuesug.jpg


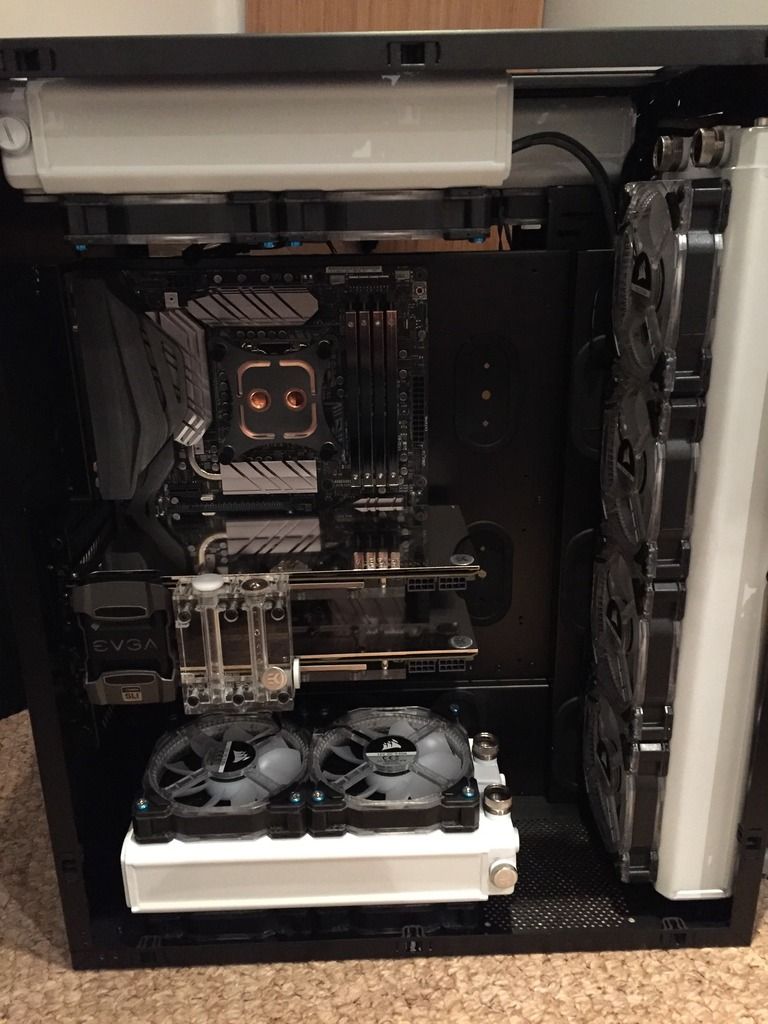
Resprayed the CPU block, re-paste on the CPU and fitting all the expensive stuff... Its starting to look like a computer again!
IMG_1786_zpsnkpfeyaj.jpg

IMG_1787_zpstqvj80wg.jpg


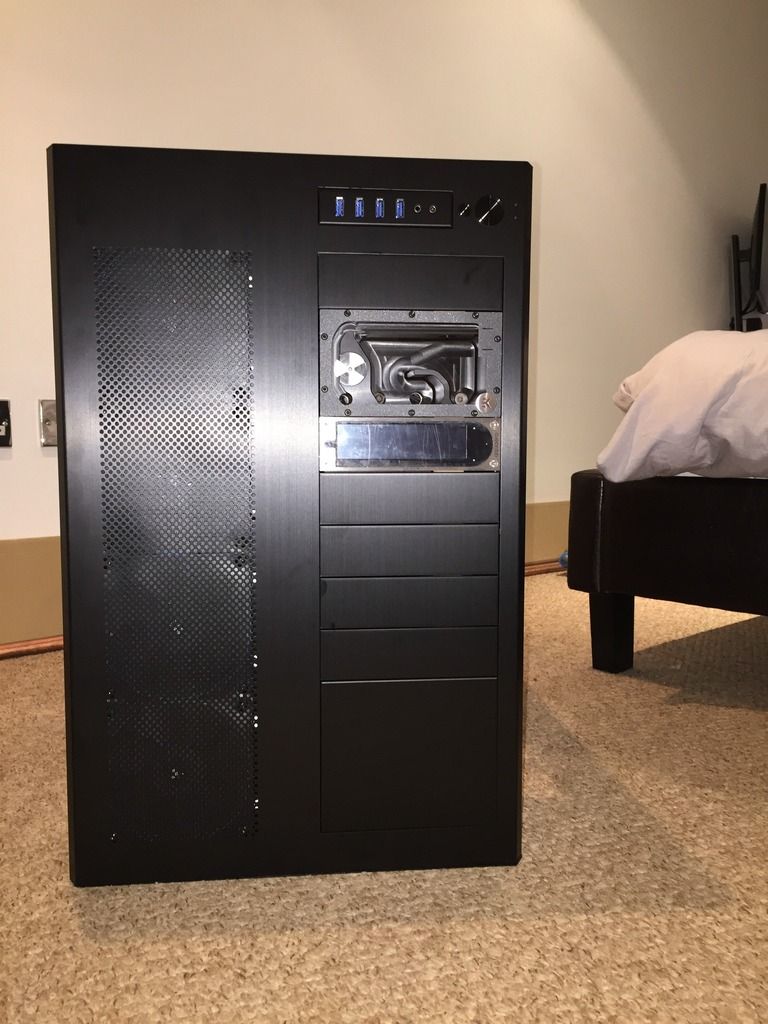
Finally... Picked it up and put it on a desk. Holy crap it weighs a ton so can't even imagine once its filled. Then I literally sat staring at the pure scale of what i've built so far, its truly massive but impressive at the same time.
IMG_1790_zpsephuo1ac.jpg


And that is where i'm at now! Next step, copper piping and replacing the blue washers. I do need to brand a lot of cables but that will be done last as I can actually use it while I do that and replace. All the drives are hidden in the Icy Dock which is frankly a brilliant idea its so much neater, the front of the Aquaero is off ready to persuade apart and paint to match the new res plate (also matches the CPU block and board/fittings.

Should have some blood red fluid (Mayhems) and yellow dye arriving today, once leak tested (must remember to add drainage) i'll attempt to blend some sort of copper Orange colour fluid. The copper pipes will be polished with Microcrystalline Wax, basically what is used in museums to stop things tarnishing and supposed to give amazing results on metal/jewelry.
 
Back
Top Bottom