Project: SNOW

Associate
Joined
24 Feb 2017
Posts
82
Location
uk
Project : SNOW


I am back with a new build for 2018, I want to start by saying a big thank you to Thermaltake for supporting this project.


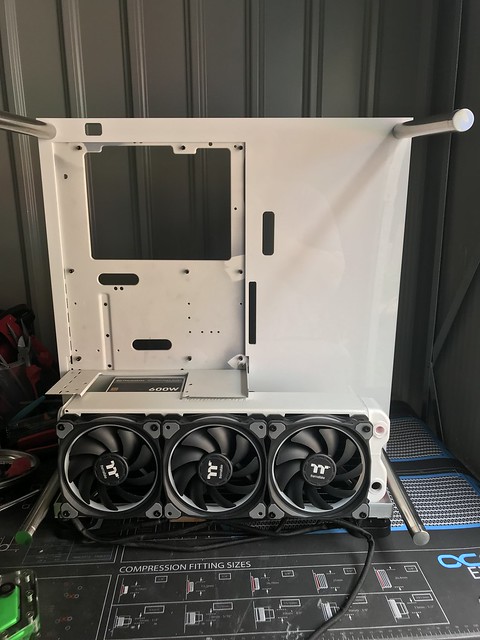
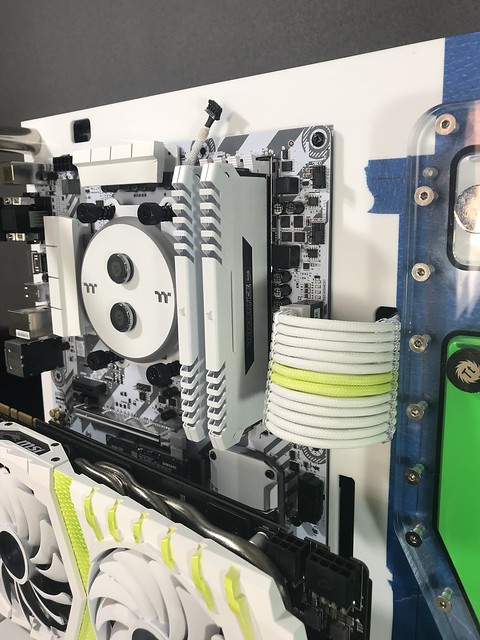
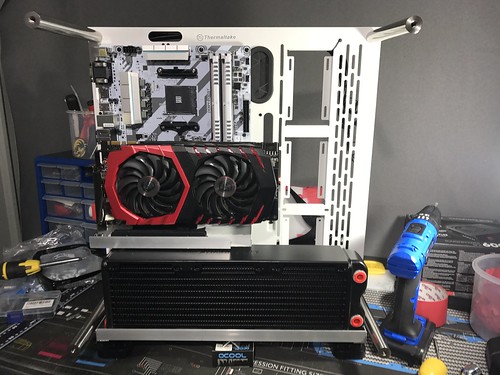
I am doing a Ryzen 1600 build paired with a MSI 1070 gaming x8 graphics card. I will be building in the core P3 from thermaltake, this will be fully watercooled.


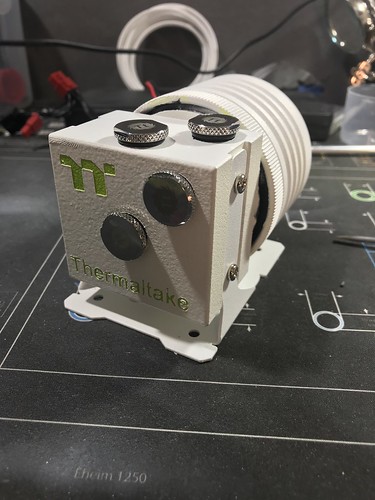
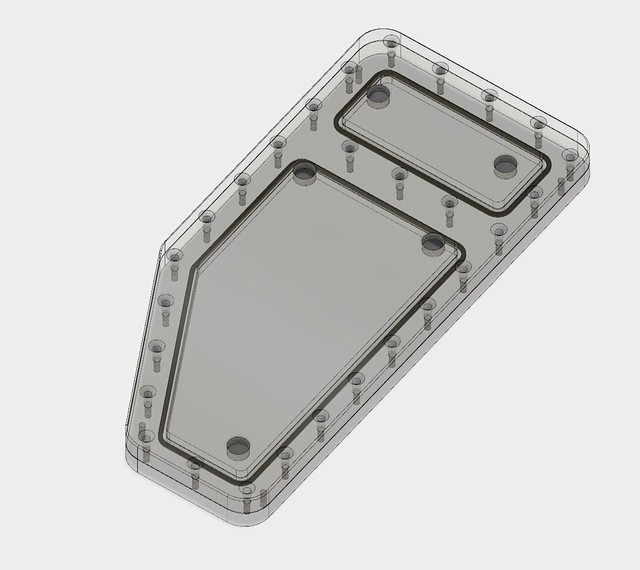
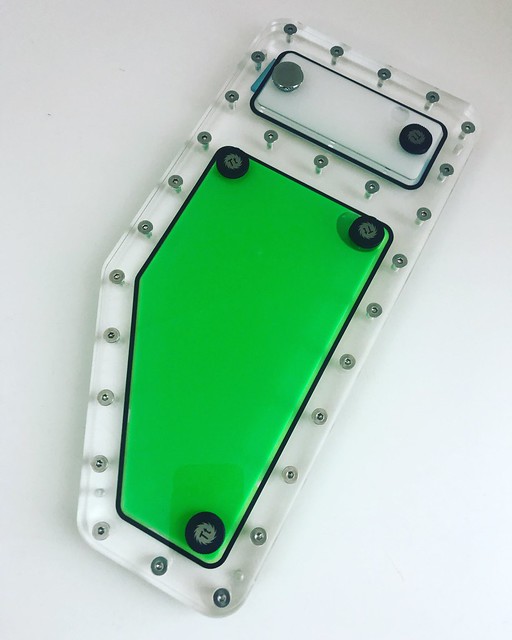
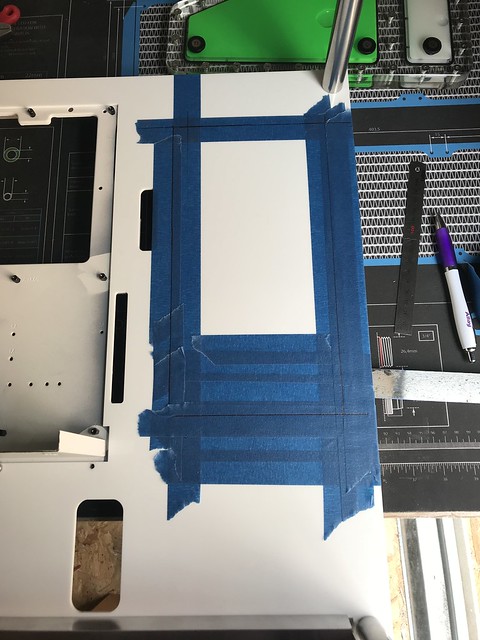
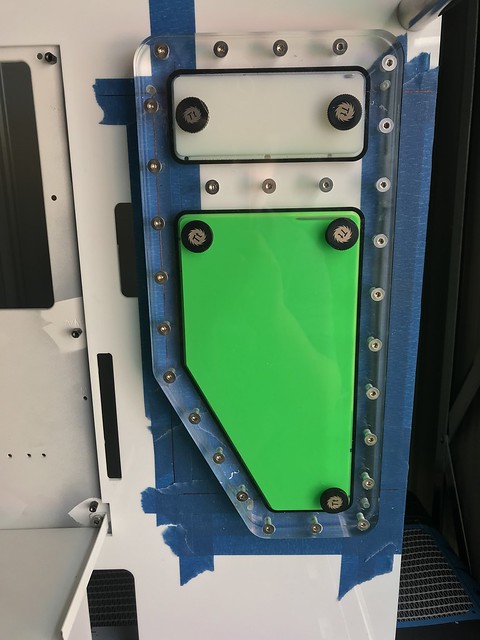
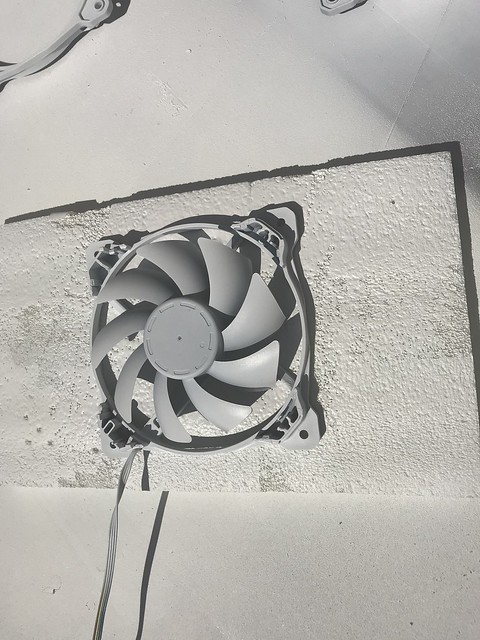
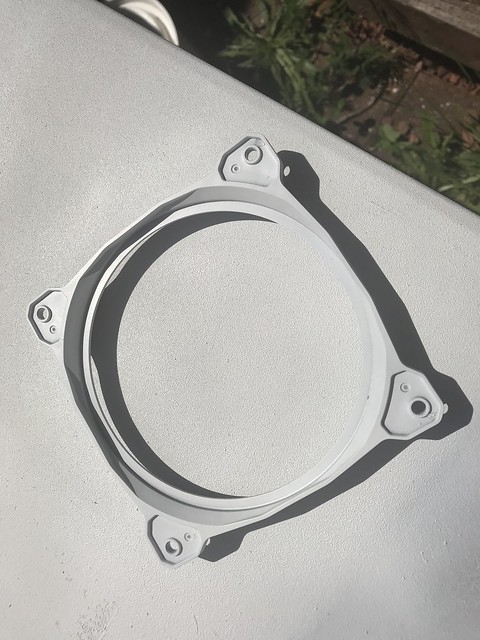
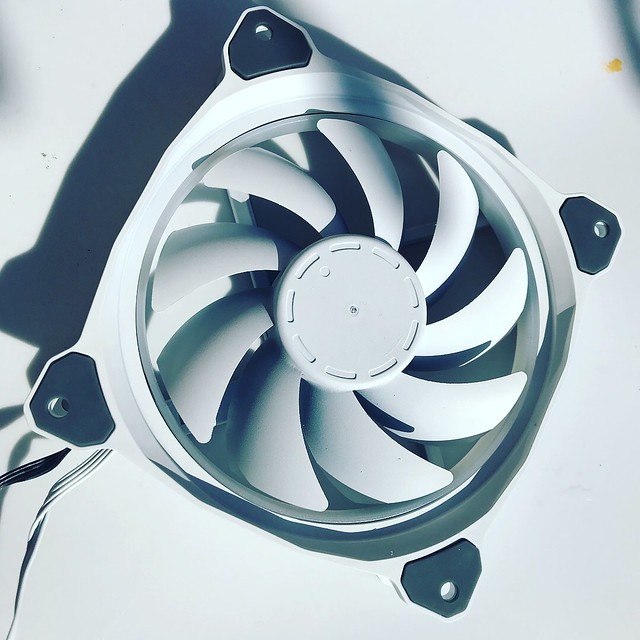
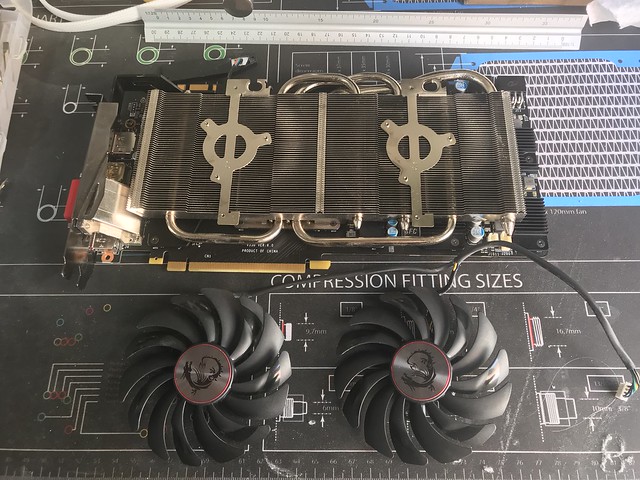
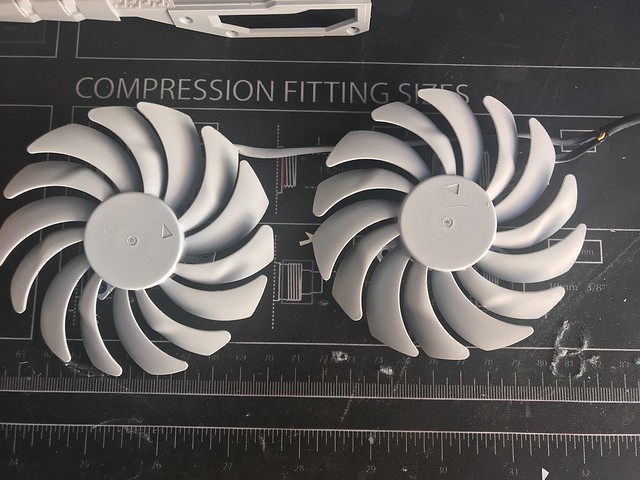
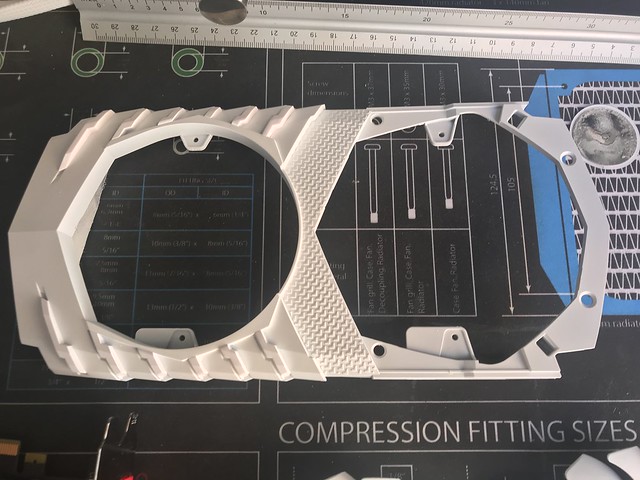
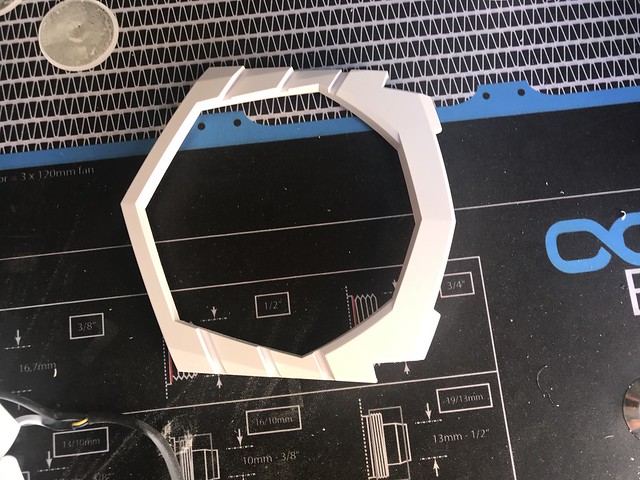
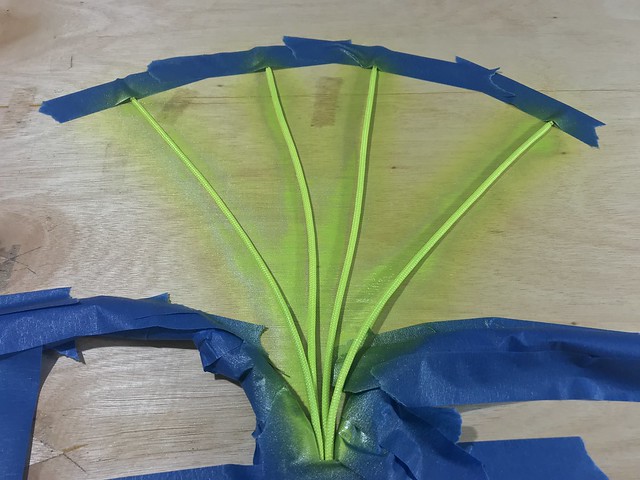
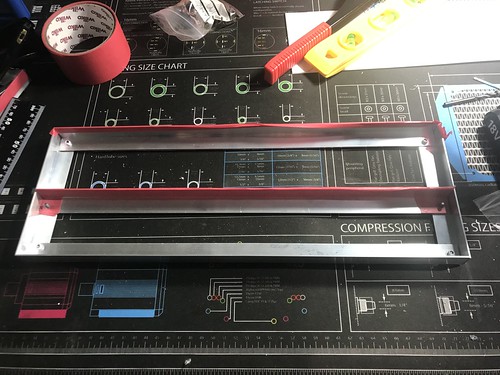
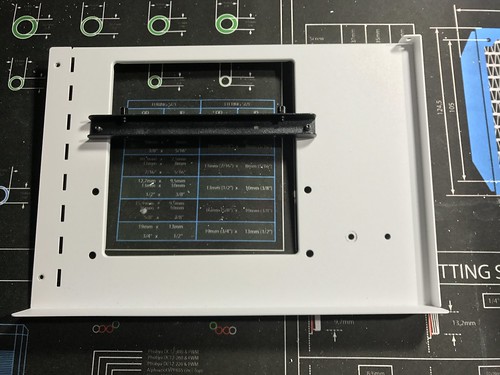
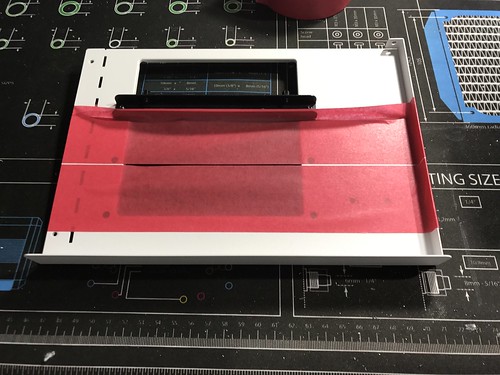
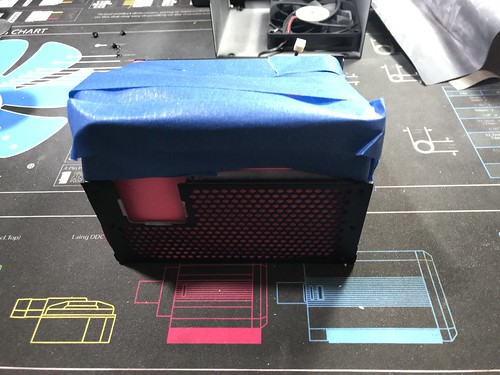
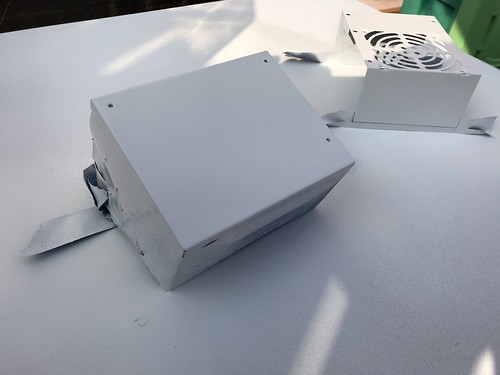
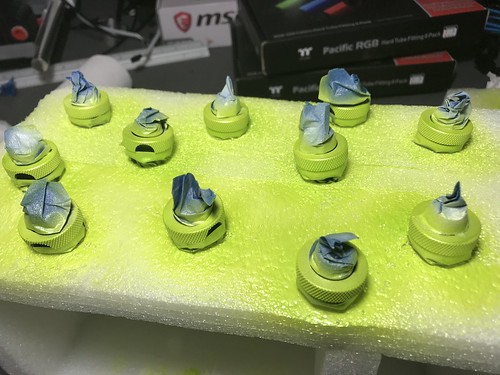
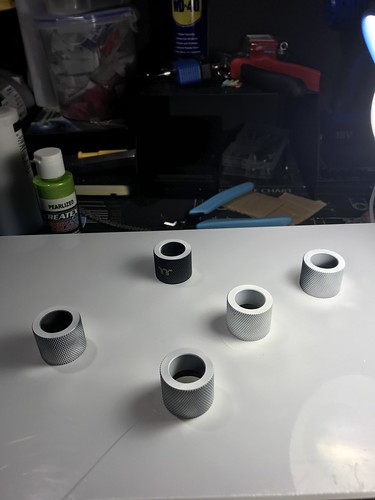
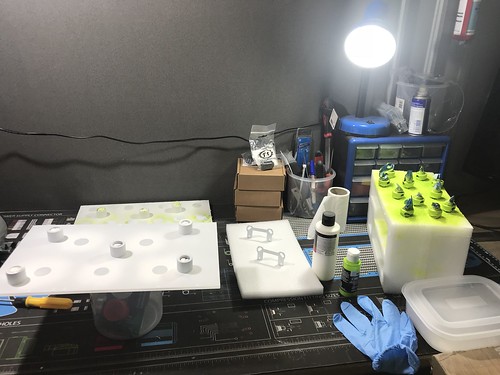
I have set myself a big challenge to think more outside the box for when it comes to where to place the reservoir and radiator. I have also set myself a challenge to make everything white so I will be doing a lot of painting and resleeving and a lot of cables.


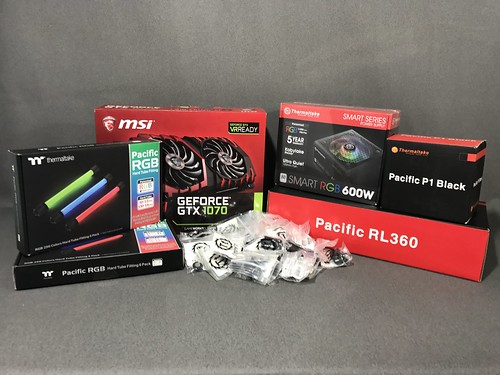
Here what I will be using,


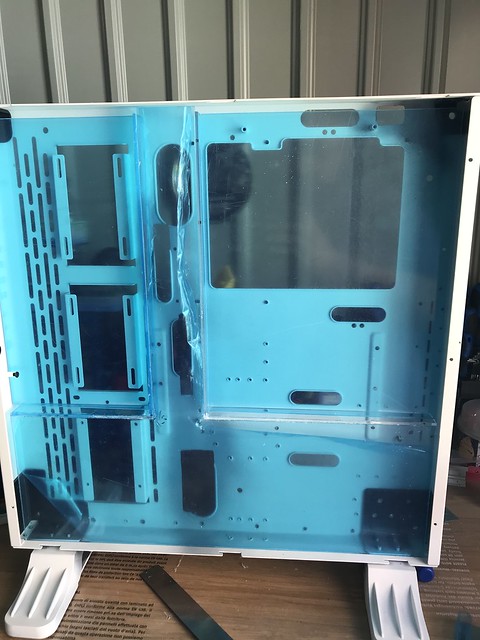
The thermaltake core p3 snow edition,


[url=https://flic.kr/p/G7EWPf]
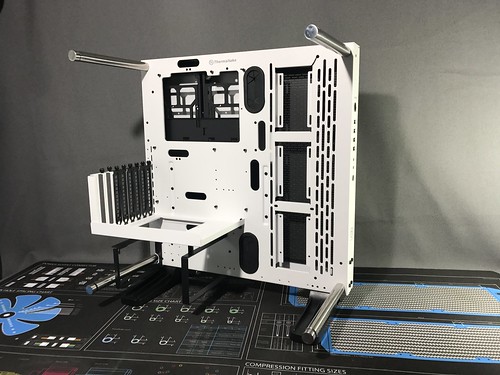

Ryzen 1600,


[url=https://flic.kr/p/24cBQ6N]


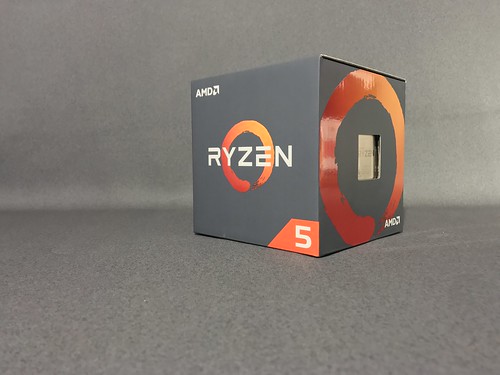
MSI Tomahawk Arctic B350,


[url=https://flic.kr/p/22TbaCK]


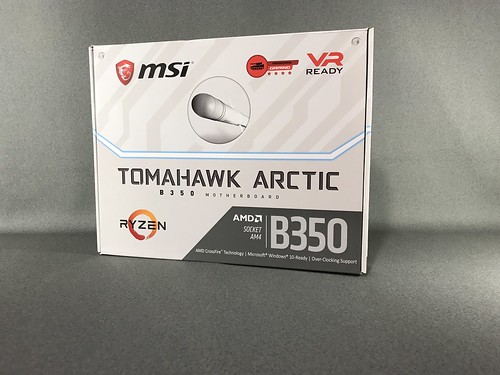
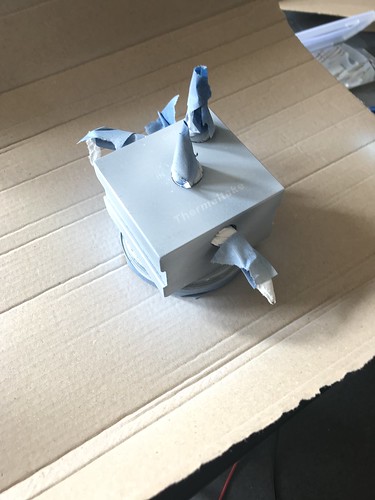
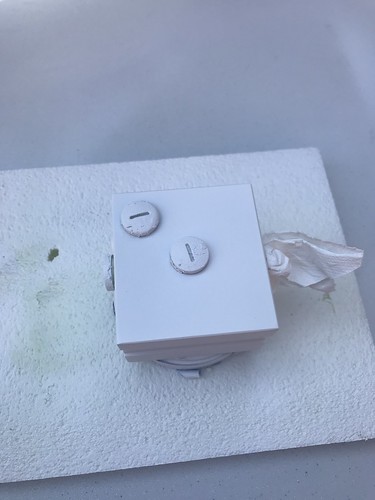
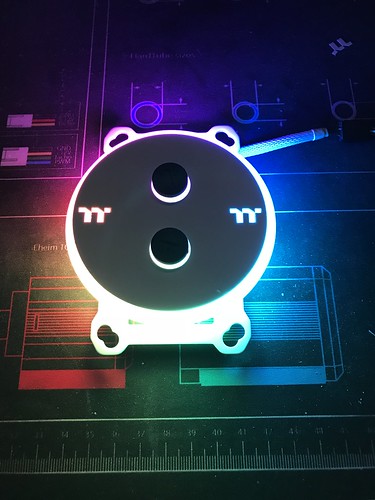
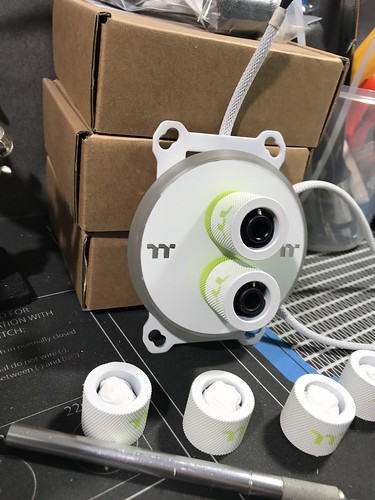
The thermaltake Pacific W4 Plus CPU water block,


[url=https://flic.kr/p/KiAhgn]


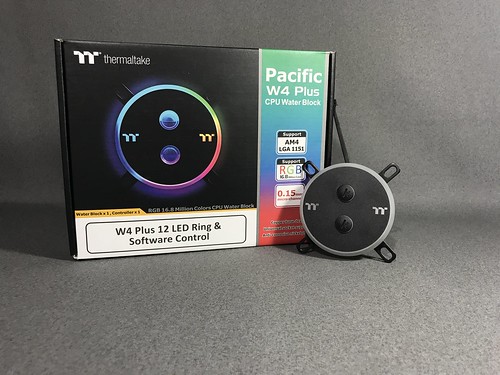
Corsair Vengeance RGB 2x8gb 3000Mhz could upgrade this two 32gb,


[url=https://flic.kr/p/23aEK75]


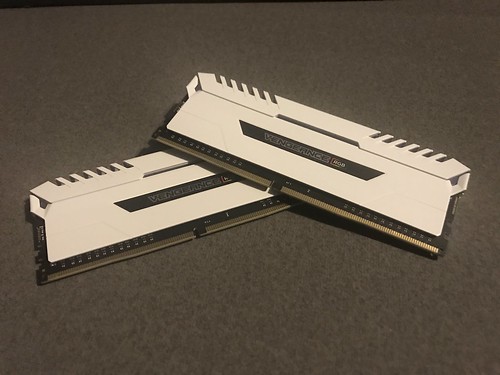
Samsung 960 EVO m.2 250GB this will be used for OS,


[url=https://flic.kr/p/EAsGon]
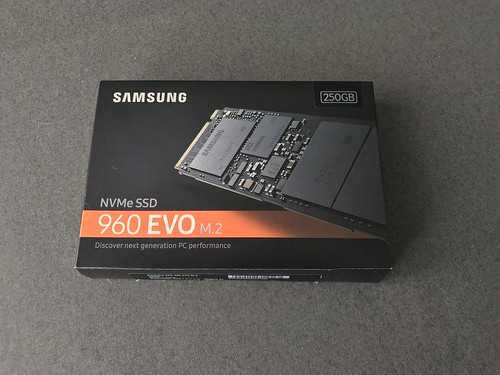

WD HDD 1TB,


[url=https://flic.kr/p/22Tfqng]


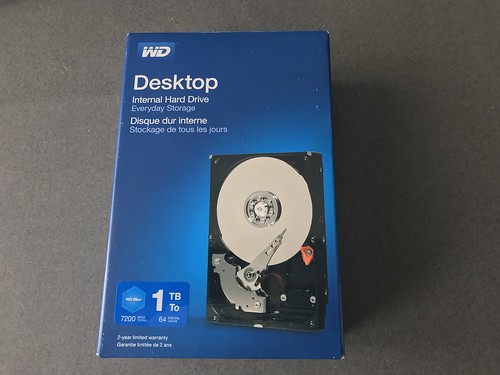
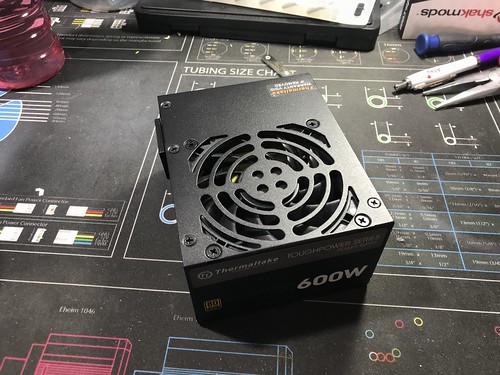
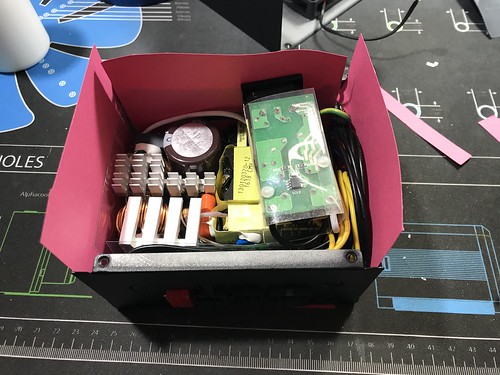
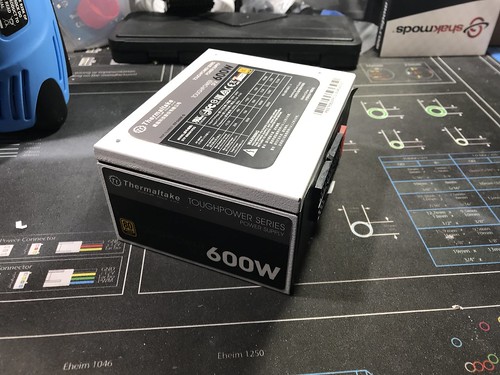
Thermaltake Toughpower SFX 600w PSU,


[url=https://flic.kr/p/KiAgUR]

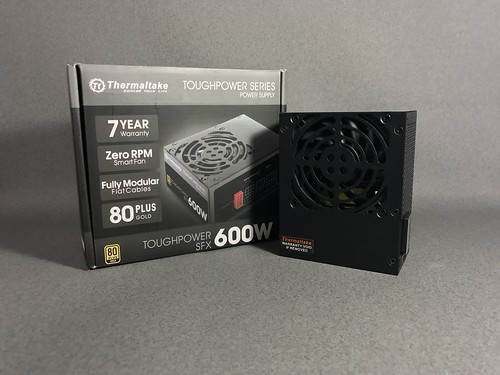
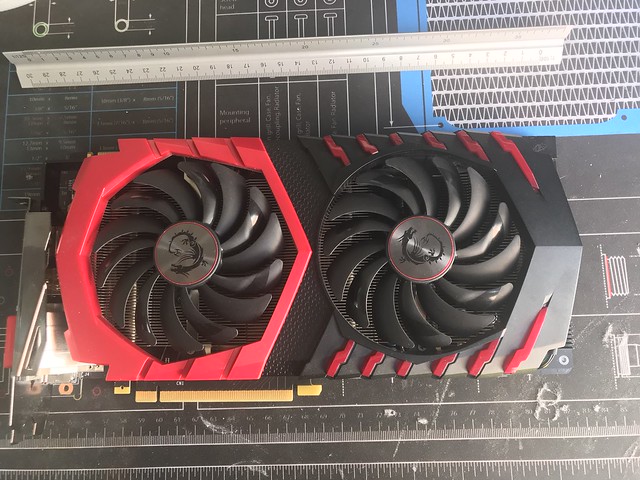
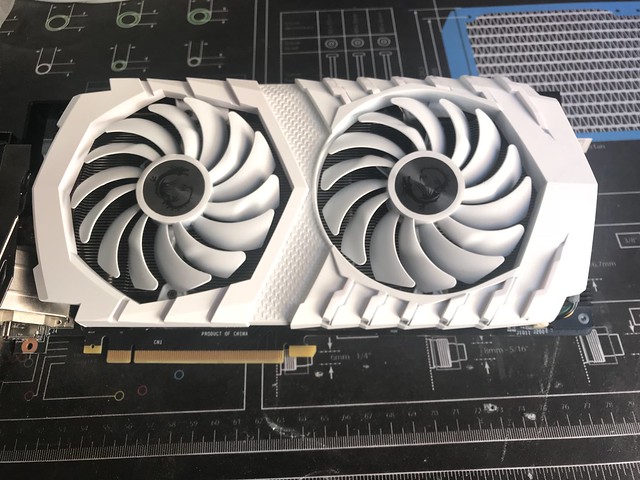
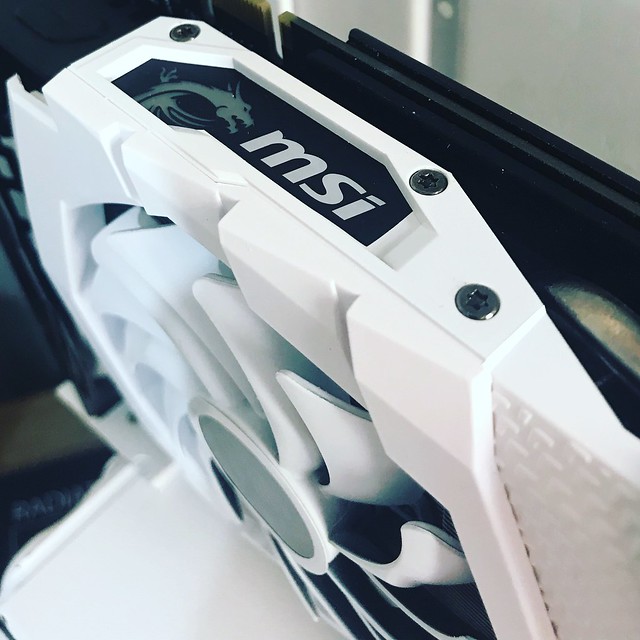
MSI GTX 1070 Gaming X8,


[url=https://flic.kr/p/22TbbyH]

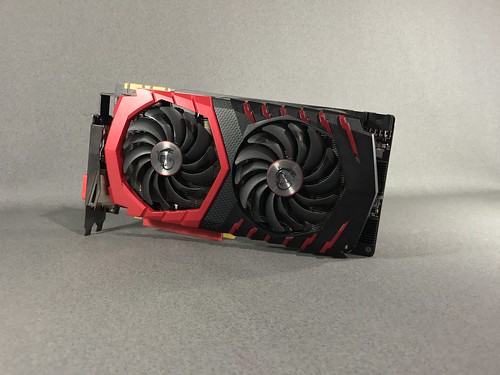
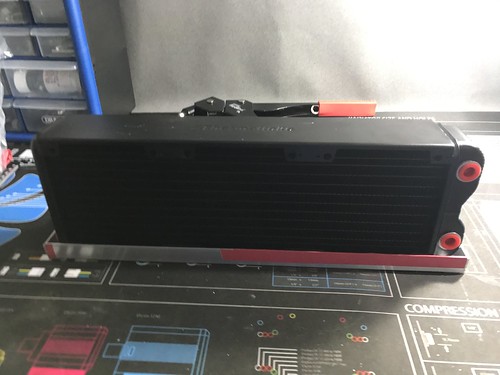
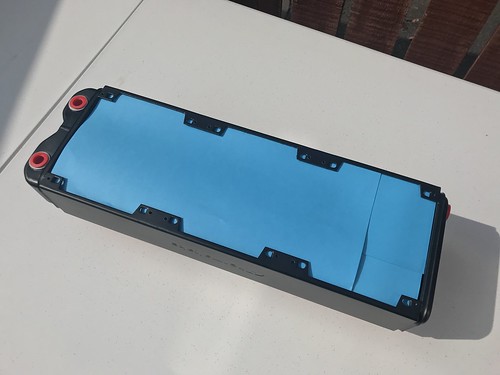
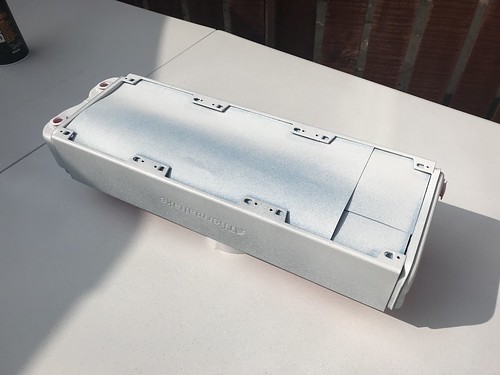
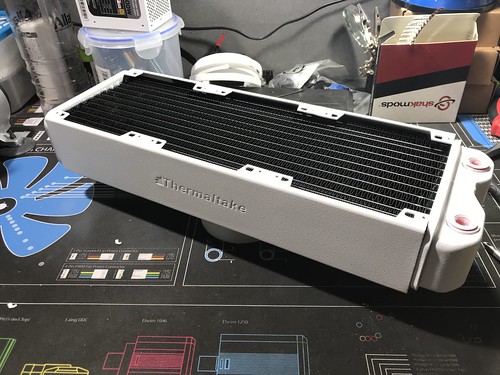
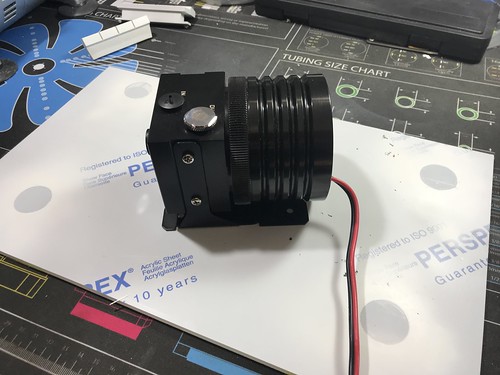
Thermaltake Pacific RL 360


[url=https://flic.kr/p/23aEKbo]

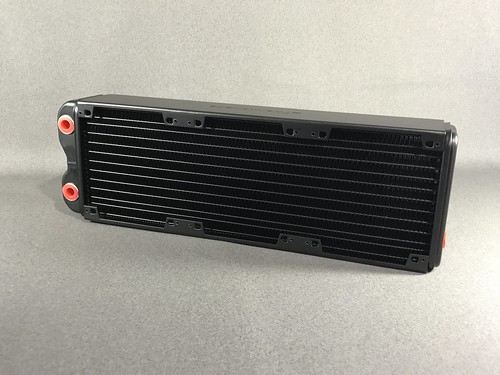
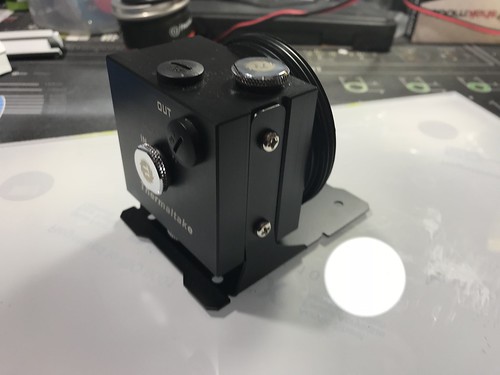
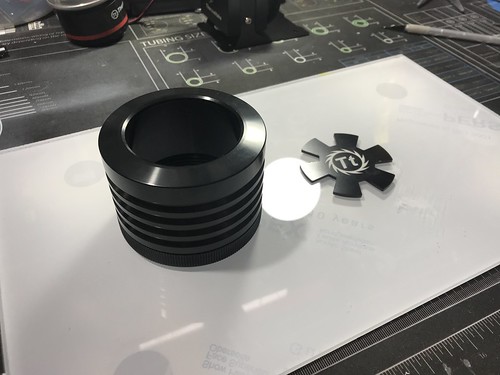
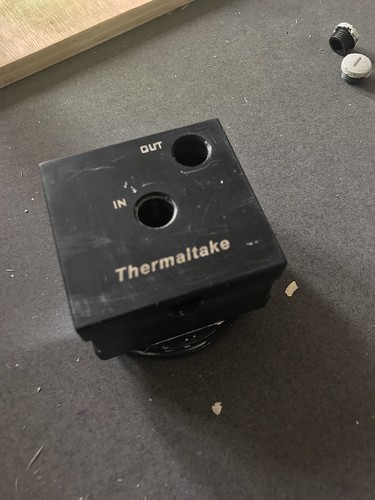
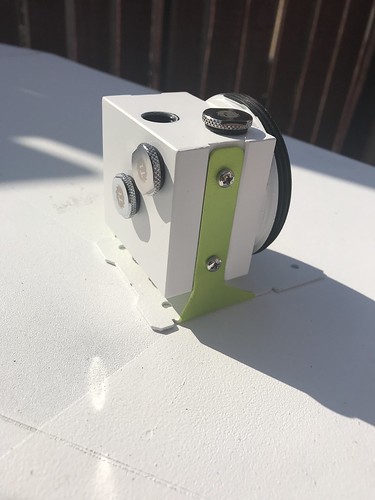
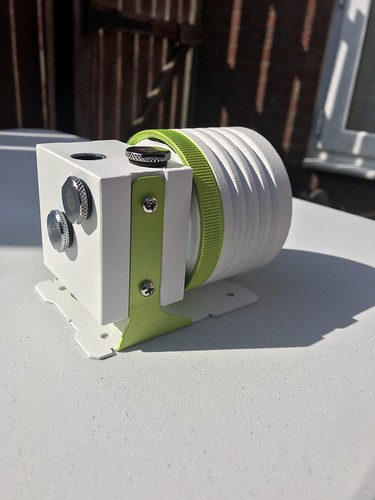
Thermaltake Pacific P1 Black,


[url=https://flic.kr/p/23aEK1o]


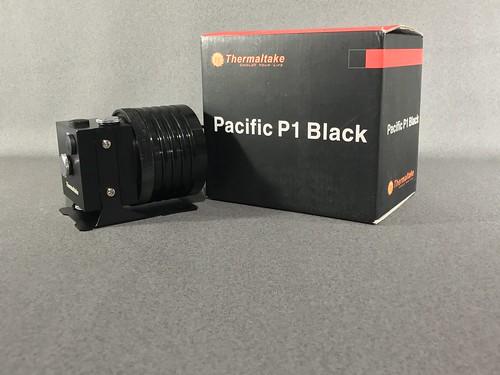
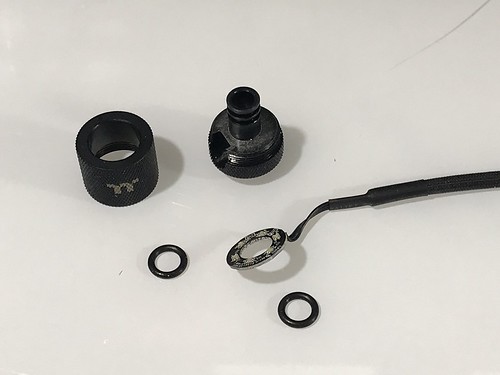
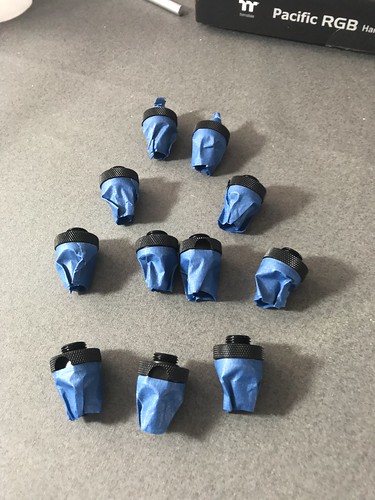
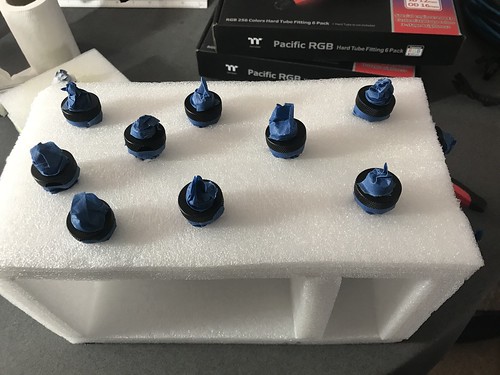
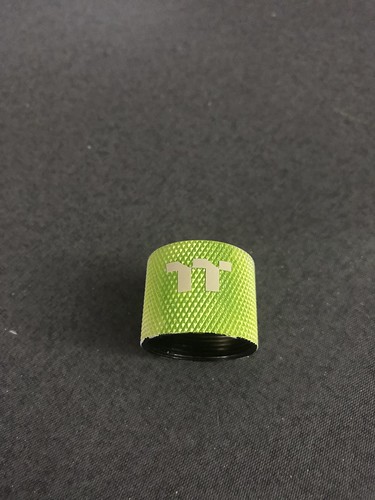
Thermaltake Pacific RGB Hard Tube Fittings,


[url=https://flic.kr/p/23aEJKy]

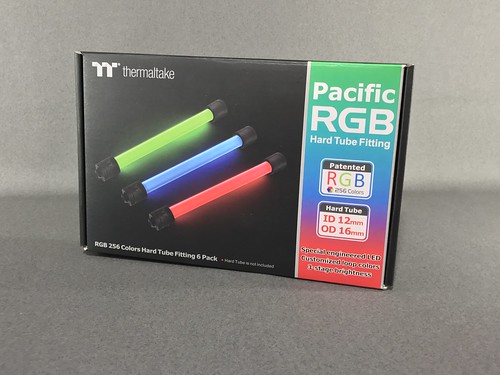
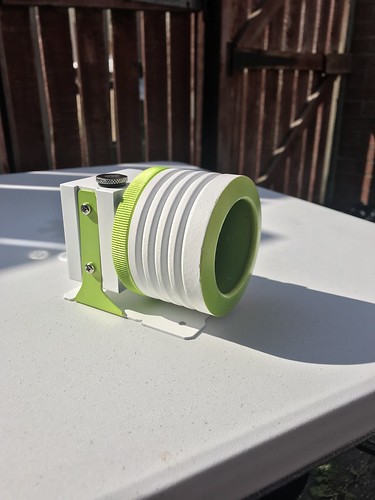
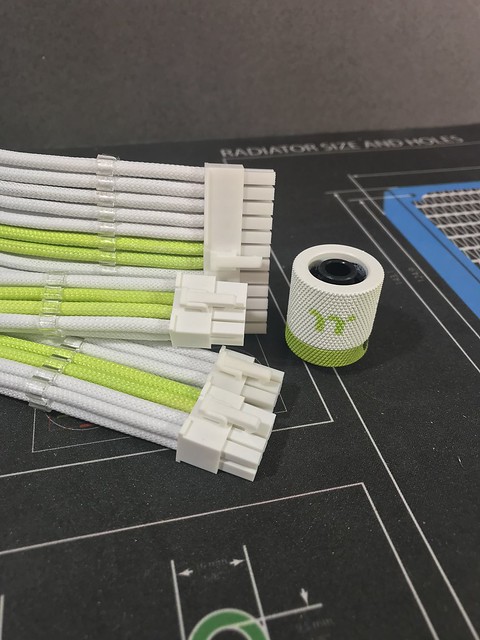
Thermaltake C1000 Green and White,


[url=https://flic.kr/p/EAokgv]

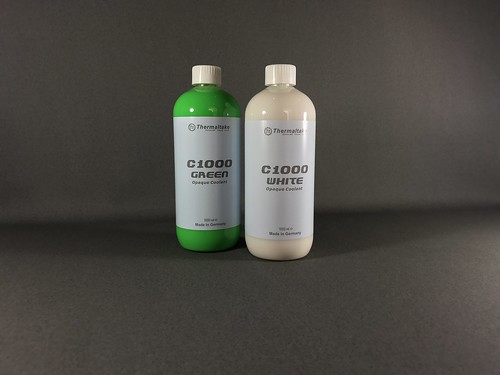
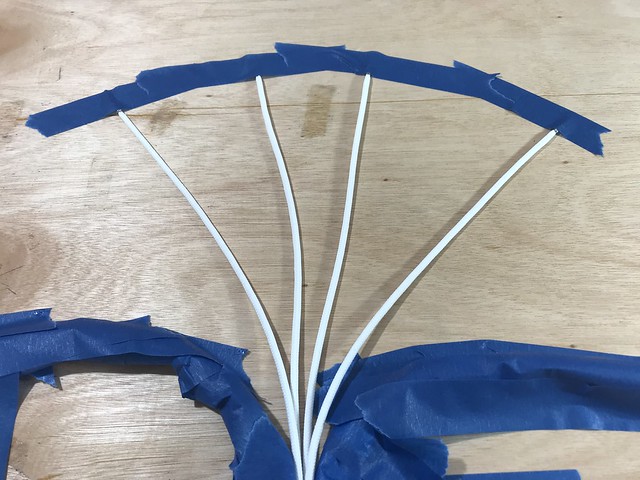
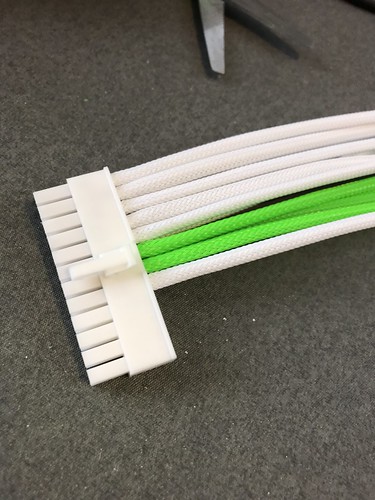
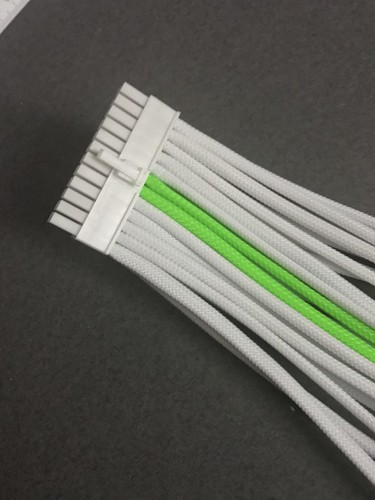
Some of the cable and connectors, I am using mdpc sleeving.


[url=https://flic.kr/p/22Tbb2F]


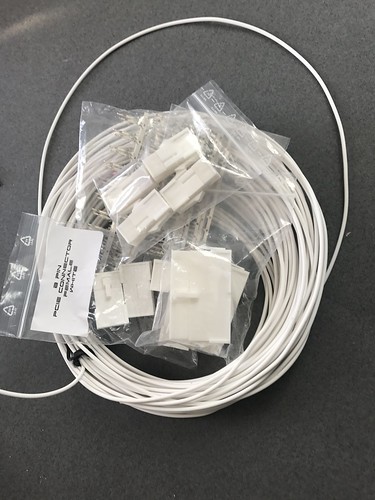
Thanks for checking out the post if you have any question or suggestion, leave a post and I will get back to you as soon as I can.
[/url][/url][/url][/url][/url][/url][/url][/url][/url][/url][/url][/url][/url][/url]
 
Associate
OP
Joined
24 Feb 2017
Posts
82
Location
uk
Welcome back,

I have a little update for you all,

I wanted to move the radiator to the bottom of the case where the PSU would be, I have not seen this on a core P3, I needed to make sure to would support the radiator, as I do want to mount this to the wall.

I am using 19mm x 19mm aluminium to start the framing of the holder.

Mark where I need to cut,

26467306128_784441be4c.jpg


The bits I need,

39627813494_f9aa2563b3.jpg


Marked where the hole will go,

39441360775_c38b8a209b.jpg


Drill a 4 mm hold for the rivets,

39441367395_8fdd9d528a.jpg


39441360675_db5efa67ac.jpg


Test fit,

26467309308_c1b9026c31.jpg


The 360 radiator sat very nice in the space now needed to make the support,

39441367765_70d8294fcc.jpg


Now to make a new GPU bracket, but thought I would be easier to mod the one I have, I need this to be shorter.

Before

40338630111_70f98a7f97.jpg


39441360395_977c2620bd.jpg


After, I am going to add some 19mm x 19mm aluminium to the outside of the bracket.

39441367555_8938a7380b.jpg


Here is the end result, I just want to stress that this is not the finish product for the brackets, this will give me a feel on what it will look like.

40293746602_d077909677.jpg


39441360655_5ff266939b.jpg


Hope you like the update the weather, not been good here in the UK
 
Associate
OP
Joined
24 Feb 2017
Posts
82
Location
uk
Look forward to the update, personally not a fan of the core series aesthetically, but flexibility and modding potential is huge.

Hope the project goes well :)

Thanks, this is the first time using one, you have a lot of space around the back for the cables.

Looking good but you could have got a white rad, such a big black lump :rolleyes: White pump and white gpu?
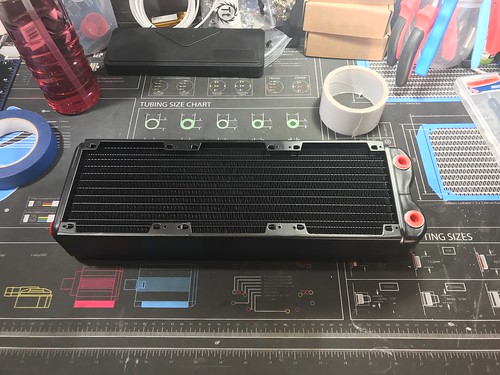
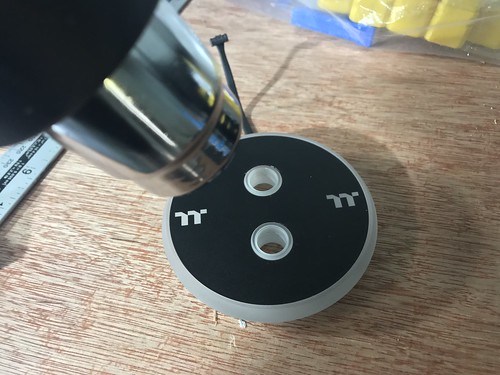
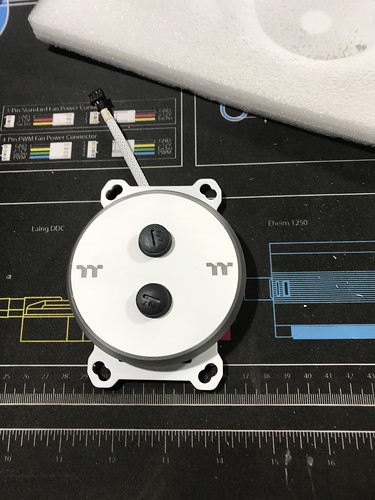
Andi.


Everything thing will be white, the photos above is just test fit, need to make sure the mods would work.
 
Last edited:
Associate
OP
Joined
24 Feb 2017
Posts
82
Location
uk
I have a big update, most of the painting has been done, and I have started to do the cables.

I will start with the Pacific RL360 Rad, I have painted this snow white, covered the fins and did light coats, the spray paint I used is Montana.

Before,


After,


I have also painted the heatsinks, I am thinking about adding some green to them.

Before,


After,


I wanted to paint the Thermaltake tough power 600w PSU white, this was a lot harder than I thought it would be, I striped the full PSU down but couldn’t find the last screw so I needed to cover all the enteral components. I also made sure to save the labels as I want to add these back on to the PSU.

Before,


After,


Next up to paint was the thermaltake Pacific W4 plus CPU block and the Pacific RGB fittings. I started with the CPU block, I heated the front of the block to loosen the glue of the black back ground as, I want this to be white, I had already made some little TT logo’s to cover the TT logos on the back ground, then I just lightly sprayed it white. I also added the bracket for Ryzen and painted this white too. The fittings were very time consuming, I wanted to get as much detail of the fitting as I could.


Sorry for all the photos, think I have went over the top, I have a few more then that it. I have started to sleeve the cable here is the 24 pin.


Hopefully the next update will not be as long, need to do the pump and the GPU, then that’s all the painting done.

If you have any questions or feedback please let me know.

Richard.
 
Associate
OP
Joined
24 Feb 2017
Posts
82
Location
uk
Hi Everyone,

This is just a small update, I have had a few issues with my CNC and it no longer works I have blown the spindle, so I have not done as much as I can hoped.

I have been painting the thermaltake Pacific P1 pump, this has cause me loads of issues, as I only get to mod on a weekend. I have painted this 3 time and I can see I am 98% happy with it. The photo below is showing you the process the 1st time I did it.

Before,

Pump by Richard Ord, on Flickr


I needed to sand the parts done so the primer would stick to the parts, can I use spray can you apply the paint.


You can see the paint looks a bit bumpy, I then did some vinyl logos and added them to the pump and airbrushed the green paint on.


Here is the end result,

r


As you can see it looks ok but I want it looking better. So I striped the pump and started again.


This time I used the airbrush for every layer I also wanted to add green to the D5 cover and to the bracket.


I did this over a few nights adding one layer at a time,


Here is the end result,


I am much happier now with the end result.

I still have a lot to do, I still have a lot of wires to sleeve, fans to paint and a graphics card to paint.

I did hope to show more but I thought it would be best to post something than none at all.

Until next time,

Richard.
 
Associate
OP
Joined
24 Feb 2017
Posts
82
Location
uk
Hey,

I have been really busy the last few weeks working of the build,

Let start with the biggest issue, I broke my CNC which I have only had for about 6 months, I got this from china, have been able to do a few mod with it but not the main reason I got it. This meant I needed to ask Praetex Design for some help in cutting the design I made for the custom reservoir,

Here is the design I made in fusion 360,


Alex was able to produce the product and it turned out great.


Here is me leak testing it,


I then need to add the reservoir to the case. I must taped and marked the holes about 5 times I didn’t want to mess this up.

Before,


During,


After,


Think it turn out great.

Now the Thermaltake Riing Plus fans as you can see from the photo above I needed to paint the fans so I strip them down.


I have taken these fans apart before with out breaking any of the clips, this time I must have broke 5 in total, the fans still hold together well.

I didn’t take many photos of the painting but I just made sure I gave a lot of light coats


I think the end result looks great,


What do you think?


Next up was the MSI 1070 Gaming X graphic card,

I followed the same process with the fans and striped the card right down. If you are going to do this and paint the fan you are going to have to bend two metal clips over (cable management) which holds the cable for the fan.


I need to take the sticker off the fans before I paint these I wanted to reused the stickers.

I made sure I did lots of light coats of the paint.

Here are the after photos,

Fans

Housing,


End result,


Just want to make it clear I am going to add a bit of green on to the card. I have also add a white ring on the MSI stickers to hide the red.

I need to add a little bit of white vinyl where the MSI logo glows, again this was just to hide the red.


I was not going to show this next photo until the build was completed, what the heck here it is anyway.


We still have work to do I need to support the GPU better so going to add an enclosure to the PSU this will then support the GPU. I am also changing the green out of my cable I made early to a better match green. I want to added as much detail as I can to the build.

I am wanting at add a enclosure behind the case to hide the internal wires.

Like always I hope you like the build log so far, if you have any question or feedback please leave below or come find me on Facebook / Instagram
 
Last edited:
Associate
OP
Joined
24 Feb 2017
Posts
82
Location
uk
The build is all most completed, I have had a little delay due to me moving house and all my gear is in storage, should have been in the new house on 27/07/20108 but now it will be 10/08/2018.

so the last time I posted we can everything white and in place to where I wanted everything, I was not to please with the color of the cables so I redid them. I wanted the green to match the rest of the build so painted the cables green with the airbrush.


I think they turned out great.


I cut some 3mm perplex to make a cable cover for behind the motherboard, this is not going to be on show but thought it will be a nice touch.


The build is almost completed, need to run the hard tube and do a small PSU cover then the build we be completed.

Here is a little sneak peak.


Thanks for taking the time to check out the build log.
 
Back
Top Bottom