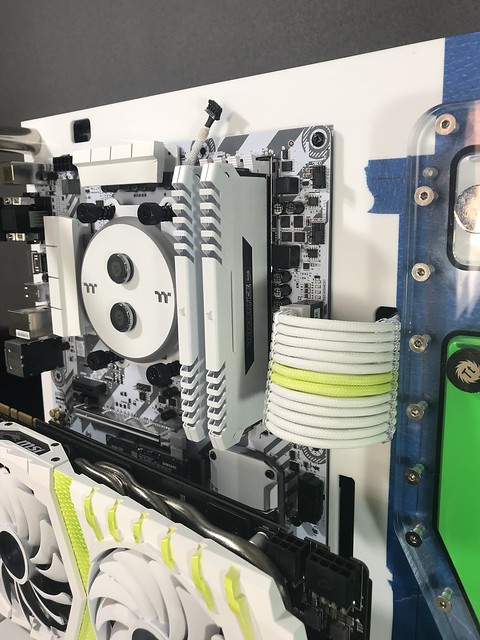
Project: SNOW

Hi Everyone,

This is just a small update, I have had a few issues with my CNC and it no longer works I have blown the spindle, so I have not done as much as I can hoped.

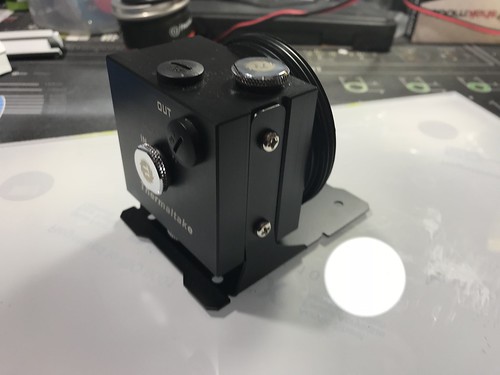
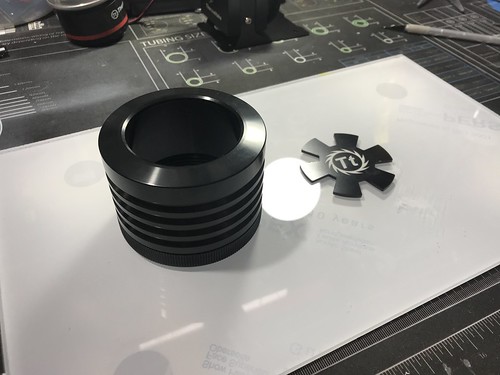
I have been painting the thermaltake Pacific P1 pump, this has cause me loads of issues, as I only get to mod on a weekend. I have painted this 3 time and I can see I am 98% happy with it. The photo below is showing you the process the 1st time I did it.

Before,
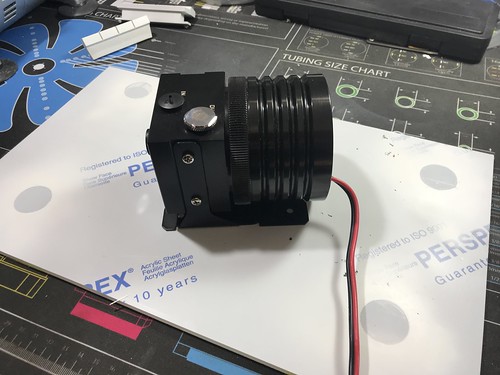
Pump by Richard Ord, on Flickr


I needed to sand the parts done so the primer would stick to the parts, can I use spray can you apply the paint.
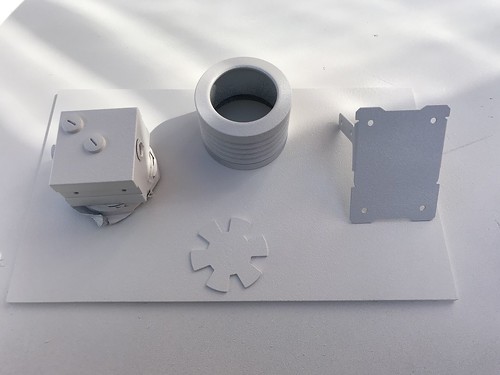


You can see the paint looks a bit bumpy, I then did some vinyl logos and added them to the pump and airbrushed the green paint on.
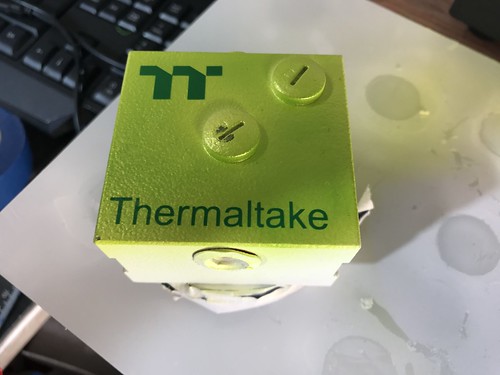


Here is the end result,
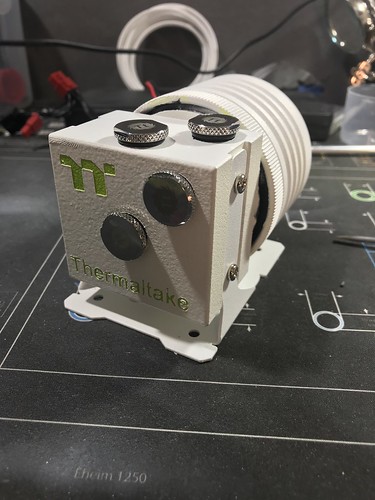
r


As you can see it looks ok but I want it looking better. So I striped the pump and started again.
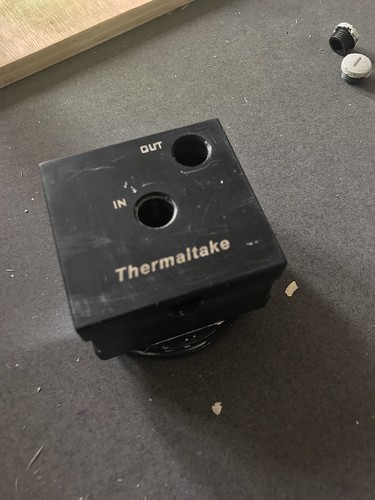


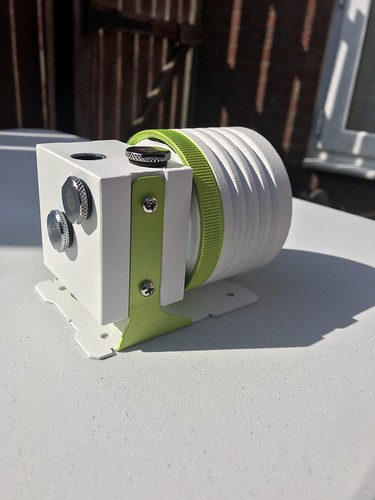
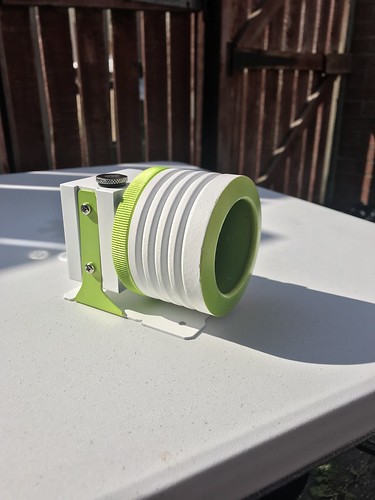
This time I used the airbrush for every layer I also wanted to add green to the D5 cover and to the bracket.
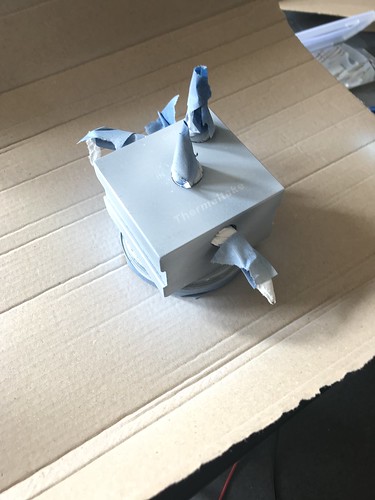


I did this over a few nights adding one layer at a time,
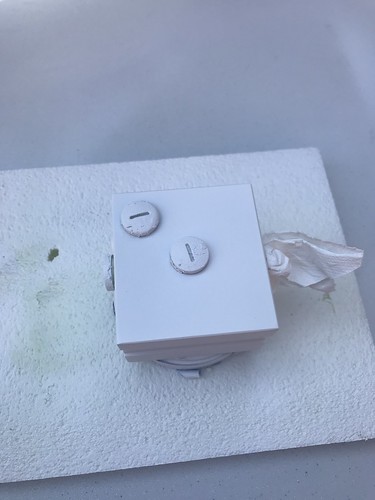

Here is the end result,
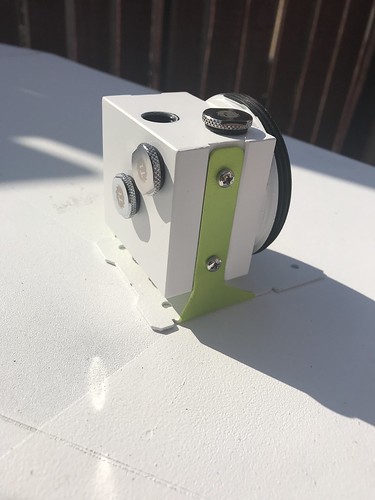


I am much happier now with the end result.

I still have a lot to do, I still have a lot of wires to sleeve, fans to paint and a graphics card to paint.

I did hope to show more but I thought it would be best to post something than none at all.

Until next time,

Richard.
 
Hey,

I have been really busy the last few weeks working of the build,

Let start with the biggest issue, I broke my CNC which I have only had for about 6 months, I got this from china, have been able to do a few mod with it but not the main reason I got it. This meant I needed to ask Praetex Design for some help in cutting the design I made for the custom reservoir,

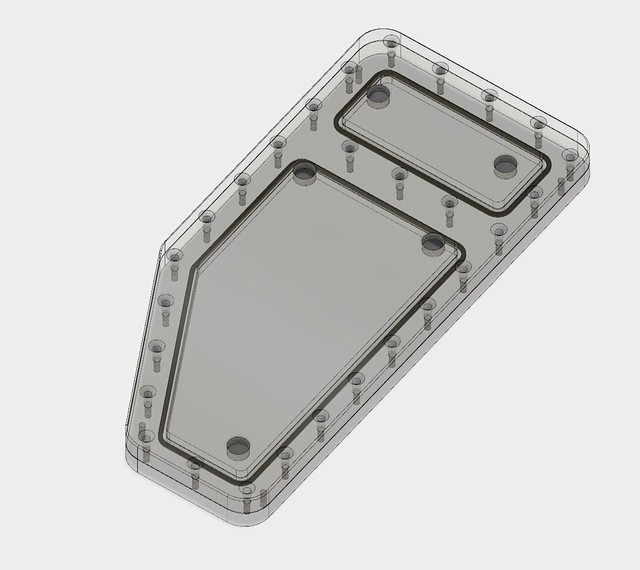
Here is the design I made in fusion 360,


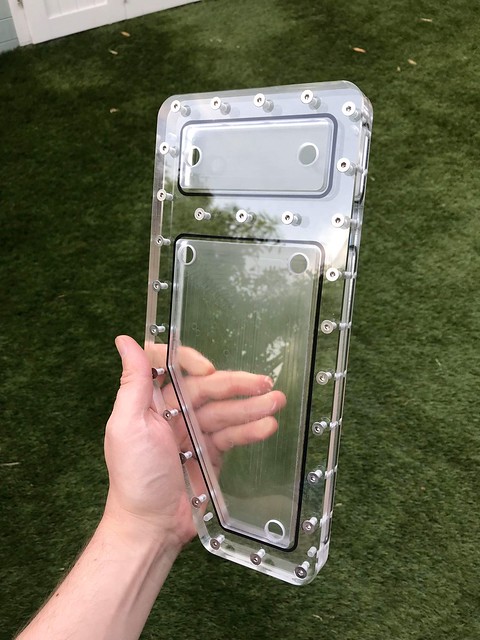
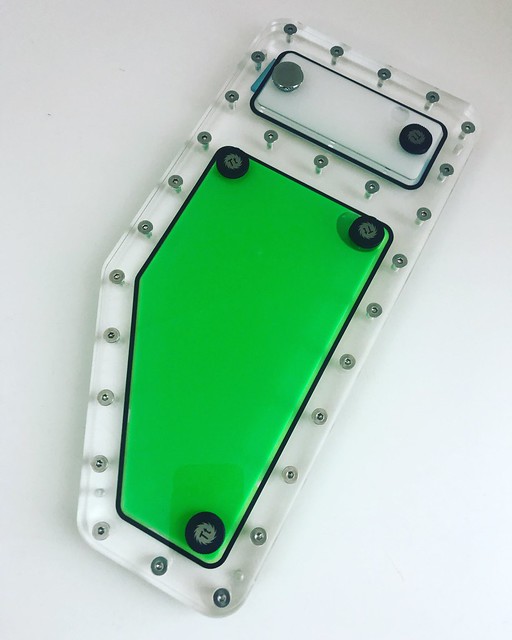
Alex was able to produce the product and it turned out great.


Here is me leak testing it,


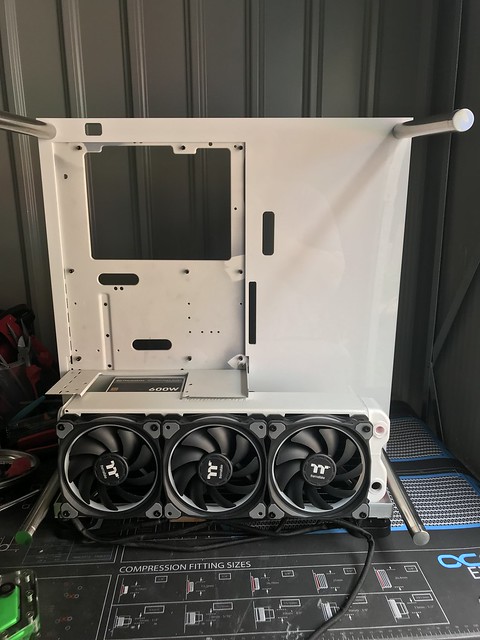
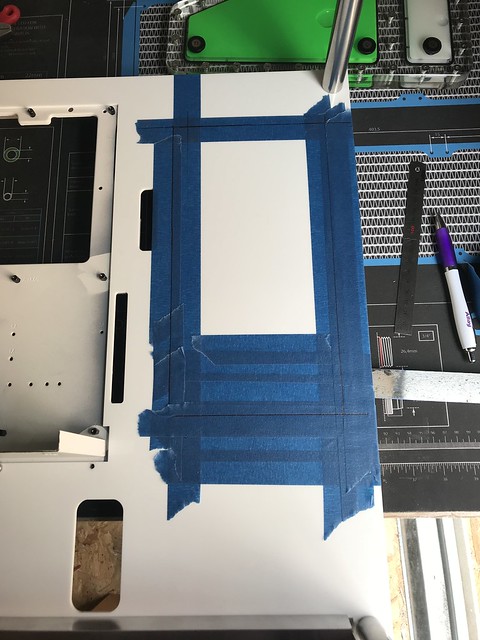
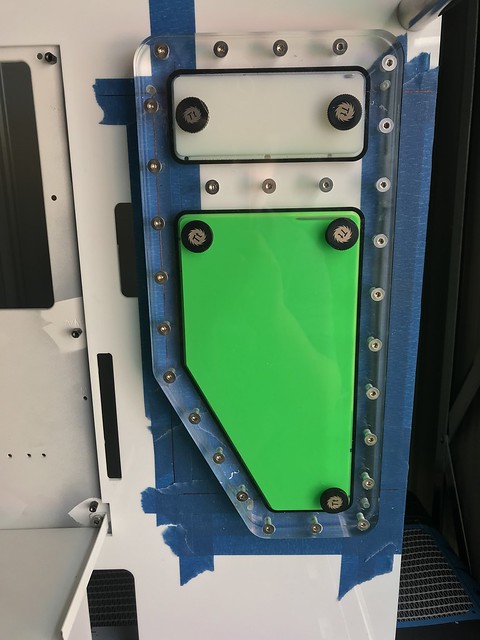
I then need to add the reservoir to the case. I must taped and marked the holes about 5 times I didn’t want to mess this up.

Before,


During,


After,


Think it turn out great.

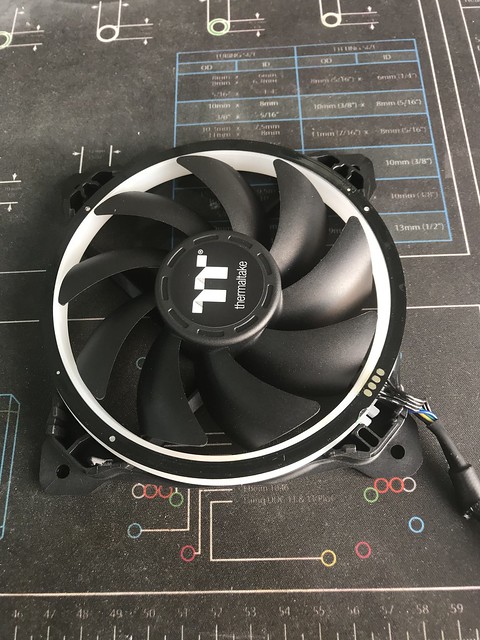
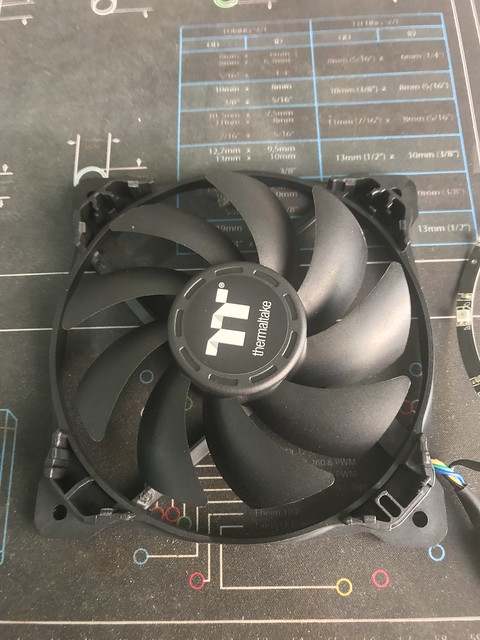
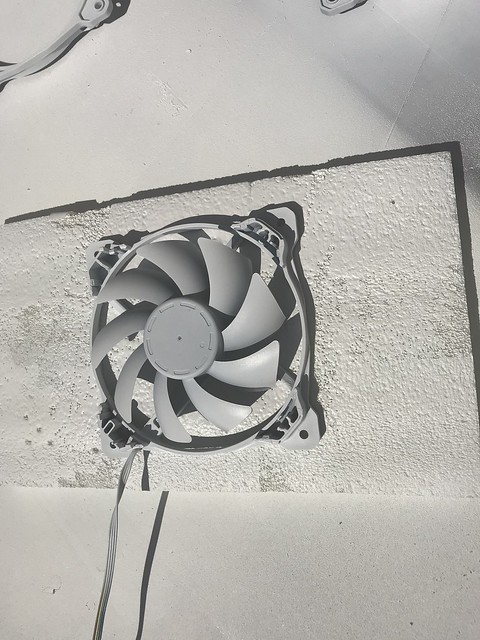
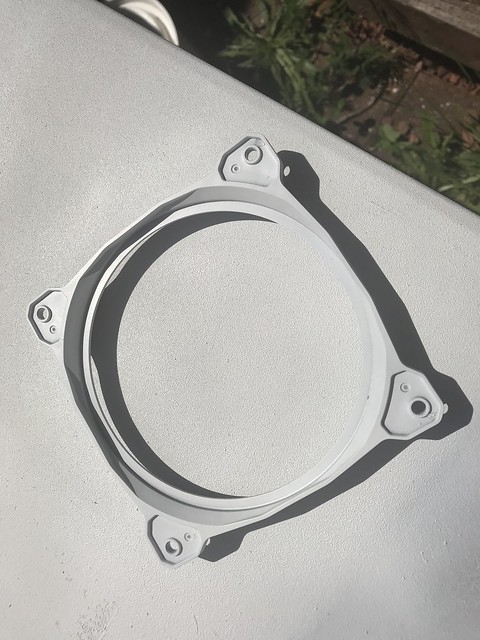
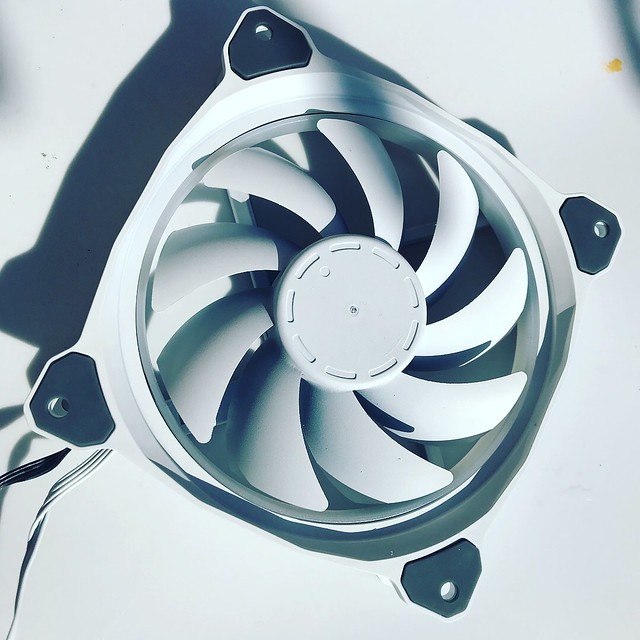
Now the Thermaltake Riing Plus fans as you can see from the photo above I needed to paint the fans so I strip them down.


I have taken these fans apart before with out breaking any of the clips, this time I must have broke 5 in total, the fans still hold together well.

I didn’t take many photos of the painting but I just made sure I gave a lot of light coats


I think the end result looks great,


What do you think?


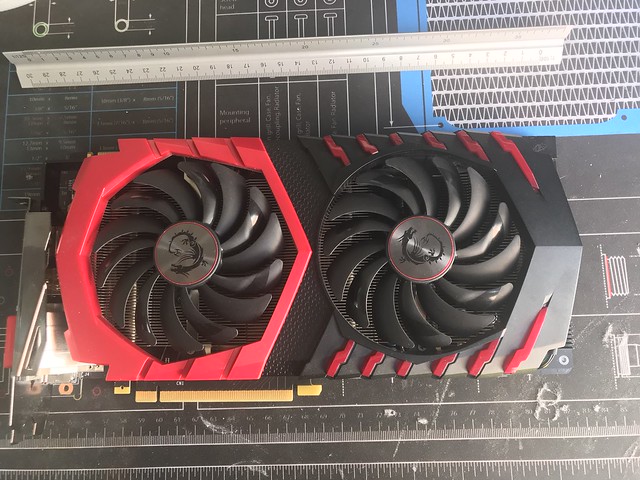
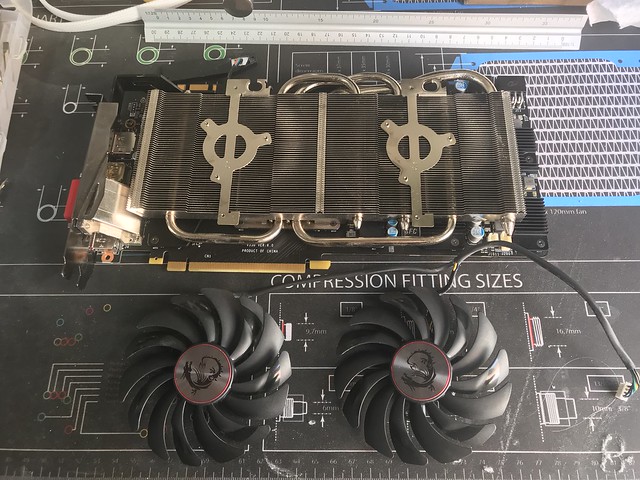
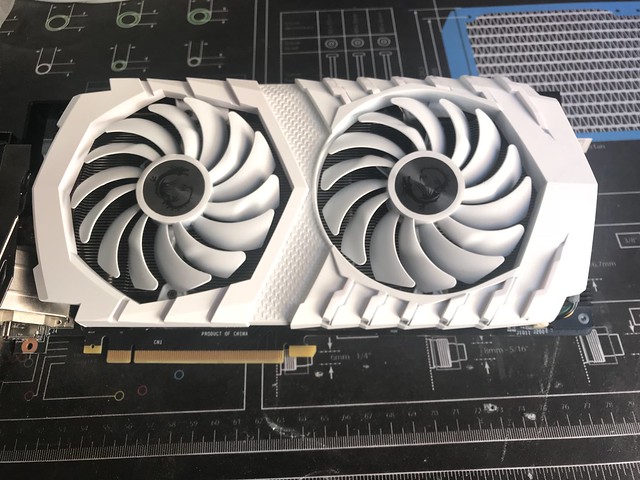
Next up was the MSI 1070 Gaming X graphic card,

I followed the same process with the fans and striped the card right down. If you are going to do this and paint the fan you are going to have to bend two metal clips over (cable management) which holds the cable for the fan.


I need to take the sticker off the fans before I paint these I wanted to reused the stickers.

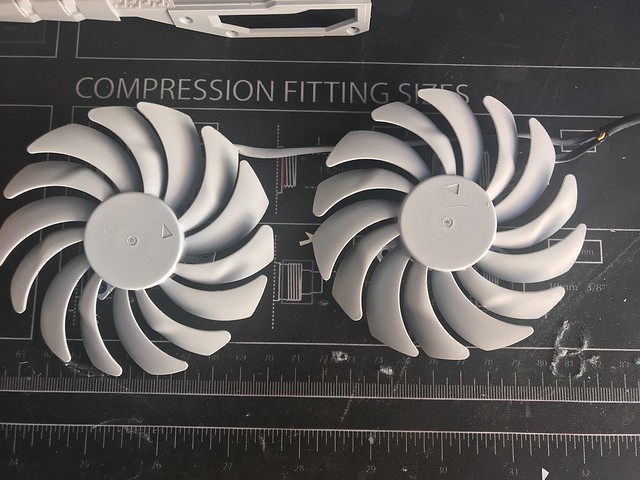
I made sure I did lots of light coats of the paint.

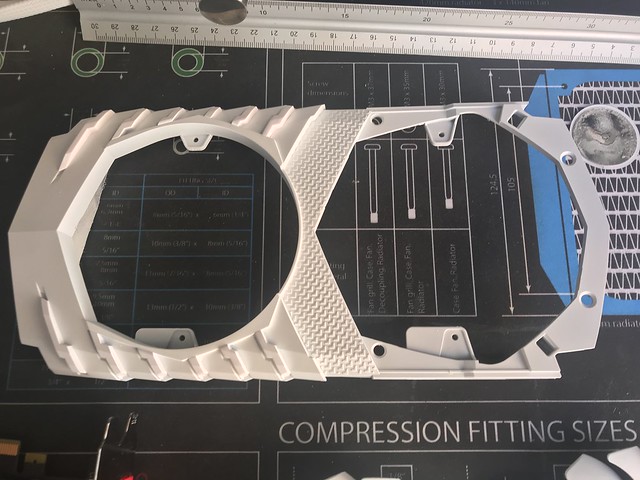
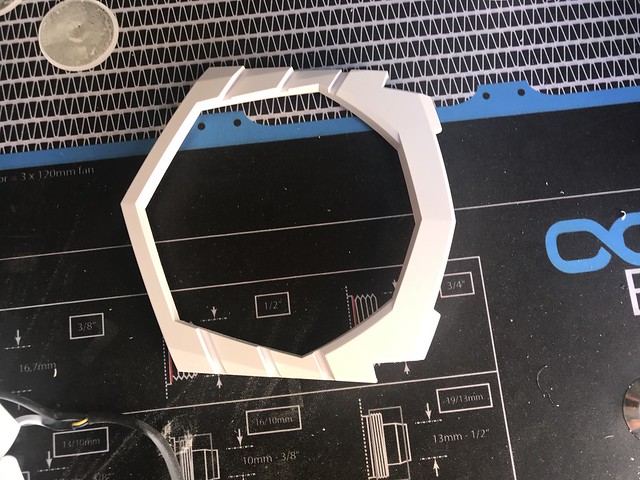
Here are the after photos,

Fans

Housing,


End result,


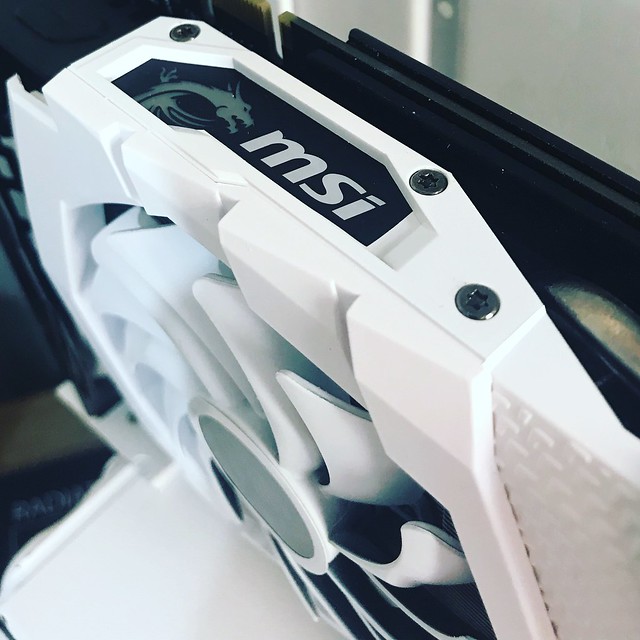
Just want to make it clear I am going to add a bit of green on to the card. I have also add a white ring on the MSI stickers to hide the red.

I need to add a little bit of white vinyl where the MSI logo glows, again this was just to hide the red.


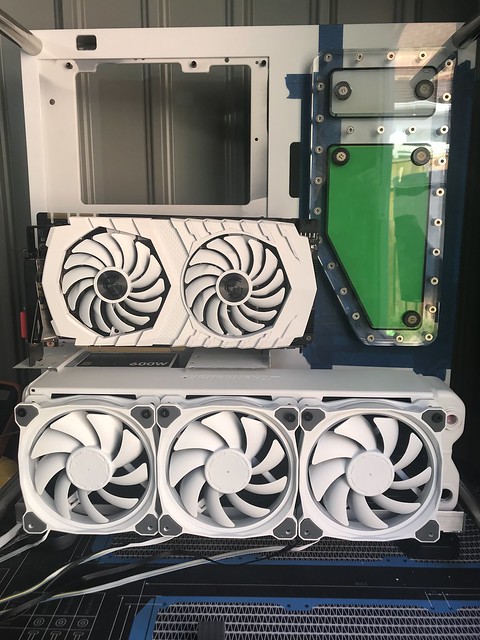
I was not going to show this next photo until the build was completed, what the heck here it is anyway.


We still have work to do I need to support the GPU better so going to add an enclosure to the PSU this will then support the GPU. I am also changing the green out of my cable I made early to a better match green. I want to added as much detail as I can to the build.

I am wanting at add a enclosure behind the case to hide the internal wires.

Like always I hope you like the build log so far, if you have any question or feedback please leave below or come find me on Facebook / Instagram
 
Last edited:
The build is all most completed, I have had a little delay due to me moving house and all my gear is in storage, should have been in the new house on 27/07/20108 but now it will be 10/08/2018.

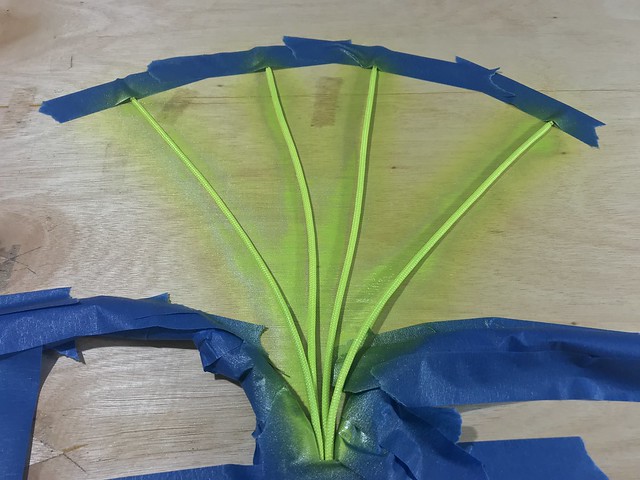
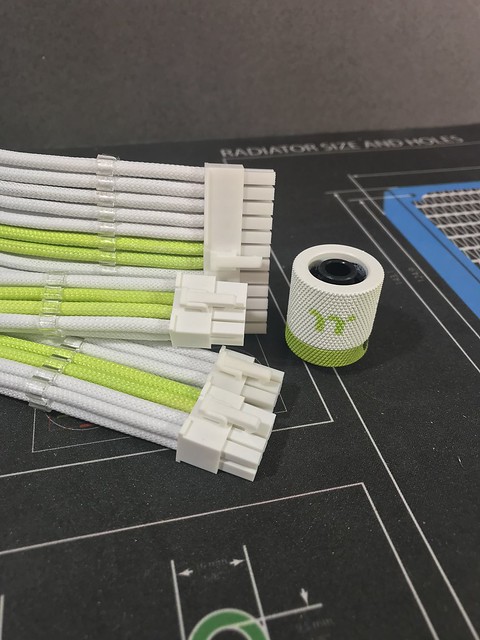
so the last time I posted we can everything white and in place to where I wanted everything, I was not to please with the color of the cables so I redid them. I wanted the green to match the rest of the build so painted the cables green with the airbrush.


I think they turned out great.


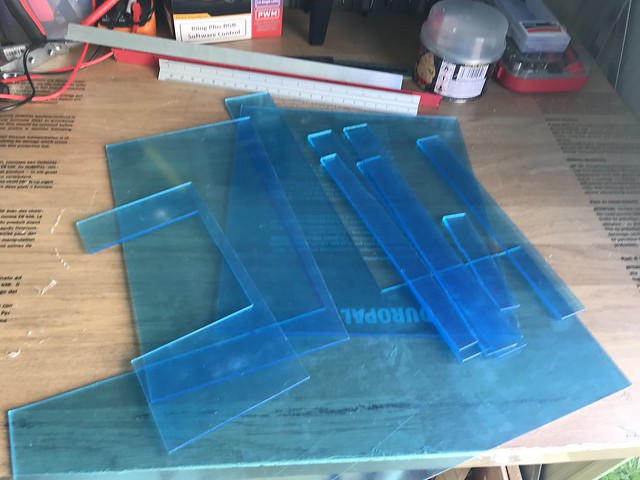
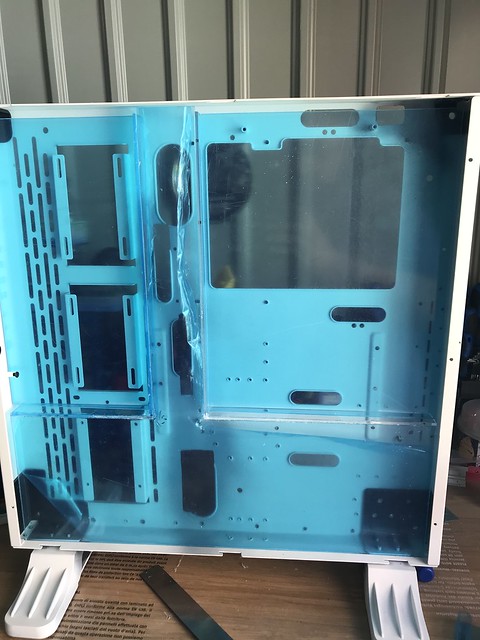
I cut some 3mm perplex to make a cable cover for behind the motherboard, this is not going to be on show but thought it will be a nice touch.


The build is almost completed, need to run the hard tube and do a small PSU cover then the build we be completed.

Here is a little sneak peak.


Thanks for taking the time to check out the build log.
 
I'm also a fan of green and white.
help-with-upgrade-advice-please.18828227
 
Back
Top Bottom