project:sufficiency

Been busy in my lunch hours working up the coats of paint.

Good clean, rinse and dry (paper towels, then air dry for 20min's)
Mask up foam (as required see below)
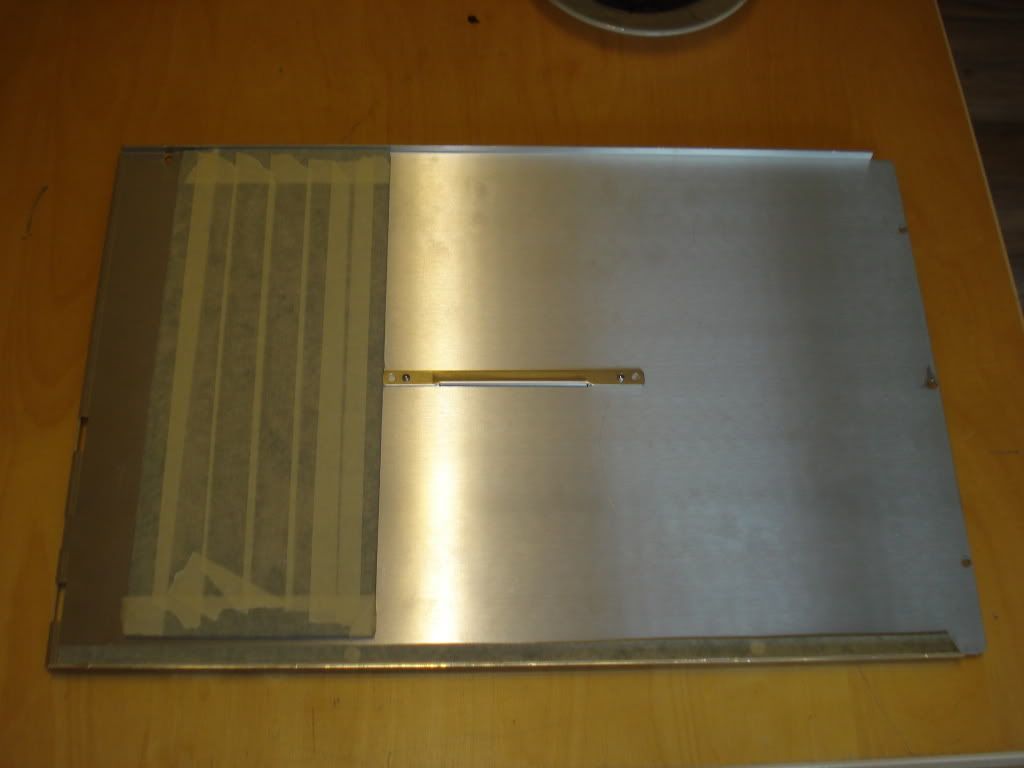
Tapeup.jpg


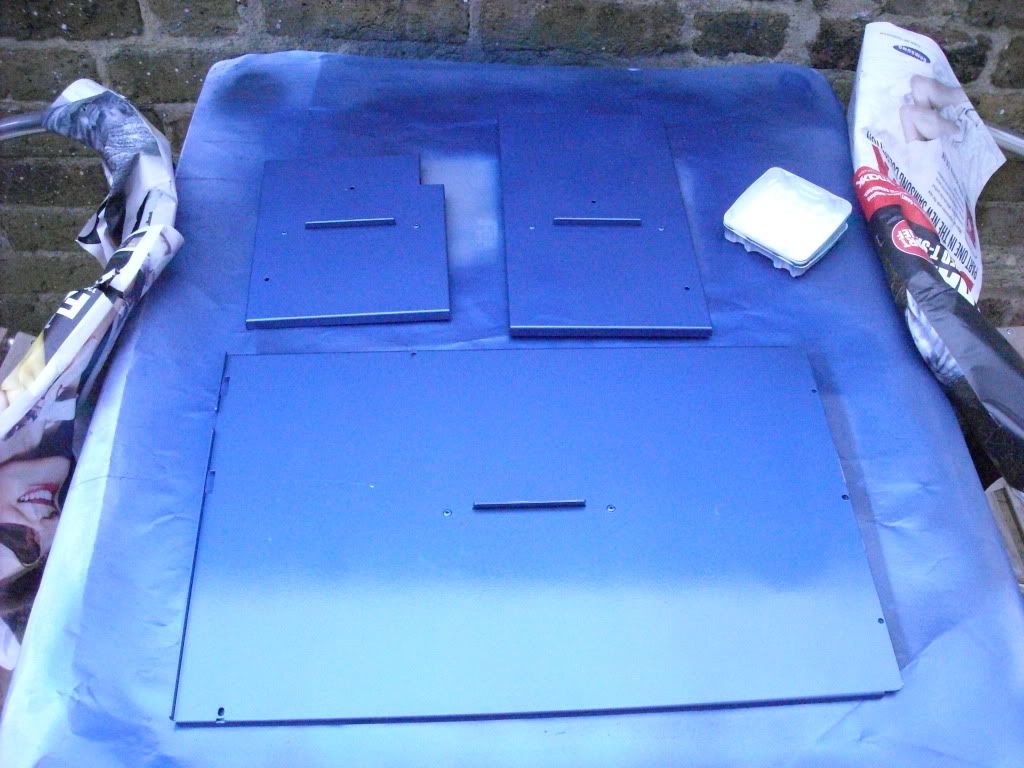
Gray primer mist coat, 15mins wait
second coat, 15mins wait
Flip and repeat (mist, wait, coat, wait)
store in warm ventilated room for 24 hour
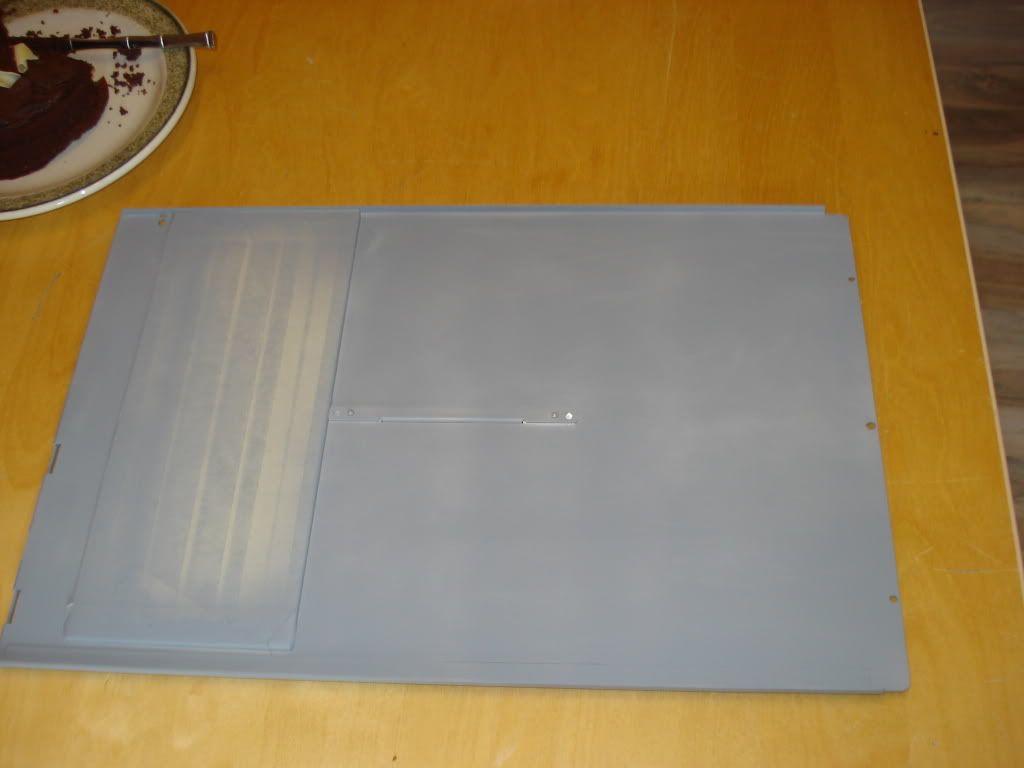
largepanelundercoat.jpg


sand (1200 grit) (see above)
Rover Atlantic blue base colour mist coat, 10 mins wait
second coat, 10 mins wait
third coat, 10 mins wait
Flip and repeat (mist, wait, coat, wait, coat, wait)
store in warm ventilated room for 24 hour
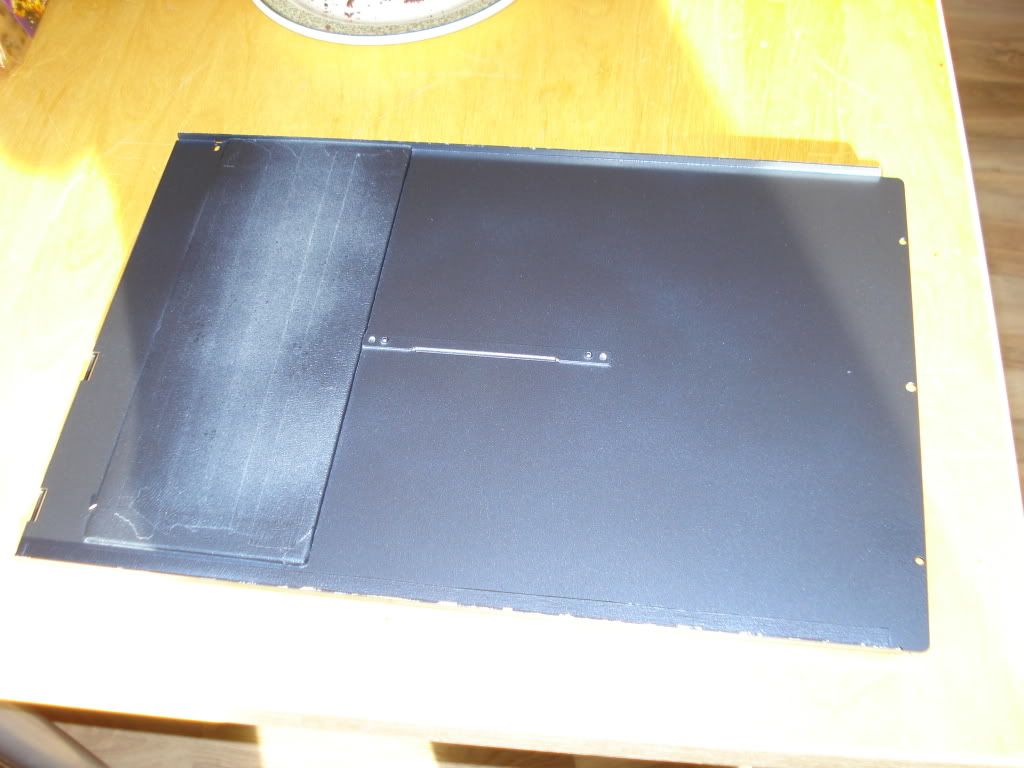
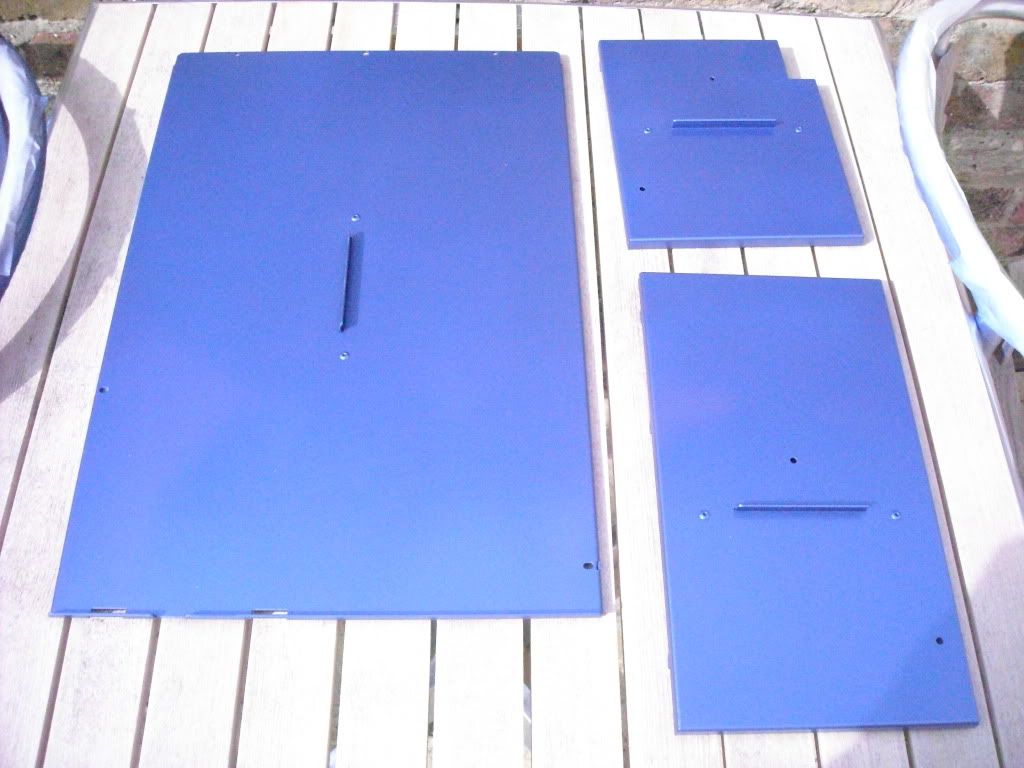
largebasecoat.jpg


sand (1200 grit)
wash, rince, dry, 20 mins wait
Ford Azure blue top mist coat, wait 10 mins
second coat, 10 mins wait
Flip and repeat (mist, wait, coat, wait)
store in warm ventilated room for 24 hour

The two small panels are at this stage now, will be applying the lacquer on thoses tomorrow.
Motherboard tray is being removed if I have the time tonight (as that requires a system rebuild in my second case :()

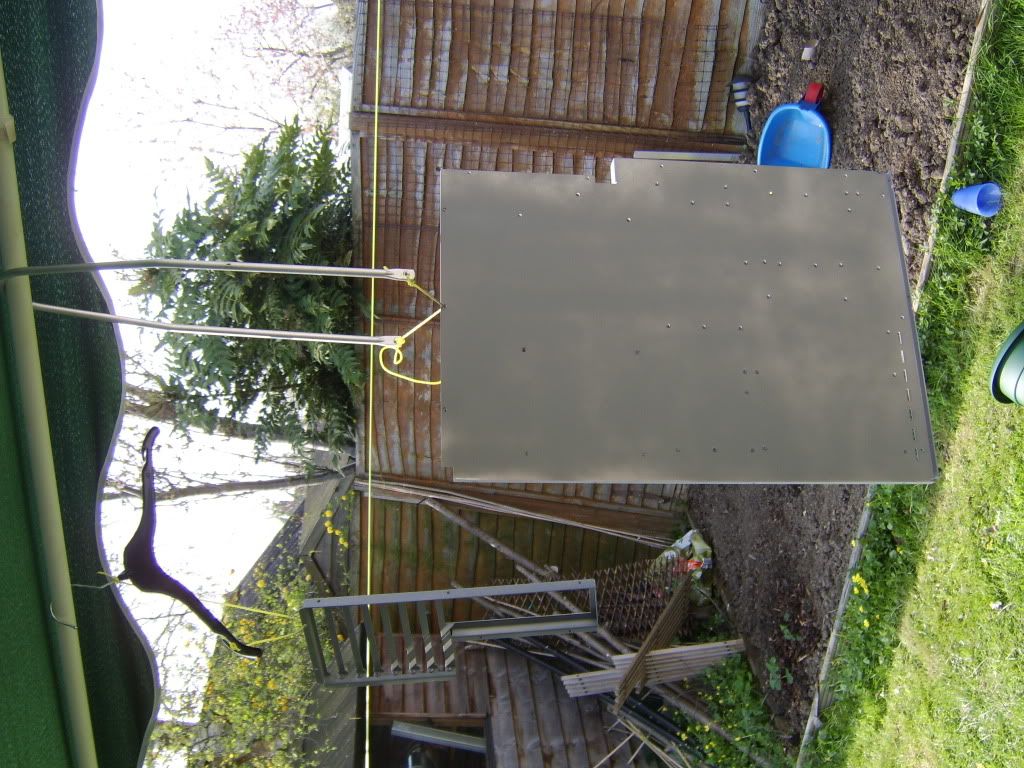
Each panel (doing the two small panels together) needs three 'fair weather' days to paint!
This week so far has been very productive, but the guys and girls in the office are starting to ask lots of questions ;)
Shaking an spray can ever 10 minutes does tend to get noticed :D
 
Tommy K is an excelent cleaner for all metals, highly recomended.
Aquarium water is also very good, especially for precious metals
I can also high recomend cake - just not for cleaning :D

Used another whole 300ml can of blue used today - hopefully I get the three panels sanded and lacquer tomorrow before the weather breaks.
Starting to get the feeling a inexpensive airbrush would have been cheaper.
 
Last edited:
Hit by triple bad luck today.

I droped the main panel and chiped all the paint of the edge :(
Touched the lacquer and left a fingerprint (this I smoothed out luckily)
And a plague of flies just landed on all three panels after the second coat :mad:

I need a garage before I ever consider painting again :o

Pict's to follow
 
ARRRRRRRH - lacquer stuck my panels to the stand off.
Result - bare metal showing and I need to start again - well p'ed off
Should shave stopped yesterday - they were looking perfect yesterday.
And I don't think T-cut will get these marks out.
Only thing I can think of, is let the lacquer fully dry (two weeks) and sand it all off. :(

WARNING - only use lacquer to 'protect' your paint if you are hanging your panels to paint them.

sandedreadyforlacquer.jpg

Sanded with 1200 grit and air drying

firstsidedestroyedbystands.jpg

Final coat showing damage

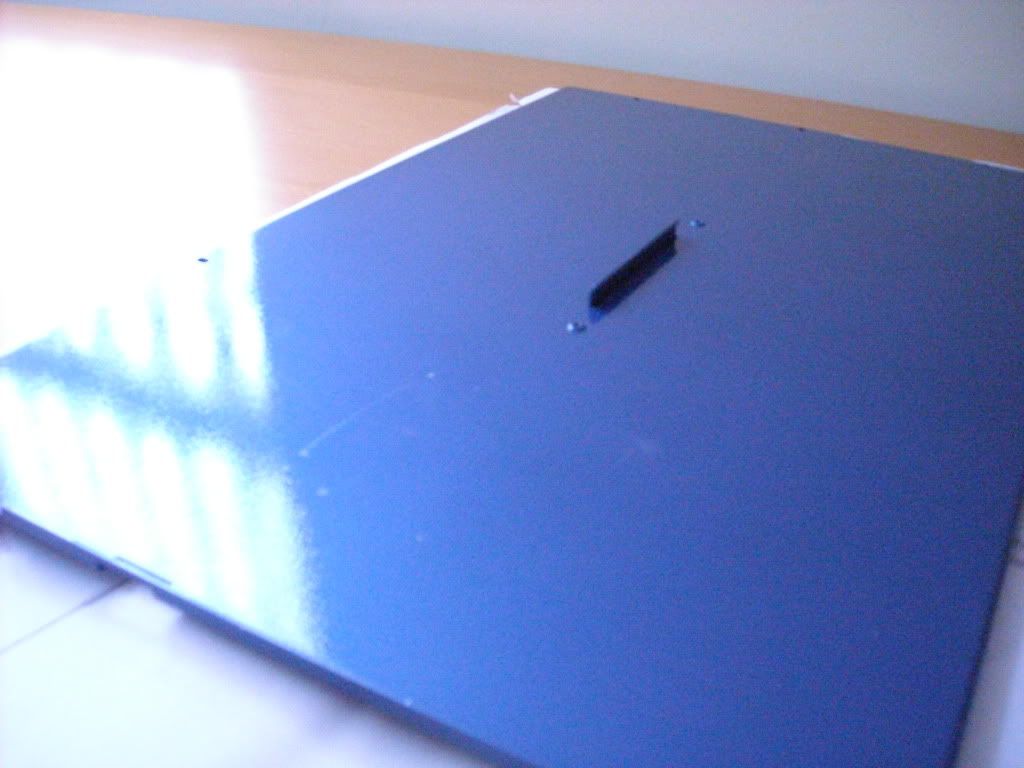
lacquerstripedpaint.jpg

close up - office camera is not so great

Sooooooo annoyed - I most likely used to much, but just want to ditch the build and get a new case now
 
Last edited:
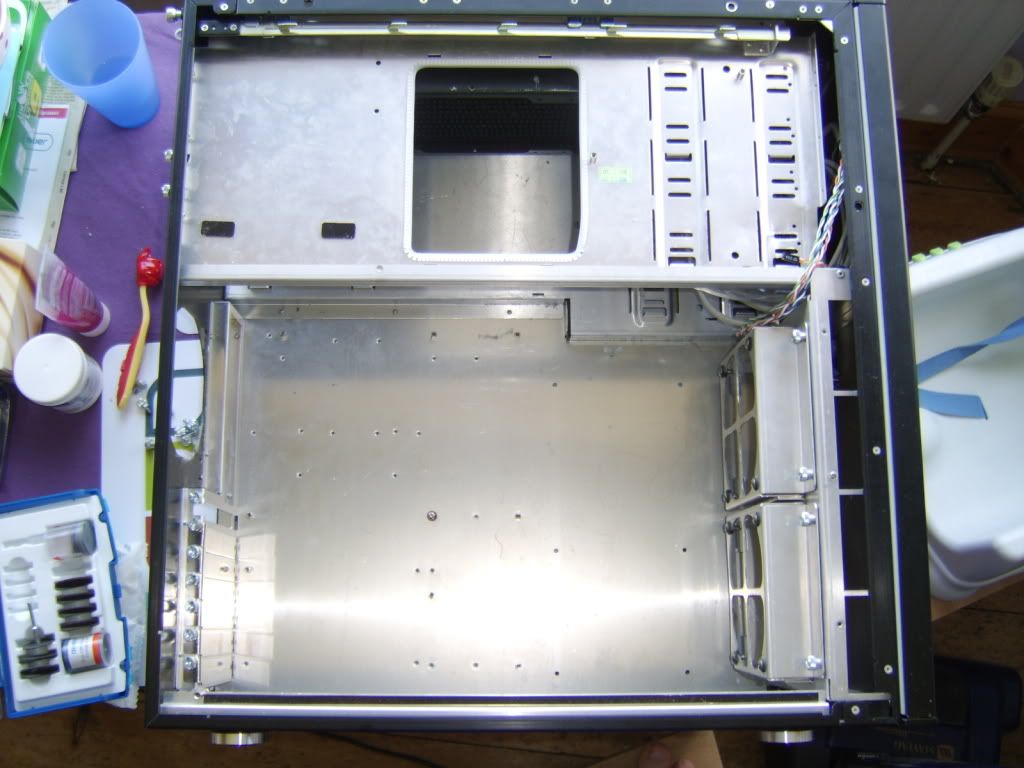
Been busy on my case again - decided to just go for it and paint most of the internals

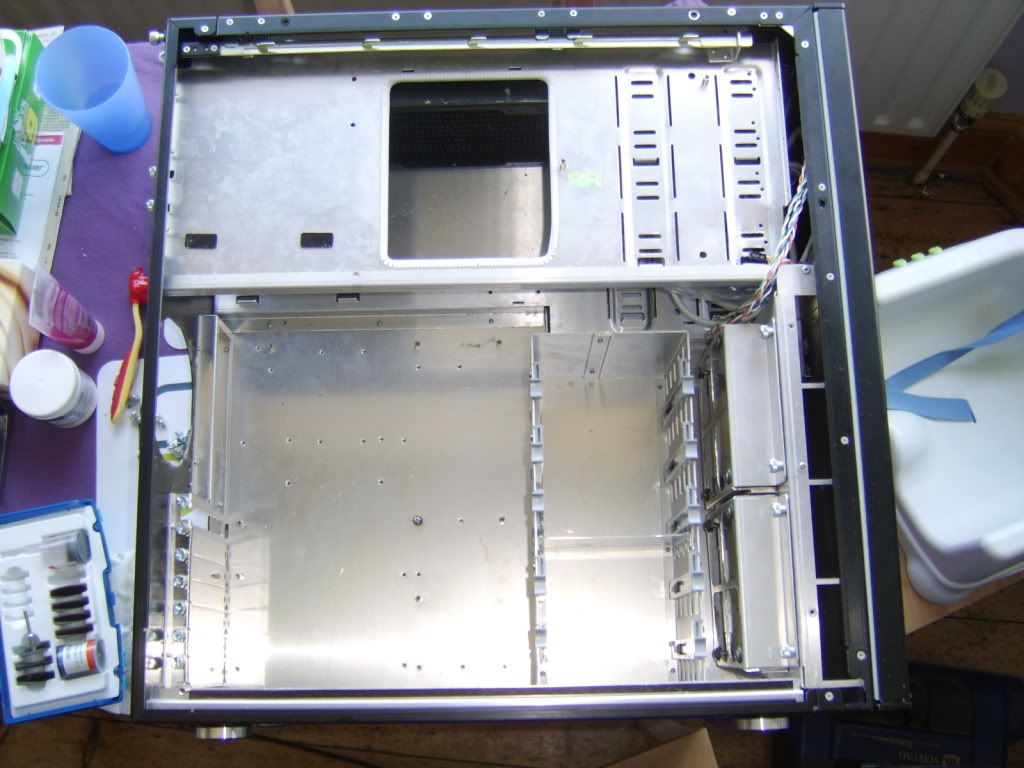
Case1-1.jpg

Starting point - internal and external panels removed

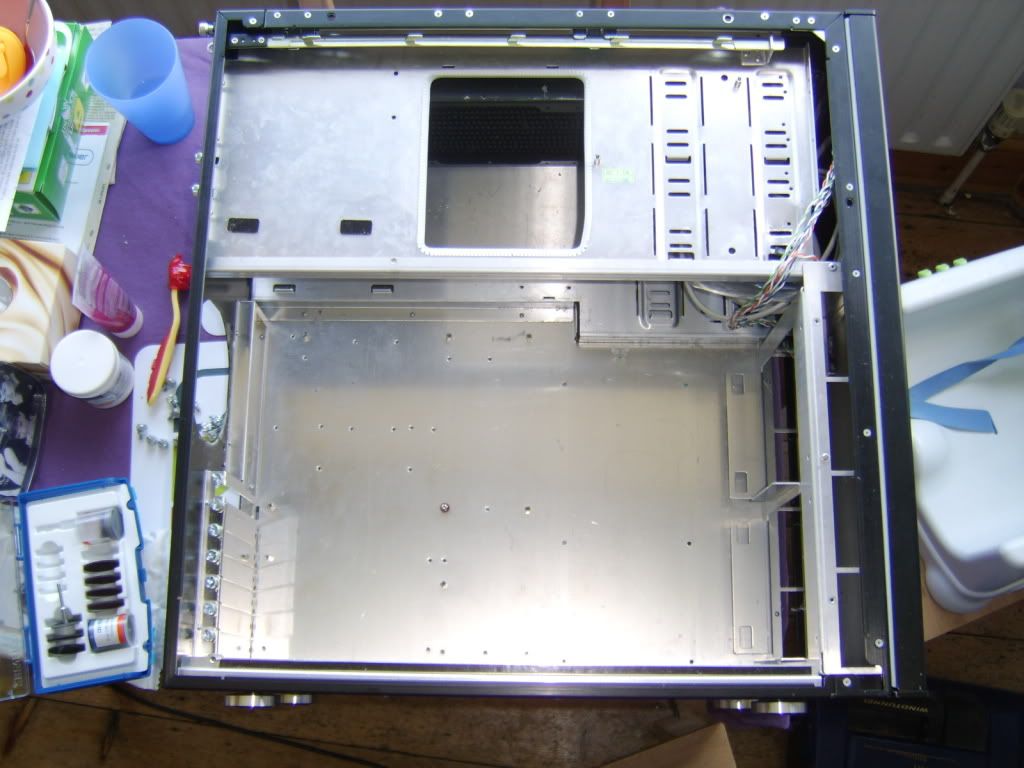
Case2-1.jpg

HHD bays removed

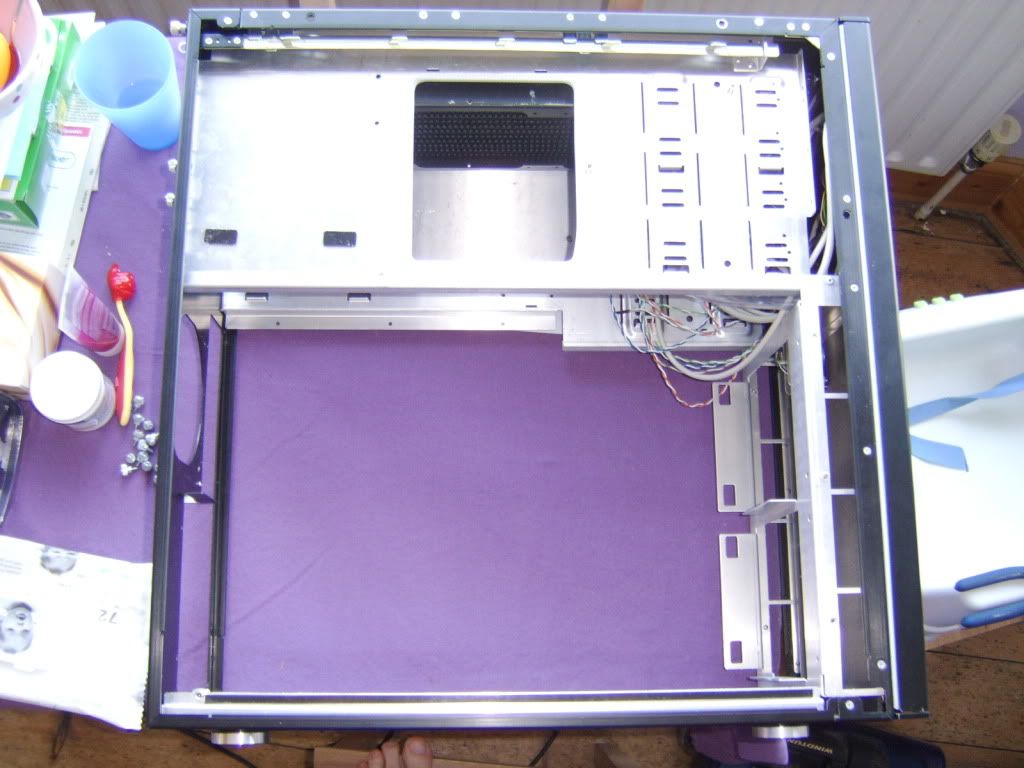
case3.jpg

Fan bays removed

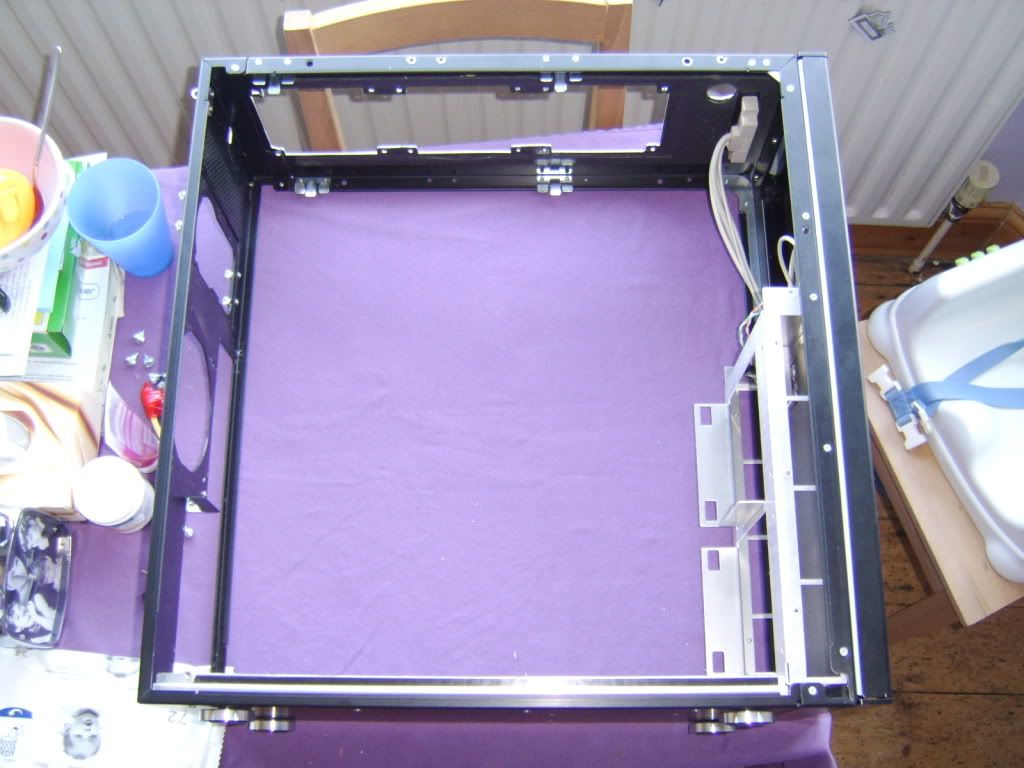
case4.jpg

Motherboard tray and card slots removed - was going to stop here but decided to paint
most of the silver parts black as well as the mobo tray blue

case5.jpg

All removed (inc PA120.3) front air baffle retained as I'm keeping this silver.
You can clearly see the lowered position of the psu in this shot.
Ideal for deep rads :D the rear grill will be blocked up to stop air path short circuits
 
Last edited:
case6.jpg


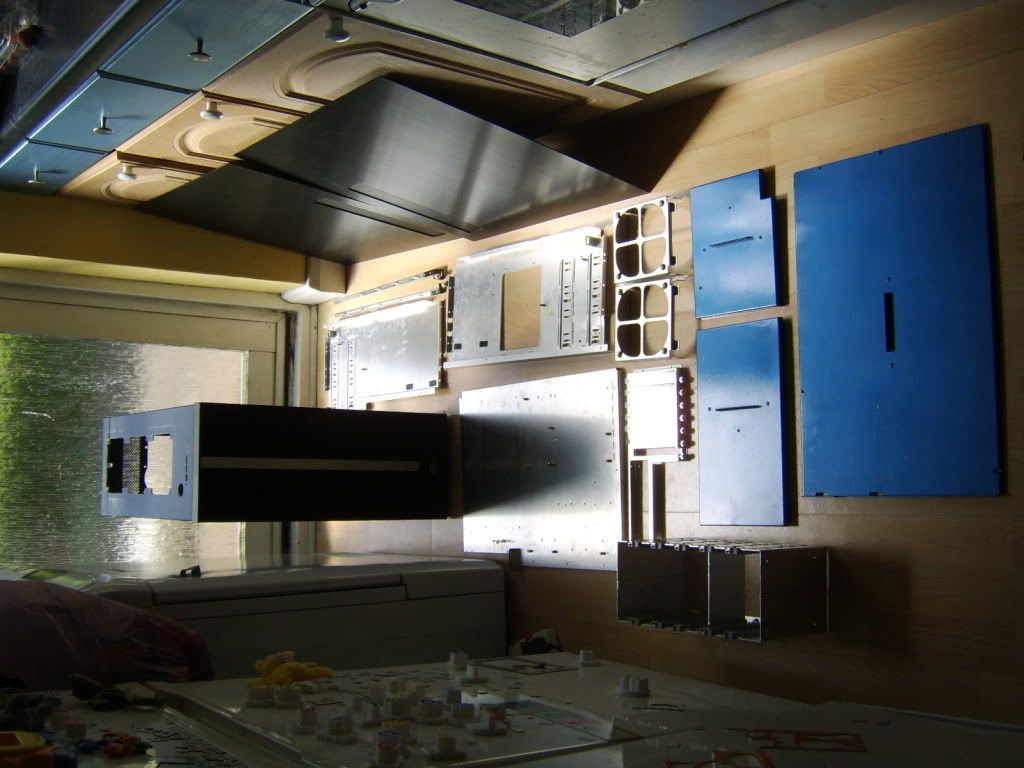
All the parts laid out - thats quiet a lot of surface area to be done.
Wishing I got an spraygun now - at least the black parts are not going to need 9 coats :)

The paint damage isn't as bad now - will touch it up soon
I never intended it to be super slick - just sufficient.
But I was trying for a near perfect finish, just lacked the practical skill at the time
Will not make the same mistake on the mobo tray and black panels
 
Last edited:
Not a lot of silver left now :D

Quick update
Used up another three cans of paint in the last two days must be into my third litre now :eek:
But all the blue panels are now done (reverse side to be lacqued tomorrow)
The top panels are now black too.
I'm trying enamel paint on these - as the primer (adhesion promoter) could be overcoated after an hours drying time.

Will post up some pics of the various finishes when done in a day or two.

I will add that spraying the panels in a vertical orinatation is much easier,
but you do need to make sure you don't overspray as runs are more noticable.

Also been lapping a few EK chipset blocks to remove the tarnish,
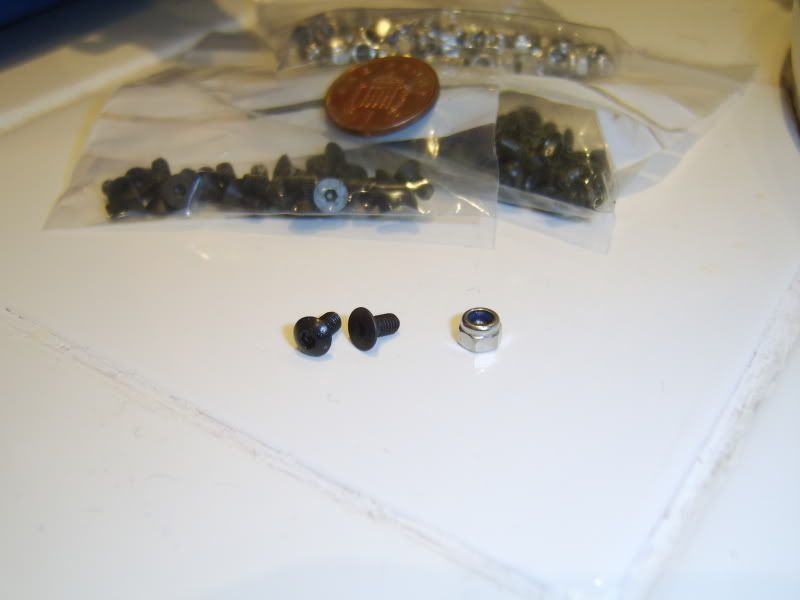
and have nuts and bolts on order to put it all back together again.
 
Update and mini mock up while I wait for my machine screws to arrive.
The black still needs another coat, and may change my plans on the dvd drive.
As the scythe kara bay is too narrow (but blow hole trim fills the gap fine)
And it too short - dvd draw is wider than the bays height (mounting it vertically)

Anyway on with the photo's

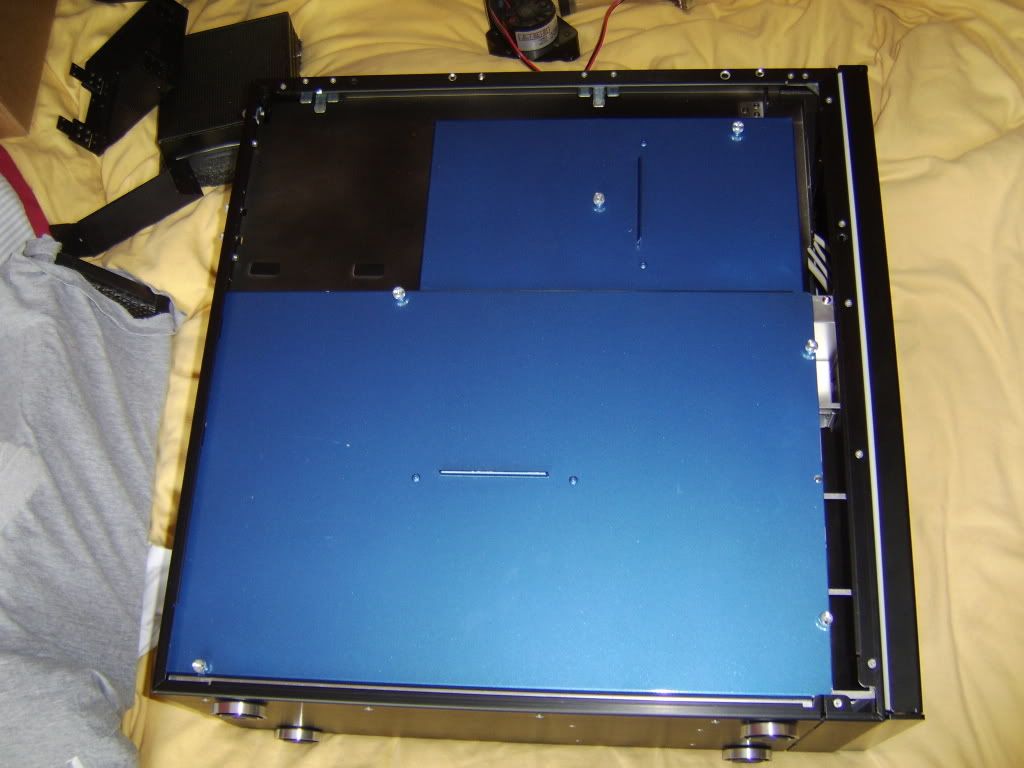
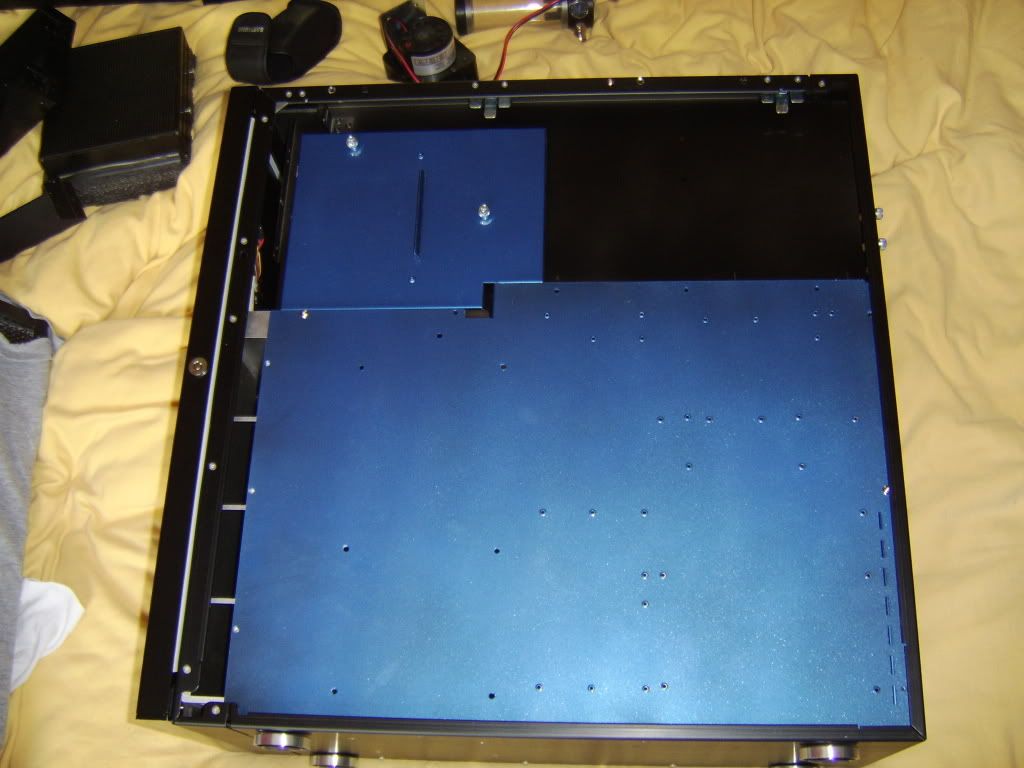
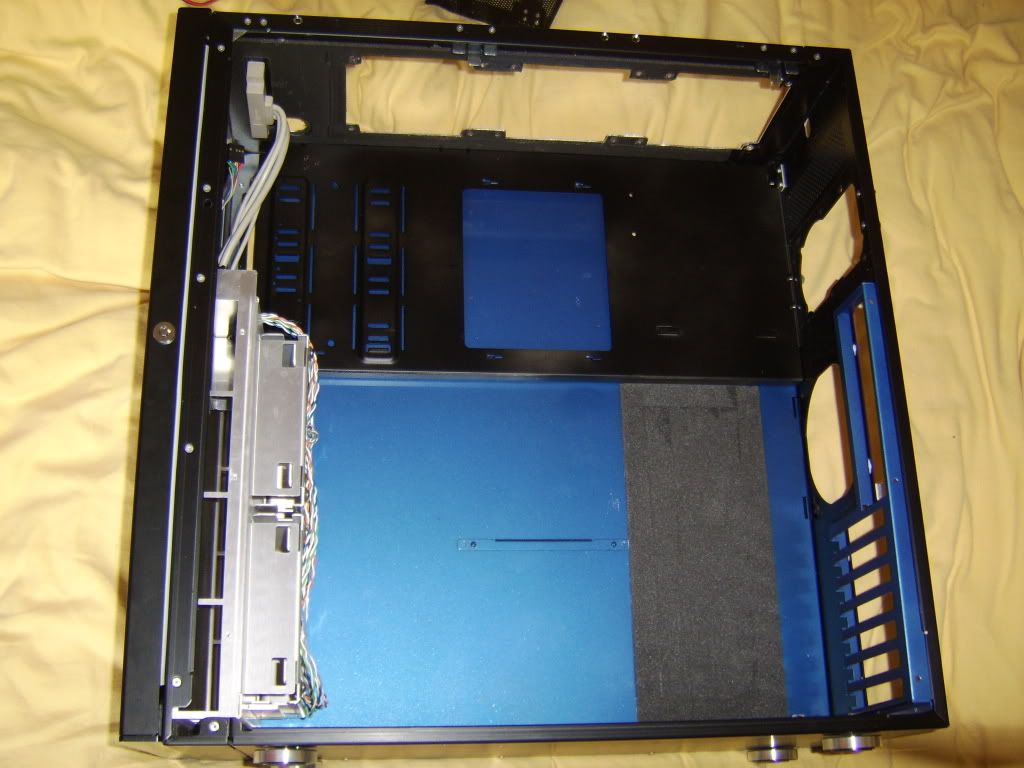
inside1.jpg


inside2.jpg


inside3.jpg


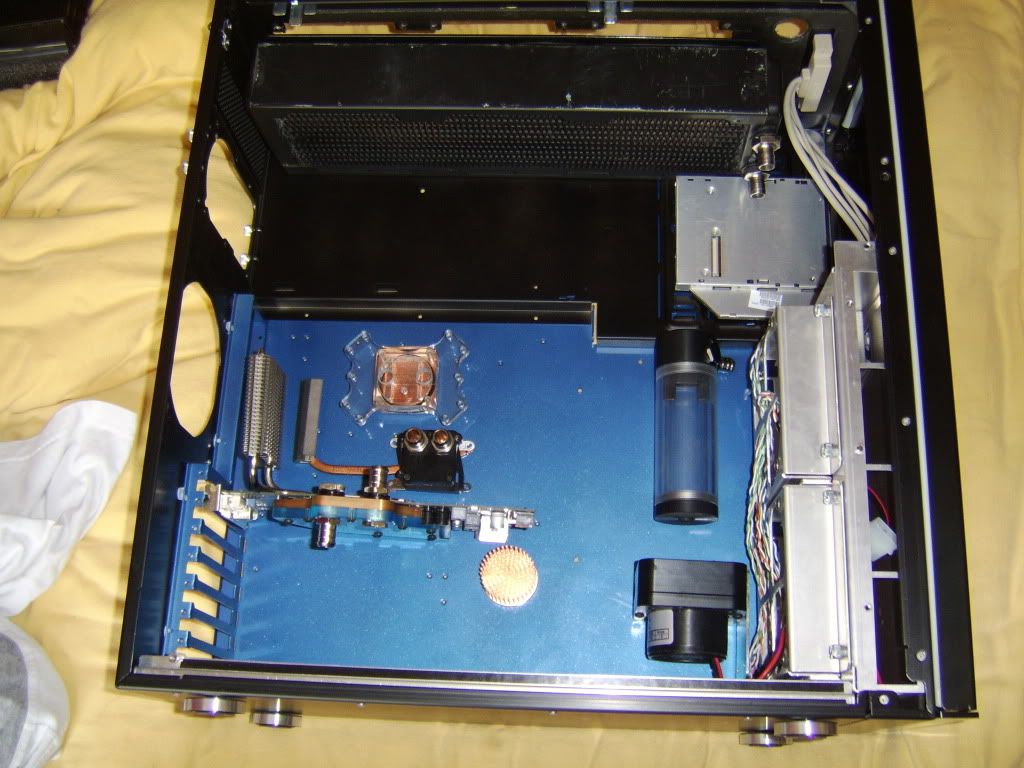
Quick mock up - with blue tack and 4 allen button heads holding it together
The fan cages will not be in final build, so the Rad / res / pump with be in line.
The GUP and SSD's will also need a home

inside4.jpg
 
Ok ok, keep your hair on ;)
Energy saving bulbs don't make for the best photo's so sorry in advance
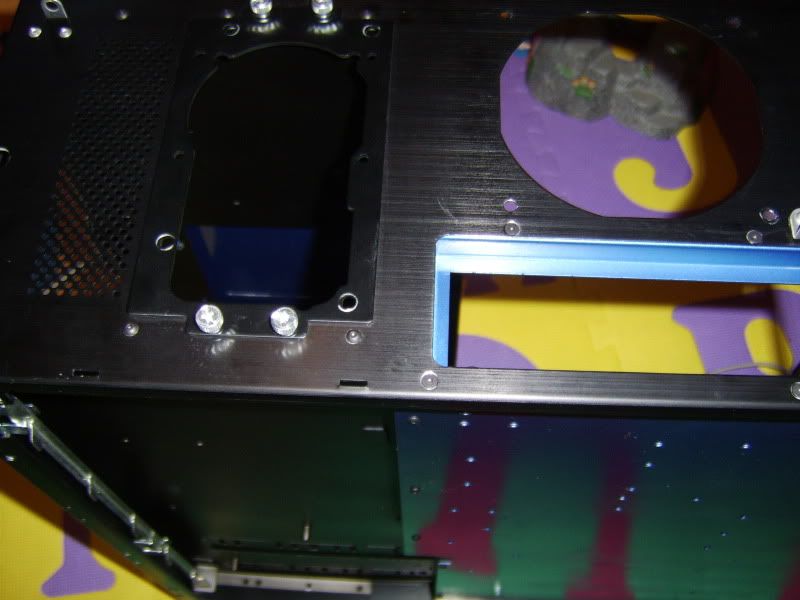
Here a shot of the rear of the case with both the button and countersunks installed.

buttoncountersunk.jpg


And while I was at it I cut the foam gasket off the PA120.3.
It was too big, looked ugly (muffin top style) a was obstructing both outer rows of fins.
As I'm not attaching any fans to the rad, there was no really reason to keep it afterall.

I did add some neoprene washer (sticky backed) to the PA
just incase any virbrations are carried up the tube from the pump.
Might recut the case too - as I'd like to max the rads usable area.

I've also added some fiber washers (black and with sticky backing again) to the blue pannels
as the paintwork was becomeing damaged when the thumb nuts were being used over and
over again. But not as yet dusted - I know the rad is a state :D


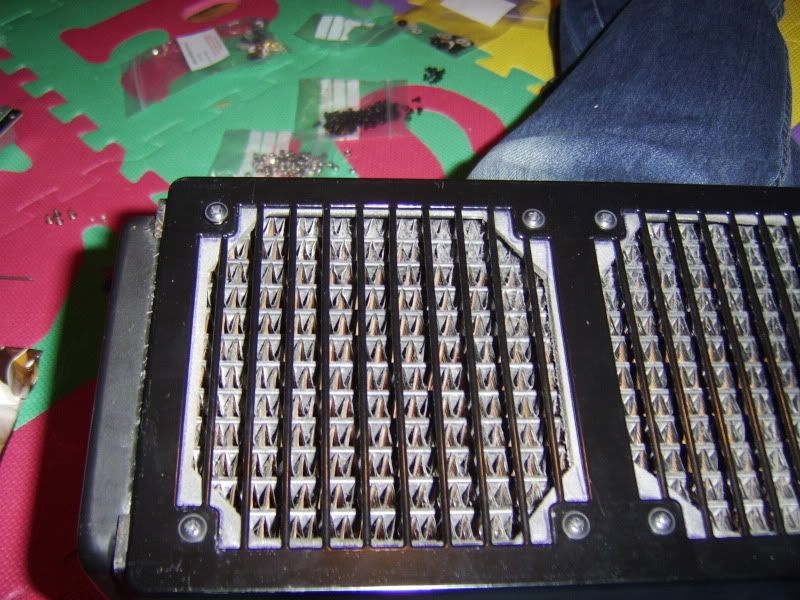
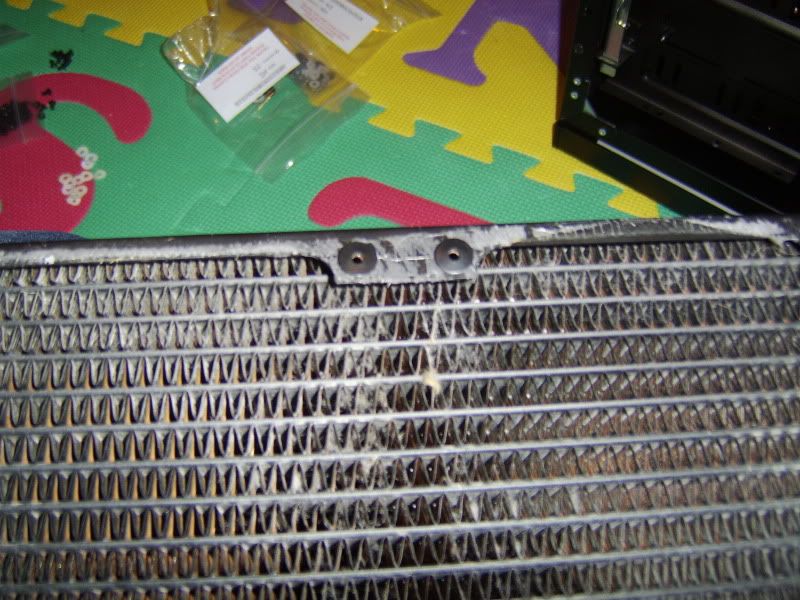
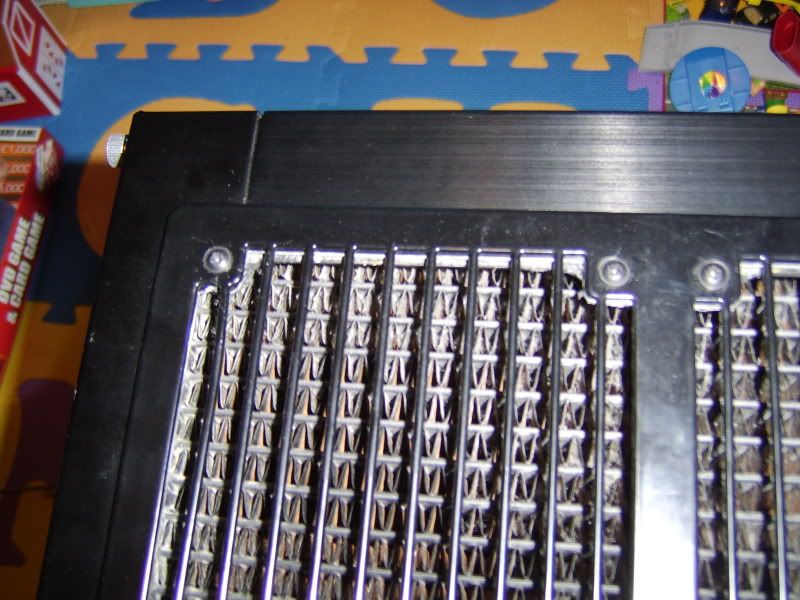
radbefore.jpg


raddurring.jpg


radafter.jpg
 
Back
Top Bottom