Project Understated

Associate
Joined
19 Jul 2011
Posts
2,367
This is my first project on OCuK. I've built myself a sandybridge system and am now about to stuff it full of watercooling kit.

Kit
Gigabyte Z68X-UD4-B3
Core i5 2500K
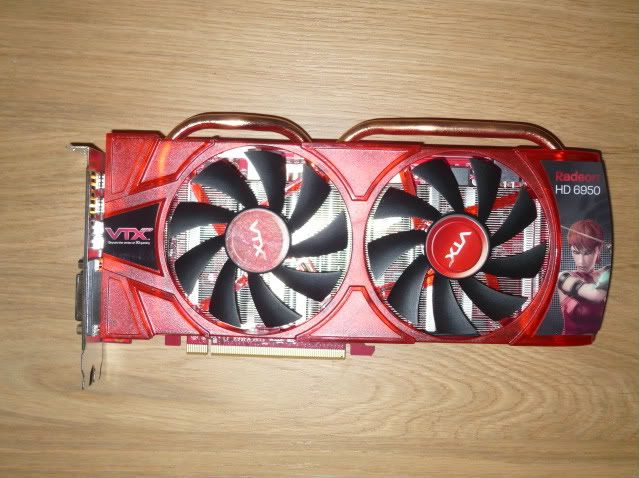
VT3D 6950 2GB
Fractal Arc Midi case
Antec semi-modular PSU

This kit has been running now for a week or two and performs fine apart from the gfx card sounding like a hairdrier as soon as a game is fired up.

Did some research, and decided I was going to need more than one radiator, especially as I may go Crossfire in the future. So worked out I wanted to do this.
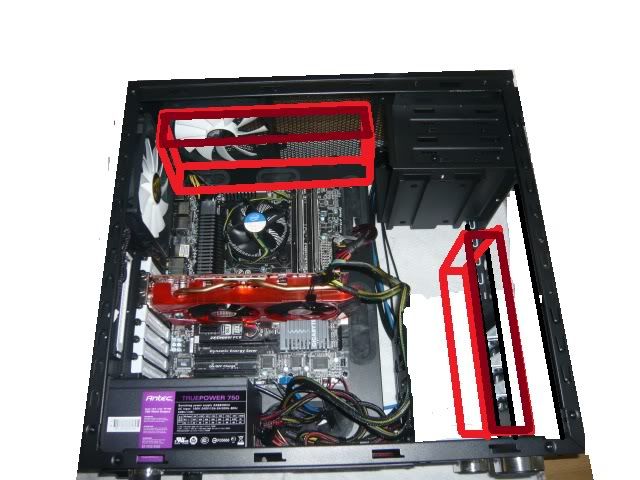
Case_Rad_Positions.jpg


Cooling
2x XSPC RX240 radiators
4x Scythe Gentle Typhoon fans
Laing DDC Pro pump
XSPC res/pump-top
XSPC white hose
XSPC Rasa CPU block
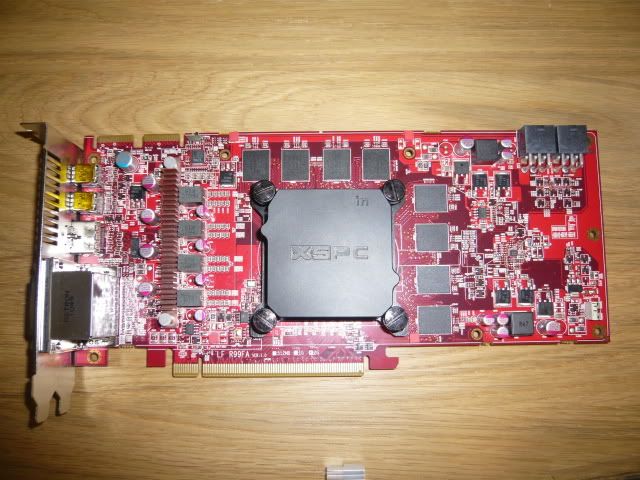
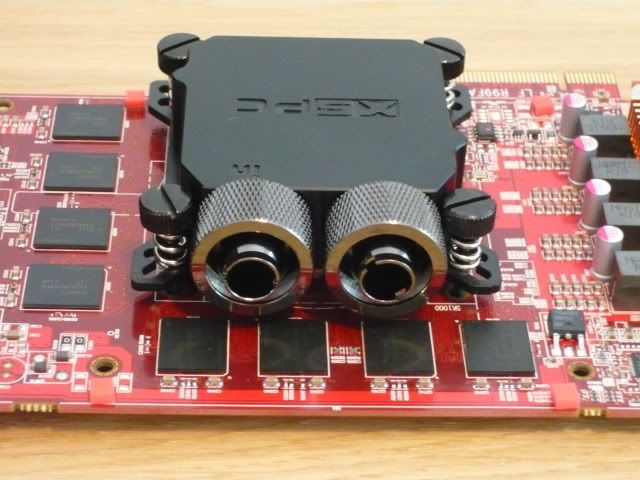
XSPC Rasa universal GPU block
(I quite like XSPC kit having bought various bits from them for my last PC)

Additional
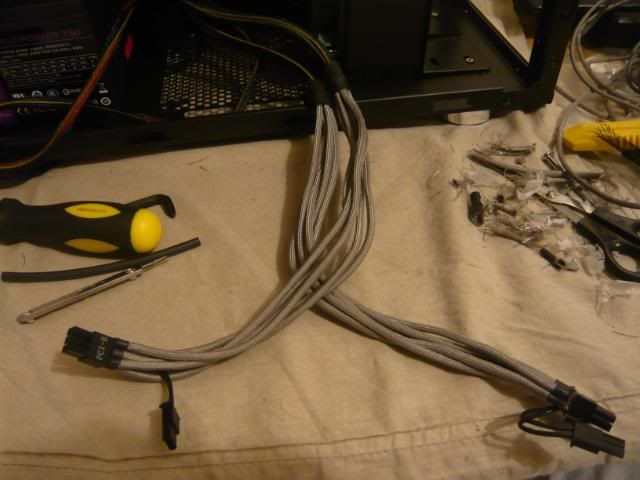
Grey para-cord for braiding cables
Heatshrink in a couple of sizes
PSU and Fan pin removal tool
XSPC 120mm Radiator stand​

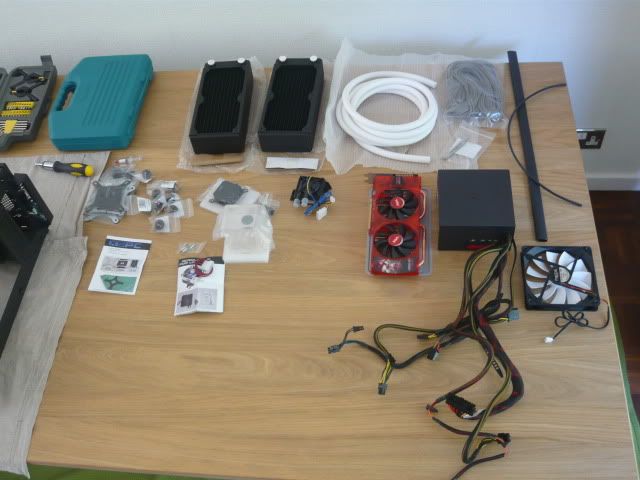
So the puzzle is to fit this lot

P1020380.jpg

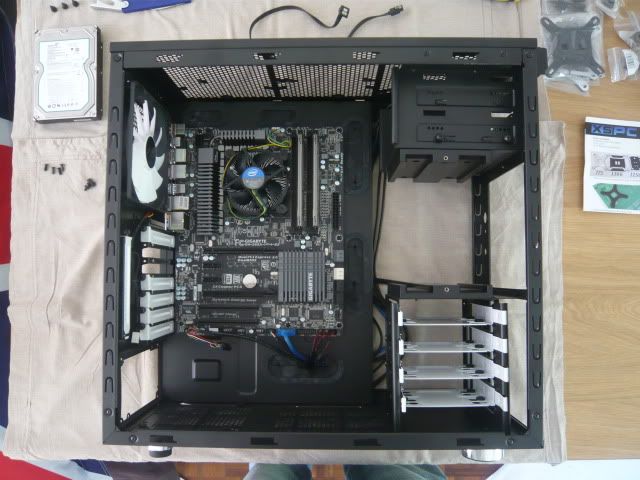
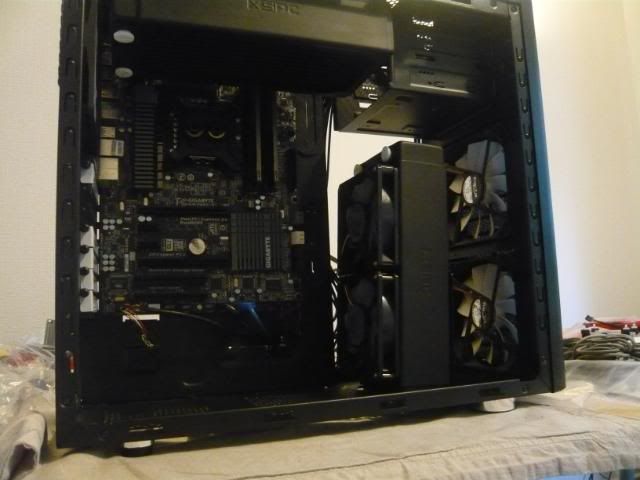
into this
P1020381.jpg


Unpacked all the kit, visual inspection etc.

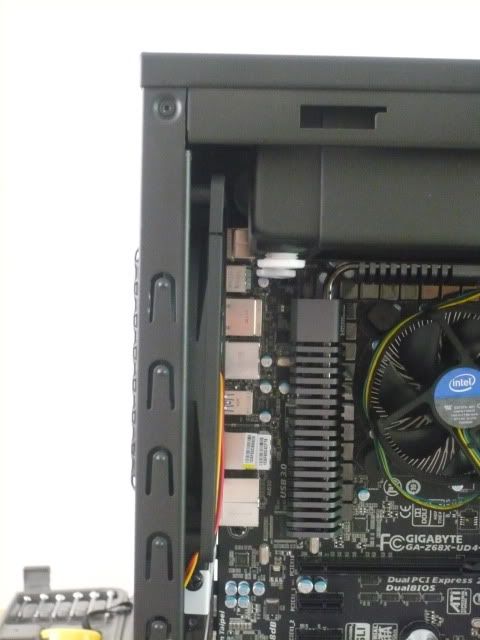
Test fitted a radiator. Looks like the barbs have to go to the back of the case. Was concerned there wouldnt be enough room to mount a rear fan, but its fine.
P1020384.jpg


Gap between the radiator and the 5.25" drive bays is only enough to fit a single sheet of paper.

Gap between the motherboard and the radiator is huge.
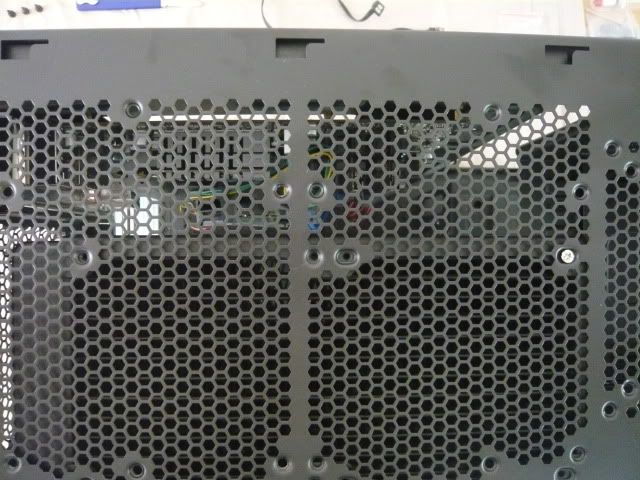
P1020383.jpg


Checked the height of the drivebay areas for the 2nd radiator, then drilled out the rivets.
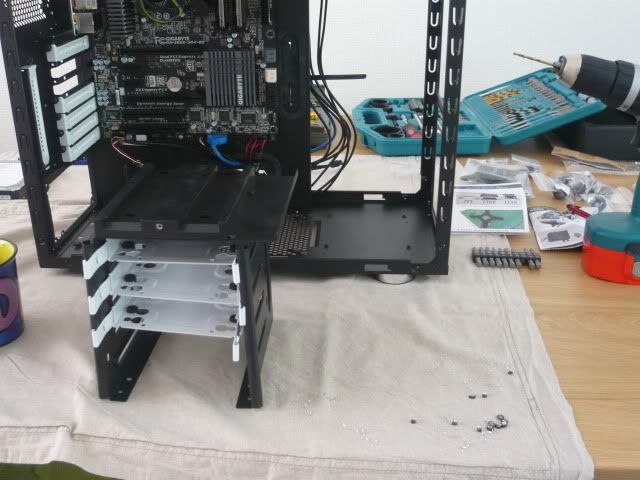
P1020390.jpg

Note: Swarf from drilled out rivets is sharp. Use a brush or a vacuum cleaner.

Removed the CPU and test fitted the CPU backplate and block.

I am loving these XSPC fittings. My last build used barbs and hoseclips, clear hose and started out with coloured coolant. These look so much classier.
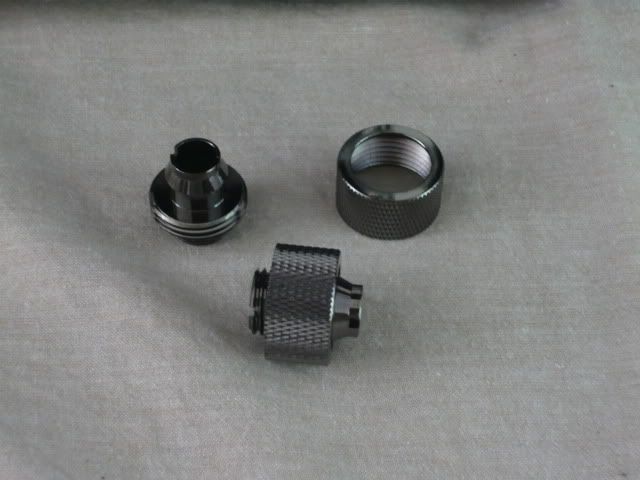
P1020392.jpg


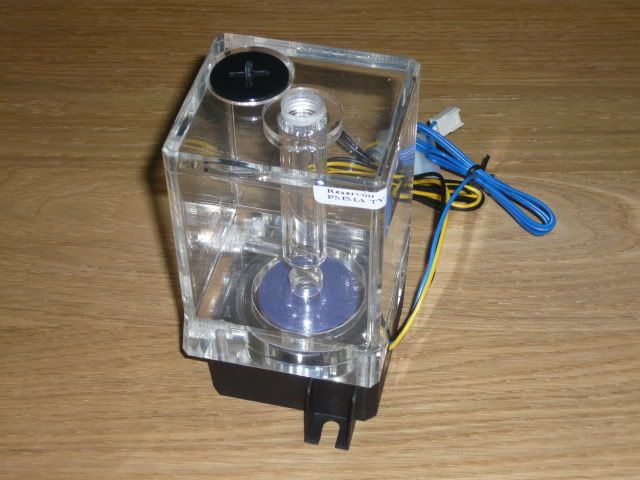
Dismantled the pump, fitted the reservoir / pump-top.
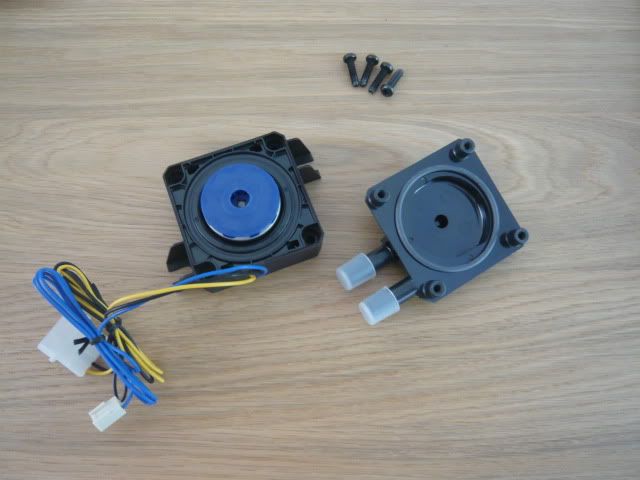
P1020386.jpg

P1020388.jpg


The planned placement of all the bits is like this.
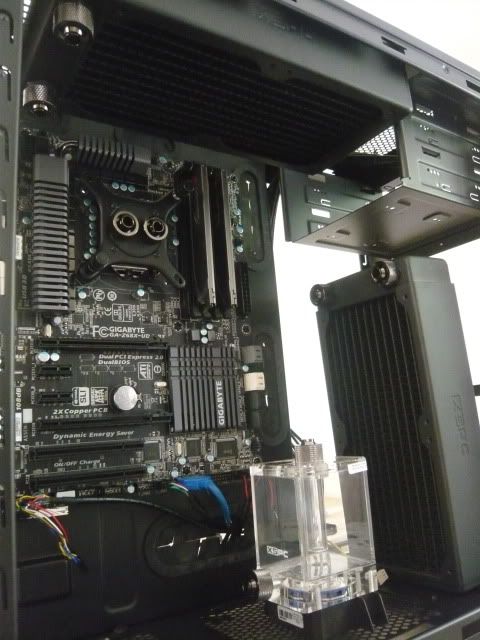
P1020395.jpg


Flushed the radiators with a mix of hot water and vinegar. These are drying in the kitchen. Will flush again with distilled later.

Connected up some hose to the pump, put some water in and fired it up for a test. (I have one of those PSU jumper adaptors for leaktesting). That hasnt gone well.

Going to move onto the PSU and motherboard cable braiding now.
 
Last edited:
Slight interruption in the form of a mahoosive birthday night out followed by a hangover and beerfarts.

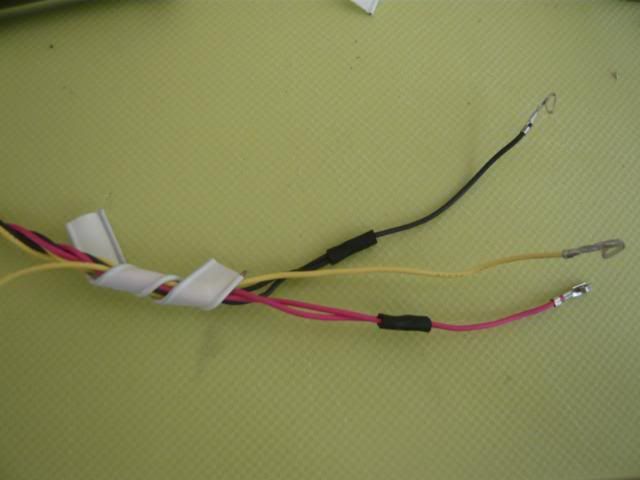
Spent hours today taking fan cables apart, soldering, braiding, swearing, resoldering, rebraiding, more swearing and heatshrinking. I'm not a natural electrician thats for sure.

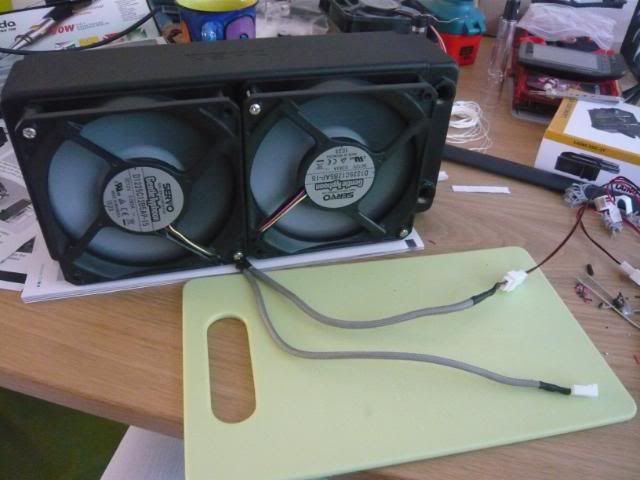
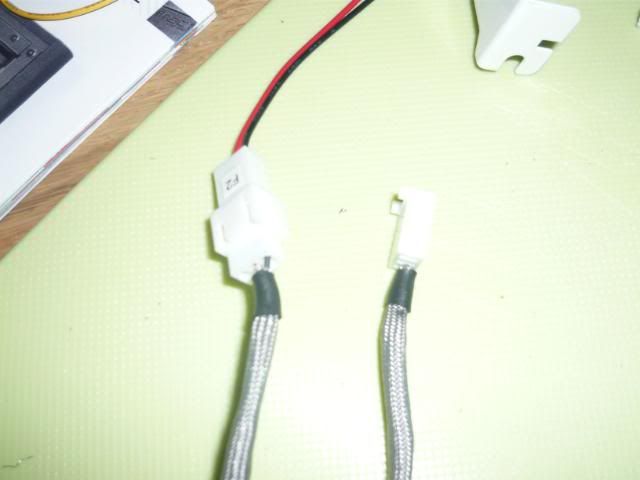
I've daisychained the fans on both radiators separately and tested them with the fan controller which comes with the case. I've ran the speed sensor wire to separate plugs so the motherboard can tell me what rpm the radiator fans are running at.

P1020396.jpg

to
P1020397.jpg


P1020400.jpg


I fitted the case fans back into the case and fitted the radiators into the case.

Top radiator is set with fans set to push from above (this will dump some warm air in the case but the mesh in the roof will keep the inside clean this way - plus the exhaust at the back will be next to it). Putting the screws in thru the roof, thru the fans and then into the radiator - was bit of a mission. I put the case on its back, propping up the bottom so the case was tilted back. I then used sticky tape to keep the screws in place while I slid the fans onto them. Once both fans stayed put, I fitted the radiator and screwed it all together.

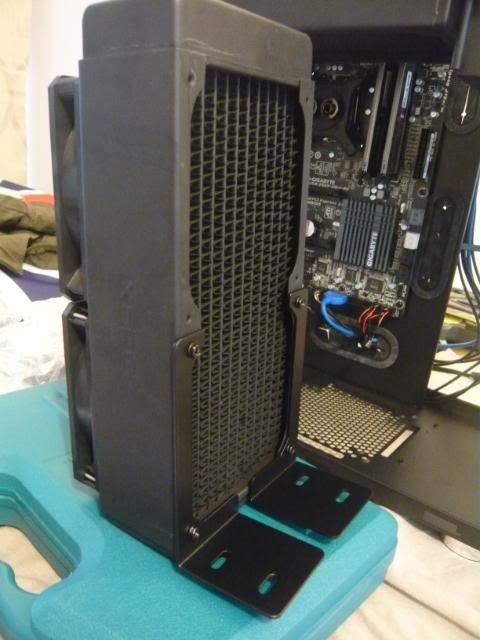
The vertical radiator was mounted on an XSPC rad stand... had a bit of a moment when I thought it was designed to go with the radiator only mounted horizontally, but tried a few different positions and found one that works.
P1020403.jpg


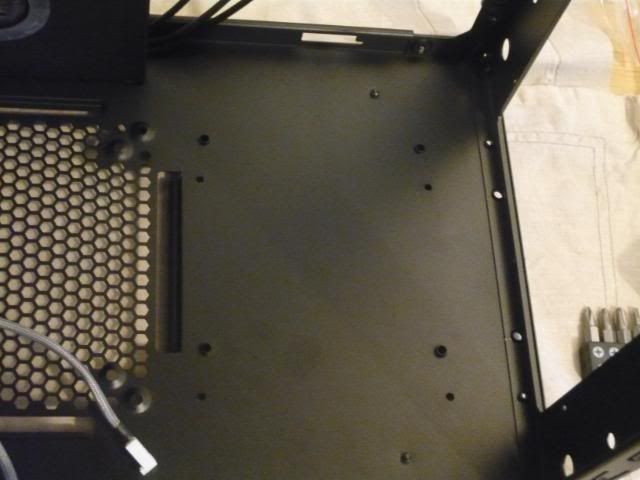
Test fitted it into position to mark out where to drill holes to bolt it in - and by pure fluke, Fractal already put some holes in there in the right places under the drivebays - so I used those.
P1020404.jpg

I've put some rubber foam under the radiator to minimize vibration.

After that success I went back to cutting, soldering, swearing, braiding, shrinking etc. making a custom Y-adaptor for the two front case fans and then braiding and shrinking the fan controller cables.

My hangover and tiredness have now caught up with me, and the case looks like this right now.
P1020405.jpg


I'm going to look at how I can braid/heatshrink the motherboard connectors, but may decide not to do the ATX power connector. Although I've like the end result of all those fan cables I did today, I've not particularly enjoyed doing it.
 
Last edited:
More messing today.

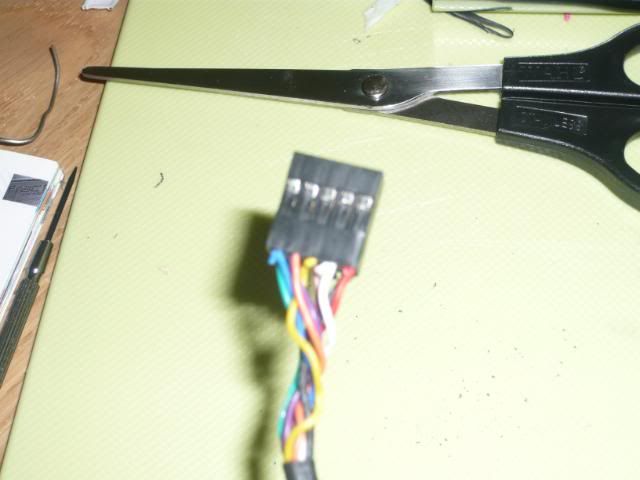
Decided this (HD Audio connector) was ugh. Even after I'd chopped off the AC97 connector.
P1020408.jpg


Made a note of the wire order, took a while to get the pins out of the plug then started trying to braid it, but too many wires in too small a braid gave me no chance. Instead I put heatshrink over the exposed cables.

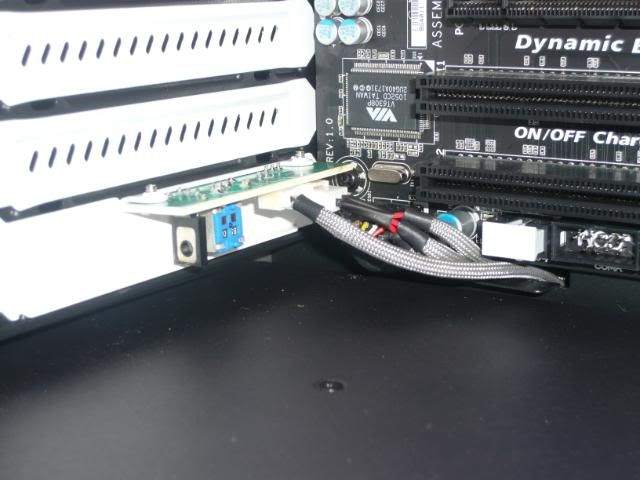
I then did get to braid the mobo cables for power, reset, HDD led and pwr LED. I didnt bother with the USB, and the USB3 - no chance. Moulded connections at both ends. Shame its bright blue - I may paint it.

Braided the rest of the cables for the fan controller and tested it with the motherboard. Controller will go from 0 thru to 1400rpms when powering 4 typhoon fans. I'm going to leave the case fans powered by the motherboard headers and the radiator fans on the controller.
P1020412.jpg


Routed a couple of cables under the motherboard then tried different paths for the PCI-E cables.

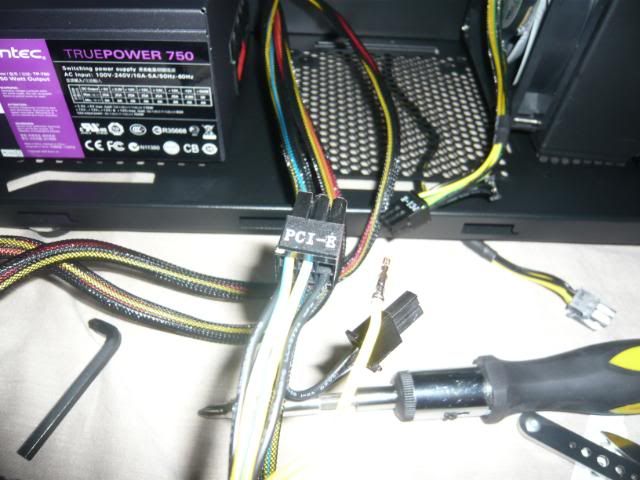
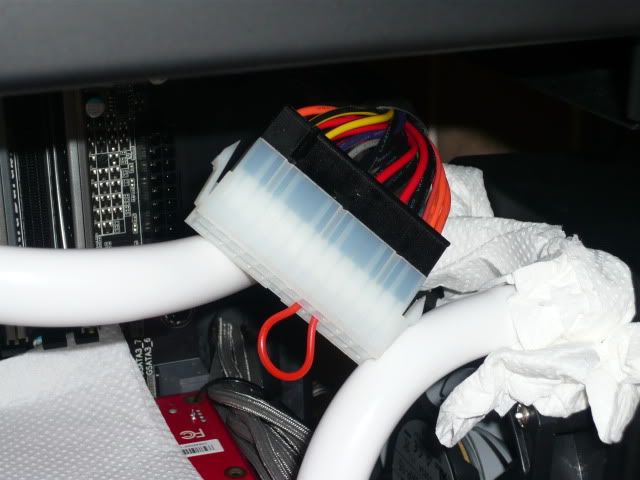
I decided I had to do something about all that bright yellow cable showing, figuring I could replace the (frankly crap) Antec braid. But god it was a unforgiving job. I'm not doing the ATX power connector!

Pins take some force to remove (assuming you've got the tool in the right orientation) but whats more annoying is trying to get braiding over the solder and lugs on the pins. Of course this only happens when you are halfway along the braid... I had to cutoff and redo.

I tried heatshrinking over them (just to slide the braid over) and in the end found sticky tape worked best.

Numerous cuts on my hands from little pieces of metal which I didnt know I had until I went to make dinner later. Chopping onions is a very efficient way to discover small cuts in your fingers!

Went from this
P1020414.jpg

to these
P1020415.jpg

Theres no way I was opening the PSU up, so the braiding is only on the parts that will show after it comes back out the cable holes.

I'm glad I've done these but the time and effort compared to buying the premade extensions... I know which I'll choose next time. Oh and my housemates think I'm bonkers.
 
Last edited:
So pump #2 turned up this morning and I cracked on with the plumbing work. Courier knocked at the absurd time of half-seven this morning. Just as well I wasn't on the lash the night before.

Fitted the pump to the reservoir this time making sure I hadnt forgotten or missed anything. Pump worked perfectly first time. No leaks, no issues.

With that confirmed I went and dismantled the gfx card.

P1020423.jpg

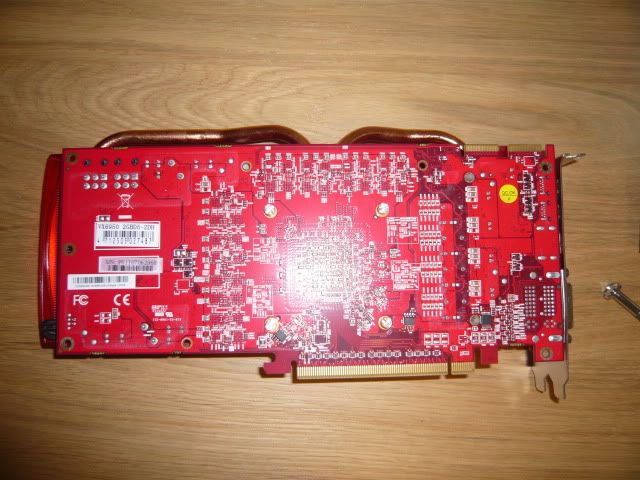
flipped..
P1020424.jpg

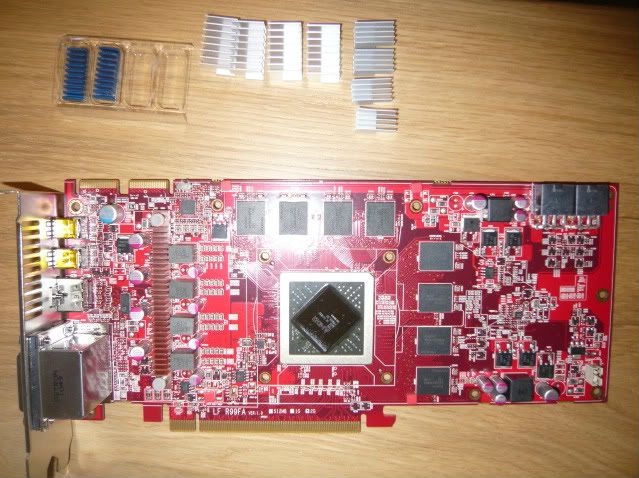
stripped..
P1020425.jpg

(re-thermal gunked, ) blocked..
P1020427.jpg

and barbed..
P1020432.jpg


Unfortunately the size of the compression fittings meant that the ram heatsinks I was going to use would never fit. But seeing as the block didnt have any coolers on the ram as standard I'll wait until some low profile ones turn up in the mail. VTX on the other hand did helpfully mount a separate copper heatsink on the mosfets so that job was done too. The card is going to be right in the airflow from the radiators anyhow so they'll get plenty of air over them.

Fitted the card in the PC, fitted CPU block as well for a final time, replacing the thermal gunk etc and went round checking every compression fitting.

Drilled a couple of small holes in the mounting lugs on the pump and am using cable ties and foam to mount the pump to the bottom grille.

That really just left the hose to cut and fit. Poured the contents of the kettle into a big glass bowl to soften the hose up (dont need to, just makes it a little more pliable) and set about with my stanley knife.

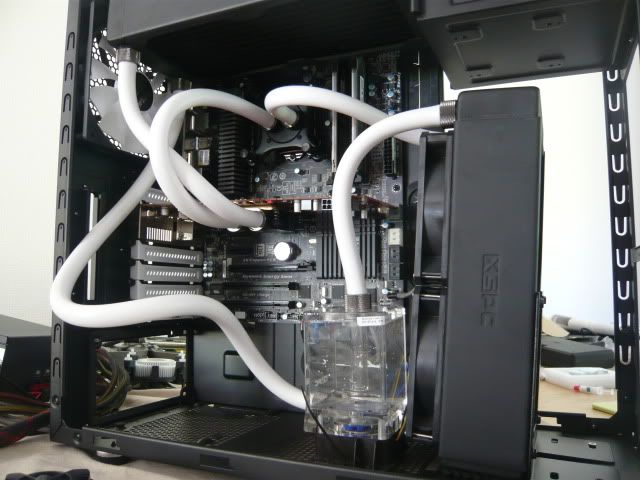
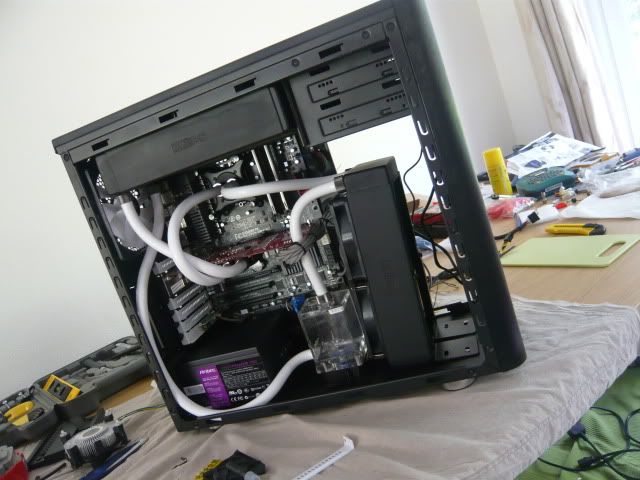
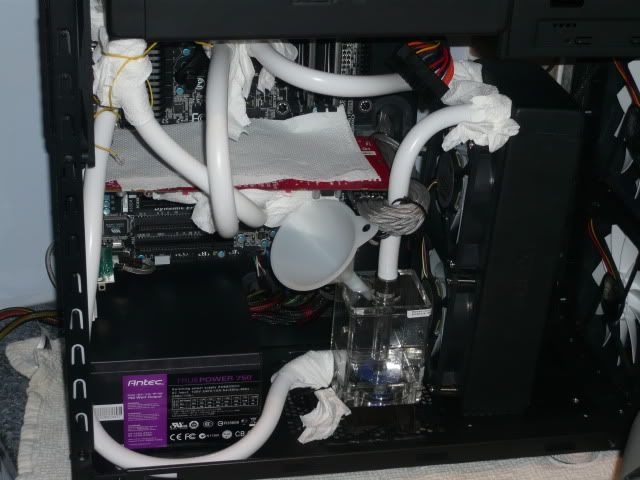
Took my time working with the smallest pieces first, ending up with a flow that goes pump > rad > gpu > cpu > rad > res.
P1020433.jpg

That bottom hose looks all wobbly as I intended it to snake round the edge of the case and PSU.

If you are using compression fittings (rather than barbs), the hose often gets a twist in it - so I pretwisted the other way on most of the hoses, so they untwist while being screwed down nice and tight. Once the hoses were in, I plugged in all the cables from the PSU.

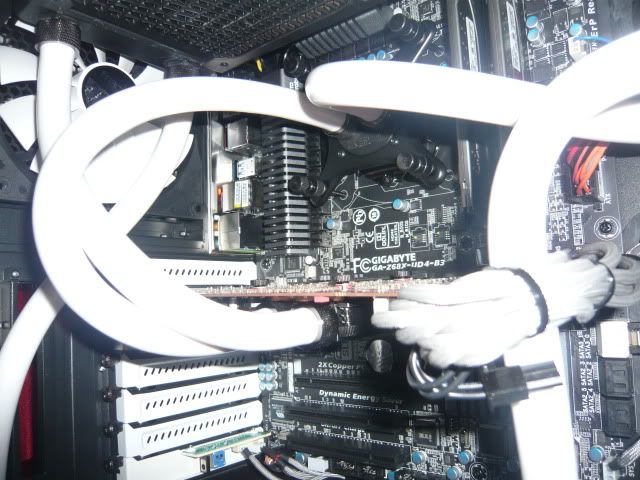
When I was done, I was so chuffed I took this arty-farty shot.
P1020434.jpg


Proper leak testing next.

Moved to the kitchen and cracked out the kitchen roll. Cue lots of jokes and sarcasm from flatmates.
P1020437.jpg

Connected this jobbie to power the pump - apparently you can use a paperclip too, but I'd probably stick it in the wrong pins.
P1020438.jpg


Filled the reservoir with halfords deionised water, turned on the pump, and spent the next half hour slowly adding more and more water as the loop pushed bubbles around. Furiously checking for leaks or drips all the time.

Then spent the next half hour rocking the whole case carefully back and forth and side to side to bleed out bubbles a bit quicker much to the amusement of everyone else in the house.

Not one leak though.

Eventually I had enough of them taking the proverbial and made one of these.
P1020439.jpg

Left the pump running and went and did some real-life stuff.

Came back a few hours later, rig was almost silent, most of the bubbles had made their way to the atmosphere (or at least to the top of the reservoir). Checked for leaks and found nothing. Went round with the torch to check, and still nothing. Checked the kitchen towel - cleaner than a nuns sheets. Result.

Turned the case around and wiretied the cables in place. If the rig doesnt need dismantling within a week, I'll cabletie them permanently. There is stacks of room for cables round the back of this case. My Cosmos S was a right **** to do and get the rear panel shut, this ones laughably easy.

Spent the evening playing about with the bios and various monitoring utils to check on temperature of GPU and CPU. I'm hoping to get the motherboard to run the casefans almost silent, but they're a bit quick for my liking still.
However all rpms from all fans (and the pump) are reporting fine, and I can tweak the speed of the radiator GTs from 0 to 1600 although they're currently sat around 400 and cooling fine.

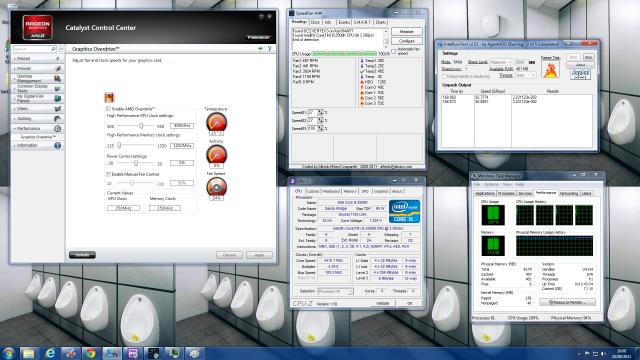
Run a few benches just to get some heat into the GPU and CPU. Everything is stock speed for now, I'll look at overclocking with a week or so of stable running.

The following screenshot is from an IntelBurnTest run.
wallpaper.png

details

My housemates have decided to name this rig The Urinal seeing as it still has a very quiet trickling noise until those last few air bubbles are gone. Kinda hoping I can get rid of those last few noises before the name sticks!

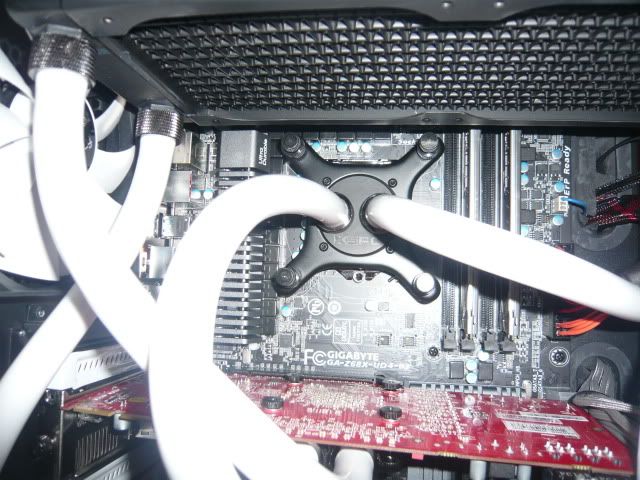
Couple of details shots of the plumbing before I go.
P1020440.jpg

P1020441.jpg
 
Last edited:
I'd just like to say thanks to everyone who has commented.
"Thanks to Everyone who has commented"
There ya go. :)

Seriously though its encouraging to think other people will take an interest in what I get upto with a screwdriver and bunch of boxes.

I've been looking around here at other peoples builds. A lot of them are fantastic work. One day when I have my own place, I may cut, sand and spray some monstrous creation.. Hmm.. dont tempt me.

Cheers.
 
I've been umming and ahhing about how to migrate my storage to the Fractal.

As you can see above, I trashed the 3.5in drivebays, which left me with just the two optical bays.

I've always tried to use RAID to protect my data after spending the early part of my working life repairing servers and dealing with backups. So I was after a minimum of 3 drives.

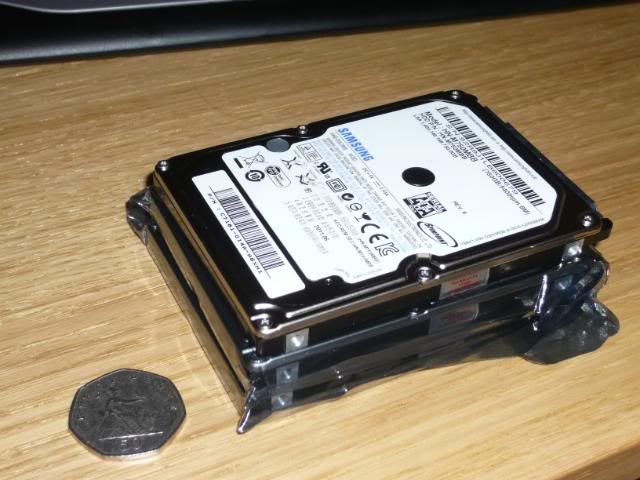
I decided to get three tiny 2.5in 750GB Samsungs
P1020445.jpg


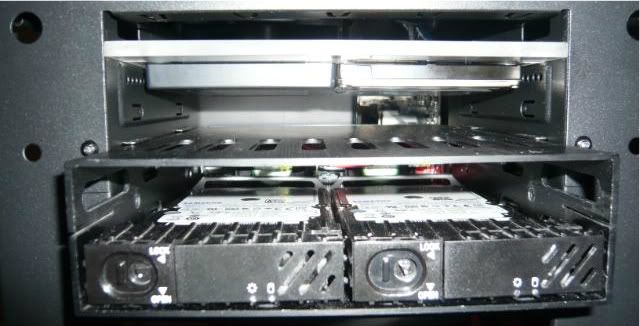
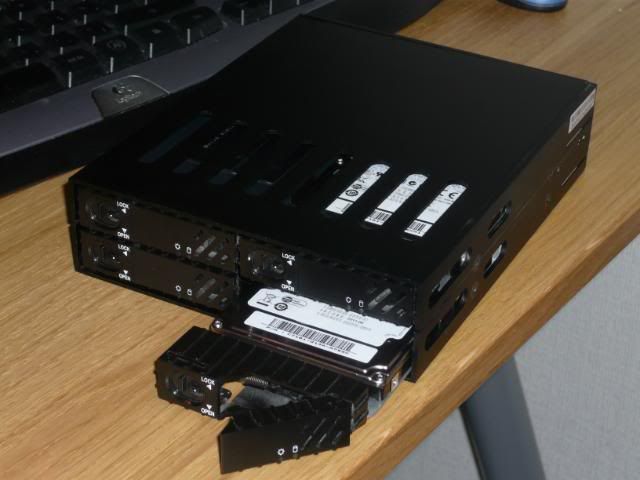
To mount them I took a startech hot swap drivebay out of the old machine and after a bit of screwdriver work...
P1020446.jpg

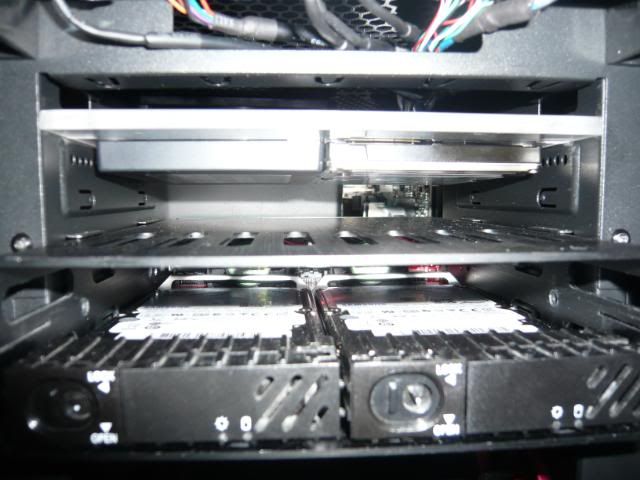
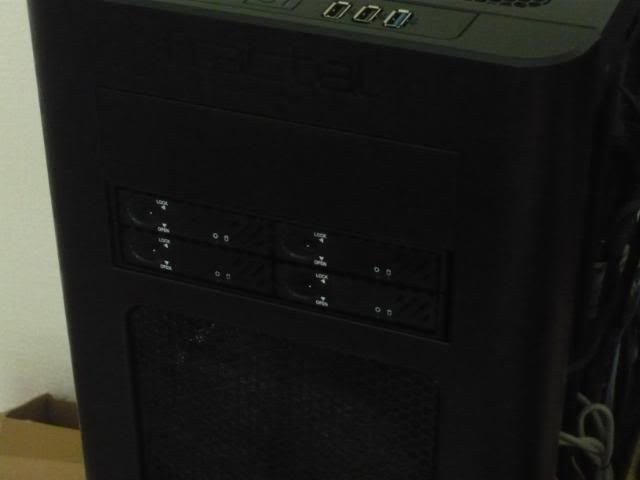
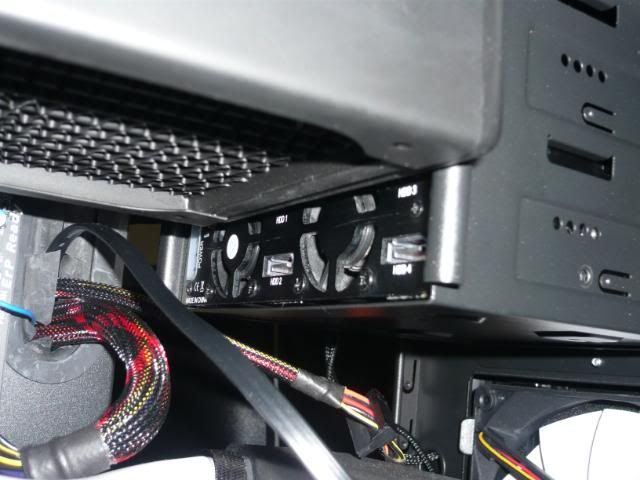
Which looks like this once in the Fractal
P1020443.jpg

But... it really doesnt leave much room to work with inside...
P1020444.jpg

I actually used the radiator to push the sata cables into the sockets! Just glad I found 4 right angle ones. I'll now need to go source some black ones...

Took a few attempts to get everything connected and working - had an issue with the caddies and one of the bays which meant I had to completely strip it down and rebuild it. But its all working now, and the PC is copying across the C: drive to an array across those three disks.

I've also been testing the SSD acceleration provided by the Z68 chipset - and as far as I can tell - it works really well. So I'll have 1.4TB of storage, with a 64GB SSD cache.

Once I've got some black cables instead of the ones I found, I'll tidy them up.
 
Well it's made by Startech, who seem to make a bazillion different adaptors, widgets and drivebay thingummies. I cant link where I got it, so you'll just have to google startech 4 bay 2.5in. I've had it for ages in my last build where all it did was hold my SSD (I had a mad plan to buy more SSDs and never did). To connect it up you need 4 SATA / SAS cables, and one molex. It has a jumper to set the fans for high/low/off as well. I like the ability to just pop the SSD out if I wanted to play with overclocking or mess about with a different windows install.

Mine had a fault with the sheet metal inside which meant one of the drives wouldnt engage until it was disassembled reassembled - so just give all 4 bays a test if you buy to avoid surprises.

EDIT: Despite the fault, I think the unit is very well made and sturdy.
 
Last edited:
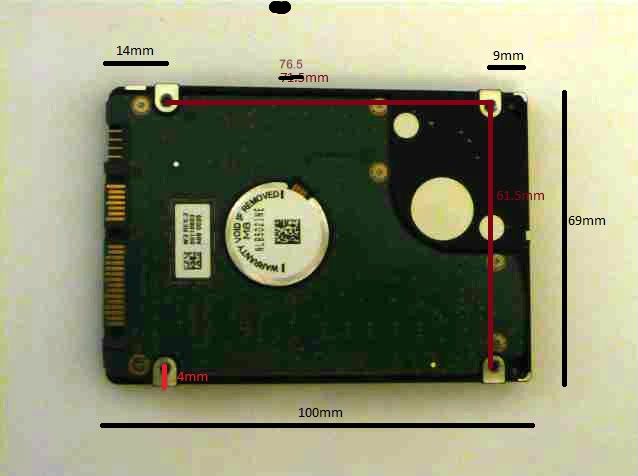
Been bouncing an idea back and forth with DirtyJester and he asked for some measurements off the 2.5in drives. I figured 2.5in drives were all the same, but mygoogle-fu let me down so I got the ruler and terrible camera out and came up with...
Measured_25HD.jpg


Measurements are from outside edges and to centre of holes.
 
Last edited:
I was thinking of two caddies per drive bay with a spacer between. So a similar physical layout to the startech thing above, but hidden behind the blanking plate.

I wasnt thinking of screwing them into place, with the weight of those two radiators in there, that rig isnt going to be moved around a lot. I guess it depends on the thickness of the material as to whether there is room enough to fit sidewalls to it - basically replicating a CDrom drive size and shape. Heh, its just ideas anyway.

A couple of 40mm fans in there should provide enough airflow, although I may need to get a vented drivebay cover rather than the solid ones supplied.

I'll measure up the holes in the 5.25in bays anyhow and do a similar pic as above.
 
Hi sky ripper...jus a thught,you could mount the stand of the front side Rad on the side with the fans so that you have the rad sitting on the xact front of the case.....n have space..for mounting the lower harddrive mount next to it...it will involve abit of modding but i thnk will be worth it.

I think I'll give this a try when I drain and redo the loop at the weekend. Haven't eliminated the trickling water sound yet. Looking at another Fractal Midi build in here, I realised how much room my radiator was hogging.
 
Caddie arrived after I went to work, so been playing about with it tonight.

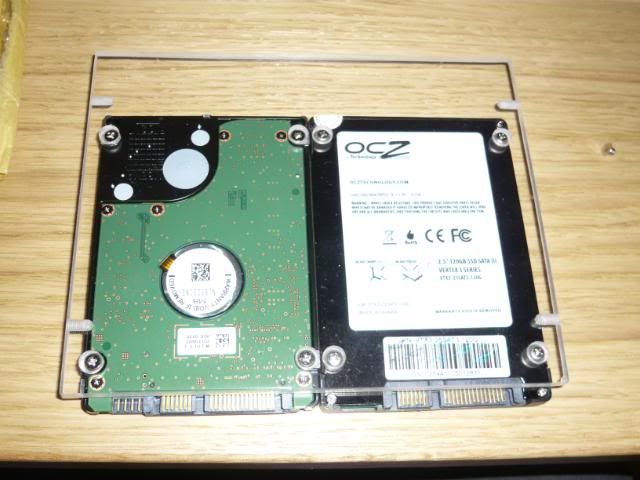
Drive holes are spot on, the recessed holes are a nice touch. Needed to dig about for some smaller headed screws than came with the case but found some the right length and thread and voila...

P1020480.jpg


P1020482.jpg


Screws with wide fixed er.. flange (!?!?).. traditionally used for hard drives are just too wide across to fit in the recess.

Both drives lined up ok with the mounting holes leaving a gap of less than a mm between them. Nicely done.

Once two drives were screwed into the plate, did a test slide into the drive bay. I felt it probably could fit in the bay lined up with the screwholes, but it kept popping out and resting above the recess in the bays.

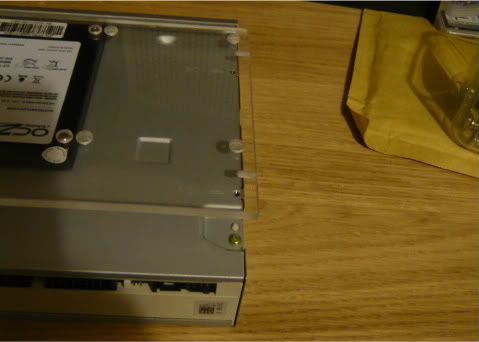
The sides of the drivebays (in a Fractal) are shaped like ] and [ so the caddie wanted to rest on top of the indents. I dug out a DVD drive and compared.

P1020491.jpg


The photo angle here is deceptive, its about 3mm wider than the DVD drive. The faceplate of the DVD drive is also wider than the chassis.

I also checked in a Cosmos S which has flat sides to the drivebays, and the caddie is just over 2mm too wide to fit.

So the caddie ended up resting like this in the drivebay

P1020487.jpg


P1020486.jpg


As it is, there is room to mount 4 drives - one caddie facing up, one caddie facing down - in a single 5.25 drivebay. If the caddie width was reduced by 4mm, this wouldnt be possible - but it could then be screwed into position.

I figured I'd try and fire the drives up on the caddie but due to hamfistedness (is that a word?) or the samsung drive being especially fragile I managed to break the SATA connector off the drive, leaving it wedged in the end of the SATA cable.

Now I've played about with hard drives for years both at work and home, in fact I have about 8 of the damn things kicking around spare in the house here and never had a drive connector break before - disk crashes, cable breaks, motherboard failure - all of those have conspired to deprive me of my data, but this is the first connector I've had snap off.

Fortunately the metal was all still in place and hopefully with a bit of luck and my lads warhammer glue I can repair it. I'll find out tomorrow when the glue is cured.

If I cant I'm not totally gutted, I have the data protected RAID5 plus its all still on the old PC (the one I'm typing on) as well.

Anyhow mister Jester, cheers for making the caddie and hope the feedback is useful.
 
Last edited:
Caddie packaged for the post tomorrow.

Glue worked, cabled up fine, powered up and working fine... I suspect I'll still replace it rather than run the risk of it snapping again.
 
Back
Top Bottom