Project "well, I don't know what to do with it yet"

Thanks everyone - I shall endeavour to continue in a similar fashion!

I didn't get anything done today at all - a thin layer of ice over all the panelwork is not conducive to getting bodywork done. It'll be going in the garage tomorrow and getting warmed through, so I will have quite an update hopefully by then! If all goes to plan I will spend most of tomorrow doing any of the final prep and maybe laying down a few panels worth of paint. It shouldn't take more than 2-3 days to have it finished!

In other news, I bought and fitted a new battery to the BMW - the old one dropped dead without warning! I think the winter cold got to it. Came out one morning and it was a very slow start, then it failed to restart the next time. I can cross that one out on my list of 'motoring experiences' now, as it's the first time I've had a battery go out on me.

With the help of my dad I checked for any unusual current draws only to find there were none - it was well within the 30-50mA pull when off (although initially it was at 350mA - boot light - D'oh!). The alternator I knew was working, because it kept the car going with everything on even when the battery was dead, thus the fault lay squarely with the battery.

The old battery doesn't hold any charge at all now - although entertainingly it has turned into a very good hydrogen generator (as a result of not being able to store anything). Put it on a charger and it vents quite viciously :D

My neighbour suggested I collect it in a bag and light it. Hmm........ :p
 
Last edited:
Spurned on by a request, a small update!

VXG is now safely stashed in a dry garage, avoiding it developing an encasing layer of ice which made bodywork rather tricky:

30.jpg


With this done I set about the job I'd been fearing the worst......getting the remains of the glue and vinyl off the roof. It's heavy duty stuff but fortunately I was saved by this little beastie:

33-1.jpg


Cuts through it cleanly and quickly - and I had the majority of it off within the hour.

Clean(ish) vs. not:

35.jpg


...and working across:

34.jpg


The roof's pretty much ready to go now:

31.jpg


All I have left to do tomorrow is give it a quick sand, to remove any remaining deposits, then pull it outside to wash it down. That'll get rid of all the dirt and grime that's accumulated from removing the vinyl and allow me to do the final prep so I can finally start laying some paint on the exterior panels.

I may pull the front windshield out tomorrow too, enabling me to get a good finish around the windscreen and replace the dripping seal at the same time.

Must get the damned bumper and tow hitch off too :D

More tomorrow! :)
 
Last edited:
Had a bit of an odd one today. Realised that my prep on the roof was nowhere near adequate for paint (did a few test patches and was not impressed with the results) so that's now tomorrows task, get it really flat and smooth. Despite using spirits, sanding and scraping, there's still pits, bits of glue and roughness in patches.

44-1.jpg

(The primer was just to cover some bare metal, I later tried some satin on it)

I then proceeded to get into an argument with my roller and paint tray, for some reason the paint's acting up and not going on well and it also doesn't seem to be covering much ground. Consequently I got bored and just hit the spraycans - it's still wet in most of these shots but gets the idea across:

43.jpg

(Maybe.....)

46.jpg


40.jpg


41.jpg


42.jpg


Really impressed with the mileage I'm getting out of the Halfords satin sprays, so I'm kinda inclined to just do the whole damned thing in it now and save my paint for internal panels and detail work, or bulking areas out. You get a nice smooth finish as well, provided you prep the surface to a suitable standard. Maybe it's just that I'm more comptent with spray than I am brush, I just can't repeat the result I had on the bonnet at the moment.

Tomorrow I'm going to have to prep every panel well, mask everything up and get it all good and clean so I can just get a rattle on with the cans. I also did some 'crossover' tests today on previously sprayed satin, to see how easily you can blend between the panels so I'll find out the results of that tomorrow.

I still need to take the windscreen out.

I also still need to take the rear bumper and hitch off.

Must prep everything really well......it's all in the prep! It's boring and unrewarding but I just have to get it done so I can move on with any effectiveness. Just bumbled around too much today.

Tell you what though - it's black. Turn off the lights and the satin parts just.....evaporate into nothingness!

Good view through the Webasto too:

45.jpg


:)
 
I spent too much of my life sanding today. Consequently the roof is in a much better shape than it was yesterday but there are still some minor areas that need finishing.

52.jpg


51.jpg


Also filled in some rust damage at the rear that I'd cleaned up, leaving minor pitting. I want a nice clean edge and it didn't require much material adding, so in went the P38:

55-1.jpg


I'll sand that off to perfection tomorrow morning.

Lastly, a health and safety reminder to you all:

54.jpg


53.jpg


Always wear a mask when doing heavy sanding work, otherwise you'll be inhaling all that various dirt, dust, paint and adhesives. It's not pleasant and it's not really very good for you! That dirt that's accumulated on it is merely from me breathing!

Hopefully tomorrow I can finally finish this roof and then the next few steps should be very quick ones!
 
Last edited:
Cheers! Someone's just listed the wheels I want for it on eBay too, so fingers crossed.

5d6a_1.JPG


The only thing I would like to know is how much they weigh so will endeavour to find that out - the Sprint alloys aren't exactly heavy but being thick castings, not featherweight either. Ideally I'd like something lighter...
 
A friend of mine had an old Dolly....

Hey Austin, it's a good tip indeed! Nice to know this kind of info is being passed around still :)

I used to run solid alloy mounts on the V8 but replaced one for a stock item with uprated polybush, as the alloy ones I had didn't give (bar clamping) any lateral support so if you really clobbered it, the rack might move.

People use both alloy mounts a lot but a good compromise is to fit only one. This gives the additional rigidity and feedback required while the other (preferably polybushed) side gives a little compliance and noise/vibration damping, whilst also positively locating the rack to the subframe.

In other news - It's been cold out today:

66.jpg


65.jpg


Roads are that pretty treacherous mix of compacted snow and ice. I couldn't walk down the hill to the garage (a KA had been abandoned at the bottom) , I had to stick to the verge! A low of -7 was recorded last night and it was a brisk -4 whilst I was out mucking around.

Anyway, I didn't get much done as my neighbour needed to use his garage overnight so I only managed to finish sanding the roof (finally!) and then fired it up to shunt it out into the yard. It'll be going back in first thing tomorrow morning.

Survivor, anyone?

62.jpg


Quick, to the Thunderdome! :D

61.jpg


63.jpg


I did notice a slight mismatch between the door and the wing whilst doing this - Presumably because the wing was primed and 3 coats deep whilst the other was only a rough 2 coats. The door, with fewer coats, still shows some of the underlying paint which gives it more of a sheen and makes it less intense black.

To resolve this I shall do another coat tomorrow and check that it's equal, before progressing too much further. Other than that, just more prep, some primer and then start masking everything up!

.......and finally remove that blasted bumper and windscreen :D

Car runs good though, given the climate - and my neighbour was very impressed with the engine work. It is a little agricultural and unsettled when it's dead cold and on choke though, so I'll probably lightly strip the carbs and give them a good clean, then reset them to 'factory' settings. That should get rid of the erratic cold idle.

Roll on tomorrow!
 
Last edited:
First point of action for today:

74.jpg


The cold's been getting to the battery, which to be fair is a beat-up old thing. I whipped it out and stuck it on a trickle charge, to see if it can be revived.

Next was this issue:

75.jpg


I'd slapped some black paint (rollered) onto the boot lid only to find that for whatever reason the paint wasn't providing good coverage, sticking properly or looking particularly good. It had to come off - and that wasn't going to be fun.

Firstly I scraped as much off as I could using a razor, then set about it with sandpaper and my Black & Decker. It took a good hour to get to this state:

73.jpg


......and after another 30 minutes scraping, sanding and staring blankly into space:

72.jpg


Voila! Now that it was clean of old paint, I wiped it down thoroughly to get it clean then gave it a quick prime, so it could settle overnight:

70.jpg


I'm getting a nice flat surface from it, which is great. Fortunately the test patches of primer are now coming out nice and smooth on the roof too, after all the corrective sanding. As such, both these elements will be ready for black soon.

Consuming the rest of my time in the garage today was roughly sanding down all the remaining panels, cleaning the worst of the dust off and filling all the unrequired trim holes and superficial body damage. You can see the dots of filler along the top edge of the door, where a chrome strip used to run. I might, at some point, consider replacing filler with **** of weld, for a more permanant modification.

71.jpg


I also dotted a fair bit of primer around to cover bare metal I'd exposed during sanding.

Remarkably, I actually made an attempt at removing the rear bumper today. Didn't complete that though - got bored, tired, half asphyxiated and hungry by that point - so I'll get that done tomorrow.

The rest of the day will be spent getting the car out of the garage, cleaning it thoroughly, then doing any final prep on the panels. I may even start spraying!
 
Finally happy with the roof now:

81.jpg


The boot lid's also got a nice finish to it so everything's almost ready to go.

Had another cold one today:

80.jpg


A low of -12 was recorded during the night (although it was more like -9). It claimed another victim, in the form of our Jeep battery! Still, it's given 6 years of service so it was a fair cop.

Today my mother very kindly lent a helping hand, so between us we got all the final sanding done:

83.jpg


...and then any other prep finished, so it was just a case of washing it down to get rid of all the grime and grease:

82.jpg


VXG is now back in the garage drying out thoroughly so in the morning I will mask everything off and then hit the paints!

I gave up trying to remove the rear bumper in the end, it turned into too much of a pain to get off easily. It is, for the meanwhile, intended to stay on the car so I've just prepped around it which turned out not to be too difficult, fortunately. Just some masking required to protect it, of course!

More tomorrow :)
 
Last edited:
Clarkey, I think you may be right about the bootlid - when I did it I was in a rush and had previously gone over it with 80 to break up the surface then 120 on my machine to smooth it over but still, don't know what happened there. I had some odd reactions with spraypaint in that area which may point at something else (although fixed now) - I suspect more to a point it was due to the garage being -2 and the paint probably the same, looking back! :D

Am keeping the garage well heated now (should be toasty tomorrow) for 'real' paint so hopefully it should hold up just fine. I have a directional gas heater for really warming up panels when required which helps an awful lot if necessary.

It's only been left outside overnight once (and I sanded it all over the next day), those shots are mostly just from shunting it out to clean so have no fear! I have to run the car outside because it only just fits in the garage lengthways - so if I need to work on the nose (like today) then it has to come out.

I could probably fit it in diagonally without trial but I can't be bothered to move everything around inside :D

As always though, thanks for the info! When the final coats go on I shall keep the heaters going for a day or two, as curing it properly was something that had crossed my mind....
 
Last edited:
Oh and I think I might get it rolling on these instead now, as they're reminiscent of Corvette alloys :D

2ce3_1.JPG


Plus, as a bonus, they're 6J and 14"! Get them blacked up (maybe) and I'll be sorted....
 
Negating insurance and fuel costs, around 750 quid :) You could do something much cheaper if you went with a 1300/1500/1850.

Mine had quite a few mods when I bought it plus it is (unbelievably) road legal. It was cheap, even for the condition it was in, at the time. A complete project Sprint without T&T usually costs 500 quid these days on its own.

I'm half tempted, if I'm happy with how it goes, to enter it in the PPC 999 challenge sometime or maybe the UK Street Racing series :D

.....just for the lulz, more than anything! :p
 
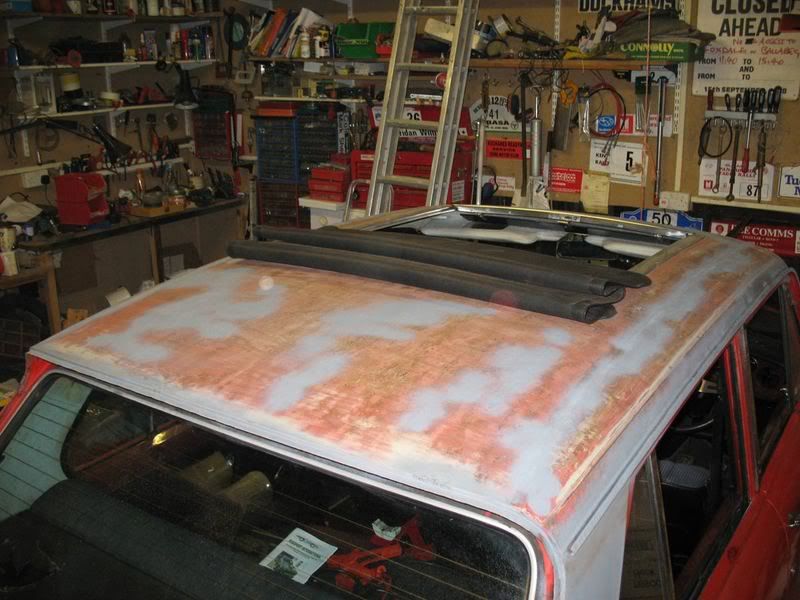
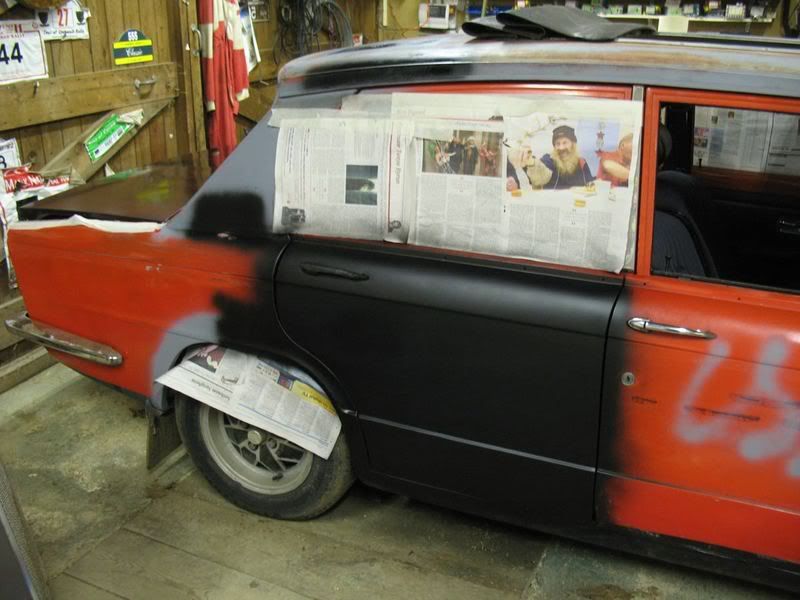
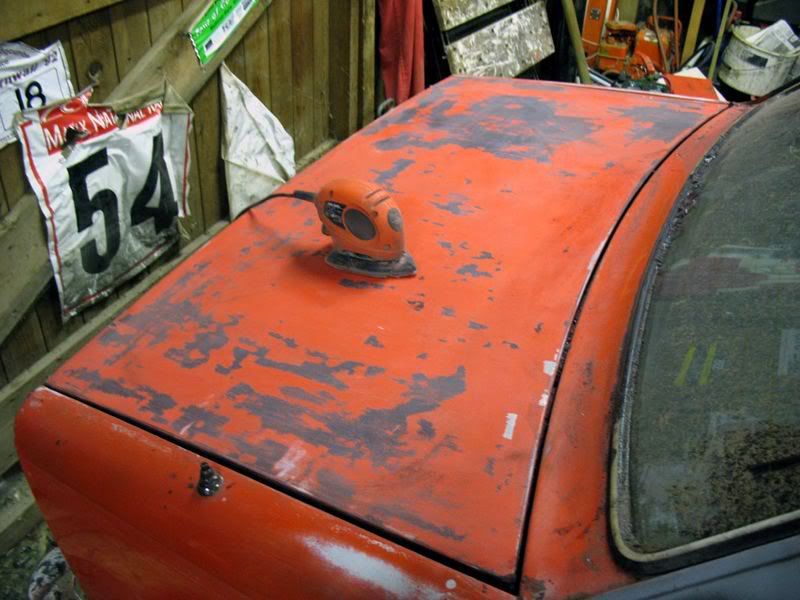
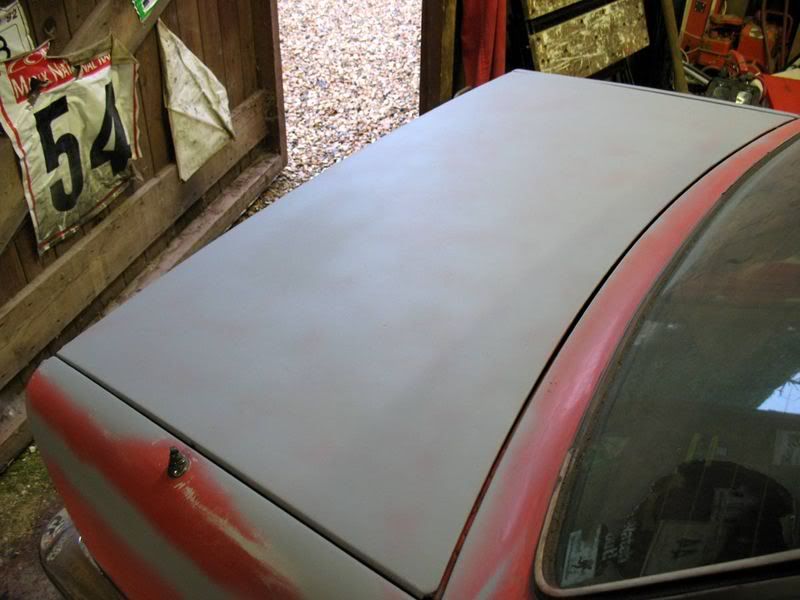
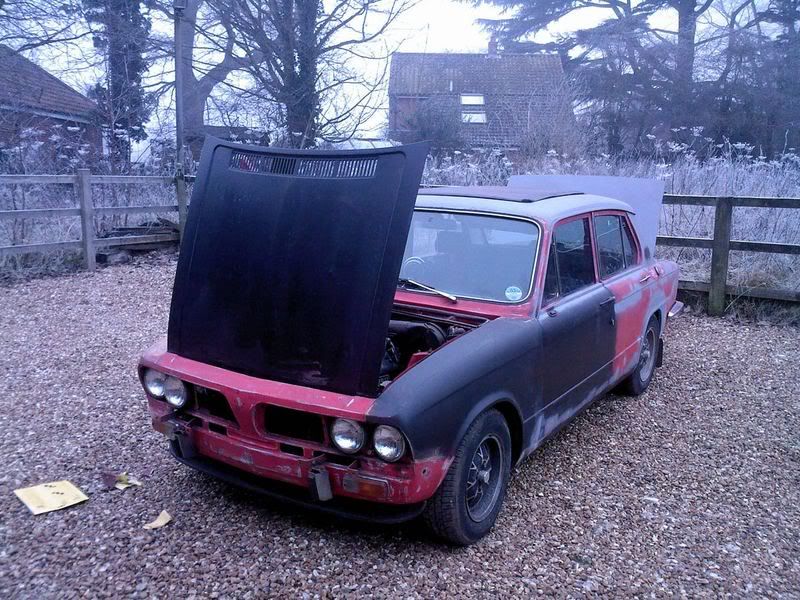
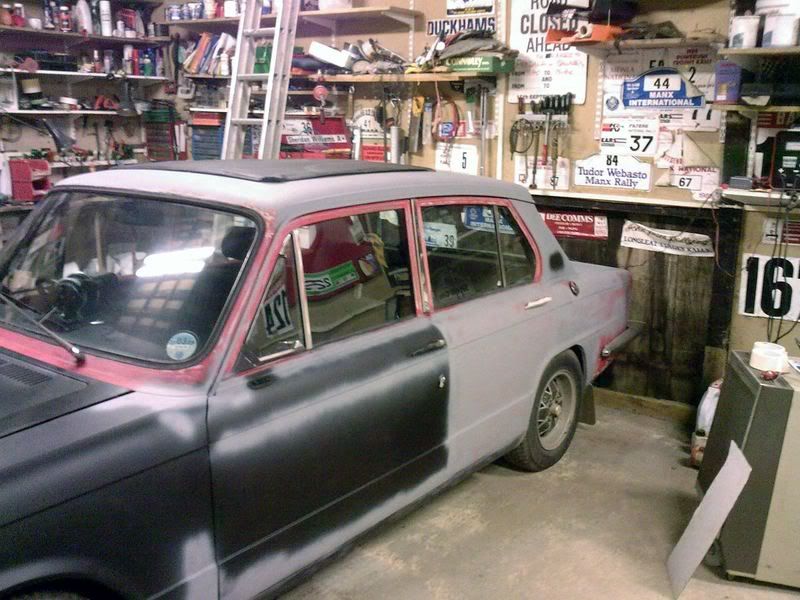
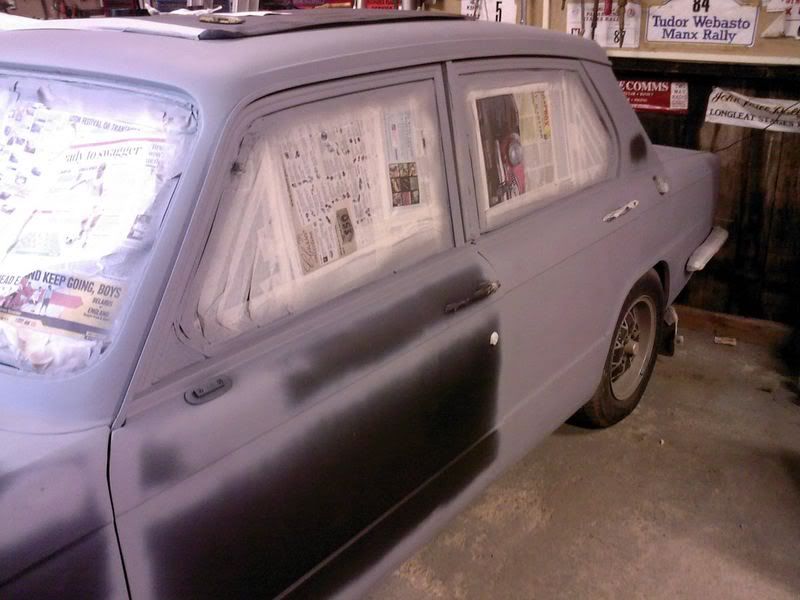
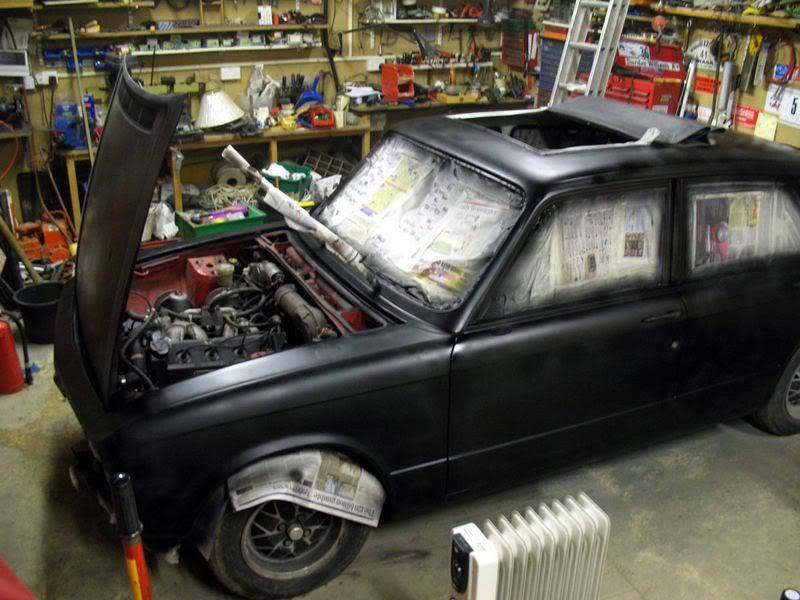
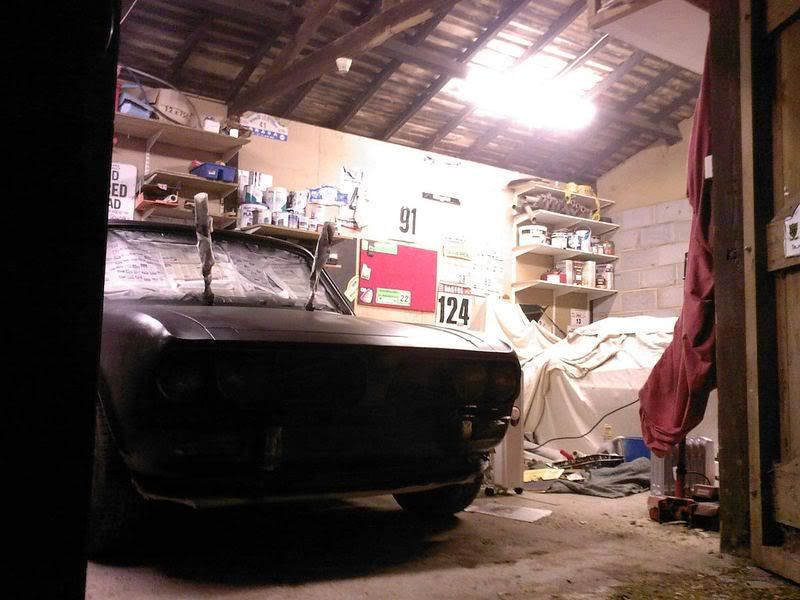
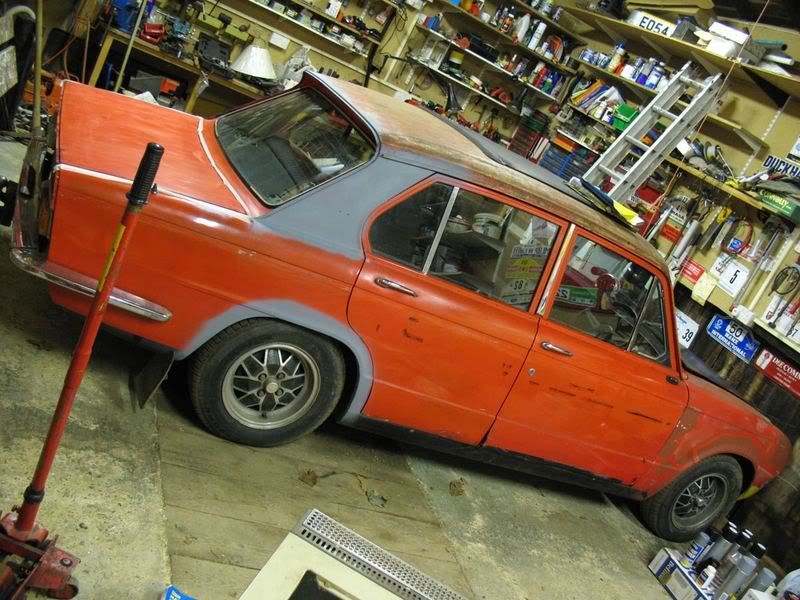
Bashed on some more primer today:

90.jpg


Just putting it on where I think it'll be needed most, really - and to give a bit of grip and durability to the paint in the areas it'll probably get worn.

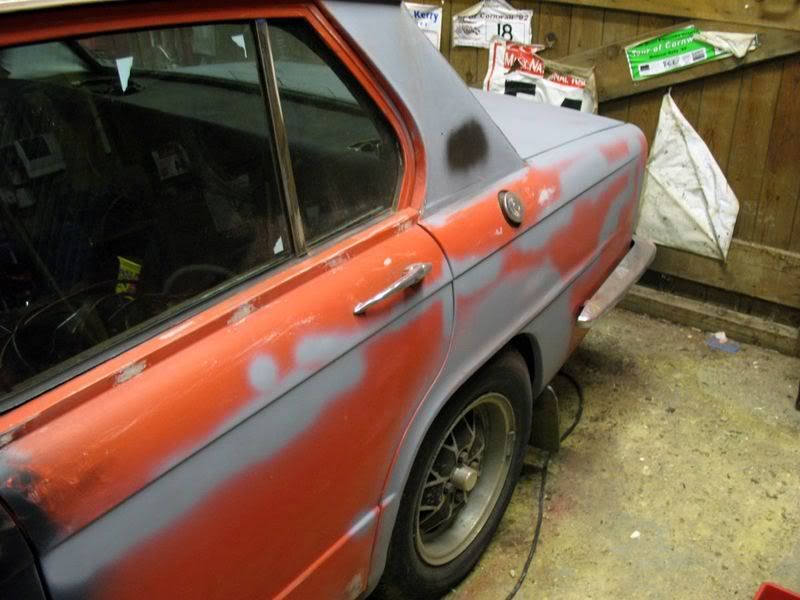
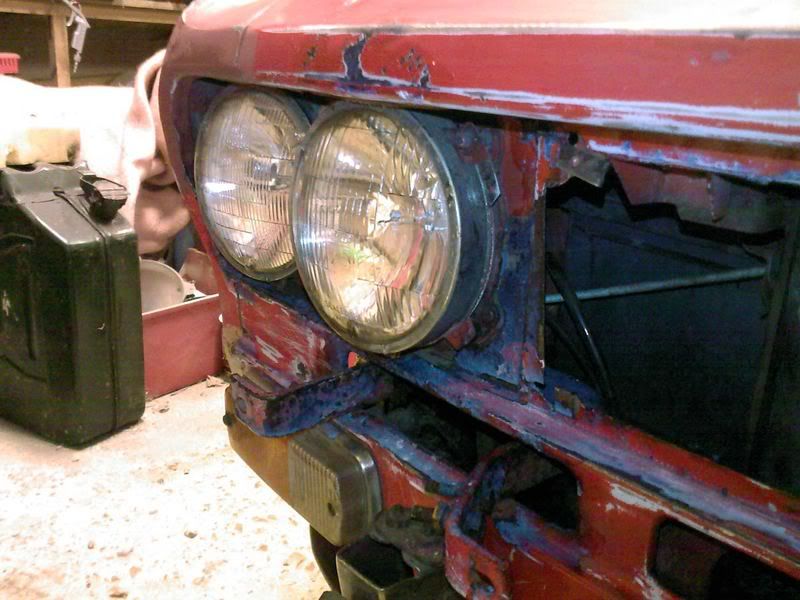
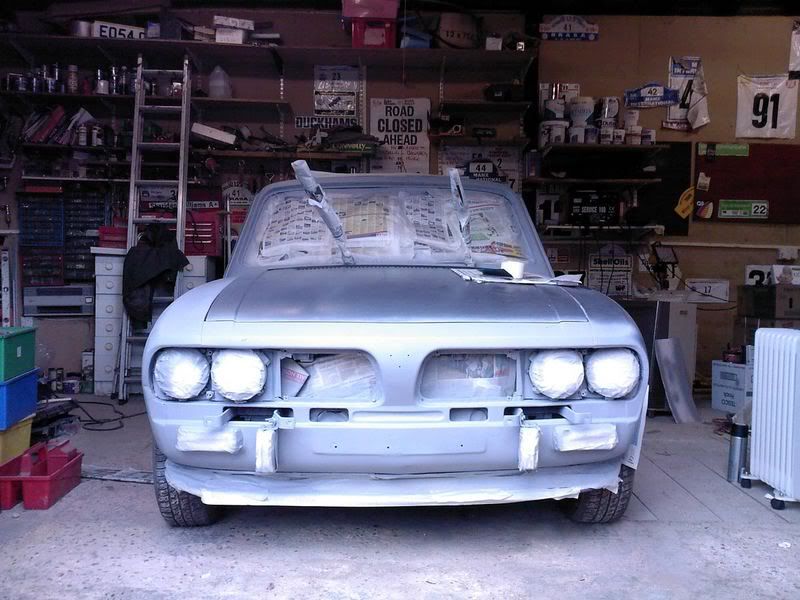
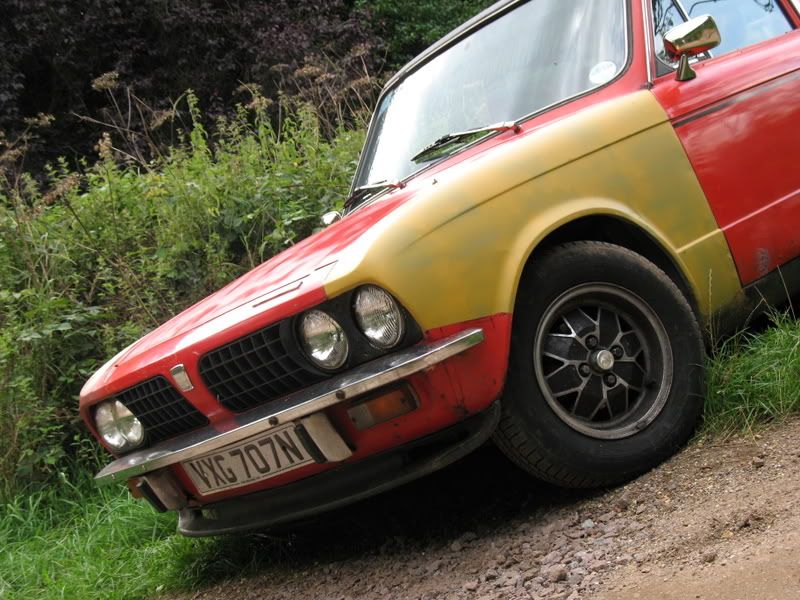
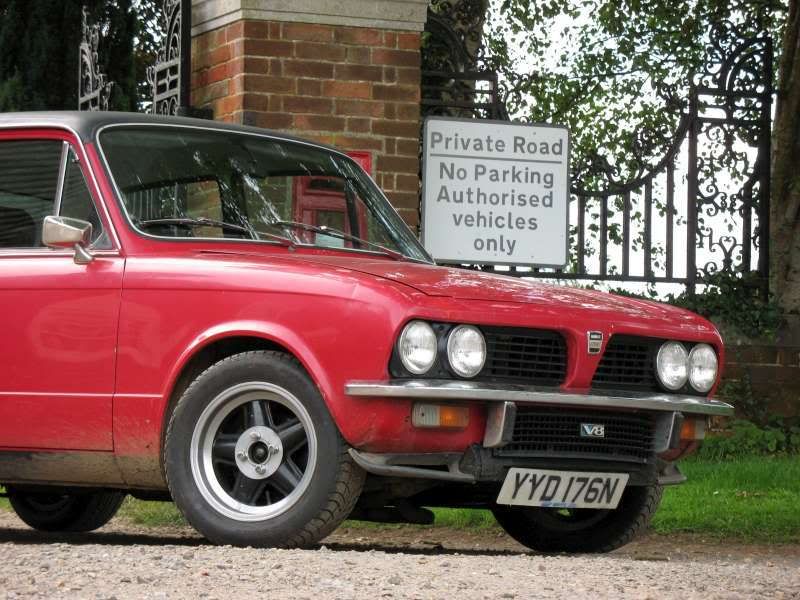
....and more rust killing:

92.jpg


The front end's actually pretty good, just lots of light surface corrosion. I sanded it down roughly, wiped it clean then stippled plenty of Kurust into it. I then spent 30 minutes or so just crawling around the car making sure I hadn't missed anything important and dabbing Kurust on anything that looked even vaguely dubious.

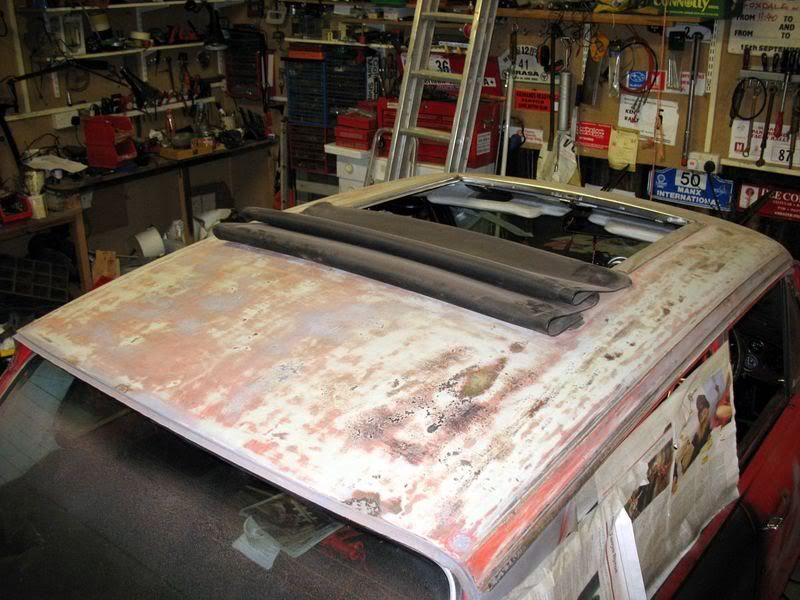
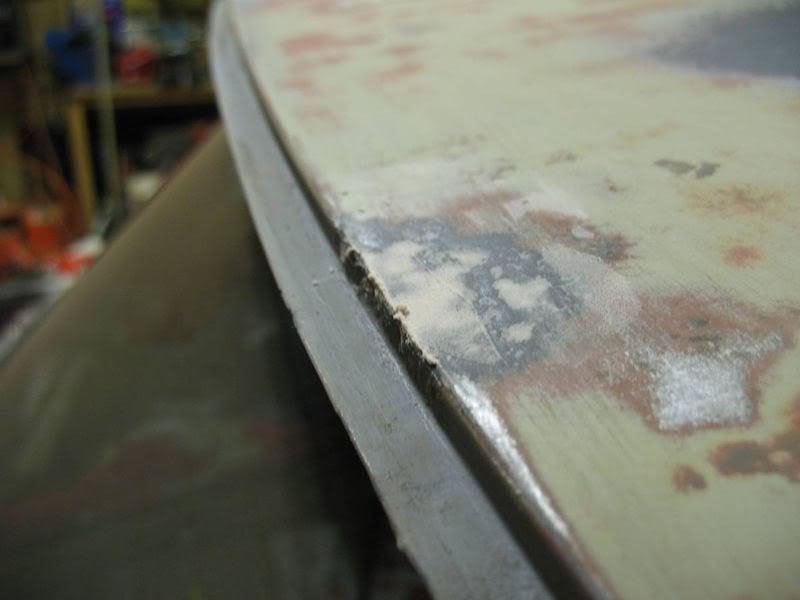
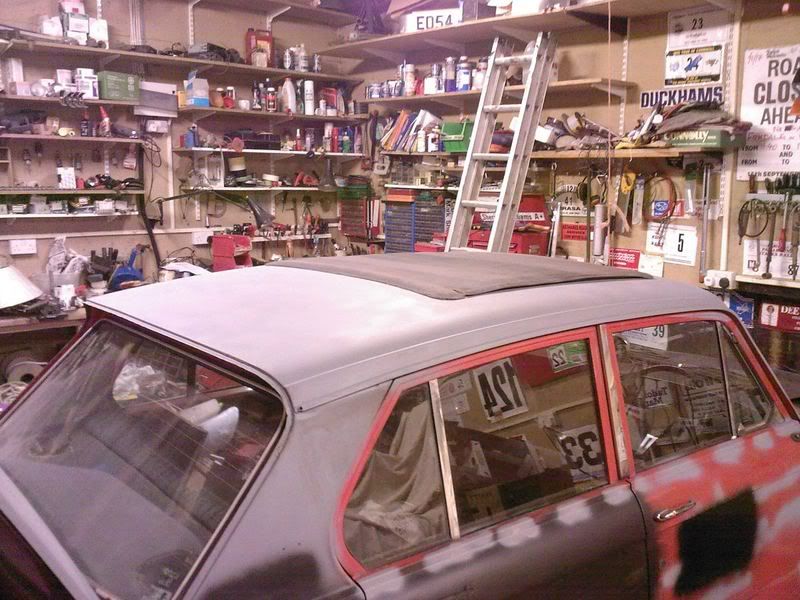
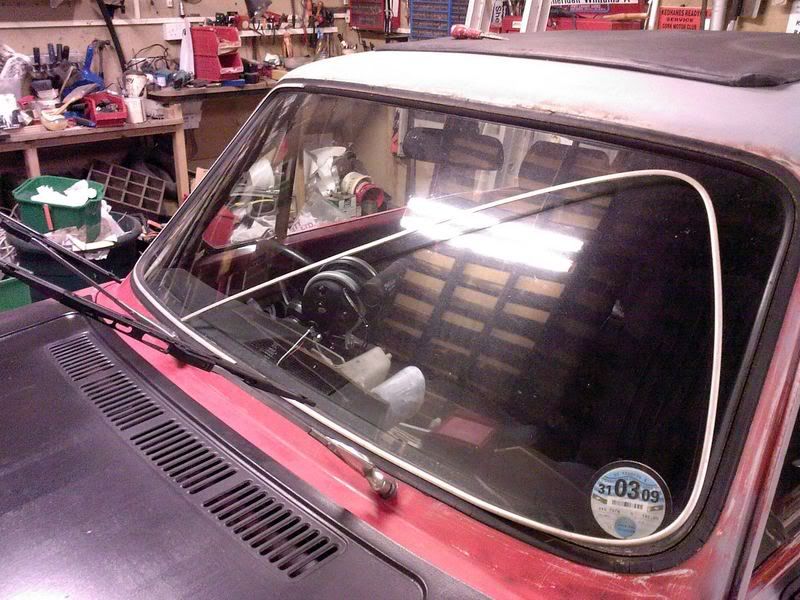
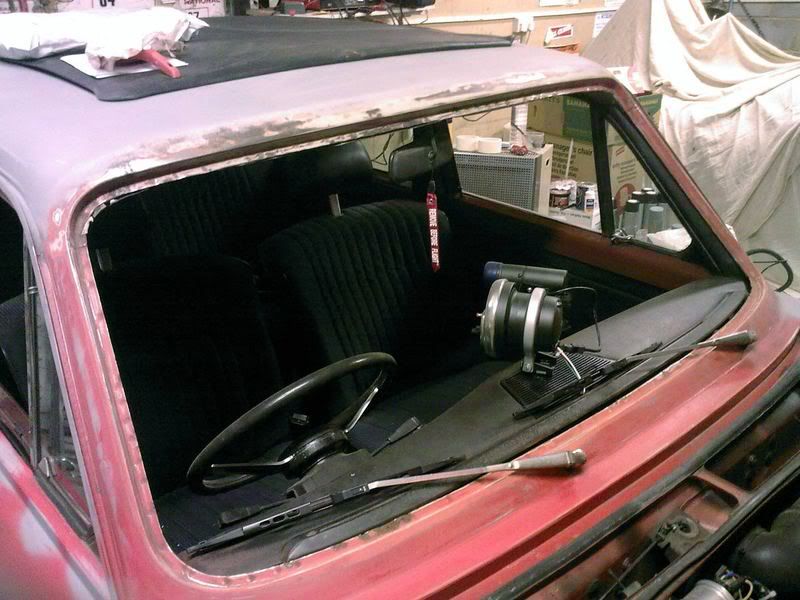
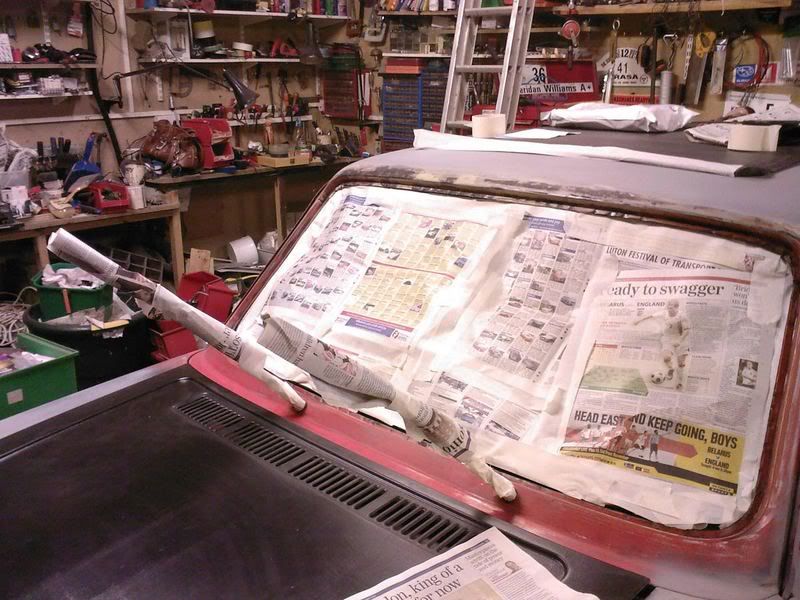
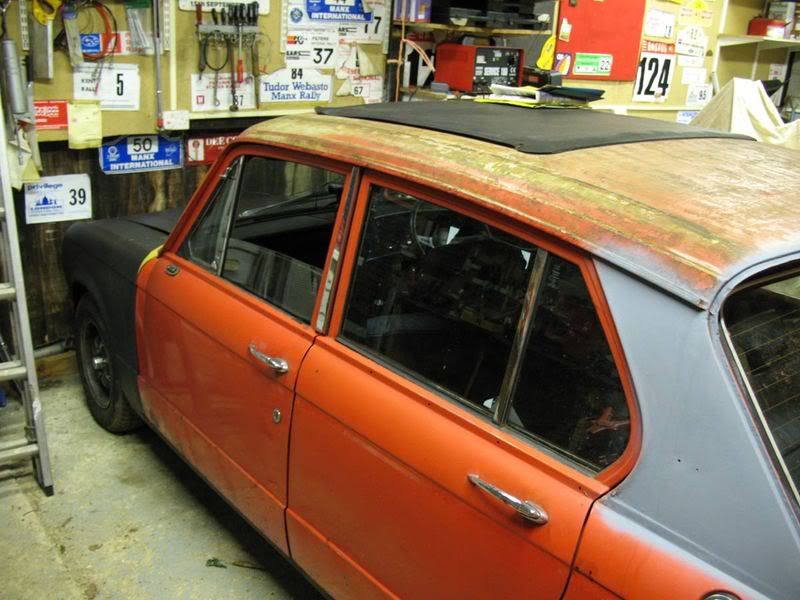
I also started removing the windscreen whilst I was free for a moment:

93.jpg


Getting the trim strip out without damaging it is quite difficult, especially if it's been hacked about previously and suffered the tests of time. This one's seen better days anyway, as a few chunks are missing, so it may just do an interim job whilst I order up a new one.

91.jpg


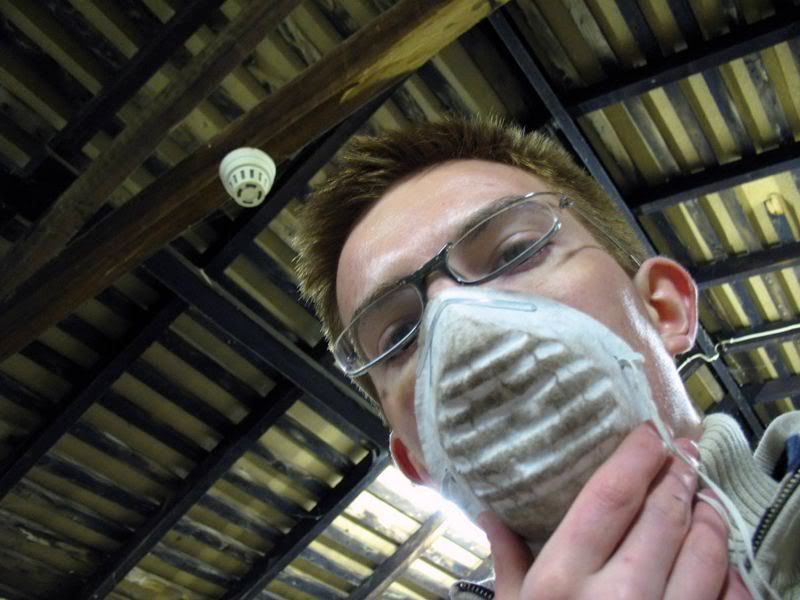
At this point I thought it advisable to get an extra pair of hands so wondered back home for some lunch and to see if anyone else was about. In the end I couldn't be bothered finding anyone, so just thought "man up" and got on with it myself. Can't be that hard!

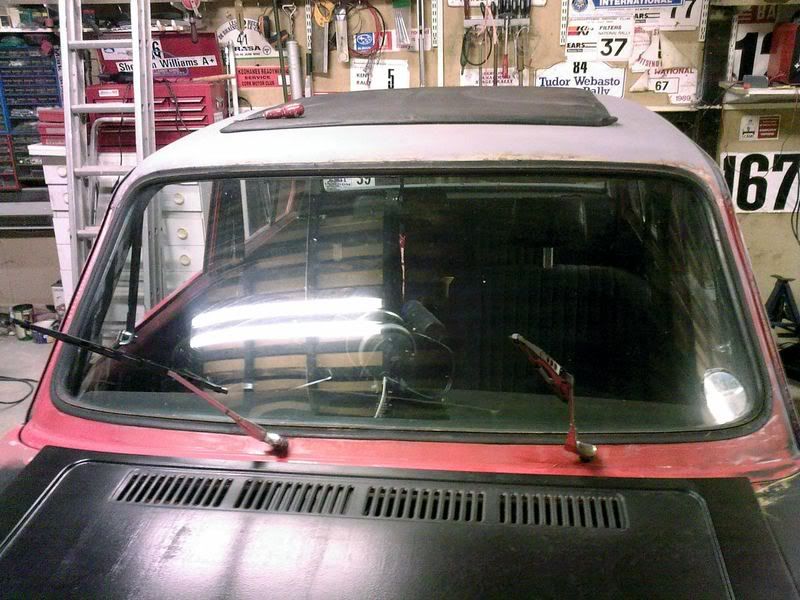
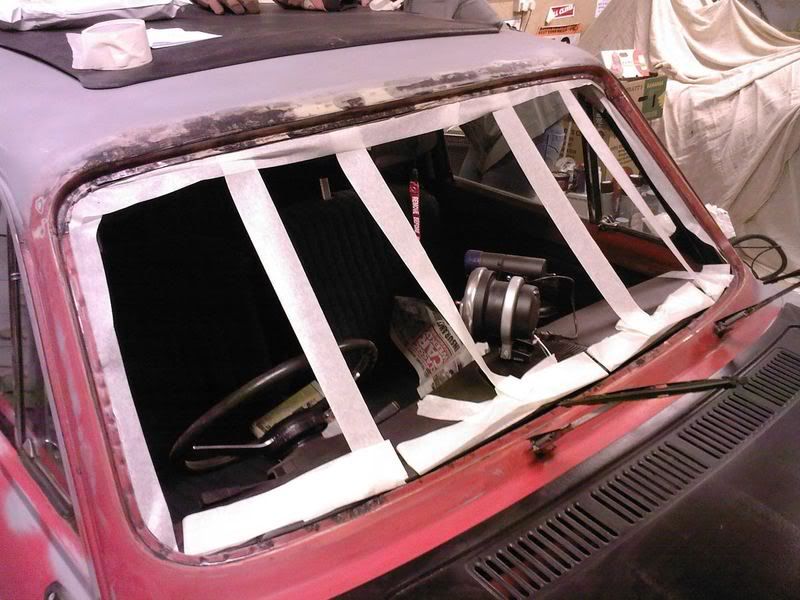
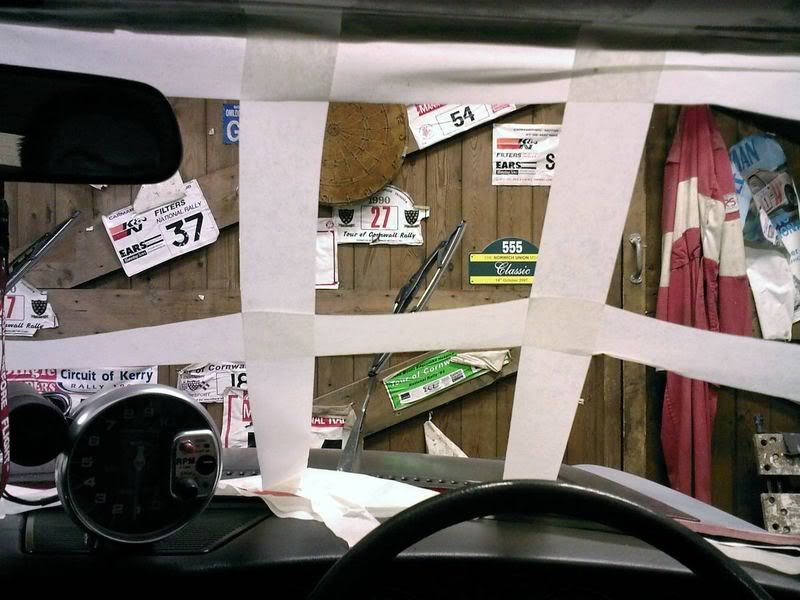
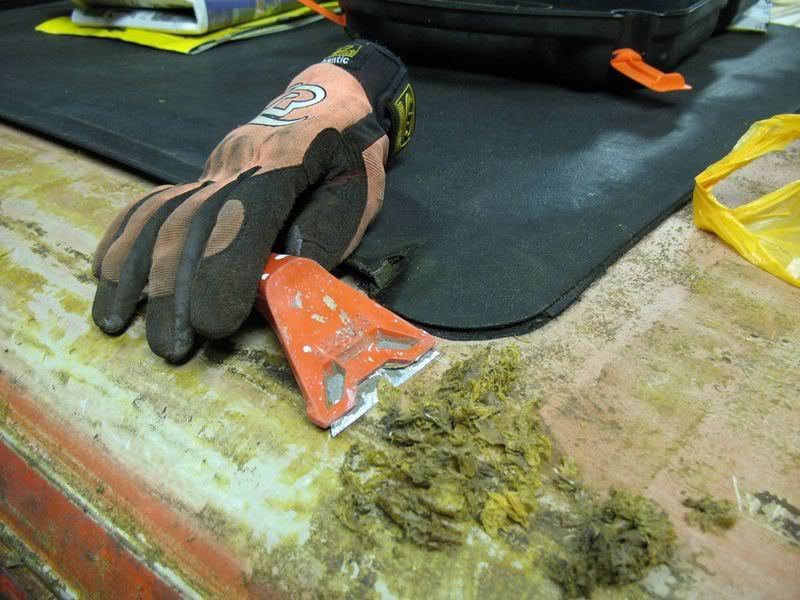
I hacked as much of the old seal away as possible to make removing the windscreen a smooth process:

103.jpg


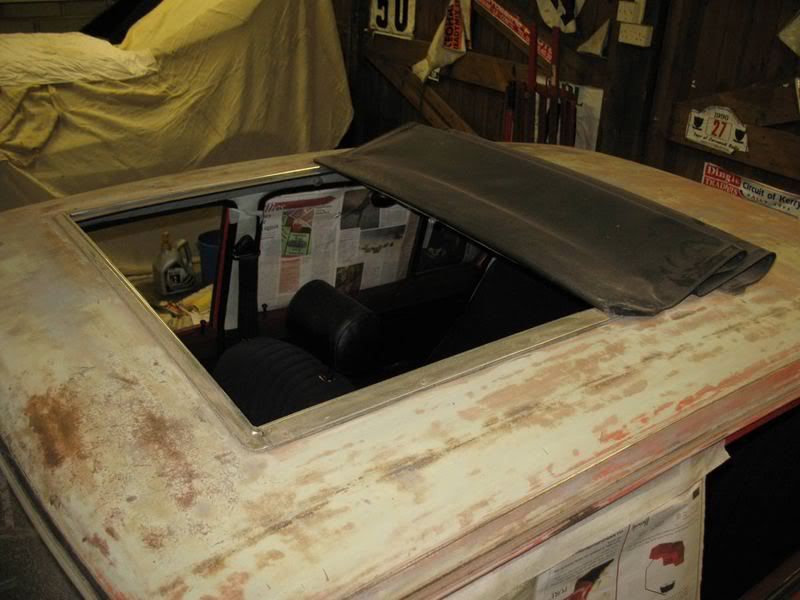
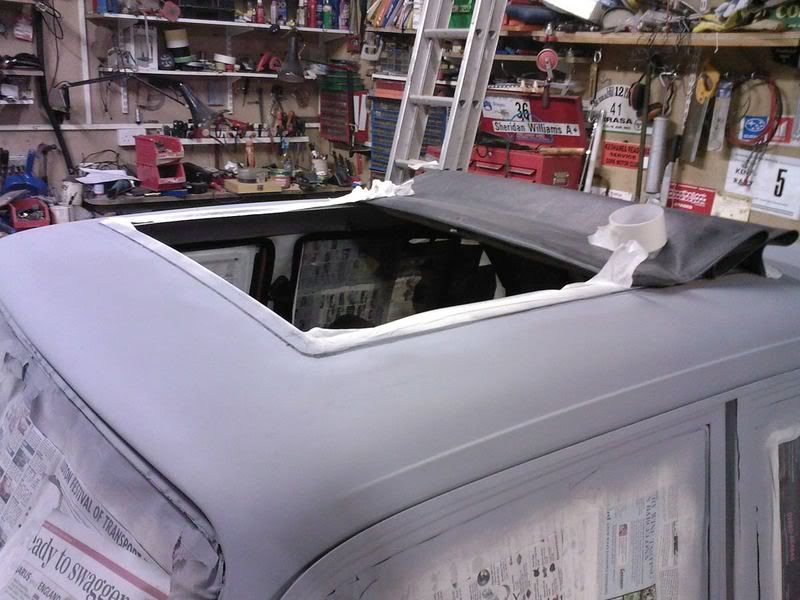
Then, applying pressure evenly to the glass:

102.jpg


.....gently popped it out. This took a bit of time, easing it out slowly - but it was infinitely preferable to giving it an almighty heave and propelling it across the bonnet of the car to a swift demise on the floor of the garage!

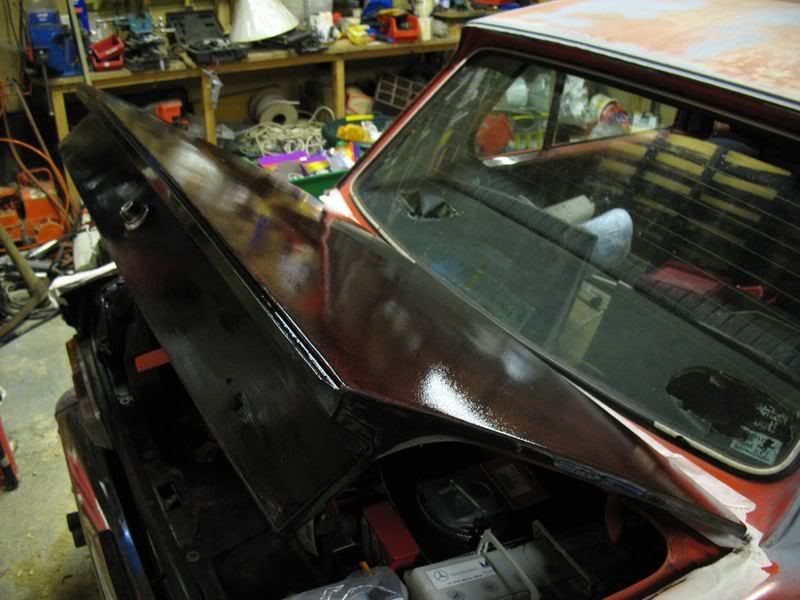
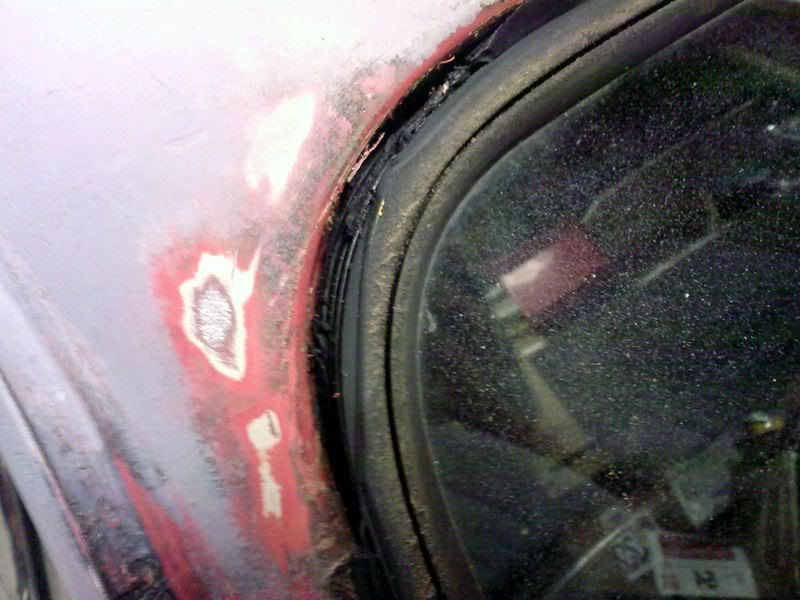
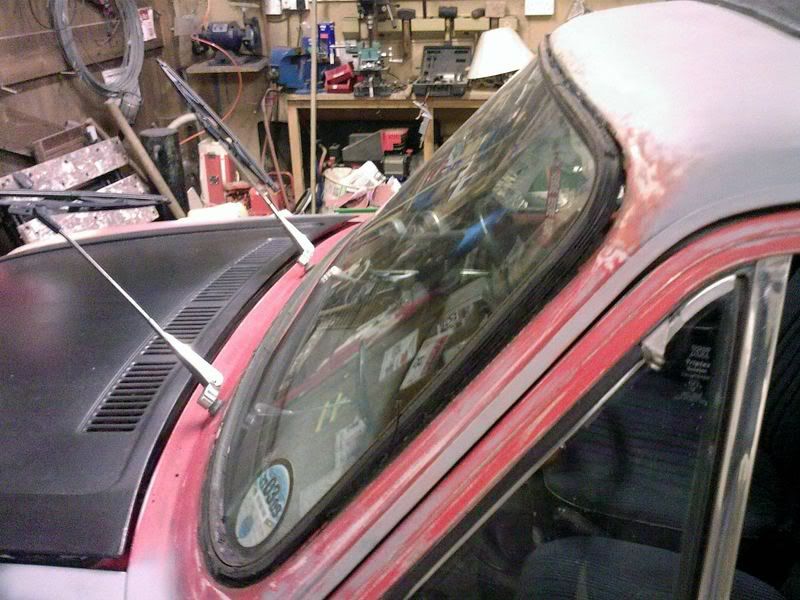
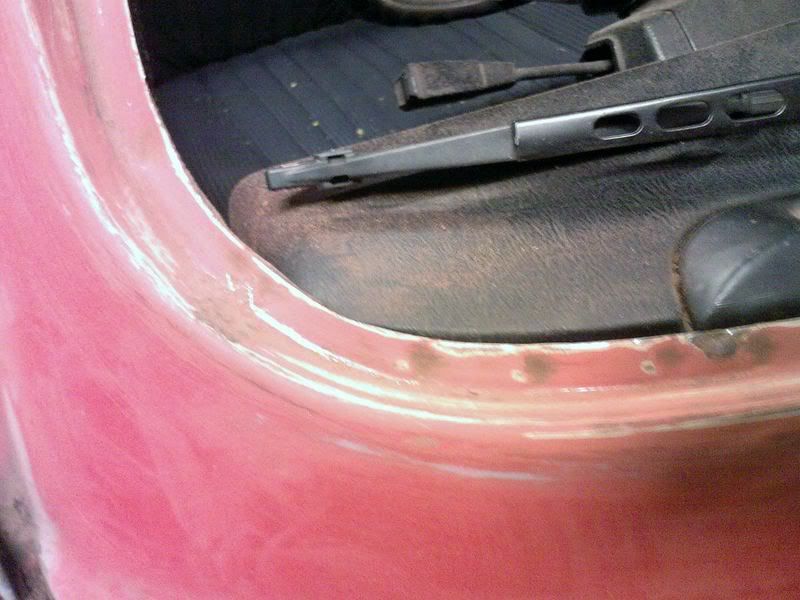
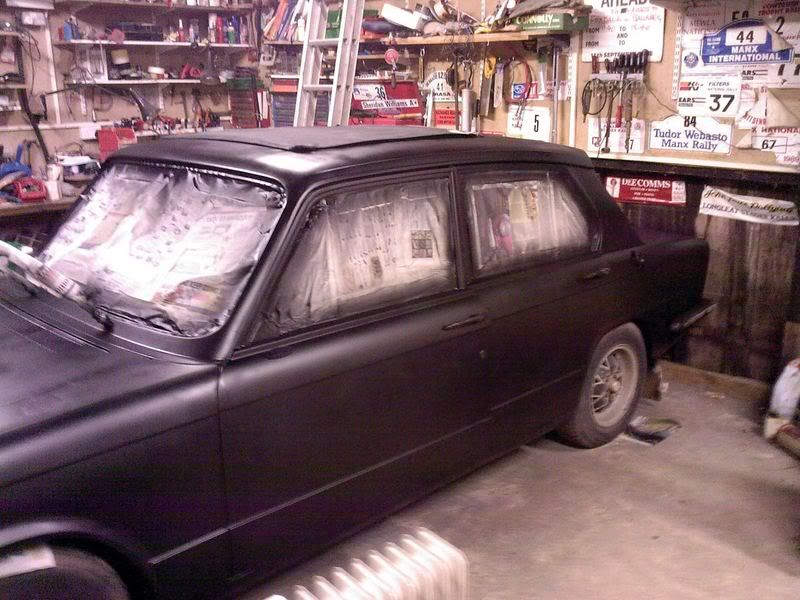
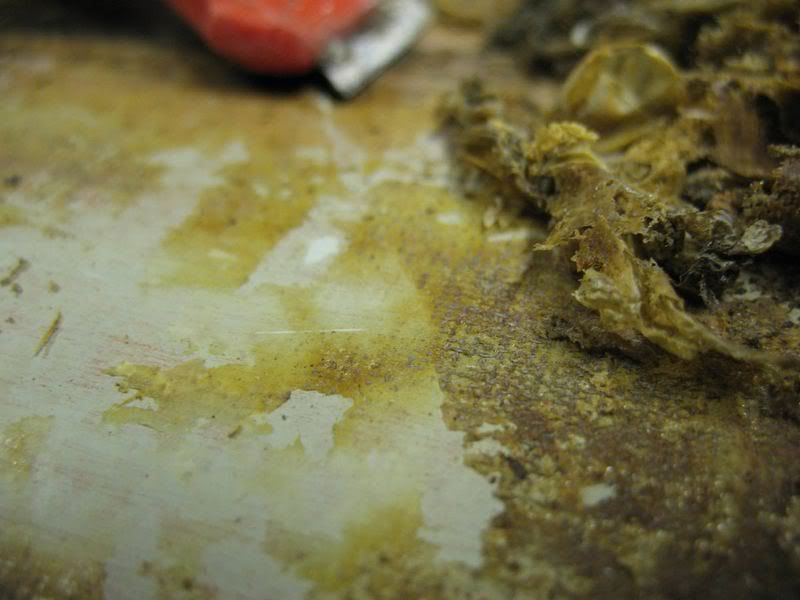
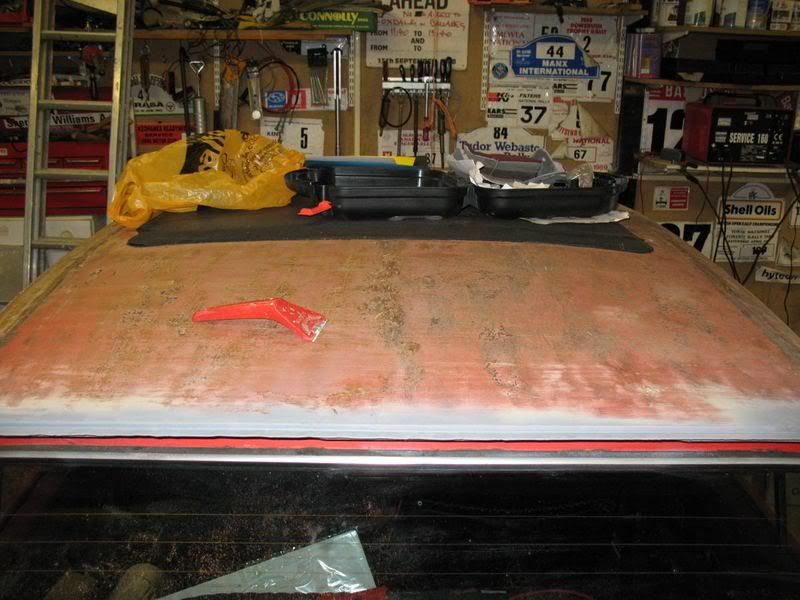
I then just cleaned up any blebs that had developed under the old and very crusty seal as well as generally tiding the area ready for paint:

101.jpg


I was also very happy to see that the usual trouble spot, at the bottom corners of the windscreen, were in fact fine. I put a load more Kurust on any exposed metal so now that's settling overnight prior to being painted tomorrow.

100.jpg


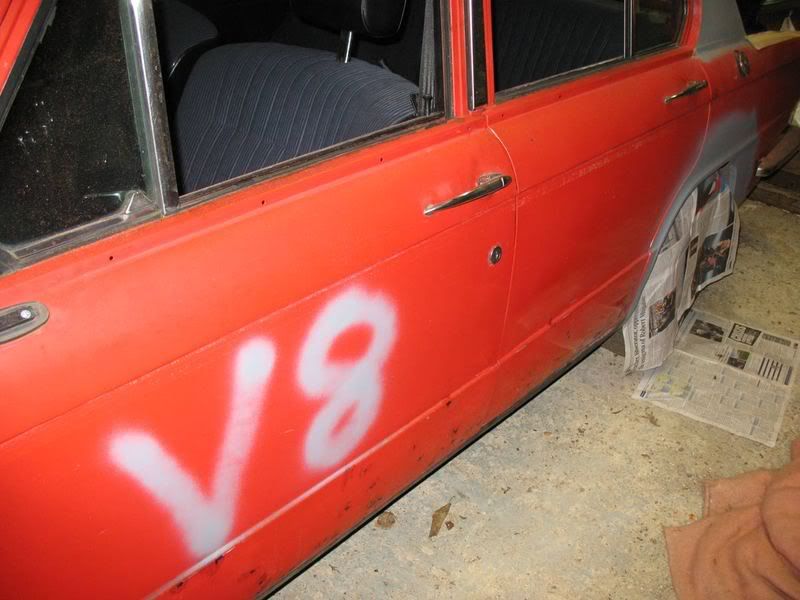
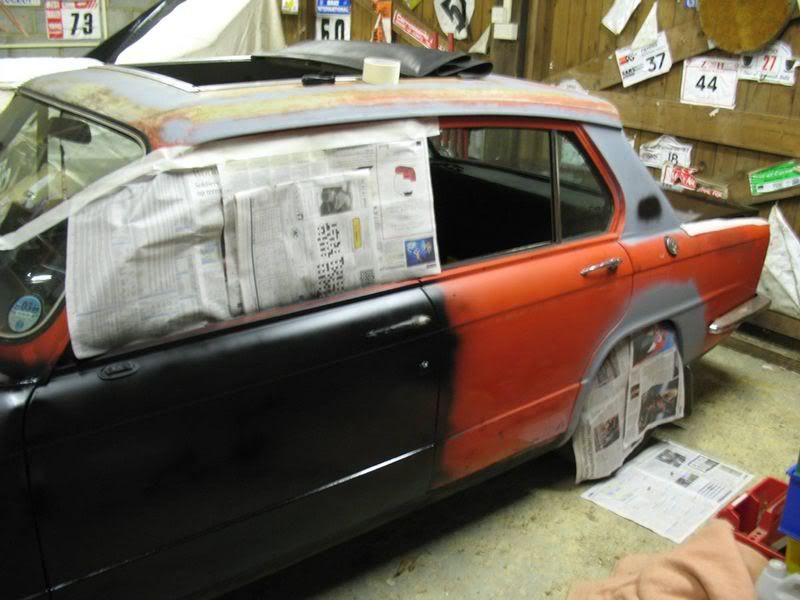
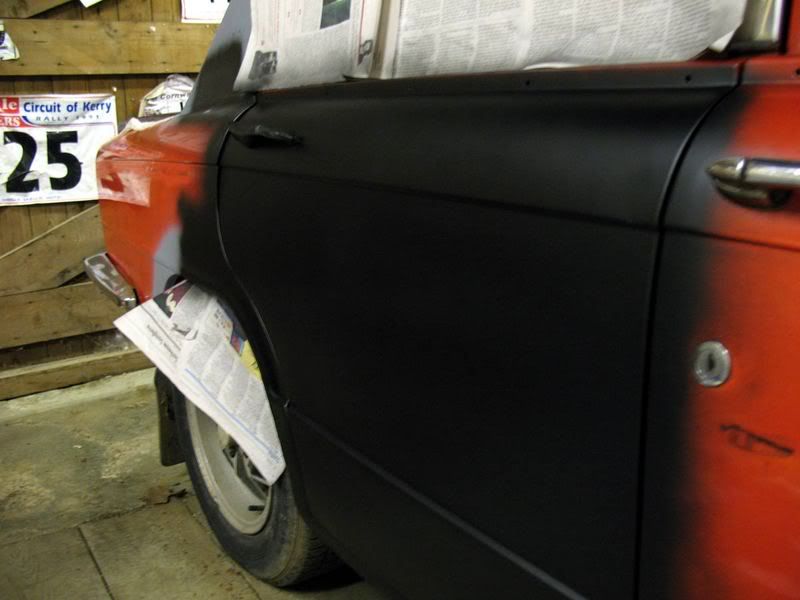
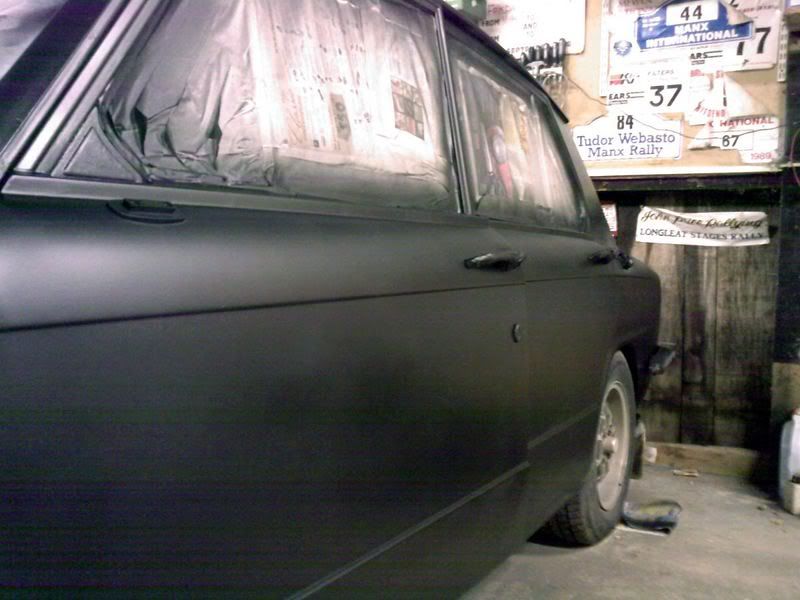
So, masking and more paint are upcoming - I did prime pretty much the whole car today but the battery on my phone went dead, killing any further photography!

Should have the first coat of black on most of it tomorrow....Fingers crossed!
 
Yea, I think so at least.....they have a wider track at the front than rear for certain. I'll just have to buy them and find out :D

Started off today by turning it into a stock car:

118.jpg


117.jpg


Yeaaaaa :D

What I was actually doing was building a web to hang newspaper on, to mask off the interior from the frame, so I could get a good few layers of paint around the windscreen aperture.

116.jpg


Like so. A little bit of paint and....

115.jpg


Sorted.

Mum was helping yet again today, so we quickly finished all the remaining masking and got on with the process of laying down the last of the primer. As such it is now ready for the satin to go on!

113.jpg


112.jpg


111.jpg


119.jpg


The only bit that requires any more thought and attention is around the Webasto roof, as I didn't want to remove it for the meantime. As such it's been folded back to allow painting around as much of the edge as possible then once that is finished in black, will be slid forwards allowing access to the bits at the back edge by lifting it up slightly.

114.jpg


I've got a few coats of black on there now so it should be sorted come the morning. I would have done more today but I wanted to let all the primer and black edging I'd done go off properly, rather than rush it. For the meantime I'm just going to concentrate on getting the exterior panelling done then I can do the inner detailing at my own leisure :)

So, first thing in the morning:

120.jpg


"Hold still!" :D
 
Haha, this stuff's much the same so no doubt I'll be able to scrawl on it to my heart's content.

Alex, the garage ain't that well ventilated - I am using a toytown mask though and going outside now and then :p I have to keep the doors shut to keep what heat I can generate in as it's not sealed, so I'm constantly trying to heat the world up. To lay a complete coat on doesn't take long, mind, so it's not too bad.

I do keep it clean though, sweeping it out now and then to keep contamination down a bit.

With luck I should be getting the silver Corvette styled ones, auction finishes in a day and a bit. Should suit it quite well plus they're that little bit wider and bigger, so should make it look pretty mean. Assuming I get them, I'll keep them silver just to see what they look like then photoshop them black or alternative colours to see what it looks like.

I got my hands on a pair of NOS 1500 grills as well, to replace the eggbox-style ones on at the moment They're a bit sleeker and make them look a little meaner:

Standard:

IMG_8431.jpg


1500:

IMG_1904-800.jpg


IMG_1944-2.jpg


So they'll be going on along with my louvres in all probability :D
 
Last edited:
Interesting! (Did update the pic).

I always thought the 1500 ones were a bit sleeker and made the nose a little more aggressive.

Well, I have both sets still so I'll have to do a back-to-back and see what suits it more!
 
Haha, I'm not going to derby it, don't worry (it was only a reference to the windscreen net lookalike!)! :D

I might use it in some form of competition, though, just for kicks! :)
 
God-damn I'm going through rattlecans like there's no tomorrow - not loads but more than I expected, for sure.

However, on the flipside - I think I'm done! There's only a very small patch at the back I haven't covered yet, due to it's inaccessability but I shall roll her forwards a bit and finish that up. I even managed to do enough of the door shuts, inner panelling and edges to prevent any red being seen from outside.

I'm leaving it to cure overnight now and see how it is tomorrow. The only bits that aren't so great are the roof - it seems despite having a 'perfect' surface it's a bit lumpen here and there. Still, no bones! Ain't going to be perfect using this method anyway...

It's still wet (hence the patches) but it's now very black!

140.jpg


144.jpg


142.jpg


Excuse the mobile photography. Again.

I like it.

I reckon it'll look proper good once I've got my detail bits on it like the louvres, rear spoiler, better wheels and it's all dried and settled a bit. Quite happy to say the least - probably more so due to not having to hold onto a rattlecan anymore!

Two things about rattlecanning I've observed. One - It has been scientifically proven that you cannot use rattle cans without taking a stupid picture of yourself with mask and paint in hand, Altern 8 style. Two - It's also scientifically proven that you can't do this and not end up with one hand frozen and cramped into a death claw :D
 
Last edited:
Back
Top Bottom