Project "well, I don't know what to do with it yet"

Right, it's had roughly 3 complete coats so far, although some panels have had paint and primer before. Areas that will endure heavy wear, such as the valance corners, arches and sills have had more.

Today I put the last one of those coats on, a lightish coat just to even out some rough spots and blend some joins better. So far I'm more than happy with the finish (especially given the circumstances) but I do think the roof and bonnet could do with some improvement. The joy of this is that satin paint isn't hard to match or blend, so if I do go to sort it out, it won't be an issue :)

I also rolled the car forward enough to access the rear panels, so the back is now black too:

150-1.jpg


So, just waiting now. At 4:30ish I'll put the windscreen in and then take off all the masking...
 
After that'd all dried I bustled back to the garage to put the windscreen back in! :D

160.jpg


The seal played silly buggers for a bit, as the windscreen wasn't seating centrally but I soon had it down and locked in the right position. Hopefully the new seal will do it's job well. I have a new finishing trim to go in (when it turns up) but for the meantime I put the old one back in.

Unfortunately I ran out of daylight today - so tomorrow I'm heading around to finish tidying up the garage and a few other odd things, then driving it back to mine to, well, assess what's next! I'm keeping it for one more night to also make sure that the paint cures properly, before exposing it to the elements.

So, you'll have to make do with more shoddy mobile phone pictures :D

163.jpg


162.jpg


Bonnet could do with another coat but it's all exacerbated a bit by being under strip lights. Part of that's due to it having a surface that wasn't smooth, as I sprayed onto what I'd previously rollered on - but if required that's easily fixed. The bonnet might come off at some point anyway, to have vents added - so I'll do that then.

Now that all the masking's off there's just a few little edges to be touched in but other from that it's completely black from the outside......which is a result! I think there'll be some touching up to be done also when it's out in the light, just to get an even finish - but so far it's actually looking pretty well blended between the panels.

Regardless, I'm not going to get a 'quality' finish using these methods but it is infinitely more presentable than before :D

Roll on tomorrow!

Tell you one thing though. People ARE going to walk into it when it's parked in the dark :D
 
Last edited:
Finally, it sees the light! Spent an hour or two tidying the garage and cleaning up then loaded it up for the return journey.

171.jpg


172.jpg


173.jpg


And the casualities (the ones on their own still have some paint in them):

170.jpg


It's sitting outside now, just having a cuppa then will empty it, maybe clean the interior and mess around a little. Maybe mock the louvres up on it :D

I have all weekend to play, mind, so I'll probably concentrate on it then and do the few other odd things I've been meaning to do like tighten up the downpipe, fit some new door window seals, replace an exhaust clamp, bleed the clutch, refit the heater blower and so on and so forth. There's also all the old trim and badging to go on, along with the new front grilles.

Definitely a survivor this one, though - started up first time despite it's dead battery and standing around for a week :)

I'll get some proper pictures later.
 
Last edited:
Here's some more naked shots - over the weekend I'll put all the trim on and things like that, plus touch up any internal bits that need doing (i.e. the interior side of the door window frames).

181.jpg


180.jpg


182.jpg


188.jpg


183.jpg


185.jpg


Cr0fty, in the famous words of a particular sporting brand, Just Do It. Then you have to learn :D Hard to get around to it any other way :)
 
Last edited:
From the TDC forum so far:

this is awesome

Looks good in Black

Looking cool!

I like it I do...

top job, and good reading indeed.

Looking seriously cool...
Reminds me of a ww2 night fighter, like a P61 black widow or beaufighter...

A Bolton Paul Defiant ? Tally hoe chaps MG,s at six o clock dacka dacka dacka

I like the Satin black look though, very MadMax

Etc etc! They seem quite pleased :D

I'll endevour to bring it to the next RR.

I could do the V8, I'd love a smallblock in it or an alternative would be an MX5 or wankel engine for something 'different'.

The MX5 thing was inspired by seeing this vid, plus the fact it comes in a very 'easy' fitting package with a good 5 speed box and are very cheap on the scale of things!


Keep the weight down enough and I'm sure it would provide enough motive power....Get some better cams and a few homebrew things like fuel cooling, better ignition system and bike TBs. Could be a laugh :)
 
Last edited:
I have all weekend to play, mind, so I'll probably concentrate on it then and do the few other odd things I've been meaning to do like tighten up the downpipe, fit some new door window seals, replace an exhaust clamp, bleed the clutch, refit the heater blower and so on and so forth. There's also all the old trim and badging to go on, along with the new front grilles.

I'll see if the trim needs blacking too then, or whether it helps define it all a bit. :)

Project in garage progress: http://forums.overclockers.co.uk/showthread.php?t=17940991&highlight=toledo

:)

Oh, I've got my gauge cluster to go in too so might see if I can find a home for that as well as tidying up the interior and working out what to do in there!

P1010480.jpg
 
Last edited:
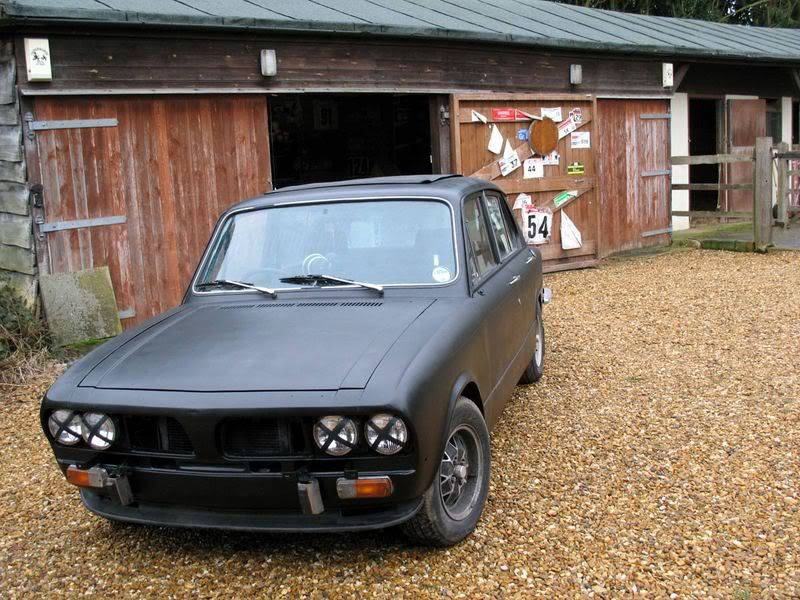
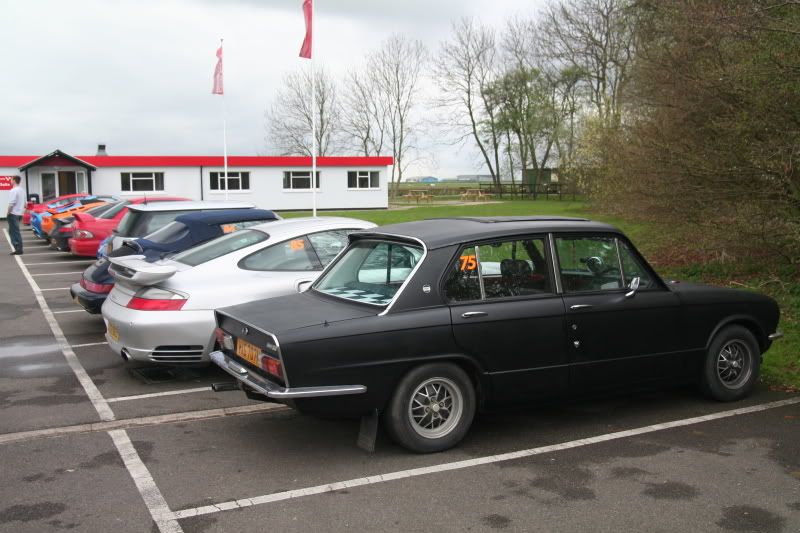
Ba-ba-bump. It's been a while since I've felt like doing anything but today I went out fully prepared to get dirty. Still only a few degrees here and it's wet, damp and muddy but it can't be helped and it certainly isn't going to finish itself.

First on the agenda was fixing the indicators which had mysteriously stopped working long before I started doing any of this. There are two flashers, one for hazards and one for the indicators and as the hazards still worked fine, it was clearly a fault with the indicator flasher.

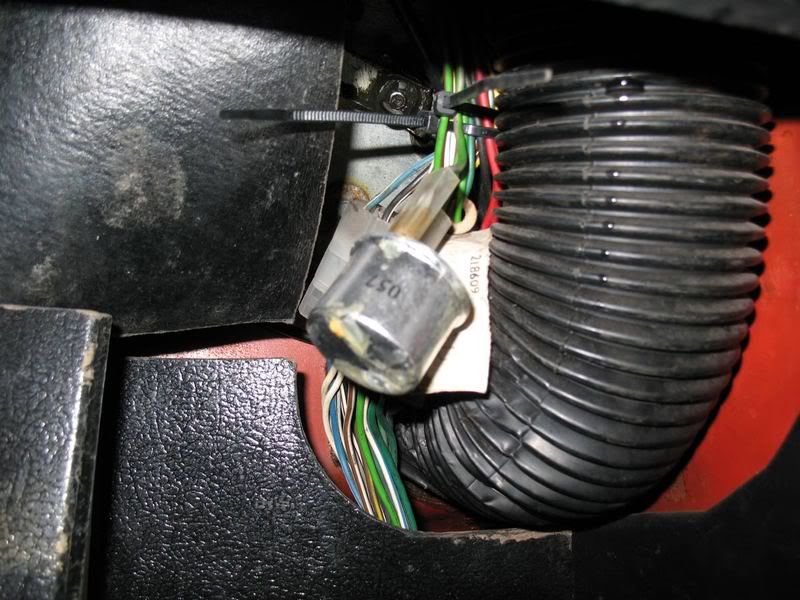
It's hidden under the dash, although most of the time they end up dangling around, like so:

207.jpg


That little cylinder is it. I knew I'd found the problem when I turned it upside down and water poured out of it! Seems like when the windscreen had been leaking the water had made it's way into the cabin, down the wiring and straight into the flasher.

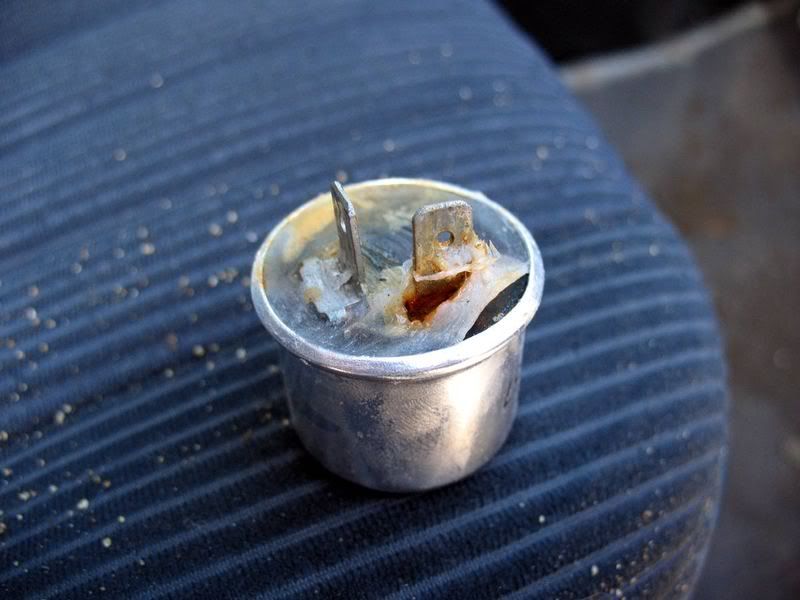
I think it's had it:

206.jpg


It sloshes lots if you shake it, which is remarkably entertaining. Fortunately I found a spare unit and hooked it up (as it's only two push on connectors). It works OK but the indicators are a little slow - the flasher's been in the shed in freezing temperatures for months so it may take a little time to wake up properly. Nonetheless, I now have functioning indicators:

205.jpg


204.jpg


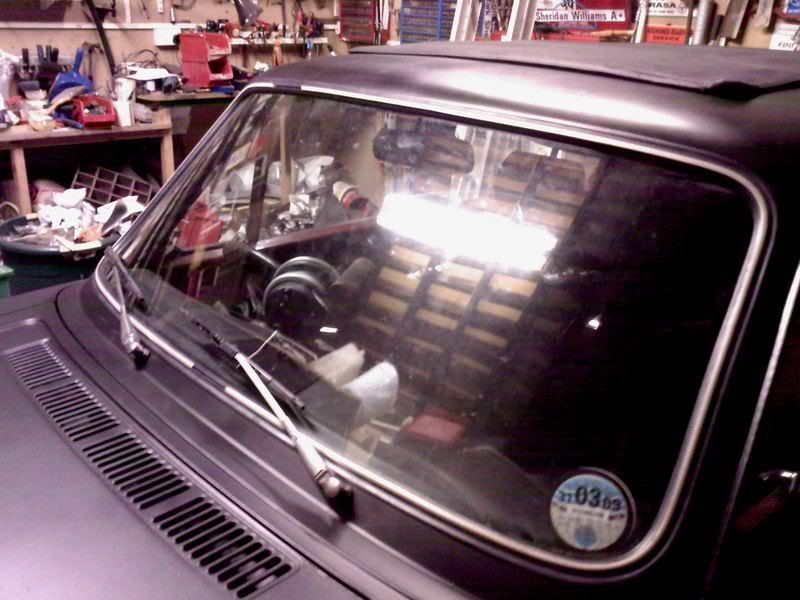
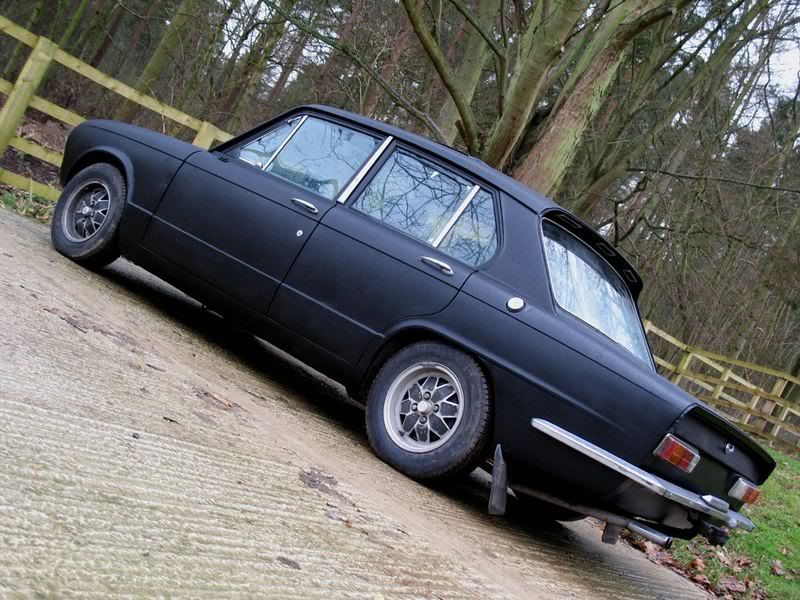
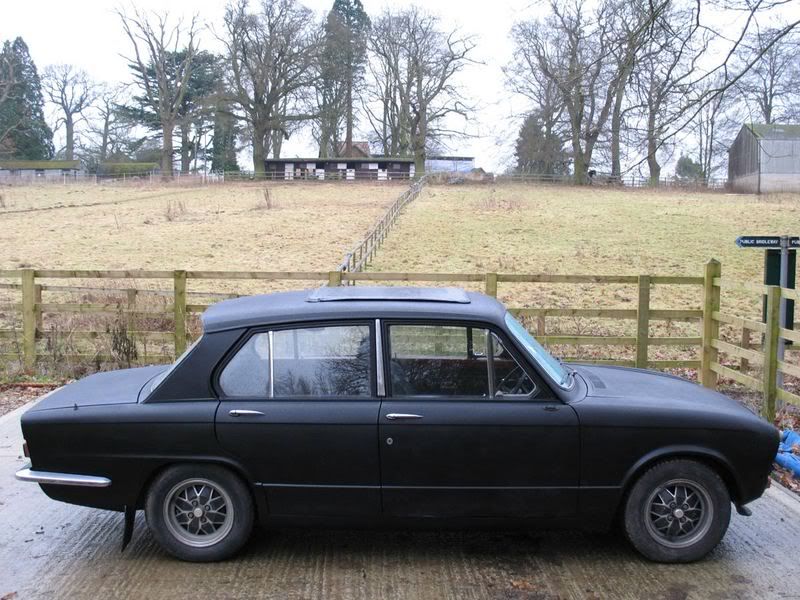
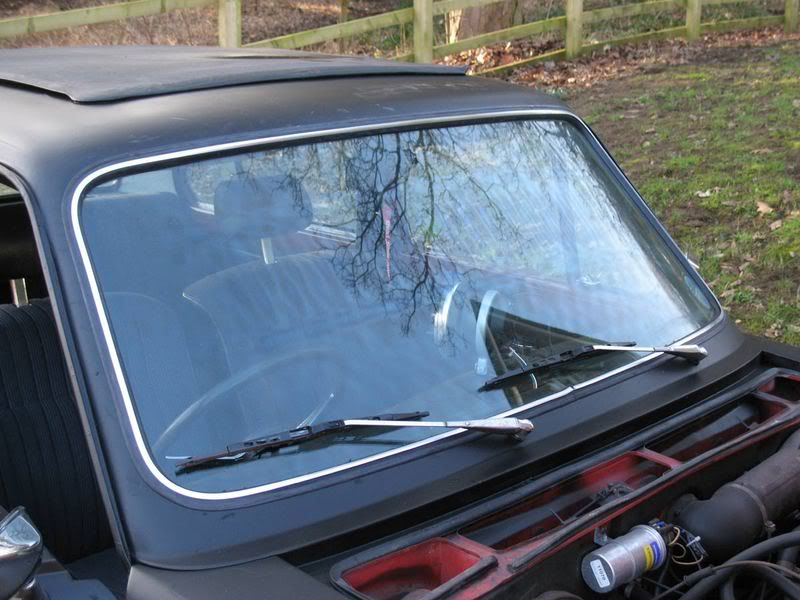
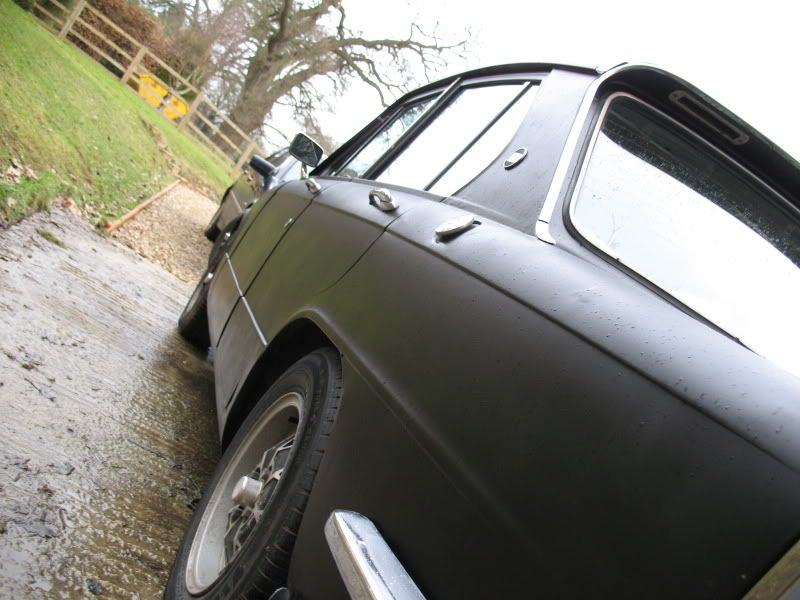
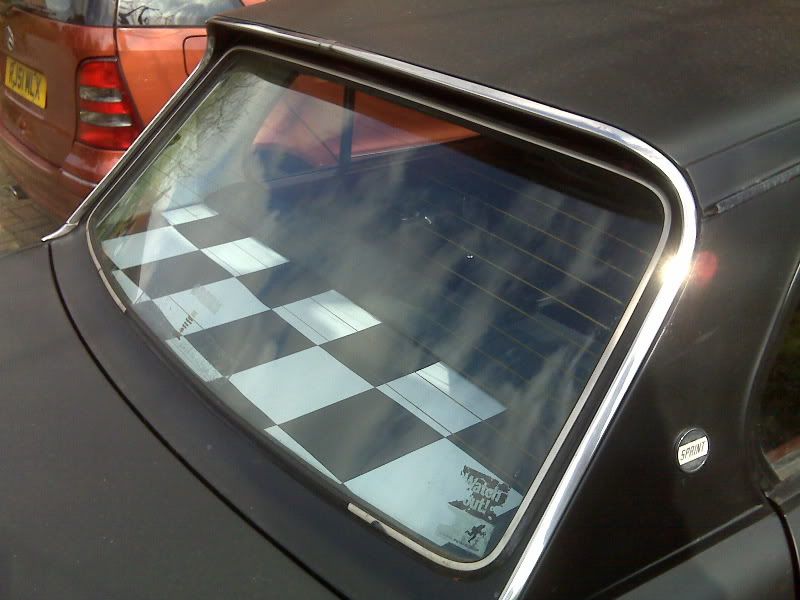
Next on the list was refitting the front windscreen trim. I've also got near rear trim but I'm considering replacing the rear window seal so am leaving it for the meantime:

203.jpg


This went in quite easily (it just pushes in) but very irritatingly the company who supplied it packaged it in a coil, so it was all twisted. Consequently it's not very happy sitting where it is, as it wants to ping itself out - but I'm hoping that once it's been in the sun for a bit and held in place it'll settle down.

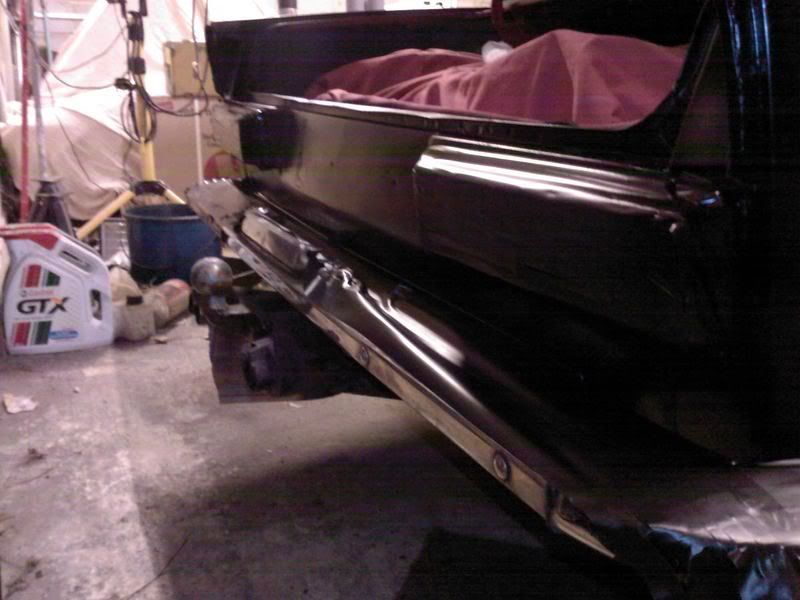
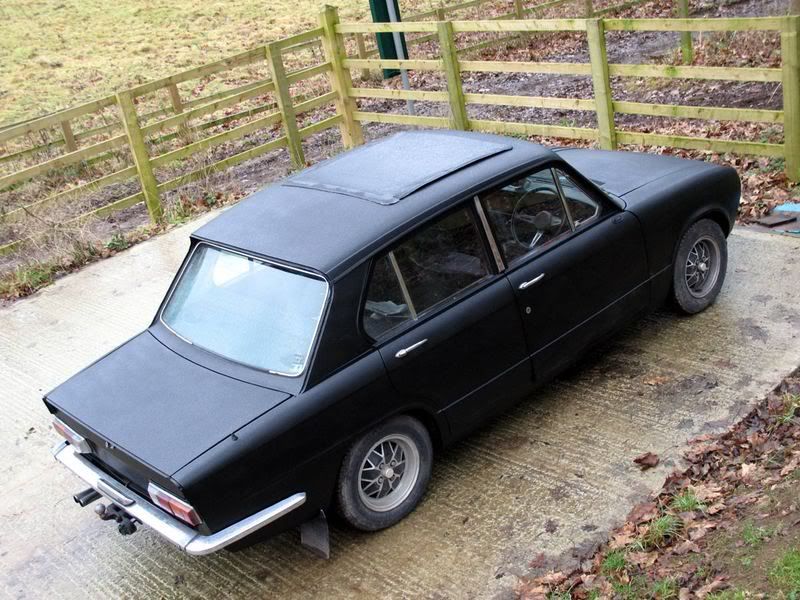
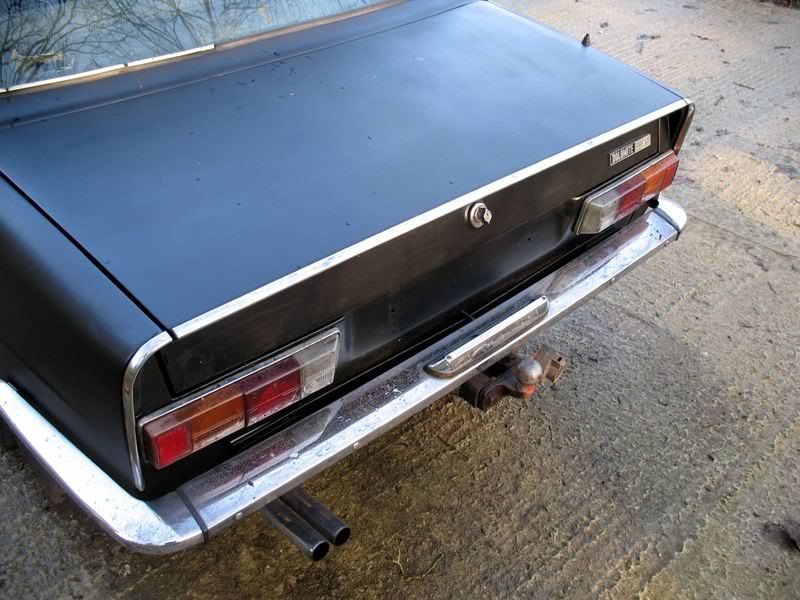
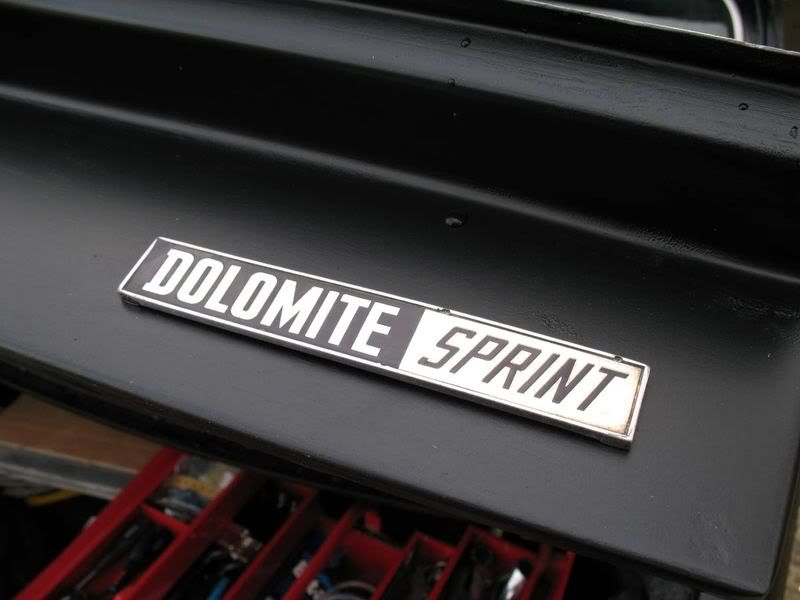
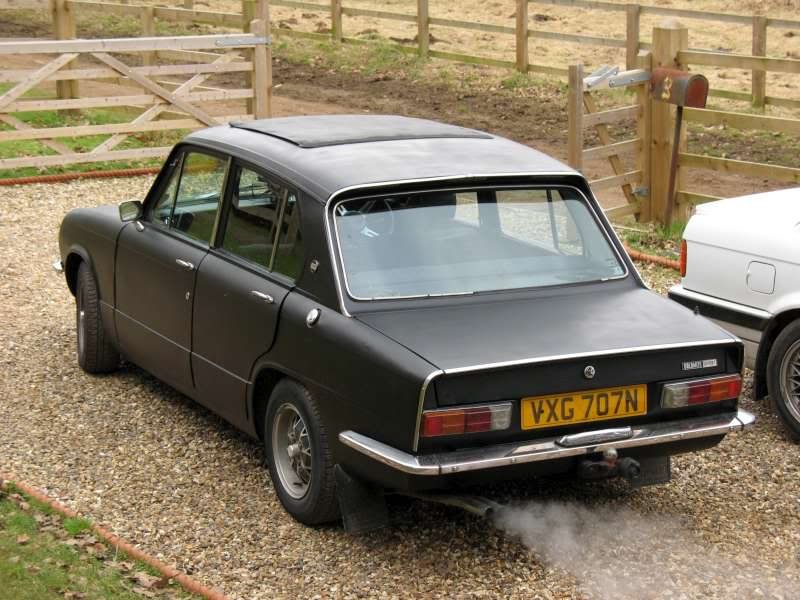
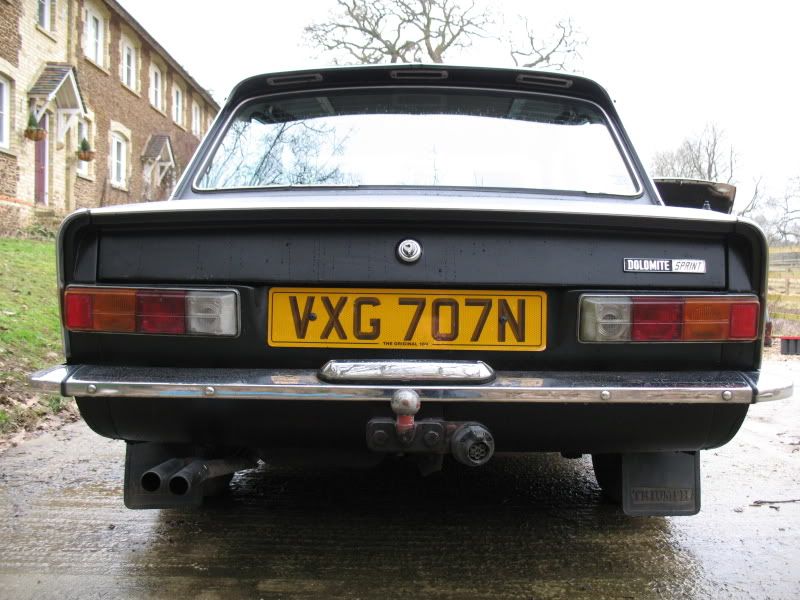
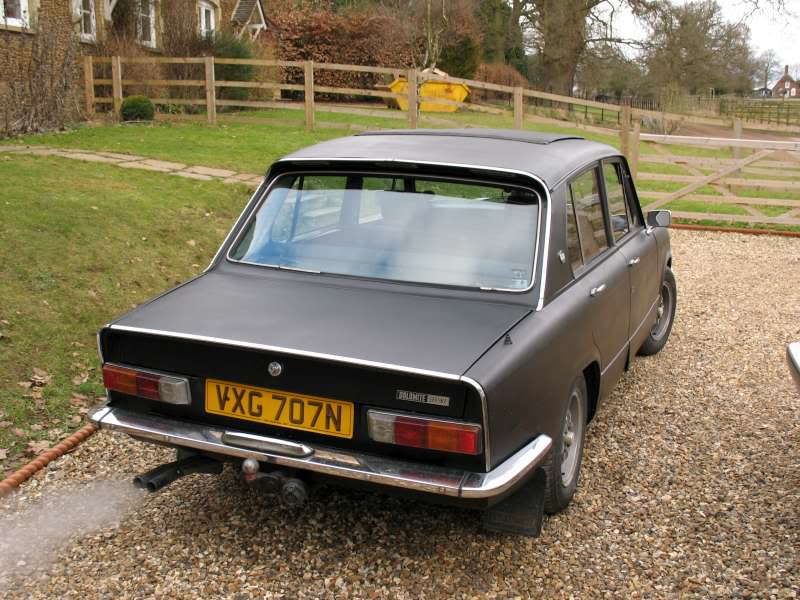
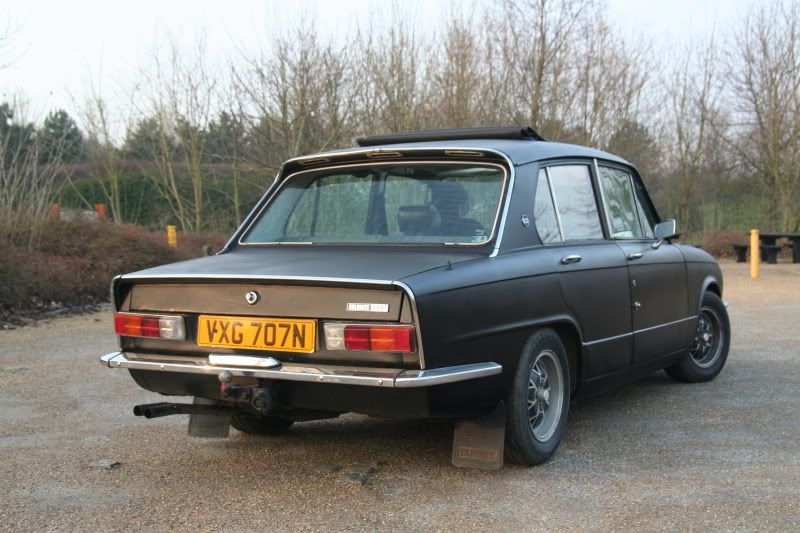
I also reattached all the rear chrome, the desired 1500 trim as originally intended:

202.jpg


......as well as several of the badges:

220.jpg


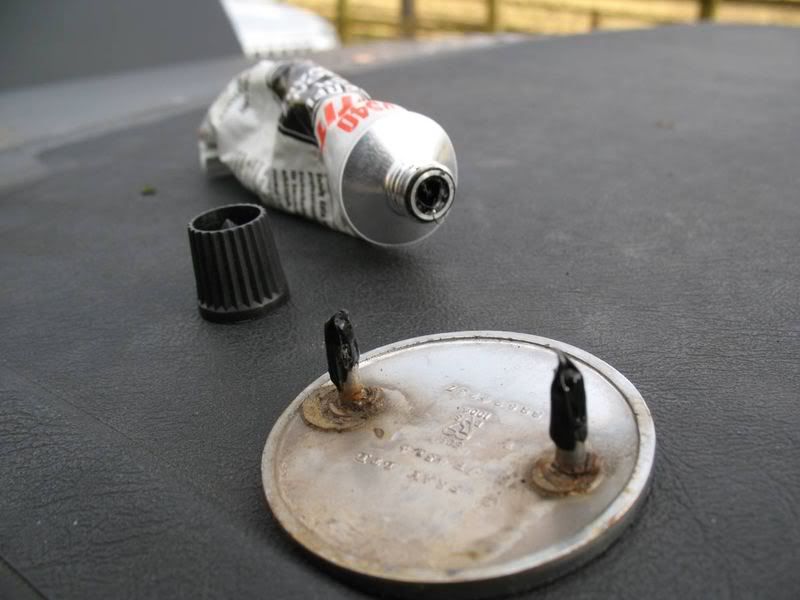
I used a little waterproof sealant just to retain the badges a little more securely (they're push-fit as standard), as well as preventing any water ingress through the trim holes.

219.jpg


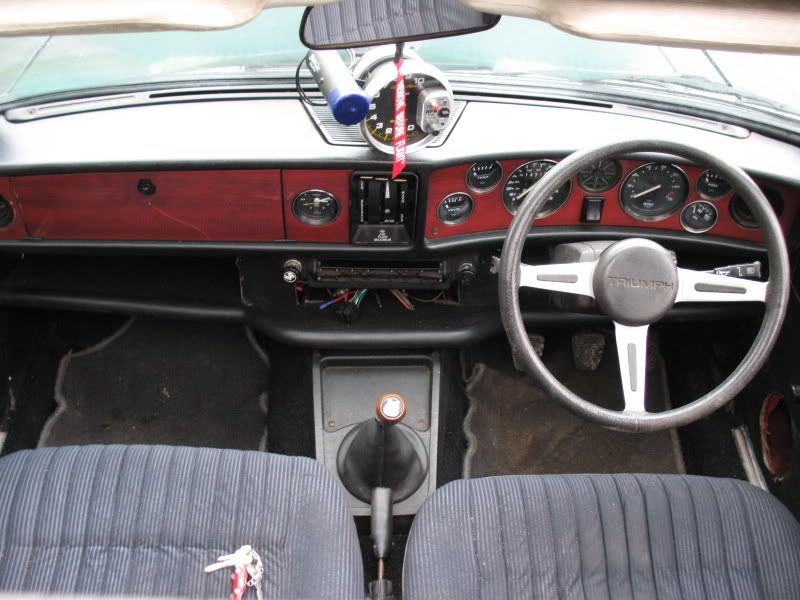
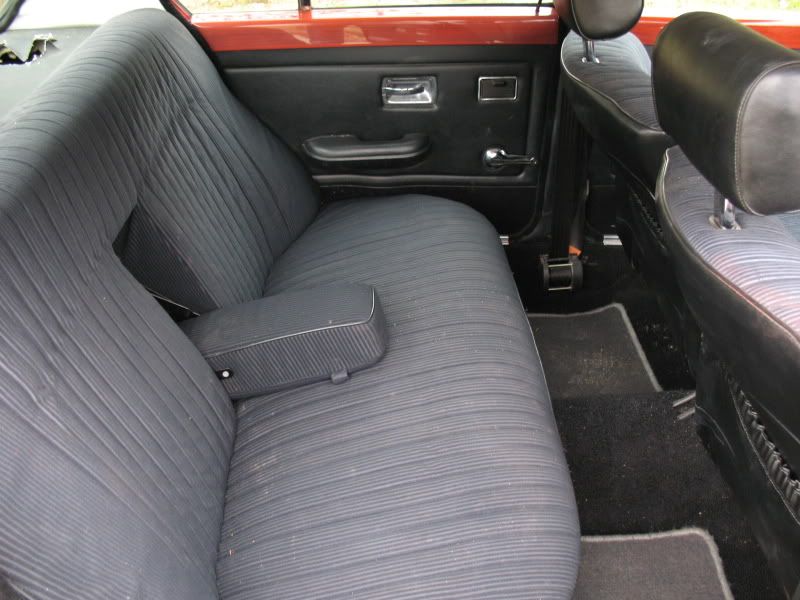
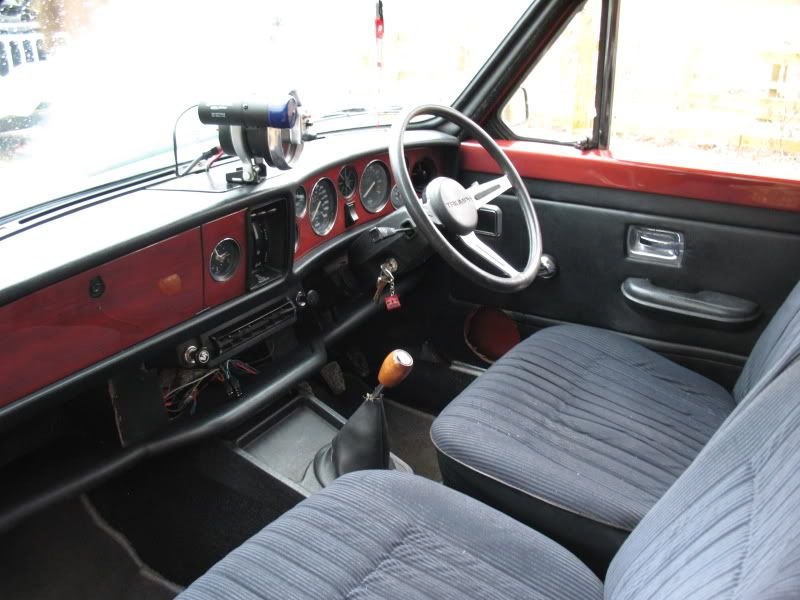
The interior had all got a bit hodge-podge what with the sanding, painting and tools being shuffled around so I spent the morning pulling all the tools out of the boot, sorting through everything, cleaning the toolboxes and binning all the rubbish, as well as hoovering and wiping down the interior.

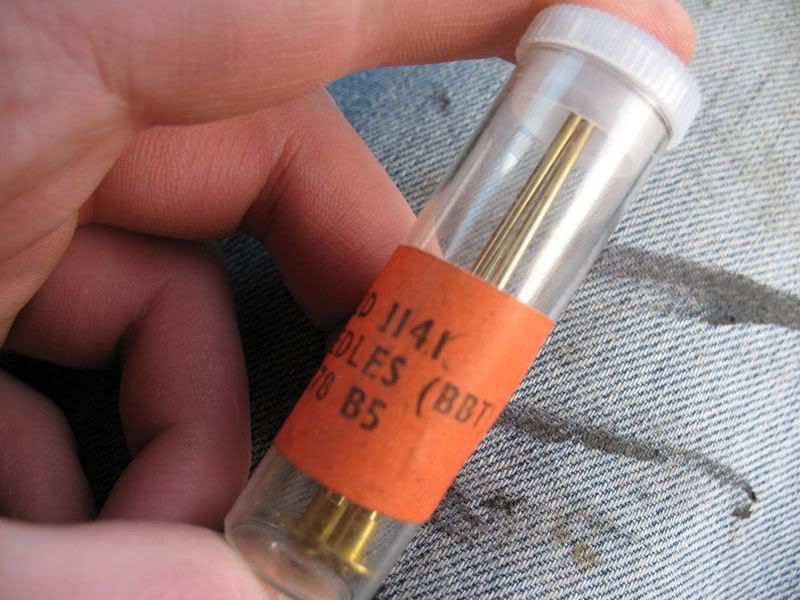
This led to another task - something I'd discovered whilst cleaning out the interior. What I found in the rear map pocket was this:

218.jpg


217.jpg


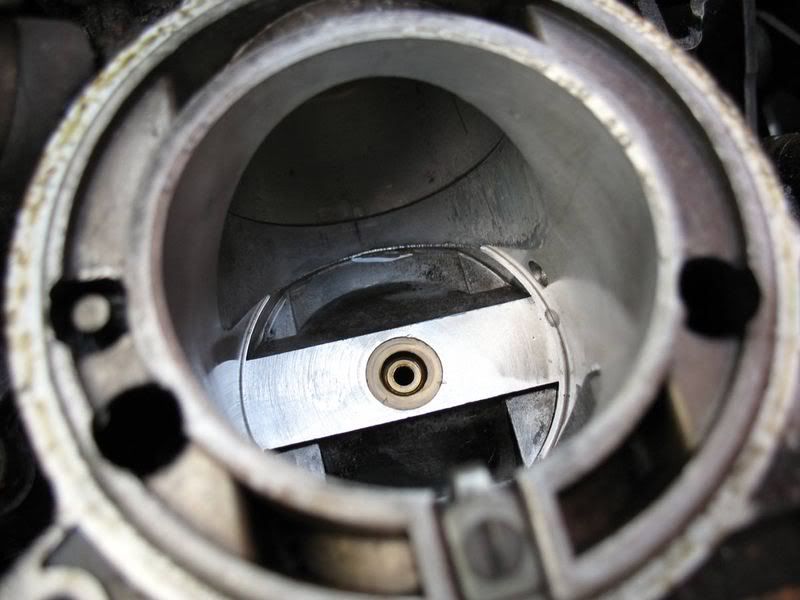
The correct carburettor needles to use with the K&Ns. The tapered needle regulates the quantity of fuel delivered to the engine at any given point, as it moves up and down in response to changes in engine vacuum, varying the size of the orifice that fuel is supplied through as required.

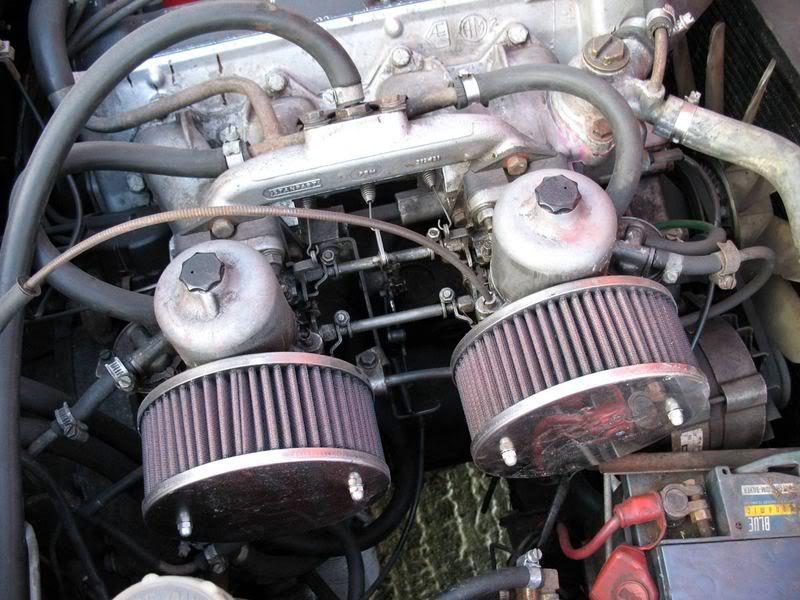
Now K&N filters deliver considerably more air (in this application) than the standard paper filter, which can cause the engine to run lean, as not enough fuel is supplied to match the increase in air supplied. Consequently this requires reprofiled needles, those which I'd found in the map pocket.

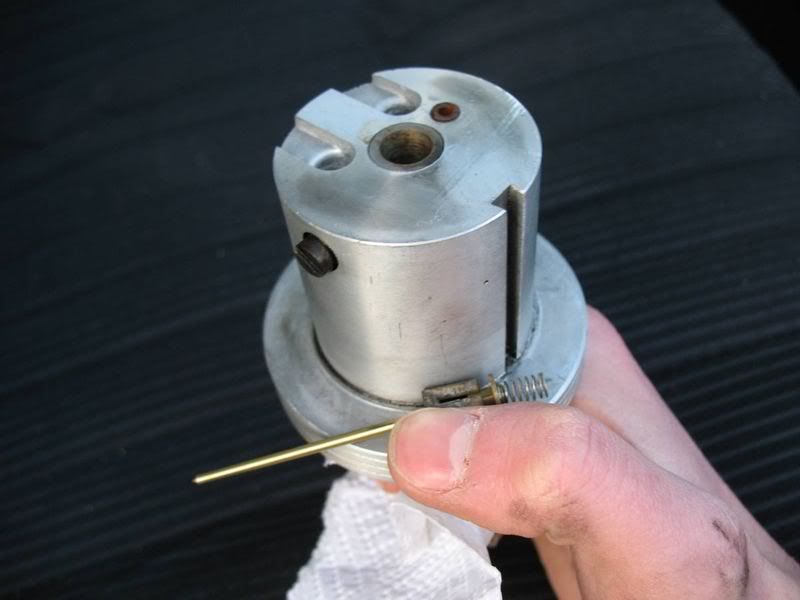
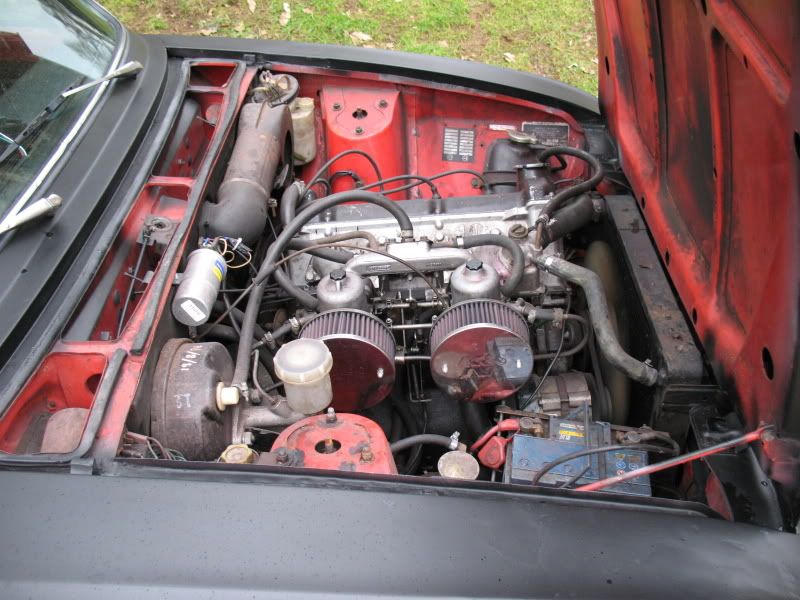
So, seizing the opportunity to give the dashpots a quick overhaul and change the damping fluid, I started to disassemble the carburettors:

215.jpg


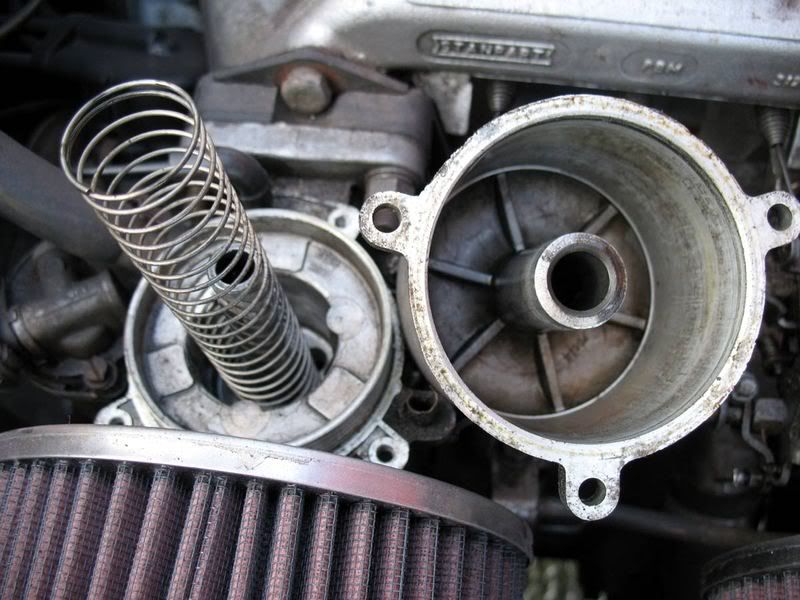
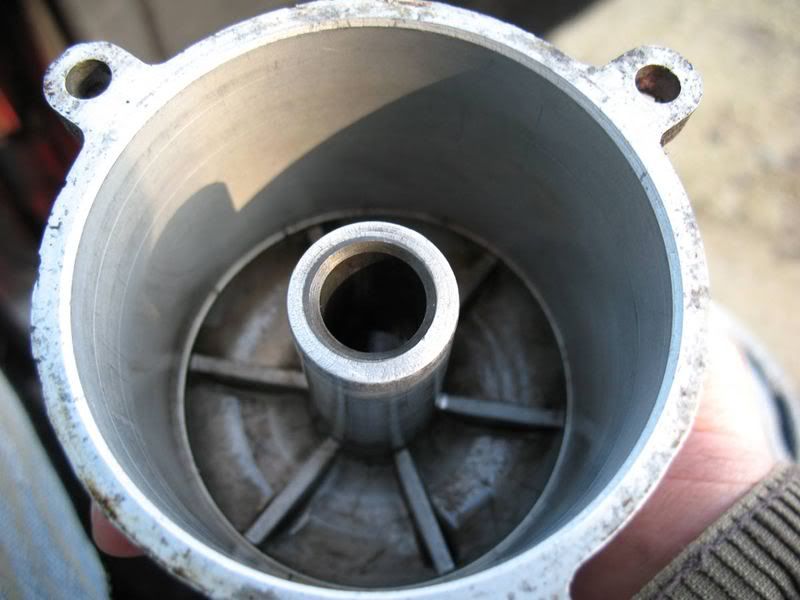
Here's the dashpot exposed - the spring is what makes sure that the dashpot doesn't osscilate and also returns it to the 'zero' position if you let off the throttle.

214.jpg


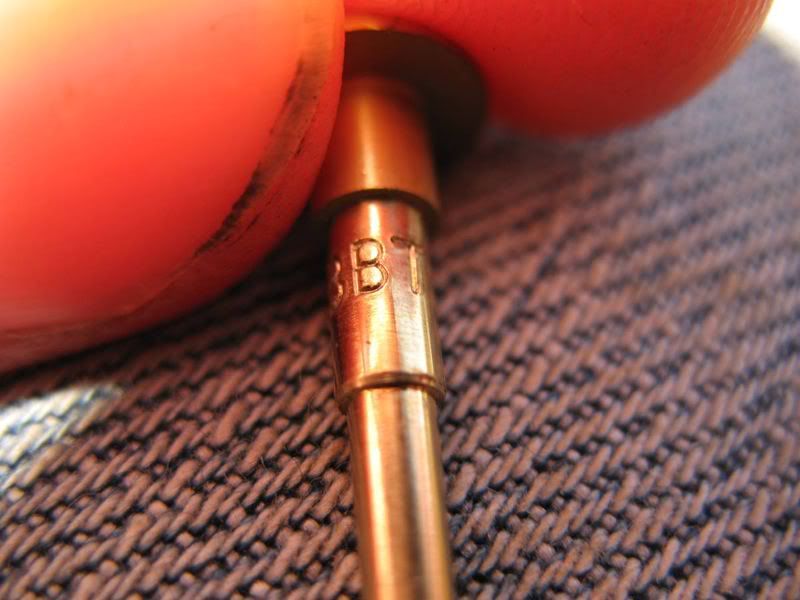
You can see the hole the fuel is delivered through at the bottom (in bronze) here:

211.jpg


....and the dashpot itself:

213.jpg


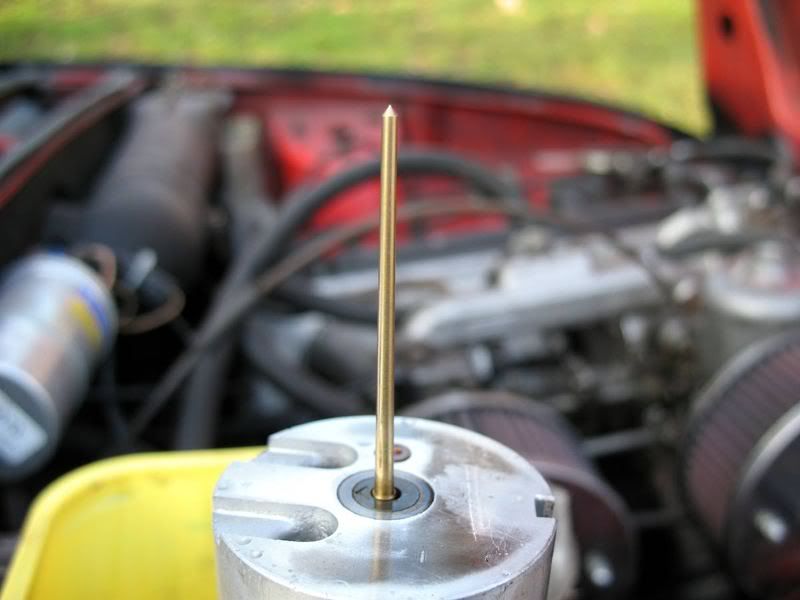
It's upside down to drain the damping fluid and also to stop it potentially bending the relatively flexible the needle in the bottom:

212.jpg


At this point I removed the needles to find that they are the correct profiles, anyway - for some reason there's a spare set floating around. Nevertheless it was better to check and also gave me a good reason to swab everything down with WD40 and make sure it all moved freely.

209.jpg


210.jpg


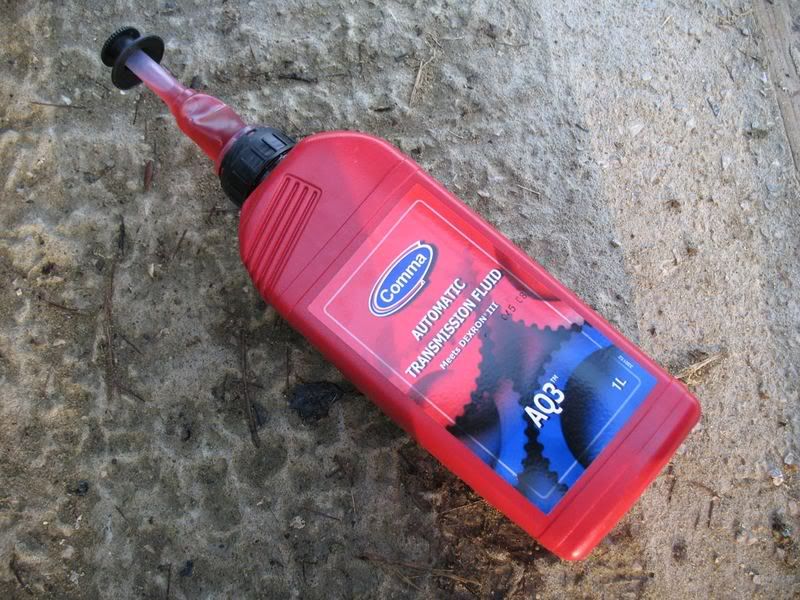
Now, the dashpots are damped, with oil, controlling the rate at which they rise under acceleration, preventing the engine from running too lean or too rich when you squeeze the throttle.

Various sources recommend that you use engine oil but I've always found that automatic transmission fluid gives a slightly sharper, crisper response and in theory will make the engine less likely to go lean under hard acceleration (as the damper is freely able to rise in response to the additional vacuum developed by hard acceleration).

208.jpg


I refilled the dampers, checked all the screws for tightness and fired it up. Runs a treat and certainly seems a bit quicker off the mark when you rev it - I don't know what was in it before but it was quite viscous. It also doesn't fluff or falter now, whereas previously it'd think for a moment before picking up, so result in this instance :)

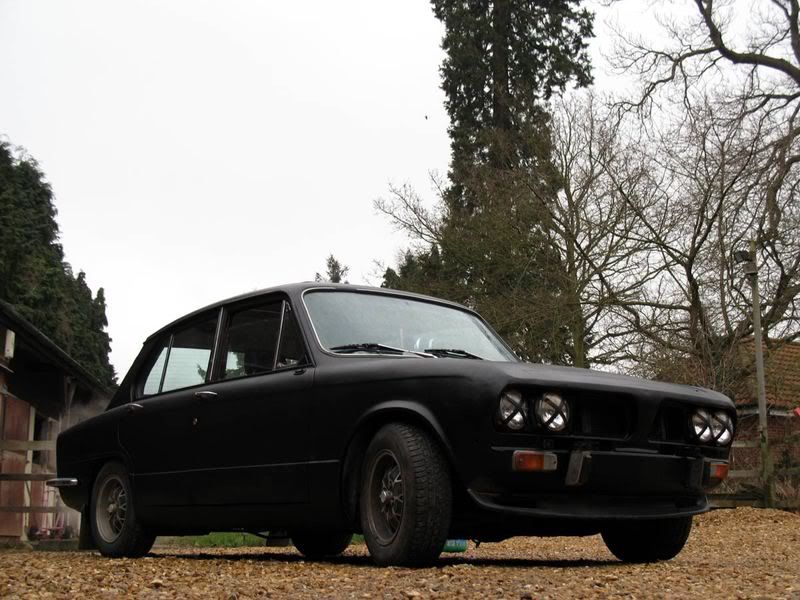
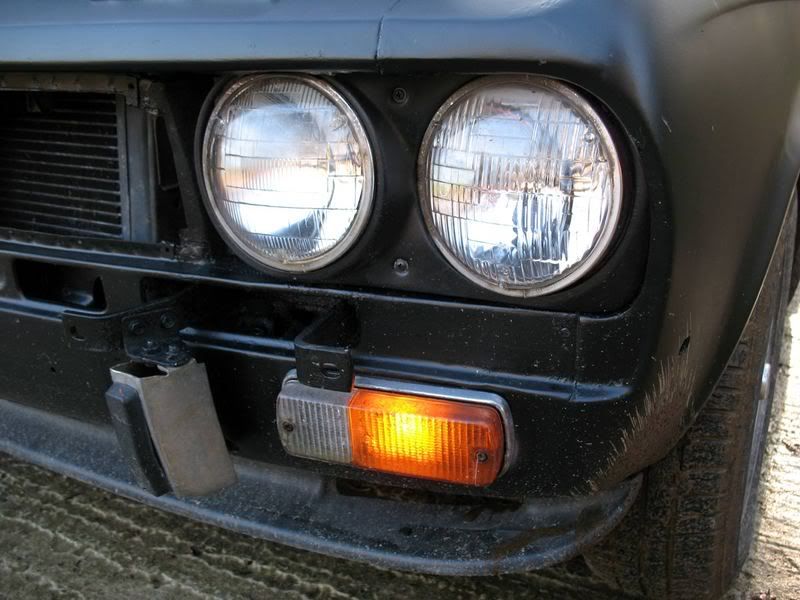
Hey - another bonus - the paint's still all attatched to it :D

201.jpg


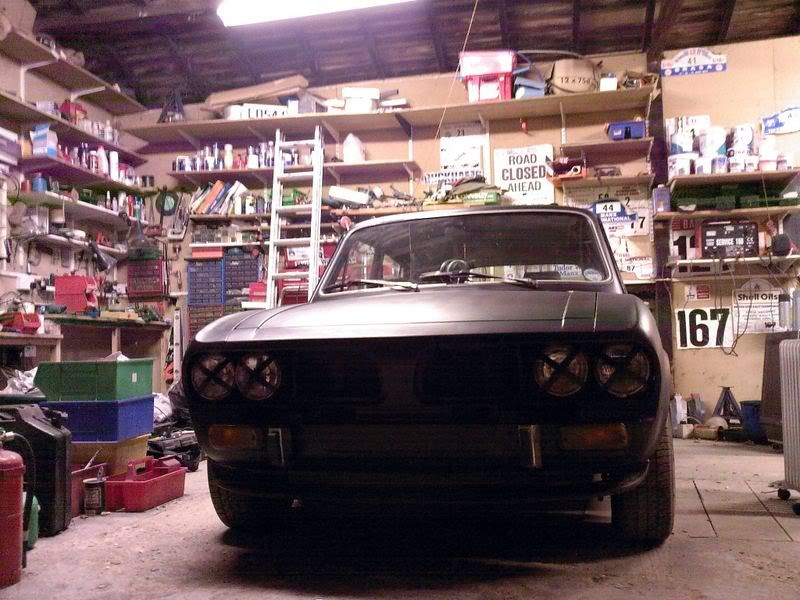
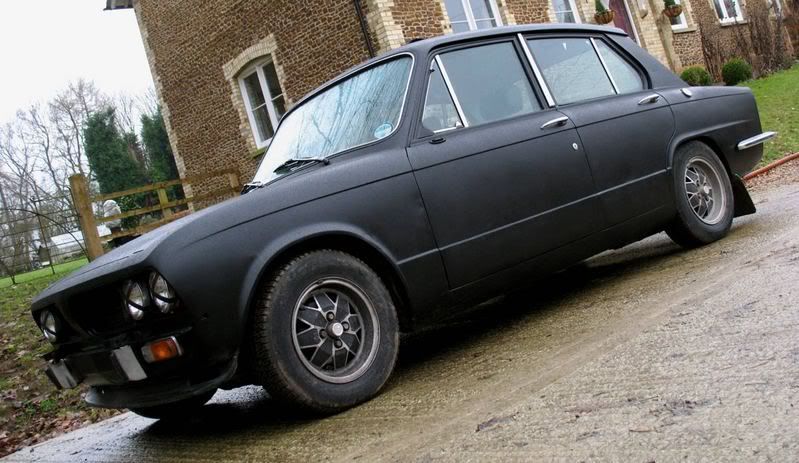
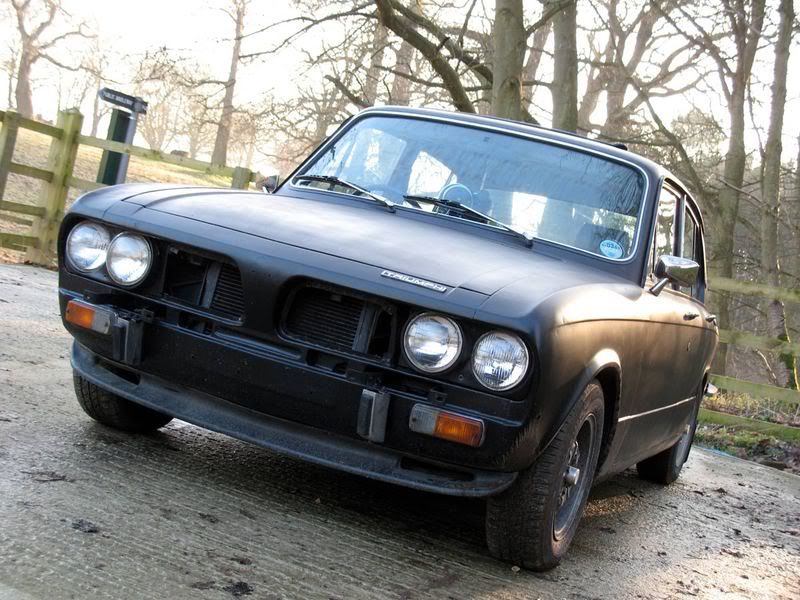
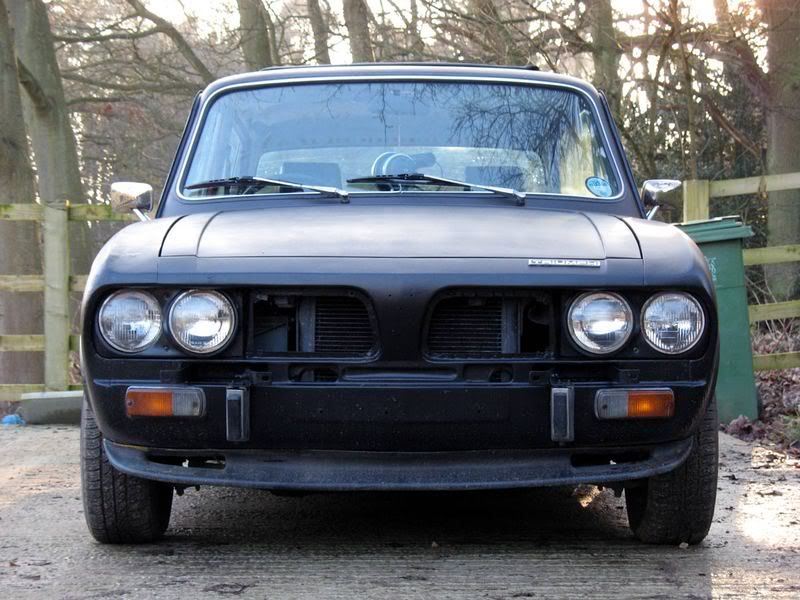
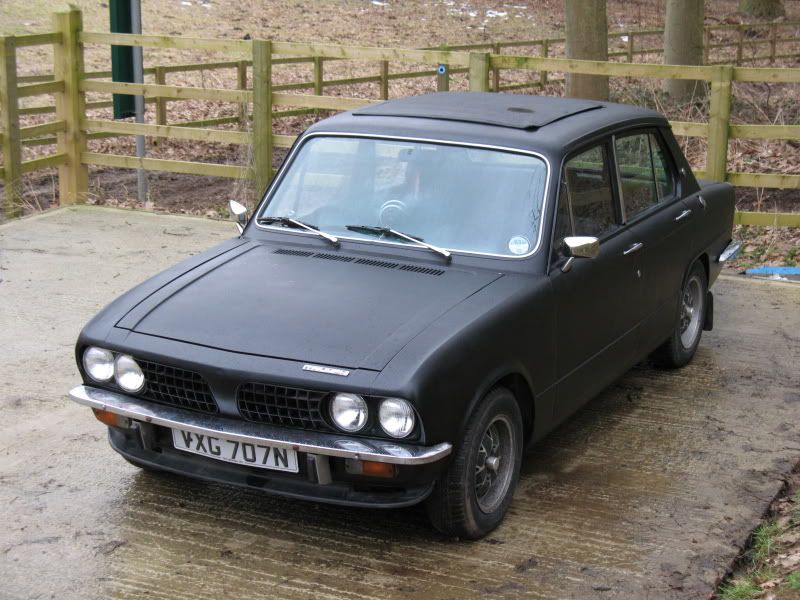
......and as you can see, the headlamp surrounds are now back in place. Grilles next :)

221.jpg


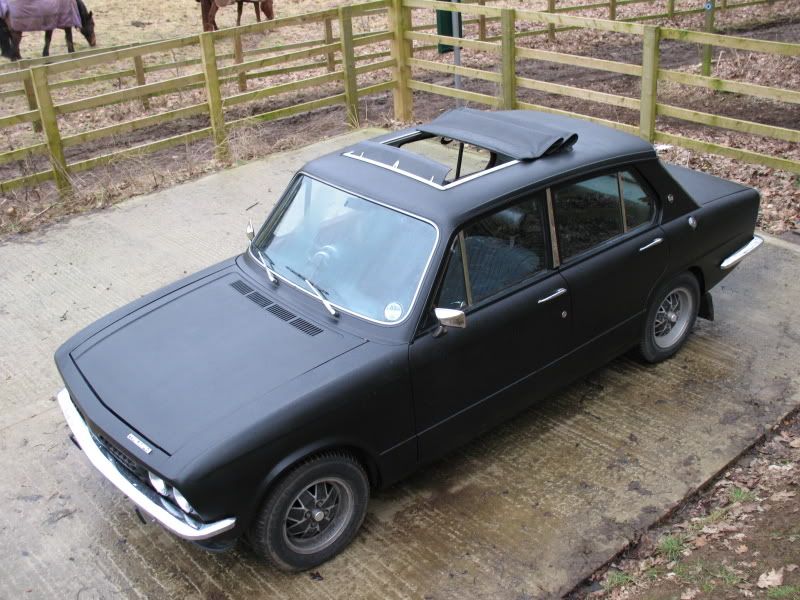
The only dilemma I have at the moment is what to do about the irritating Webasto sunroof. Mine's not very watertight and is also quite heavy. I do have an alternative one in the garage, in good condition, which could be fitted but it'd entail making the apature slightly larger.

Alternatively, I could put a bit of alloy plate over it (just remove the whole thing and rivit plate on through the existing holes used for the Webasto with some sealant for the interim). This'd make it watertight and 'complete' but also mean I could go back to the Webasto later if I saved to get mine recovered, or find an alternative.

Any suggestions welcome :)
 
Last edited:
Yea it will go, soon. I just cba removing the petrol tank and so on, as well as scrabbling about.

Going to waxoyl it soon so will get it on ramps and up in the air - then I'll do that :)
 
An update, ey! Well, this is what the finished product looked like:

IMG_0336-800.jpg


IMG_0333-800.jpg


IMG_0304.jpg


IMG_0296.jpg


IMG_0286.jpg


IMG_0220.jpg


IMG_0226.jpg


IMG_0299.jpg


IMG_0253.jpg


IMG_0255.jpg


IMG_0267.jpg


IMG_0337-800.jpg


Then I got bored with it. I wasn't in a position to use it anymore and sitting wasn't doing any good - so I sold it.

Now lives just down the road:

IMG00242.jpg


.....and is doing just fine by all accounts! :)
 
Have some more pics from the new owner!

IMG_5612.jpg


IMG_5619.jpg


IMG_5622.jpg


IMG00321.jpg


Then:

IMG_5665.jpg


my first track day ever. A special beginners one at Bedford Autodrome. Cannot recommend highly enough, great track, loads and loads of run off area, great instructors.

Passed the noise test (phew!) and after a last minute dash to fit a new brake switch (old one had come apart since buying it!) we were good to go.

IMG_5653.jpg


IMG_5658.jpg


P1020115.jpg


P1020123.jpg


Results of day is the Dolly proved more reliable than a lot of the 911 and happily drove all three of us home afterwards, my Dad still a bit white from the shock of the laps. May have shagged my tyres and really need wider stuff on the back, the speed I was trying to carry into the long straights meant I entered in a sort of four wheel drift. Really surprised how well the car performed otherwise though, no brake fade, nice set up on the suspension....

P1020137.jpg


One of the stewards did come over and compliment me on bringing the only 'proper' car!

P1020136cr.jpg


My favourite - Dolly all over the back of an Exige, he was blue flagged by the next corner and forced to let us pass!

:D

And the Webasto has finally died:

IMG00351.jpg


Plate, just like I was eventually going to! Soon to be painted black also :)

Seems my engine's doing a fine job though - very pleased. Did something right if it's taken a pounding around a circuit, putting out maximum power and just thundering onwards with no issues! :D
 
Last edited:
Nah, he's a new guy, never owned nor looked at one but my advertising reached him locally - he was only just down the road! Popped in to have a look at it to satisfy his curiosity and bought it! :D
 
Back
Top Bottom