Ahh damn thanks and sorry for getting it wrong, I didn't expect that! Lets try again with Postimages...They are blocked because they don't work unless you have a paid account
Have a look here for suggestions
*** Forum Update - Official Issues Thread - Please check the OP for known issues ***
Is there any chance of having the :cool: smiley added to the 'Like' button on a post?forums.overclockers.co.uk
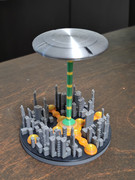
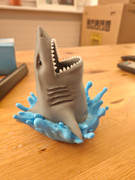
My settings are pretty dialled in now but in this crazy weather a little stringing is quite hard to avoid. However, bear in mind that close up images of 3D prints always show imperfections that are almost invisible from regular viewing distances.
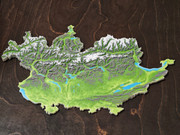
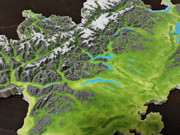
The topographic map was all printed in one go and is so beautifully detailed, it's amazing.

Yay, Postimages works!

Last edited: