Renovating a w/c room - studding out walls and tiling floors

Soldato
Joined
4 May 2007
Posts
9,474
Location
West Midlands
Hi all,

Similar to other thread thought I could document below and give some pics.

Its going to be a tiled floor and painted walls.

Studding out waste pipe wall
thinking of studding out the wall to hide waste pipework - means entire wall will be flat rather than a small boxing for waste pipework at low level.

I know a plasterer already and would be getting him to do the back wall by the window regardless, so once i get the wall boxed in I suspect it will cost very little (maybe £100) which I think will be worth it.

The current dot and dab is approx 25mm deep.

I would stud out 38mm (to capture the 32mm wastepipe) then 12.5mm plasterboard on top, so losing about 20mm on the wall side.

Any issue with a 32mm waste rather than 40mm?


Floor tiling
I was going peel off all the tiles
Fill and deep holes/punctures from tile removal (it's a concrete sub floor)

Liquid sika damp proof membrane (effectively paints the floor) - I don't believe any primer is required after this for Levelling?
Self Levelling compound (any recommended?)

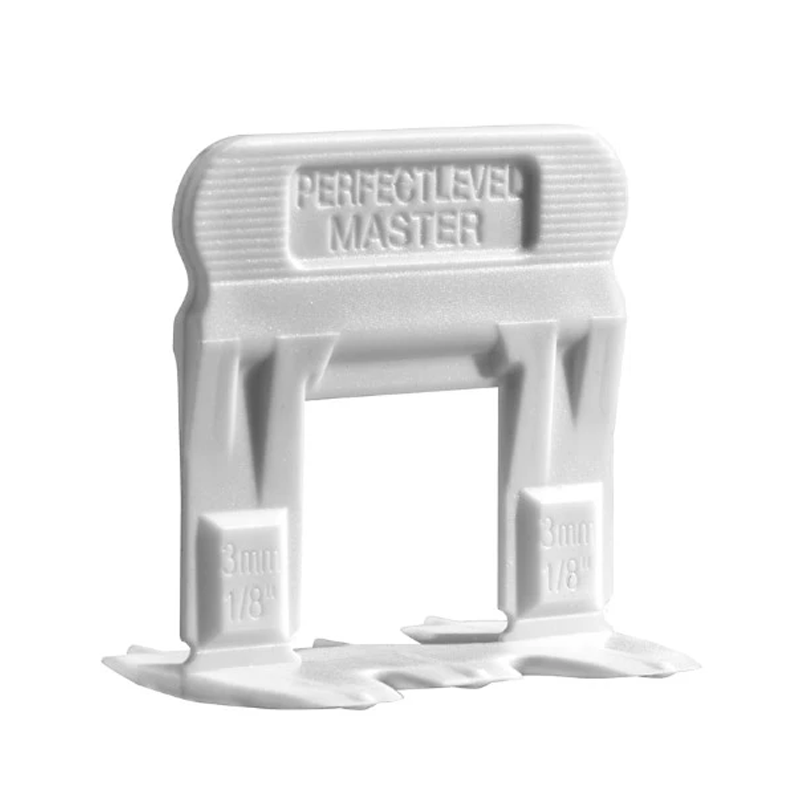
Tiling - anyone recommend any of the "Levelling clips"?


Pictures

This is before but id already removed the pub tier horrible toilet seat
rPB1AN2.jpeg


NCLXOC4.jpeg


As you can see the door has been moved, I also got rid of the pullcord and instead the light is triggered by a microwave switch (similar to PIR)

YKZTkqY.jpeg


hTJZLRM.jpeg


This length of waste pipe boxed protrudes approx 110mm into the room (unnecessarily as its only a 40mm waste?)

gzwJDUx.jpeg
 
Associate
Joined
23 Jan 2005
Posts
1,381
35mm for whb 42mm for bath or shower, you might be lucky and be able to sink the pipe further into the wall so you won’t have to build it out so much
 
Soldato
OP
Joined
4 May 2007
Posts
9,474
Location
West Midlands
35mm for whb 42mm for bath or shower, you might be lucky and be able to sink the pipe further into the wall so you won’t have to build it out so much
Whb?

The wall behind it is a brick load bearing wall, and whilst I would be able to chase it out, I believe long horizontal chases is a bad idea structurally.
 
Soldato
OP
Joined
4 May 2007
Posts
9,474
Location
West Midlands
Wash hand basin
Ah cool, I looked on building regs and says 32mm OK for hand basin so I presume 35 was a typo?

Also, I'll have to consider/check building regs for a small fall across the pipe. Does it matter if there's a vertical drop both at the sink end and at the other end before going out the wall?
 
Associate
Joined
23 Jan 2005
Posts
1,381
You might be luck and have thick plaster that you can remove to get the pipe close to the wall then frame above and below so plasterboard sits against the pipe so you don’t have to build the wall out too much, also you might be lucky with the joists and be able to take the pipe under the floor and out
 
Soldato
OP
Joined
4 May 2007
Posts
9,474
Location
West Midlands
You might be luck and have thick plaster that you can remove to get the pipe close to the wall then frame above and below so plasterboard sits against the pipe so you don’t have to build the wall out too much, also you might be lucky with the joists and be able to take the pipe under the floor and out
Concrete floor unfortunately, I did ask my plumber about breaking out the floor but he suggested as it's an old cast iron pipe with unknown sweep it would be a lot of excavation for little return.

For info, the current opening between the walls is around 890mm and if I did stud it out I'd expect it to be 860mm so wouldn't be significant loss.
 
Soldato
OP
Joined
4 May 2007
Posts
9,474
Location
West Midlands
Should i primer and level out small patches like this prior to using a liquid DPM (sika dpm) on a concrete floor?

Then after dpm go straight to tiling if it's sufficiently level?

Or liquid screed it all after it's been DPMd? It's pretty damn flat/level already but I could try get 1mm of so latex screed?

Any recommended products? Already bought the dpm


Any thoughts @200sols ?

HTRbAjQ.jpeg

SCVDbbb.jpeg


0PgnUMO.jpeg
 
Soldato
Joined
14 Jan 2018
Posts
14,853
Location
Hampshire
How far out is that floor? It doesn't look like much but hard to tell. If it is a few dips I'd just fill them with a bit of tile adhesive either when or prior to tiling.

Why are you using a dpm product anyway?
 
Soldato
OP
Joined
4 May 2007
Posts
9,474
Location
West Midlands
How far out is that floor? It doesn't look like much but hard to tell. If it is a few dips I'd just fill them with a bit of tile adhesive either when or prior to tiling.

Why are you using a dpm product anyway?
Aye it seems fairly Bob on the floor, maybe a mm or so out on a 1.8m level. So I believe with self Levelling clips could be sound?

I do have some spare fast set tile adhesive so I could just primer those spot sections multiple times then put in some tile adhesive.

Im using a dpm as its an older property, with concrete floors without a damp proof course (it does have have engineering bricks to the perimeter). I believe its fairly standard for any concrete floor.


Do you recommend any of those Levelling clips?

I also need to work out where to get some slow set tile adhesive (my tiler who did other bits recommended slow set adhesive l
 
Soldato
OP
Joined
4 May 2007
Posts
9,474
Location
West Midlands
I use perfect level master.

Slowest certainly easier yeah, I use ultra adhesives myself. https://www.protilertools.co.uk/pro...-standard-set-flexible-s1-adhesive-white-20kg
Cool thanks,

Did you use the setting tool as well or just set them by hand?


The tiles I've got recommend a 3mm grout line so use 3mm clips?


Also I currently have a 8mm by 8mm Square trowel, which I understand from the below gives a 4mm bed of adhesive, possibly not necessary if the floor is pretty flat and could go for a 6*6 trowel and a thinner bed of adhesive? 3mm?

 
Soldato
OP
Joined
4 May 2007
Posts
9,474
Location
West Midlands
Thought I wouldn't need to level this section but realise the previous leveller used felt hollow/was coming up fairly easily, so I knocked all the old sections out and only some sections left that are well bonded.

Primered (going to do multiple coats)

Then going to self level
Then damp proof membrane
Then tiling


Just made a 300 quid order for some tools, leveller, adhesives...

Not sure if I'm going to break down the wall on the right to try hide the waste pipe. A lot of effort for limited returns possibly.


1ENXG5P.jpeg

0DF96PN.jpeg
 
Soldato
OP
Joined
4 May 2007
Posts
9,474
Location
West Midlands
3wQNCnJ.jpg I infact used 3 coats of sika rapid rpm prior to tiling. You cast kiln dried sand into the last coat to aid the grab


Doesn’t feel like 300 quid of gear this.

sjxI8Da.jpg


Self levelled the floor tonight…I hope it’s fairly flat/level


IxDlNj6.jpg

Would it be best to start at the awkward cuts near the top end of the room and work back towards the door I presume @200sols ?

I might do it over a couple evenings so I could work in the corner near the radiator then back, then section 2 behind that, then jump back over it, then section 3 near the soil pipe last? (over 3 days?)

Its an odd way to do it, just thought it makes sure all the alignment is bob on near the finishing point by the door.

Edit: just seen this so might just dry lay/cut it all then try to fit it in one day /evening
 
Soldato
OP
Joined
4 May 2007
Posts
9,474
Location
West Midlands
Any thoughts to this layout


Smaller cuts down the left near radiator (which will usually be obscured by the door) and centre aligns with window/toilet.

My tape measure indicates itd be roughly a whole tile down the back. There will be a doorbar to the adjacent floor (which isn't cut flat with the door slam strips....)

y3R1YS1.jpeg
 
Soldato
Joined
13 Nov 2006
Posts
24,744
@Buffman could you provide a rundown of that pallet contents please?

I see a tiling kit, mixer, trowel, spacers, adhesive, sanding disc (for old grout?), sponge, leveling kit and grout what else please?

What's the spiky roller for? The floor?
 
Soldato
OP
Joined
4 May 2007
Posts
9,474
Location
West Midlands
@Buffman could you provide a rundown of that pallet contents please?

I see a tiling kit, mixer, trowel, spacers, adhesive, sanding disc (for old grout?), sponge, leveling kit and grout what else please?

What's the spiky roller for? The floor?
The Spiked roller is for when using self leveller. As I understand its to help "release trapped air bubbles, preventing them from curing on the surface."

It is a grinding disc to attach to an angle grinder to cut porcelain tiles.

Attached a pic of the order. I ended up ordering from Pro tiler tools, but the order was late (told me it would arrive Friday then didn't, and asked if I'd like to pay £60 more for Saturday delivery). There was also nail through one of the bags of tile adhesive. I've found them a pain before and probably won't use them again.


qOBYw1F.png
 
Soldato
OP
Joined
4 May 2007
Posts
9,474
Location
West Midlands
That layout for tiles looks good, looks like it narrows towards the bog

I take it you have checked that its not going to require any slivers down the left side (as you look at photo) as you get towards the bog? (That would be my only concern)

Good point, well made! Not checked that yet but looks relatively straight, plus already cutting a small amount off one so got a lot of play in it.

Think I'll get a couple boxes out and dry lay it all out then cut it.
 
Back
Top Bottom