You are using an out of date browser. It may not display this or other websites correctly.
You should upgrade or use an alternative browser.
You should upgrade or use an alternative browser.
RIVALRY - Dual BitFenix Phenom rivalling game projects
- Thread starter Hukkel
- Start date
More options
Thread starter's postsAssociate
- Joined
- 2 Jul 2012
- Posts
- 1,115
- Location
- Berkshire, UK
This is absolutely stunning dude! Can't wait to see what it looks like when it's complete.
Associate
- Joined
- 20 Jan 2014
- Posts
- 40
How are those Be Quiet Pure Wing fans? I am considering picking up a few.
That acrylic is too nice...
Must... not... use...
haha DO IT!! DOOOO IIIIIT!

Very nice amazing the skills a lot of people have on this forum so many nice builds. Im guessing the white will be started when then black builds finished?
Hey Pedaars, thank you. Yeah essentially that is the plan. Maybe I will do some stuff on the white one as I wait for stuff for the black one. Biggest issue is our own custom waterblocks. They take time to design, prototype, test, new prototype etc.
This is absolutely stunning dude! Can't wait to see what it looks like when it's complete.
Thanks a lot Roger!
Any tips for drilling the acrylic? Does it crack easily?
Hey mate, plexiglass melts really fast. If you have drilled or sawed it a couple of time you know exactly when this starts happening. I personally use drillbits and sawedges for metal (the fine type with small teeth). If you can always keep the foil on both sides, this keeps the temperature lower. If you see it starts melting at the drill or saw edge just give it some time to cool down and do another bit (or be impatient and poor some water over it). Just take your time and do not overly use pressure or use a big teeth saw edge. They will chip the plexiglass like mad.
How did you secure the standoffs, just a nut on the other side?
The plastic front and top is thick enough to just drill a 2,5 hole and then thread the hole for M3. The doorpanel is a tad too thin. I will buy some nuts to put behind the metal to secure the standoffs even better.
Absolutely amazing skills, can't wait to see more pics.
+1 for "shiny and smoky" - I reckon you will get some interesting lighting effects that you wouldn't get from "matt black"
Thank you Luggs. I am going to give that a try first. If it will look meh I can always paint it. The other way around will be quite difficult ^^
Looks great man, I'm sitting here trying to talk myself out of a mini ITX build and you go and do something amazing like this. I'm very jealous and looking forward to the finished results.
Thank you very much for your kind words Gambisk. Means a lot.
How are those Be Quiet Pure Wing fans? I am considering picking up a few.
Hi Terrabytez. They're Silentwings 2.
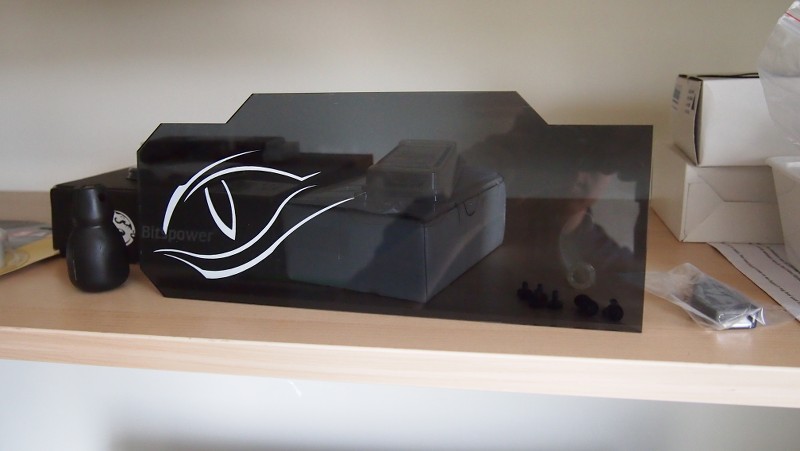
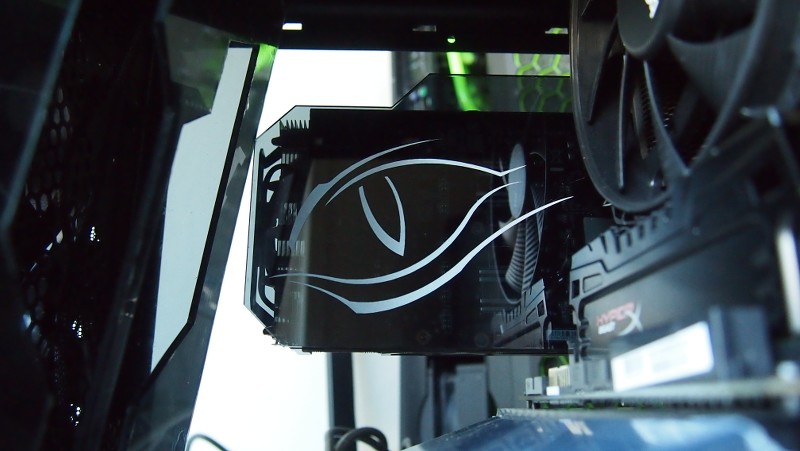
So I wanted to also make a cover for the rear fan but the gfx card is dangerously close in the way. Knowing I would make a backplate for the gfx card as well I needed to make that first in order to know how much room I had for the fan-cover.
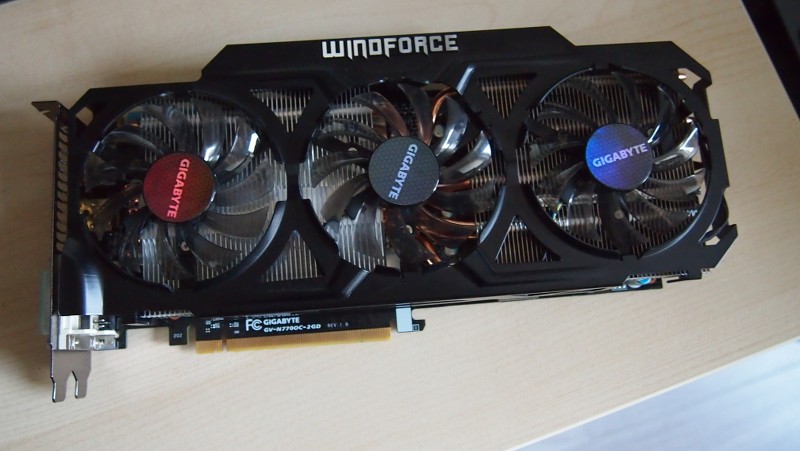
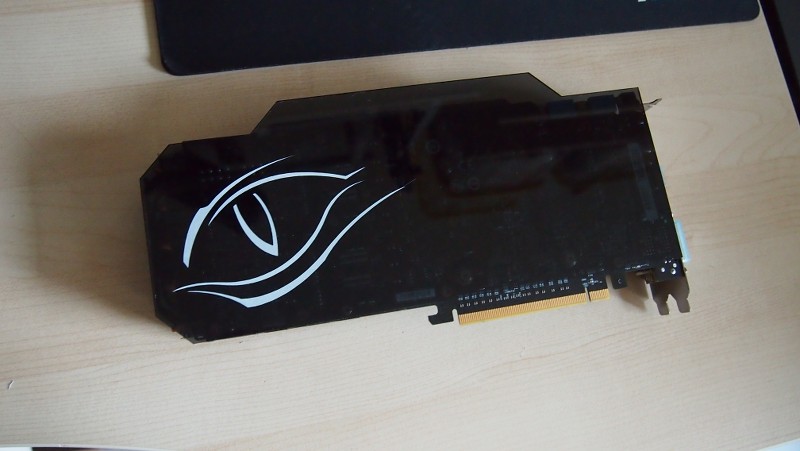
I have made one using the same smoked acrylic and wanted to try and retail some of the WIndforce 3 cooler shape in it. In my opinion it would look odd with the cooler sticking out the side of the backplate on all sides.
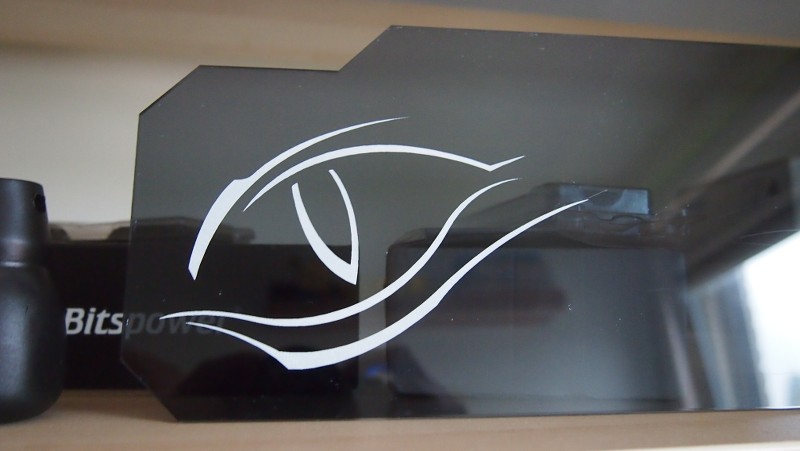
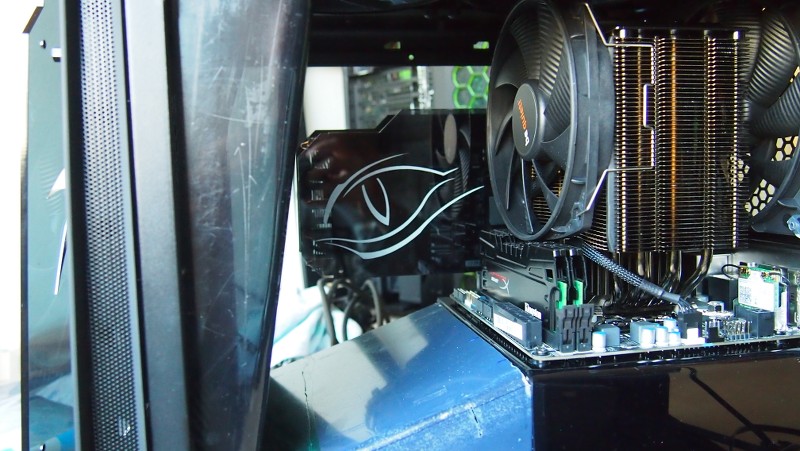
Also I like the Gigabyte new "eye" logo a lot, but I rather do things a tad different. My good friend Ian helped me out (as he always does) and we created a bit more of an evil dragon/snake/cat eye. Something a bit more sinister fitting the theme without using skulls and bones and stuff. The reason why the gfx are in the left 12 cm of the backplate is because this way the gfx are visible when the gfx card is inside the build. The big aircooler is blocking the rest of the rear of the card. I didn't want only the tip of the gfx sticking out. I have just painted the IO shield of the gfx card matt black. That is drying currently. Tomorrow hopefully I can show a picture of how it looks inside the build with the cpu cooler partly in front of it.


Already liked you image via Dutch Lion but just thought I'd how good it looks. Can you tell me how is the image applied to the panel?
Hey Colin, yeah I saw tnx man.
I tried a new route this time. The backplate was lasercut, the gfx were laser engraved and then acrylic paint was applied to the engraving twice. Just put it on the gfx with your finger, rub it in and then rub over the entire plate with a piece of cloth.
Again a small update.
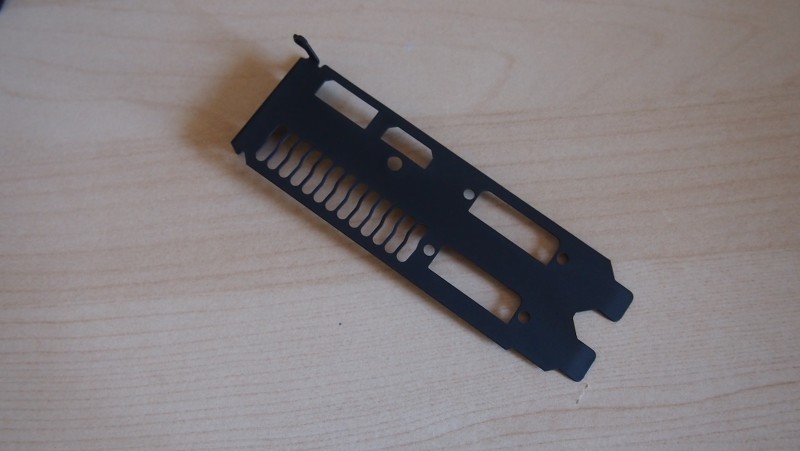
I painted the IO slot for the gfx card matt black. Now the entire gfx card has this dark theme to it. I could paint the fans as well but I kinda want them to stick out a bit.
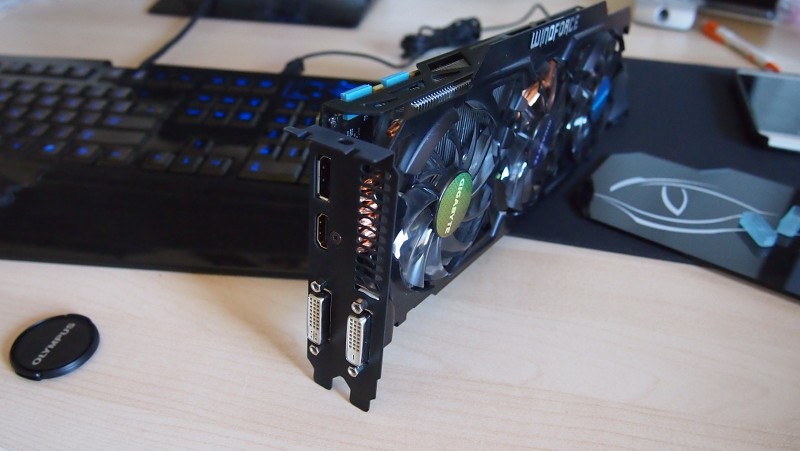
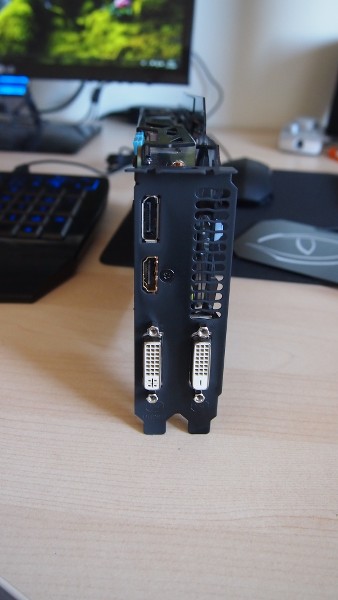
Here you can see that the backplate gets covered by the CPU cooler for quite a bit.
But the eye doesn't get covered this way.
Pls note that 2 of the inside covers still have the ugly foil on them for protection.
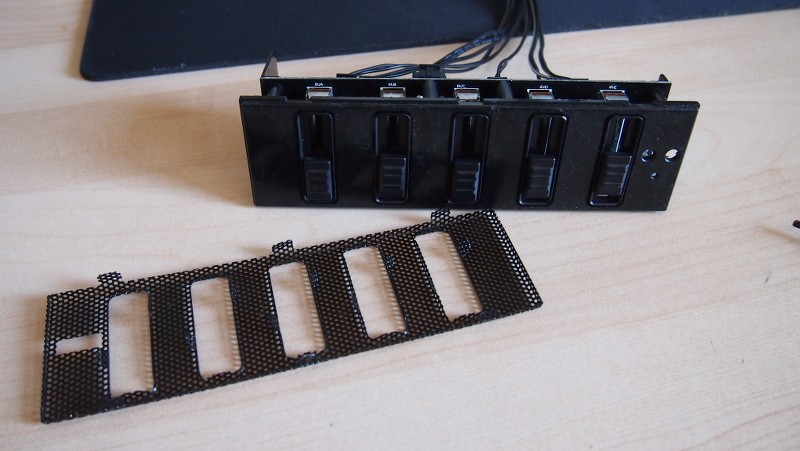
I bought this used fancontroller by NZXT. I wanted this because it actually gives some decent wattage per channel and it has slides which is what I wanted for this build.
I will take the front end off and fit it directly to the plexiglass middle cover.
I was actually doing that this evening and then I cracked it so I need to make a new middle section cover now :facepalm:

And 2 more photos of the gfx card on it's back. I think it makes the card look very smooth.
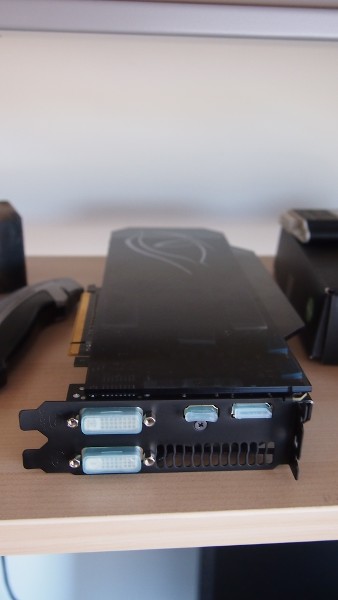
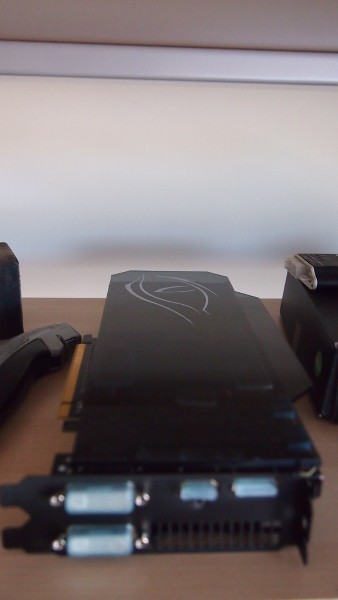
I painted the IO slot for the gfx card matt black. Now the entire gfx card has this dark theme to it. I could paint the fans as well but I kinda want them to stick out a bit.


Here you can see that the backplate gets covered by the CPU cooler for quite a bit.
But the eye doesn't get covered this way.
Pls note that 2 of the inside covers still have the ugly foil on them for protection.


I bought this used fancontroller by NZXT. I wanted this because it actually gives some decent wattage per channel and it has slides which is what I wanted for this build.
I will take the front end off and fit it directly to the plexiglass middle cover.
I was actually doing that this evening and then I cracked it so I need to make a new middle section cover now :facepalm:


And 2 more photos of the gfx card on it's back. I think it makes the card look very smooth.


Hey Colin, yeah I saw tnx man.
I tried a new route this time. The backplate was lasercut, the gfx were laser engraved and then acrylic paint was applied to the engraving twice. Just put it on the gfx with your finger, rub it in and then rub over the entire plate with a piece of cloth.
Thanks for sharing the info, learning lots of new things view your logs

Would love a desktop cutter/engraver so much possibilities open up when you have access to this equipment.
Great effect, how the eye is kinda peeking out from behind the cpu cooler, reminds me of the scene from The Hobbit when we first see Smaug's eye in the pile of gold

Haha great minds think alike bro. It reminded me of the same thing. 
Well I have found by accident a shop that is silly close to my house where a friendly man has all the tools I could dream off and charges so little I could not want one of these machines in my house or shed. I rather go to him instead.

Well I have found by accident a shop that is silly close to my house where a friendly man has all the tools I could dream off and charges so little I could not want one of these machines in my house or shed. I rather go to him instead.
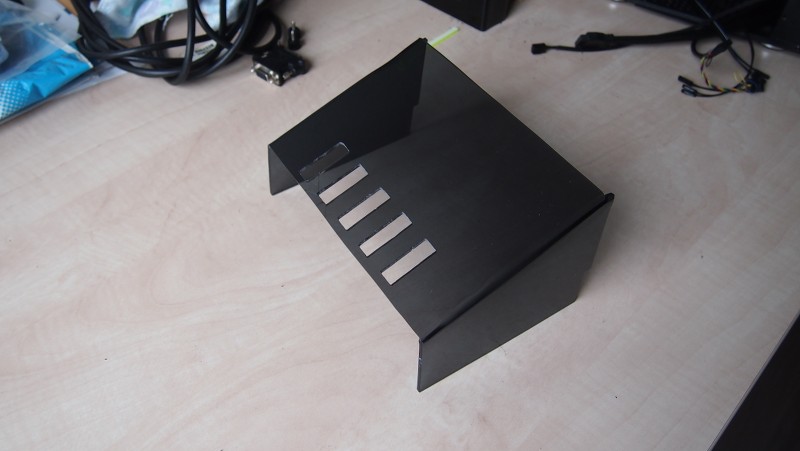
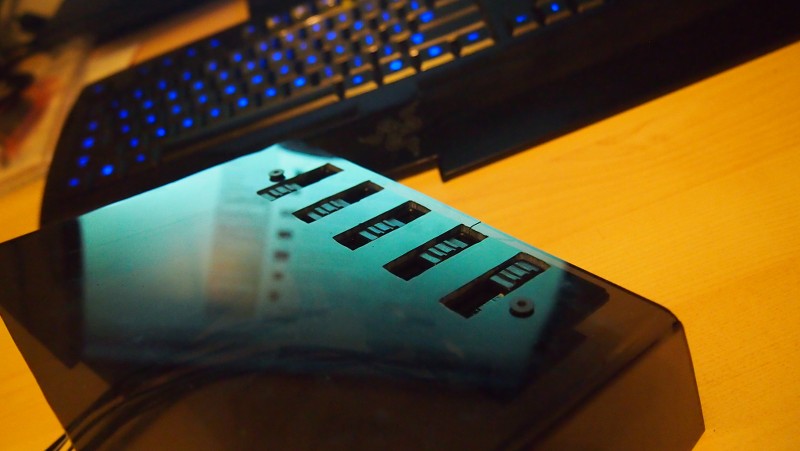
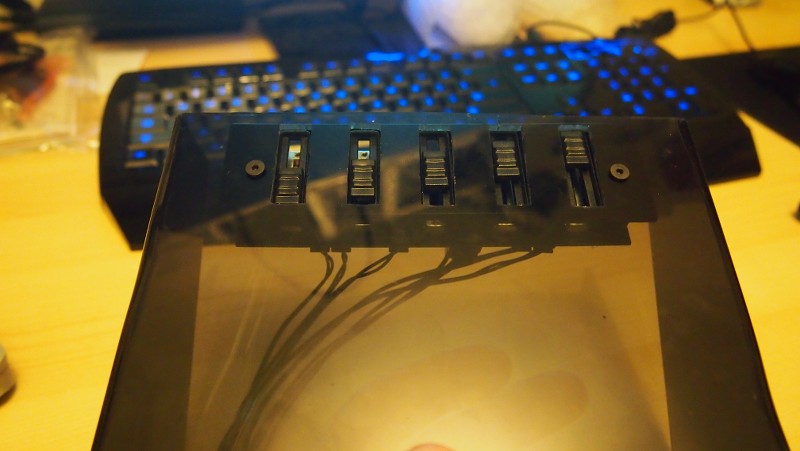
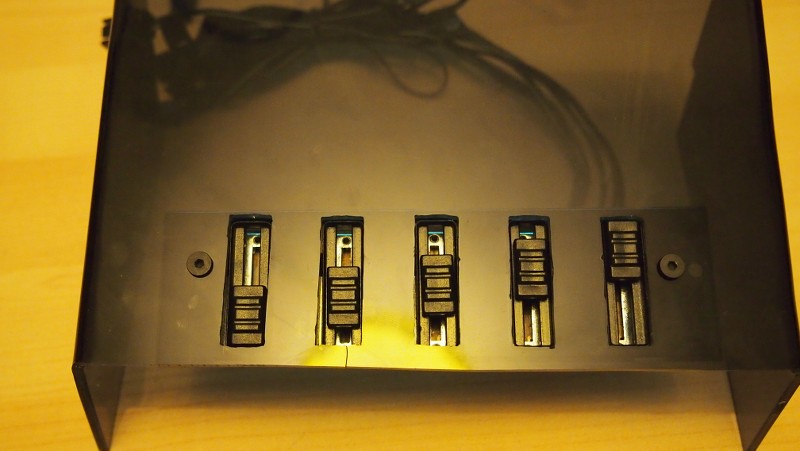
I created a plexi cover for the middle part and incorporated the fancontroller in it. I originally wanted to put it on the side but there seems not to be enough space for it sadly.
The slides don't stick out above the plexiglass. I specifically didn't want that.
This fancontroller has 30W per channel if I am correct. So I can make one or two channels free for LED strips as well.
I still want to have some kind of foam behind the standing frontcover. The hole is too open for my liking.
Anyway here are again some work in progress photos.
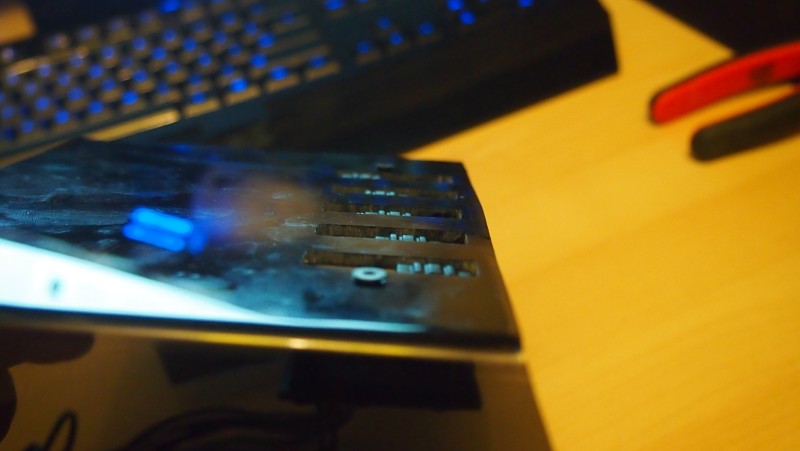
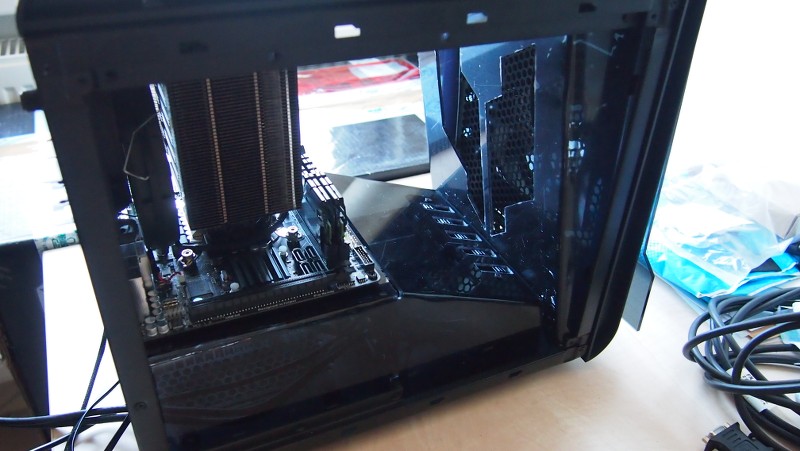
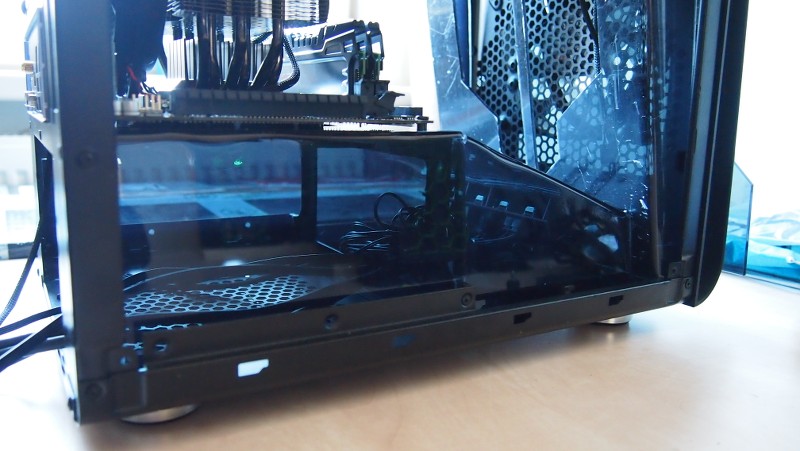
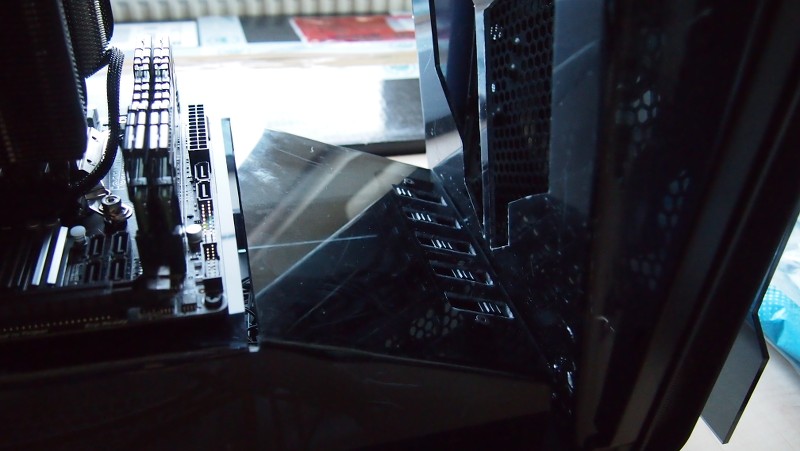
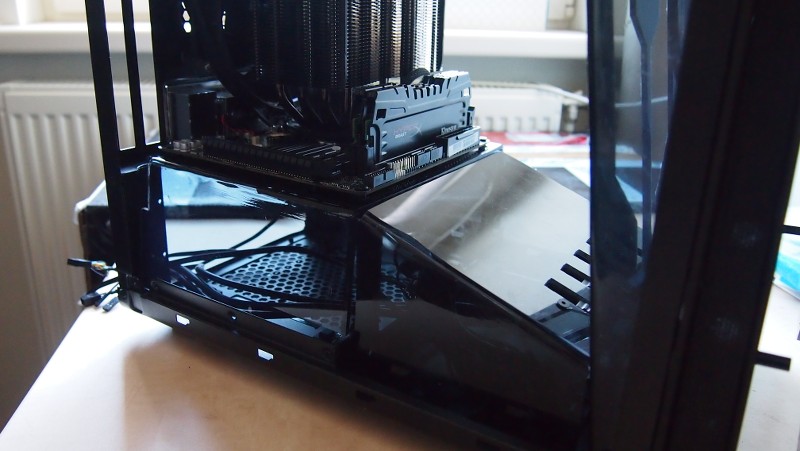
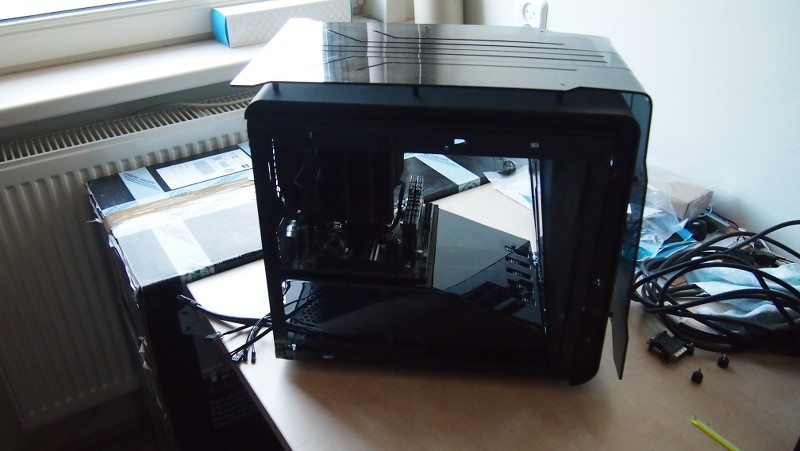


I have come to the point where I am getting closer to getting this system ready. I still have some things I need to think about. But I can't judge it untill it is completely done.
Wether it needs some kind of decal or if I should keep it completely black.
Anyway I am going to start on the creating cables, shortening cables, sleeving cables, cablemanagement etc.
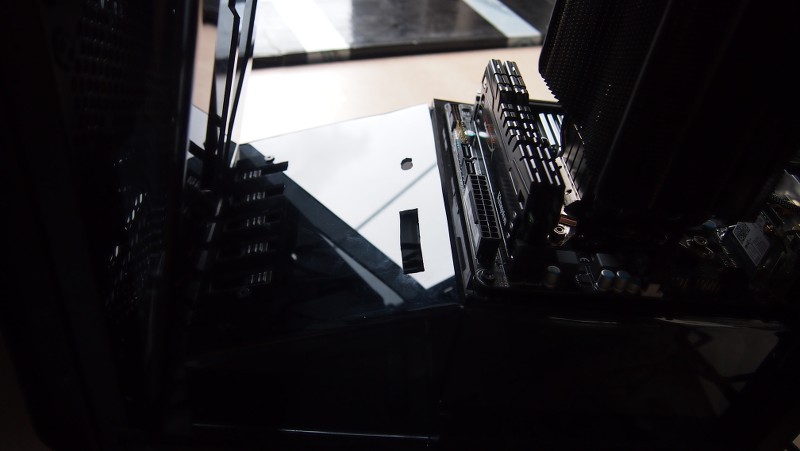
Started with creating a few holes for cables to run through. First off are the 24 pin, the PCI-E cable and the front buttons etc.
I will file them in a more perfect square later on, I need to buy me some precision files for that.
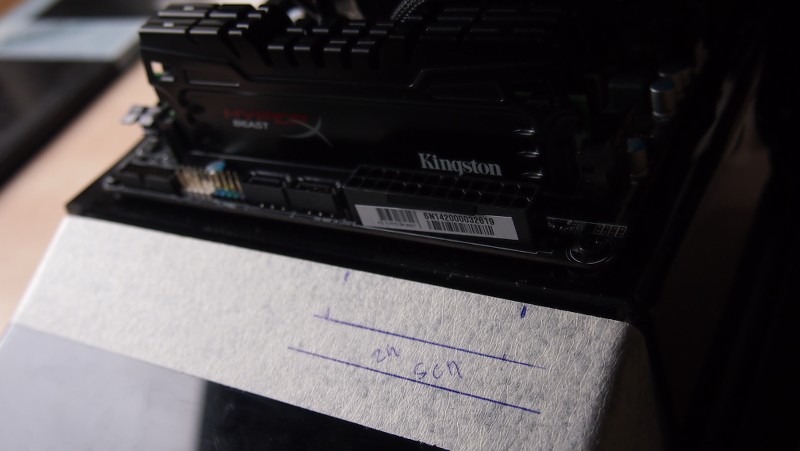
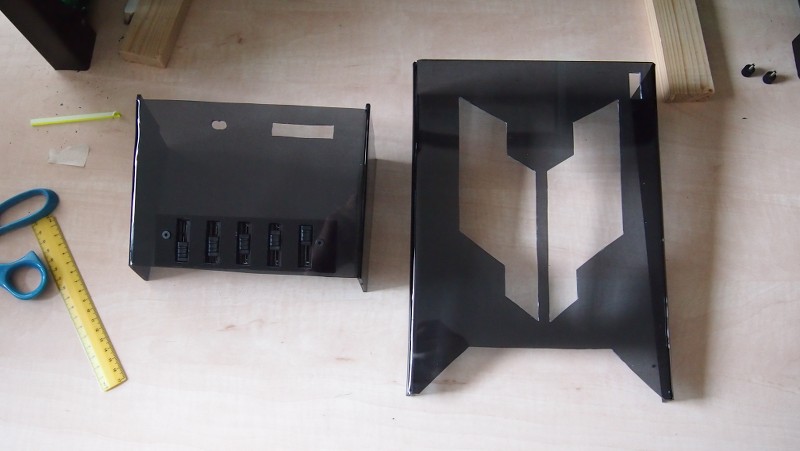


Associate
- Joined
- 25 Oct 2011
- Posts
- 677
This is getting good 

This is getting good
Thanks man.
Soldato
- Joined
- 6 Jan 2013
- Posts
- 22,422
- Location
- Rollergirl
There appears to be a pair of sandals that have had extremely hot feet in them, just floating on the edge of the table.
http://forums.overclockers.co.uk/showpost.php?p=26692003&postcount=28
Really like the perspex GPU cover, by the way.
http://forums.overclockers.co.uk/showpost.php?p=26692003&postcount=28
Really like the perspex GPU cover, by the way.
Last edited:

