

You are using an out of date browser. It may not display this or other websites correctly.
You should upgrade or use an alternative browser.
You should upgrade or use an alternative browser.
Round 2: Fancy testing an Alpenföhn Brocken CPU Cooler? Let us know...
- Thread starter mishima
- Start date
More options
Thread starter's postsIf I remember correct I had a look around the internet before I received me cooler to see what they were like as I had never even heard of Alpenfohn at the time. The results I found if memory serves me is nordwand was on average about 3c cooler than the brocken due to having the 5th heat pipe.
Nice, have to say that I have always been impressed with my Nordwand and its performance, just always surprised that I do not see more mention of Alpenfohn products.
I do remember the day I unpacked it and was very surprised at the size of it! massive compared with the old freezer pro it replaced, wasn't sure it would fit in the case
")
Ok I guess it's my turn for a review. First of all, big thanks to Mishima for arranging this and to Alpenföhn for the Free cooler to test out.
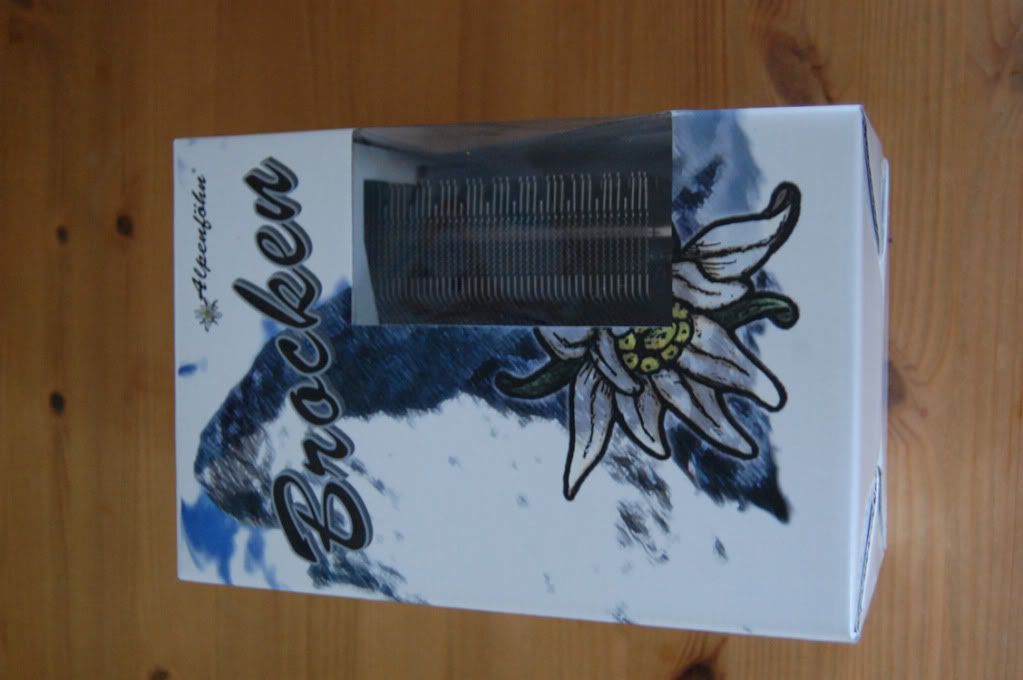
On first arrival the box looks nice and attractive, nicely packaged inside with fixtures and fittings for 775,1156,1366, AM2, AM2(+), AM3 Sockets asd claimed on the website, however the box hasn't been changed to say it accomodates the 1156 socket, but mine is 1366 anyway.
My Current System Spec is:
Haf X Case
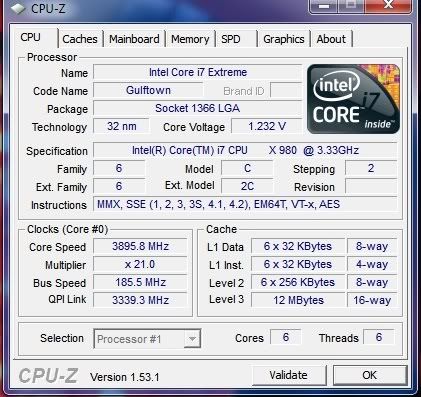
i7 980x processor @ 3.89Ghz (highest overclock could get with ALC)
6GB Corsair Dominator Ram
Asus Rampage III Extreme
Swiftech ECO ALC 240 with 4 fans in push/pull
SLi Asus GTX 480's
As you well know regarding the 480's, they have reference coolers which are the noisy ones and run quite hot indeed so this will be a good test for the Brocken to see what it can cope with.
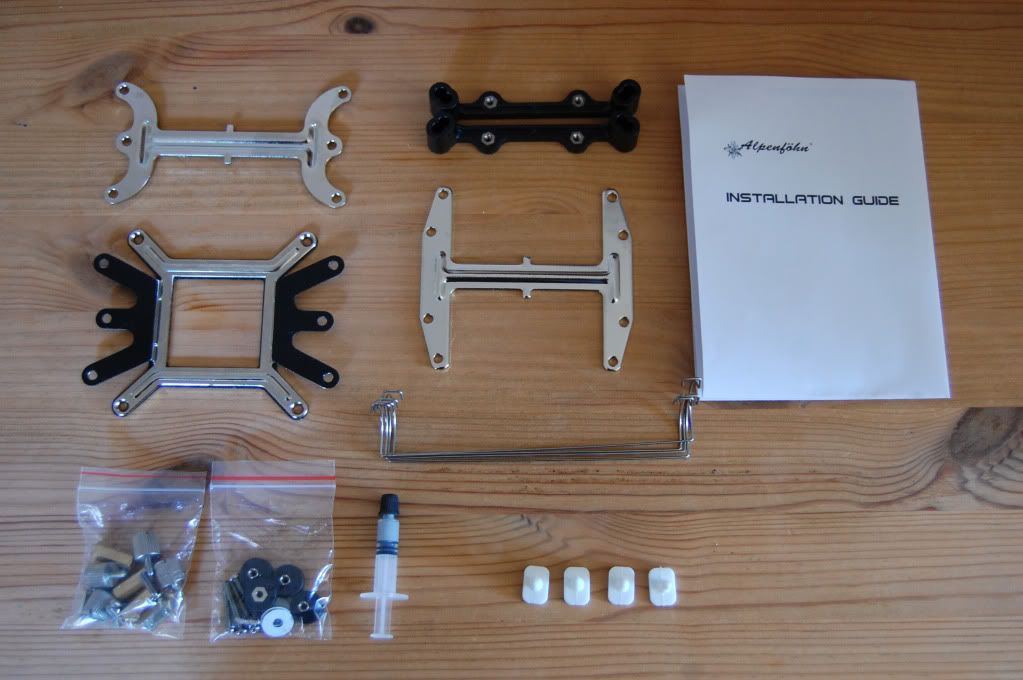
Fixtures and fittings included:
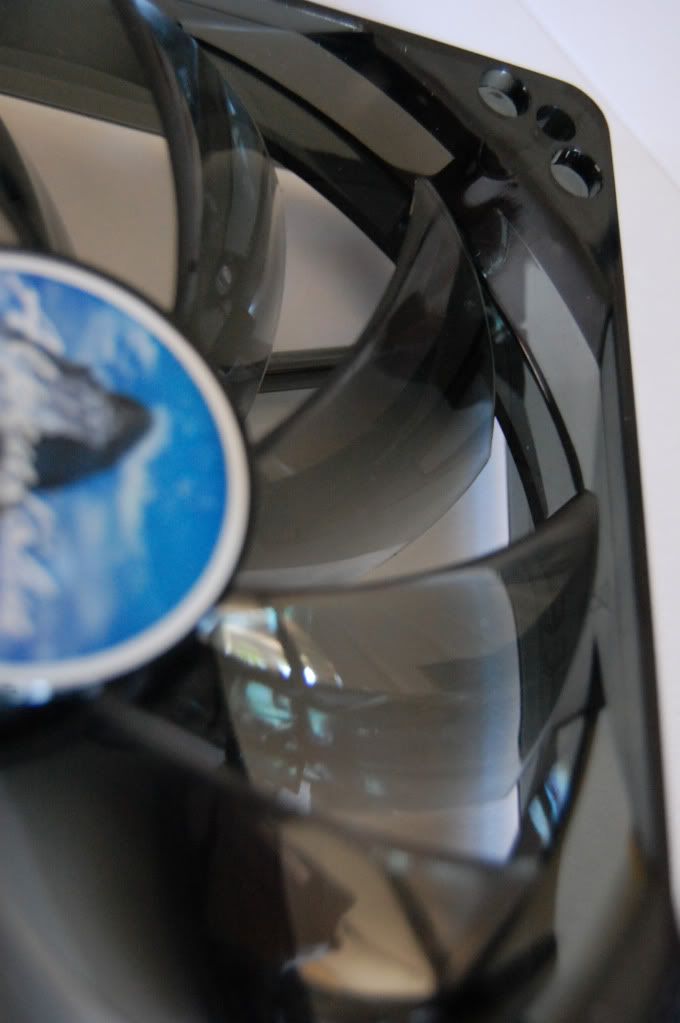
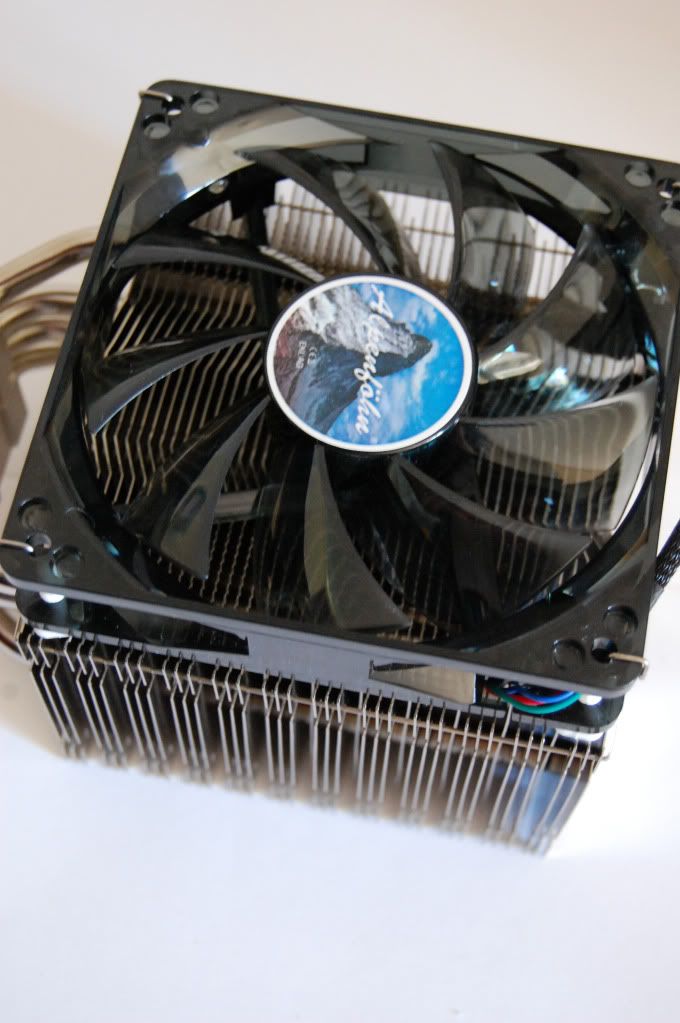
And the fan:
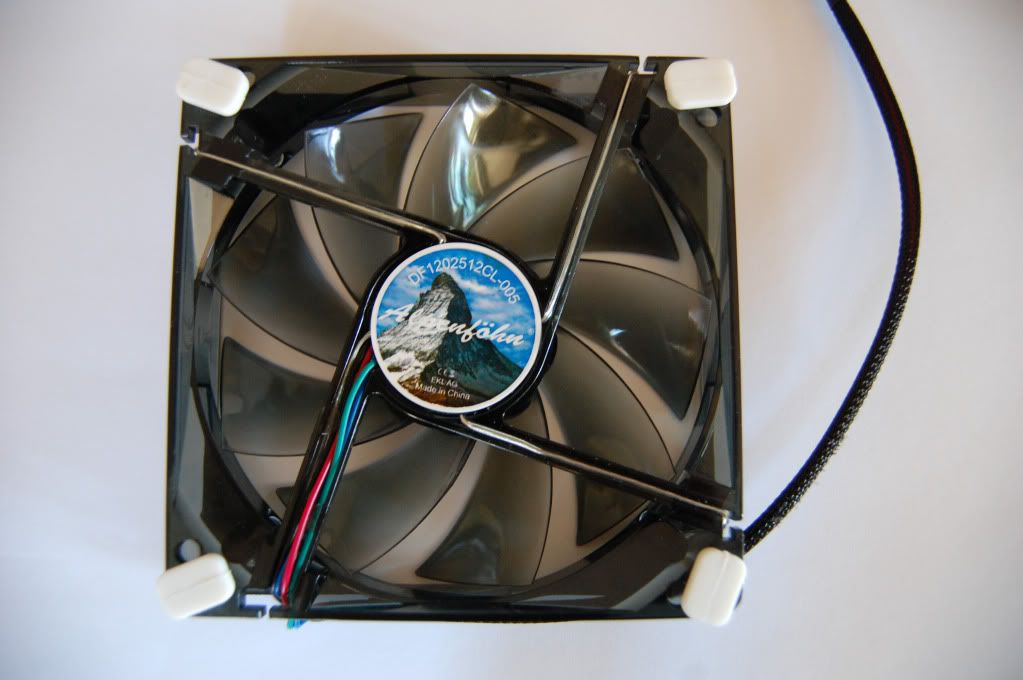
Led's that are placed in every corner (Which you will see later are very bright!)
On first appearance the blade construction seems to be a little cheap, was worried about them snapping (but this is a £30 cooler so we have to bear this in mind that costs may be cut somewhere if this is a good performing product)
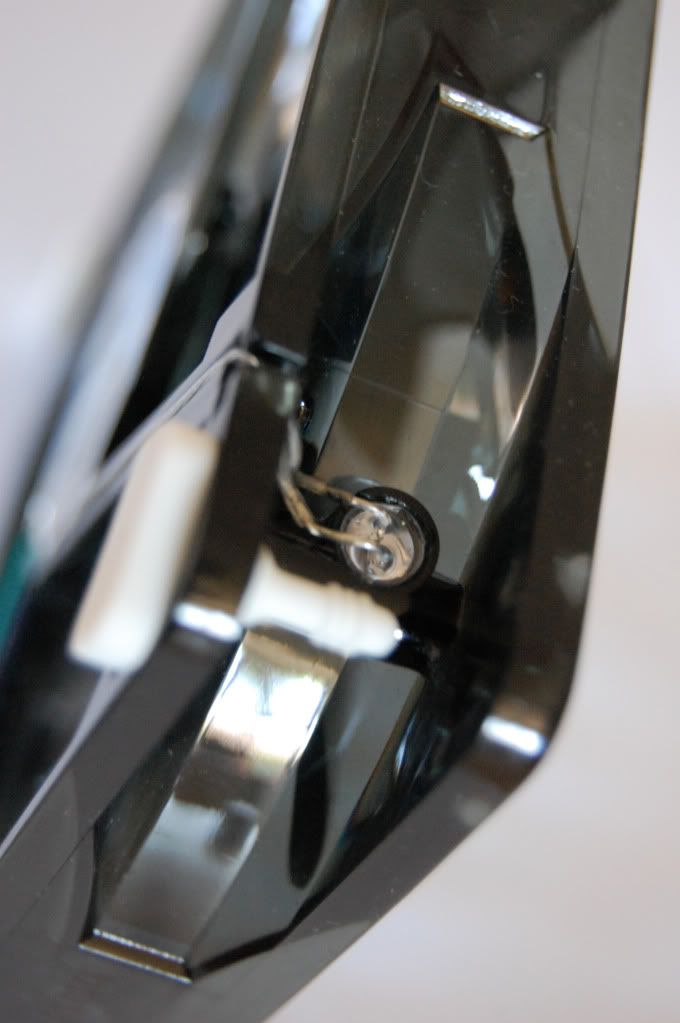
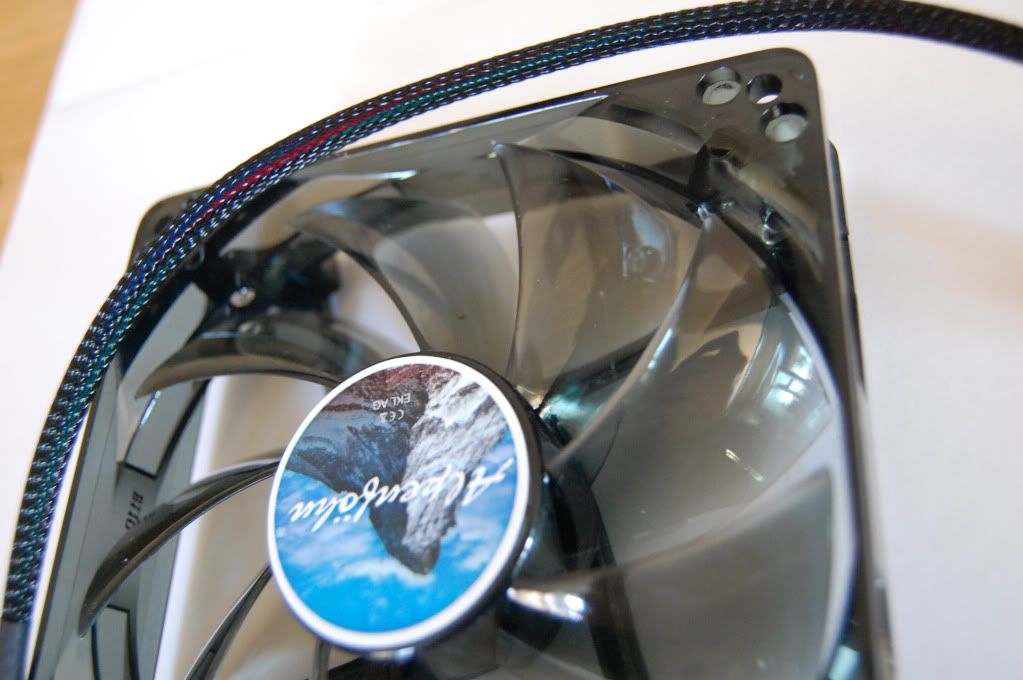
However the braided wire is a nice touch:
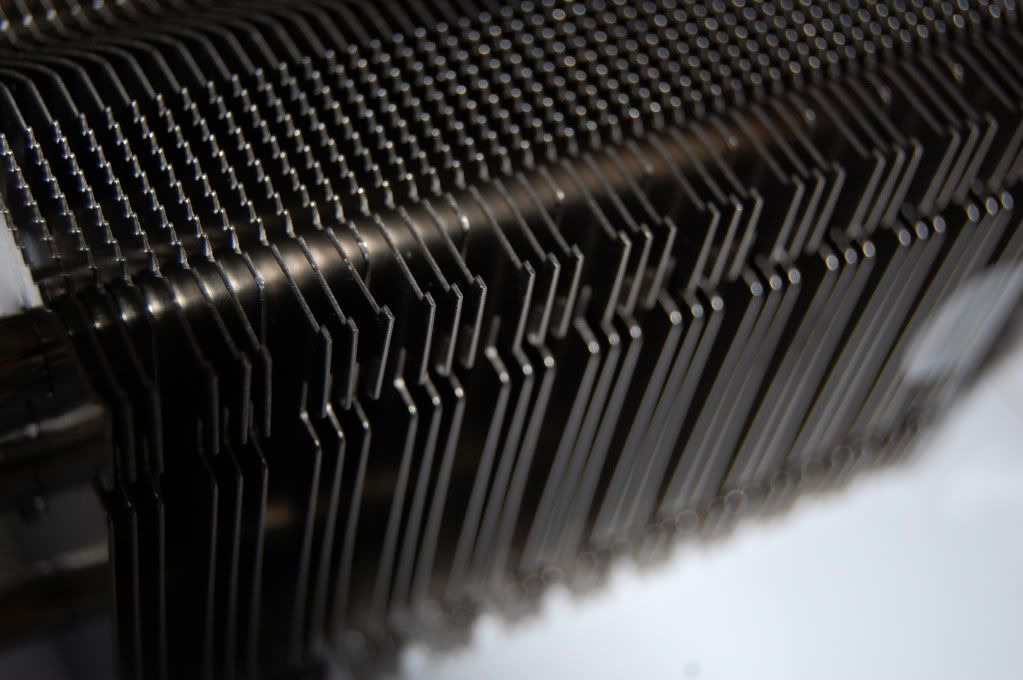
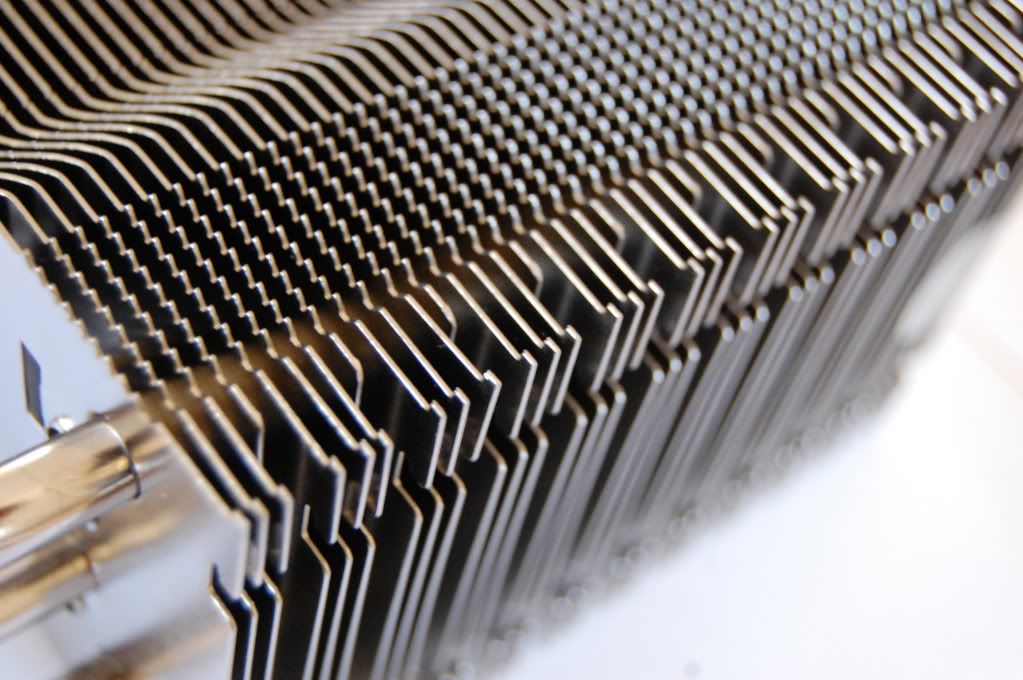
Construction of the heatsink is not perfect on mine - I don't know how everybody else's feered, but a few of the fins were un even in the distance from each other, comes across as a slight manufacturing defect/or could have been knocked around in the packaging, but the way it is packged allows very little room for movement and is placed in the middle of the box so I see the chances of this happening are slim:


Fan attached to the cooler - comes with four anti vibration mounts ready attached to the fan:

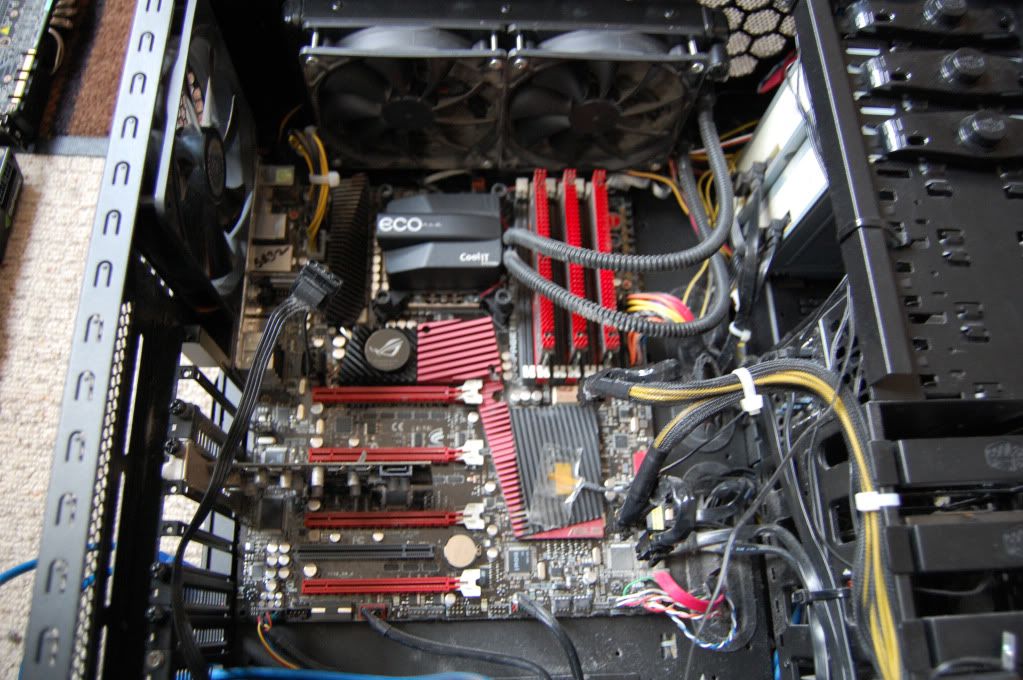
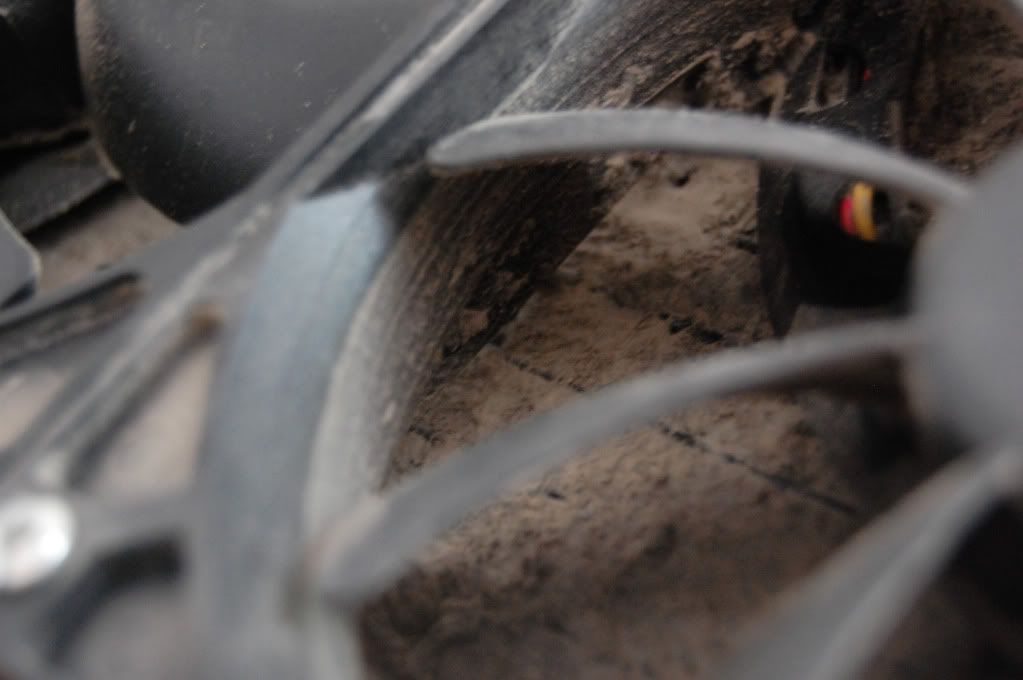
Removing the bits ready for install, Dusty ECO ALC still in place (messy, messy ):
):
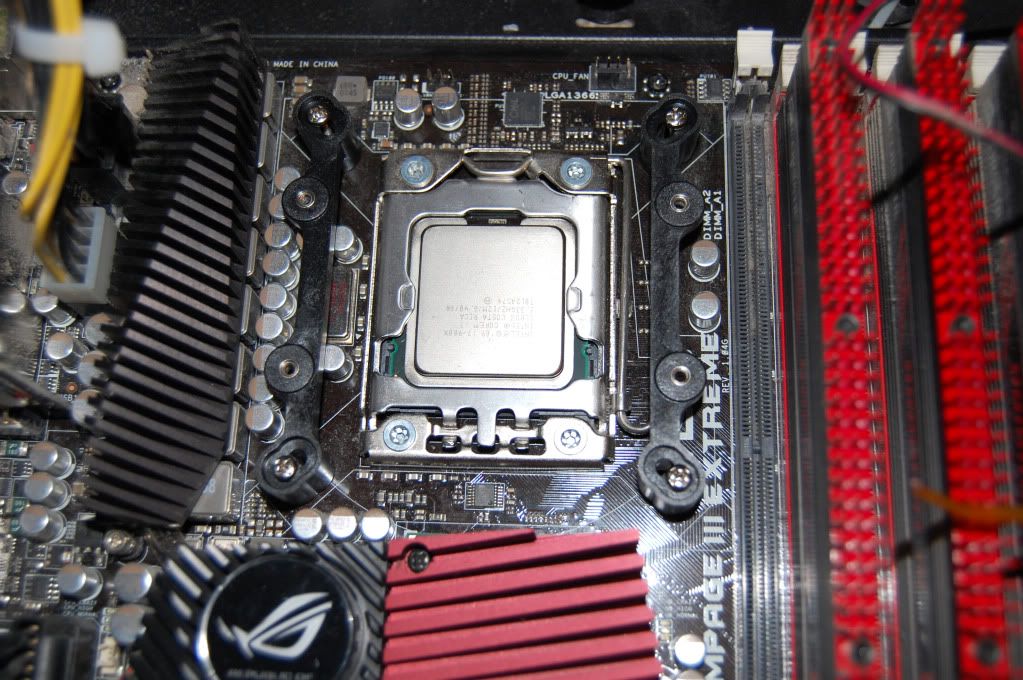
Out with the old, in with the new
Following the instructions alone, they're pretty clear and easy to follow (if you didn't know what you were doing otherwise)
I used the regular rice grain method of applying the thermal paste (sorry no pic). I may mention here that tightening the metal screws into the base brackets already attached to the motherboard proved to give little resistance even when fully screwed in and I was worried I may break something or strip a thread - this is something a novice could do very easily by over tightening. I would advise putting some kind of stop so that its very clear once enough pressure is on.
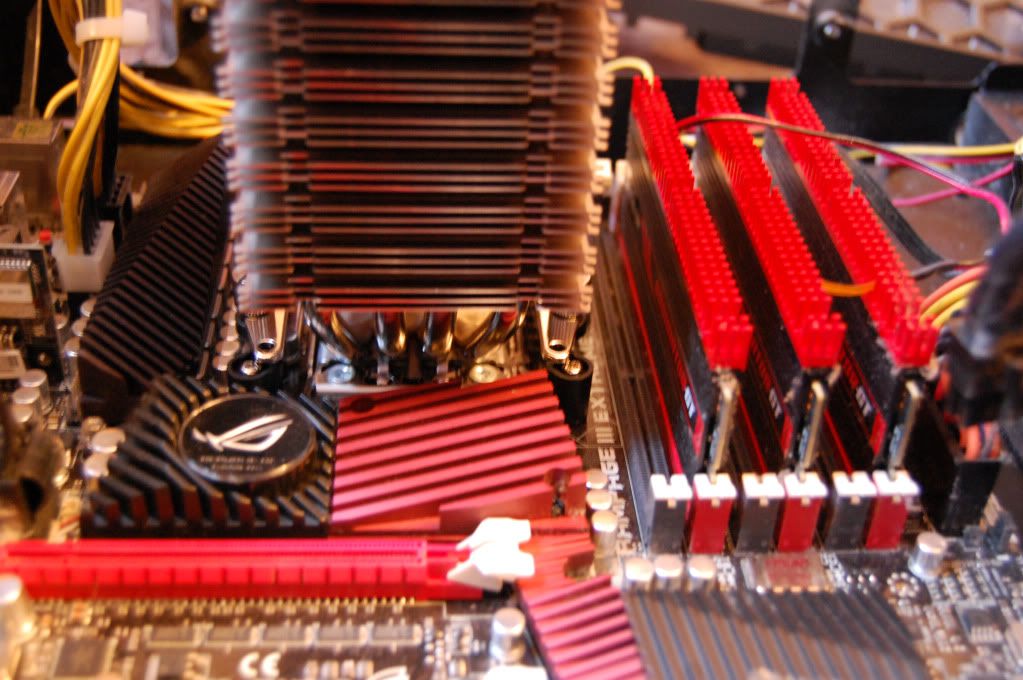
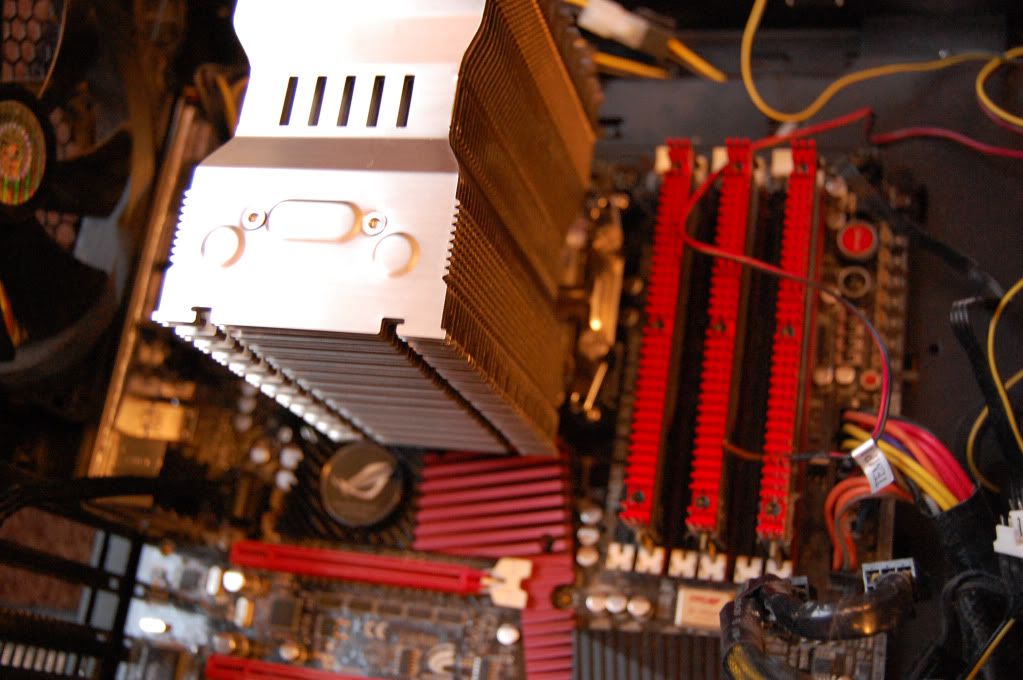
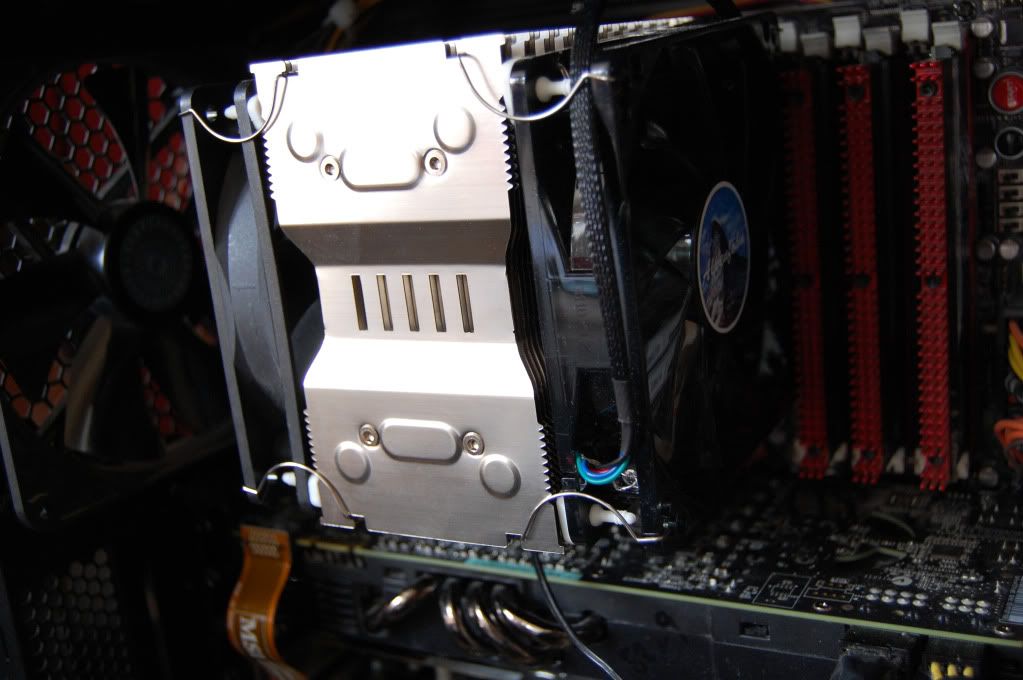
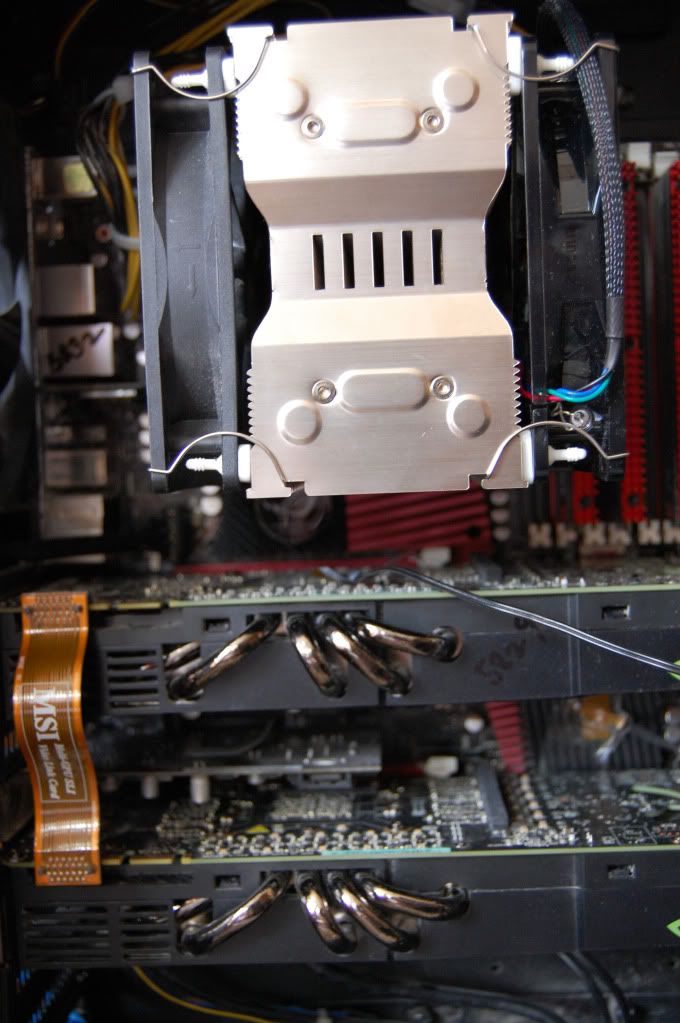
Extremely tight fit with the fan ever so slightly nudges the ram to the side

Dusty already! (from the other bits in the system!)
How clogged up my old ALC was
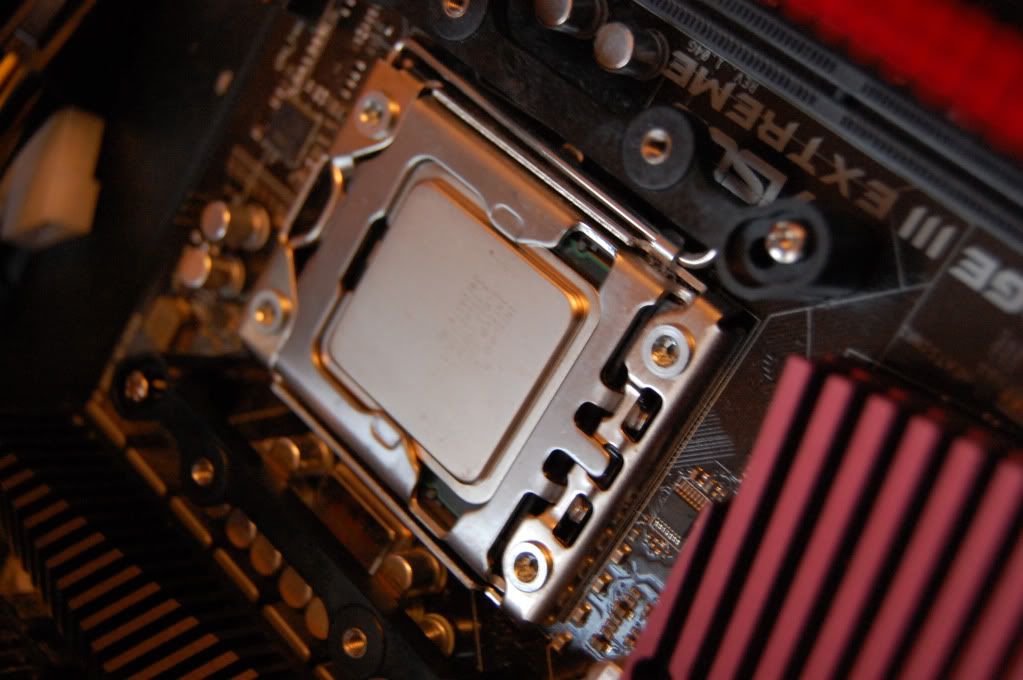
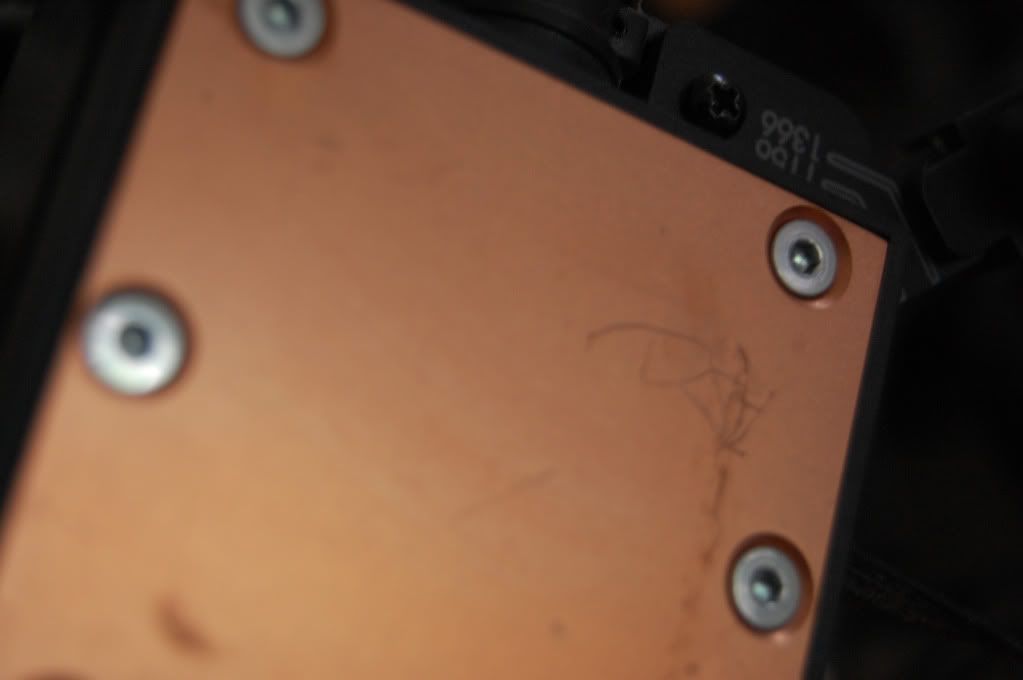
And a rather worrying scratch from the people that put the PC together (not me)
As you will see I tried a push pull setup on this as well with two different results to compare:
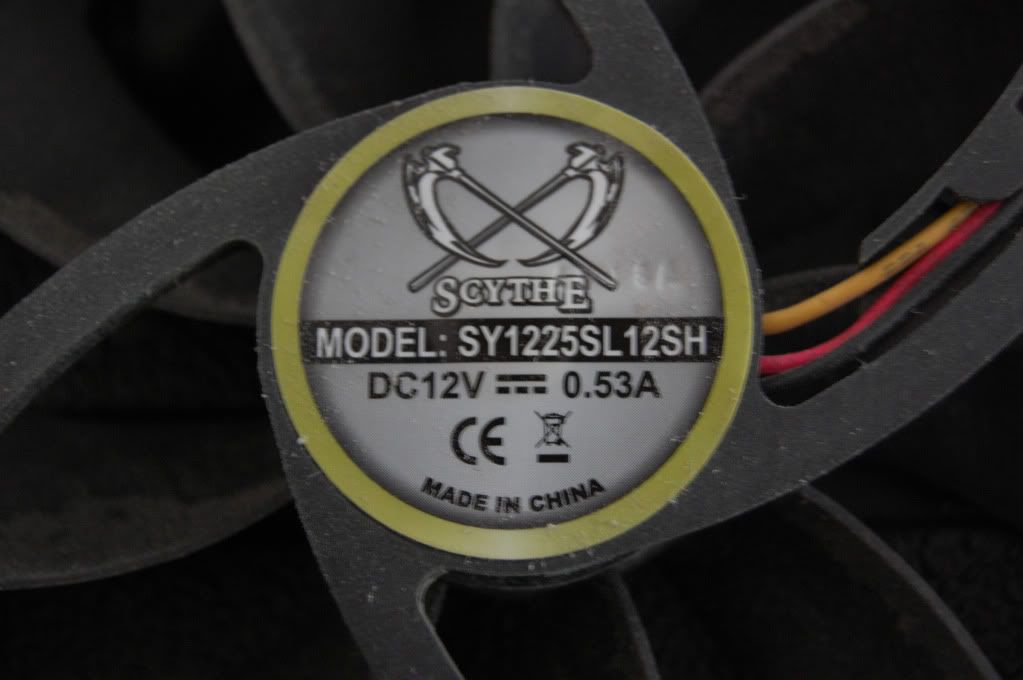
This was the fan I used - now admittedly, two different fans, two different fan profiles which may work well, it may not, we'll wait for the results
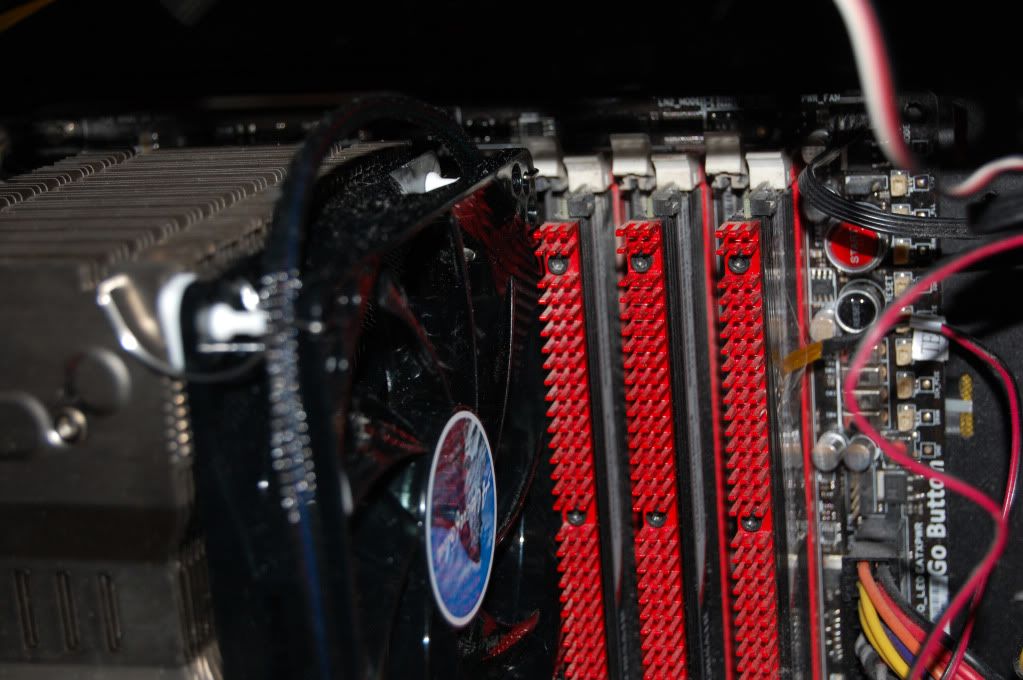
Installation and sizing up:

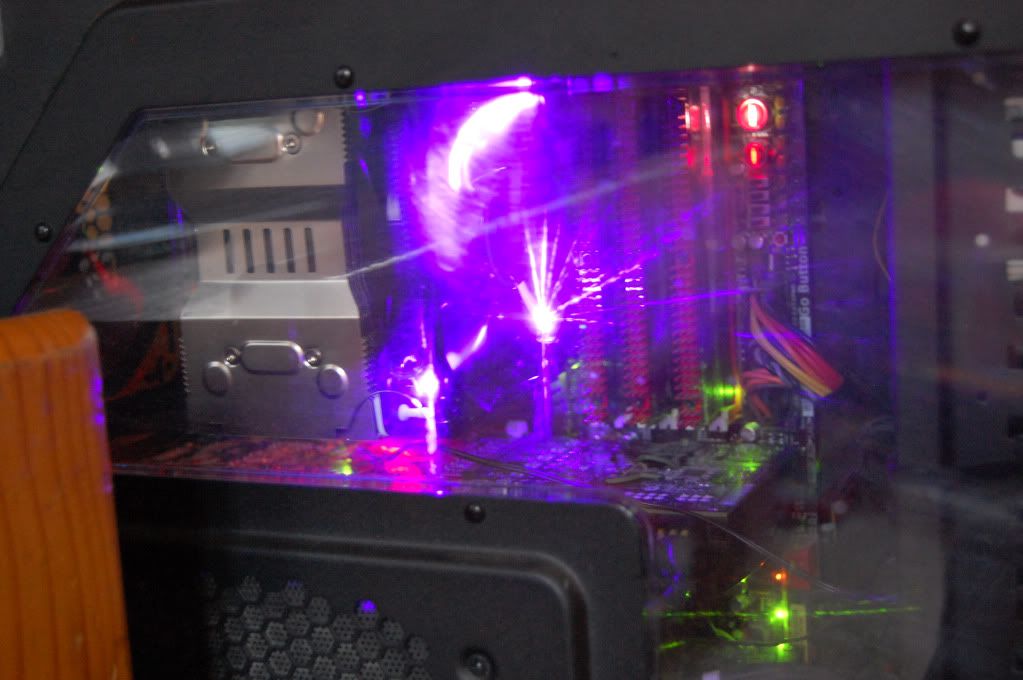
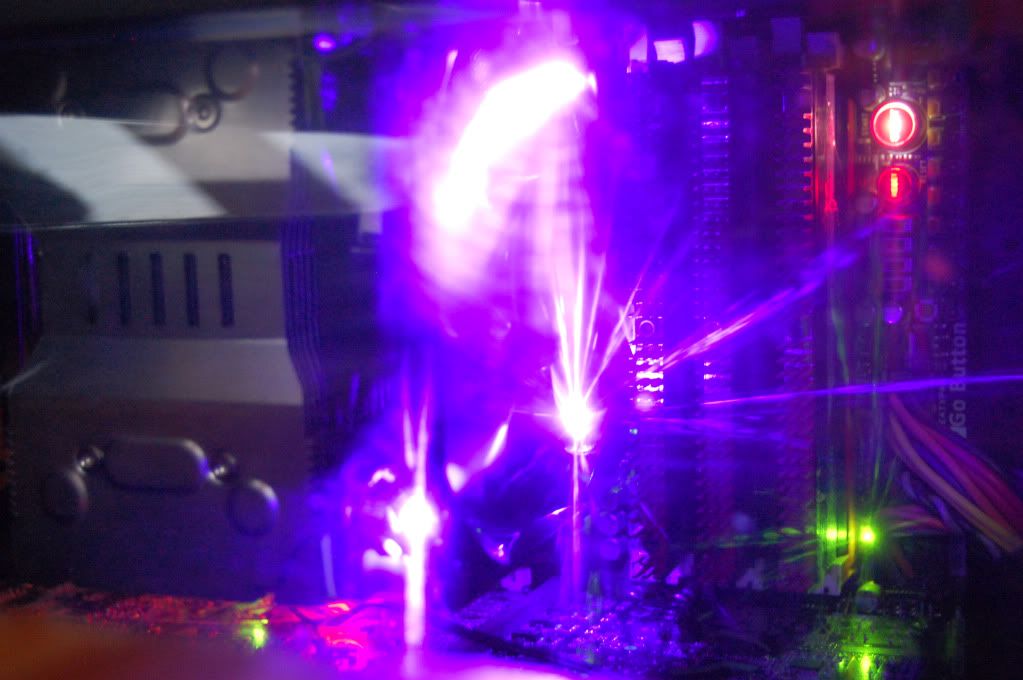
To top off the install lets have a look at it in situ in all its glory (The LED's are very bright indeed!)

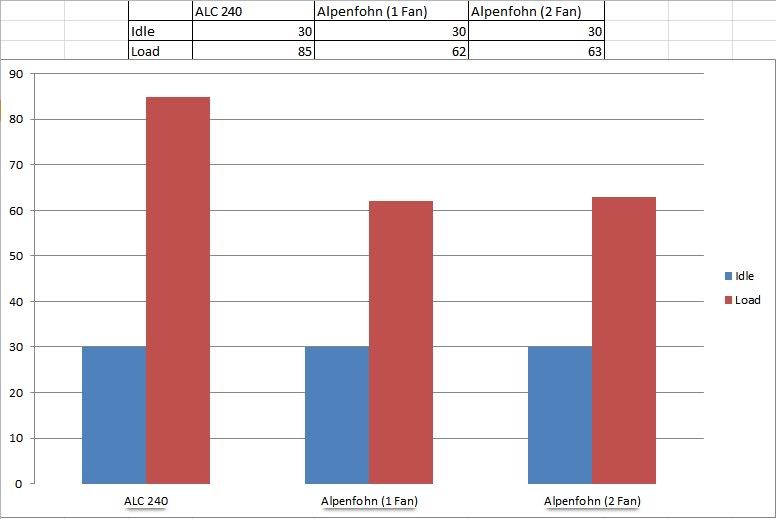
Ok so what you've all been waiting for, the results (Its not flashy, but it does the job") ):
):
Conclusion
In all the honesty, this wasn't a fair test, but to be blunt the £30 cooler did itself proud. It wasn't a fair test because the ALC was not a new product and/or clean as you can see with all the dust that was clogging it up, however the scratch from the thermal side of the ALC shows me that whoever put the PC together may not have had the most competence in applying thermal paste either. Anyhow I've tested it as it was and received very promising results from the Alpen, a maximum 62 Degrees against the 85 of the ALC shows a definate victory, the push/pull setup didn't do any favours what so ever and as already mentioned this could have been from the different fan profiles.
I also believe the Brocken is more effective because of the direction of airflow and the freedom for the air to move within the case. THe radiator was very crampt up at the top and not only did it have the 4 fans attached to it, it also had a larger 200mm fan that comes attached to the Haf-X case. I believe simplifying things benefitsairflow positively and reduces the temps.
In hindsight after testing, I took the secondary fan from the heatsink and strapped it at the front of the case underneath the optical drives and above the larger 230mm LED fan at the front. As a result under load it knocked another degree of the maximum temp to end up with a result of 61 degrees.
Overall very pleased and will probably end up selling my ALC very soon.
Hope you enjoyed the review
On first arrival the box looks nice and attractive, nicely packaged inside with fixtures and fittings for 775,1156,1366, AM2, AM2(+), AM3 Sockets asd claimed on the website, however the box hasn't been changed to say it accomodates the 1156 socket, but mine is 1366 anyway.
My Current System Spec is:
Haf X Case
i7 980x processor @ 3.89Ghz (highest overclock could get with ALC)
6GB Corsair Dominator Ram
Asus Rampage III Extreme
Swiftech ECO ALC 240 with 4 fans in push/pull
SLi Asus GTX 480's
As you well know regarding the 480's, they have reference coolers which are the noisy ones and run quite hot indeed so this will be a good test for the Brocken to see what it can cope with.
Fixtures and fittings included:
And the fan:
Led's that are placed in every corner (Which you will see later are very bright!)
On first appearance the blade construction seems to be a little cheap, was worried about them snapping (but this is a £30 cooler so we have to bear this in mind that costs may be cut somewhere if this is a good performing product)
However the braided wire is a nice touch:
Construction of the heatsink is not perfect on mine - I don't know how everybody else's feered, but a few of the fins were un even in the distance from each other, comes across as a slight manufacturing defect/or could have been knocked around in the packaging, but the way it is packged allows very little room for movement and is placed in the middle of the box so I see the chances of this happening are slim:
Fan attached to the cooler - comes with four anti vibration mounts ready attached to the fan:
Removing the bits ready for install, Dusty ECO ALC still in place (messy, messy
):
Out with the old, in with the new
Following the instructions alone, they're pretty clear and easy to follow (if you didn't know what you were doing otherwise)
I used the regular rice grain method of applying the thermal paste (sorry no pic). I may mention here that tightening the metal screws into the base brackets already attached to the motherboard proved to give little resistance even when fully screwed in and I was worried I may break something or strip a thread - this is something a novice could do very easily by over tightening. I would advise putting some kind of stop so that its very clear once enough pressure is on.
Extremely tight fit with the fan ever so slightly nudges the ram to the side
Dusty already! (from the other bits in the system!)
How clogged up my old ALC was
And a rather worrying scratch from the people that put the PC together (not me)
As you will see I tried a push pull setup on this as well with two different results to compare:
This was the fan I used - now admittedly, two different fans, two different fan profiles which may work well, it may not, we'll wait for the results
Installation and sizing up:
To top off the install lets have a look at it in situ in all its glory (The LED's are very bright indeed!)
Ok so what you've all been waiting for, the results (Its not flashy, but it does the job
):
Conclusion
In all the honesty, this wasn't a fair test, but to be blunt the £30 cooler did itself proud. It wasn't a fair test because the ALC was not a new product and/or clean as you can see with all the dust that was clogging it up, however the scratch from the thermal side of the ALC shows me that whoever put the PC together may not have had the most competence in applying thermal paste either. Anyhow I've tested it as it was and received very promising results from the Alpen, a maximum 62 Degrees against the 85 of the ALC shows a definate victory, the push/pull setup didn't do any favours what so ever and as already mentioned this could have been from the different fan profiles.
I also believe the Brocken is more effective because of the direction of airflow and the freedom for the air to move within the case. THe radiator was very crampt up at the top and not only did it have the 4 fans attached to it, it also had a larger 200mm fan that comes attached to the Haf-X case. I believe simplifying things benefitsairflow positively and reduces the temps.
In hindsight after testing, I took the secondary fan from the heatsink and strapped it at the front of the case underneath the optical drives and above the larger 230mm LED fan at the front. As a result under load it knocked another degree of the maximum temp to end up with a result of 61 degrees.
Overall very pleased and will probably end up selling my ALC very soon.
Hope you enjoyed the review
Associate
- Joined
- 12 Mar 2011
- Posts
- 700
- Location
- Rainham, Kent
The LED on mine is ridiculous. I have 3 blue LED fans and the purple from that Alpenfohn is the one most noticeable shining out the case.

Associate
- Joined
- 12 Mar 2011
- Posts
- 700
- Location
- Rainham, Kent
Looking very good.
Soldato
- Joined
- 9 Jan 2008
- Posts
- 6,514
- Location
- London/Camberley
Just thought I'd add in that thanks to this cooler I have changed my overclock
From:
To:
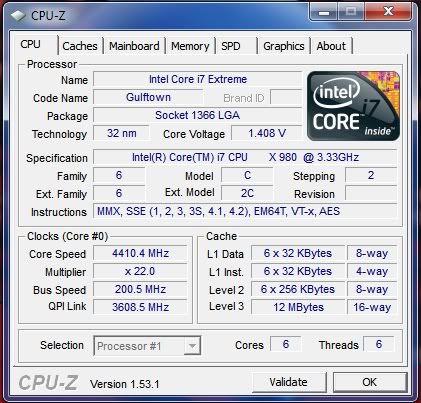
Very pleased indeed
Nice! Get HT back on though
Last edited:
Soldato
- Joined
- 8 Sep 2003
- Posts
- 23,180
- Location
- Was 150 yds from OCUK - now 0.5 mile; they moved
Overclockers used to sell these, but they were of average performance and the price was quite high. The sales were poor, so I stopped stocking them.
Associate
- Joined
- 12 Mar 2011
- Posts
- 700
- Location
- Rainham, Kent
Well this Alpehnfohn Brocken a few of us tested seems to be great. I also see it for £30 around here and there which is well worth the money which is the same price you sell the freezer extreme at which I compared to and blows it away May be worth looking into
May be worth looking intoOverclockers used to sell these, but they were of average performance and the price was quite high. The sales were poor, so I stopped stocking them.
Sales were probably poor because the name wasn't as well known or as tried and tested as much as other brands. Hopefully these reviews will change that
Soldato
- Joined
- 9 Jan 2008
- Posts
- 6,514
- Location
- London/Camberley
Not the Brocken but here's my review of the Matterhorn: http://www.vortez.net/articles_pages/alpenfoehn_matterhorn_cpu_cooler_review,1.html
Sales were probably poor because the name wasn't as well known or as tried and tested as much as other brands. Hopefully these reviews will change that
Exactly
nice review gtiracer some quality pictures many thanks
Exactly
nice review gtiracer some quality pictures many thanks
No probs, really appreciate the opportunity and the good cooler