Project: TJ07 Build with a differance - True triple chamber inverted ATX
[EDIT Final Pics added towards the bottom of Page 1]
Well there are TJ07 mods aplenty but this one is going to be little different. It is coming up to about time for an upgrade and I am holding out to see how far the 1156 i7 overclock before deciding which platform I’m going with. I have second GTX280 so this will be an SLi set up (current X38 MB only does Crossfire). Also I will upgrading my W/C gear.
This PC will be on the floor to my left, so I really wanted a case with a window to the right hand side of the case - this means a BTX MB or an inverted ATX. Hence the decision to convert my 3 yrs old TJ07 to inverted ATX. I will be W/Cing the CPU (and may be the chipset – the P55 are supposed to run cooler than the X58). GPUS will be aircooled as I change these often and it gets expensive with different multiple waterblocks and is a hassel to change over.
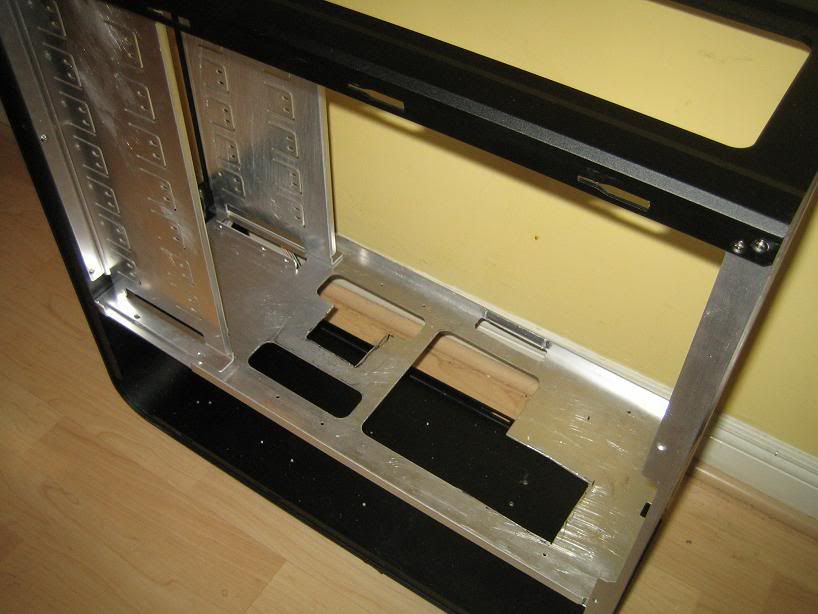
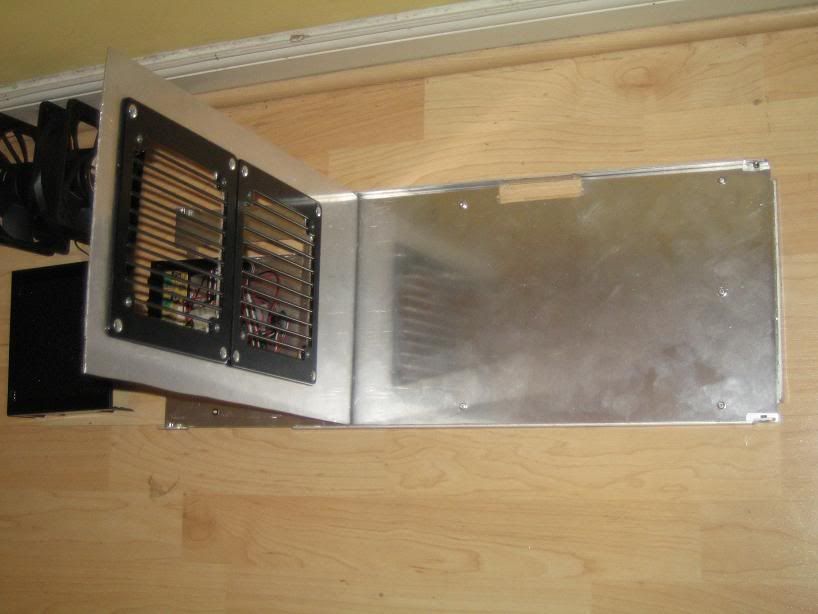
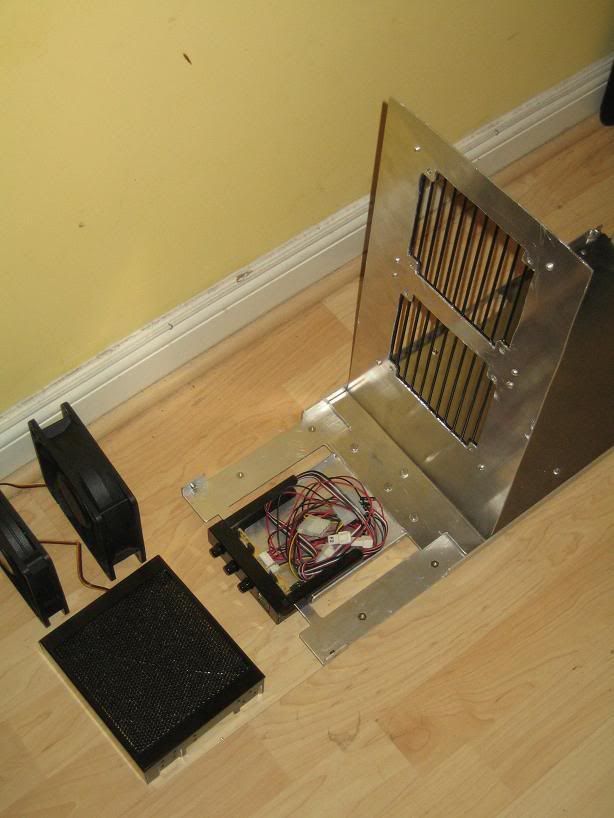
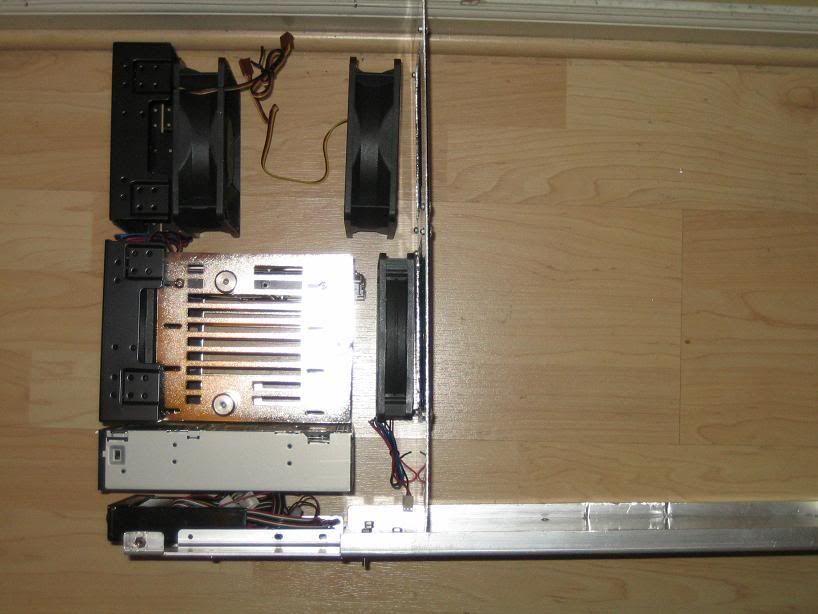
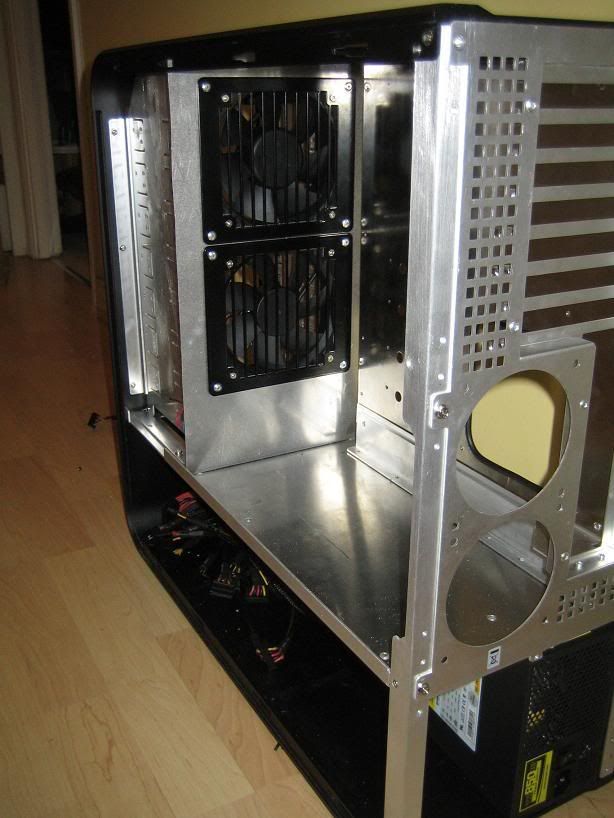
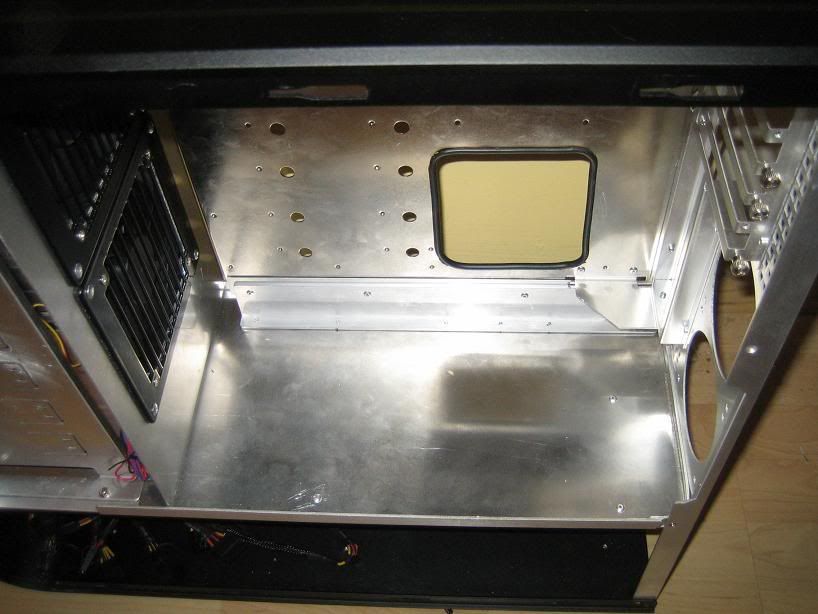
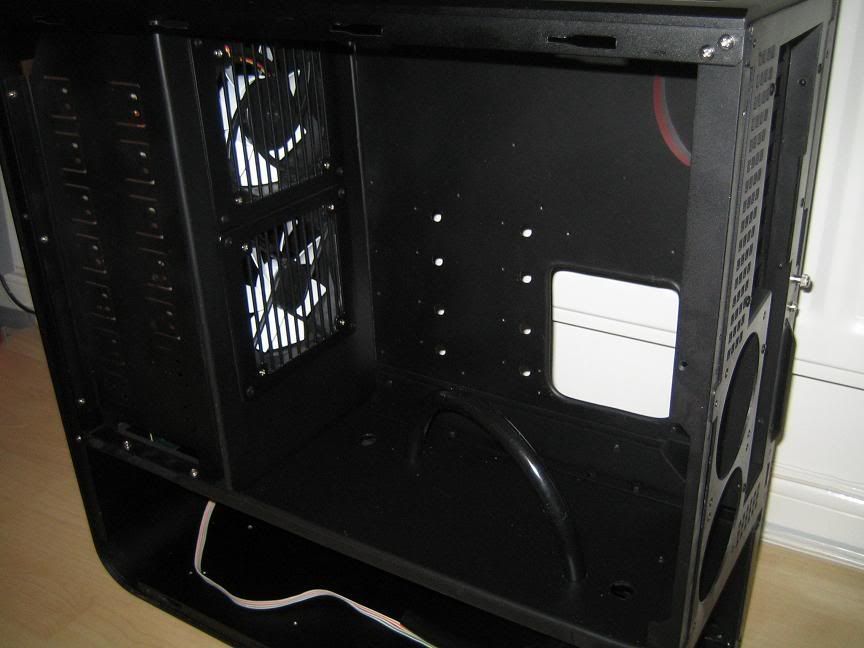
Those of you familiar with the TJ07 will know that its a brilliant case for water cooling, but rather poor at air if running mutilple GPUs, hence I needed to beef up the airflow. I came up with the idea to create 3 discrete compartments (1) Rad/ pump and PSU- (2) Optical,HDD,SSD- and (3) main MB area, with minimal openings between them and directed, ducted airflow using a high static pressure 120mm fan up close to the GPU’s and a slower fan to cool the chipset/VRM’s. This compartmentalised design is also great for hiding cabling and such with only the MB in view no mater where you look through the window.
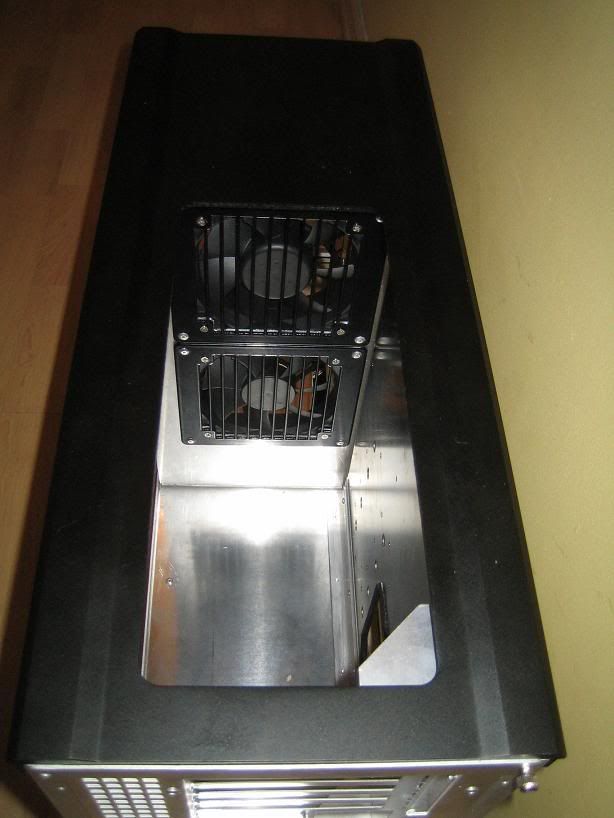
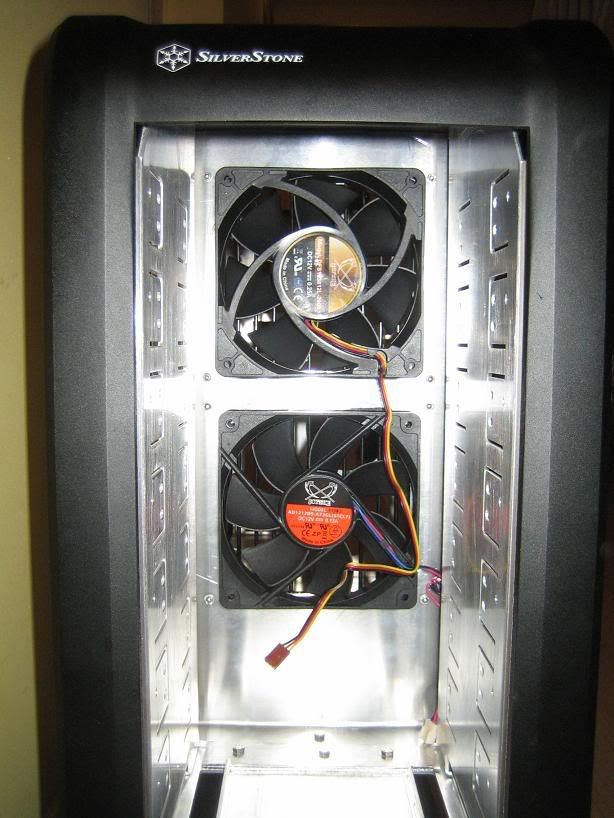
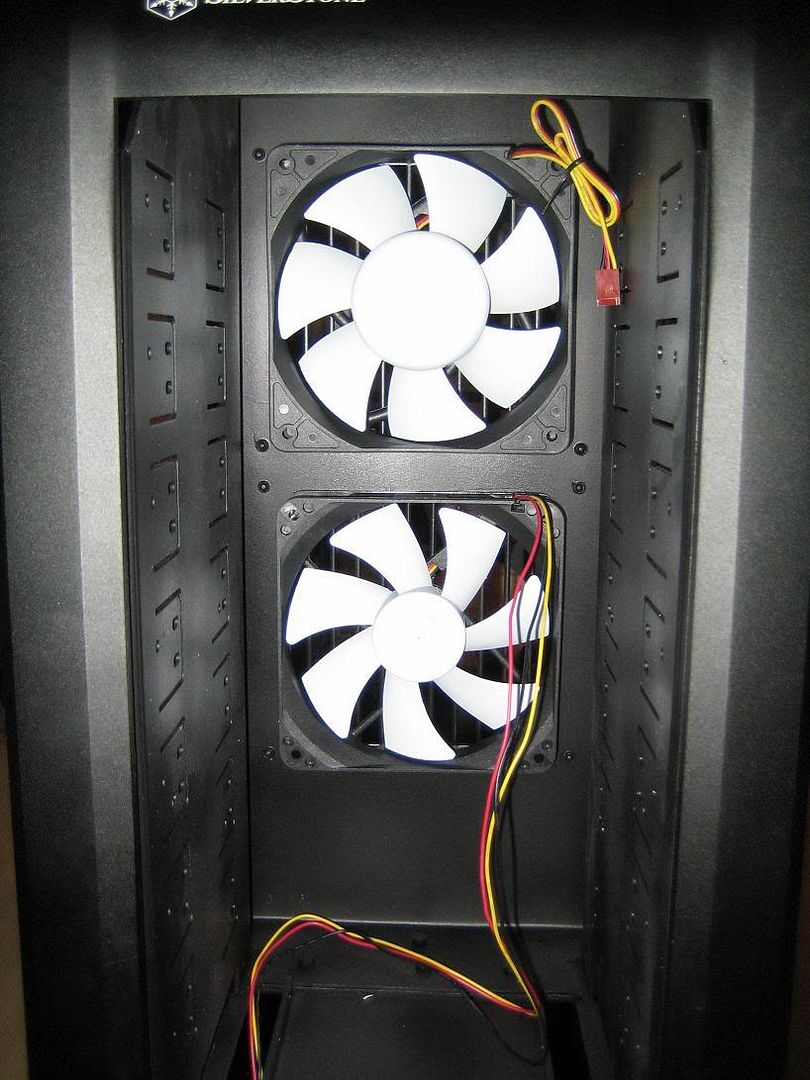
There are 2x 120mm fans at the top of the case - with the invert the GPUs will be right up next to these fan. If I set them to expel air, they will starve the GTX's of cold air, and if I set them as intakes they will only cool the top most GTX. Hence to finish off, these fans will be removed & there will be a window at the top to view the printed side of the GTX280- which will be at the top of the case following the invert. I have a couple of 38mm thick Scythe Ultra Kaze's which will provide the GTX's with plenty of directed air.
Finally the internals will be sparyed black prior to new hardware being fitted.(hopefully a MB with a black PCB)
[EDIT] I decided on the internals so I may just complete this tread with the final build pics when done. So Specs will be
-Intel i7 920
-EVGA X58 SLi
-6 GB Corsair Dominator DDR2 1866 MHz
-XSPC RX360 Rad & DDC5 Vario pump
-2x BFG GTX 280 OC2 SLi
-Corsair 850 TX PSU
-Triple Dell 2407
-Will get a SSD when Win 7 is released, just XP and a 500GB HD till then
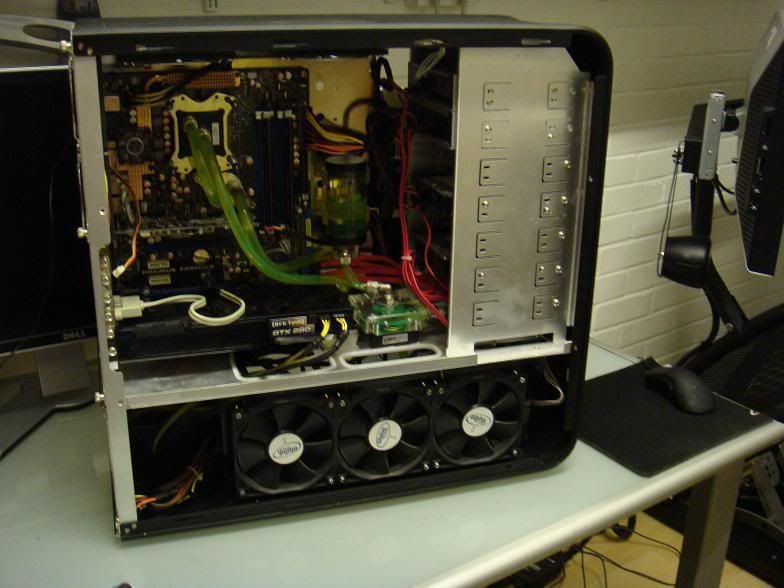
Ok here my PC at the moment...
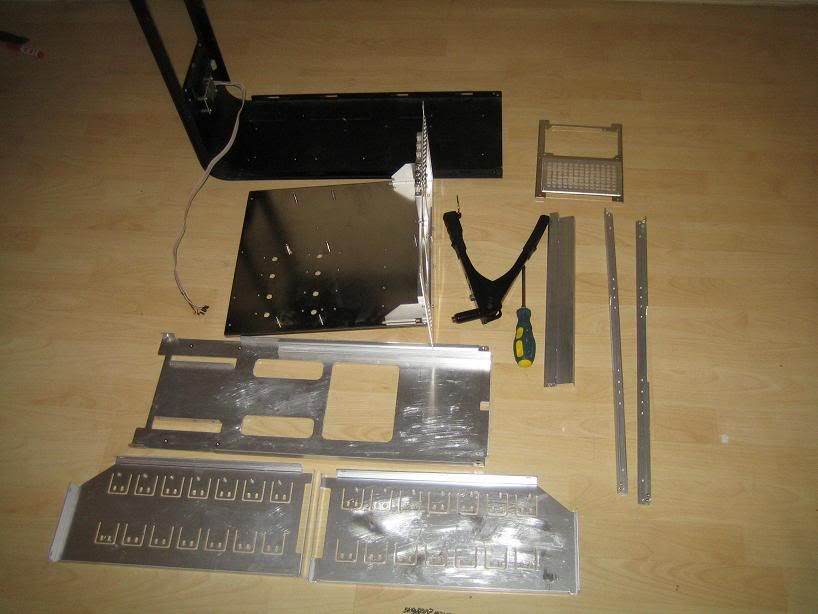
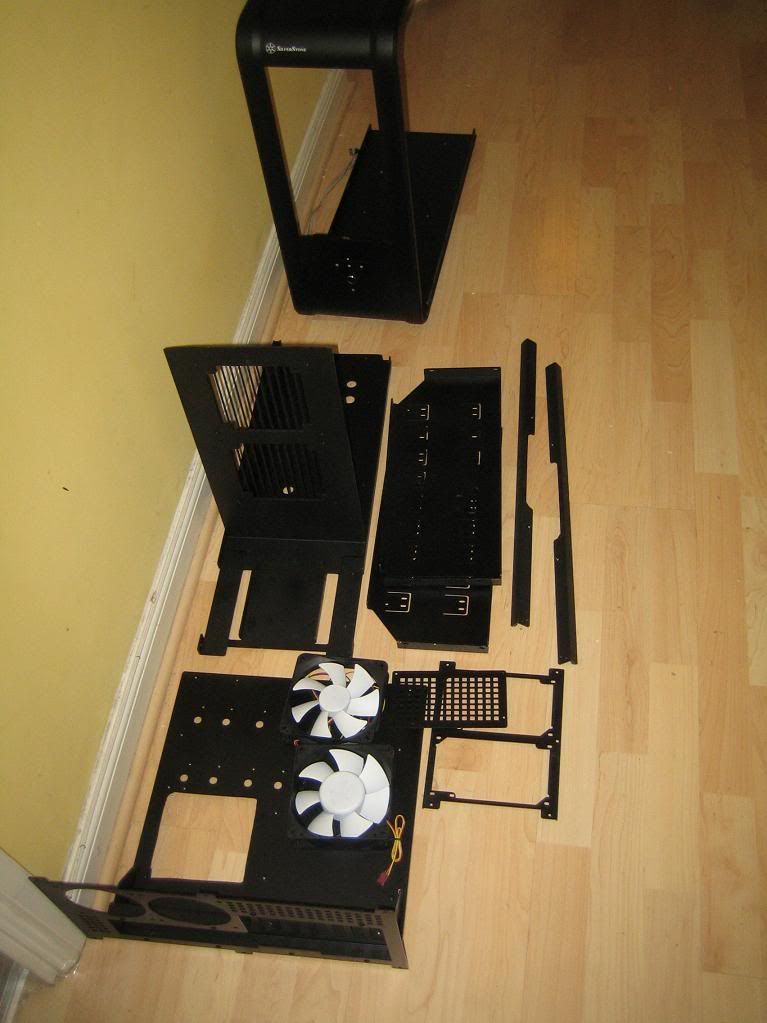
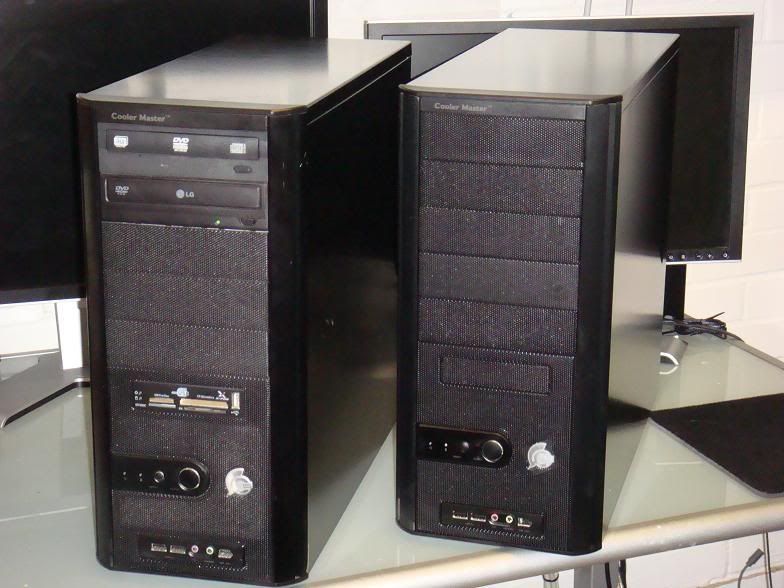
I will be transferring everything bar the W/C gear into a CM Centurion. I got the exact same case as I got in 2007 to house the last incumbent in my TJ07 (an E6600 on a Asus Commando 965 MB)")
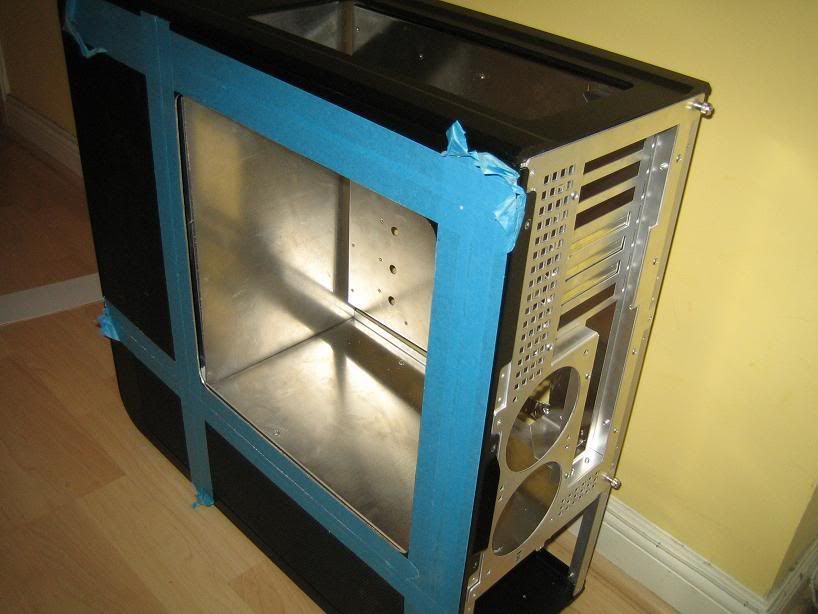
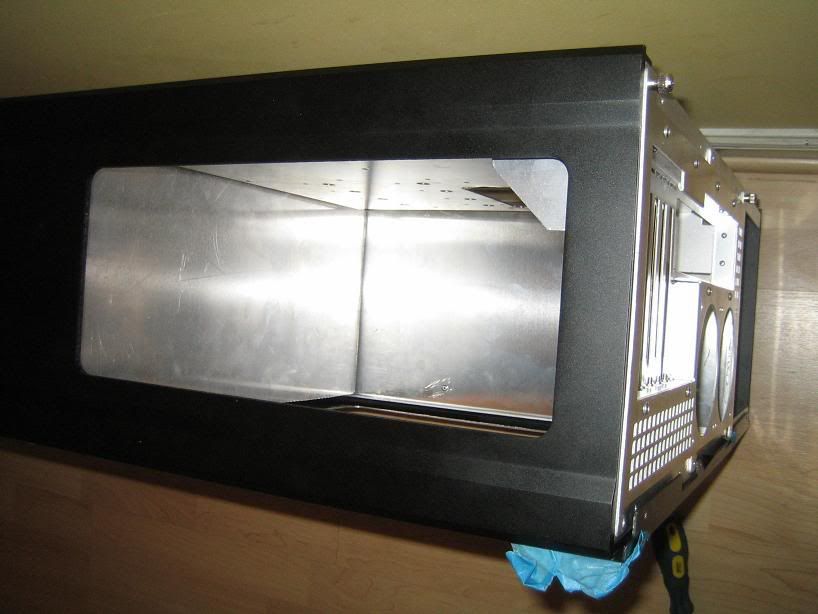
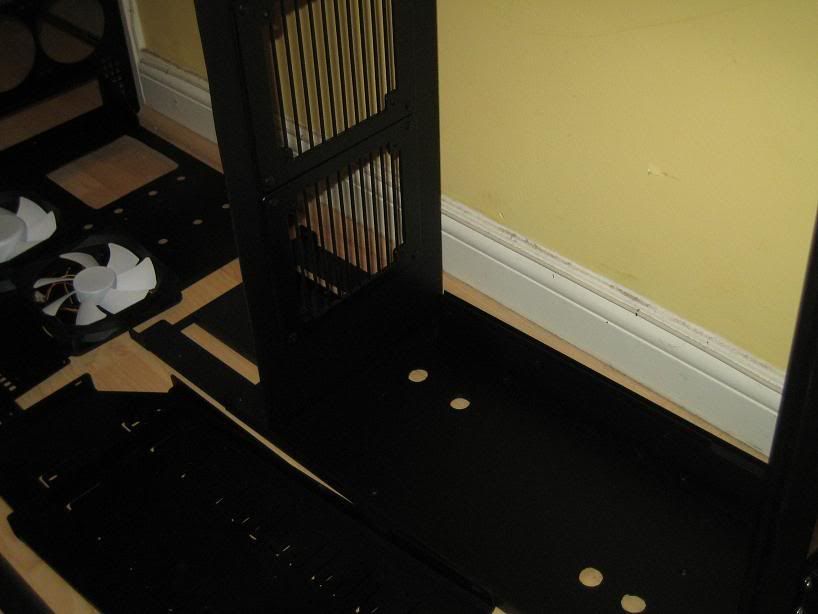
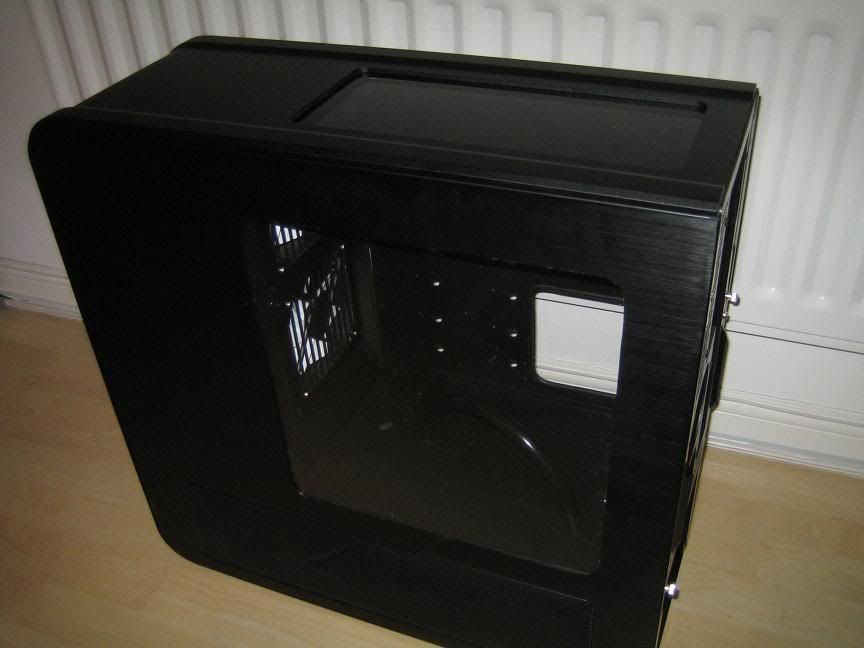
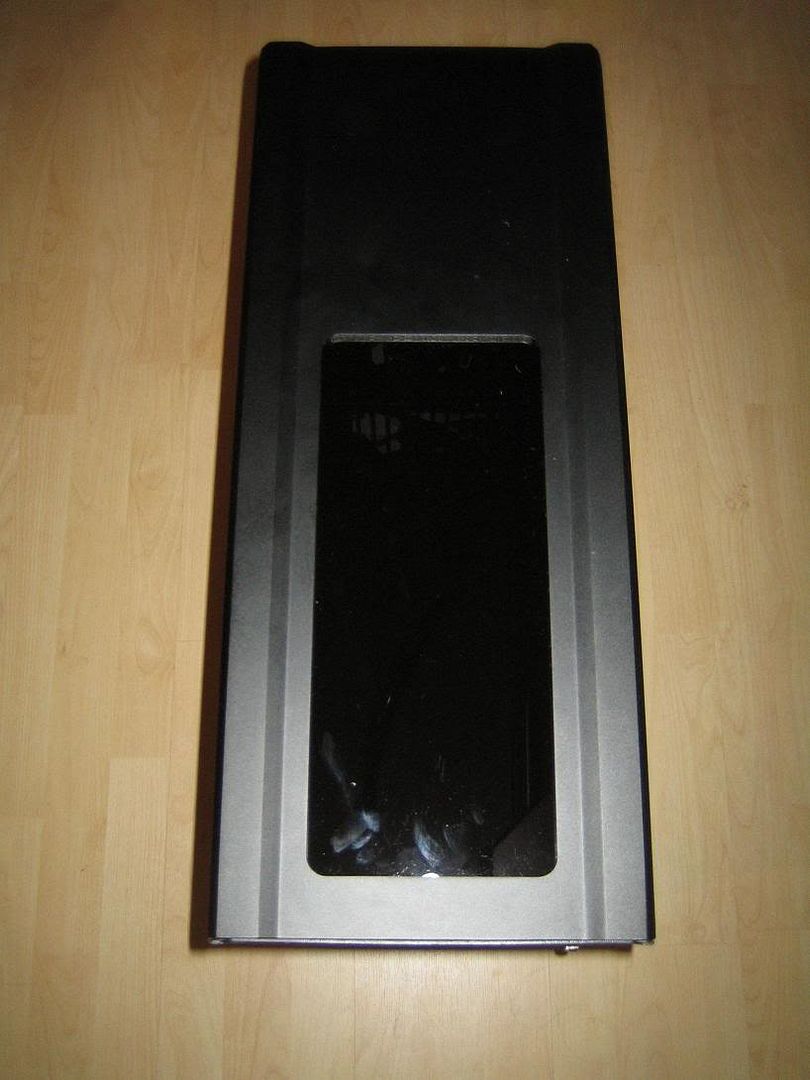
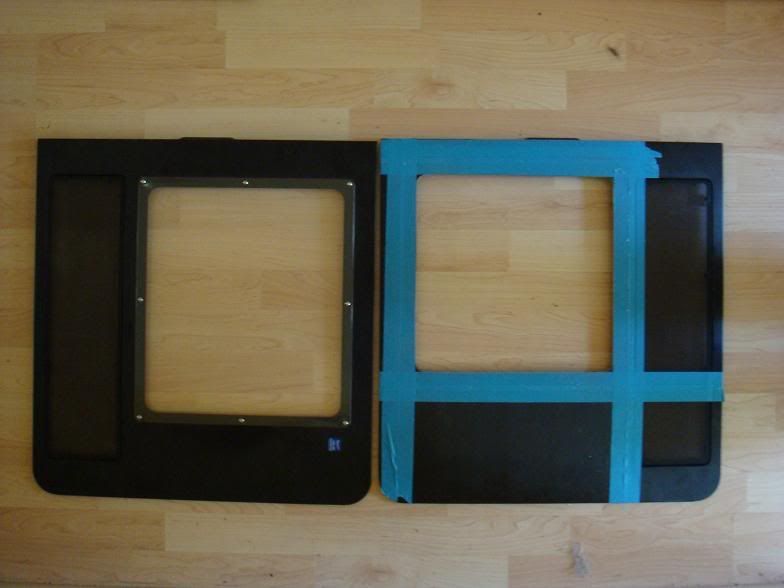
First step is to cut out a new window on the right hand panel. I cut it a little smaller than the original to hide the HDD cage. I will use a 3mm clear acrylic sheet on the inside. The orignial left hand side panel will lose its clear window and replace with dark black tinted acrylic or a mesh screen for airflow.
[EDIT Final Pics added towards the bottom of Page 1]
Well there are TJ07 mods aplenty but this one is going to be little different. It is coming up to about time for an upgrade and I am holding out to see how far the 1156 i7 overclock before deciding which platform I’m going with. I have second GTX280 so this will be an SLi set up (current X38 MB only does Crossfire). Also I will upgrading my W/C gear.
This PC will be on the floor to my left, so I really wanted a case with a window to the right hand side of the case - this means a BTX MB or an inverted ATX. Hence the decision to convert my 3 yrs old TJ07 to inverted ATX. I will be W/Cing the CPU (and may be the chipset – the P55 are supposed to run cooler than the X58). GPUS will be aircooled as I change these often and it gets expensive with different multiple waterblocks and is a hassel to change over.
Those of you familiar with the TJ07 will know that its a brilliant case for water cooling, but rather poor at air if running mutilple GPUs, hence I needed to beef up the airflow. I came up with the idea to create 3 discrete compartments (1) Rad/ pump and PSU- (2) Optical,HDD,SSD- and (3) main MB area, with minimal openings between them and directed, ducted airflow using a high static pressure 120mm fan up close to the GPU’s and a slower fan to cool the chipset/VRM’s. This compartmentalised design is also great for hiding cabling and such with only the MB in view no mater where you look through the window.
There are 2x 120mm fans at the top of the case - with the invert the GPUs will be right up next to these fan. If I set them to expel air, they will starve the GTX's of cold air, and if I set them as intakes they will only cool the top most GTX. Hence to finish off, these fans will be removed & there will be a window at the top to view the printed side of the GTX280- which will be at the top of the case following the invert. I have a couple of 38mm thick Scythe Ultra Kaze's which will provide the GTX's with plenty of directed air.
Finally the internals will be sparyed black prior to new hardware being fitted.(hopefully a MB with a black PCB)
[EDIT] I decided on the internals so I may just complete this tread with the final build pics when done. So Specs will be
-Intel i7 920
-EVGA X58 SLi
-6 GB Corsair Dominator DDR2 1866 MHz
-XSPC RX360 Rad & DDC5 Vario pump
-2x BFG GTX 280 OC2 SLi
-Corsair 850 TX PSU
-Triple Dell 2407
-Will get a SSD when Win 7 is released, just XP and a 500GB HD till then
Ok here my PC at the moment...
I will be transferring everything bar the W/C gear into a CM Centurion. I got the exact same case as I got in 2007 to house the last incumbent in my TJ07 (an E6600 on a Asus Commando 965 MB)
First step is to cut out a new window on the right hand panel. I cut it a little smaller than the original to hide the HDD cage. I will use a 3mm clear acrylic sheet on the inside. The orignial left hand side panel will lose its clear window and replace with dark black tinted acrylic or a mesh screen for airflow.
Last edited:
")